
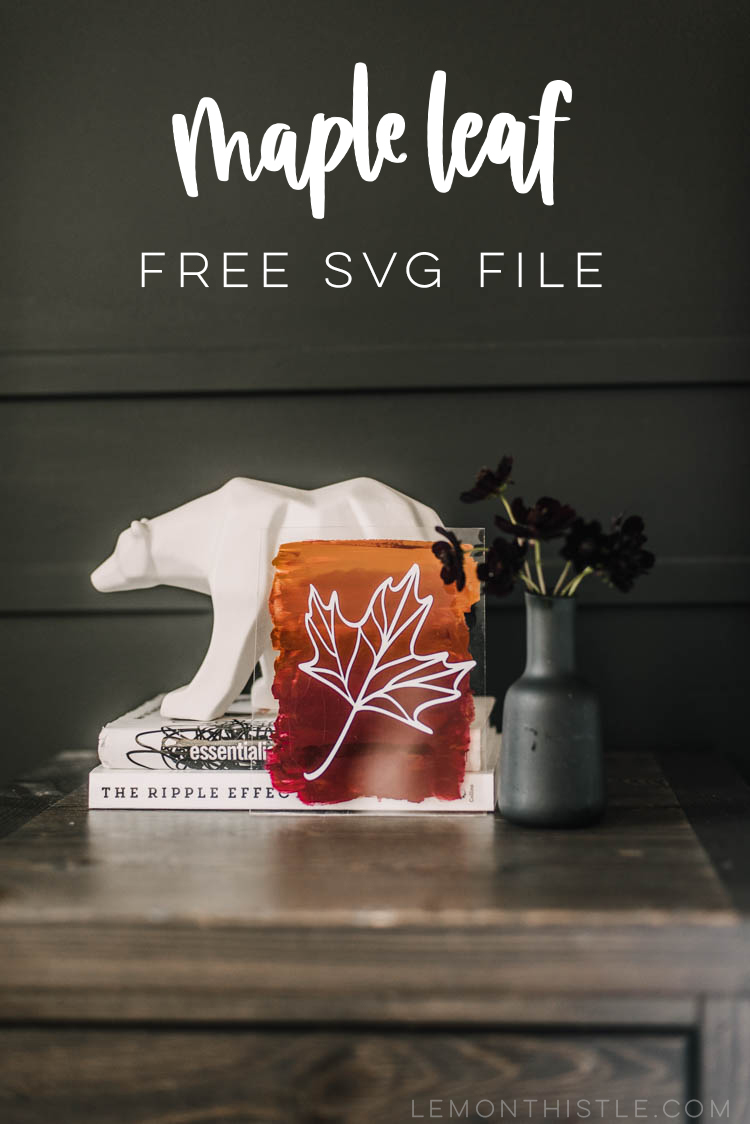
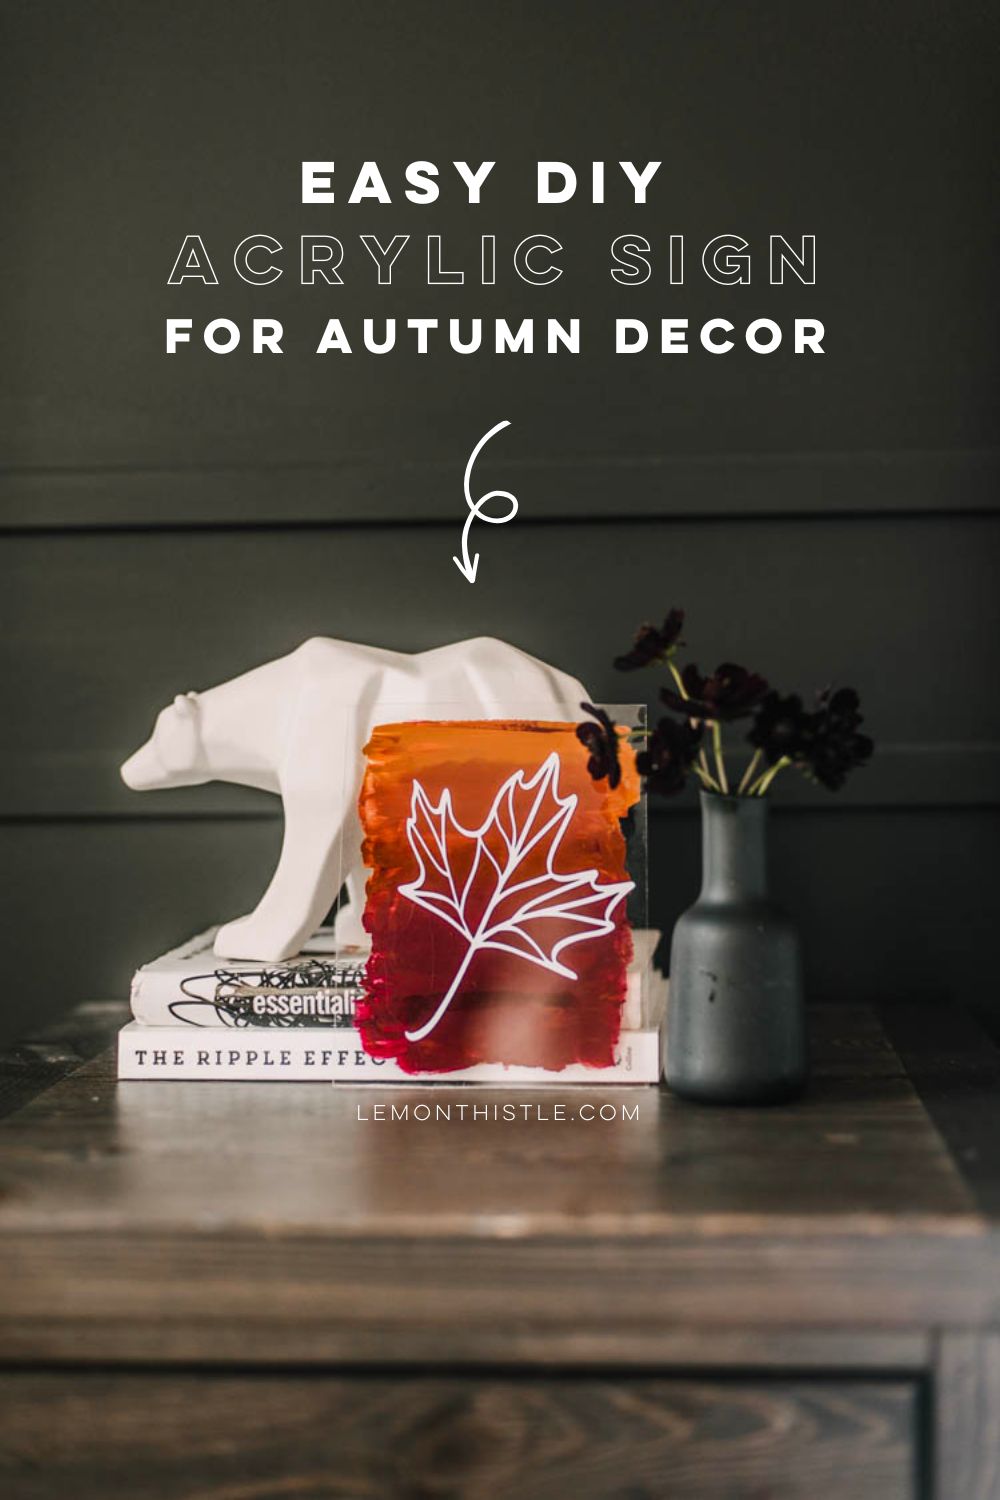
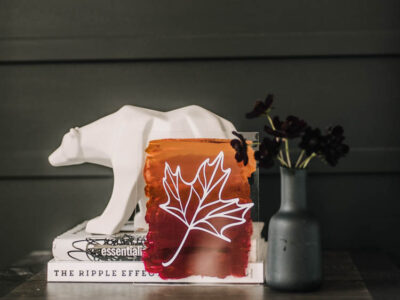
Snag this maple leaf SVG free cut file for your fall craft projects. Download the free leaf cut file and learn how to make this DIY acrylic sign for autumn here!
Post originally published September 2019, updated August 2023.
After making my DIY acrylic sign for fall last week, I had to give this simple fall craft project another go with one of these leaf SVG files I illustrated!
My daughter actually suggested that I draw leaves on that first sign but I had my heart set on the quote. I think I might give her this one to decorate her bedroom for fall since she was so set on the idea.
Honestly, this DIY acrylic sign turned out even better than my last one!
It’s such a satisfying craft project to do (who doesn’t love mixing paints?!) and using an SVG file makes the sign design so much easier than the hand lettered version of this project.
Let’s talk about this line art leaf SVG free cut file! Last year I drew these line art leaves for my free printable fall to-do list.
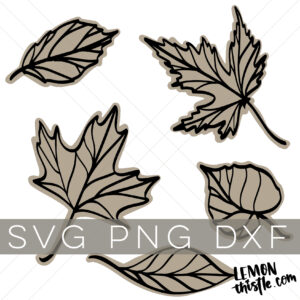
I have loved the design since and am so excited to be offering them as an SVG bundle now! So I actually have 5 leaves that I created SVGs of.
I totally love them as a set, so put those in my shop. You can see the bundle of 5 line art fall leaves SVGs here (limited commercial use available) but wanted to give one of them to you guys as a free download (personal use!) and show you how you can make something rad with it!
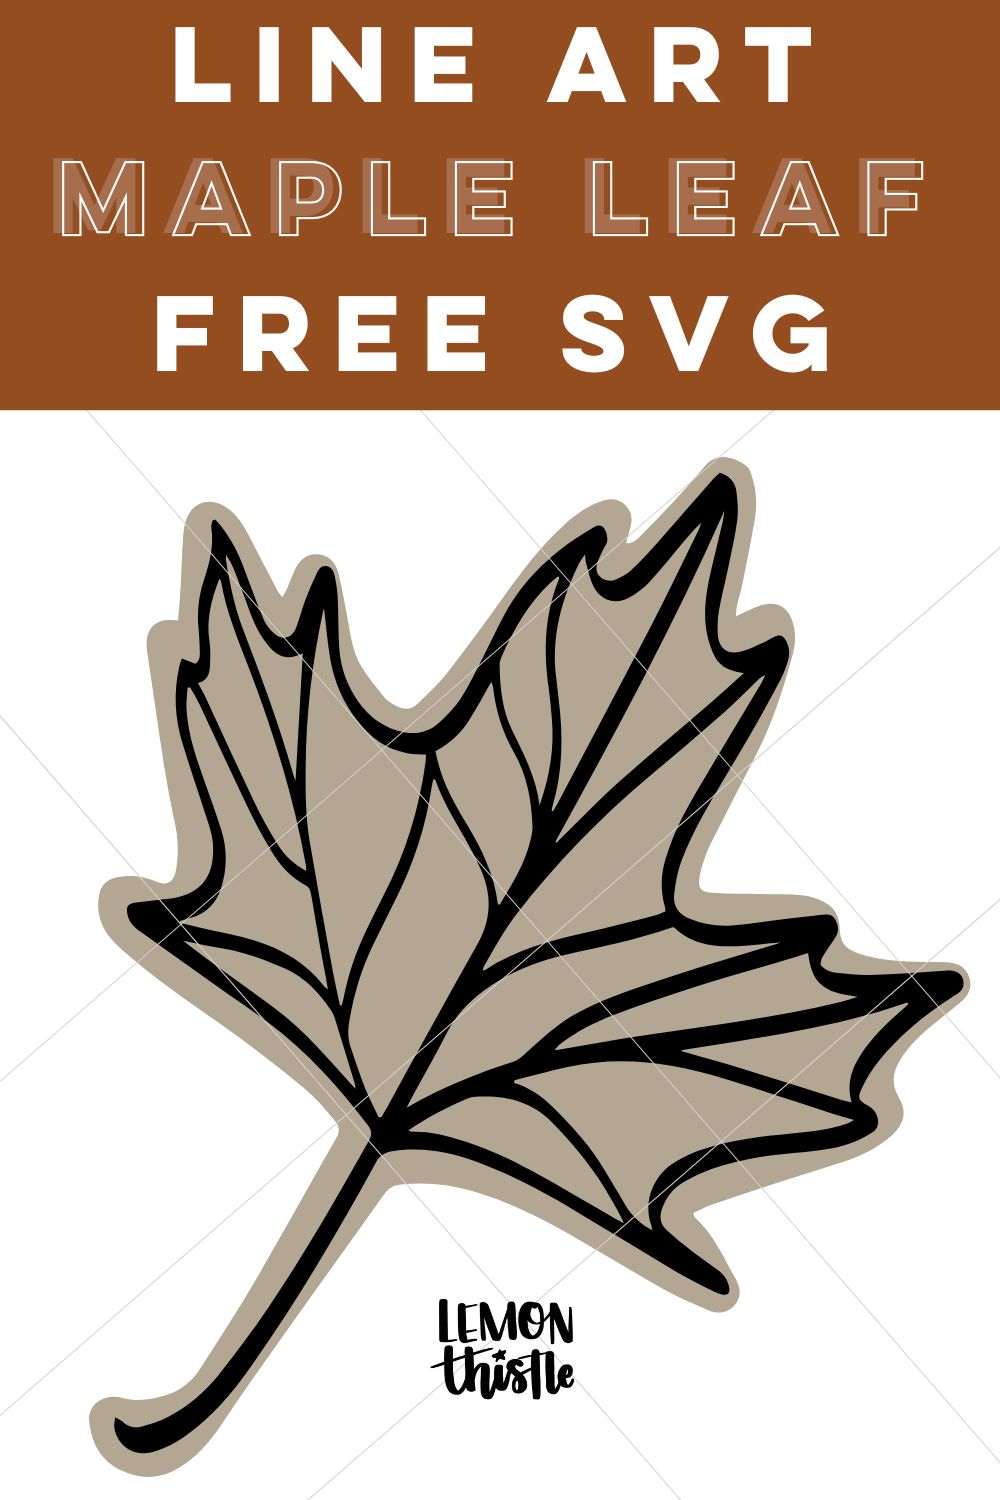
I chose the maple leaf (how Canadian of me!) as the free SVG file leaf for this project. You can snag that leaf svg free file below.
Now… let’s talk about this DIY acrylic sign we’re making with the fall leaf SVG! These are really simple to make as long as your acrylic is the right size. This time around I wanted a smaller sign so had to cut mine. I’ve done this before so knew what to do. You can check out this post right here if you’re needing to cut acrylic!
This post uses affiliate links where possible, at no cost to you. See all my policies here.
If you’re not up for cutting acrylic (fair enough), just buy yourself a picture frame with acrylic instead of glass in the right size and pop that right out of the frame!
Alright… ready for the maple leaf svg free file + DIY acrylic sign tutorial? I thought so ;)
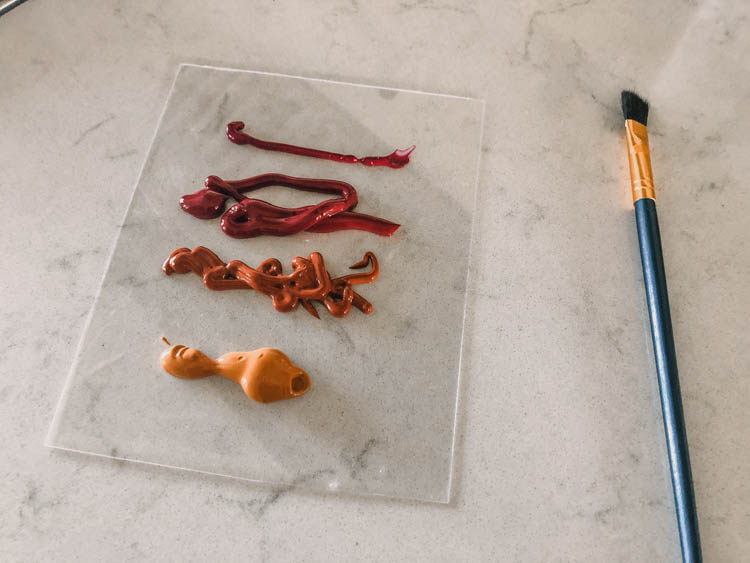
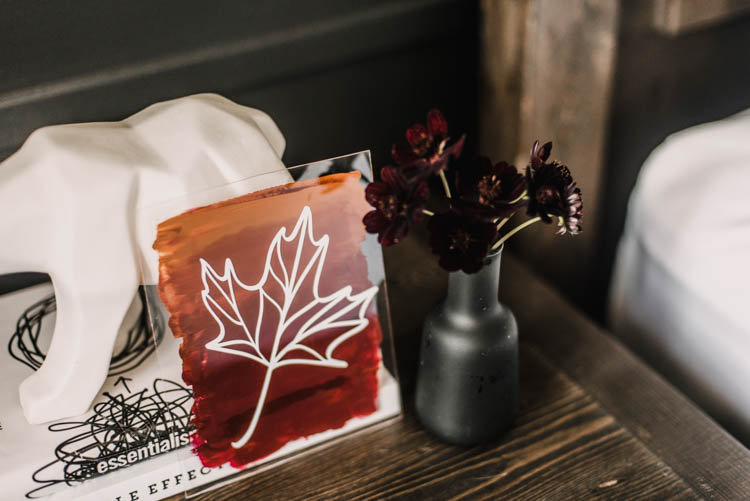
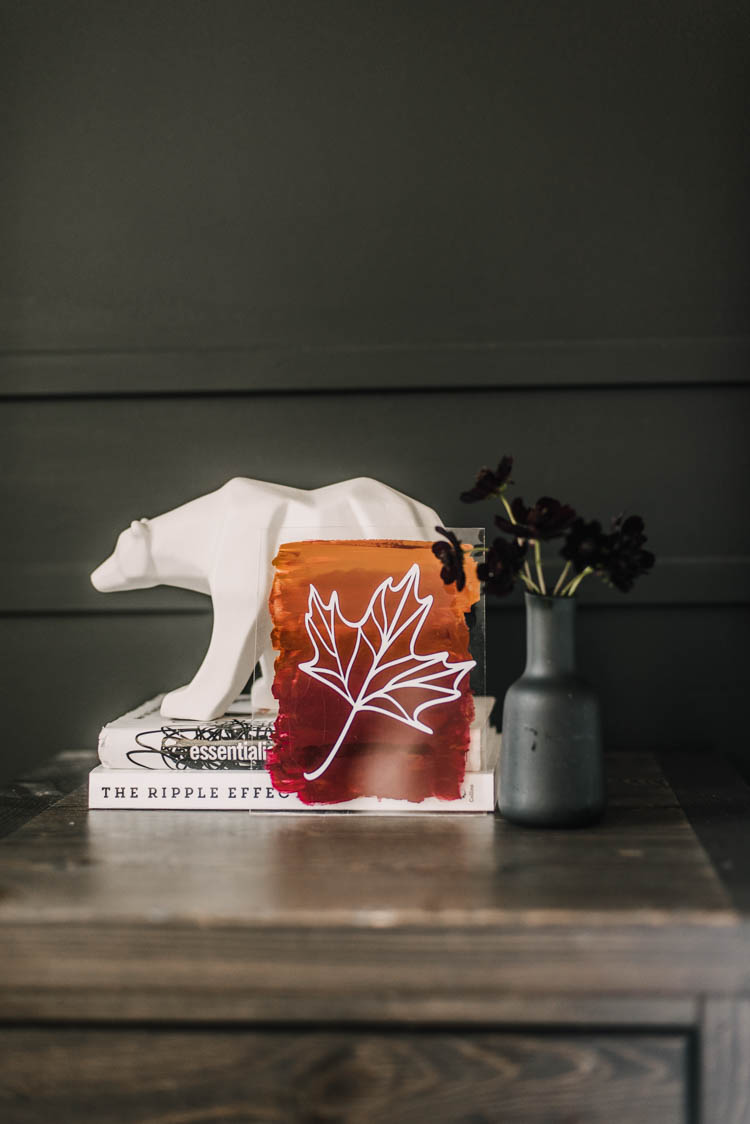
If you missed my last acrylic sign, that one goes into a little more detail I think but it’s a super easy DIY decor project. I selected a few shades of acrylic craft paint in fall colors to make a kind of ombre design on my acrylic.
I love darker, moodier colors for pretty much anything, but especially in fall. I’ll take these dark burgundy tones and burnt oranges over those typical fall colors any day!
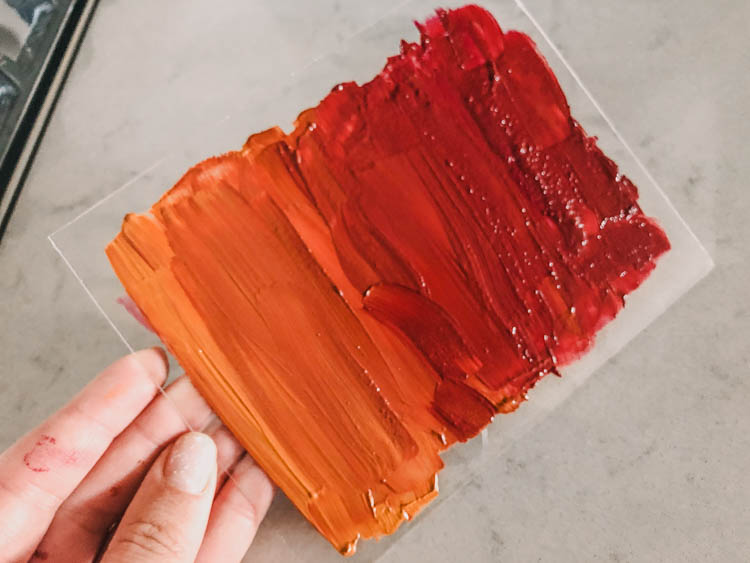
I painted those on to the acrylic for the sign and blended them using a craft paint brush. The toughest part is making sure they’re blended beautifully from the front of the acrylic.
The side you are painting is NOT the finished side of this project. Make sure you flip it over to look at as you go to make sure you’re getting the look you love!
Next, you’ll need to cut out your line art maple leaf SVG free file!
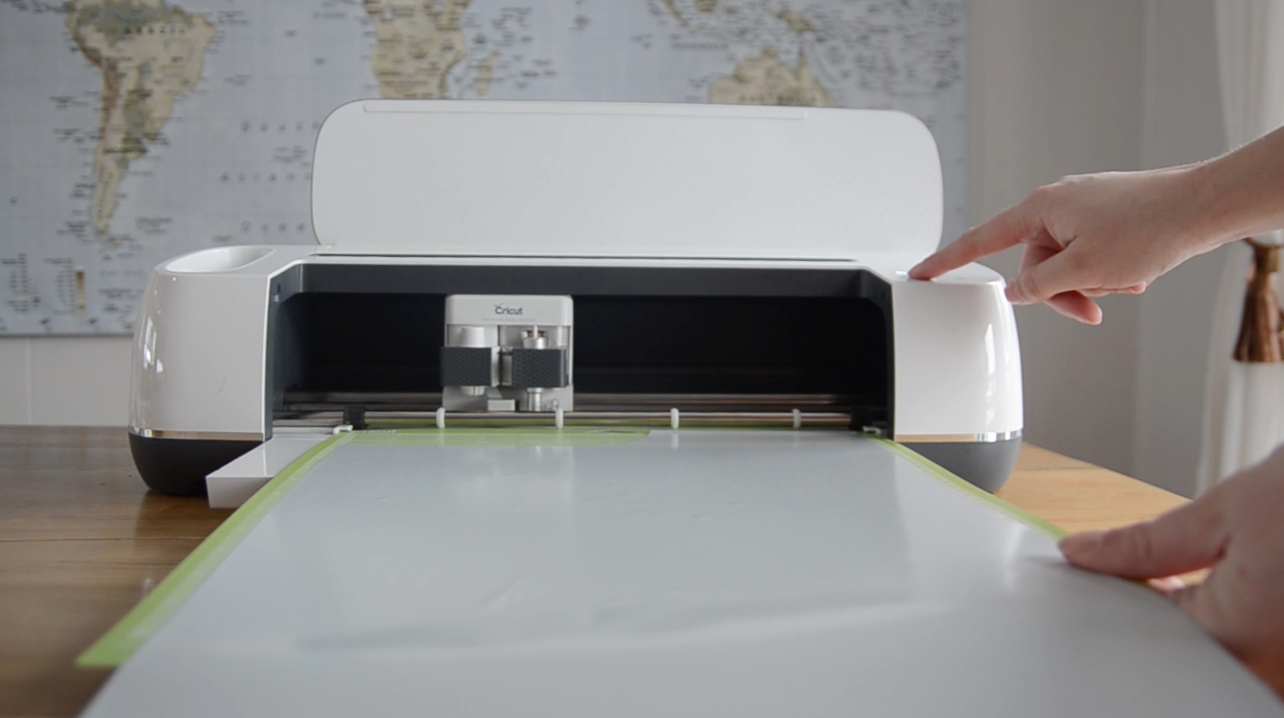
I used my Cricut and permanent adhesive vinyl in white for this. SVG cut files are super versatile, you can use a Silhouette cameo, Cricut Explore, Brother Scan Cut or any cutting machine you have.
How to Download This Free Maple Leaf SVG
To download this line art maple leaf free SVG file, all you need to do is enter your email below and have it sent to your inbox. When you click the confirm button on the email you receive, it will open the digital file directly.
Some browsers will start download immediately, others you’ll need to right click and save.
The SVG file is uploaded as a compressed folder (zip file). Double click the zipped/compressed folder to ‘unzip’ it and see your SVG file. Once it’s in your downloads folder, you can upload it to your Cricut Design Space, Silhouette Studio or whatever cutting machine software you are using.
This Maple Leaf SVG file is free for personal use. Think making projects for yourself, your classroom or as gifts. NOT for commercial purposes like logo design.
-
 Line Art Leaves Mini SVG Bundle$5.99 USD
If you want to grab the whole set of SVGs along with PNG file and DXF file versions of the leaves with limited commercial license to make physical products to sell, you can do that in my shop RIGHT HERE.
How do I Upload a Free Cut File to Cricut Design Space?
Once you’ve downloaded your free maple leaf SVG file, it’s time to upload it to your cutting machine software so you can use it any of your creative projects.
I use my Cricut to cut out my SVG files, but you could also use your Silhouette or other brand of cutting machine. To upload an SVG file to Cricut Design Space and most other cutting machines is super straight forward.
Open up Cricut Design Space and start a new project. In the left hand panel, select ‘upload’ and search for your file. You can add a name to your file at this point then upload it and insert it into your project. That’s it.

The SVG file has all the layers separated for you and Cricut reads all that information for you.
If you’re new to uploading your own images to Cricut and would like more information on the different types of files you can cut with your Cricut, this video walks you through all the different types and how to upload them to Cricut Design Space to use them in your projects.
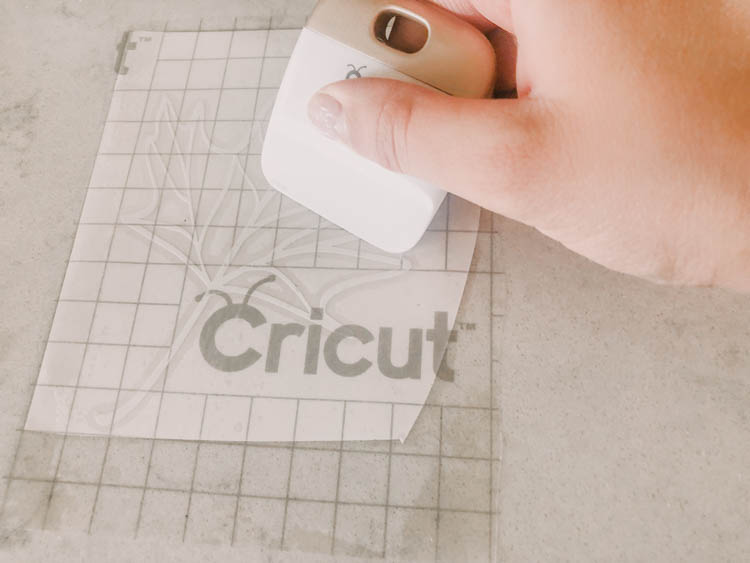
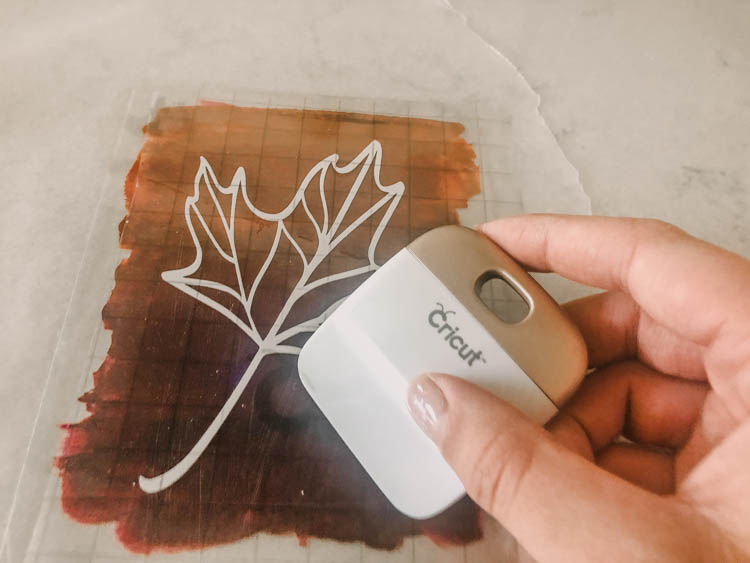
I cut my maple leaf SVG design out of the glossy permanent vinyl from Cricut with Cricut regular transfer tape but any vinyl would work.
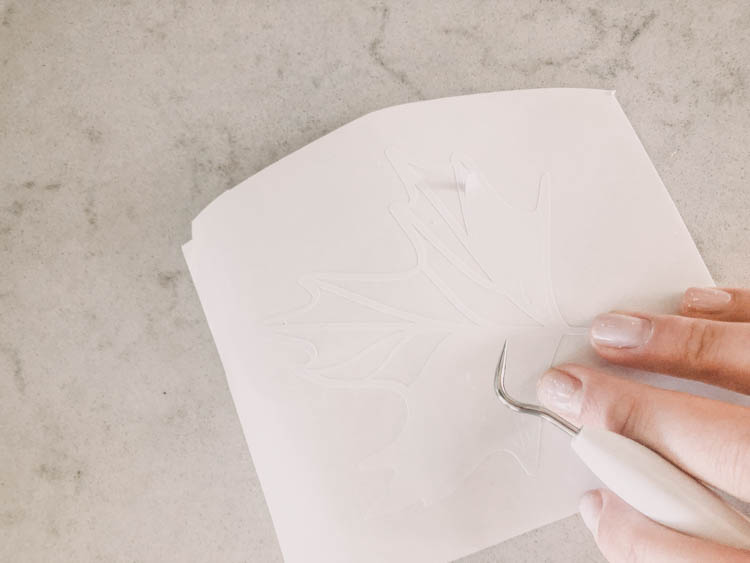
Weed your cut vinyl leaf design and transfer it to your acrylic sign once the paint is dry!
If you are unsure if your paint is totally dry (I’m impatient like that!) put your piece on wax paper instead of cardboard or your counters.
That’s it! It’s SO freaking beautiful (if you ask me!). I can’t wait to get the rest of my house all decorated for fall now!

What else can I make with this free leaf SVG?
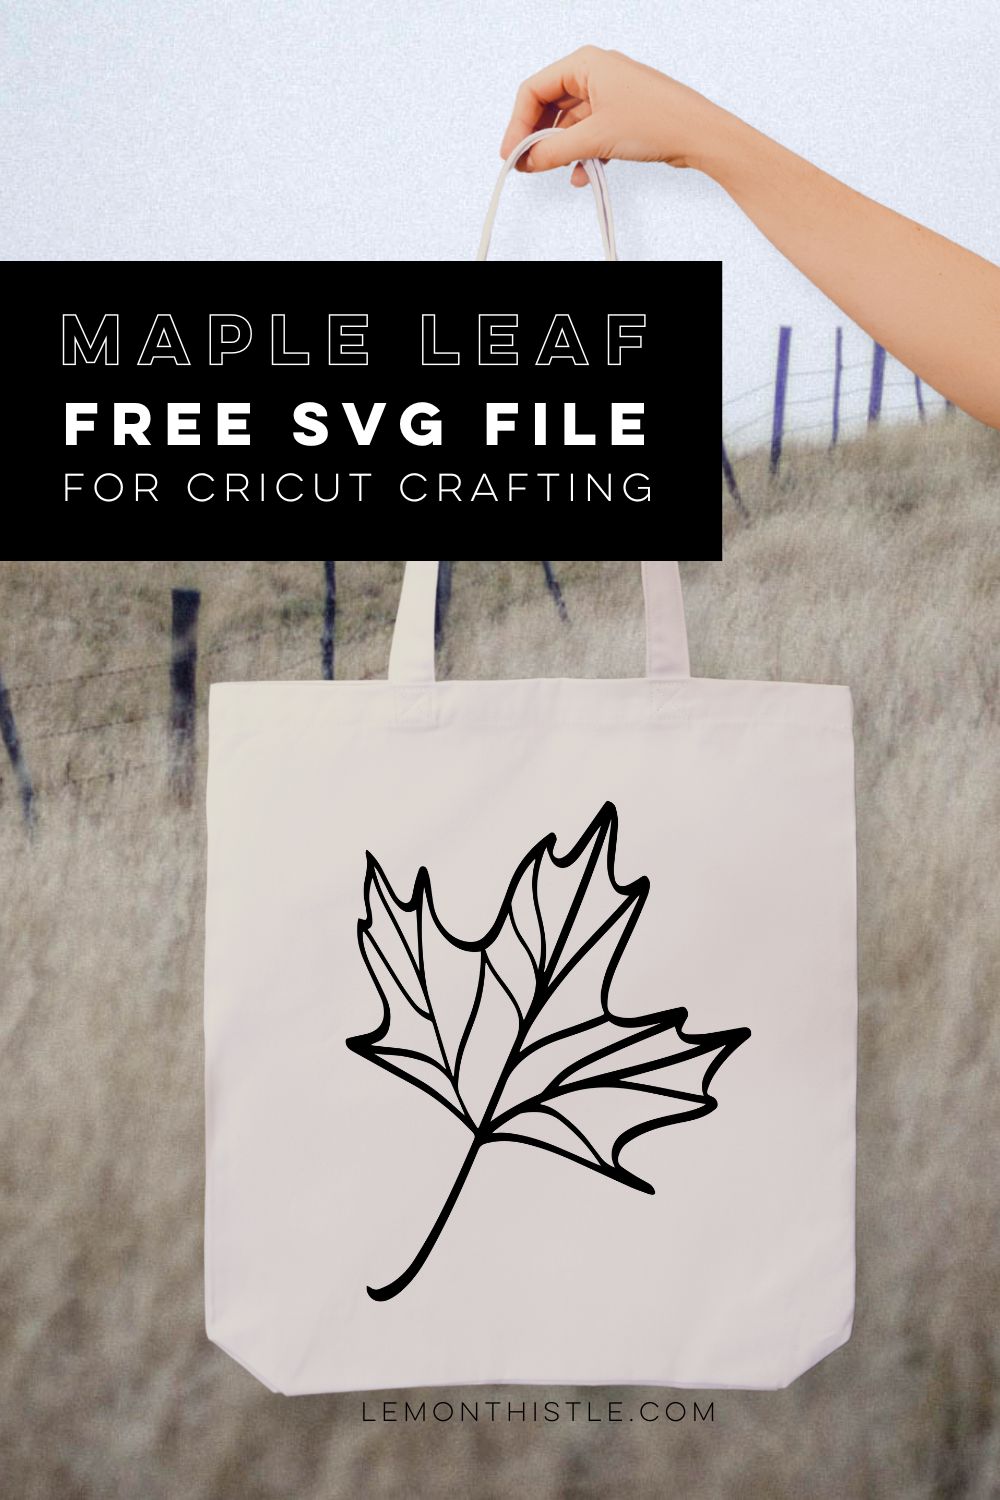
I love to add simple line art designs to t-shirts, mugs or tote bags. You can see a simple maple leaf tote bag here using this leaf SVG free file.
This one is just made with iron on vinyl, you can see a similar tutorial using one of my banana leaves designs here.
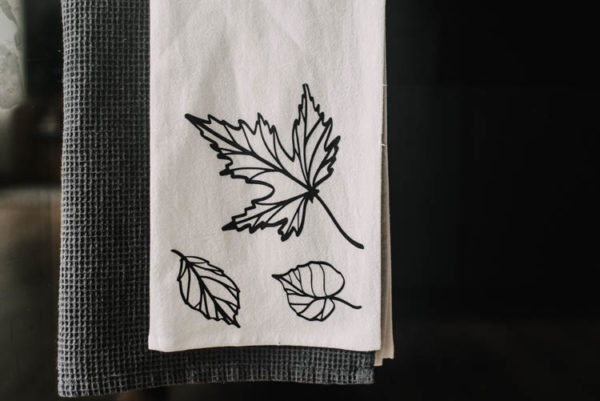
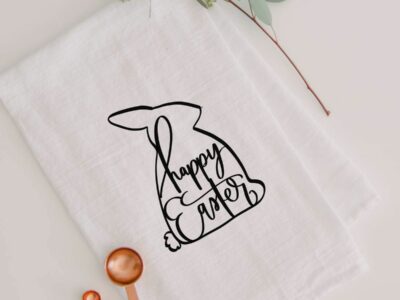
I used the same technique (iron on vinyl) on a tea towel to give my kitchen a bit of fall decor as well! On this one, I used other files from the bundle instead of this maple leaf. I love switching out tea towels for a quick seasonal decor update without adding any clutter at all. It’s one of my top tips for decorating seasonally (swaps, that is!).
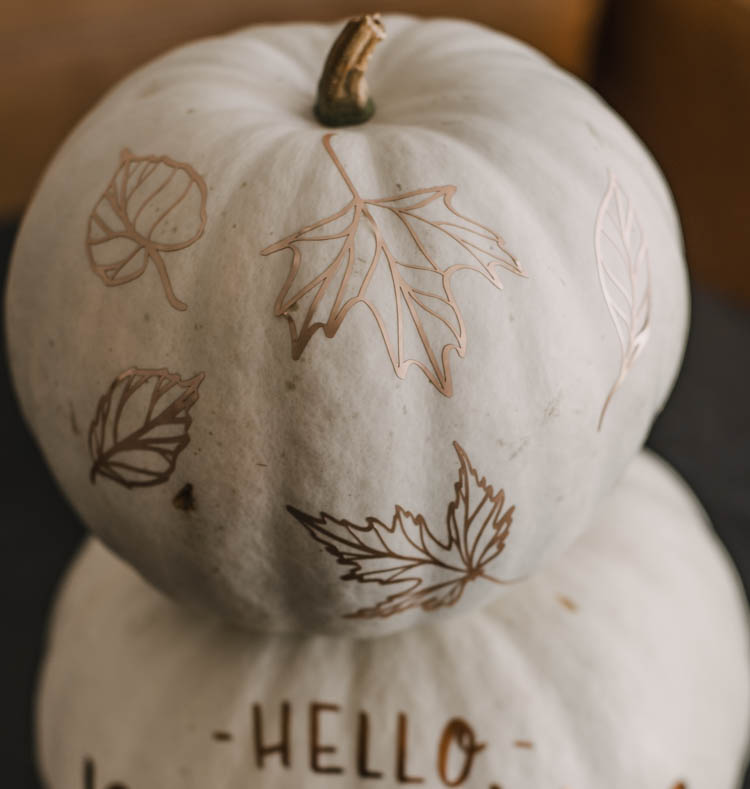
I used this fall leaf cut file to decorate pumpkins with metallic vinyl as well! How fun are these?!
This particular file I actually love for home decor. This maple leaf and the other decorative leaves add a touch of nature to throw pillows, autumn signs (like this one!) and well, pretty much any piece of decor. There’s so many DIY projects you could create with this line art leaf SVG free file.
SVG files can be used with any cutting machine, but you can also use these files like clip art. Canva even accepts SVG files now so you don’t need a fancy software like Adobe Illustrator to add this free file to your creative printable projects.

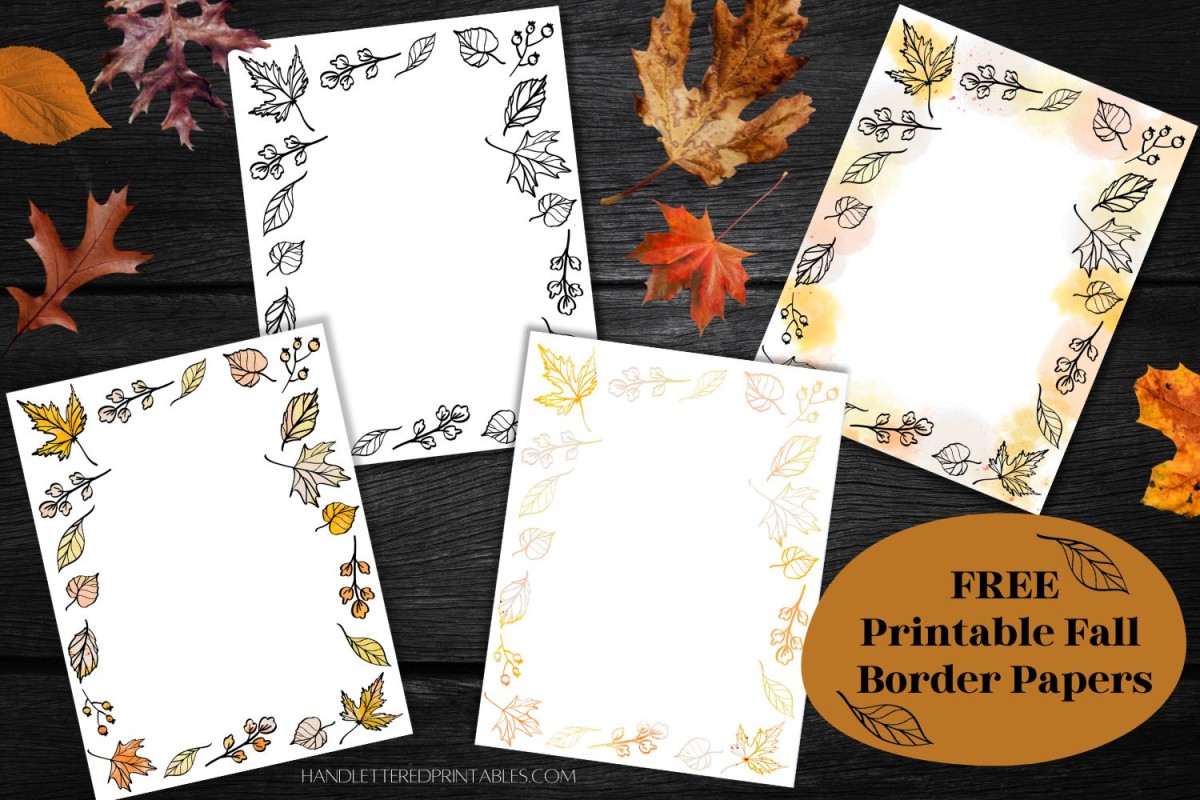
You can see how I used them for a free printable fall bucket list right here as well as a fall border free printable over here!
These are just the things I’ve taken photos of that I’ve created. Truly… the options are endless with this one ;)
Pin this for later!
Don’t have time to take on any crafting right now? Planning to open up your Cricut for some weekend crafting come saturday?
Pin this so you can come back to it! Plus, pinning or sharing on FB helps this post reach more people which helps me be able to keep sharing with you. Thank you!

Looking for more free SVG files?
Here’s some of the free SVG files I’ve shared here on Lemon Thistle! Click on the image to head to the full blog post and snag the free cut file for yourself!

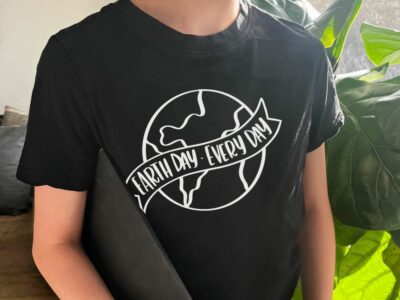


 Dog Welcome SVG File Free Download for Front Door Mats
Hi I’d love to download the “Hello PUmpkin” but i can’t seem
to find the link?
Help please!
thx
Kelly
Hi Kelly, you can find it in this post! https://www.lemonthistle.com/hello-pumpkin-free-cut-file-matte-metallic-pumpkins/