• Skip to main content
  • Skip to header left navigation
  • Skip to header right navigation
  • Skip to site footer
  • Shop
  • Get The Email
  • Work With Me
  • About
  • Search

  • DIY
    • DIY Home Decor
    • With Power Tools
    • Renovation
    • For Kids
    • For Parties
    • Wearable
    • Organization
    • Cricut Crafts
  • Home Decor
    • Room Reveals
    • Kid Friendly
    • DIY Home Decor
    • Renovation
  • Lettering
    • Hand Lettered Printables
    • Free Practice Sheets
    • Handlettered DIY
    • Free Brush Lettering Quickstart Guide
Lemon Thistle

Lemon Thistle

Rad DIY, Lettering and Design for Real People

  • Printables
    • For Cricut
    • Party Printables
    • Home Decor Printables
    • Bachelor Bingo
    • Handlettering Practice Sheets
    • All Free Printables
  • Entertain
    • Party Printables
    • Party DIY
    • Tablescapes
    • Kids Parties
  • Blog

Metallic Welcome Autumn Pillow

Oct 06

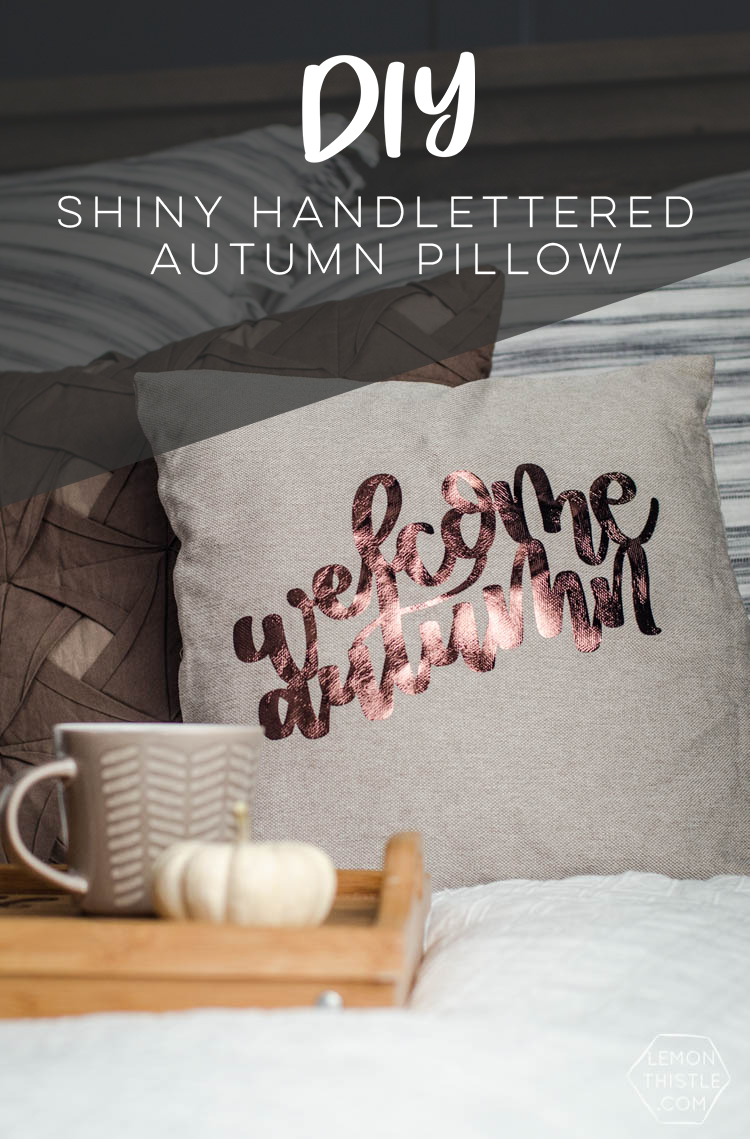
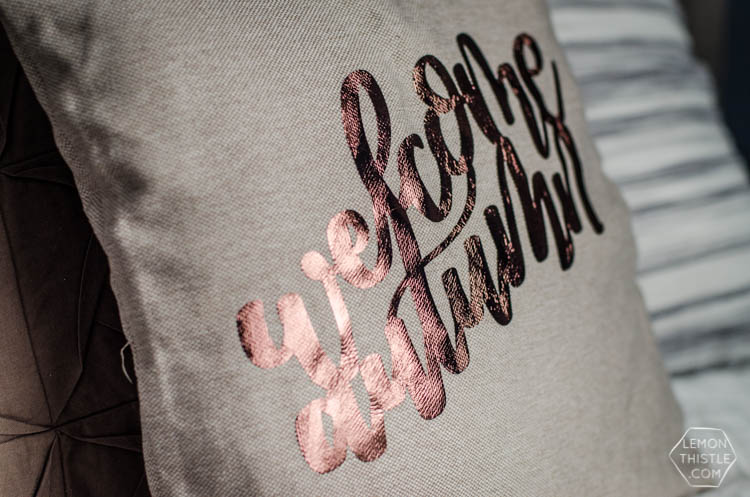
This diy metallic welcome autumn pillow is such a nice touch for fall your fall home decor. The espresso foil adds some shine & the handlettering a free download.

DIY Welcome Autumn Pillow- I love the hand lettered design on this one! And that foil is dreamy.

I’ve had a lot of posts this week… like way more than normal. Normally, I would hold onto a DIY and share it with you in a few weeks when things calm down… But I feel like Autumn is here and I’m missing the window to share an autumn DIY for you to still have time to make it for the season! So I’m sneaking another post in today.

This DIY metallic ‘welcome autumn’ pillow is SO easy to pull together using my handlettered template and a Cricut. I lettered this a few weeks ago for my autumn wreath and was sad thinking that is all it would be used for- I just loved the lettering so much! I was thinking of making it into a wooden sign but then I made this autumn sign instead… so a pillow was my next idea. I made this pillow for my mama because I actually don’t have much (if at all!) browns in my home and the one chair it would have looked perfect on (this one right here), we’ve given to my mom for her entry way. So we’re sending it over there and I’m happy knowing that lettering is being put to good use.

DIY Welcome Autumn Pillow- I love the hand lettered design on this one! And that foil is dreamy.

I used the Cricut Foil Iron-On vinyl in Espresso for this project and really love that deep colour. I’m wanting to order some more because I feel like it would make a gorgeous shirt… with a different design though ;)

This pillow is pretty darn simple. First, you need to do grab the free handlettered template below:

Once you’ve got your design, you need to upload it into your cutting machine software- for Cricut, that’s Design Space. Just open a new project/canvas and hit upload. Select your file and save as a cut only file. Size it accordingly and hit GO! Make sure you mirror your design for iron on transfers.

DIY Welcome Autumn Pillow- I love the hand lettered design on this one! And that foil is dreamy.

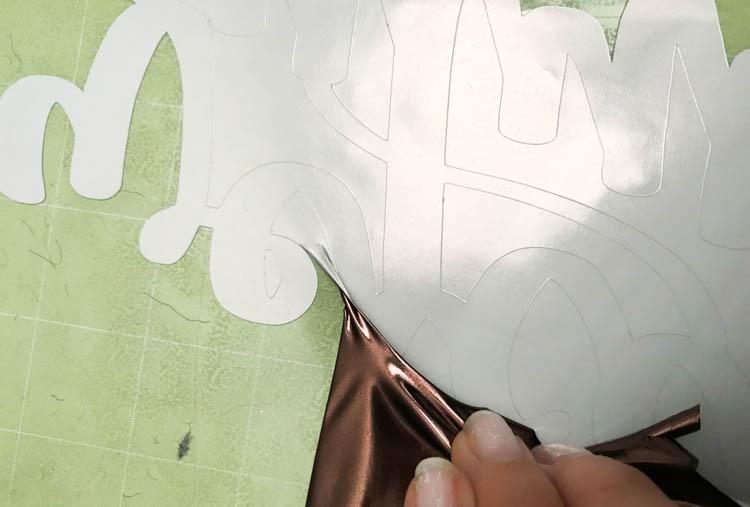
If you haven’t used foil iron on in the past, make sure you put the shiny side down!

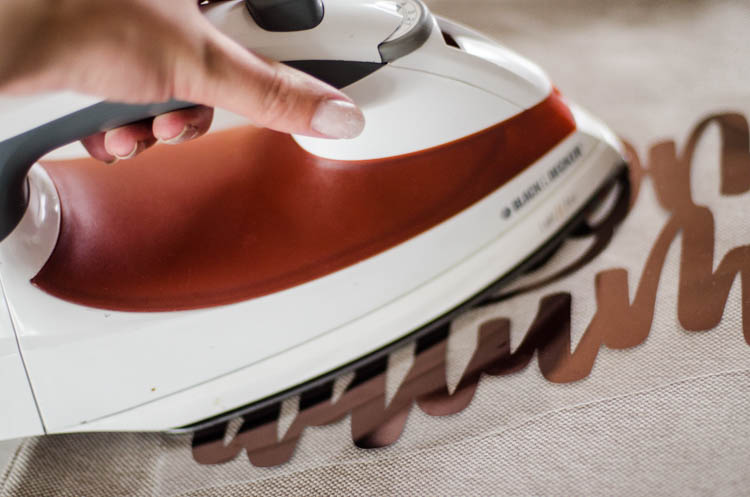
Once it’s cut, go ahead and weed it out while your iron warms up. I’ve said it before and I’ll say it again… I find foil a bit of a pain to transfer compared to regular heat transfer vinyl. Regular iron on vinyl I can have done in under a minute, but this stuff takes me much longer. It’s not a big deal, just something to keep in mind! I also find that I need to push really hard with the iron and  peel the backing off while it’s still hot. Just know you might have to play a bit.

I am waiting *notsopatiently* for my Cricut EasyPress to show up (a mini heat press of sorts) and am so hoping it will make foil iron on easier to transfer! I know my iron sucks but I hardly ever use it for ironing clothes so hate to invest in a new one. But ironing this foil? I really love the look of it, but I did 14 goody bag transfers this weekend with the stuff and after that, I’m ready for a magic press to make the process easier!

DIY Welcome Autumn Pillow- I love the hand lettered design on this one! And that foil is dreamy.

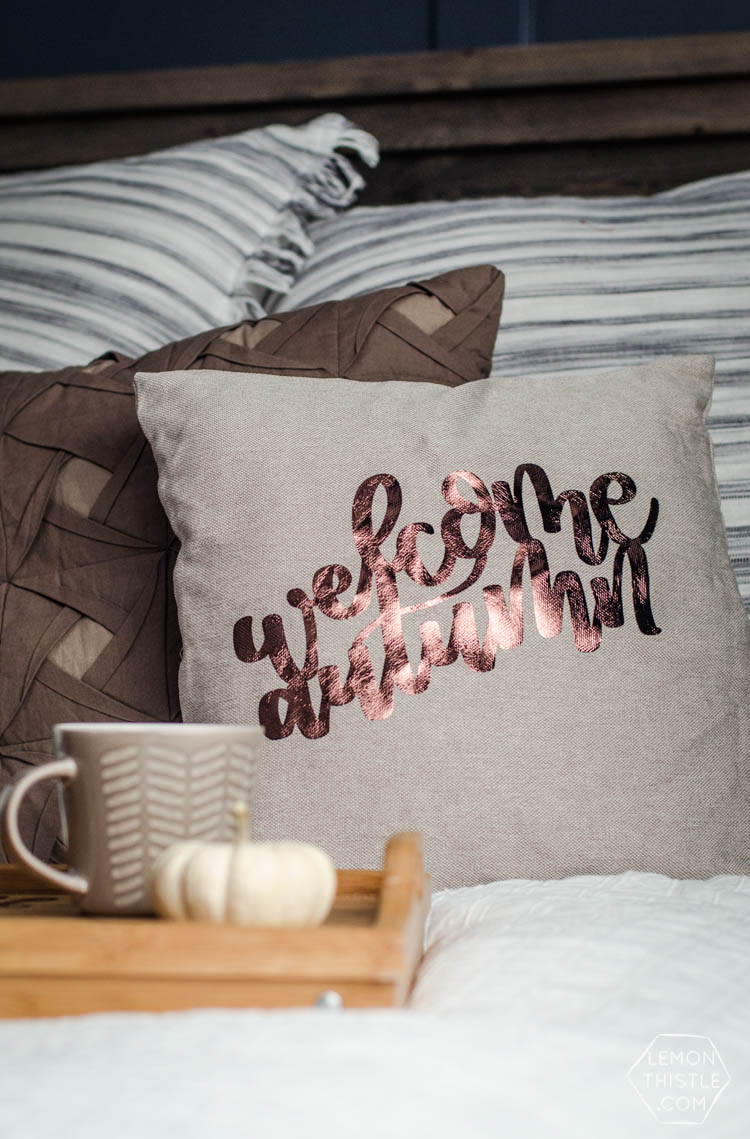
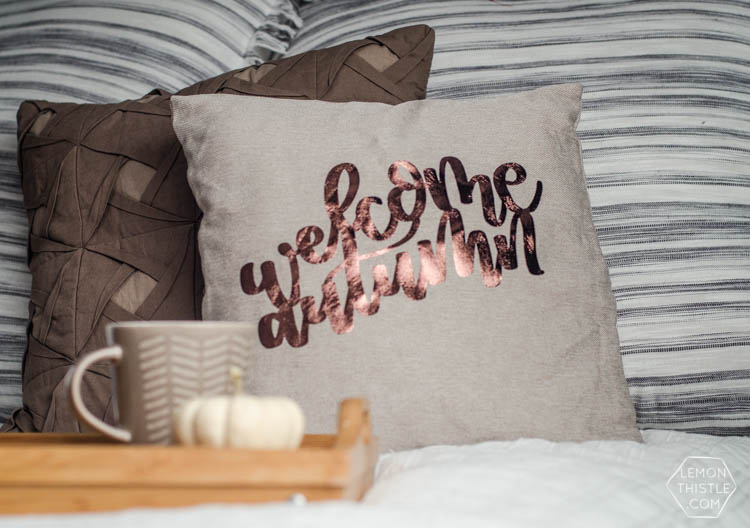
But then… that’s it! Slip your pillow cover on your pillowform and you have a new autumn pillow! I’m really so happy with how this turned out for next to no time investment. The colours are so lovely and that shine is to die for! If you make a pillow or another project with this design I would so love to see! Shoot me an email [email protected] or tag me on social media!

Category: DIY, Home Decor, Lettering, PrintablesTag: Autumn, Cricut, Handlettered DIY, Handlettered Printables, Pillow
Facebook0Tweet0Pin0LinkedIn0
Previous Post: « Giant DIY Halloween Party Garland with tissue honeycomb balls and party foil Giant Halloween Garland + Giveaway!
Next Post: Birthday Week of Giveaways! DAY 1: Casetify »

Reader Interactions

Comments

  1. Meredith

    Nov 05 at 1:01 pm

    where did you get your pillow cover?

    Reply
    • Colleen Pastoor

      Nov 06 at 1:05 pm

      I actually bought a bag of throw pillows for a few dollars from someone who’d staged a home with them… I’m thinking they’re probably from somewhere like Jysk

      Reply

Leave a Reply Cancel reply

Your email address will not be published. Required fields are marked *

Sidebar

WOOHOO!

Check your email to confirm!

(+ get your freebies + discounts)


Thanks for dropping by!
I’m Colleen: wife; mom to 4 wild ones; and DIY blogger behind Lemon Thistle. You can expect to see rad DIY, modern home decor, renovations, hand lettering and the occasional party on Lemon Thistle. Read More…

email facebook youtube instagram pinterest

Unless otherwise noted, all content and images are mine. Full posts may not be shared without express written consent. But I love when you share! Feel free to share, without altering, one image with proper credit and a link to the original post. All free printables are for personal use only.

Everyone loves proper credit- if you ever notice something improperly credited, please please shoot me an email and I’ll fix it lightning fast.

Find all my policies right here.
This includes my privacy policy, info on the GDRP compliance and information on affiliate links (Including Amazon Affiliates).

Visit Colleen Pastoor’s profile on Pinterest.

colleenpastoor

My house is never this clean
-
DIY + Home Decor Blogger
Mama of 4 👶🏼🧒🏼👦🏼👧🏼
Renovating our 🏠 the DIY way
🖤 Lettering & ☕️
-
✉️[email protected]

colleen pastoor/lemon thistle
What’s next on your project list? Spring is teas What’s next on your project list? Spring is teasing us so we’re starting on outdoor projects around here!
$100 play room makeover is DONE! This room has se $100 play room makeover is DONE! 
This room has seen so much change over the past year (swipe over to see it 2 weeks ago, 10 months ago and 1 year ago!). I took this last week to make over this space with mostly pieces we already had and I’m so so happy with the results! It’s a good reminder that some hard work, creativity and of course paint can work magic.
I’m sharing all the details (and that under stairs space!) on YouTube today (link in my stories!) and so is my friend @thediymommy (she made over her daughters bedroom for $100!).
Do you think dried grasses are only for fall decor Do you think dried grasses are only for fall decor? I used to think so, but these bunny tail grasses are too cute to put in a bin until next year. Plus the name sounds like spring decor to me ;) What do you think?

Ps. Today’s going to be a full day of playroom progress! I’ll share as much as I can in stories as I go :)
Paint is honestly magic.✨ I am so excited to sha Paint is honestly magic.✨
I am so excited to share this kitchen makeover with you guys! These are the same cabinets, just painted (countertops too!) And some updated finishes. I blogged the full before and after if you’d like to check it out!
Big thank you to @schaubhardware and @wagnerspraytech for partnering to make this space possible!
Ps. Most of the work done here was by the homeowners so if you’re thinking about taking on a makeover in your own home, maybe this is the encouragement you need 😘
As I’m sitting here staring at the dishes on the As I’m sitting here staring at the dishes on the counter while I try to focus on editing a video, I thought it’s as good of time as any to share this reminder 😘
I feel like I’ve lucked into the best job out th I feel like I’ve lucked into the best job out there, but then I’m also so aware of the amount of work it took to get here. Today I chatted with two of my blog friends in an Instagram live about DIY blogging as a job and answered some questions we get asked all the time about our work and the balance of it all! I saved it as an IGTV so you can watch it if you missed 🥰

Big thanks to @love_create_celebrate and @thediymommy for chatting with me today! One of the biggest perks of this job is all the talented ladies I’ve had the privilege of meeting and calling friends- these two are top of that list!
I’m having some fun in stories with a little giv I’m having some fun in stories with a little giveaway guessing game. I’d love if you played along!

I put up a question box and you can guess my next room makeover and the guesses are all over the place. Some are projects on my dream list, some are rooms I wish to even have in my house and some are spaces we’ve already tackled! Like our main bathroom ✨ these photos are from my spring home tour I shared over on the blog earlier this week. Hung up a pennant and called it decked for spring 🐣
Who is ready for spring?! I know we totally are- w Who is ready for spring?!
I know we totally are- we’ve been soaking up outside time this week with the kids home on spring break but over on the blog... it’s spring home tour time! I am sharing my home all ready for spring along with some amazing bloggers as part of the #seasonalsimplicity spring series!
You know I love a touch of DIY decor in every spac You know I love a touch of DIY decor in every space in my home, so I’m so excited to be partnering with @HGTVCanada to celebrate #$aveMyReno being back TONIGHT! #partner
 
My favourite thing about $ave My Reno is that they encourage home owners to get involved and DIY to maximize budget. They even help kids get involved- it’s everything Shane and I work towards in our own projects. You can catch it every Tuesday at 9/9:30PM EP on @HGTVCanada or catch up on episodes on STACKTV through @primevideoca!
 
PS. I made those tie dye pillows, similar to the ones featured in tonight’s episode! You can catch my stories to see the super speedy how-to :)
Load More... Follow on Instagram

Copyright © 2021 · Lemon Thistle · All Rights Reserved · Powered by Mai Theme