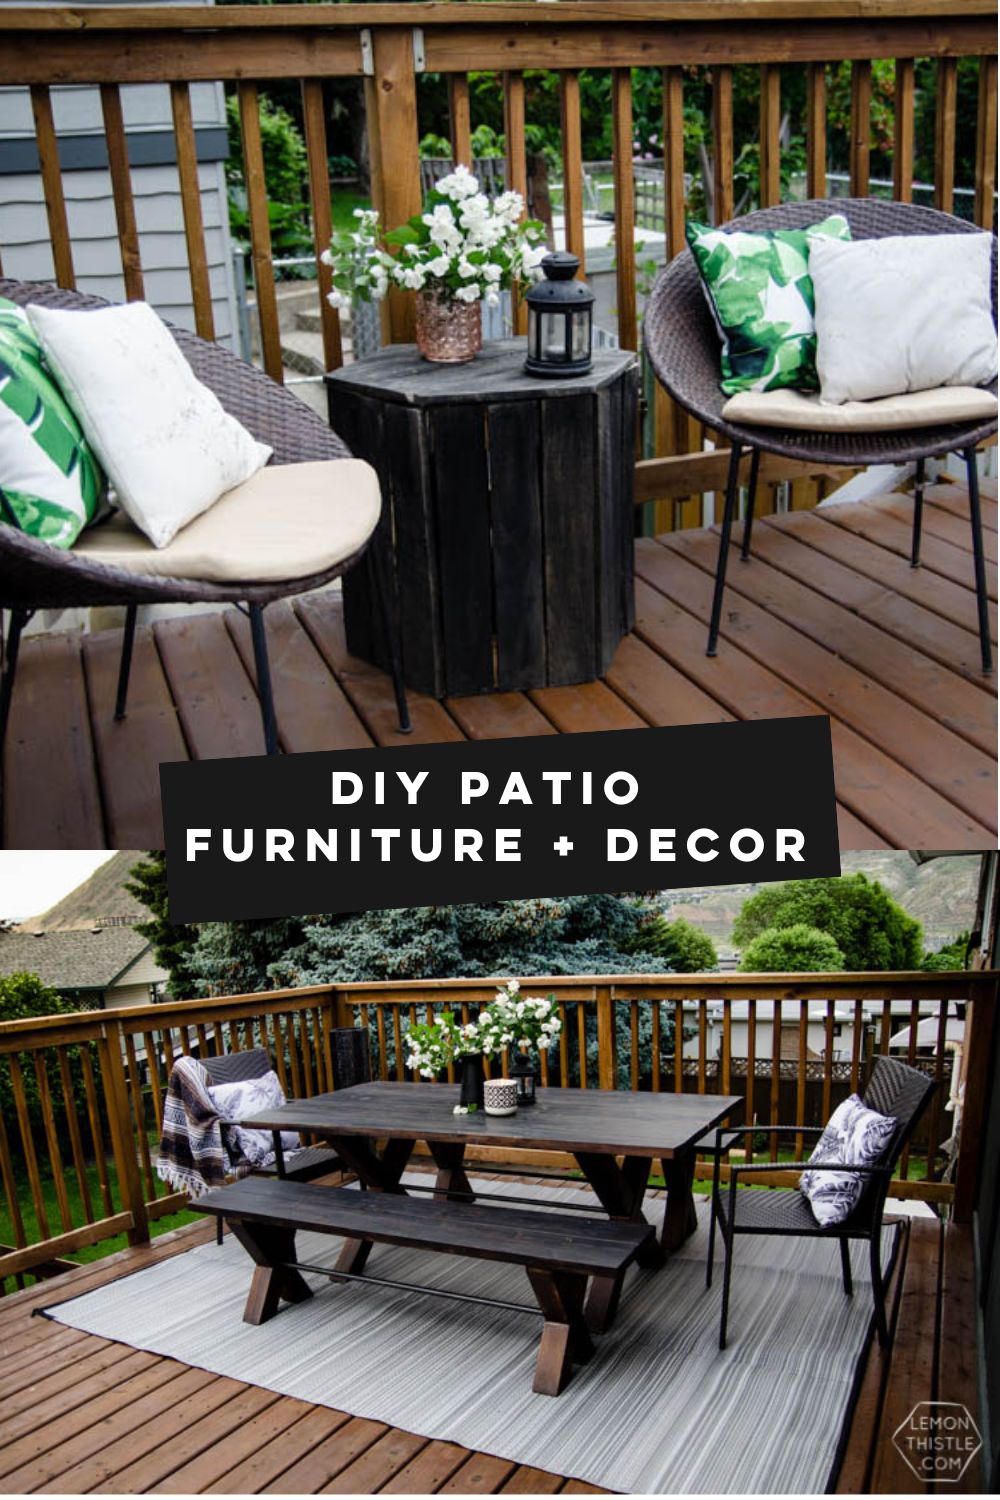
Time to share our new DIY deck and decor. From DIY outdoor furniture to smaller DIY decor for your patio- see what we’ve created on a budget!
We’ve shared a few sneak peeks here and there BUT never actually shared a full reveal of our new DIY deck and decor! I really should have shared it last year, but the summer got the best of me and this year it was already looking a bit worn.
We gave it a quick refresh and I am so happy with how it’s come back to life! You can read all about the refresh and the original deck build here (why we used treated lumber, oil vs stain, and my fave way to stain a deck).
Do you remember our old deck? No? That’s because there wasn’t one ;) There was a rickety old set of stairs from a door we removed off the back of the house. The house inspector told us they were unsafe when we put the offer on, so they came off in a hurry.
You can see all the ‘before’ photos of our home right here. We added french doors to our dining room and built this deck off of that. As soon as summer hits it feels like our living space doubles- it’s really wonderful.
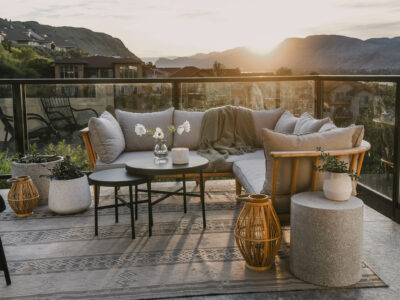
Our goal with the space was to have a place to eat meals but also a comfy place for Shane and I to sit and have a drink after kids are down in the evening. We chose to keep the BBQ in the yard (we have a small cement patio down there) so we can let the kids on the deck on their own without worrying- even if we’re cooking on the grill.
We added a gate that matches the handrail with a kid proof latch so the kids (and baby!) can run in and out of the house onto the deck all day on their own without me having to guard the BBQ. This shot below is the widest angle I could get- for reference, the French doors are to my right and the seating area is to my left along the railing. There’s a good amount of space between the two areas to walk through and for kids to run around.
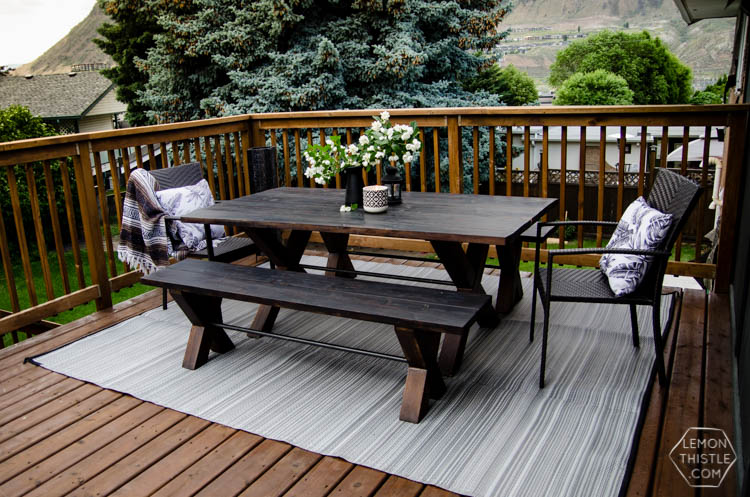
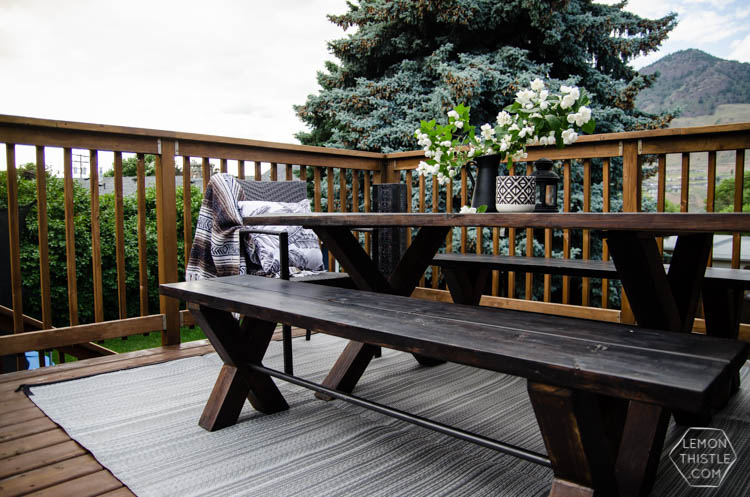
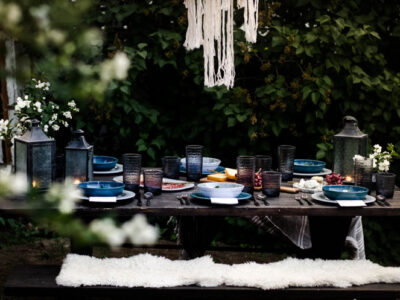
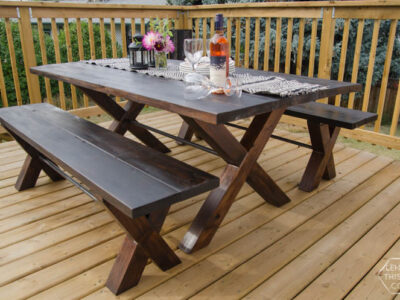
For the eating area we have a table that seats 8 and it’s a DIY. The fall that we built the deck, we also built this X-Leg Trestle table. It’s been such a workhorse for us- it even got used as a dining table at my SIL’s place for 6 months.
We still haven’t given it the ‘outdoor’ rated clear coat, so it’s looking like it’s in need of a refresh now- but I’m so pleased with how it held up for our first ever furniture build and it fits perfectly with the rest of the DIY deck decor.
We built the benches to go with it for affordable seating (they seat 6! or 8 kids) and while I love the practicality, we bought some chairs for the ends for Shane and I after the fact.
Let’s talk about the outdoor rug, shall we? It’s nothing fancy- that’s for sure. But it’s soft on the feet, easy to hose down, and crazy affordable and worked perfectly for this DIY deck decor theme that we were aiming for.
It’s actually meant for in front of an RV- so it’s not even a fancy patio mat. But it was on sale for $30 at Costco last summer, so I jumped on it. If you’re wanting a neutral outdoor rug and don’t want to drop the cash, I HIGHLY recommend an RV mat like this. It folds up nice and compact in the off season too.
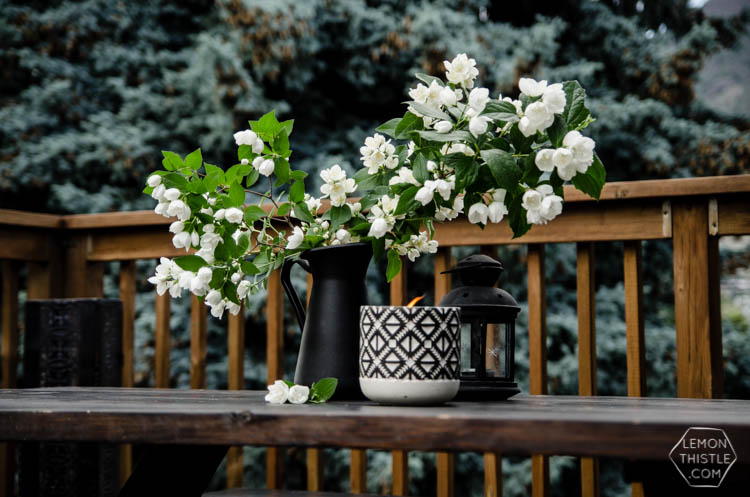

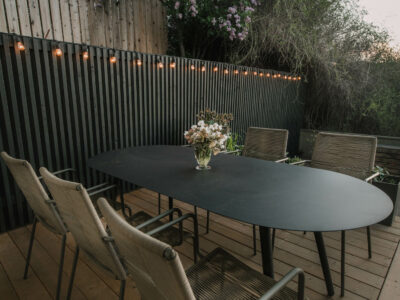
Decorations for this space are pretty simple as well- I had bought that metal tea light tower (in the corner) before Shane and I even got married. I’m not even sure if they sell them anymore, but I love how it dresses up the corner a bit.
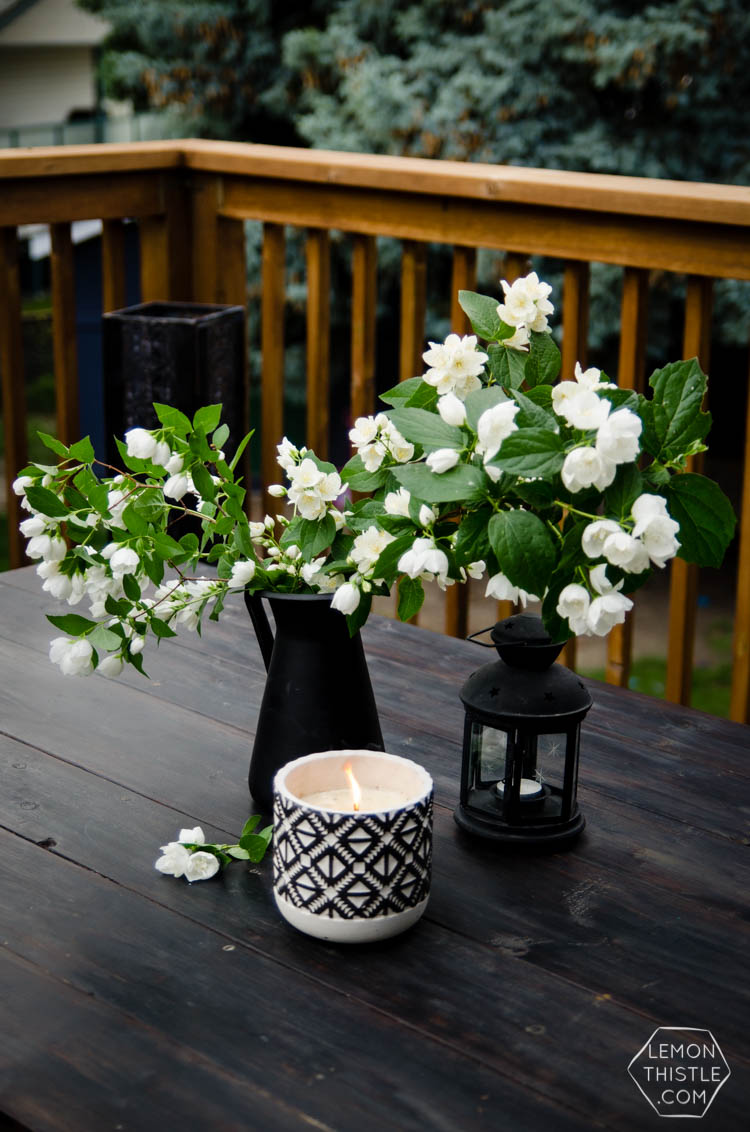
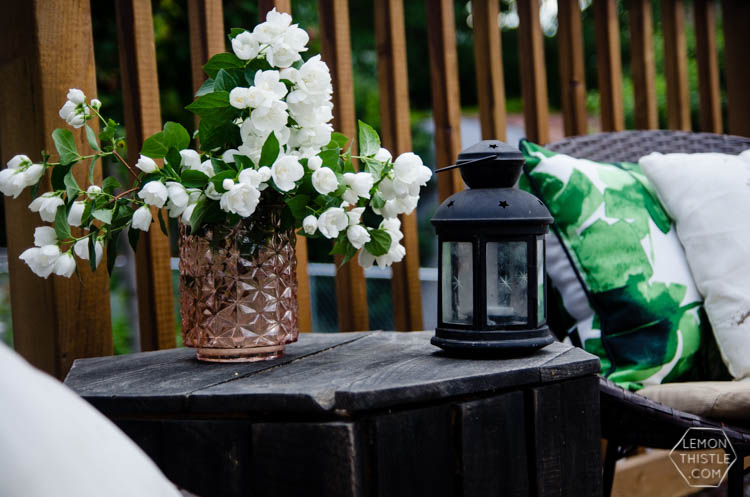
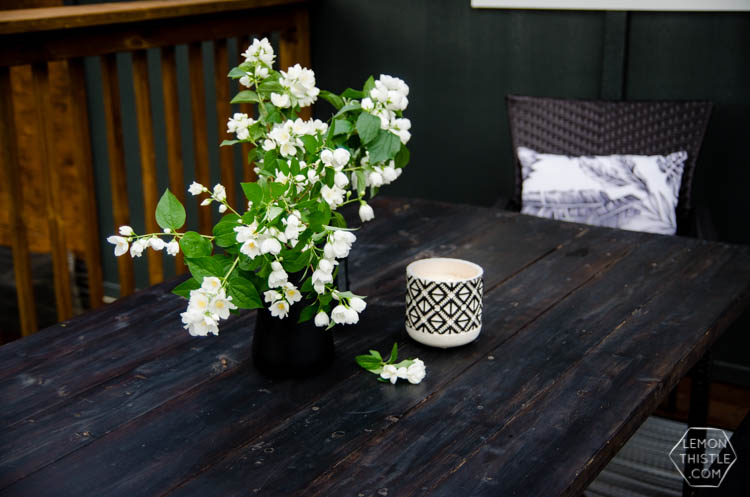
The ‘centerpiece’ if you can call it that is just an IKEA jug of branches I’ve cut from our yard, an old IKEA lantern (again, this is 10+ years old) and an outdoor candle. The flowering branches are called mock orange and they’re so easy to grow- I’ve included them in the list of best cut flowers to grow in your back yard here.
Can I tell you the most amazing thing though? This candle is citronella but it smells like a coconut dream instead of what you’d expect. It’s really the best- a total score from Homesense.
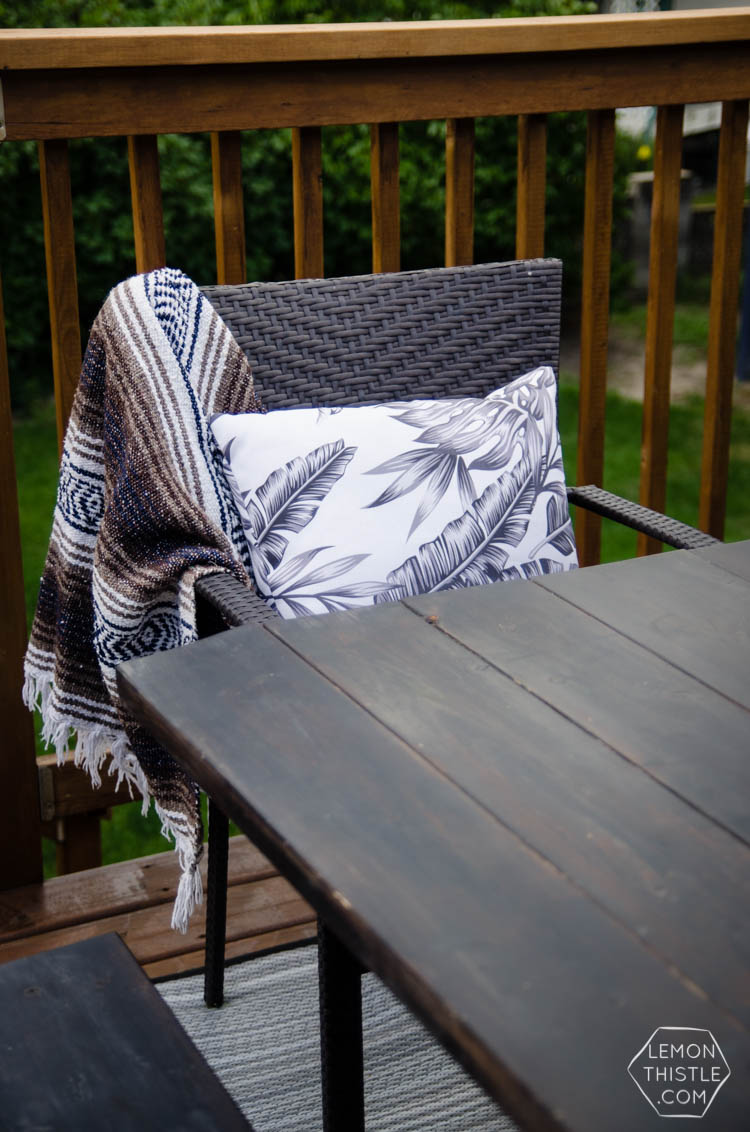
Last but not least on this side of the deck… those pillows on the end chairs! They’re beautiful, aren’t they? I’m TOTALLY in love with them. They’re from Walls Need Love and are bigger than most outdoor pillows you can find which makes them the perfect size for these big chairs.
Also… the print? Dreamy! You know I love black and white, but the tropical leaves are fun. They also make them in indoor pillows (I have indoor pillows from Walls Need Love on my bed and they’re really great!).
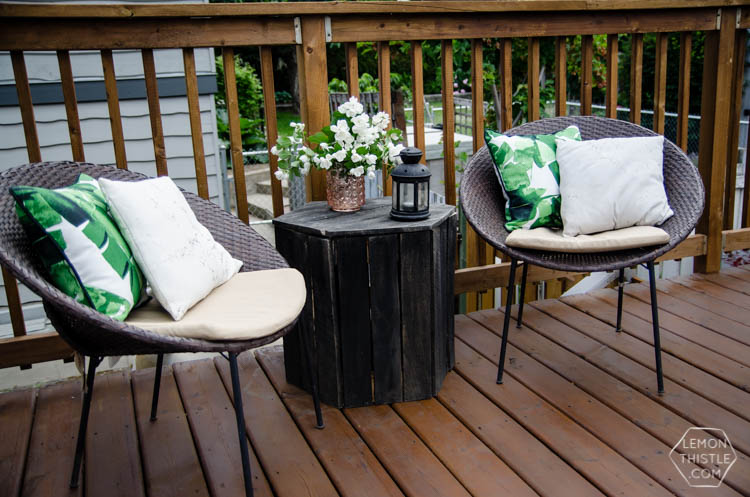
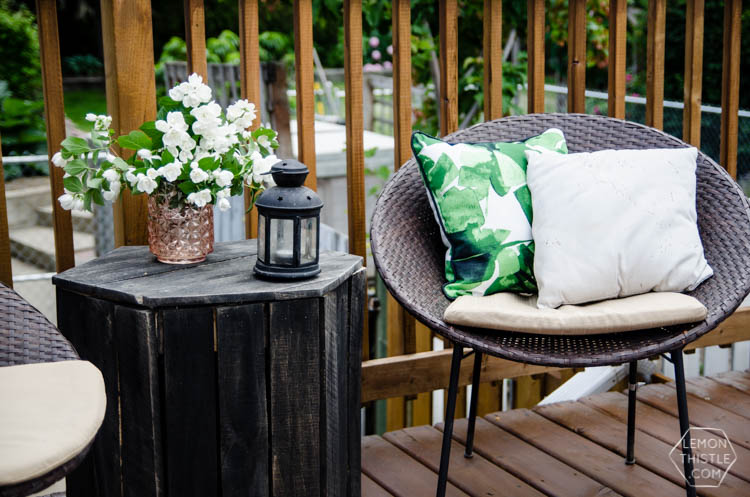
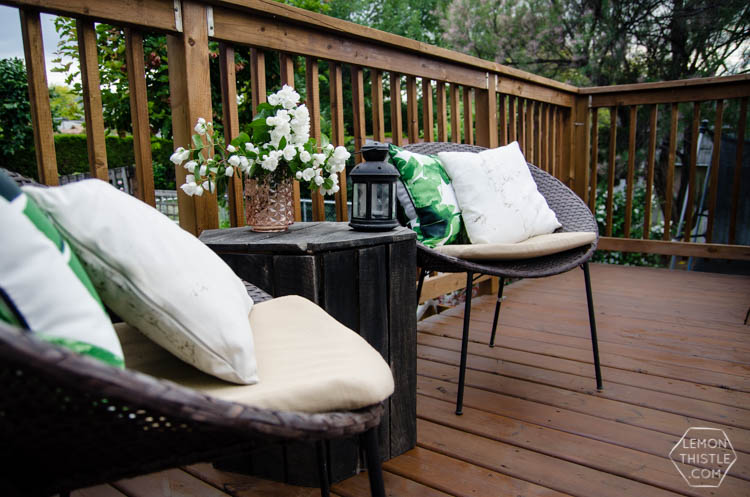
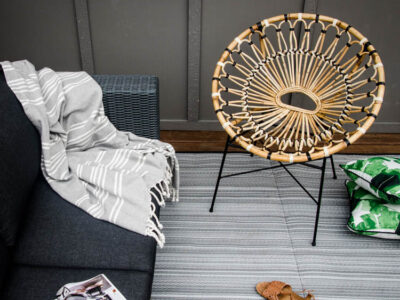
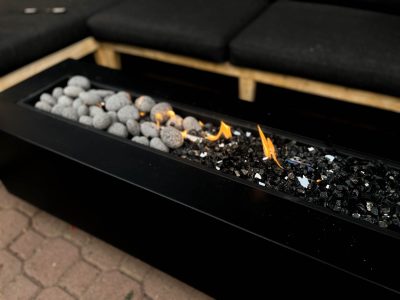
Okay… next on the list of our DIY deck decor makeover is our sitting area! I shared this area a little last year when I shared that DIY Hexagon Table (made from pallets!).
I snagged the chairs from Home Depot after eying them almost all summer last year. They’re really comfy and I love the modern look of them. I’d planned to make new cushions to replace the tan, but when I bought these palms pillows from Walmart, the tan grew on me (or I got lazy, either or!).
The smaller pillows in front are DIY as well! They’re gold and marbled… and really, what more could you want?
Alright, I’ll leave it at that! I had to be pretty strategic in taking photos because we’re working on another BIG outdoor project. Can you guess? SIDING!
Last week we (we is code for Shane) ripped all the stucco off the outside of the house and we are going to get started siding it in the next couple weeks (hurray!). The siding you see in these photos is just a patch job from when we moved the doors and windows around when we renovated the kitchen. We’re doing the same style, but a lighter colour- I can’t wait to share with you!
Patio DIYs featured in this post:
Pin this for later!
Don’t have time to take these DIYs right now? Planning to make over your space later this year? Pin this so you can come back to it! Plus, pinning or sharing on FB helps this post reach more people which helps me be able to keep sharing with you. Thank you!


 True North Strong and Free! DIY Canadian Throw Pillow
I can’t believe you’ve been hiding this from us!!! What a beautiful deck and VIEW!
Ahh you’re so sweet Keila! We get a pretty awesome sunset here :)
I had the same problem with the cafe lights last year. Getting close in my deck makeover to hang the lights but I think I found the solution (on a blog, I can’t remember which). They hung galvanized steel cable wire first, which is stronger, then attached the lights to that with zip ties. Looked like it did the trick!
So clever! Thank you for the tip!