Even though the weather is turning cooler and we’ll be stuck to relaxing indoors most of the time, we are finally finishing up our outdoor space. My dad and his wife came and stained our deck while we were on a day trip a few weeks back (BEST GIFT EVER) and we purchased some new chairs, pillows and some other goodies to make it wonderful to hang out there. Speaking of other goodies… those amazing ‘retro palms’ pillows from Walls Need Love arrived a couple weeks ago and I’m SO in love with them I think I’m going to bring them inside to enjoy over the winter even though they’re outdoor pillows- although maybe they’re too summery a pattern? And as a sidenote… I’m considering ordering that print in wallpaper for our bathroom… what do you guys think?

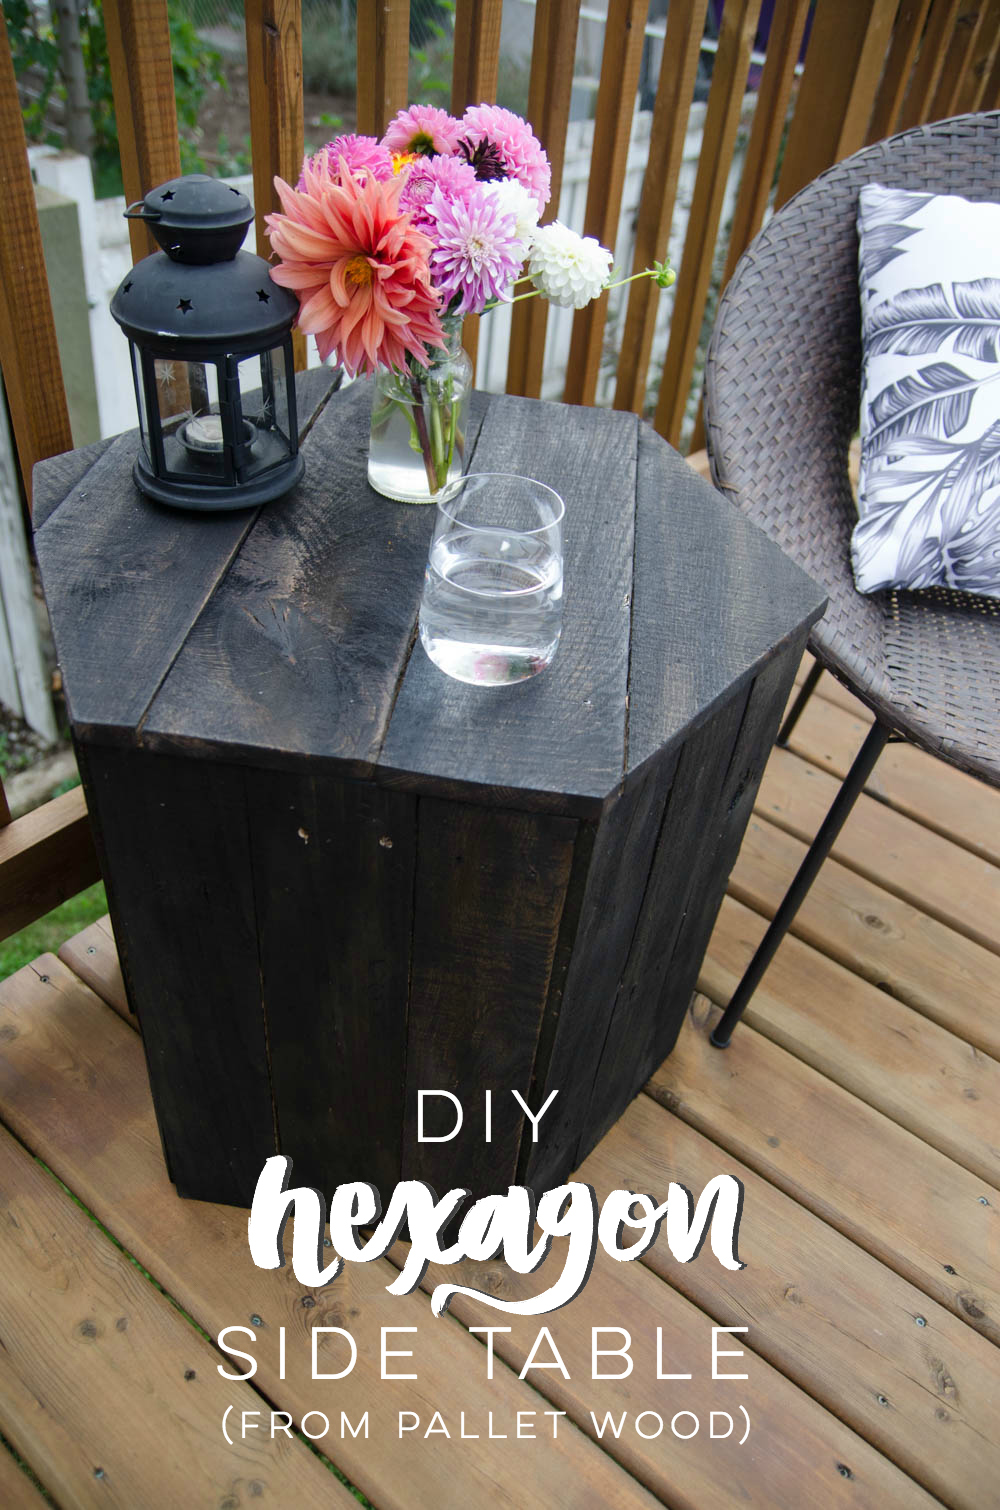
I had one more project on our deck that we’d really wanted to finish. And it was an easy one- a little side table for between two chairs we’d bought earlier this year. When Remodelaholic invited me to join in the Pallet Challenge as part of their Pallets Aplenty week– I knew we could make a sweet side table from one. I used to make almost all of my projects from pallets, but lately I’ve just been buying the wood for convenience. I really do love the texture and rustic appeal of pallet wood though! Just make sure you pick one that says HT or heat treated instead of chemical.
We made this little table over three evenings after dinner. The first, we (mostly Shane) disassembled the pallet. If you want more tips on pallet disassembly with no power tools (without killing yourself), I have a video showing how I do that right here. The second, Shane built the table itself and I sanded it. Then the third- I finished/ stained it. If you didn’t have little hands helping and had a solid afternoon, you could get it done in one shot. It really was an easy project and we love having it to put our coffees down on when we’re relaxing out there. No more upside down bucket ;)
Ready for full instructions?
To make your own Hexagon Side Table, you’ll need:
- Two small pallets (or one large one)
- Pry bar (my fave is the fat max mini) and Hammer for disassembly
- Miter Saw
- Wood Glue
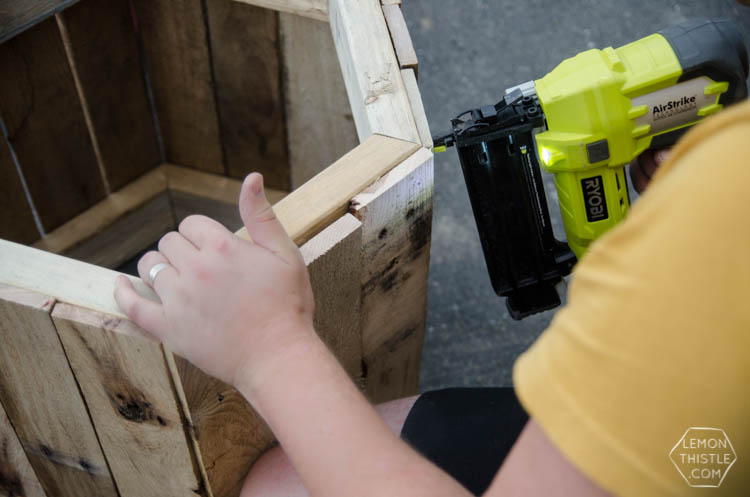
- Nail Gun
- Skill saw or jig saw
- Sander with 100 grit (or 80 grit) sandpaper
- Stain (I used Minwax Ebony)
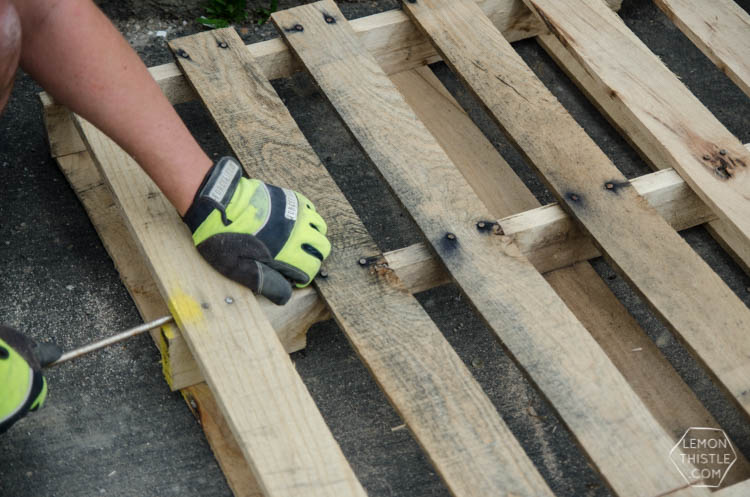
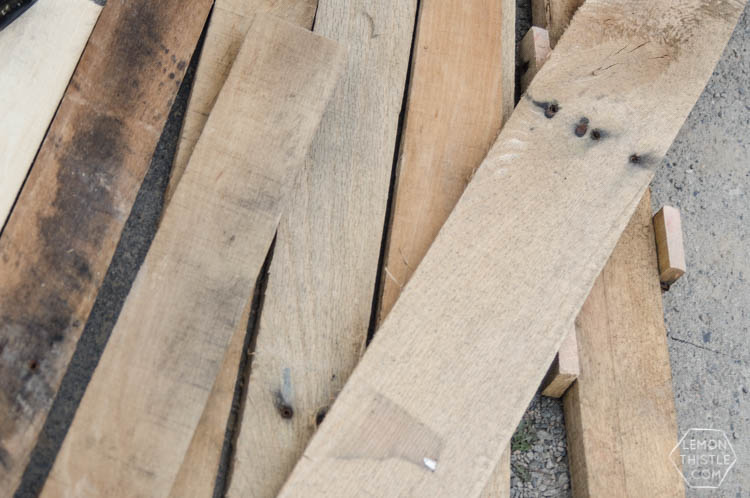
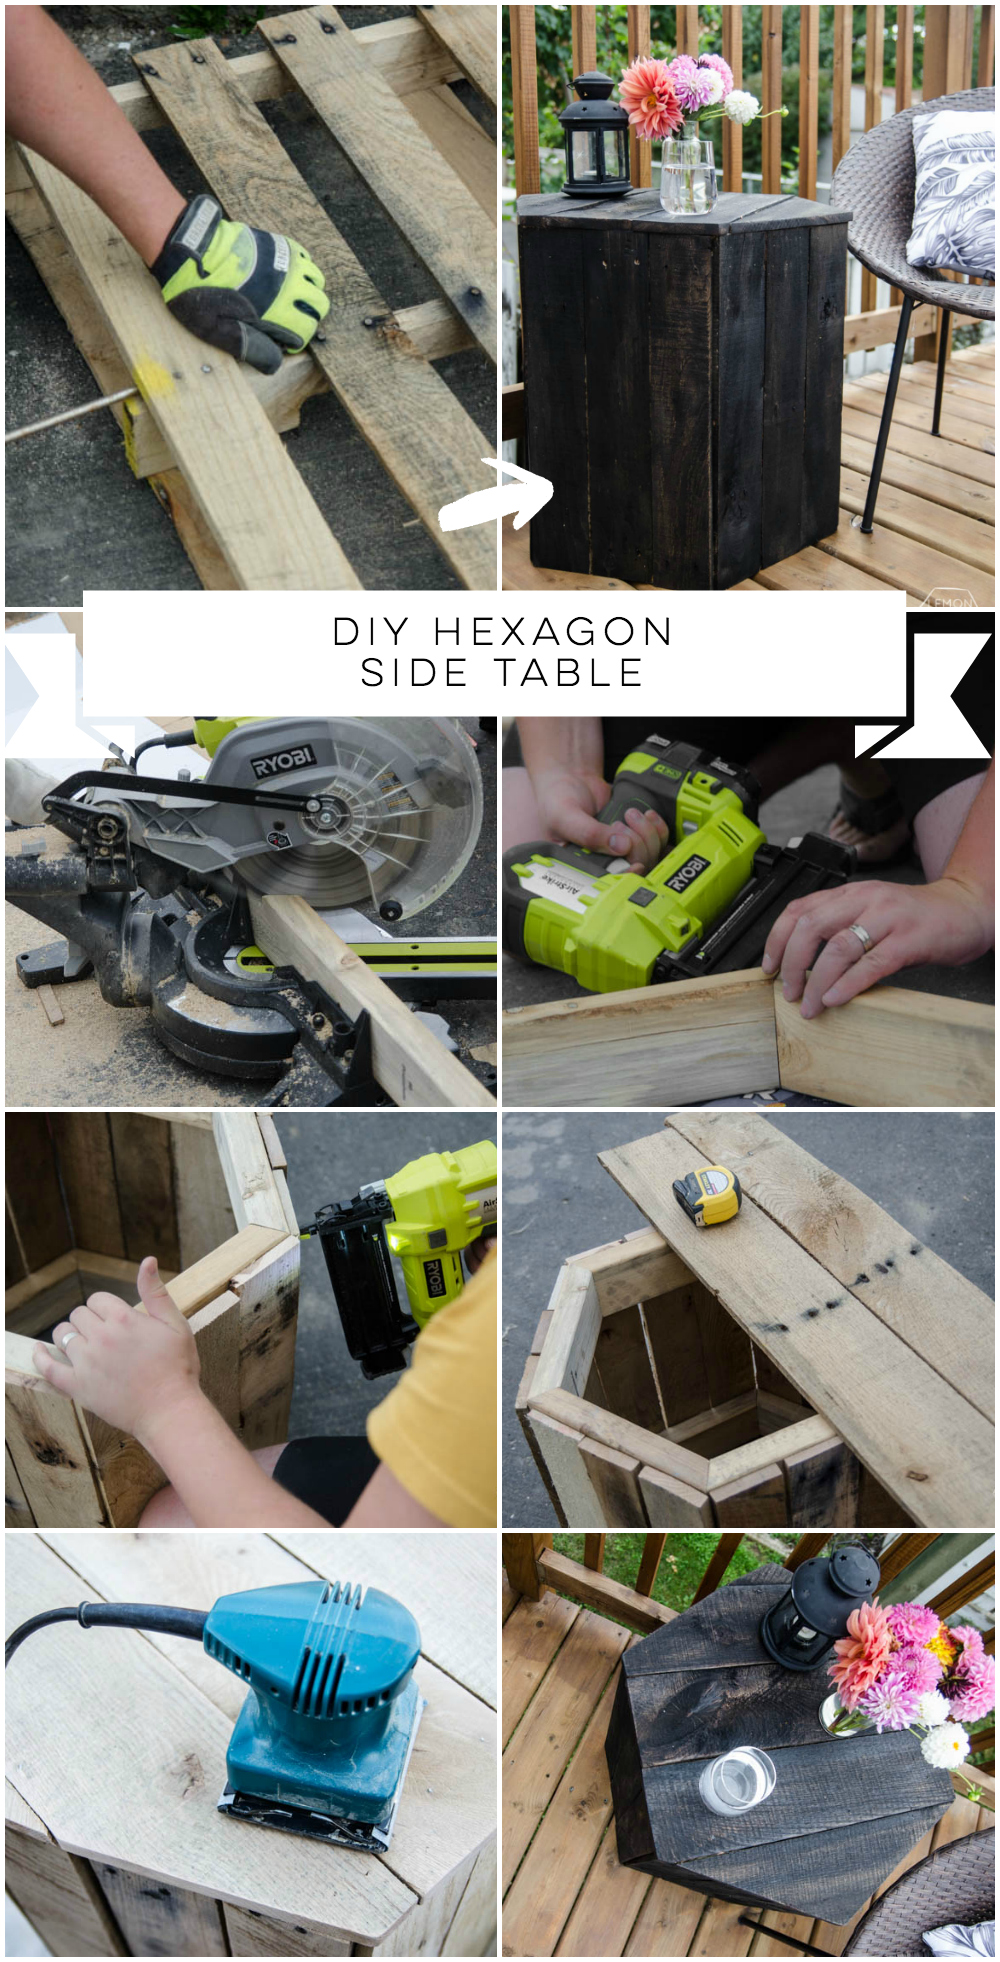
The first thing you’ll need to do is disassemble your pallets. You can check out this post for more disassembly tips. Save both the top planks that everyone loves and the 2×4 pieces they use to hold it all together. Next, you’ll need to cut your wood to size. We made our table 40″ high (the same as the ones in our living room) which is conveniently one plank cut in half (score!). You’ll need 18 of the narrower planks for the table sides, then we used the thicker ones for the table top (cut those once assembled).
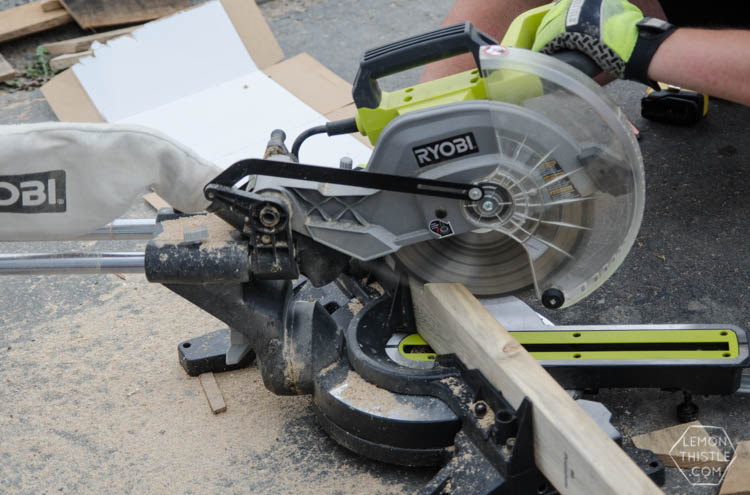


We built the frame using 2×4 pieces that the pallet was built with. You create a hexagon using 30 degree cuts with your miter saw- if you’d like more deets on that business, we totally read Lindi from Love Create Celebrate’s tutorial several times. We borrowed Shane’s brothers compounding Miter Saw from Ryobi for this and can I just tell you, it’s a dream! We attached the hexagon frames (that go inside the table) using wood glue and nails. We got our brad nailer (also Ryobi One+) a while ago and we use that thing on every.single.project. It’s a work horse (and cordless). You’ll need two hexagon frames, one for the top and one for the bottom. That’s what it looks like up there… our little helper wanted to show it to you.
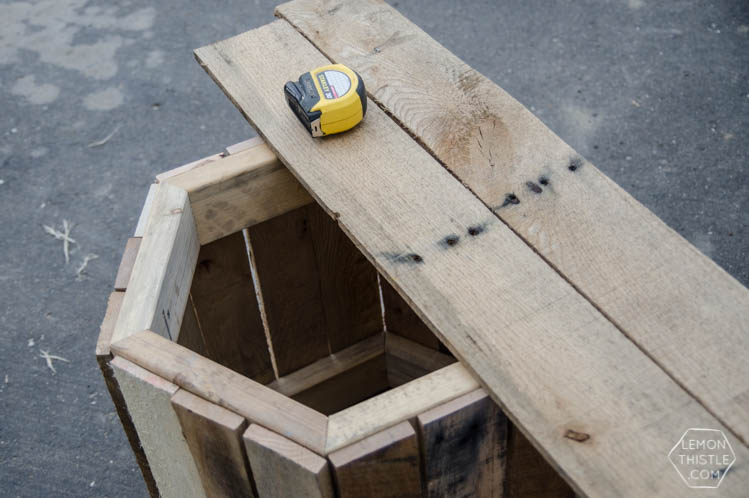
When your frames are ready, you can start assembly! Attach the sides (we did ours three pieces wide on each side) using the nailer. We then laid some wider pallet pieces on the top to mark the angles and used our skill saw to cut them to size, corners and all. You could use a jig saw for this as well. We tacked these on with our brad nailer as well. If you haven’t used a brad nailer before, you don’t really see the nails like traditional nails, their heads are so thin and the nailer has such force that it sinks them in a bit so it gives a finished look- especially on a rustic piece like this.
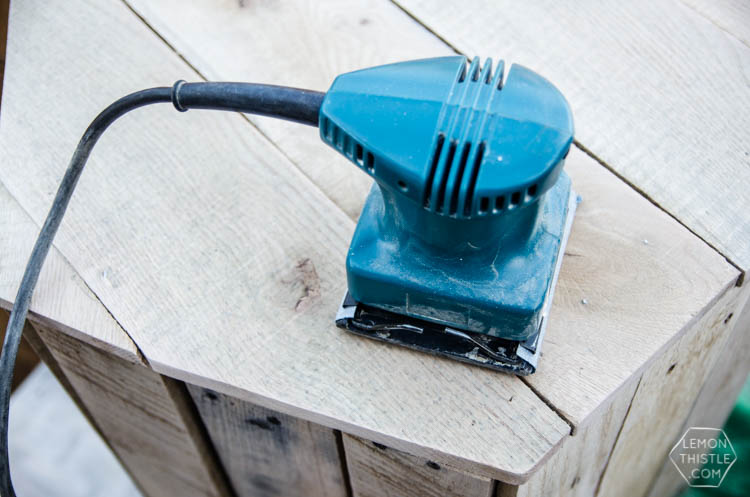
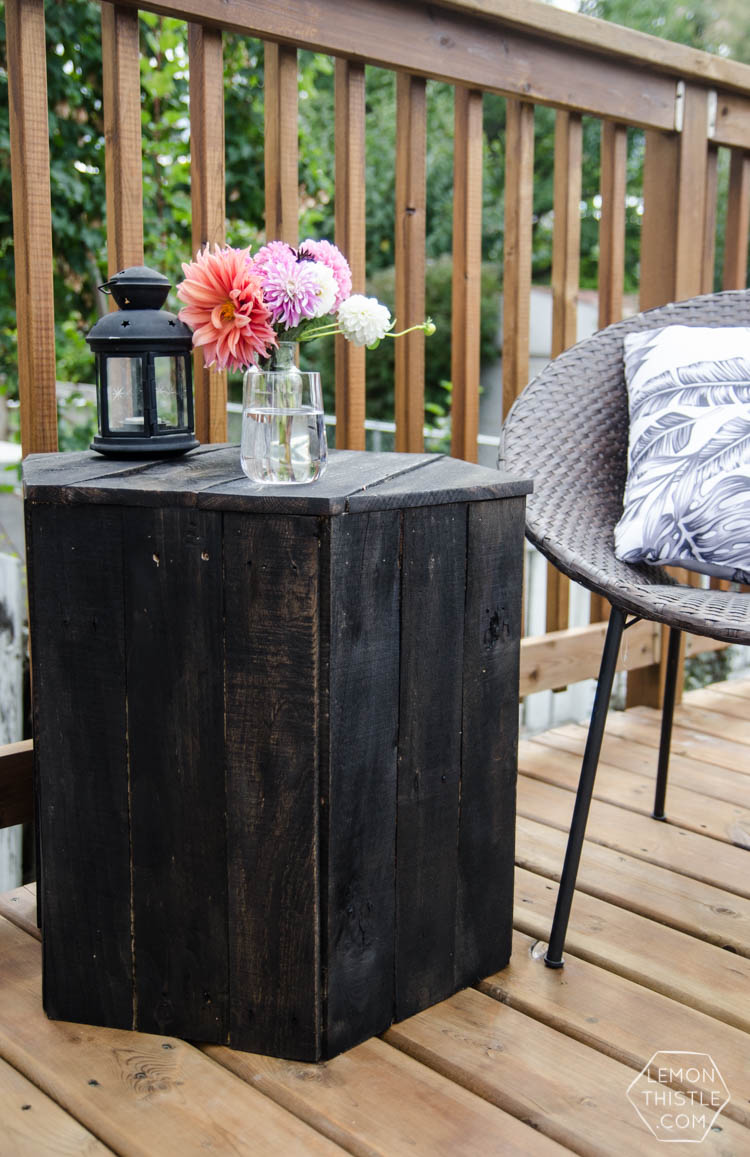
Now it’s time for sanding. I did a good half hour of sanding since pallet wood is notoriously ratty. It feels smooth now and I kept some of the character of the knots and ruggedness. I then gave it a quick wipe and slapped on some Ebony stain from Minwax. This is the same stain we used on our Laundry Room countertops and I’ve totally fallen in love with the colour. I’ve decided that next summer I want to refinish the kiddos beds with it. I’m slowly moving to black or natural wood and getting rid of all the brown stain in our house… but maybe I’m just on a kick and I’ll change my mind by next year.
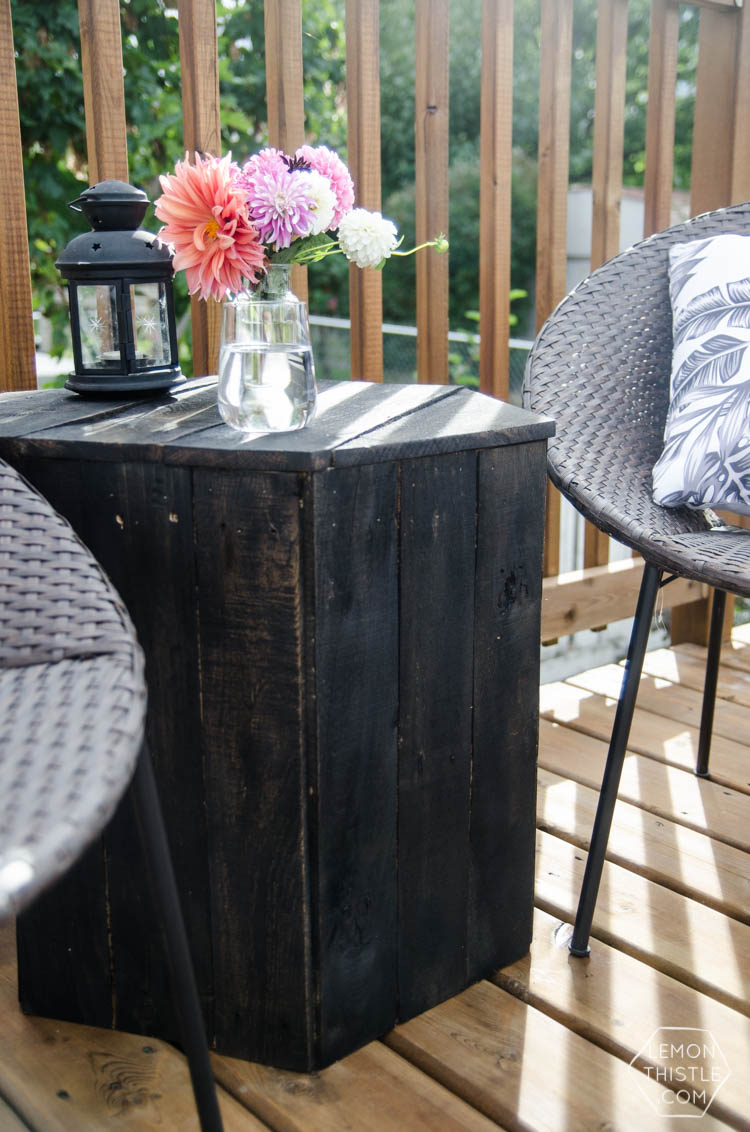
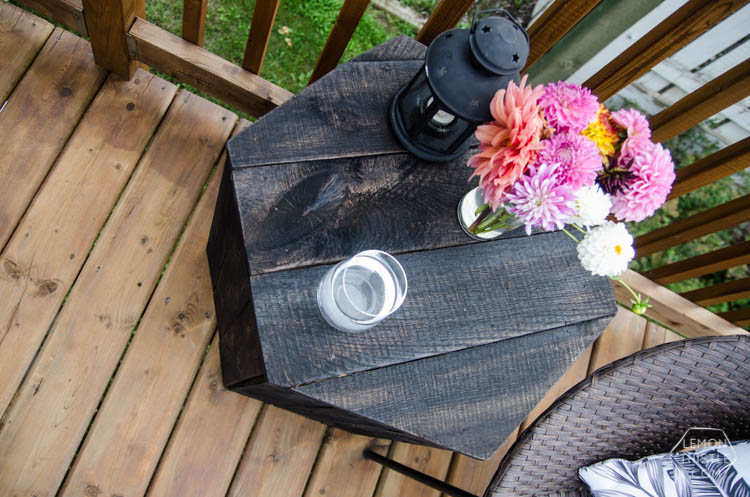
I SO love how this baby turned out you guys. We had the kids birthday party this weekend and we got so many compliments on this little table. It just works so well out there and the shape is such a fun feature. What do you think? Would you ever use a pallet for a building project? There are lots of great projects the girls in this challenge pumped out. You can find them all below!
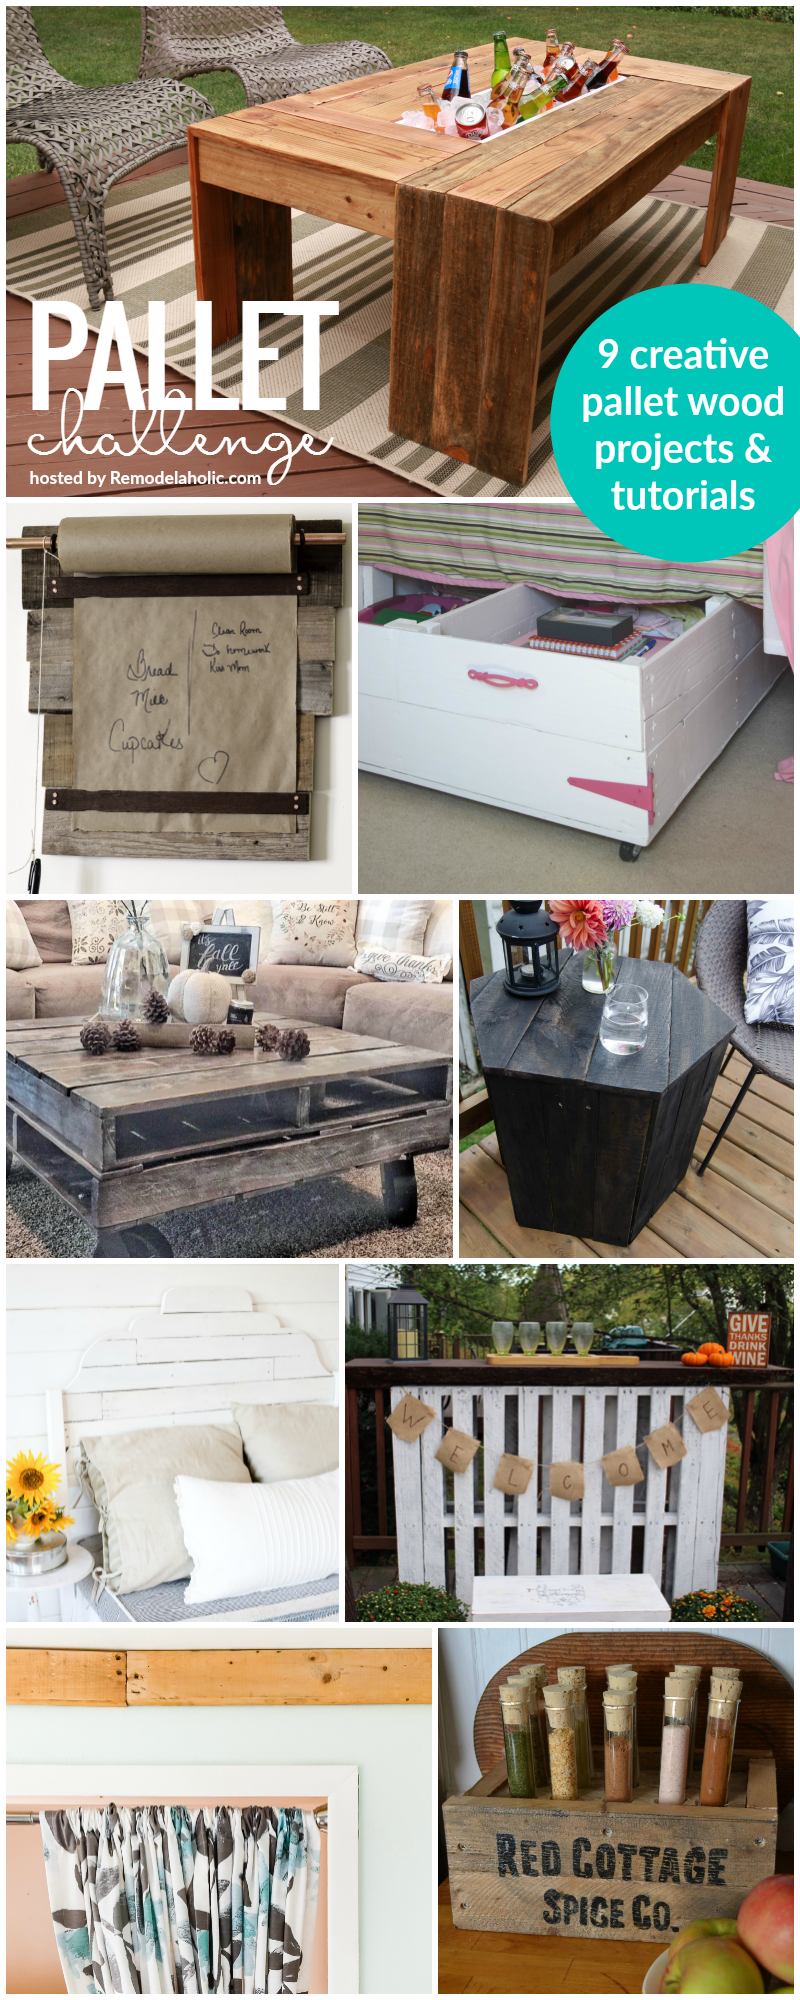
outdoor coffee table with drink cooler | Remodelaholic
spice rack | Red Cottage Chronicles
hexagon side table | Lemon Thistle
rustic pallet wood crown molding | The Weathered Fox
stacked pallet coffee table | AD Aesthetic
paper roll pallet memo board | Cupcakes and Crinoline
under bed toy storage | Our House Now a Home
scalloped headboard | This Mama’s Dance
outdoor pallet bar | Our Crafty Mom
Like it? Pin it!
Product Sources:
Table is the DIY
Chairs – The Home Depot (no amount of searching found these online, sorry guys!)
Pillows – Retro Palms, Walls Need Love
Lantern – Ikea

I LOVE this table! and I LOVE love the ebony stain! I’m dreaming of using it in the near future…. lol. I’m glad my tutorial helped! The hexagons are my fave :)
Thanks so much Lindi! I’m obsessed with this stain lately. Shane was amazed they were so easy to make, now he wants to make hex everything ;)
This hexagon table came out gorgeous! I love the stain!!
Thank you so much Michelle! I’m addicted to that stain now!
Your table turned out perfectly! I love the color you chose for the stain – so chic.
Thanks SO much Mary Beth! I’m addicted to this stain :)