• Skip to main content
  • Skip to header left navigation
  • Skip to header right navigation
  • Skip to site footer
  • Shop
  • Get The Email
  • Work With Me
  • About
  • Search

  • DIY
    • DIY Home Decor
    • With Power Tools
    • Renovation
    • For Kids
    • For Parties
    • Wearable
    • Organization
    • Cricut Crafts
  • Home Decor
    • Room Reveals
    • Kid Friendly
    • DIY Home Decor
    • Renovation
  • Lettering
    • Hand Lettered Printables
    • Free Practice Sheets
    • Handlettered DIY
    • Free Brush Lettering Quickstart Guide
Lemon Thistle

Lemon Thistle

Rad DIY, Lettering and Design for Real People

  • Printables
    • For Cricut
    • Party Printables
    • Home Decor Printables
    • Bachelor Bingo
    • Handlettering Practice Sheets
    • All Free Printables
  • Entertain
    • Party Printables
    • Party DIY
    • Tablescapes
    • Kids Parties
  • Blog

5 Minute DIY: Gold Marbled Throw Pillows

Aug 05

These look so awesome! And only 5 minutes is my kind of craft. DIY Gold Marbled Throw Pillows

This DIY took me all of 5 minutes yesterday. Which is totally my favourite kind of DIY. SO easy you can hardly write a tutorial for it and quick enough that it fits into my few minutes of alone time each day. The only thing I don’t like about this project is that I’ve had all the supplies to make them for MONTHS and let them take up space in my closet instead of enjoying them all complete.

These look so awesome! And only 5 minutes is my kind of craft. DIY Gold Marbled Throw Pillows

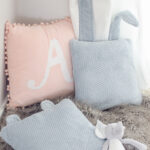
I have actually had a bag of these pillows sitting in my closet from a bidding site (I shared more about that over here) and the covers were just so boring. The best thing about these pillows is that they cost less than a dollar a pillow so I didn’t feel like I would be wrecking them to try something crazy like this. Even if I hated them, I’d pull the covers off and have inserts. Win/Win.

These look so awesome! And only 5 minutes is my kind of craft. DIY Gold Marbled Throw Pillows

To make this 5 minute DIY, you only need two things:

  • Solid cover throw pillow (mine were white and a light grey)
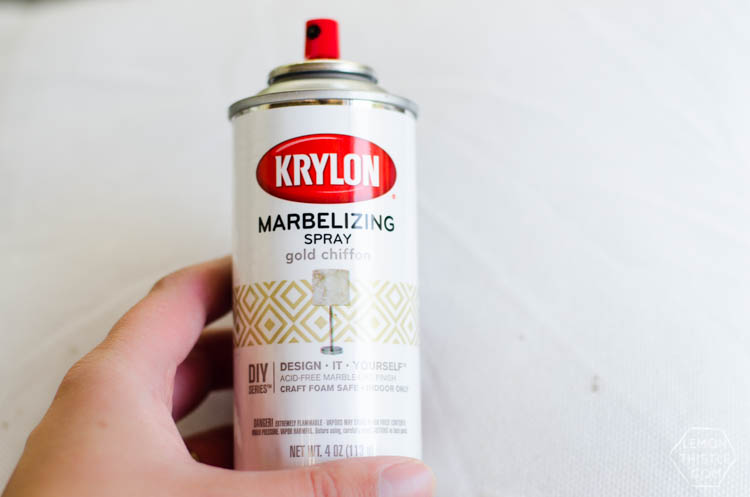
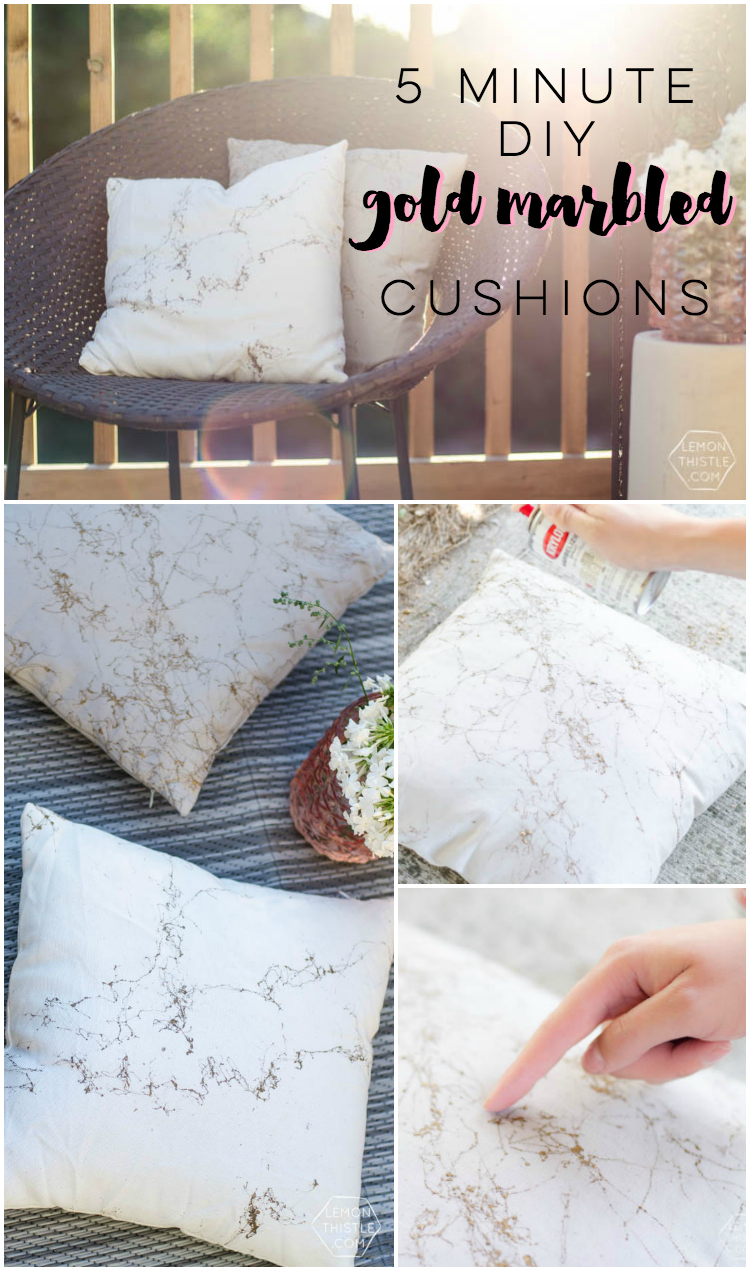
  • Krylon Marbelizing Spray Paint (I used gold chiffon)

These look so awesome! And only 5 minutes is my kind of craft. DIY Gold Marbled Throw Pillows

These look so awesome! And only 5 minutes is my kind of craft. DIY Gold Marbled Throw Pillows

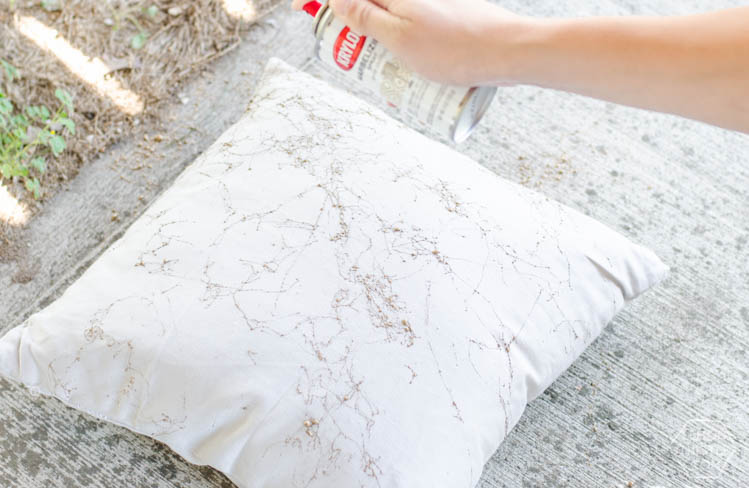
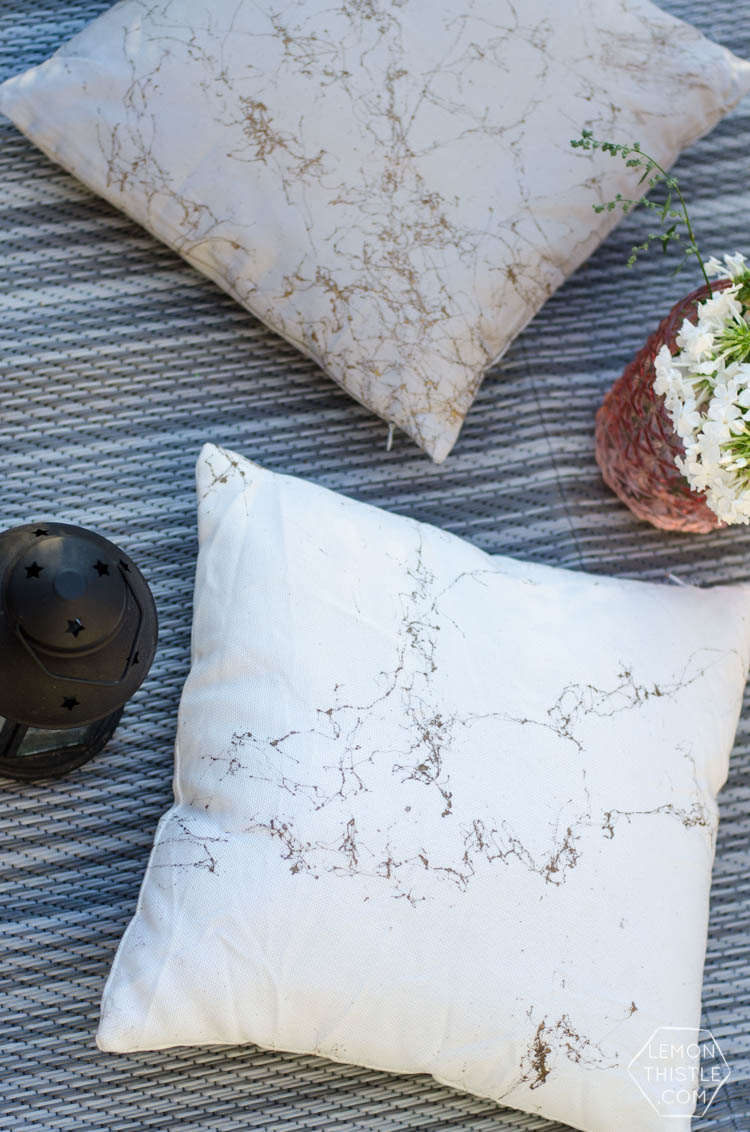
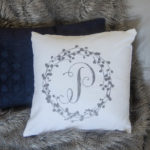
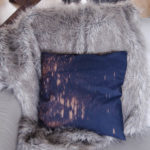
The steps are dead simple, but this paint takes a bit of play. To make the pillows, just lay them on a drop cloth (or hidden concrete if you’re classy like me) and spray wisps of the paint to achieve a marbled effect. Sounds easy, right? A few things to keep in mind. You need to be much further away from your surface than regular spray paint to achieve a sparse look like this top pillow. The photo of me spraying the pillow is the grey one which is much more marbleized.

These look so awesome! And only 5 minutes is my kind of craft. DIY Gold Marbled Throw Pillows

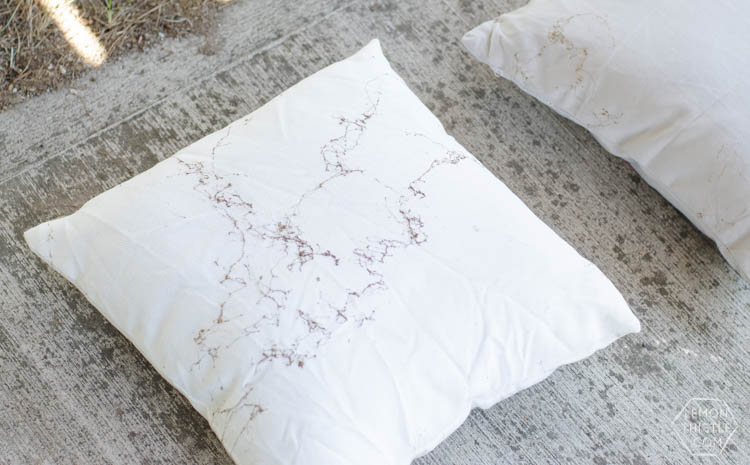
I would also suggest you practice on paper, garbage bag or a cardboard box before you try it on your pillow case. I am not happy with the first side I did (the reverse of this white one). The best way that I can describe this paint is like silly string- did you ever use that stuff as a kid? I found the best way to get a marbled look and not a random mess of strings was to do one ‘vein’ of the marble at a time. Start your spray paint off one side of the pillow and quickly whisk it across. Again, make sure you’re a fair ways back.

These look so awesome! And only 5 minutes is my kind of craft. DIY Gold Marbled Throw Pillows

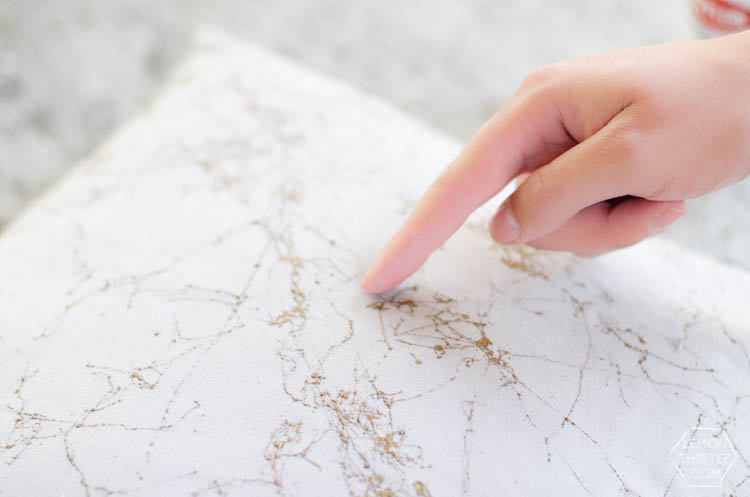
Last but not least, since it is kind of sticky like silly string, it gets air bubbles and I found that I liked the look better if I used my fingers to press these down (pop them). The paint sets super fast so you actually don’t get any paint on your fingers doing this (sweet, huh). But I found this made it look much more marble like to me.

If you’re interested in this paint, there’s some more information on the Krylon page, but I haven’t seen it in stores in town here so I would look on Amazon to grab it (it’s other name is webbing spray if the packaging looks different). I think I want the black next… because I’m more of a sucker for black and white each day.

These look so awesome! And only 5 minutes is my kind of craft. DIY Gold Marbled Throw Pillows

These look so awesome! And only 5 minutes is my kind of craft. DIY Gold Marbled Throw Pillows

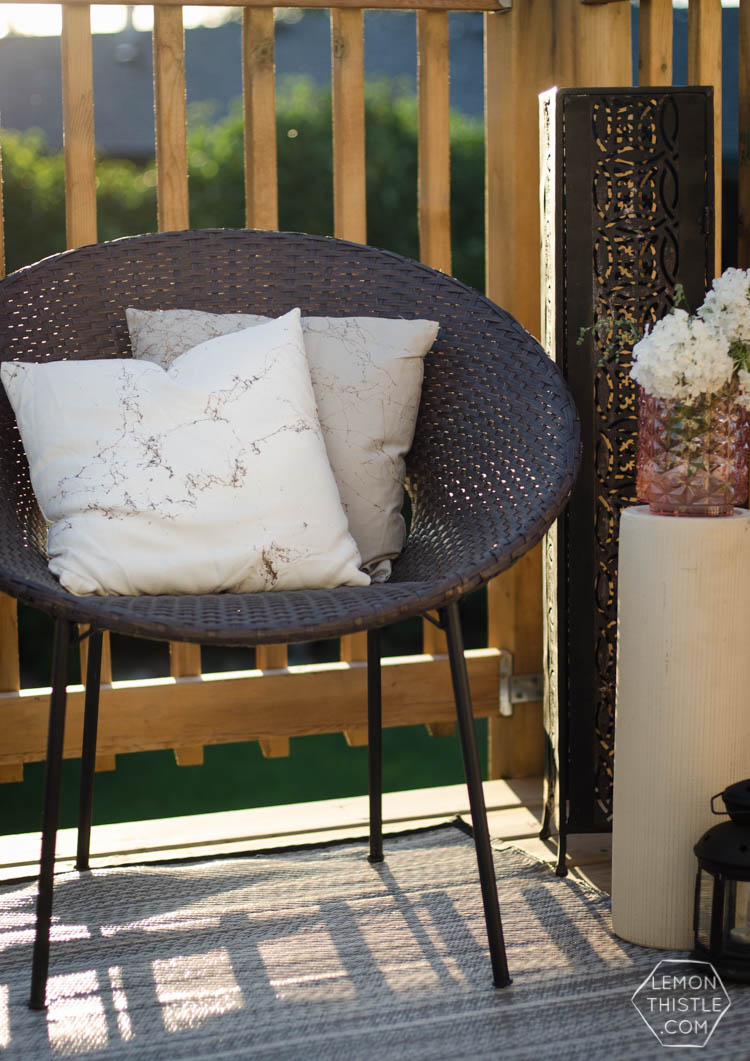
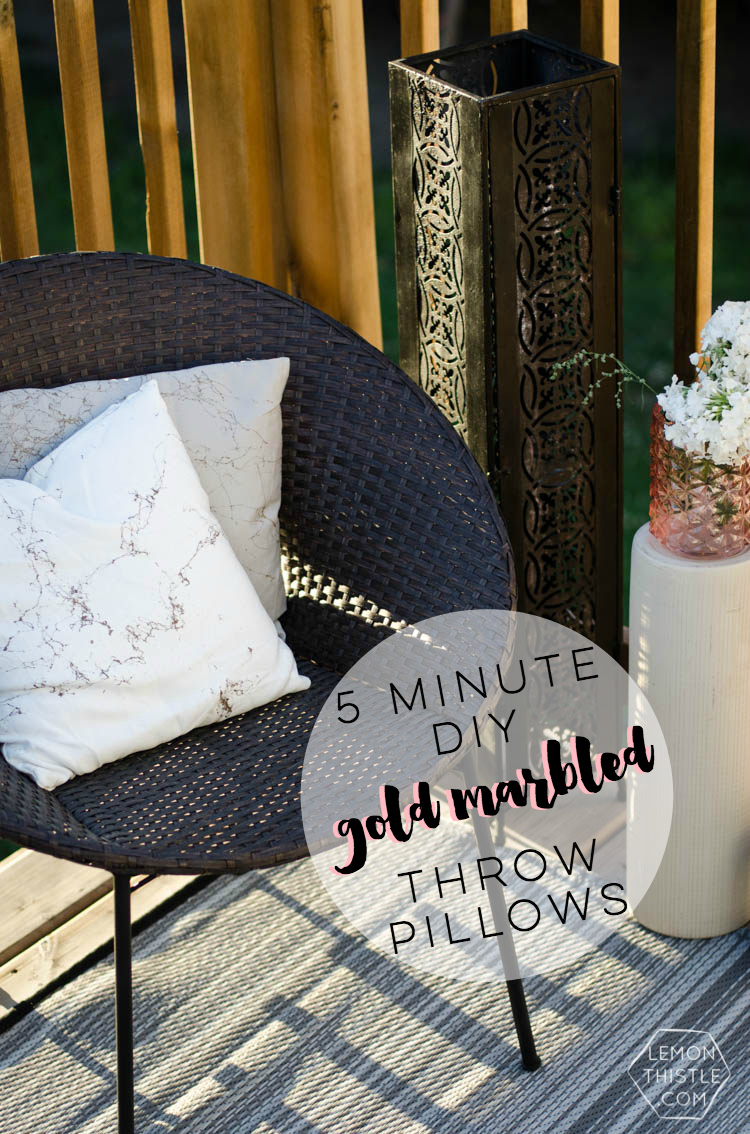
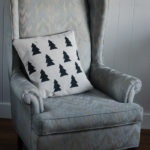
Oh! And I know that I have these styled outdoors but they’re indoor pillows and the paint is only for indoor use. I plan to spray them with with an outdoor protectant so I can keep them outside without them getting soggy. I’ve kept this post from Earnest Home Co. in mind for the day that I had a patio to decorate (hurray that it’s finally here!).

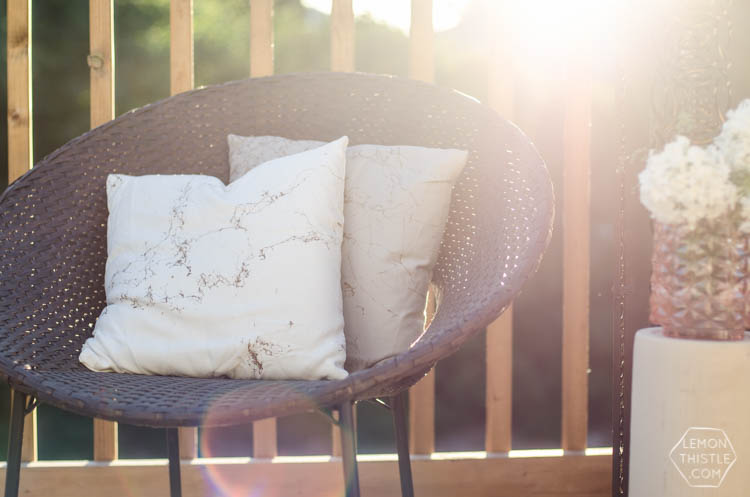
And a total win for this project? My hubby came home, said he liked them and asked where I bought them. He didn’t think they were DIY… and thats kind of always my goal for DIY :)

If you’re interested in DIY throw pillows- I am too! Here’s a few past projects you might like (click the photo to get the tutorial!):

DIY Wreath Monogrammed Flocked Throw Pillow   DIY Animal Ear Pillows- adorbs!   I love this pillow- such an easy DIY to spray navy fabric with bleach!   DIY Hand Stamped Holiday Tree Pillow Slip Cover (Love a somewhat Scandi Christmas!)

DIY Monogram Lettered Pillows with Stripflock (the fuzzy stuff!)   DIY Vintage Oats Pillow Cover   DIY Special Dates Pillow

These look so awesome! And only 5 minutes is my kind of craft. DIY Gold Marbled Throw Pillows

Category: DIY, Home DecorTag: Craft, Decorations, DIY Home Decor, Living Room, Marble, Outdoor, Paint, Pillow
Facebook0Tweet0Pin0LinkedIn0
Previous Post: « Free hand lettered printable, for I can't help falling in love with you Handlettered Love Printable
Next Post: Three years blogging?! »

Reader Interactions

Comments

  1. Chelle Chapman

    Aug 06 at 7:06 pm

    AWESOME! I’m off to find this now, gotta go……………………..Thanx

    Reply
    • Colleen Pastoor

      Aug 09 at 10:47 am

      So glad you enjoyed it Chelle! I can only find it on Amazon here :)

      Reply
  2. alli

    Jan 11 at 9:16 am

    Well, since its “paint” what about the fumes? How safe is it to have in the house, if it is?

    Reply
    • Colleen Pastoor

      May 19 at 1:52 pm

      Once the paint is dry there are no fumes! Totally safe :)

      Reply
  3. Cheryl Lee

    Aug 10 at 11:09 am

    Coleen,
    8/10/20

    Please advise what you refer to as whisking the paint. I have not heard of this method and do not want to apply the paint wrong on my pillows.

    Thank you,

    Reply
    • Colleen Pastoor

      Aug 11 at 7:55 am

      I had to reread the post! Ha! I just meant the motion of quickly doing a spray across the pillow :)

      Reply

Leave a Reply Cancel reply

Your email address will not be published. Required fields are marked *

Sidebar

WOOHOO!

Check your email to confirm!

(+ get your freebies + discounts)


Thanks for dropping by!
I’m Colleen: wife; mom to 4 wild ones; and DIY blogger behind Lemon Thistle. You can expect to see rad DIY, modern home decor, renovations, hand lettering and the occasional party on Lemon Thistle. Read More…

email facebook youtube instagram pinterest

Unless otherwise noted, all content and images are mine. Full posts may not be shared without express written consent. But I love when you share! Feel free to share, without altering, one image with proper credit and a link to the original post. All free printables are for personal use only.

Everyone loves proper credit- if you ever notice something improperly credited, please please shoot me an email and I’ll fix it lightning fast.

Find all my policies right here.
This includes my privacy policy, info on the GDRP compliance and information on affiliate links (Including Amazon Affiliates).

Visit Colleen Pastoor’s profile on Pinterest.

colleenpastoor

My house is never this clean
-
DIY + Home Decor Blogger
Mama of 4 👶🏼🧒🏼👦🏼👧🏼
Renovating our 🏠 the DIY way
🖤 Lettering & ☕️
-
✉️[email protected]

colleen pastoor/lemon thistle
What’s next on your project list? Spring is teas What’s next on your project list? Spring is teasing us so we’re starting on outdoor projects around here!
$100 play room makeover is DONE! This room has se $100 play room makeover is DONE! 
This room has seen so much change over the past year (swipe over to see it 2 weeks ago, 10 months ago and 1 year ago!). I took this last week to make over this space with mostly pieces we already had and I’m so so happy with the results! It’s a good reminder that some hard work, creativity and of course paint can work magic.
I’m sharing all the details (and that under stairs space!) on YouTube today (link in my stories!) and so is my friend @thediymommy (she made over her daughters bedroom for $100!).
Do you think dried grasses are only for fall decor Do you think dried grasses are only for fall decor? I used to think so, but these bunny tail grasses are too cute to put in a bin until next year. Plus the name sounds like spring decor to me ;) What do you think?

Ps. Today’s going to be a full day of playroom progress! I’ll share as much as I can in stories as I go :)
Paint is honestly magic.✨ I am so excited to sha Paint is honestly magic.✨
I am so excited to share this kitchen makeover with you guys! These are the same cabinets, just painted (countertops too!) And some updated finishes. I blogged the full before and after if you’d like to check it out!
Big thank you to @schaubhardware and @wagnerspraytech for partnering to make this space possible!
Ps. Most of the work done here was by the homeowners so if you’re thinking about taking on a makeover in your own home, maybe this is the encouragement you need 😘
As I’m sitting here staring at the dishes on the As I’m sitting here staring at the dishes on the counter while I try to focus on editing a video, I thought it’s as good of time as any to share this reminder 😘
I feel like I’ve lucked into the best job out th I feel like I’ve lucked into the best job out there, but then I’m also so aware of the amount of work it took to get here. Today I chatted with two of my blog friends in an Instagram live about DIY blogging as a job and answered some questions we get asked all the time about our work and the balance of it all! I saved it as an IGTV so you can watch it if you missed 🥰

Big thanks to @love_create_celebrate and @thediymommy for chatting with me today! One of the biggest perks of this job is all the talented ladies I’ve had the privilege of meeting and calling friends- these two are top of that list!
I’m having some fun in stories with a little giv I’m having some fun in stories with a little giveaway guessing game. I’d love if you played along!

I put up a question box and you can guess my next room makeover and the guesses are all over the place. Some are projects on my dream list, some are rooms I wish to even have in my house and some are spaces we’ve already tackled! Like our main bathroom ✨ these photos are from my spring home tour I shared over on the blog earlier this week. Hung up a pennant and called it decked for spring 🐣
Who is ready for spring?! I know we totally are- w Who is ready for spring?!
I know we totally are- we’ve been soaking up outside time this week with the kids home on spring break but over on the blog... it’s spring home tour time! I am sharing my home all ready for spring along with some amazing bloggers as part of the #seasonalsimplicity spring series!
You know I love a touch of DIY decor in every spac You know I love a touch of DIY decor in every space in my home, so I’m so excited to be partnering with @HGTVCanada to celebrate #$aveMyReno being back TONIGHT! #partner
 
My favourite thing about $ave My Reno is that they encourage home owners to get involved and DIY to maximize budget. They even help kids get involved- it’s everything Shane and I work towards in our own projects. You can catch it every Tuesday at 9/9:30PM EP on @HGTVCanada or catch up on episodes on STACKTV through @primevideoca!
 
PS. I made those tie dye pillows, similar to the ones featured in tonight’s episode! You can catch my stories to see the super speedy how-to :)
Load More... Follow on Instagram

Copyright © 2021 · Lemon Thistle · All Rights Reserved · Powered by Mai Theme