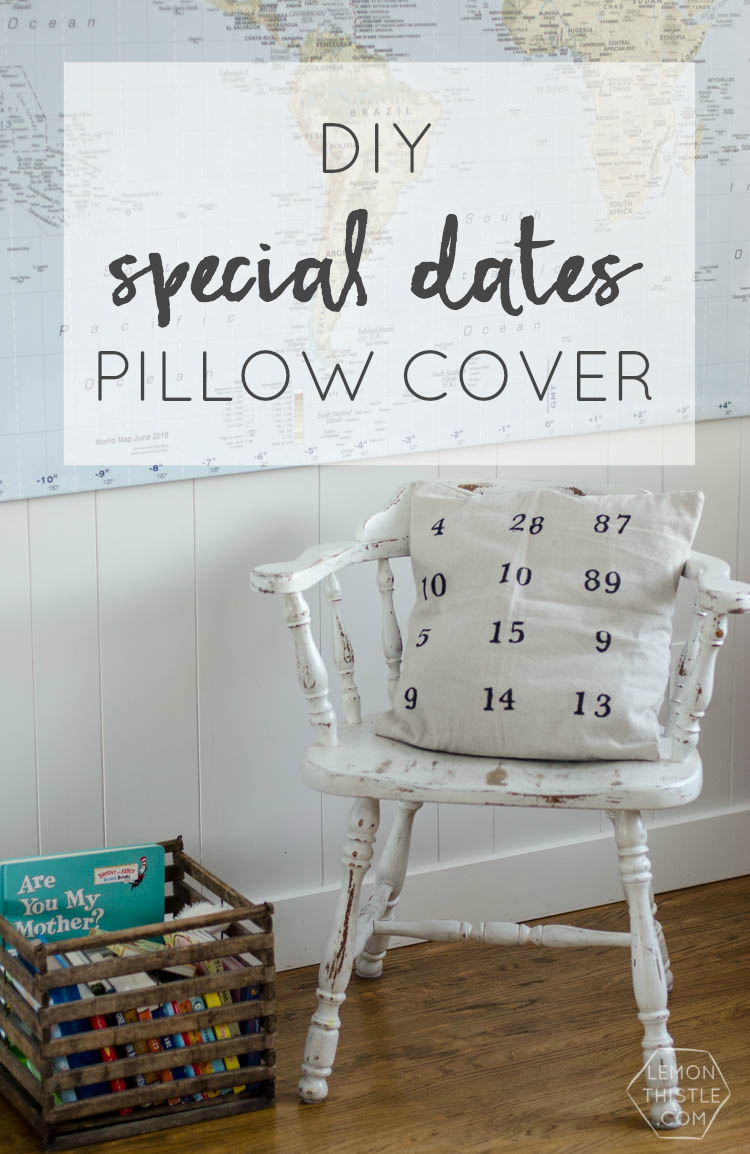
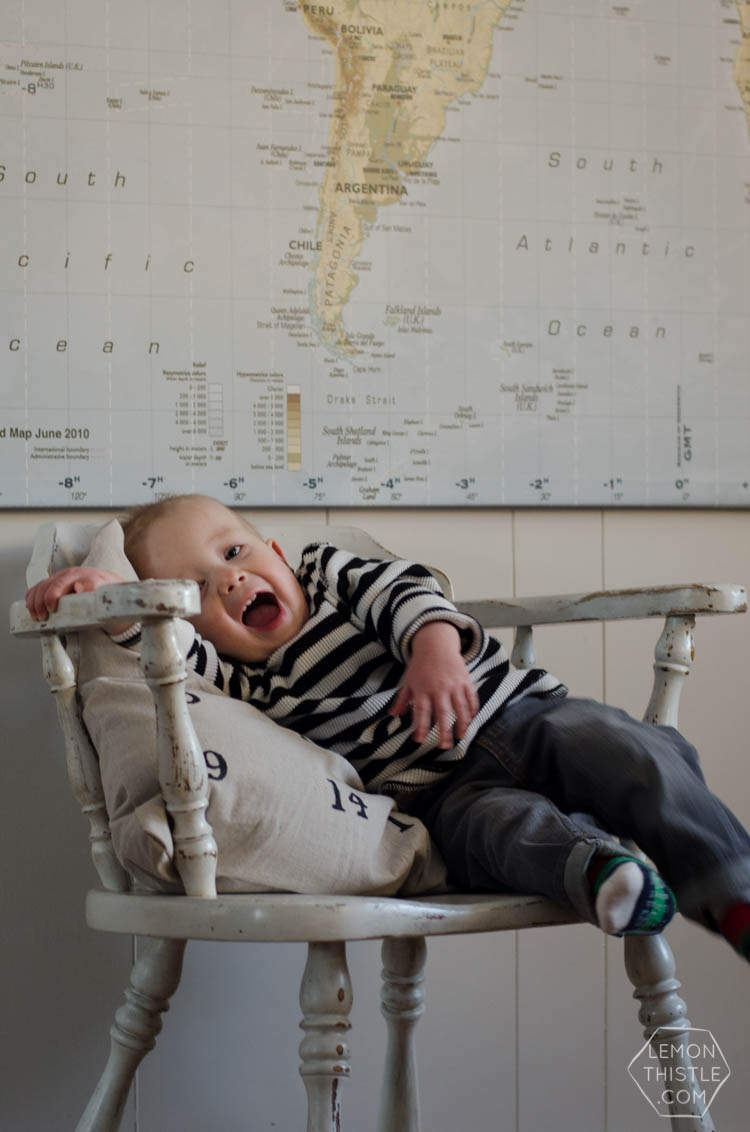
Today I’m dropping in to share this DIY Special Dates Pillow. It’s one of my favourite home decor projects in a long time. I actually made it first for Today’s Creative Blog, but as I was photographing it, Emmitt decided this is his new favourite pillow and I got some cute shots with my babes, so I thought I should share it here too!
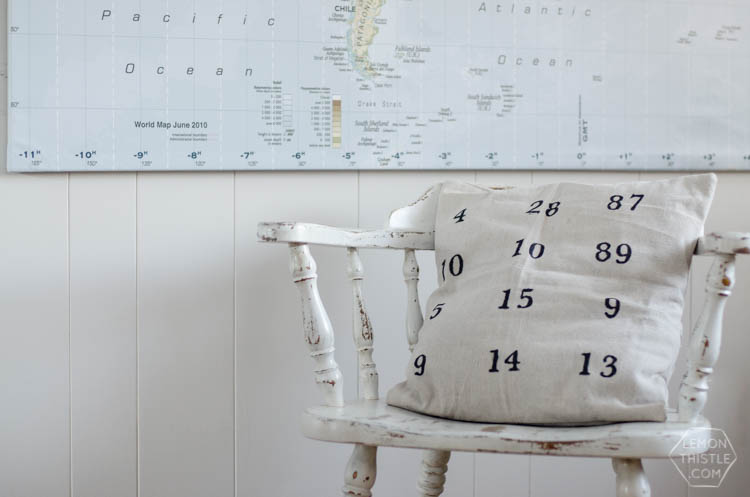
This is one of those projects that turned out better than I’d even hoped. It reminds me of map coordinates, and the style is timeless. This pillow cover cost me almost nothing as well… so for that price, I’m more than sold on making them for all my friends and family! This pillow cover is made out of a drop cloth (one of my newest obsessions is sewing with these things).
Drop cloths are good and sturdy, so they work well for pillow covers or other sewing projects that need an upholstery style material. The neutral colour is timeless but there’s little flecks of colour worked in that are charming. If you’re anything like me you are probably questioning if drop cloth really looks as nice in person… it took me a really long time to shell out the $16 to try it out. But, guys! I’ve been sewing with them non-stop ever since.
I’ve been noticing these dated pillows on Etsy for quite some time now- they make great wedding gifts but I also think they would make an amazing Mother’s Day Gift as well.
When I saw one print as wall art I knew I wanted to try combine the two. Although one date is cool… a pillow that has all the important dates in your life? I couldn’t resist.
I might be banned from the DIY blogger community for saying this but I don’t have a silhouette or cameo or any kind of cutting machine (although fingers crossed I’ll be getting one soon!)… nor do I ‘get’ freezer paper. What the heck is it? Is there a fellow Canadian that can direct me to that?
So I did this without any of those fancy-pants tools. So if you have a sewing machine (or a plain pillow cover) you can do this. I promise.

First- you’ll need to make a pillow cover. Alternatively you could add the numbers to a plain pillow cover- that would make this a no-sew project (and I hear people like them). But if you do want to make a drop cloth cover… let’s quickly cover how. I make them so they’re essentially slip covers- avoid those pesky zippers at all costs, right? SO grab the pillow you want to slipcover. Lay out your drop cloth and trace your pillow. Now add 2.5″ all the way around and cut it out. You should have one lovely square.
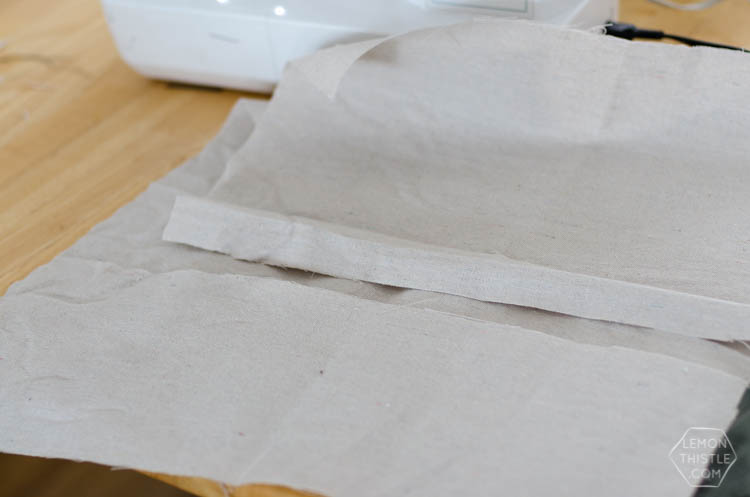
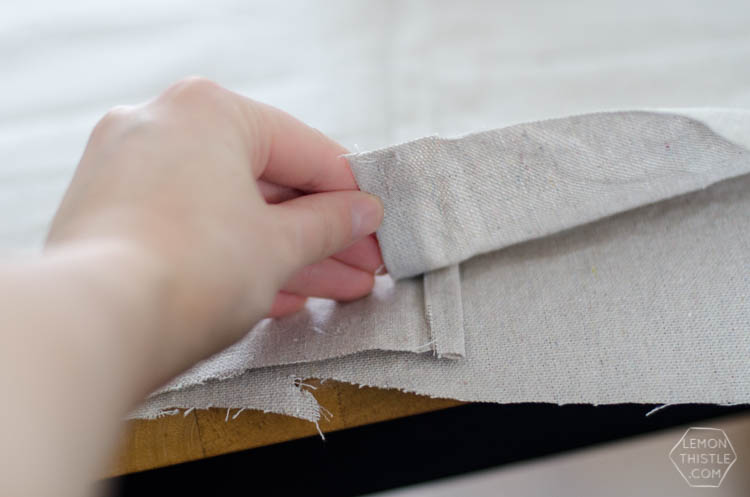
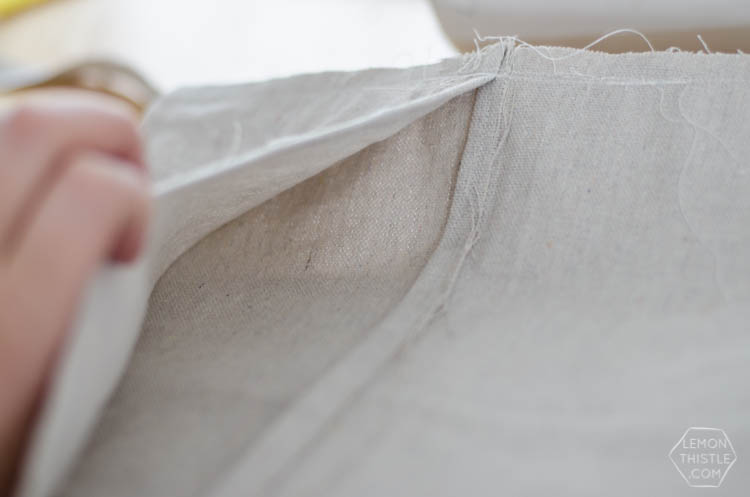
Lay that square on top of your drop cloth and cut out another that is four inches taller on one edge. Now you have a square and a rectangle. Take the longer one and cut it in half. This is the part where you will be ‘slipping’ your pillow in. Fold and hem the edges that you just cut. Then lay them overlapping each other (lining up the rest of the square) with the pretty side facing the square piece of fabric. Sew all the way around the edge. That’s your slip cover! Trim the excess then turn it right way. Follow me? You’re fantastic, I knew you would. I did a quick Google search and found a full tutorial on how to make this type of cover in case I’ve lost you. I should tell you that the second one I made I made a bigger overlap (hence the 4″ instructions) because I had a puffier pillow to cover.
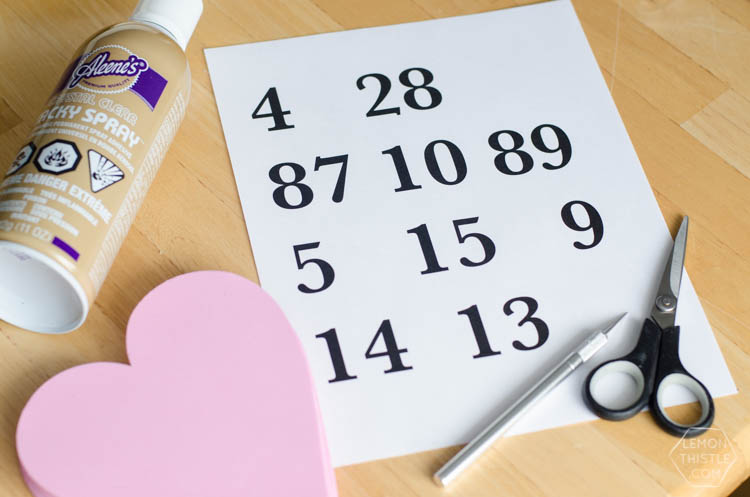
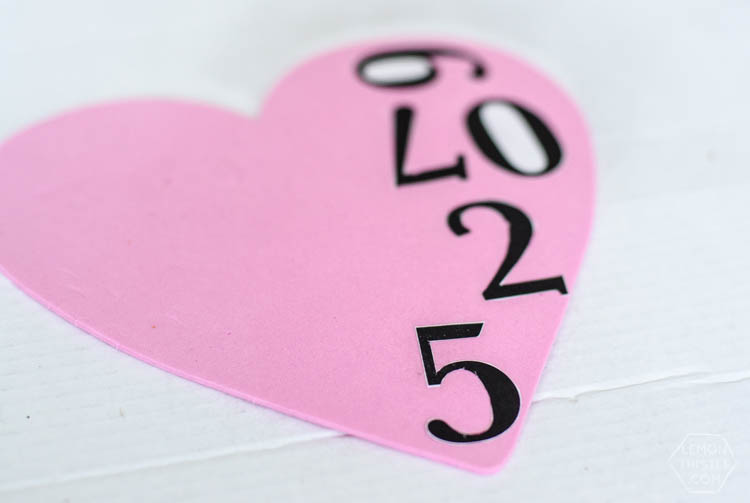
Once you’ve got your pillow cover all stitched up (or found one that’s ready for stamping)- let’s get busy creating our stamps. If you’re super crafty and have a cutting machine- feel free to work your magic at this point. To do it the not-so-techy way… print off your numbers and gather your supplies. You could use any font you want- I love the look of a serif for this project. I used Baskerville if you’d like the same look. To make the stamps I used craft foam (I had a pack of hearts which is what you see here), spray adhesive, scissors, and a craft knife. Start by cutting out your numbers (you can leave the inside bits like I did). When they’re all cut out, use your spray adhesive to spray the foam and stick the numbers on.
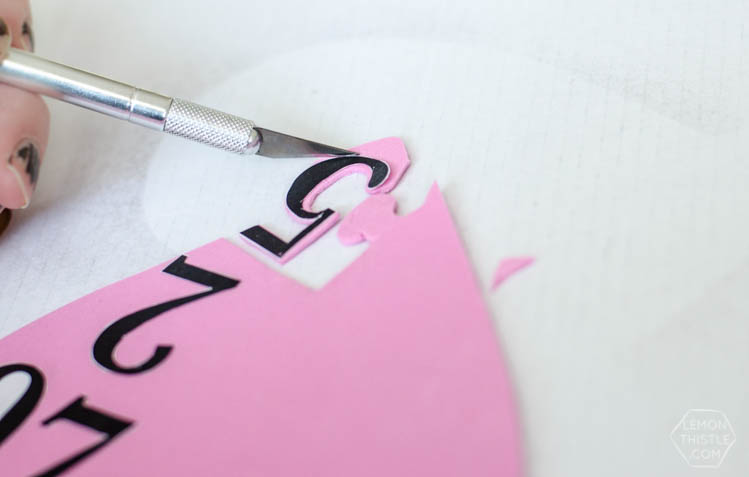
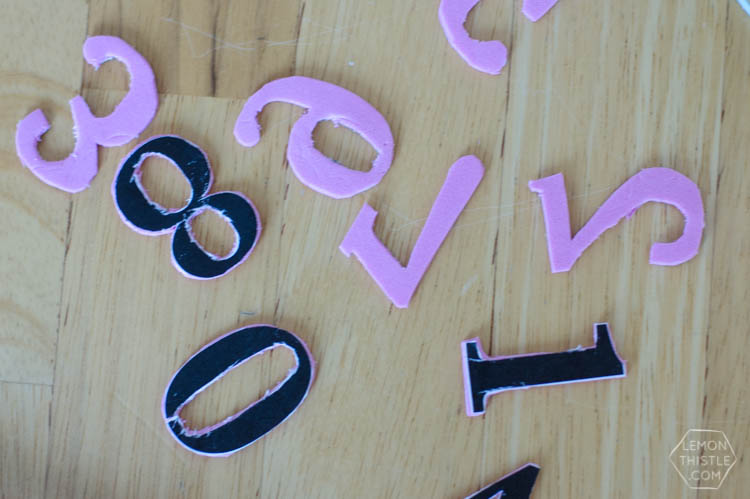
Now you can use your craft knife to cut out around the numbers, through the foam. A sharp blade will help this go really quick. Two light passes and you should be through no problem! If I didn’t have these hearts… I would recommend a thicker craft foam- I found these a bit flimsy for stamping… but if you’re not planning on keeping them to re-use, this works perfect.
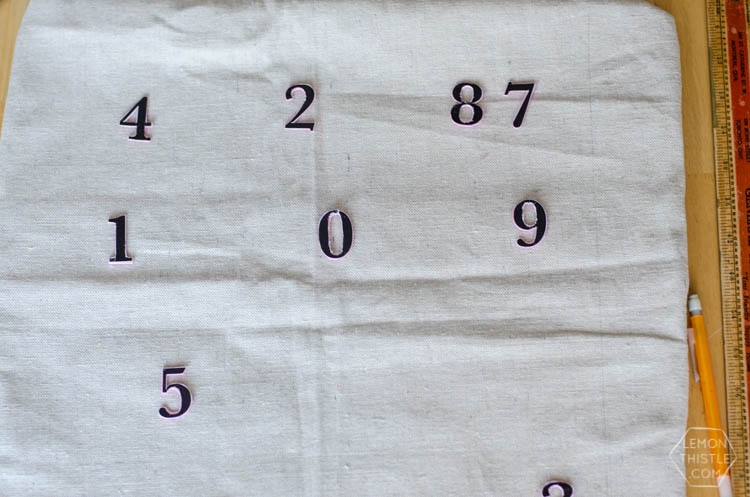
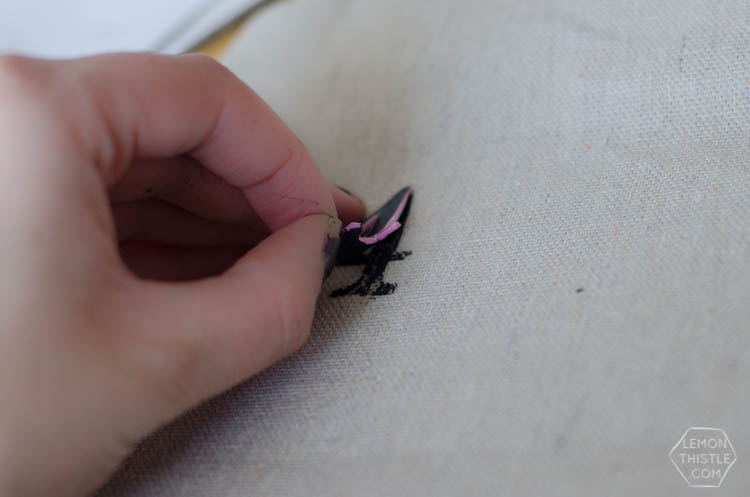
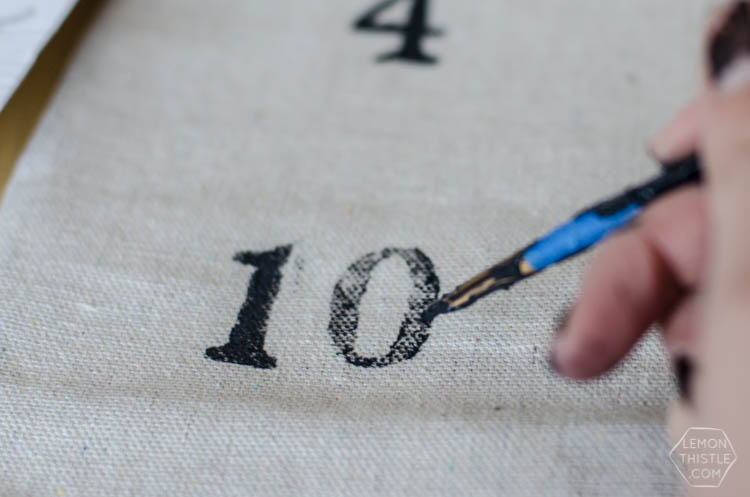
I used a pencil and ruler to lightly draw a grid on my pillow and line up my stamps. I only created one stamp for each number which is why the mock up looks a bit sparse. Once you’re happy with the general placement, use a small paint brush and paint your fabric paint on to the stamp. I really love Tulip Soft paint in black. If you skip the steam/iron step, it has the charm of graphite paint. Once you’ve painted on a liberal amount of paint, carefully turn it over and place it on your pillow. If you’d like darker numbers, go ahead and use your paint brush to fill in the lines. The photo above shows the ‘1’ filled in and the ‘0’ straight after stamping. I filled all of mine in. When you’re all done, resist the urge to test it out until the paint dries.
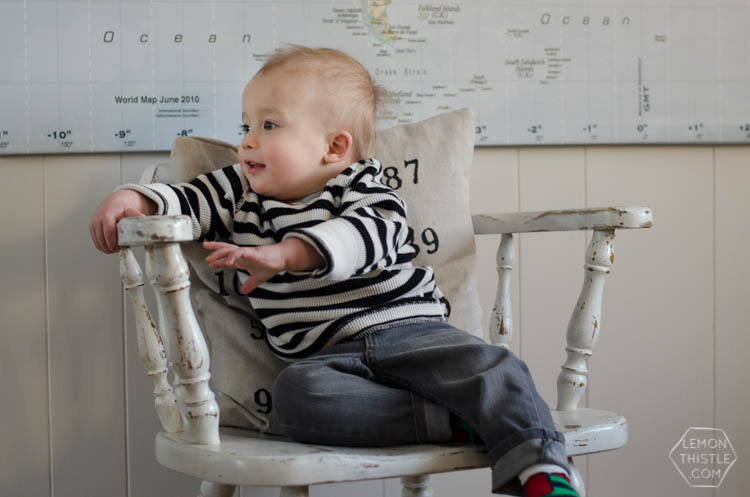
I’m so happy with this pillow, and my hubby couldn’t be more pleased. He loves anything and everything nautical or map-ish so this fits the bill for him. I can’t believe how much Emmitt loves this pillow too- but I managed to snap some photos before there was too much slobber (you’re very welcome)! Beyond liking how pretty it is to look at- I really adore that it’s personalized and all those dates that are special to us are as a constant reminder in our daily lives. Hopefully my kids will learn my birthday early in life now!
 Hey Valentine, You’re A-Maze-ing (Free Printable)
These are so cute! I love to stamp stuff, so that’s right up my alley. And your kiddos are darling too!
Stamps are the best, I agree! I need some practice stamping evenly though, I always seem to get one spot way darker than the other… as a stamp lover, any tips for me?
And I think they’re pretty darling too :)
Oh, I know. I still have trouble with that, too. I’ve found that moving the stamp around the pad will get the ink on more evenly. I also put whatever I’m stamping on the hardwood floor and try to position myself directly above to apply pressure more evenly. Then again, I kind of like it when it doesn’t come out perfectly. That has more of an industrial-inspired look.
Industrial-inspired… I like that!
Colleen, this is such a sweet idea! I love that this pillow would be a reminder of so many happy days!
Thanks Amy! It definitely is- I get excited to explain the numbers to guests who ask, it definitely puts a smile on my face!
Love this idea, thanks for sharing! I’m featuring it on Worthwhile Wednesdays! http://www.craftyallieblog.com/2015/02/worthwhile-wednesdays-57.html – See more at: http://suzyssitcom.com/2014/10/how-to-create-fun-wall-art-with-beans.html#comment-211406
Woohoo!! Thanks so much Allie, that makes my day!
It’s fab! I really like personalised things.
I too am a silhouette free zone, (my fingers are also crossed) I do love a good pair of scissors though! And being in the UK I too am at a loss about freezer paper, I’m not sure if we have it here, and if we do, what we call it! It was good to see how you improvised with what you had to achieve a great result.
Thanks so much Julie, DIY is all about making do with what you have. I’ll keep my fingers crossed for you too ;)
These pillows are so sweet and it looks simple enough to attempt! Love it! I’m going to pin it on Pinterest too :)
Thanks so much Mia! It’s the perfect project for a beginner sewer!
What a great pillow! I love the look and knowing that it’s personalized makes it really special.
Thanks so much Mandy, I’m a geek about personalizing things- I just can’t stop!
Colleen,
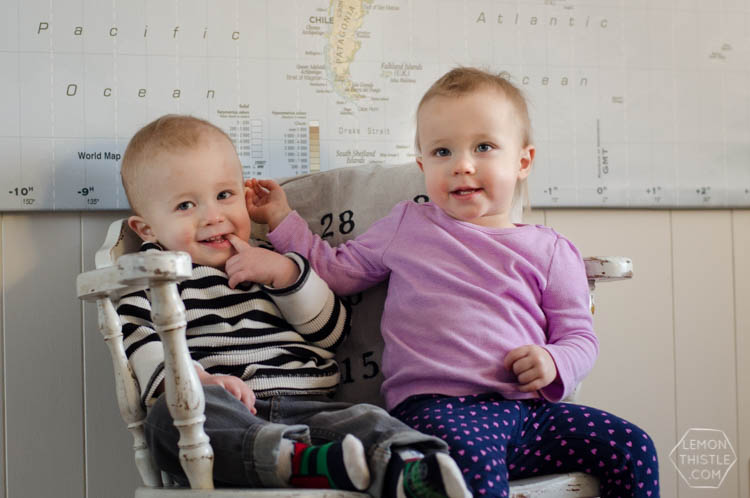
Congratulations on your beautiful twins. I love the special dates pillow you made. I found you through the WorthWhile Wednesday link up. I followed all your SM and your blog on Blog Lovin.
Happy Creating,
Karen Marie
Dragonfly & Lily Pads
Thank you for the sweet comment Karen! You’re making my day with your kind words :)
This turned out beautifully, you don’t need a silhouette! Gorgeous work :)
Aw, thanks so much Kyla! It’s so sweet of you to stop by!
This is so cool! I love numbers in any form. I also love changing out pillows. Your pillow looks fantastic…and your son is precious!
Thanks so much Teresa! I agree with all three parts of this comment ;) You can never have too many pillows!
I love this idea and yours is fantastic!!! But my OCD side has me asking how did you decide what numbers to put where? ?
Haha! I hadn’t even thought about that! Enneagram type 7 through and through ;)
Freezer paper is like wax paper, but with wax on only one side rather than both. You can buy it at fabric and sewing stores here in Canada.