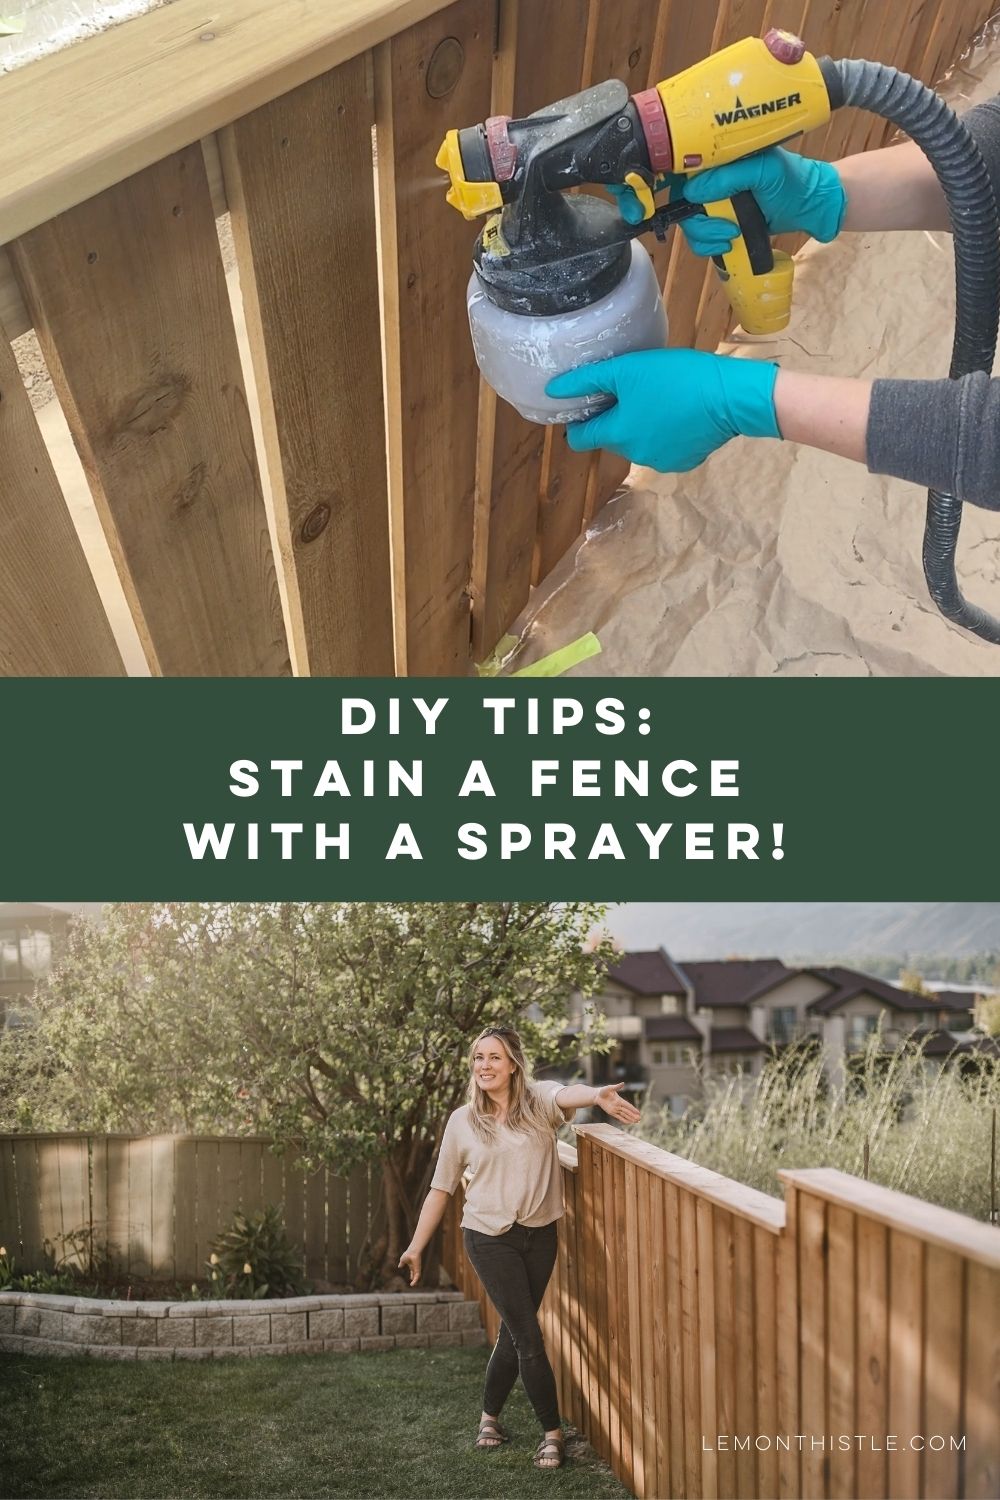
Sharing tips to stain a fence with a sprayer… for the DIYer! I stained 3 fences, both sides with this sprayer and am sharing everything I learned along the way (settings, type of stain, etc!).
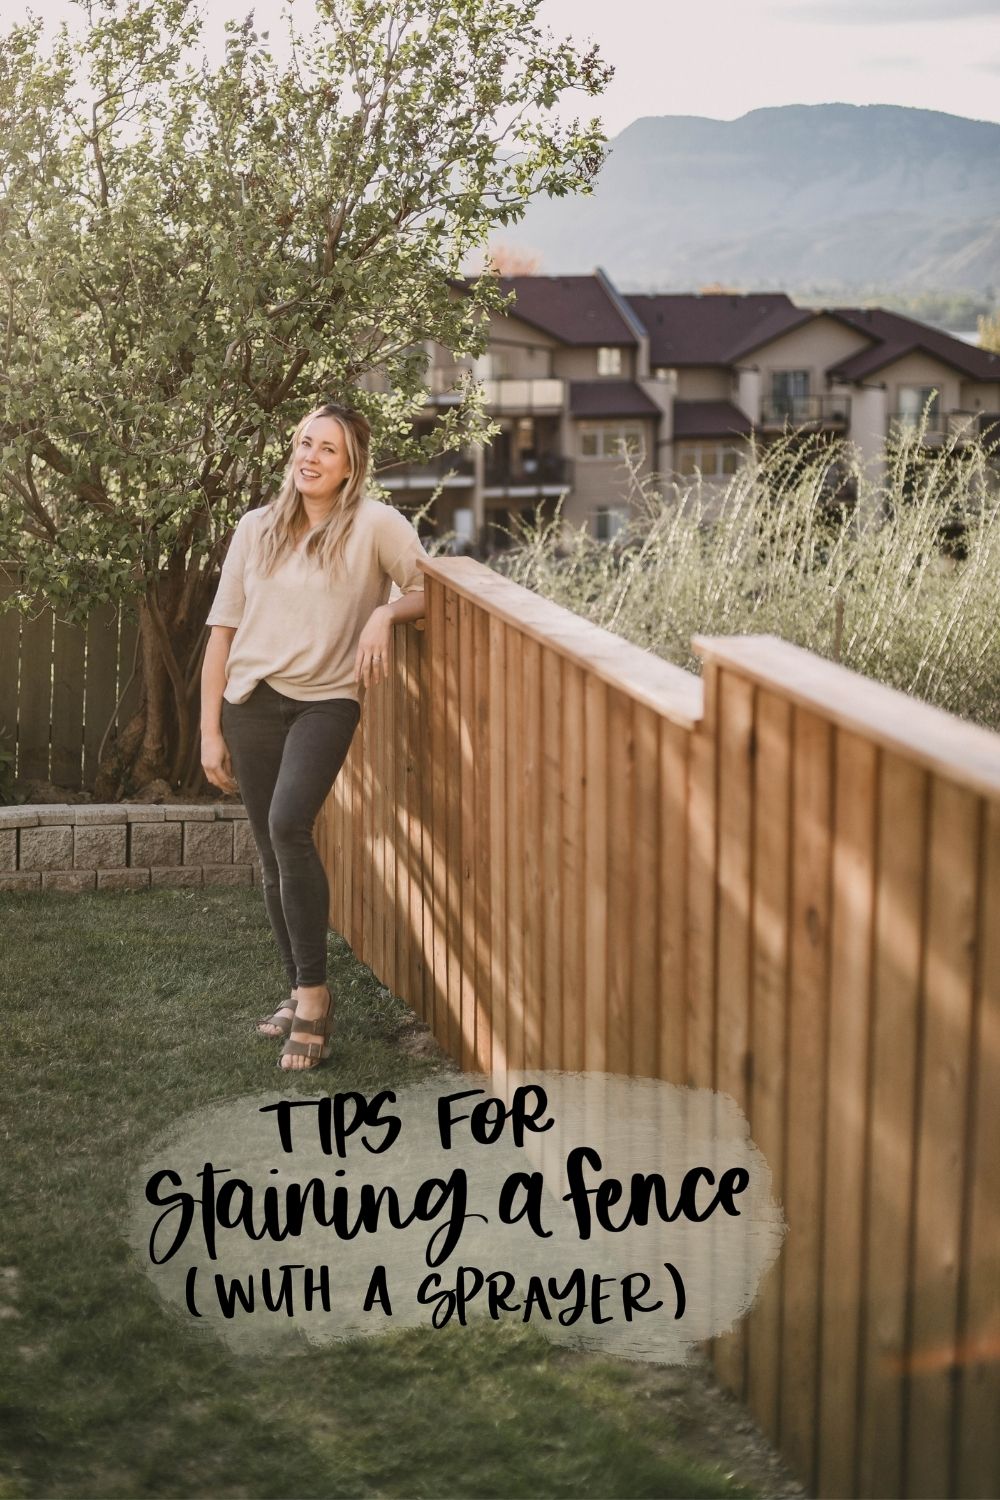
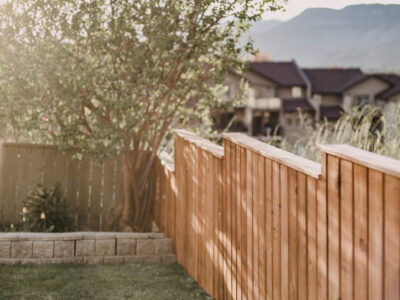
I’m so excited to finally have our yard fenced on all sides. Not only does this mean we could get a puppy if we ever decide to (depends on the day if I feel like I would have the energy for this- ha!), but it also keeps the deer out of my back garden! And looks 100x better than the chicken wire we had here before (that the deer would knock over to get in). But part of building this fence was protecting it with a waterproofing stain.
I stained our fence on the other side of the yard last year after having left it for two years to weather. There was some staining and greying of the wood and I was disappointed we didn’t do it sooner to protect it from damage, so this time around I wanted to do it as soon as possible.
I’ve been working with Wagner Spray Tech for a couple years now and every time I share clips of me using the sprayer, I get some of the same questions landing in my DMs. So today I thought that I’d share some DIY tips for staining a fence with a sprayer that specifically address those!
I do also have a full blog post and video about staining a deck with a sprayer from last year. That was the first time I’d ever put stain in the sprayer and now that I’ve stained 3 fences and the deck, I’m feeling so much more confident to give these tips to you!

Prep your wood for stain
Alright, so first up is to prep your fence! You have a couple options here. If your fence isn’t brand new, I would suggest pressure washing it. The only downside to this is you do need to wait for it to dry completely before staining it. I’ve seen one week recommended. You could also wire brush older fences to help get down to that beautiful wood colour again.
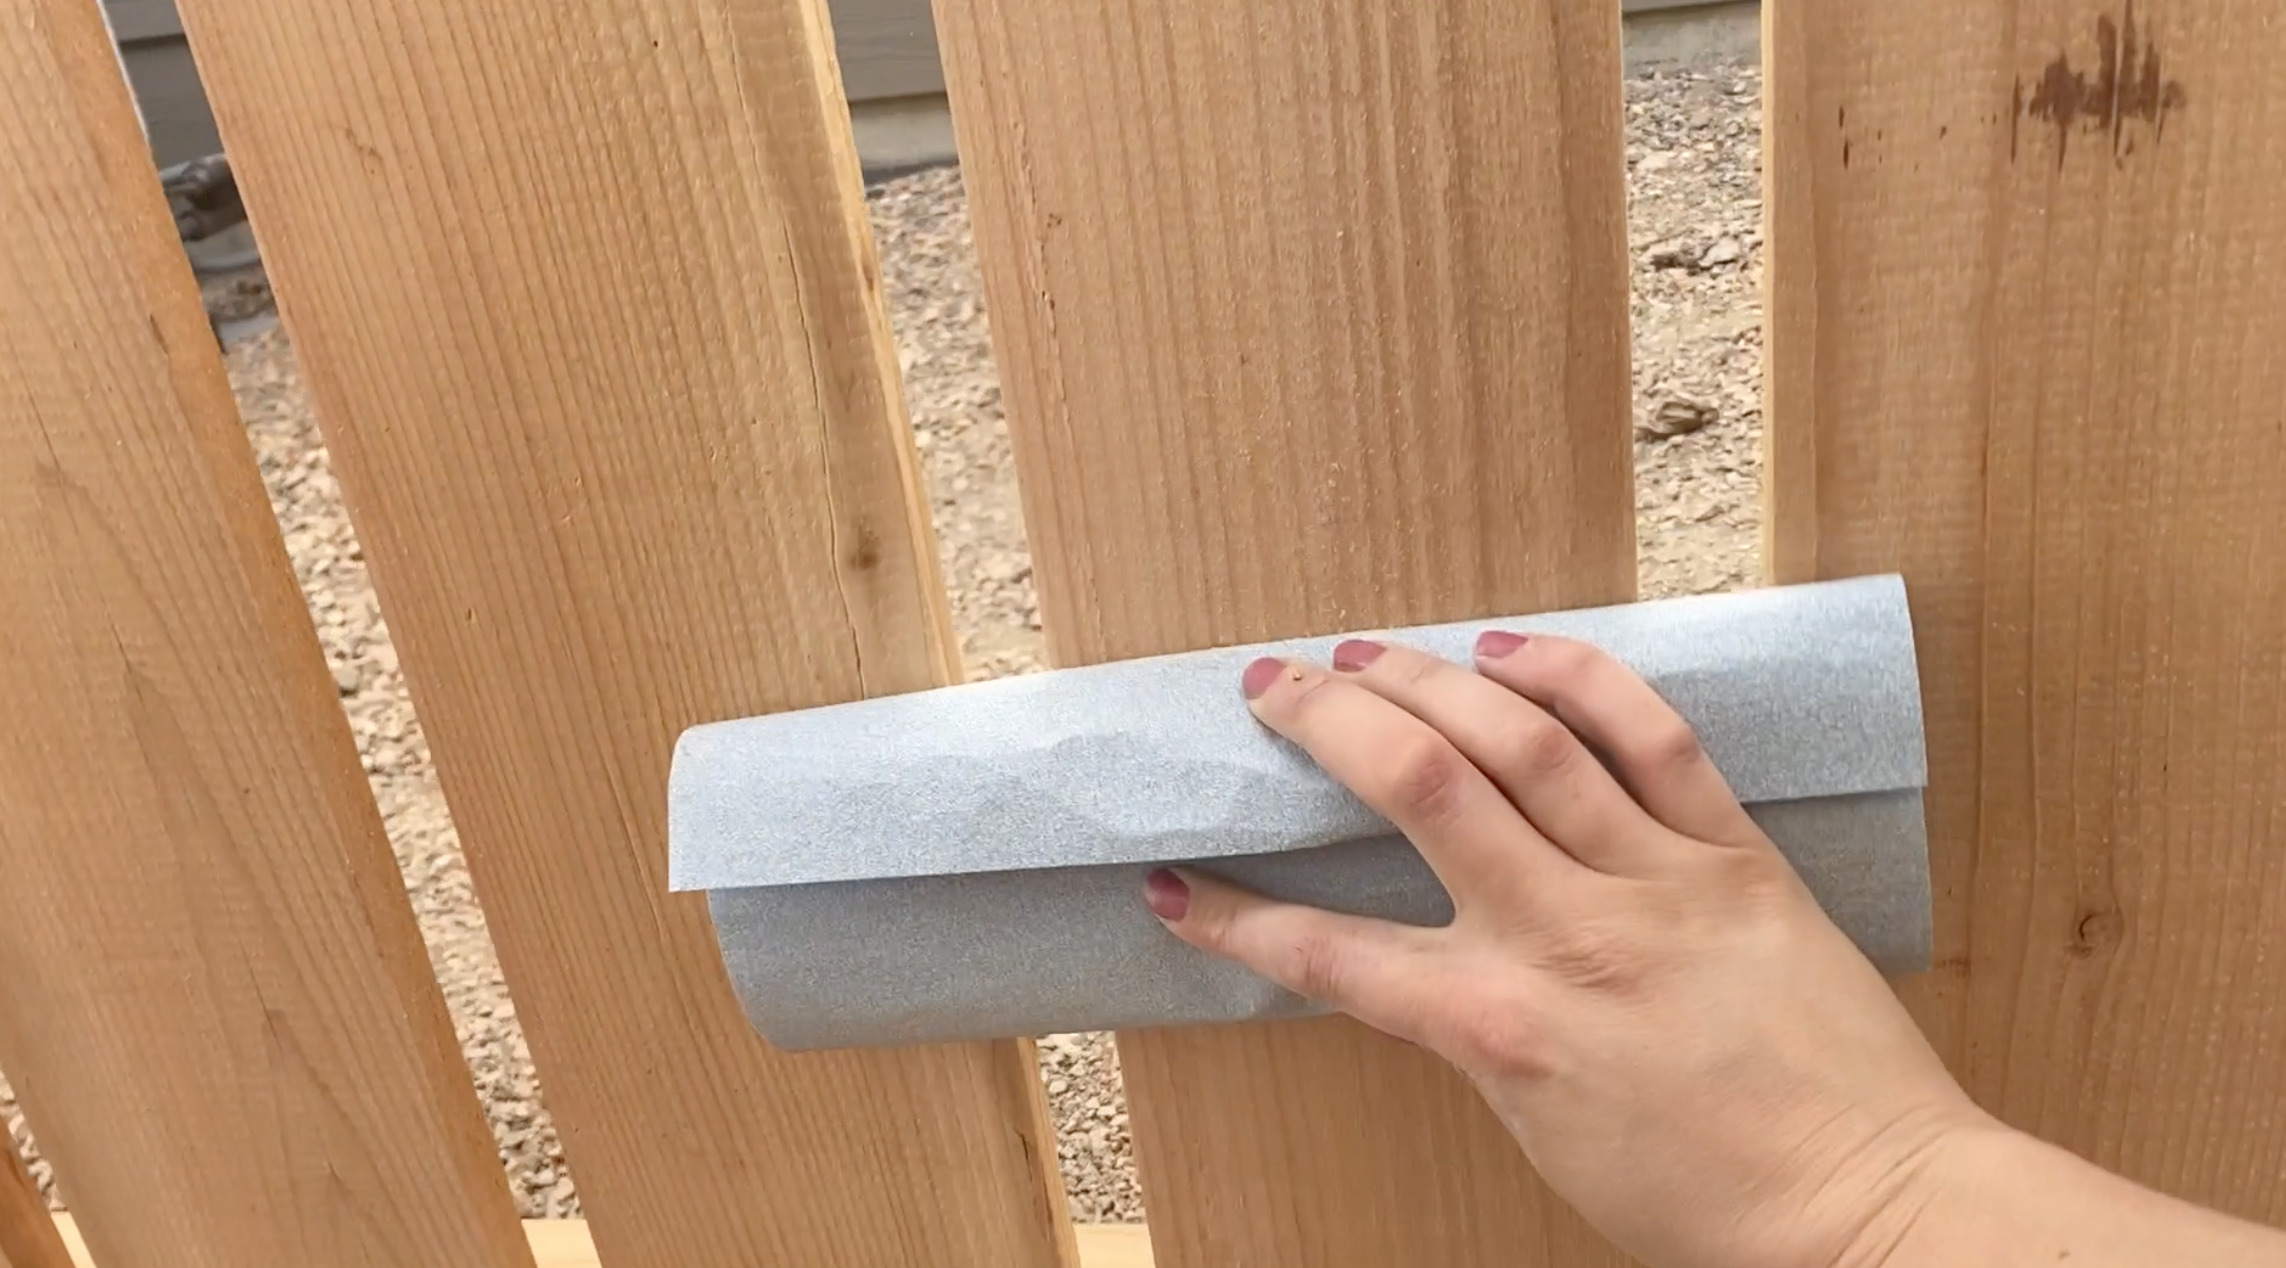
Since ours was newer (Only two weeks old!), I chose to just lightly sand it. This was just to knock rough slivers off since it was rough cut cedar. I also sanded the wax coatings off any ends that were showing. Some brands put these wax coatings on end cuts to stamp with their logos. I just did this by hand with a sanding block that fit nicely between the boards to clean those up a bit too. Once the sanding is done, make sure to either blow off all the sawdust or wipe it clean.
Masking before staining with a sprayer
Next up… masking! I didn’t take any video of masking this time as we were really fighting the wind. We actually had to break partway through masking and wait a couple days for a calmer day, the wind was wild! I like to use flooring paper for surfaces I’m walking on and plastic with rough surface painters tape otherwise. Masking is really just covering any area you don’t want to get overspray on. Although the paint sprayers are pretty accurate these days, overspray does happen where you’re not aiming, mostly in the form of a fine dust of paint or stain particles that float in the air and settle (like when you use spraypaint).
Which paint sprayer can I use for stain.
Alright, then to load up your sprayer! Let’s talk really quickly about sprayers.
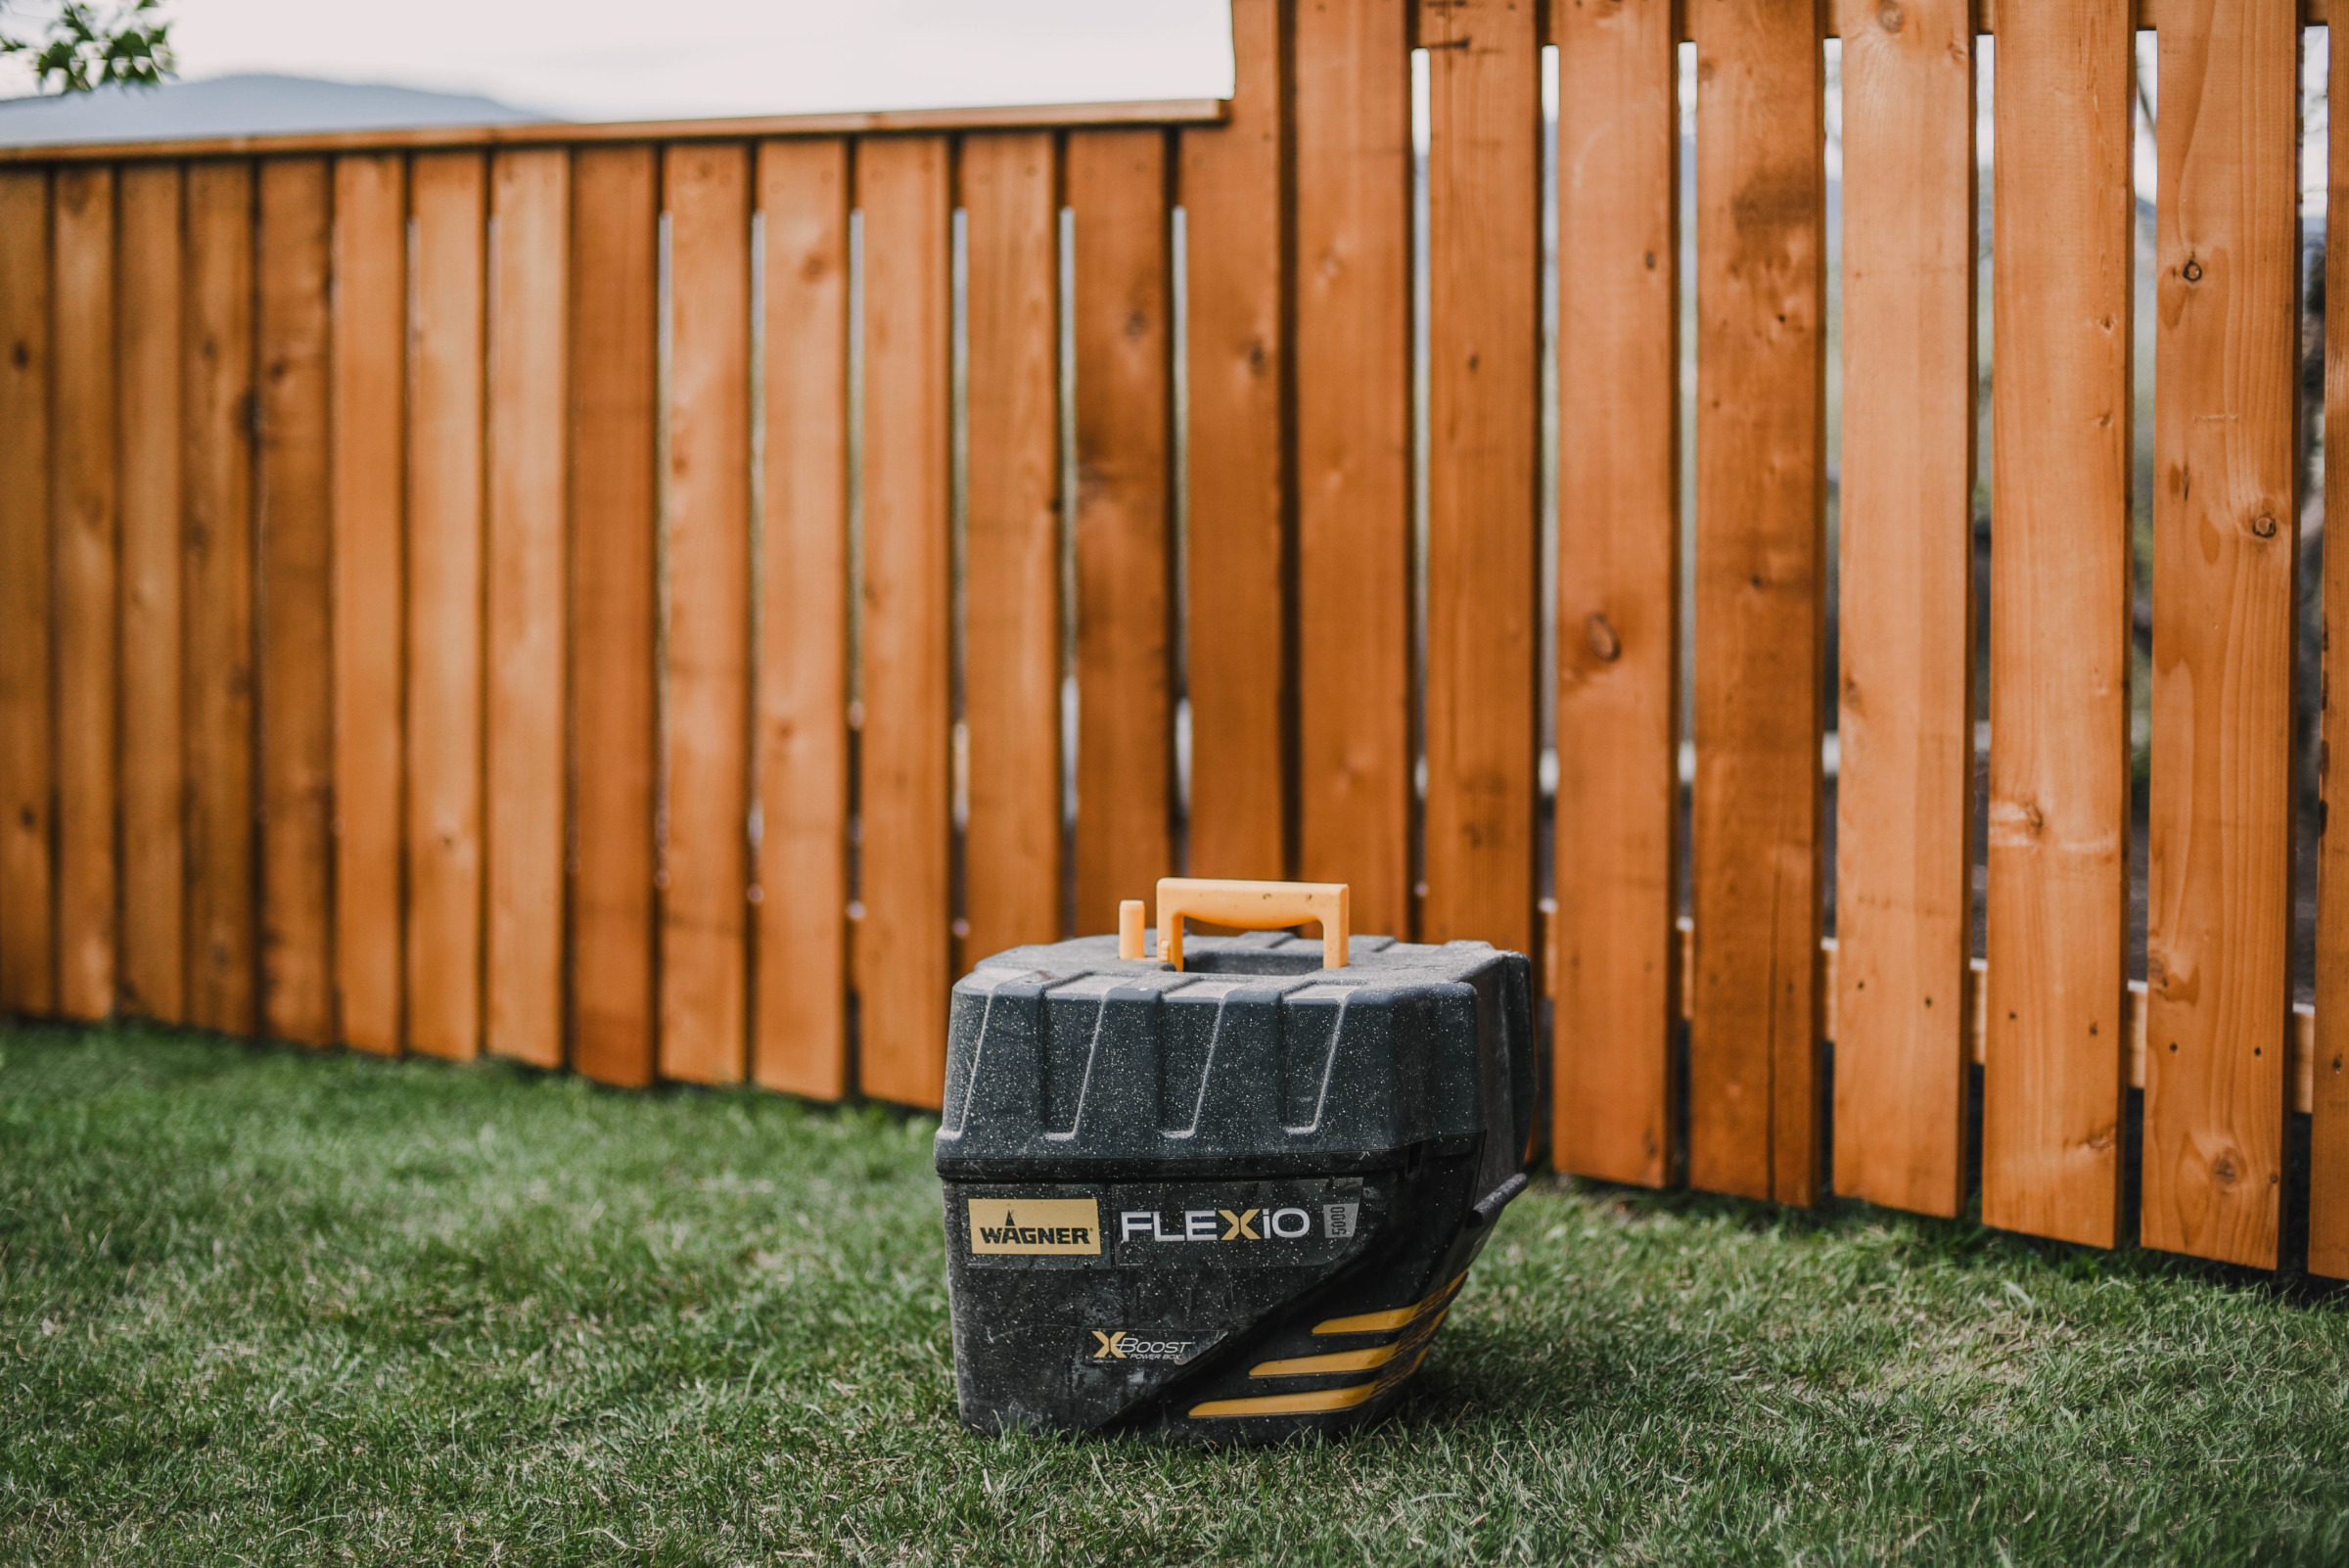
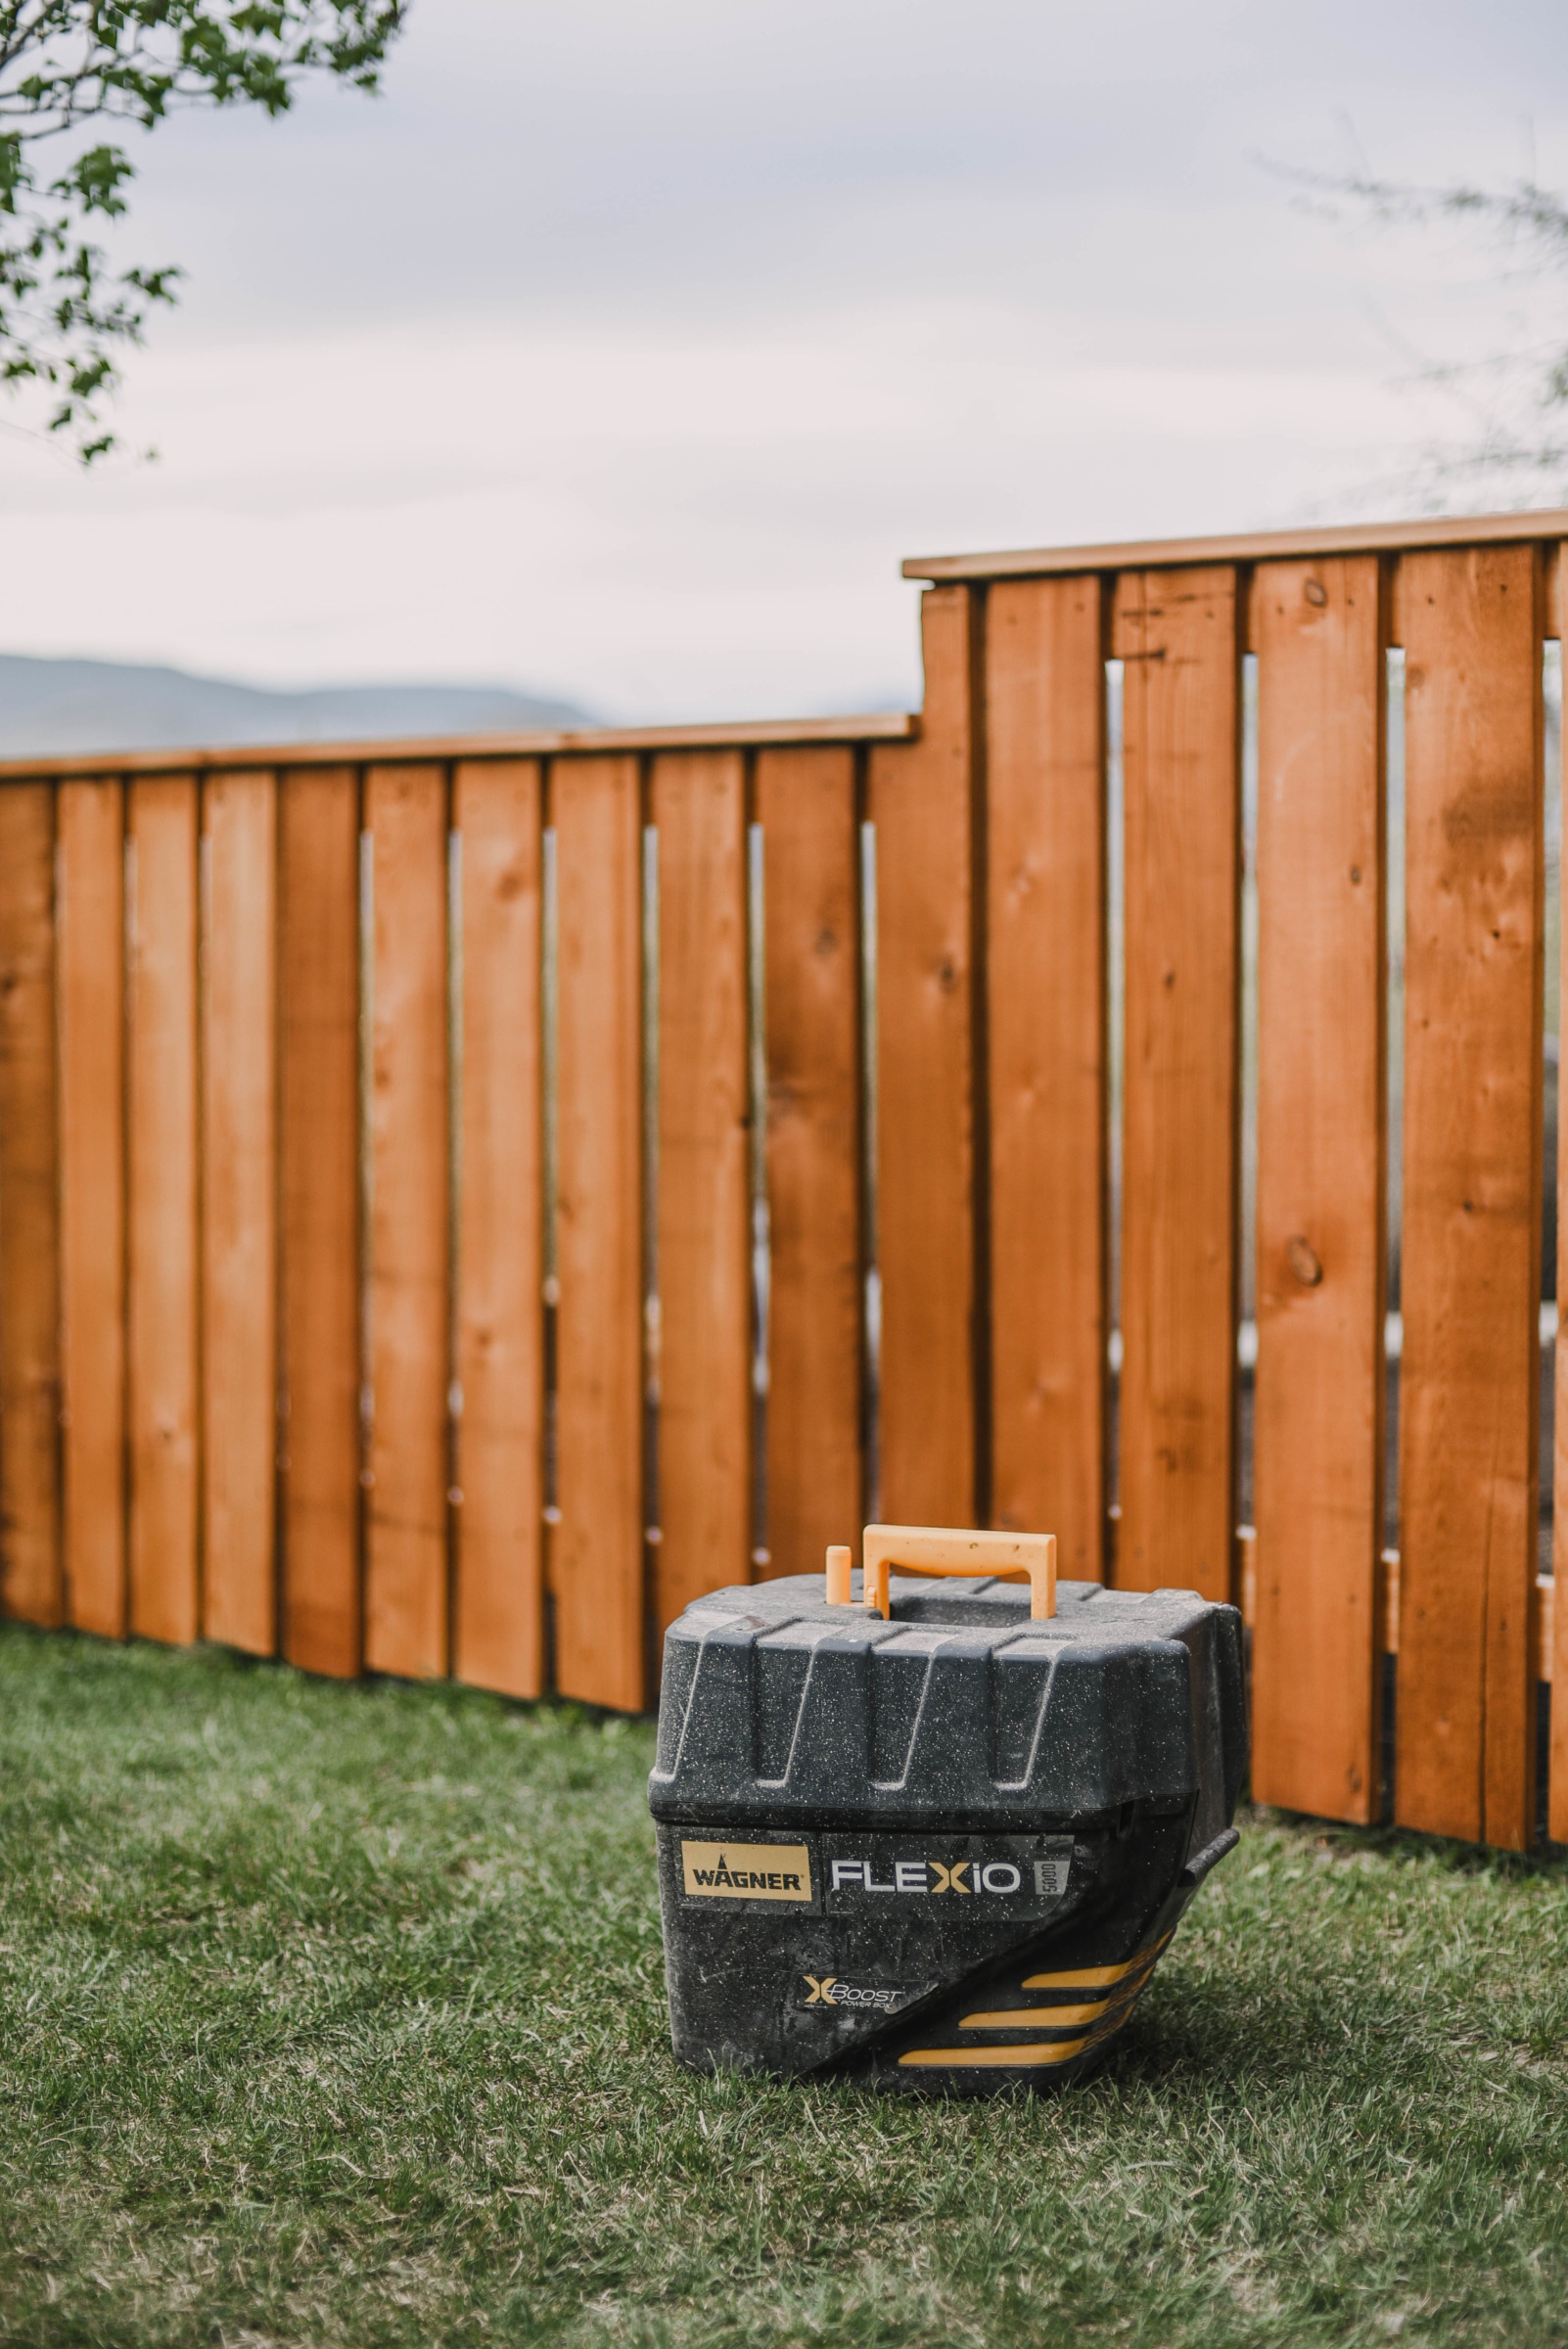
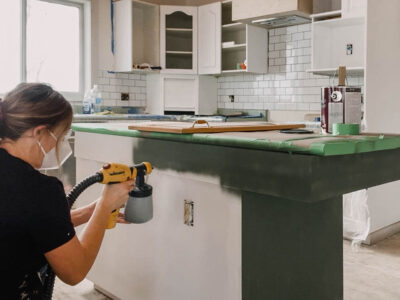
I’ve partnered with Wagner Spray Tech for this post (for this whole year again, actually!) so I’ll be using their FLEXiO 5000 for this project. Whichever sprayer you use, you should be able to use stain with it. I currently have 3 different sprayers and have tried two other ones in the past and all of them have had capability to use stain, I think this is pretty standard).
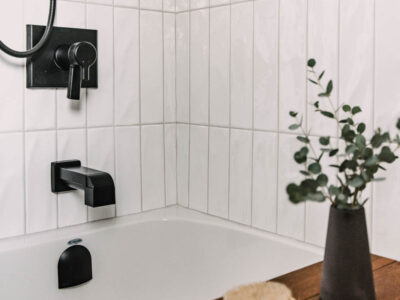
I love the Wagner FLEXiO 5000 for a few reasons. I love that there’s two different spray nozzles that come with it- a detail finish and a regular one. I use the regular one for this, if you want to see the detail one in action, you can see this kitchen makeover! I don’t have any issues with this gun spattering and it’s been used often for the last year at least. There are a few different sprayers in the FLEXiO series, but this one has the motor in a separate unit which makes the gun itself lighter. This is a lifesaver for a DIYer like me who has back pain- it allows me to use it for longer before I need a break.

which stain I use with a paint sprayer
I have a couple things I look for when picking a stain to use with my paint sprayer. I joke often that I’m a lazy DIYer, but really… I just like to take effective shortcuts. If there’s a product that’s just as effective as one that’s more work, you know I’m going to choose the easier one. So I look for a stain and sealer in one or it’s sometimes worded as a waterproofing stain. These usually mean you can do one coat on everything and be done (yay!).
Next, I like to choose a stain that specifies soap and water cleanup. I’ll skip the heavy duty chemicals any day of the week, please and thank you! The clean up with these stains is so easy, it actually goes faster than cleaning up paint!
Lastly, I will point out that all of these stains shown on the fences are semi-transparent stains. That means you can still see the wood grain beautifully through the stain. If you would like to see a solid stain in action, you can see that here on our playhouse where I chat about the difference between solid stain and paint!
Paint sprayer settings for stain
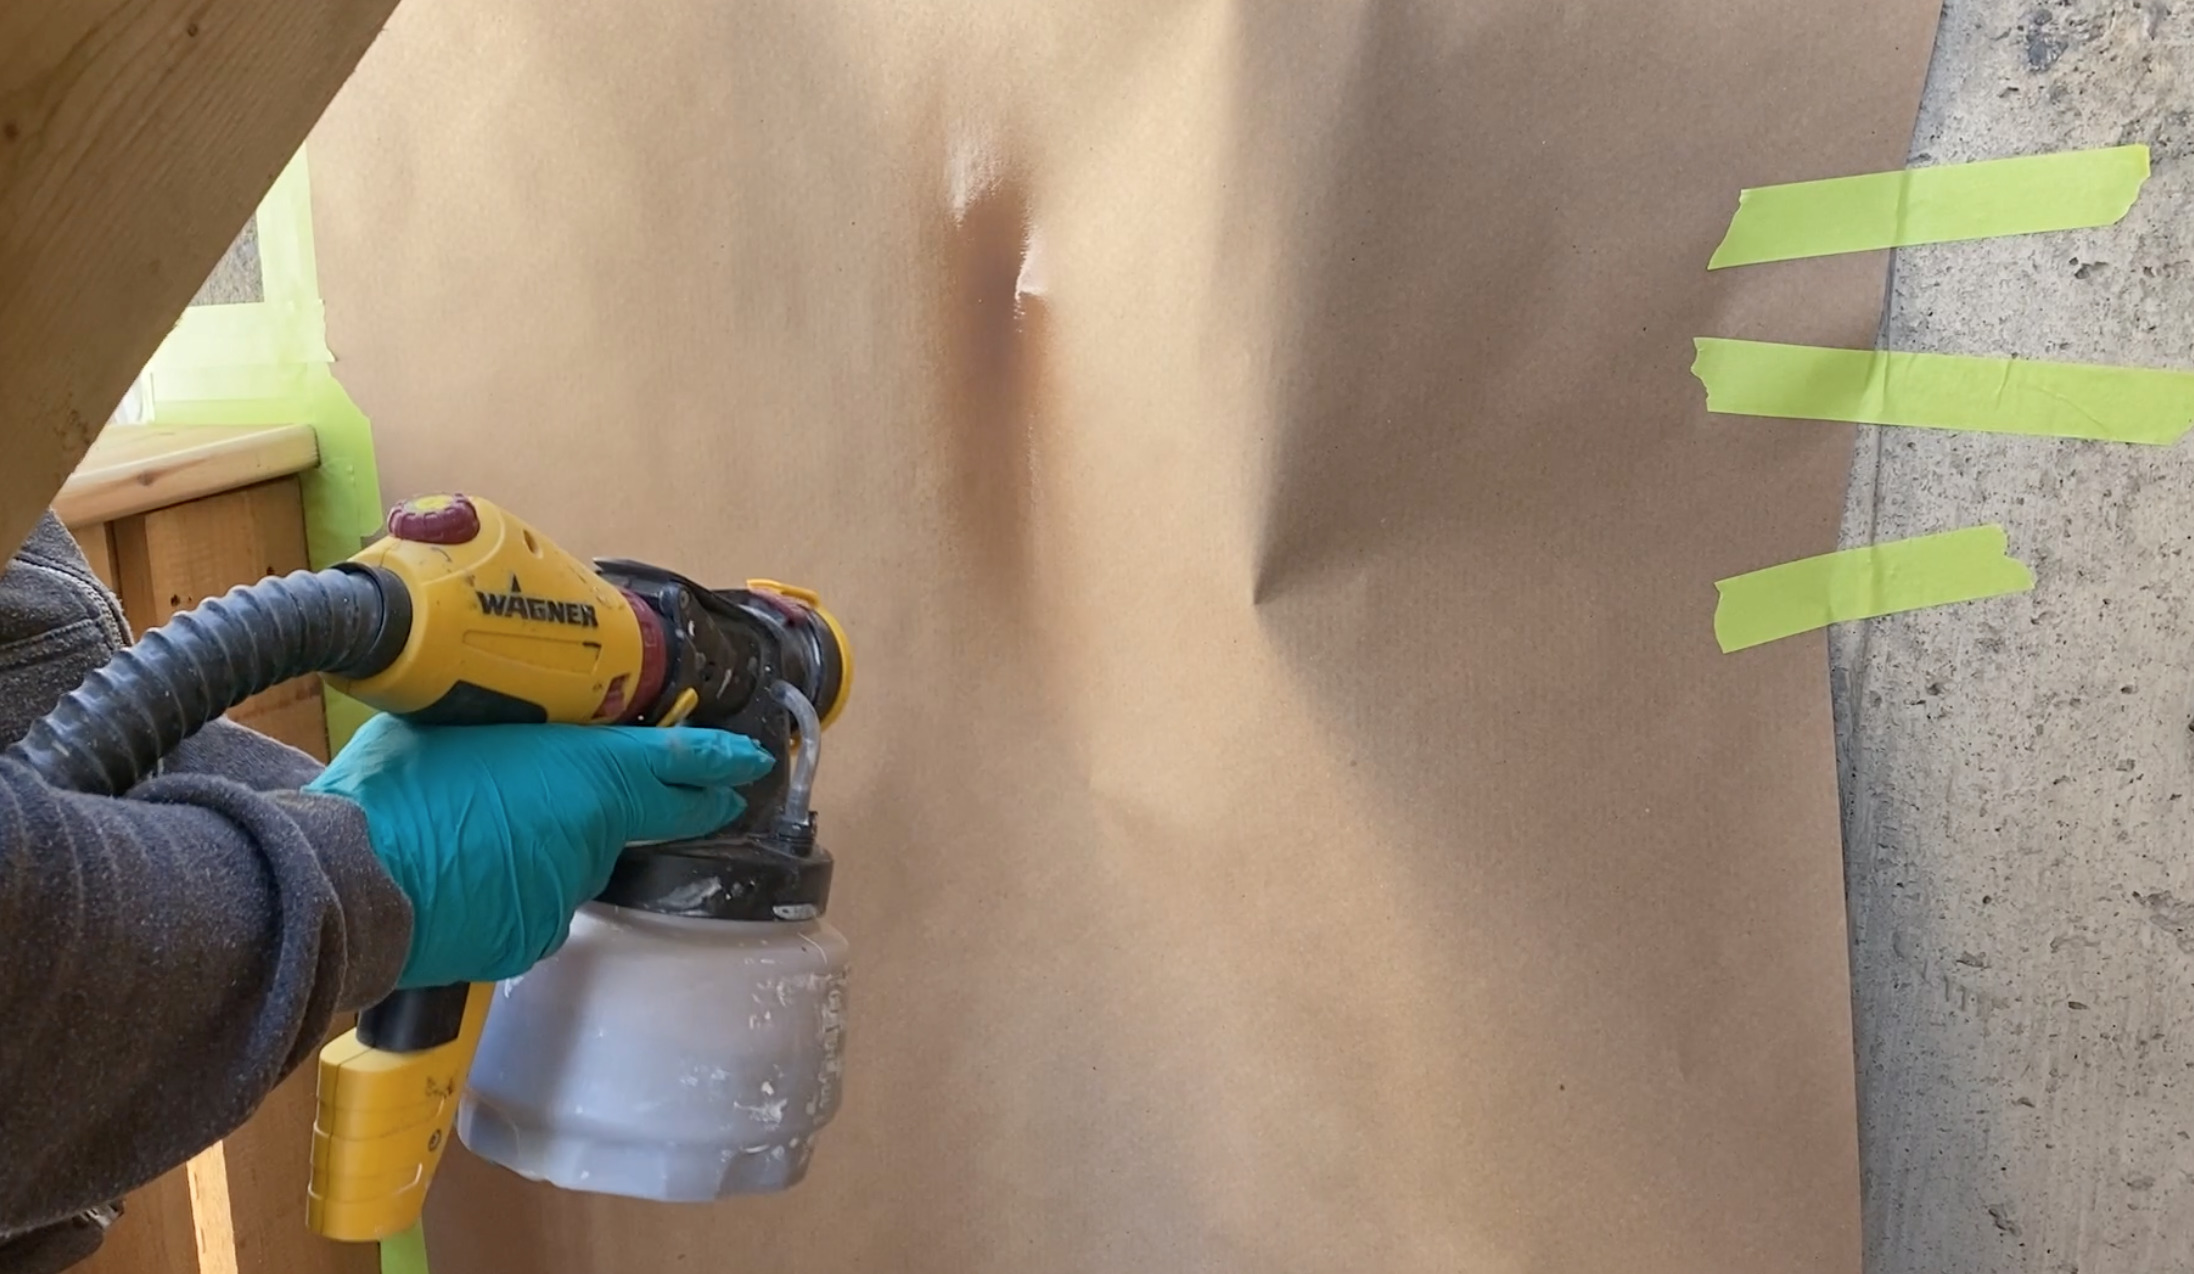
For staining, I’m pretty set on these settings! I like to put it all the way down to the lowest material flow and then almost all the way up to the highest airflow. I kept the material flow at one or two the entire time (I stained two fences, both sides of each in this one day) and the air flow around 8.
I highly recommend testing your settings on scrap wood, a piece of cardboard or in my case here, the flooring paper I was using for masking. Make sure your paint sprayer is working beautifully and you are happy with the spray pattern before moving over to the fence itself.
Why is my paint sprayer spattering?
Okay, I get this question a lot and while I’m sure there’s a lot of reasons this could happen, here’s the ones I find happen to me and the readers I’ve troubleshooted with the most often.
First off… make sure your nozzle is set up correctly. It can look totally right and still be just not quite clipped in there right. See the yellow piece on the very front? This is where I find this happens the most, it just doesn’t clip on completely on one of the sides (it looks right at first glance though!) and that causes spattering. Almost every single time I’ve had an issue with spatter, this has been my fix.
Secondly, your settings really do matter. That’s why I recommend so strongly for you to test your settings on scrap before moving on to your project. If you’re wanting to get more comfortable with your settings, I do more troubleshooting of settings in this post/video using paint.
Lastly, cleaning your machine really well after each use will ensure it continues to work as it’s supposed to. I’ve learned this the hardware and I know so many of my readers I’ve chatted with have too. Take the time to do all the tedious cleaning, don’t leave it sitting with paint, and you’ll be so much happier with how your sprayer sprays long term.
Spraying a fence with stain
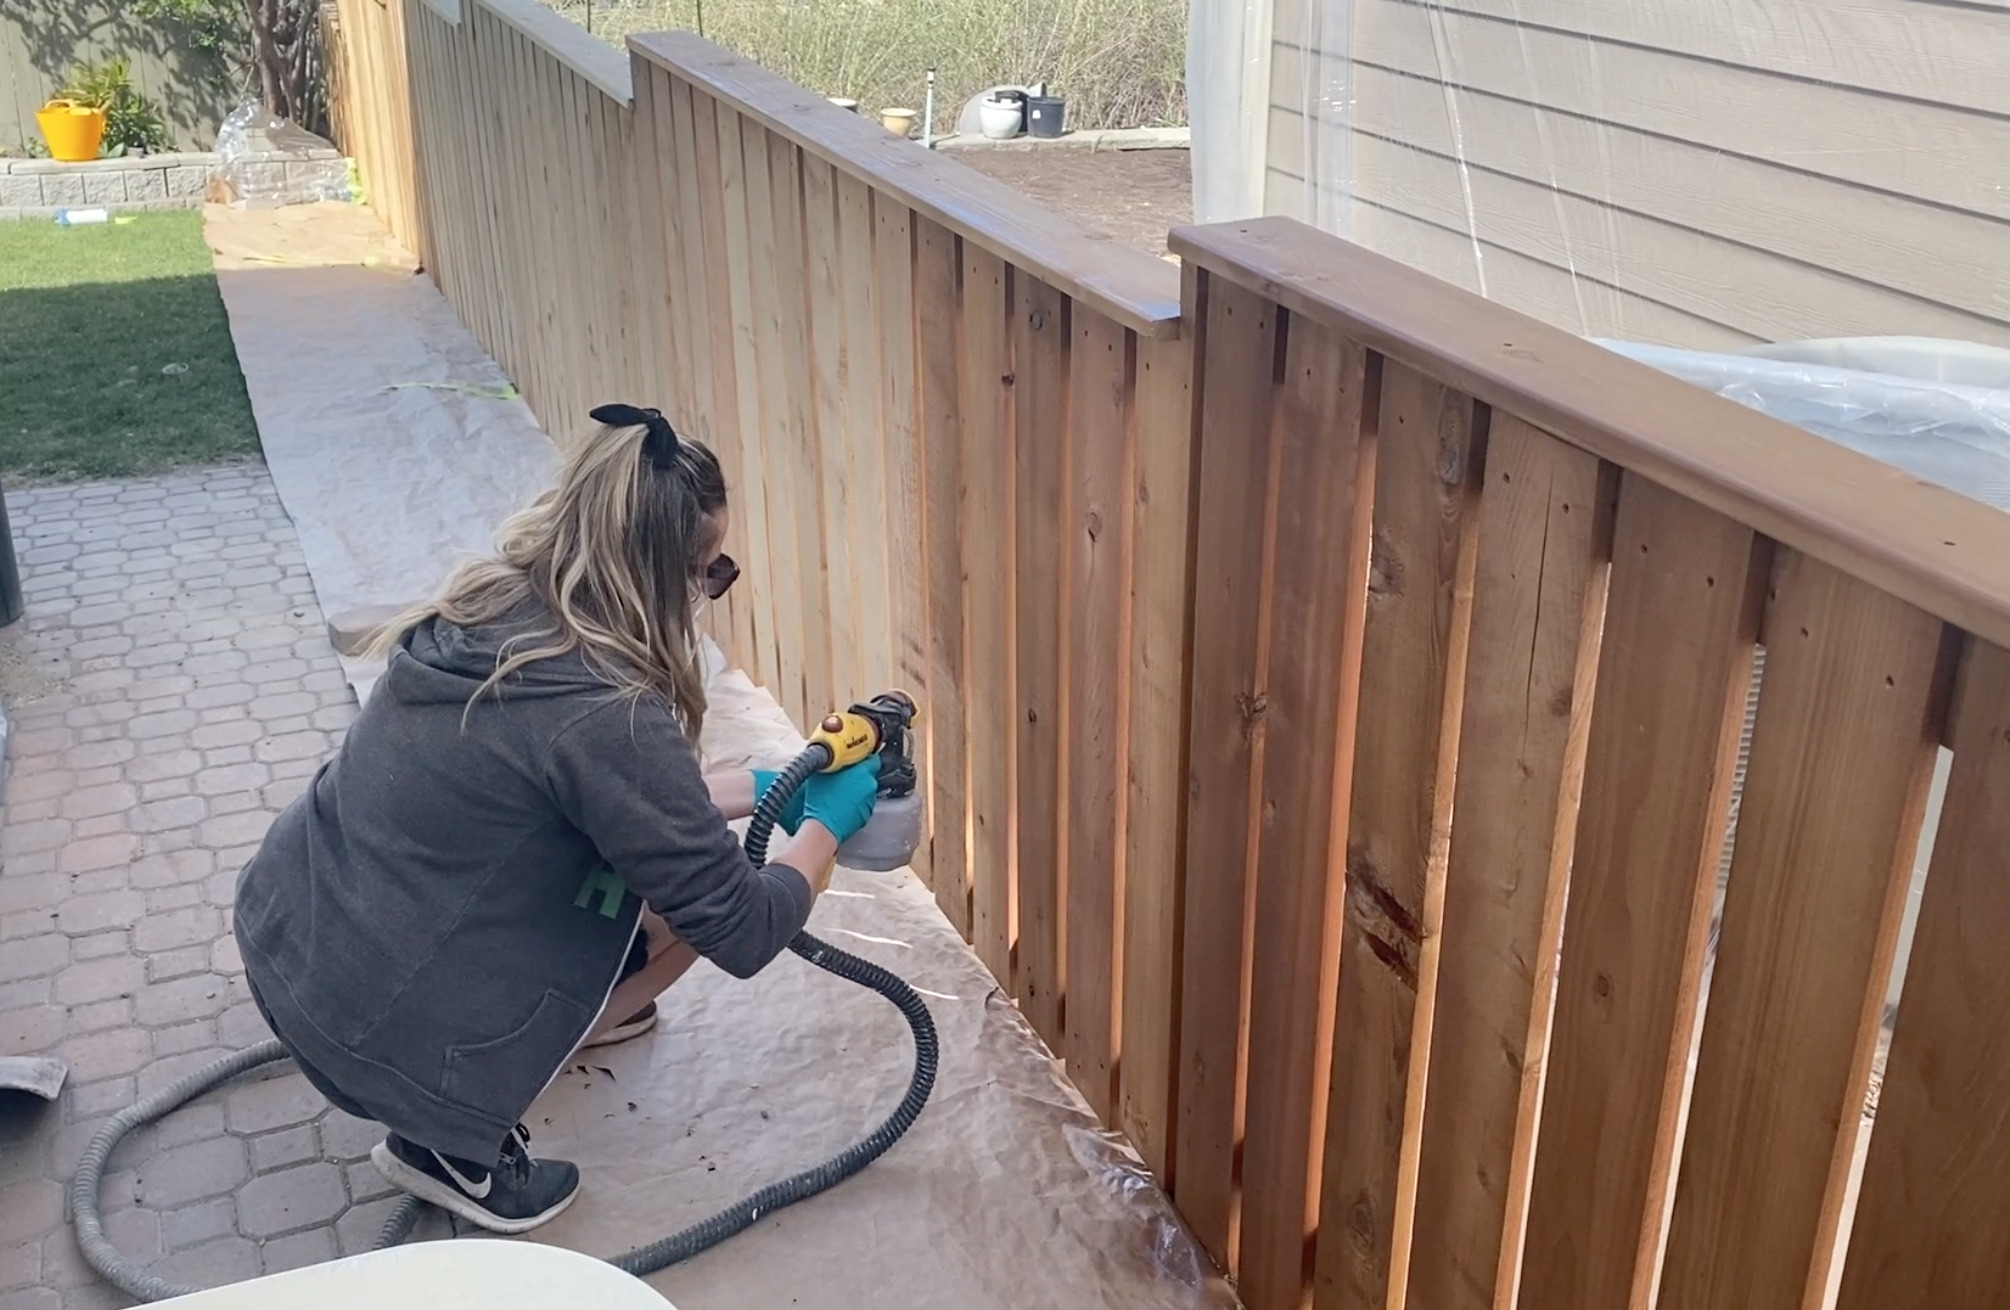
Alright, believe it or not, this section is going to have the least tips. Because all of this preparation is going to help you to breeze right through it. Once you have your sprayer spraying in a beautiful fine mist, you can move on to spraying your fence.
Always keep moving when you have your trigger pulled. This will help avoid lap marks and heavy spots. Move slow and methodically to make sure you get a nice even coverage. Using a sprayer isn’t like spray paint where you mist light quick coats over the same surface.
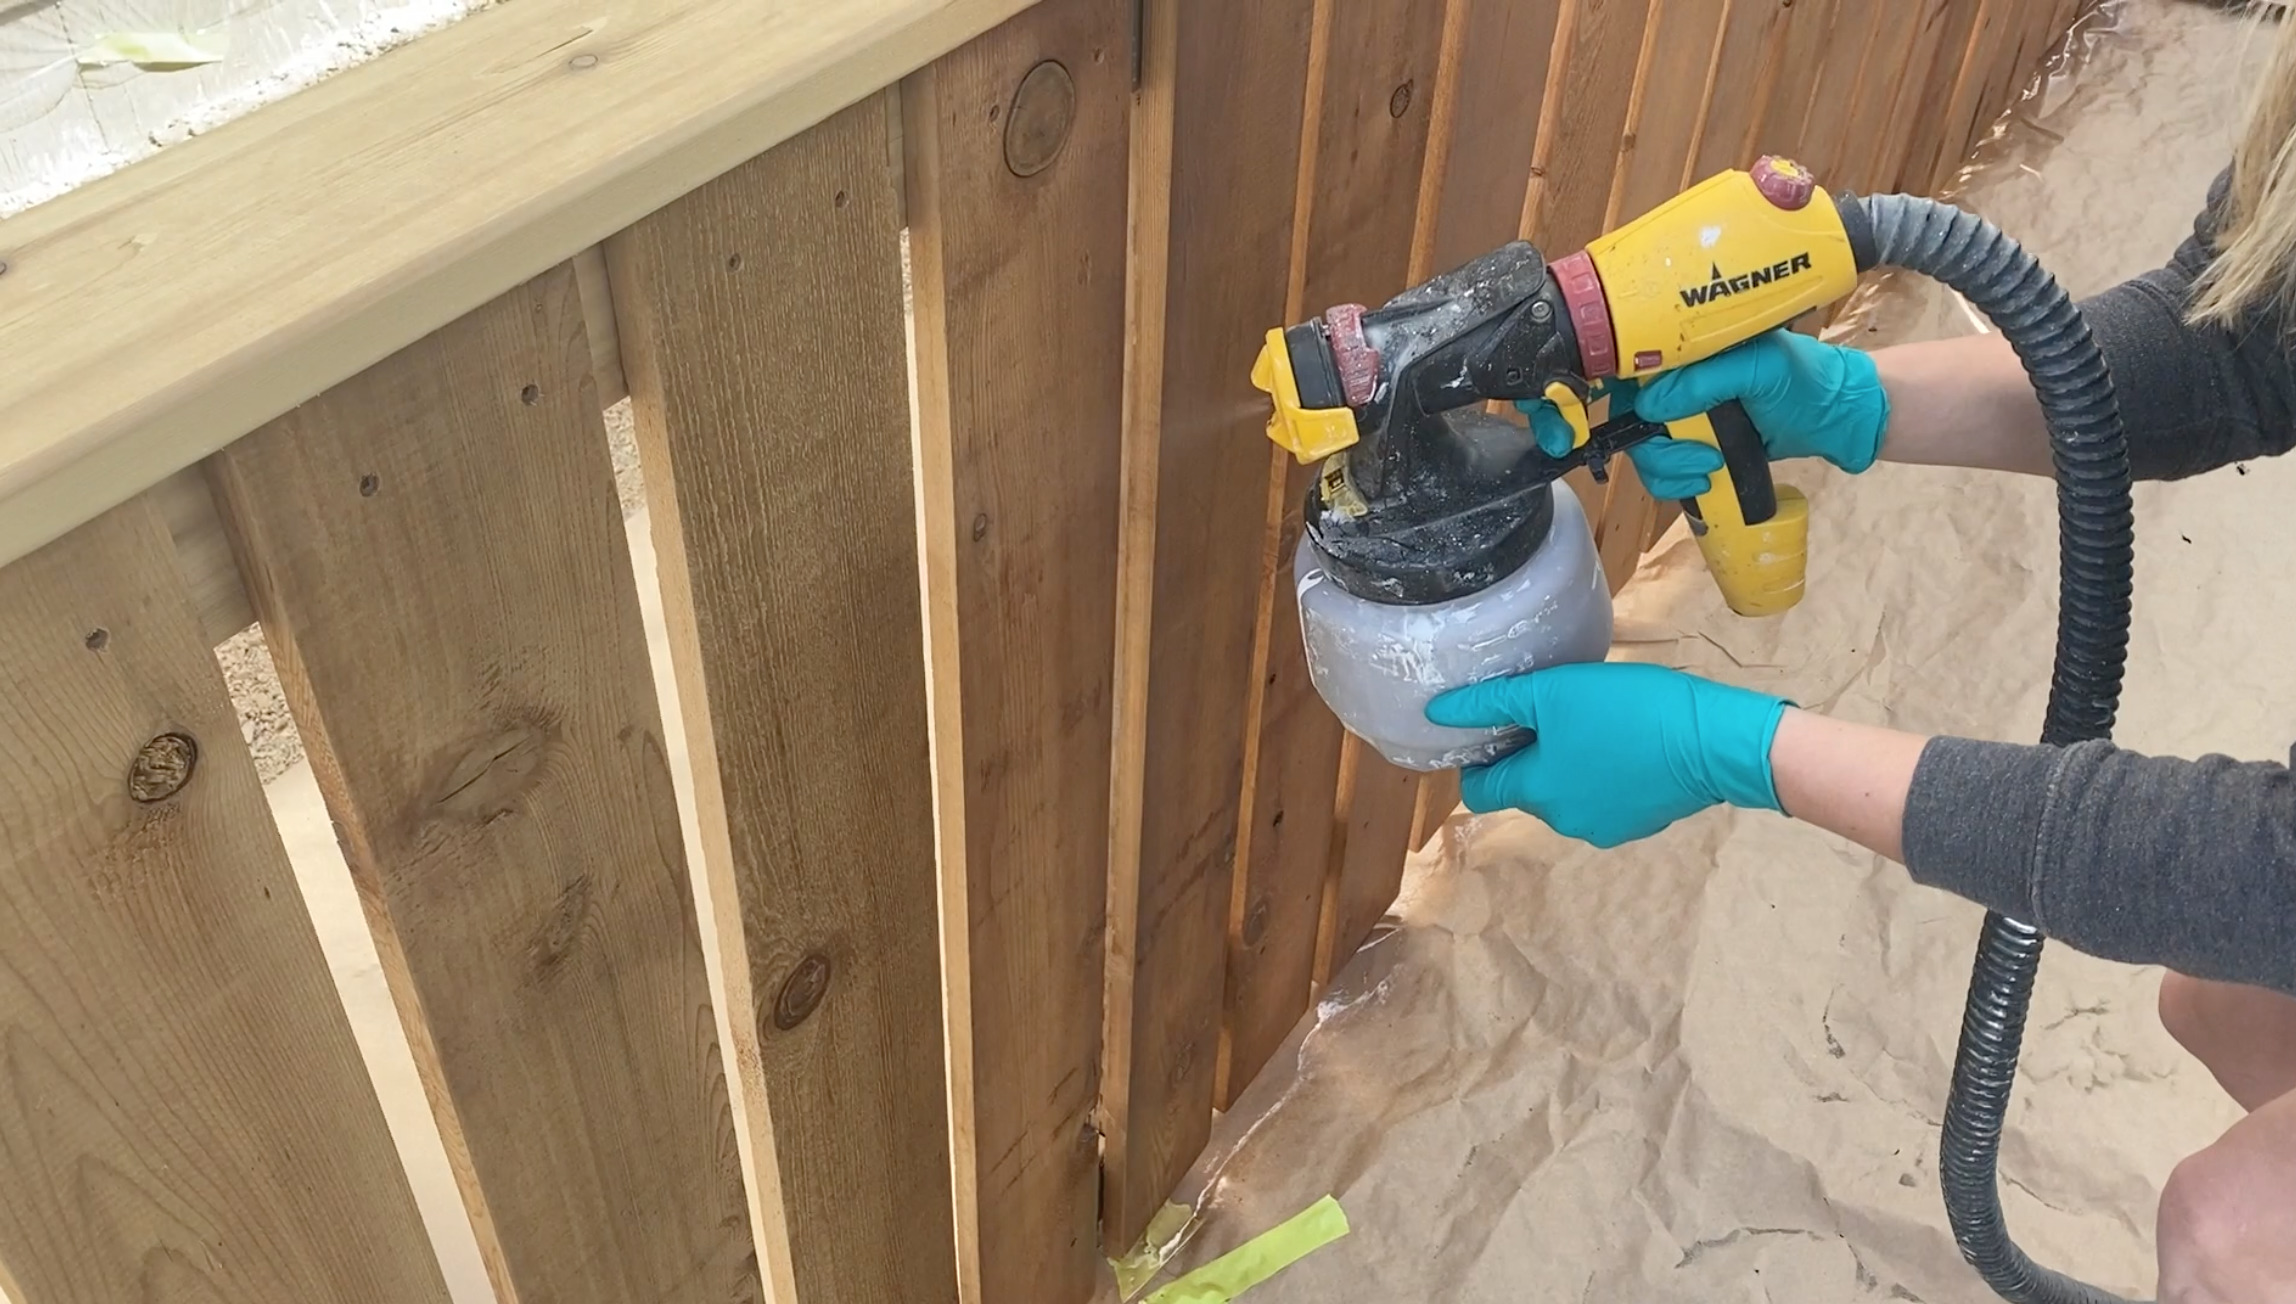
Make sure you aim at the exact surface you want covered. I get this question often. If you’re not staining (or painting) one smooth surface, if there’s grooves or in this case gaps between the boards… you need to aim at those other surfaces (the edges). I went through and aimed at the edges in one direction of a panel of fence boards, then came back at the other edges on those same boards. Since the sprayer is accurate, you also need to be accurate in what you point it at.
To avoid lap marks, let your edges blend into each other instead of overlapping your spray passes. You can see how I do this in the video, but this is the best way to avoid lap marks. Multiple thin coats are better than one heavy coat where you can have drips and lap marks. This isn’t as much of an issue for stain, honestly.
When you get to the end of a board or spray and need to go back in the other direction, either let go of the trigger or spray off your surface while you change directions to avoid a darker spot.
Lastly, remember you can change the direction of your spray pattern from horizontal to vertical. When I was spraying the fence panels with 2x4s along the bottom, I used a vertical spray pattern for that part of the fence.

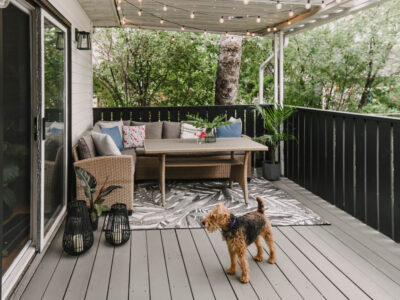
Let your stain dry completely then pull off your masking and enjoy your fence! We are SO happy with how these turned out and this is such a reminder to me that practice of anything makes better. Walking from one side of my house to the other to see the fence I stained last year to the one I did this year after another year of sprayer projects is a great reminder of this.
I’m so happy with how this fence turned out (and our friends fence I sprayed!) I always work myself up for projects like this and ever time, I finish faster and easier than expected. Spraying is definitely rewarding!
CHECK OUT THE REST OF MY SMALL BUT MIGHTY BACKYARD!


CHECK OUT MORE OF MY PAINT SPRAYER POSTS!


LIKE IT? PIN IT!
 DIY Wooden Plant Markers with Cricut Joy
Hi, I completely agree with you that a paint sprayer is the best choice for staining fences. Especially I prefer Wagner Sprayers or pump sprayers for wood stain. I appreciate you shared awesome tips! Thanks