
Sharing our DIY Kids Playhouse decor on a budget! Decorated with supplies we had on hand or have gotten for free! Here’s how we spent nothing on this playhouse interior thanks to DIY and repurposing materials!

A couple weeks ago we shared that we’d built a little playhouse for our kids and revealed the exterior to you along with why we chose to use a solid stain instead of a paint. If you are interested in hearing aaall about that, you can hop over and check out that post right here.
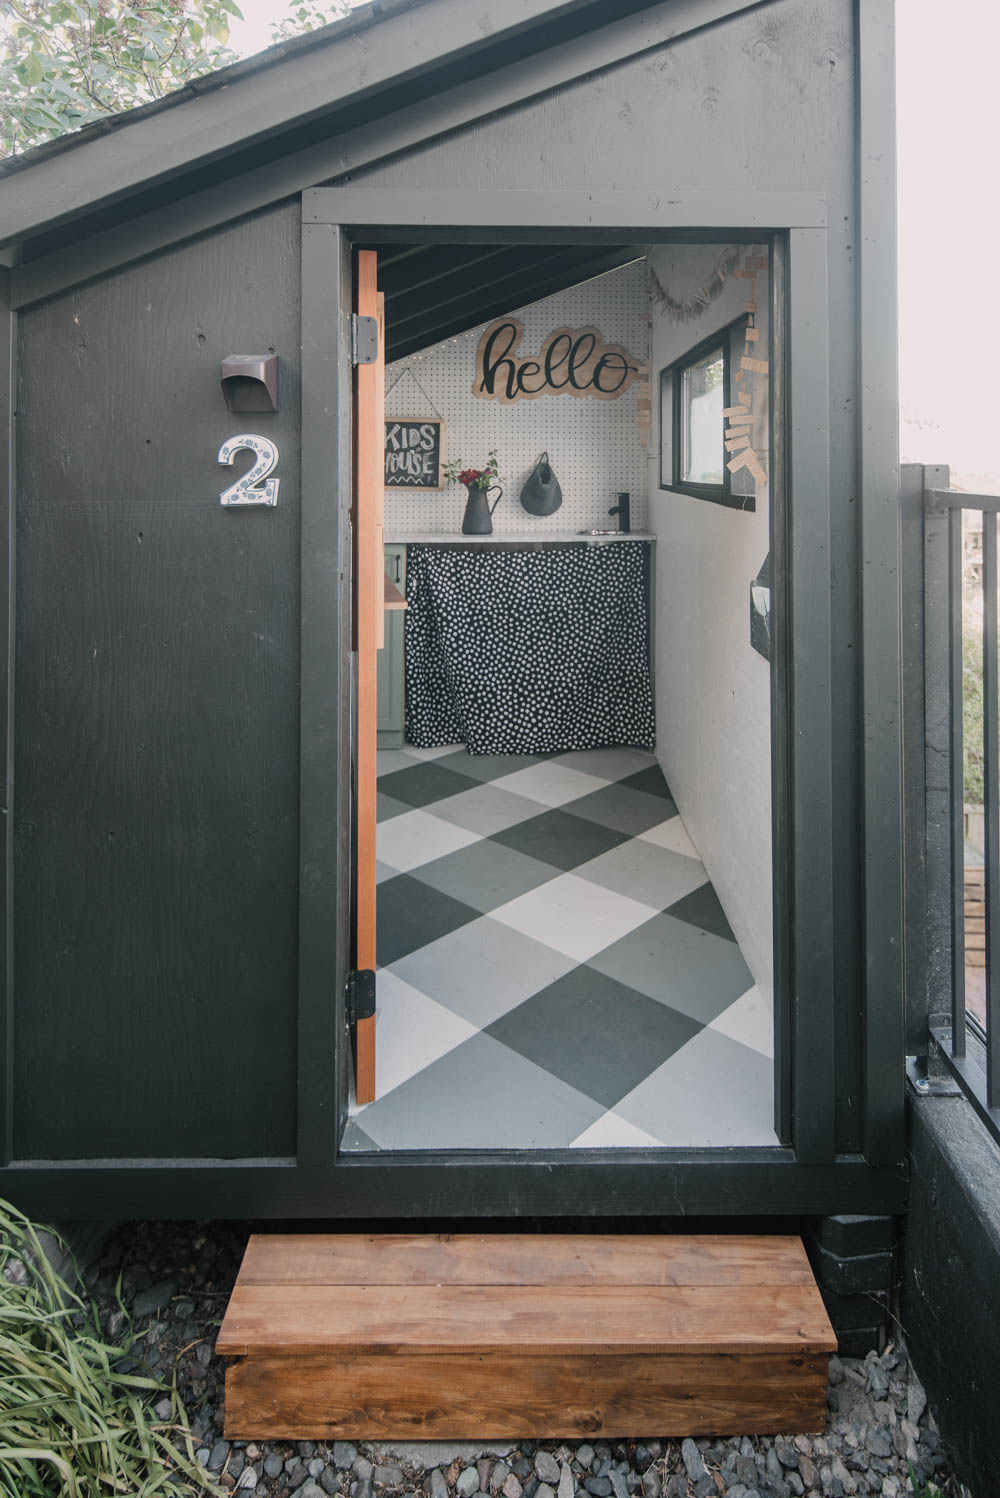
We built this playhouse in an unusable corner of our yard at the top of a retaining wall and built a little ladder for the kids to get to it. We painted the outside our favorite black to blend in with the retaining wall and chose warm wood for the door and step up.
At that time, we’d planned to put off finishing the interior of the playhouse until some of our bigger projects (siding!) we’re wrapped up, but I can’t do much siding while Shane’s at work anyways and the kids asked really nicely that we work on the playhouse.
So we put in a couple good days of work and the kids and I made the space over!

I’m so so pleased with how it turned out. It feels really good to check this one off the list, use up some supplies we’d been saving/ hoarding, spend $0, and give the kids more spaces to play and love.
Did you catch that budget bit? It cost us nothing to finish the interior.
I made it a goal to use what we had and nothing more. I didn’t go to the store, not even once! I’m pretty proud of that.
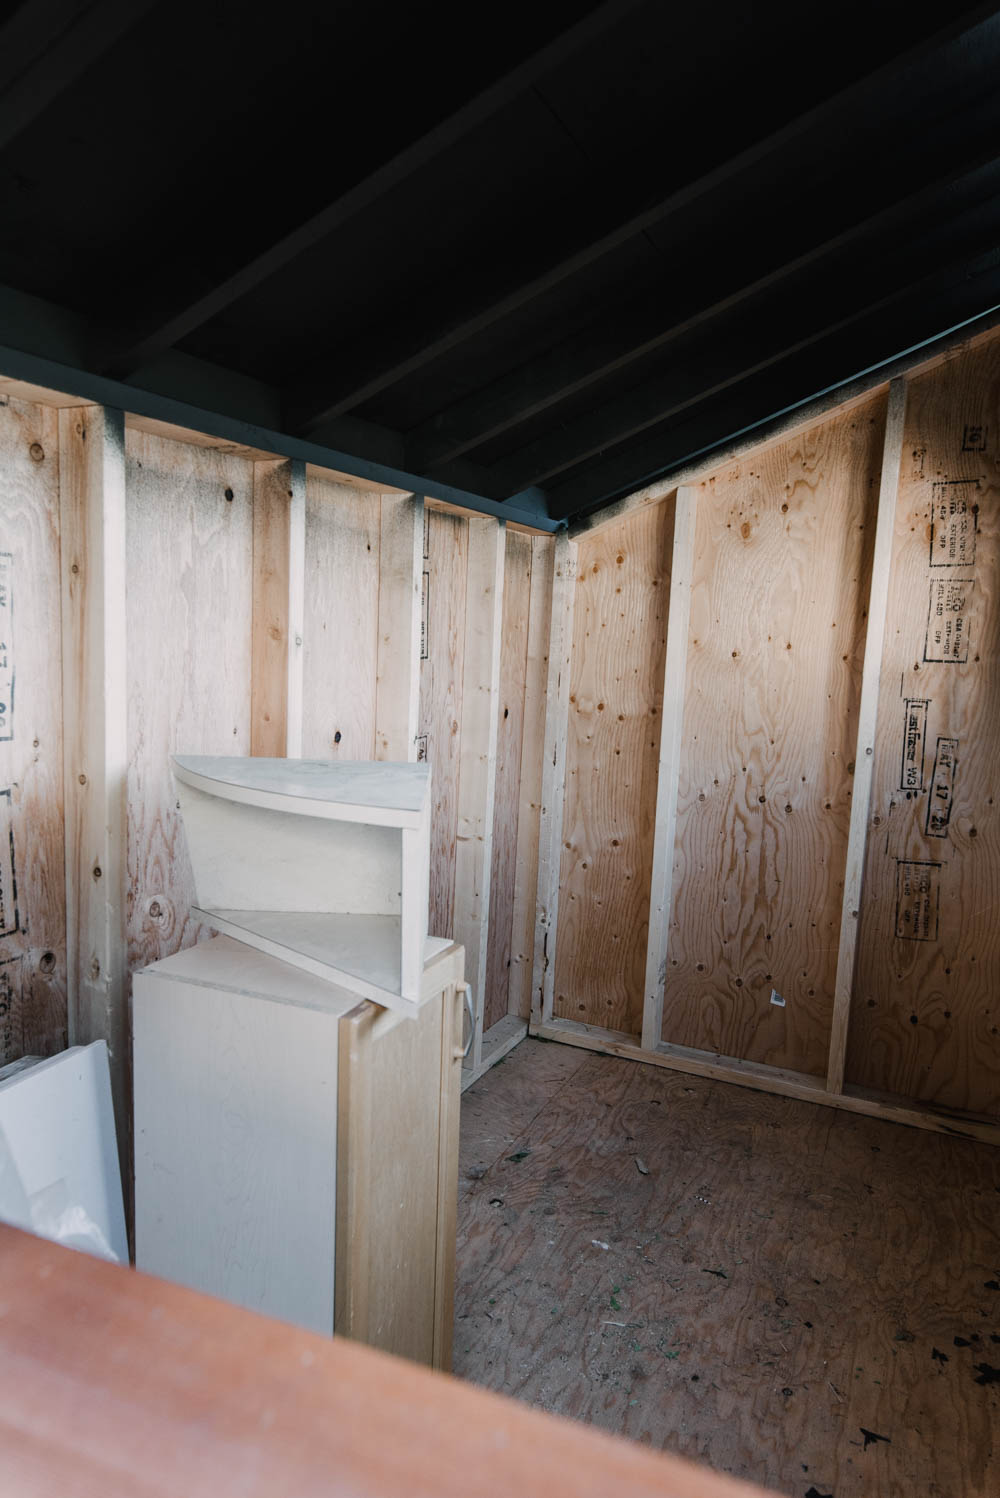
We had been saving bits of plywood from the playhouse build and a big piece of panelling from my dad’s remodel, plus my dad brought up some other bits like a small kitchen cabinet and I have… well… heaps of paint and craft supplies and old DIYs sitting in my office. So it was a welcome challenge.
First things first, let’s remind ourselves of what it looked like at the beginning of the week:
I’ve written the whole thing out, but if you prefer to watch the space come to life in video form- enjoy this YouTube video! If you haven’t already- I’d so love if you subscribed to my channel over there!

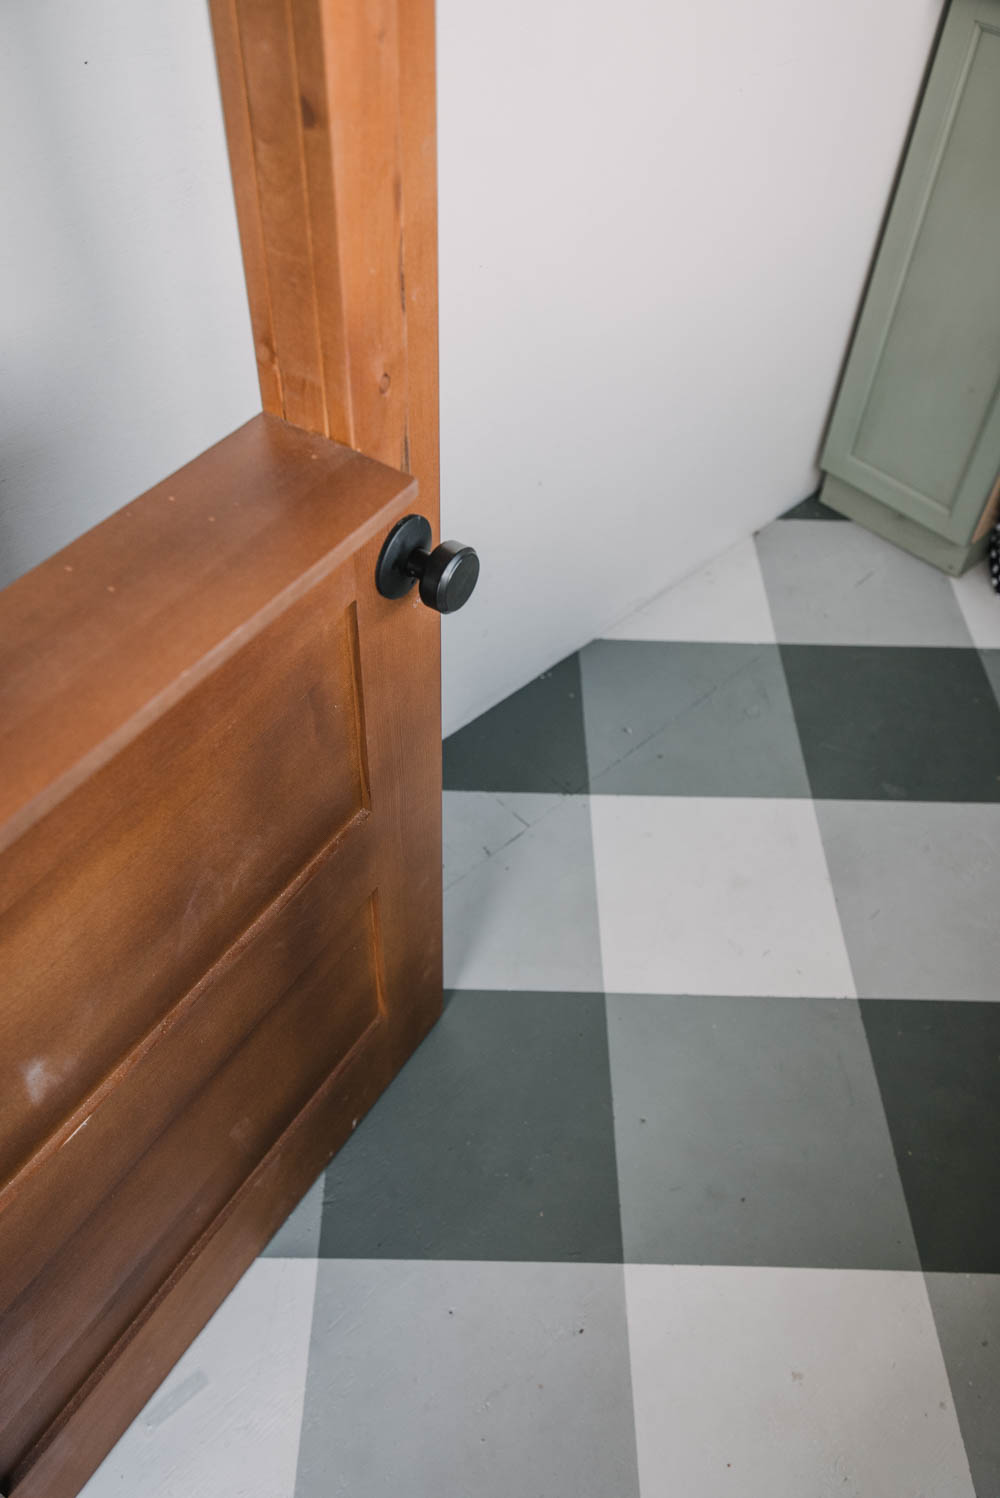
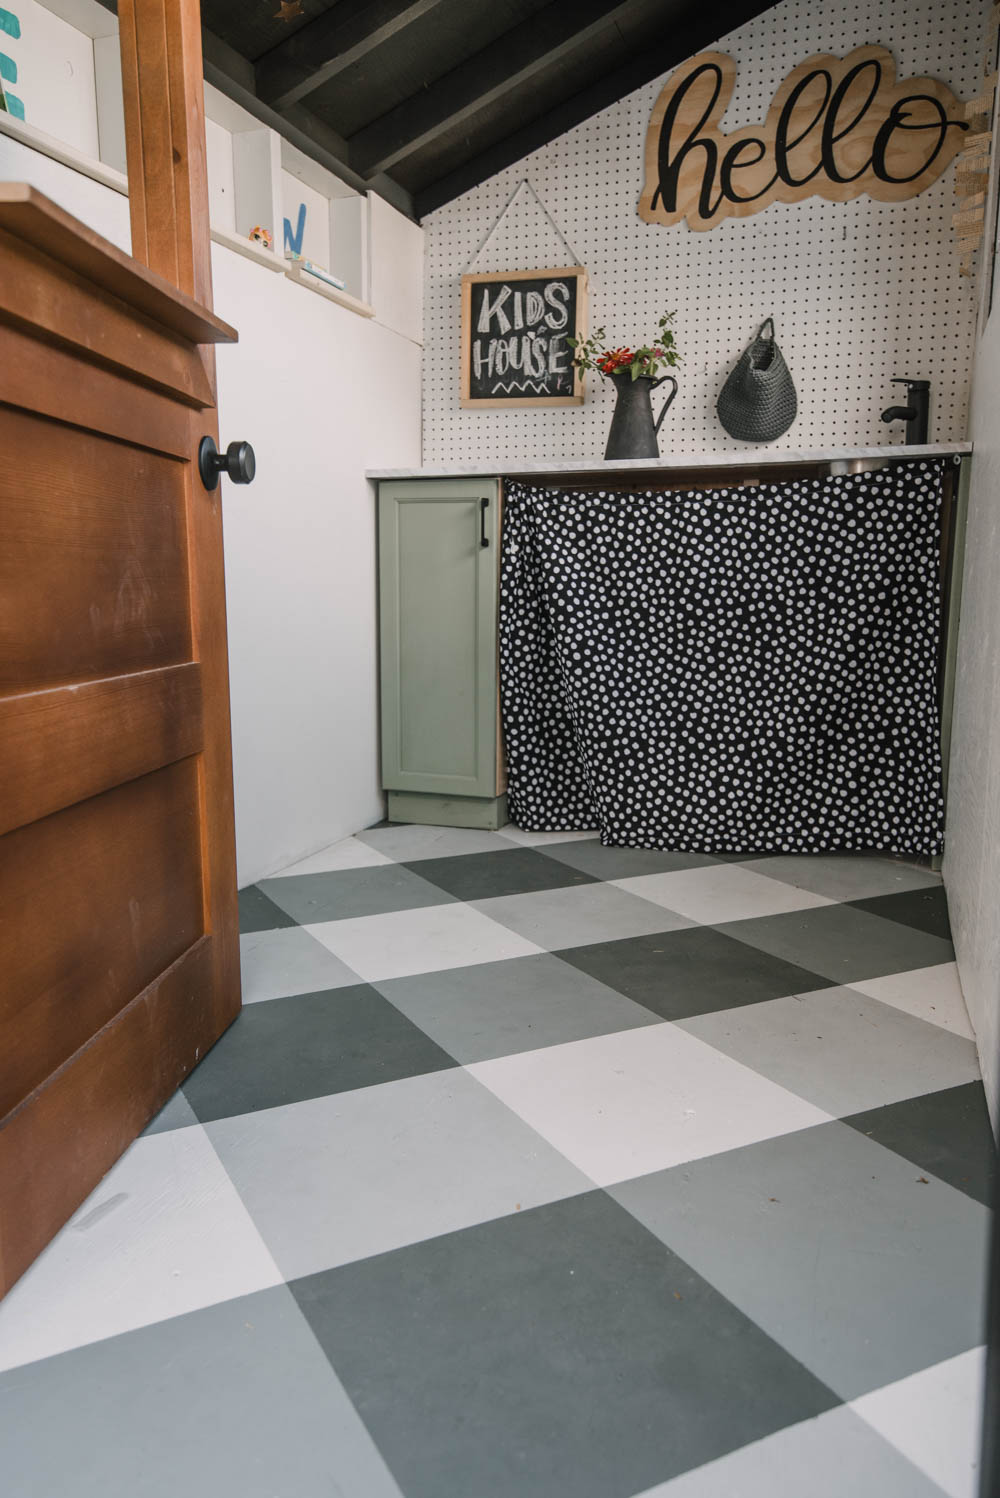
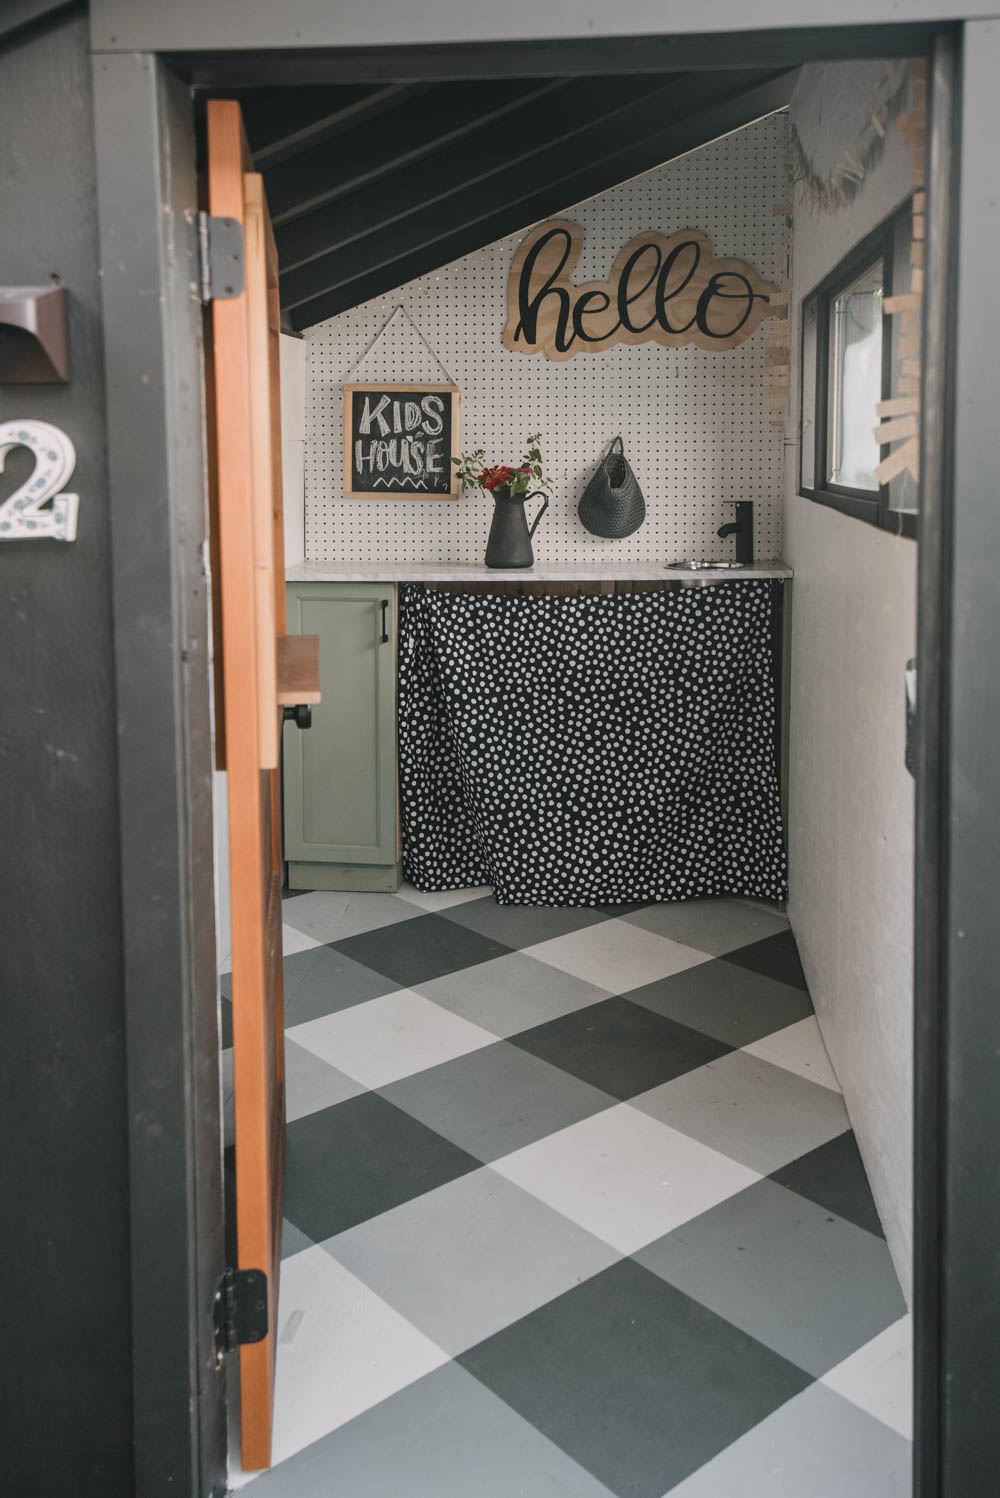
The first thing we did was get started on the floor. The kids decided they wanted a buffalo check floor after we looked up ‘painted floors’ to get some ideas.
I roughly followed this tutorial here using a mix of black and white paint we already had in our storage room. The kids enjoyed helping with this one- it really looks cool as it comes to life!
This took probably just as much time as the rest of the interior. Two coats of the white, waiting for it to dry, measuring and taping and squaring off the lines… painting 2 coats of the lightest gray, then doing that all over again for the medium gray and the dark gray.
Whew! It was a project, but it was so worthwhile- I mean… look at how amazing it turned out! We just mixed black and white paint to get these different colors.
The next thing we did is panel the walls with the leftover plywood and wood panelling. I cut these pieces to size just using a circular saw and attached them using brad nails.
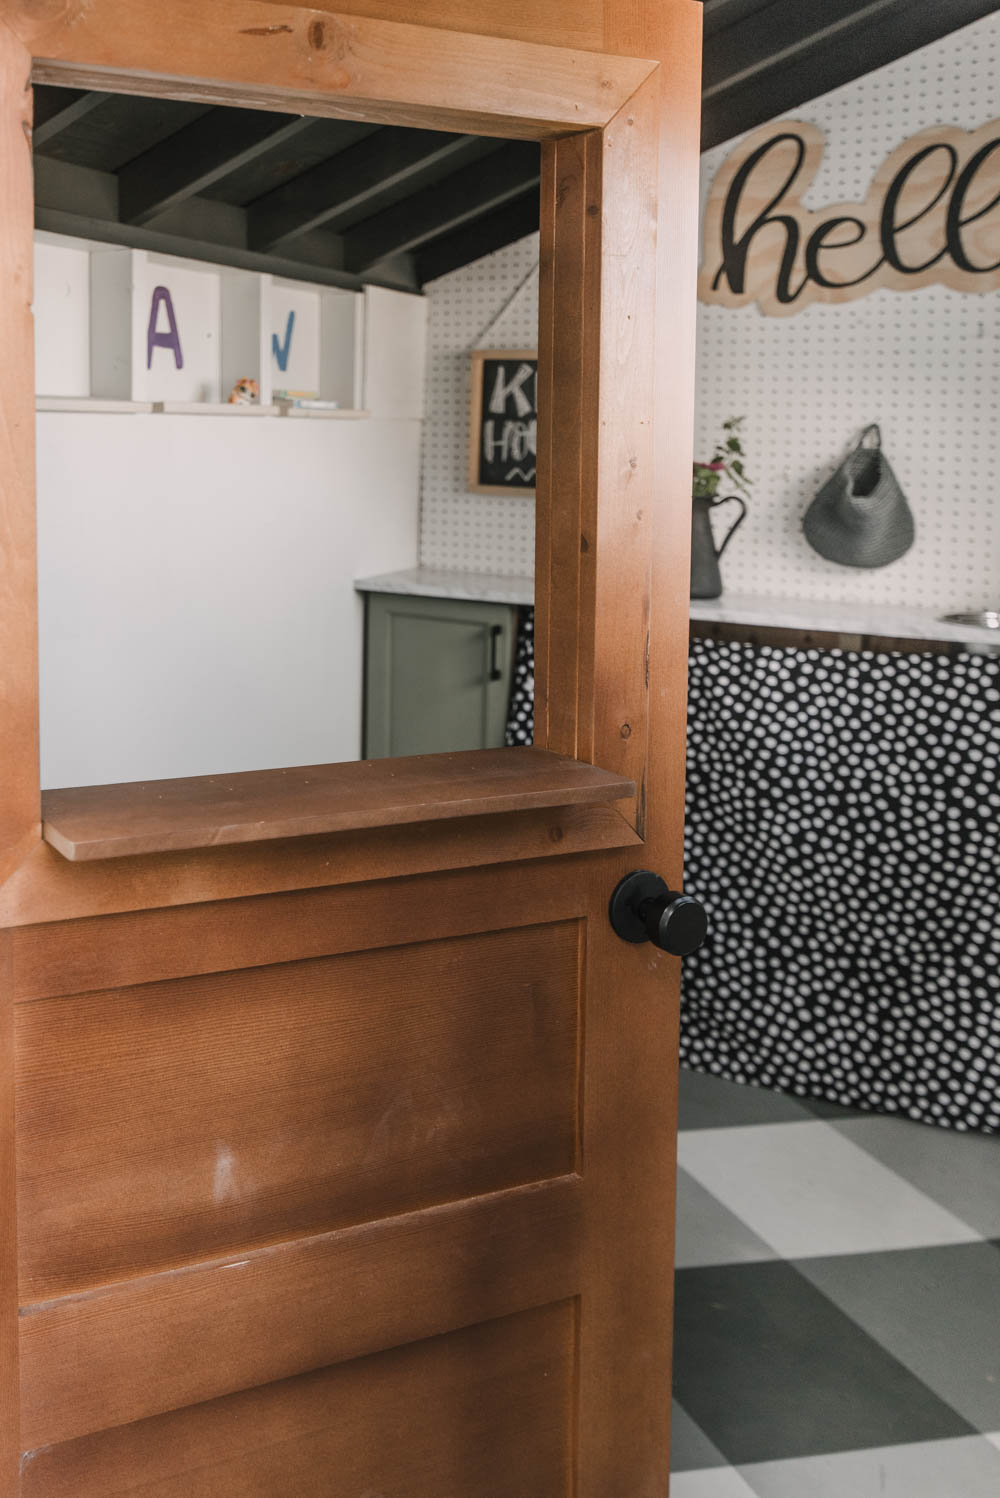
The peg board was put up with screws since there would be weight on it. The pegboard is leftover from my office makeover (the one whole room was covered in the stuff before!). I didn’t have quite enough plywood and panelling to do the whole interior so we improvised, creating some shelves.
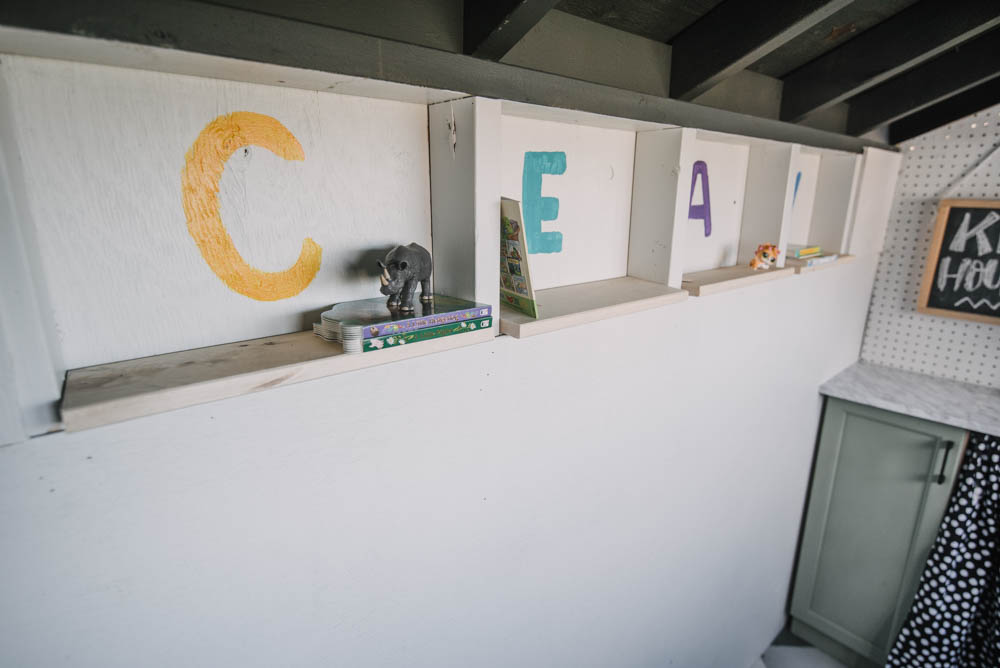
You can see that we built in 4 shelves between the studs- one for each kiddo. I added extra backing and cut some wood shiplap to size for this. I added an big letter with some craft paint so each kiddo knows which shelf is theirs (no fighting!) and I fully expect these to fill up with the most special rocks you ever did see. For now I’ve put some trinkets and board books of theirs out here.
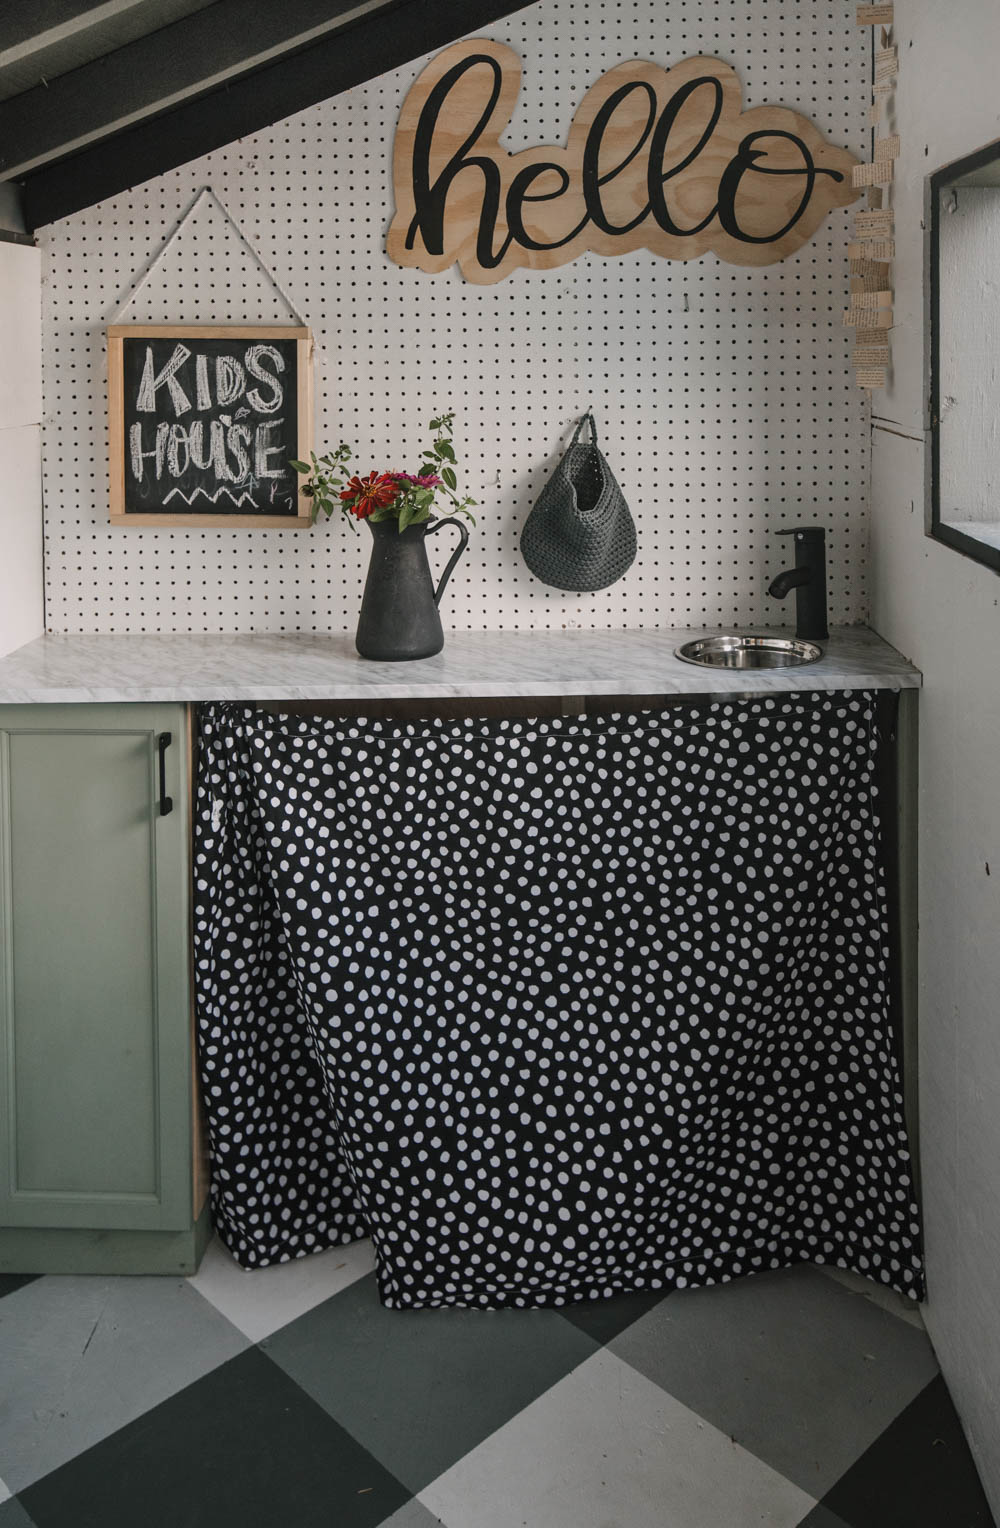
The other place we didn’t have plywood to cover? Under the kitchen countertop! So we disguised that with a little curtain. The kitchen was such a fun project.
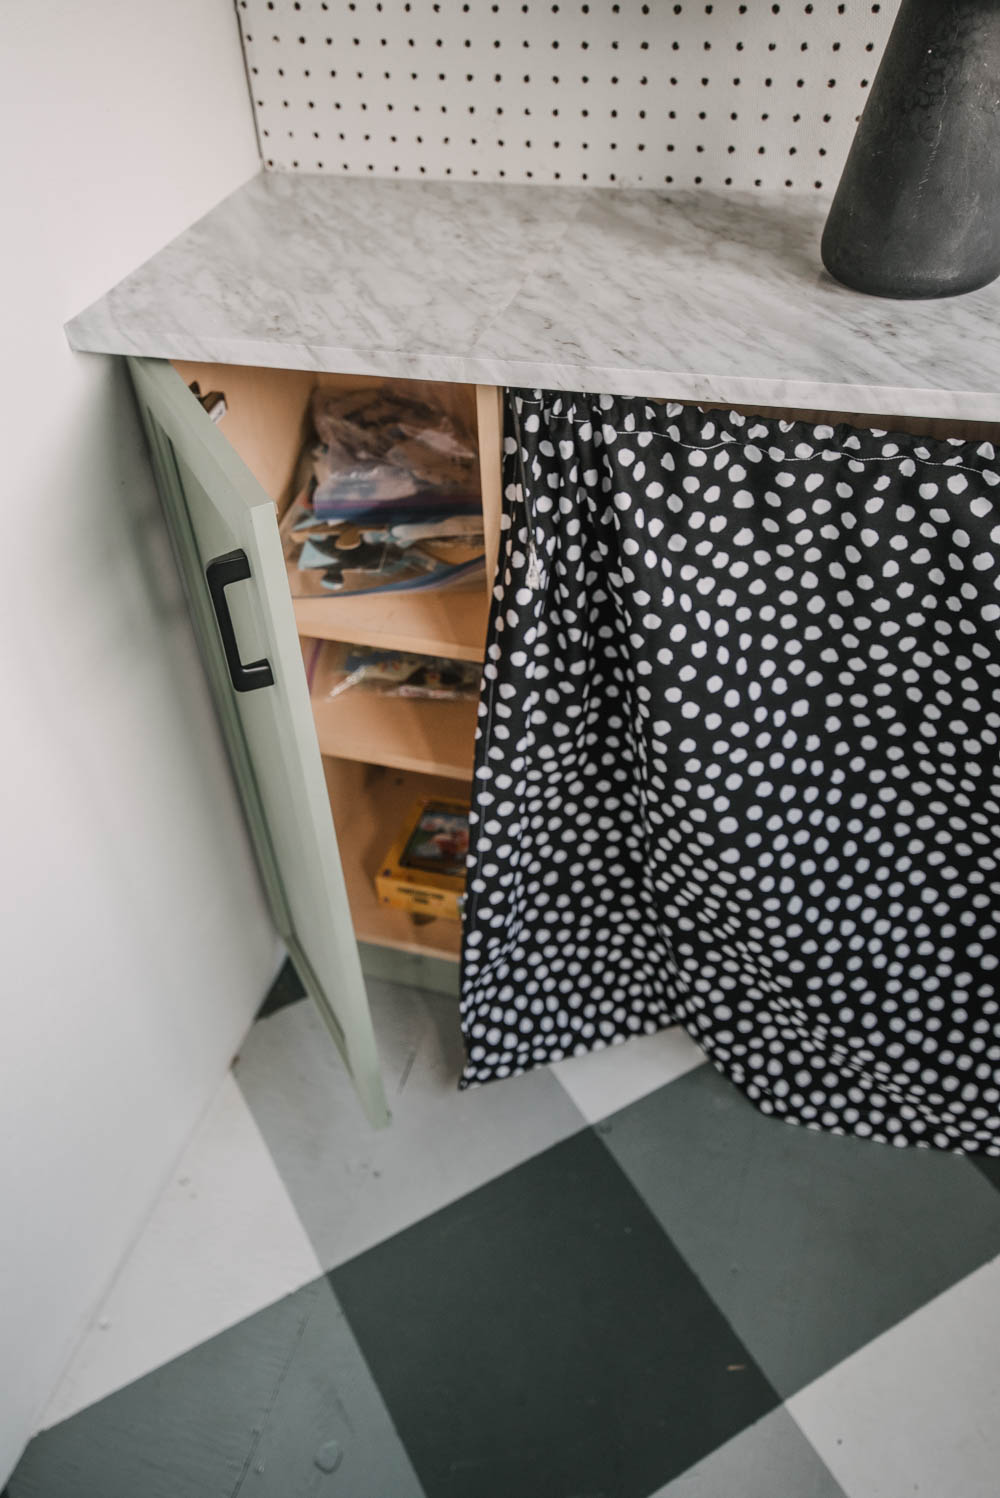
The 12″ cabinet was leftover from one of the houses my dad renovated. We used a couple cabinets from that kitchen in our last home laundry room and this guy was just waiting to find it’s forever home. It had gone from garage to garage and now it got a paint job and hardware to find new life here. Aubrey chose the green paint that I used on my office dresser for this.
I had almost the full can left- it’s the perfect green to compliment those floors! We built a base for the cabinet out of 2x4s and painted those as well. A matte black pull leftover from our green kitchen remodel modernized it perfectly.
This cabinet is used to store some puzzles and games for the kids.
We made the countertop out of an old fridge side panel that my dad also had laying around as well (essentially a pressboard shelf). We cut it to size using a circular saw and wrapped it in a marble contact paper.
I still have a couple rolls of this marble paper- it was so popular a few years back I bought a bunch at the dollar store with plans to make over some kind of furniture but never did. It’s essentially drawer liner so it’s wipeable- perfect for out here!
I painted a piece of this shelf green to use as a support on the right hand side for the countertop as well. You can kind of see that tucked right against the wall on the right.
To hide the unfinished studs, Aubrey and I sewed a little curtain to go under the countertop. It’s special to get to teach her to sew just like my grandma taught me to sew when I was young. And the fabric? Well, you guessed it, I had that too!
If you caught my office makeover, you’ll know I have heaps of fabric still from when I worked in a mall two doors down from a fabric store years ago. I made good friends with the clearance section and not as good of friends with my sewing machine- ha!
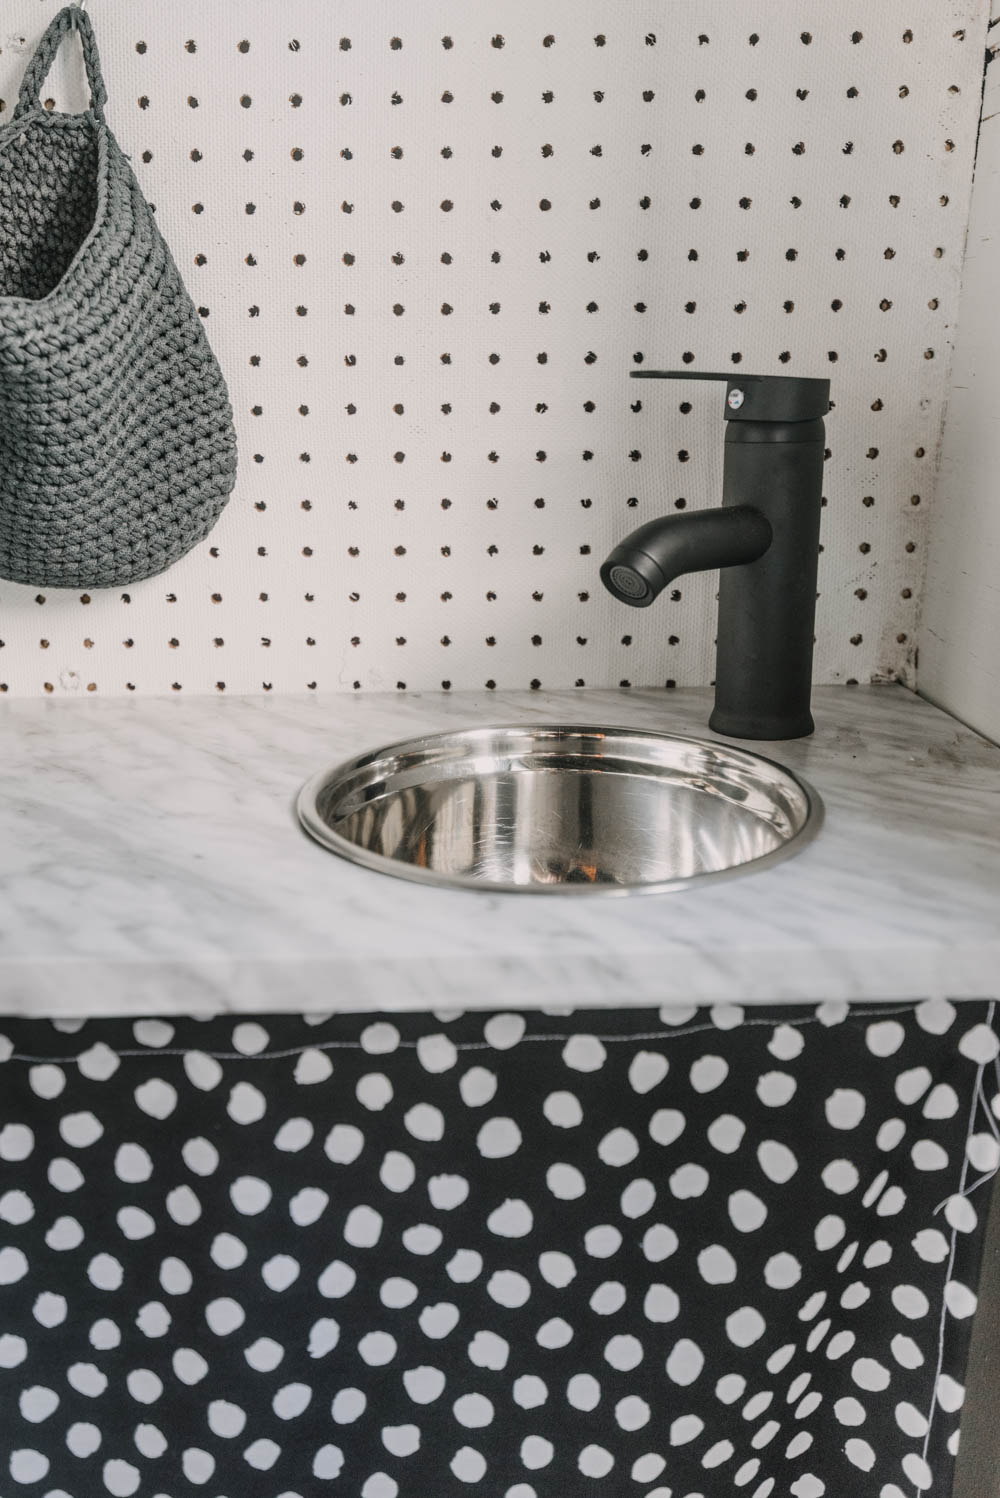
I added in a little sink and faucet (both totally not working) to the faux marble countertop. We cut the hole in the countertop with a jigsaw and fit a kitchen mixing bowl in there for the ‘sink’. I’m now down a mixing bowl in my kitchen, but it was for a good cause.
The faucet is actually a real faucet. We’d ordered it on Amazon when we’d planned to give our main bathroom a little temporary refresh. But our toddler flooded our bathroom before we got to that project, and in all the chaos we’d missed the return date. We ended up doing a full bathroom remodel thanks to that. We bought it for $23 but I see it’s gone up to $30.
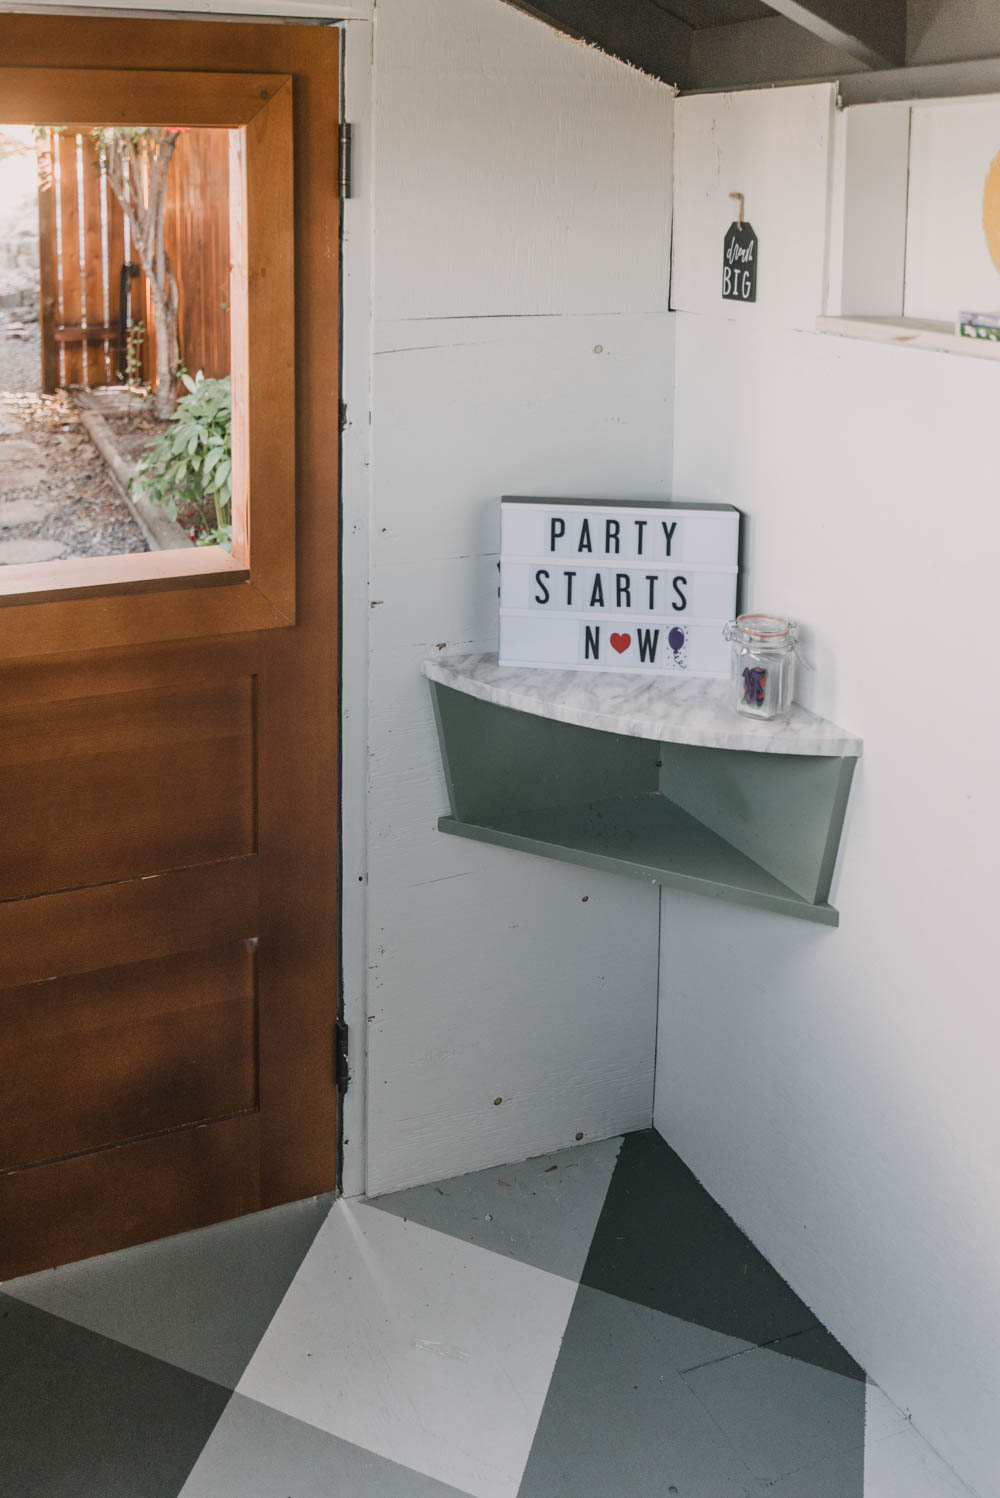
We painted all of the plywood and pegboard white which really brightened up the space. Again, we’d used leftover paint, this time from the garage I believe. We also painted this little corner table/shelf the same colour as the little kitchen cabinet. It’s another salvage from my dad’s renovation.
I wrapped the top of that corner shelf to match the countertop and it is the perfect size for this corner! I’d love to find a little vintage style phone for them to have here. For now they use it as a ‘coffee bar’ to serve us coffee out of the window.
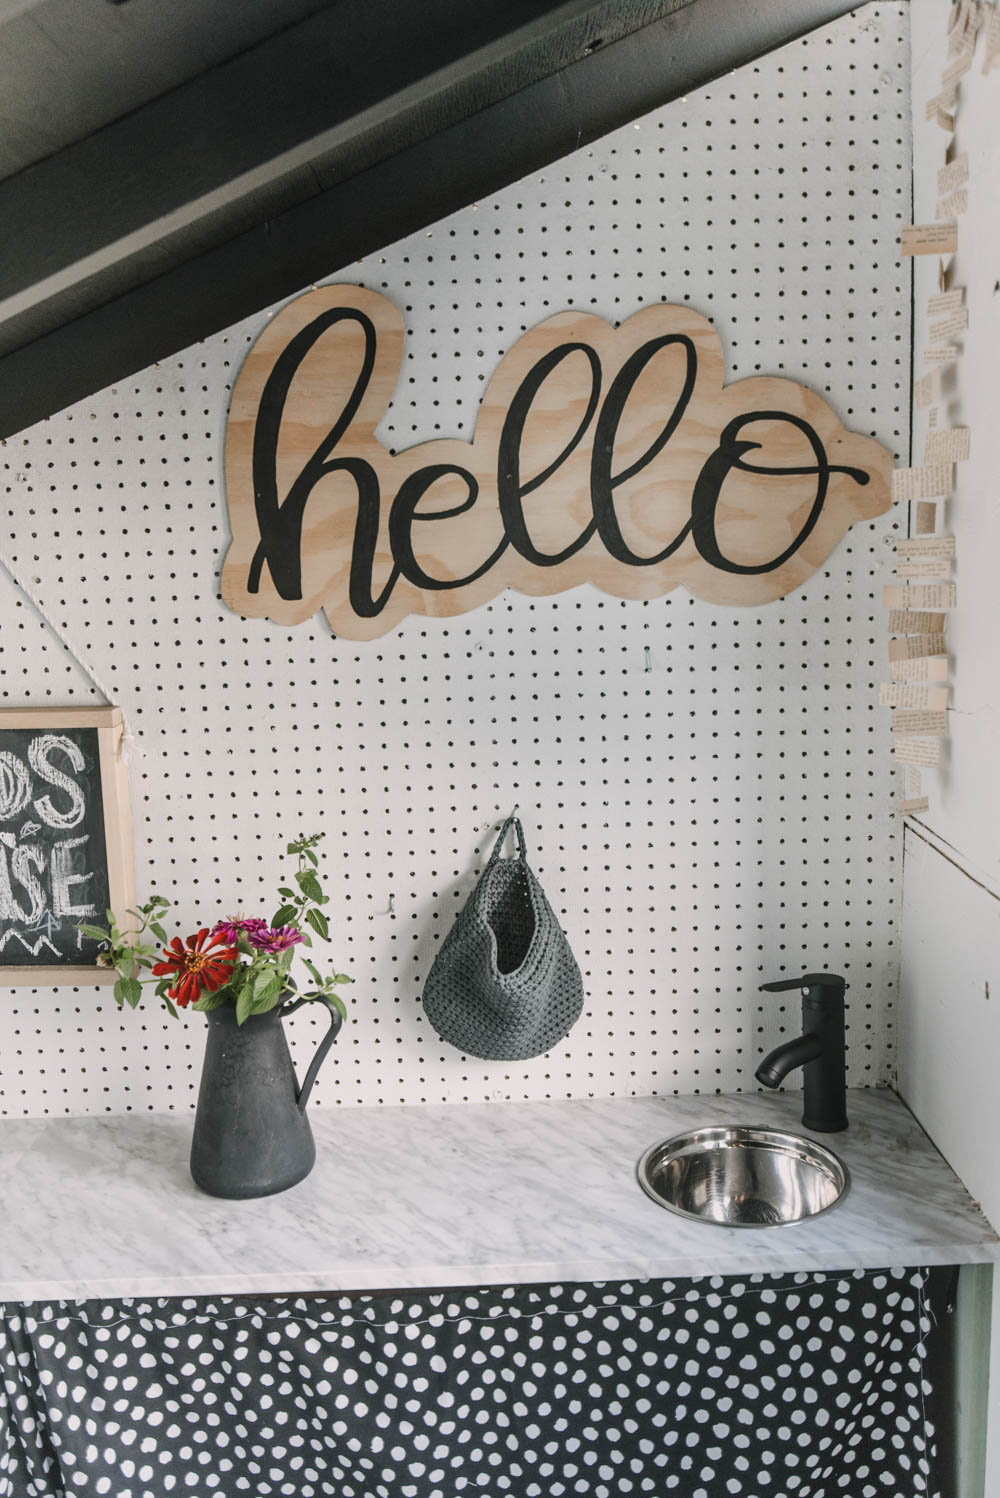
Alright… the decorations! That big plywood ‘hello’ was a DIY we’d used in our kiddos bedroom at our last house. I really loved it still but didn’t have the perfect spot for it in this house. You can see the tutorial to make your own right here.
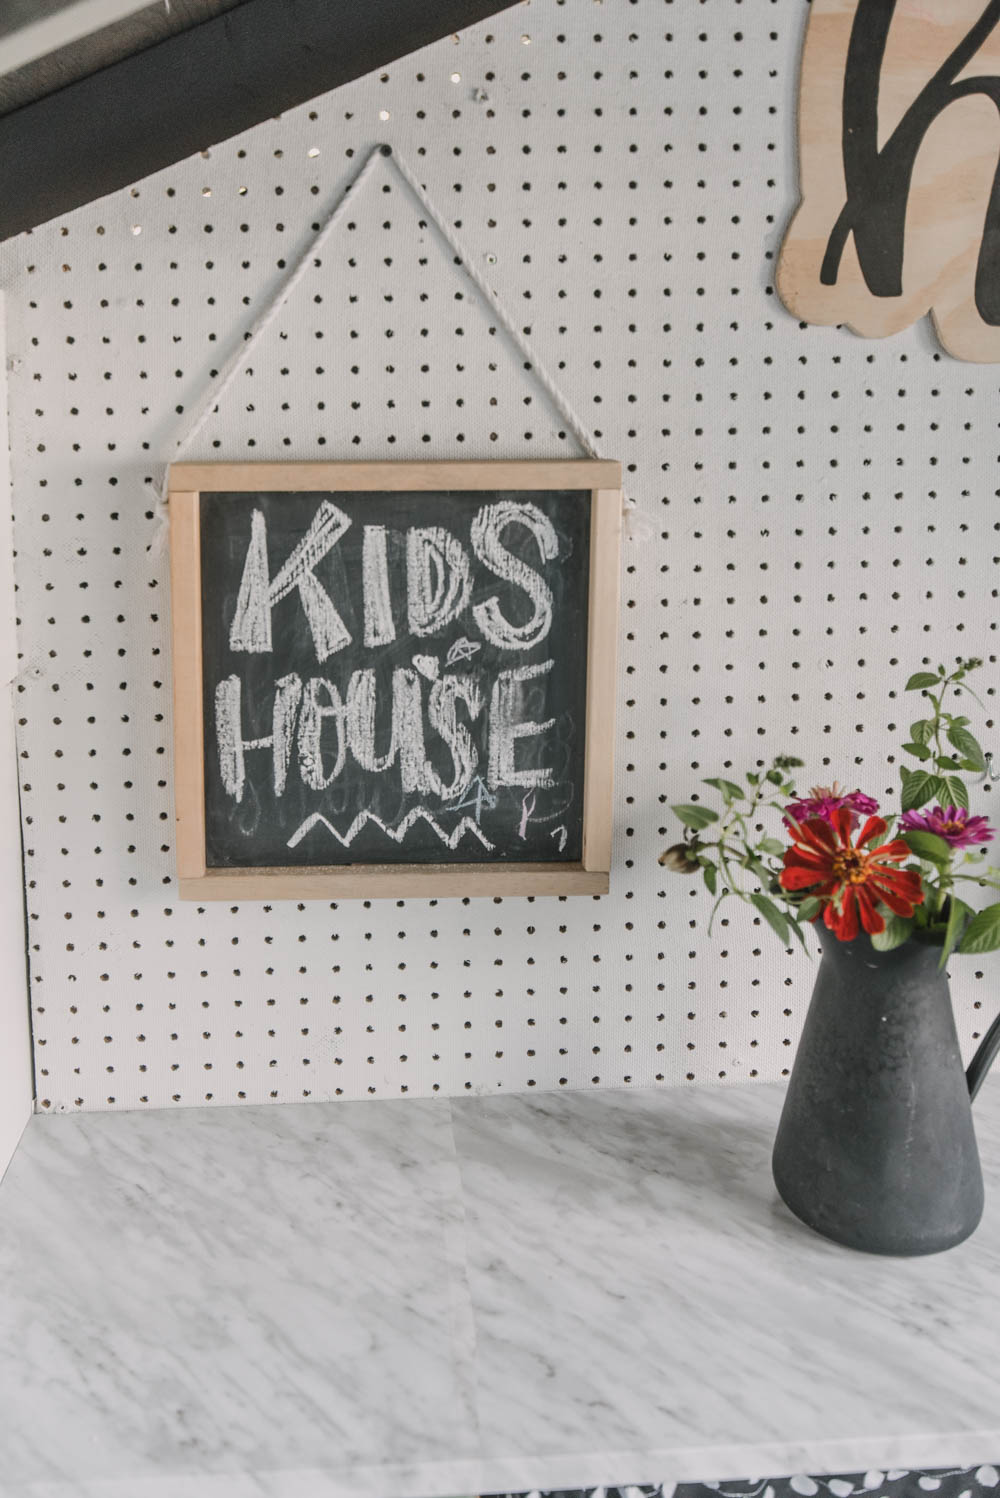
The wooden hanging chalkboard was another DIY that I’ve been hanging on to. Lately, I’d been using it for parties or baby showers to put on the front door to let people know they’re in the right place. You can find that DIY right here.
The little bag on the pegboard is full of chalk for the kids to colour on there.
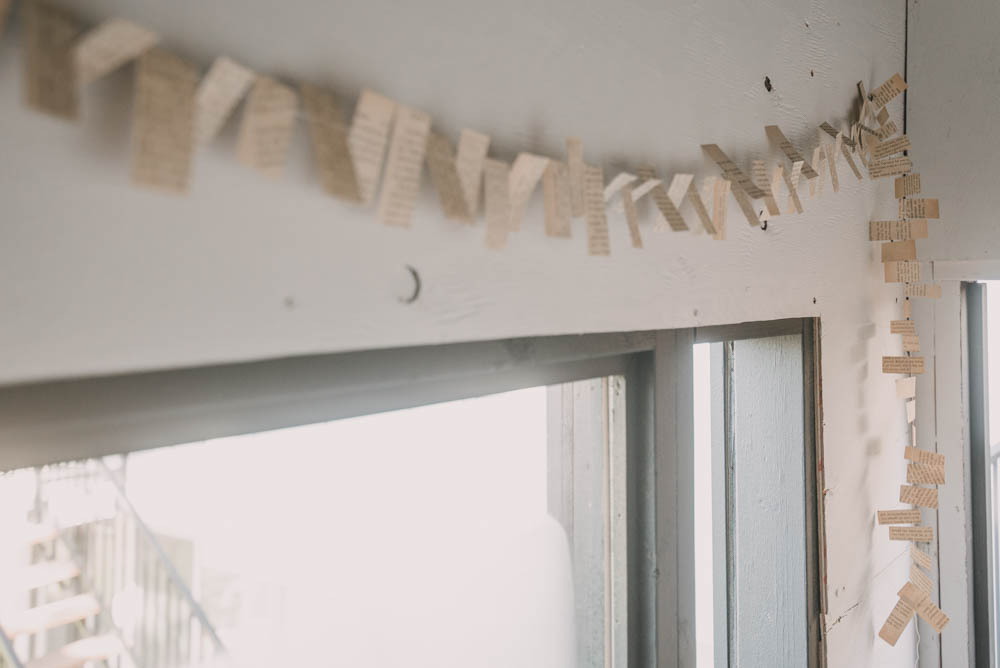
This garland is made out of old book pages sewn together. It’s from a baby shower that I decorated 7… 8? years ago. And yes, I blogged it because somehow I’ve been blogging that long now! You can see the full vintage story book baby shower that this garland is from right here.
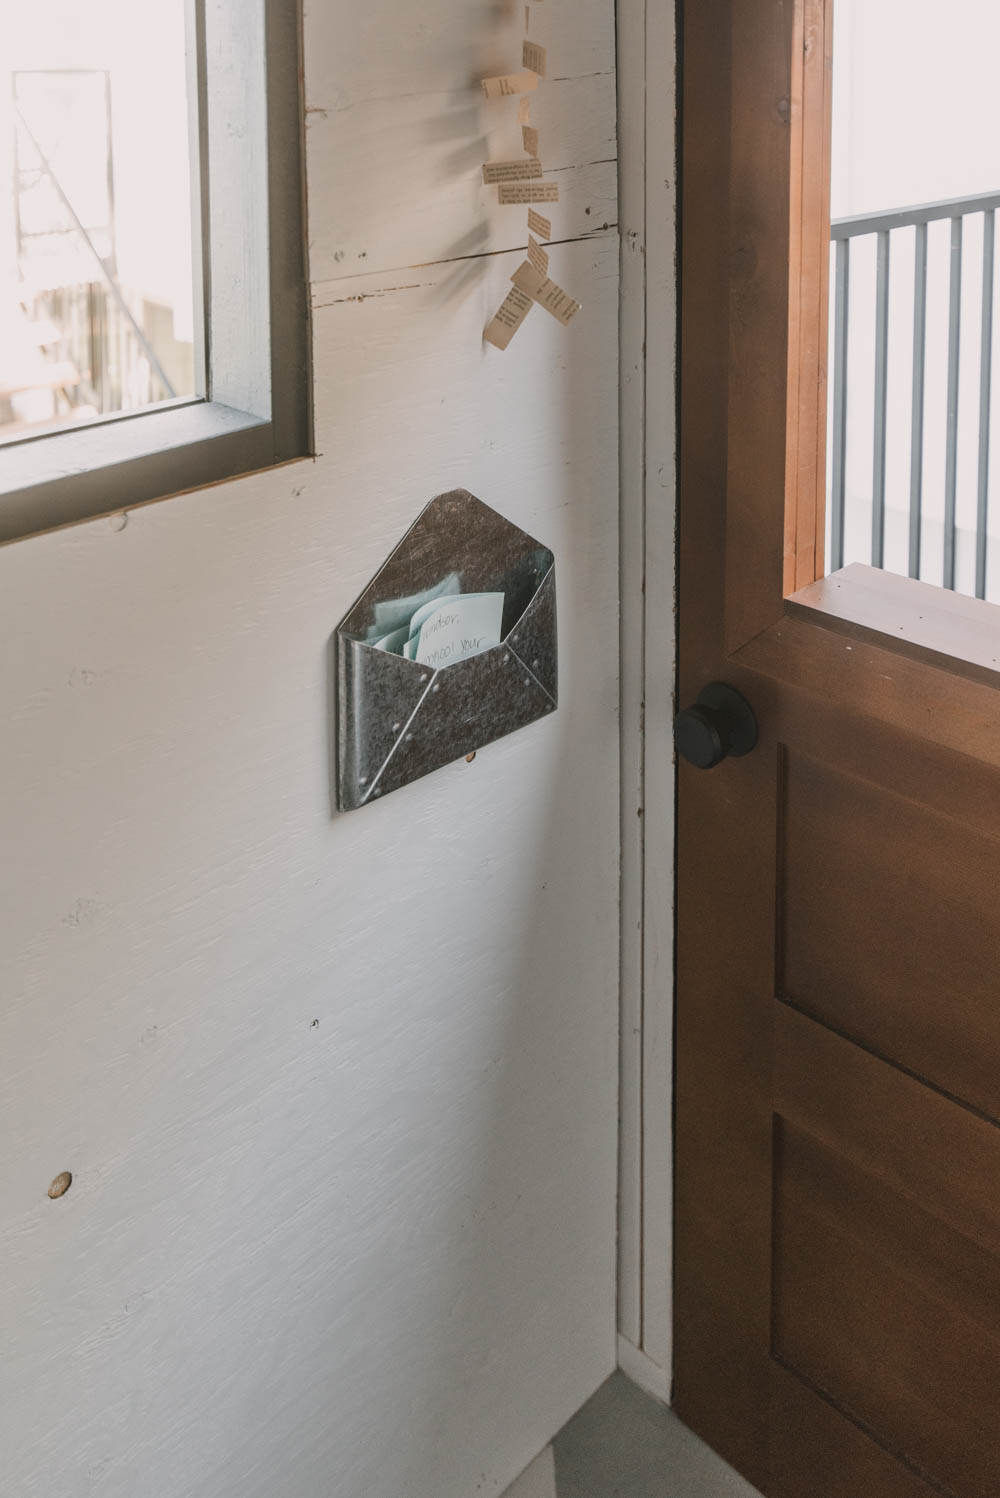
The envelope is another piece that I totally love but did’t have a great space for in our new house. We used it as a wall mounted charging station in our last place. You can check that out right here.
I added a note for each of the kids in the mailbox, welcoming them to their new playhouse (I decorated it after they went to bed one night).
Phew! That’s a lot of details, right?!
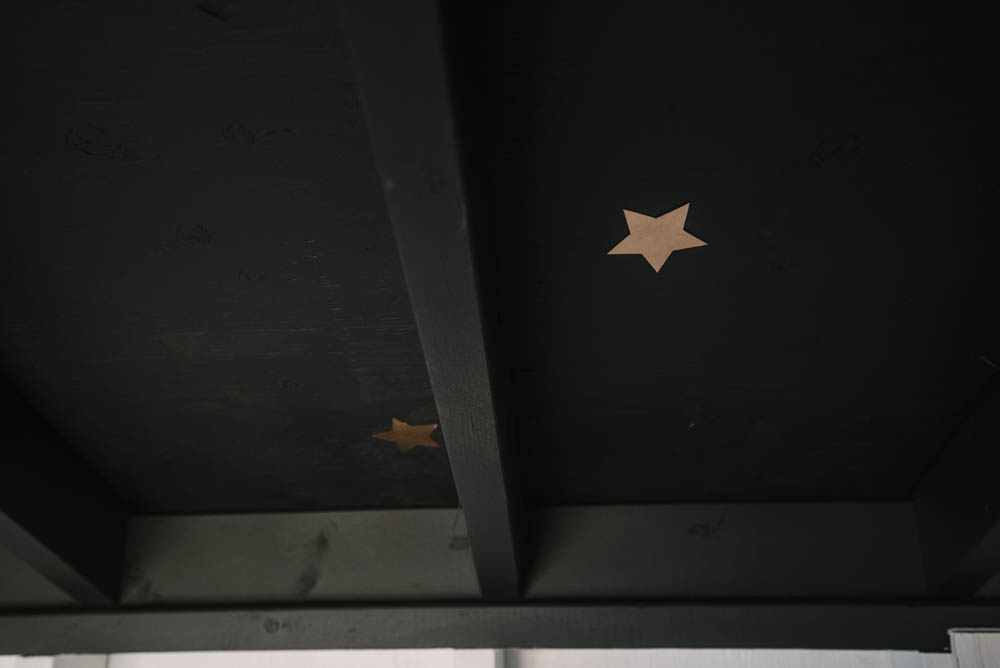
I would eventually love to add lighting on the inside of some kind. Maybe a solar light so that the kids can play after dark throughout the winter when it gets dark so early. For now they’re not out here playing past sunset anyways. But I did fake it with stars on the ceiling! These are from a party- I can’t even remember what one, but I have a lot of them in my party stash- ha!
Let me know if you have any questions! It was so fun to put together with the kids and really rewarding to double down on it and get it done in just a couple days without spending any money.
I know so often projects we see on the internet look amazing but have a budget to match. It’s definitely still possible to make over a space using what you have with a little creativity! Did I mention my storage room is happy with how we finished this space? It’s a bit more roomy now.
Mentioned in this post:
- The black color paint we use the most
- More about the outside/build of this playhouse
- The faucet (affordable, but not great quality… perfect for here!)
- The doorknob
- The wall mounted mail slot
- Plywood Hello Sign DIY
- Hanging Chalkboard DIY
- Book Pages Garland DIY
- Green paint is leftover from this dresser
See the playhouse all decorated for christmas here!
Pin this for later!
Don’t have time to take on a playhouse makeover right now? Planning to pretty up your space later this year?
Pin this so you can come back to it! Plus, pinning or sharing on FB helps this post reach more people which helps me be able to keep sharing with you. Thank you!

 4 Tips for Better Photos of Your Kids
I think this playhouse reveal is splendid! I love the cabinet color. I’m planning on getting a brand new cabinet painting soon, and I think I want to model ti based on this. Thanks for the inspiration.