Sharing our playhouse reveal! We built this playhouse for our kiddos using SPF lumber and plywood- then stained it using solid stain with our paint sprayer. Talking all about the build, the difference between solid stain and paint and the settings we used with our sprayer.
We’ve been planing a playhouse build for our kids since we moved in and I’m so excited we finally are checking it off the list. This past weekend, we invited our dads (the kids grandpas) over for a day to build this guy for the kids. We got the structure built in the one (long) day and have spent the past week adding the finishing touches- shingles, a door step, building the ladder, adding a railing and installing the door. It’s officially ready for the kids to set up house and I get to share it with you!

We’re going to leave the interior for another day- the kids are happy to play in it as is while we work towards finishing the siding on our house. In this post I not only wanted to show you the playhouse exterior and some photos from the build (woohoo!) but chat a bit about why we chose to use solid stain on the exterior instead of paint, plus the settings we used on our paint sprayer to apply the solid stain. You guys know I love my Wagner FLEXiO 5000 and I’m excited to be partnering again with Wagner Spray Tech for this post. You can see all my policies right here.
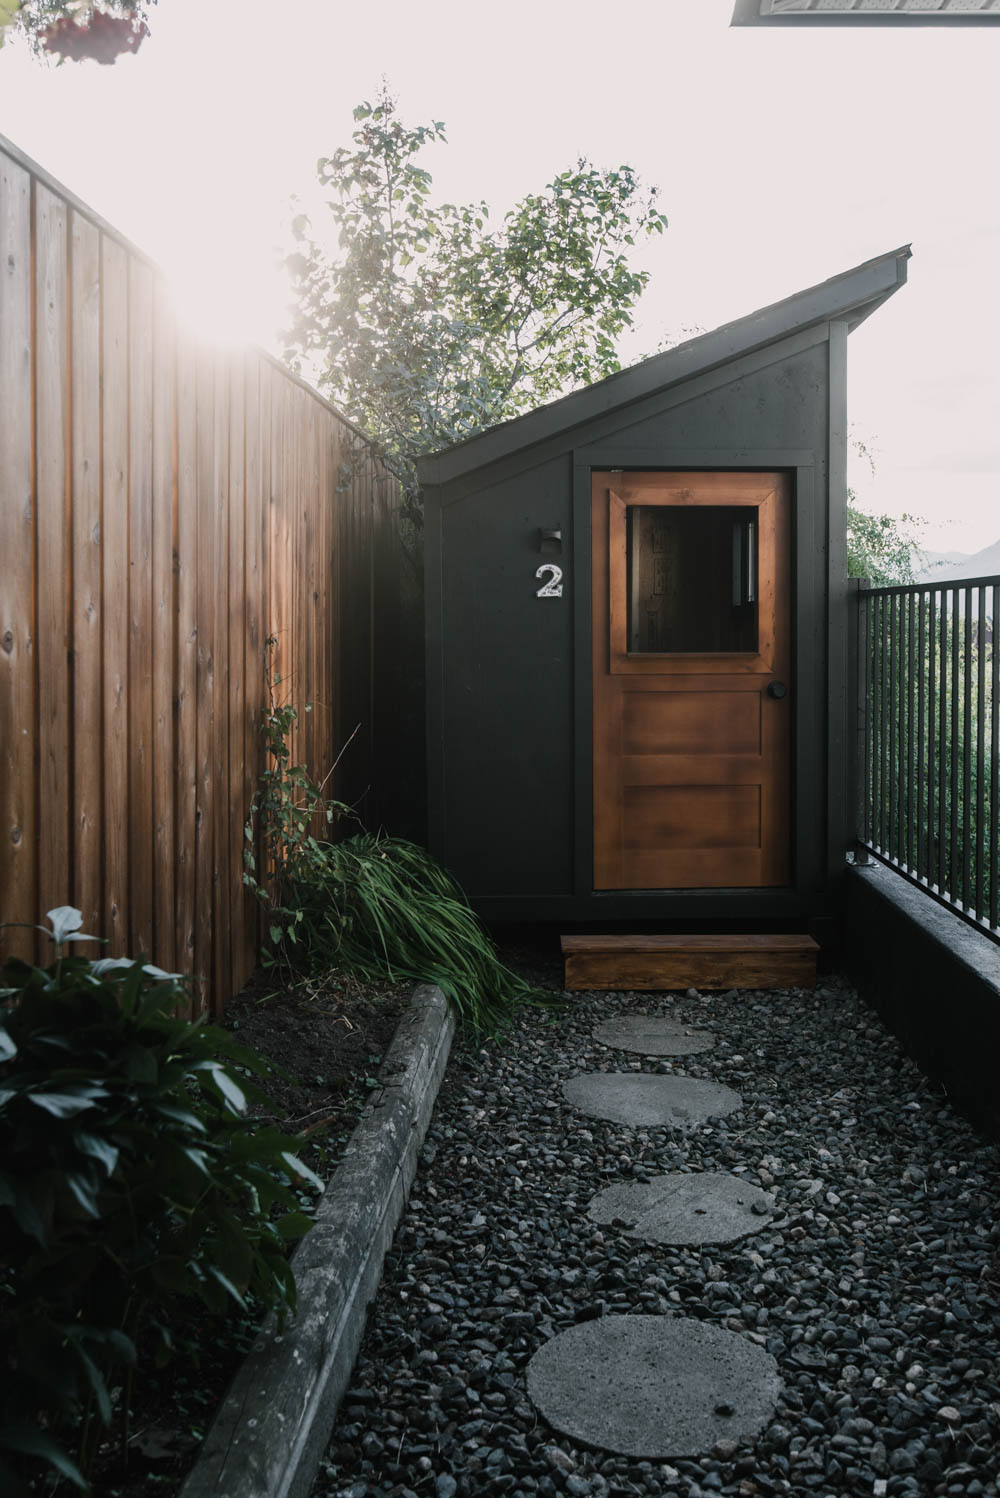
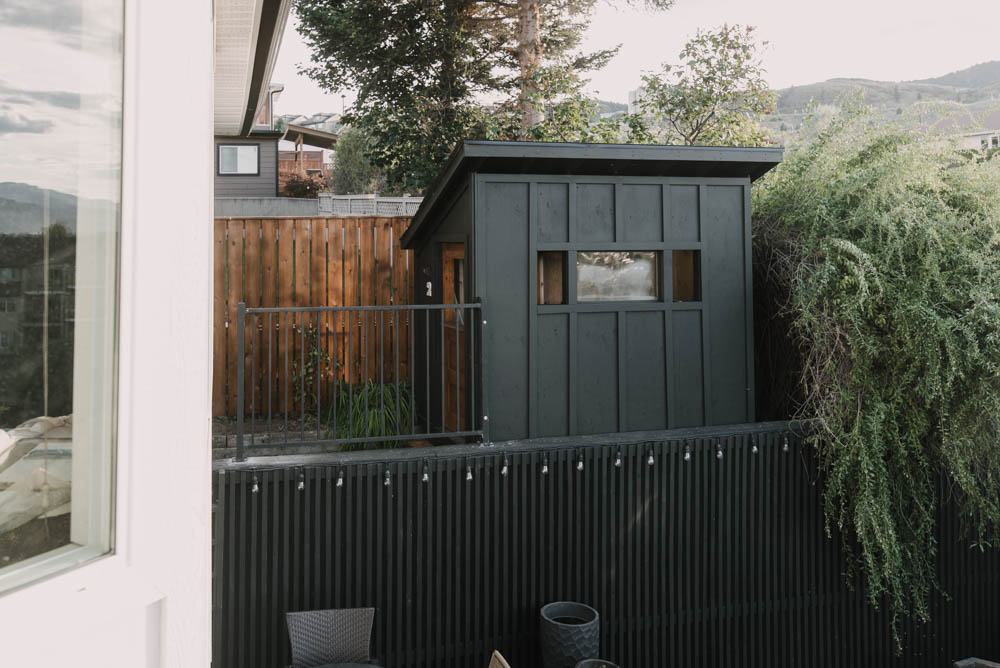
OK so we have this retaining wall to the side of our house above our deck that has some space, but it was mostly overgrown with goji berries and weeds. We decided to use this space for a playhouse and add a ladder to the retaining wall cover from the deck. It’s the perfect little hideaway for the kids without sacrificing the little grass area we have in our yard! We cut back the bushes a bit and built the playhouse using SPF lumber and plywood. It was a pretty basic build, but the 1×3 battens make it look so darn cute! The playhouse is 5×8′ on the exterior for reference.
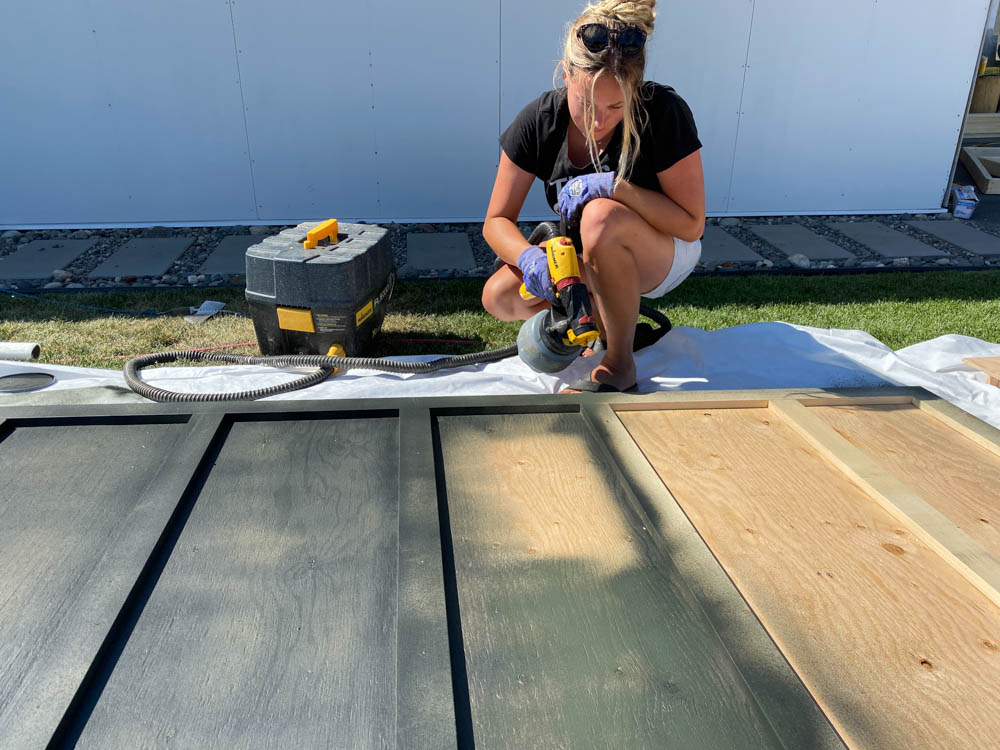
Since the playhouse is nestled in the bushes and right up by the fence, we assembled the walls in the front yard and I stained them before installing them. The last wall I stained in place just by masking the fence and the inside of the playhouse (where the door was being stored before install). I used Scotch Blue Pre Taped Painters Plastic for this which helped it go really fast. Where the surfaces were really rough for painters tape, I secured it with this Rough Surface Painters Tape.
Okay, let’s talk about why we chose to use a solid stain instead of a paint.
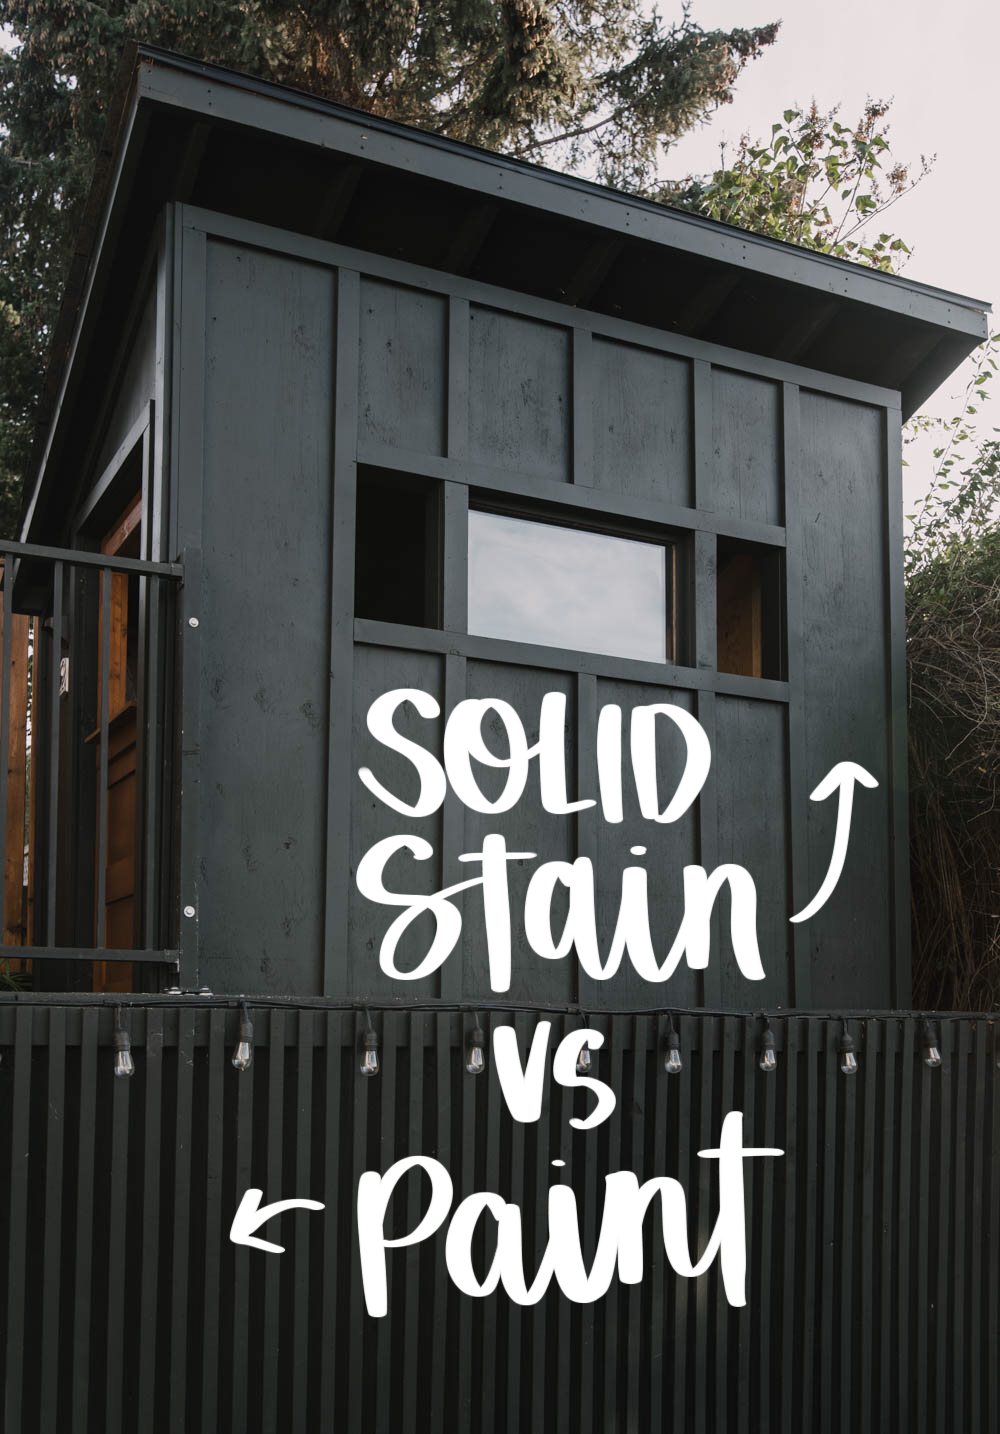
Solid Stain vs Paint
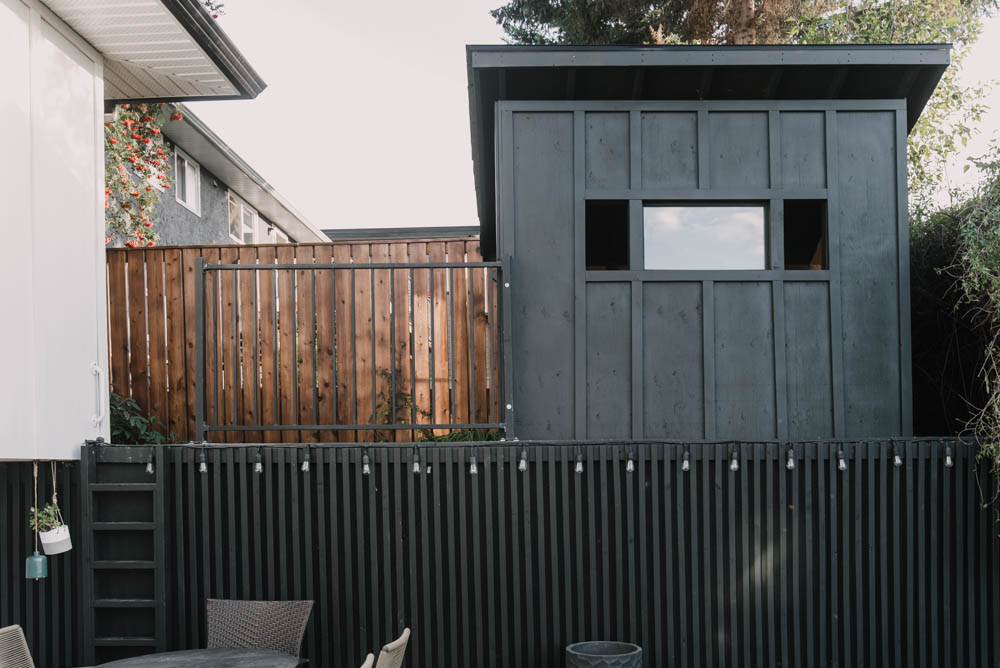
Solid Stain and paint look very similar once applied and dried. Solid stains have a matte appearance which is similar to the look of flat paint. You can see that the playhouse is done in a solid stain, tinted to Broadway by Behr and the retaining wall is painted in that colour in a flat finish. They look very similar. To me, visually the stain allows more of the wood grain to show through which adds so much lovely texture whereas paint covers most of that texture. The paint sits on the surface of the wood while the solid stain soaks in a bit.
Performance wise, the paint can provide more of a barrier for your wood but the stain allows moisture to move through the wood and remains flexible. This playhouse will be used in the winter and the plywood will be flexing with the kids weight. Longevity wise, when the solid stain gets older, it will fade instead of peeling like paint does.
Another perk for using solid stain on this project is the elimination of a primer. Heck yes for one less coat! While most solid stains say you can get away with one coat, we wanted a really even, dark black so we did two coats.
How to Use a Paint Sprayer with Solid Stain
I wrote a full blog post detailing how I stained my deck using a paint sprayer a couple months ago and honestly- the process is pretty similar. Since stain is so much thinner than paint, the application with a paint sprayer is so beautiful. I started with the lowest possible settings on my paint sprayer and adjusted to get the best coverage without applying so much stain it would drip. For me, this ended up being about a 2 on the amount of stain the sprayer put out and a 6 on the air pressure. If you choose to use a paint, you might like to check out this tutorial where I paint a stucco garage!
Playhouse Details
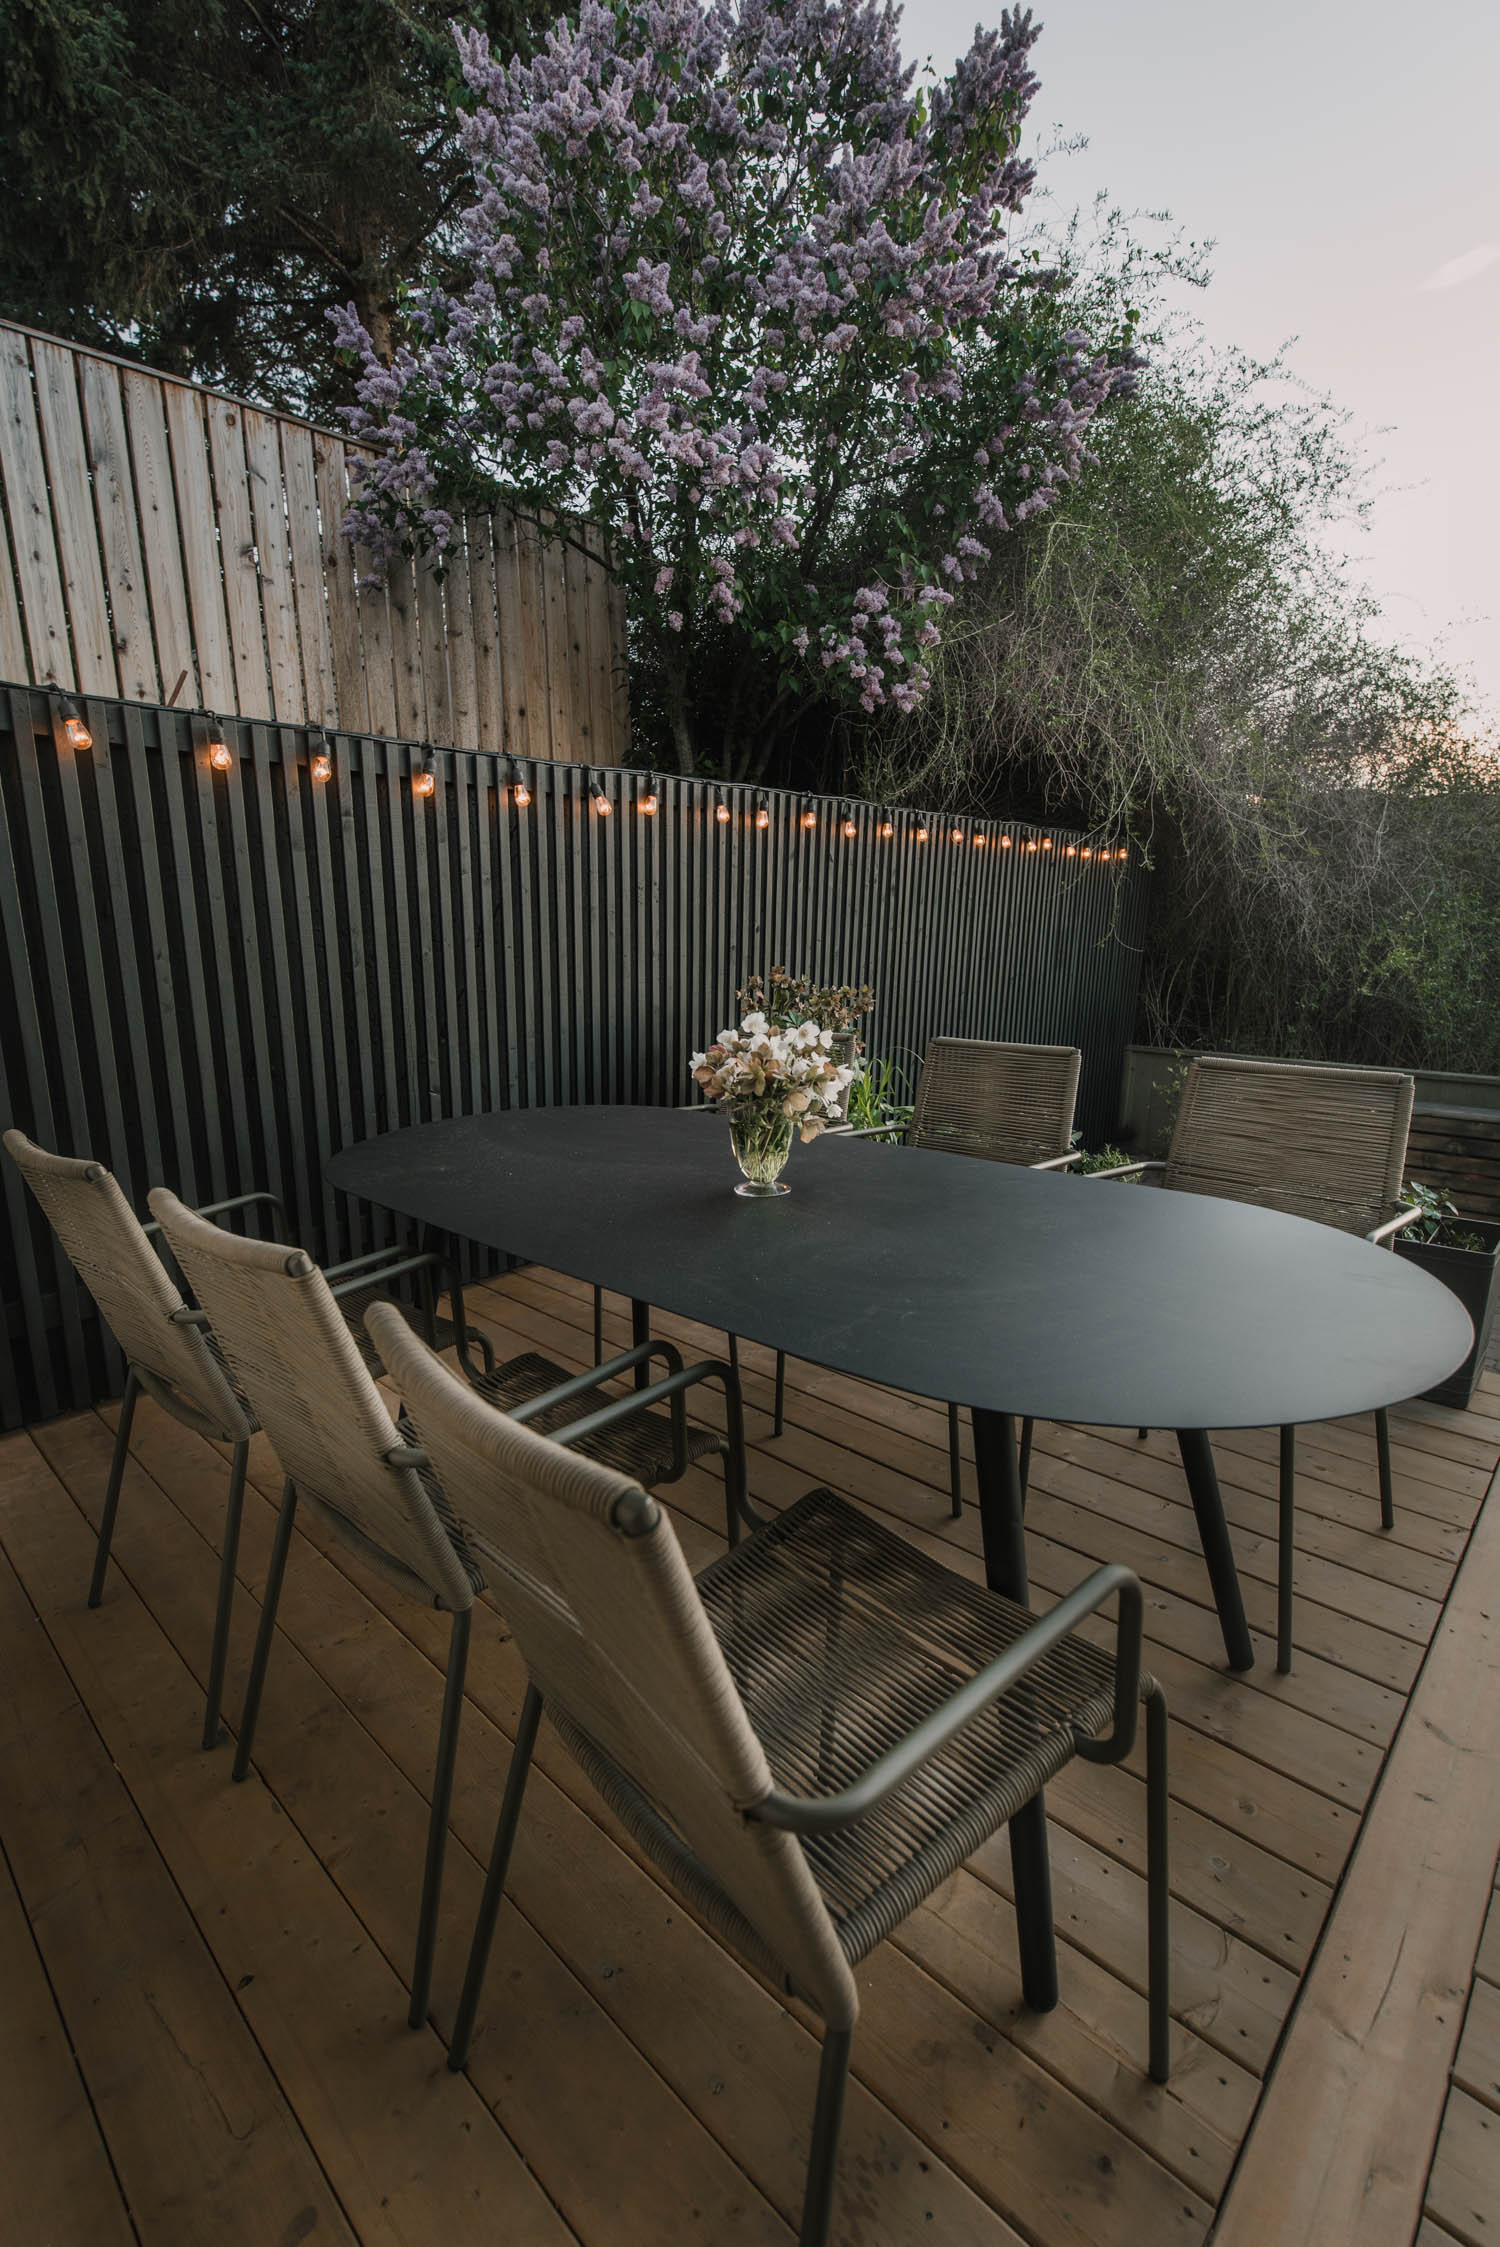
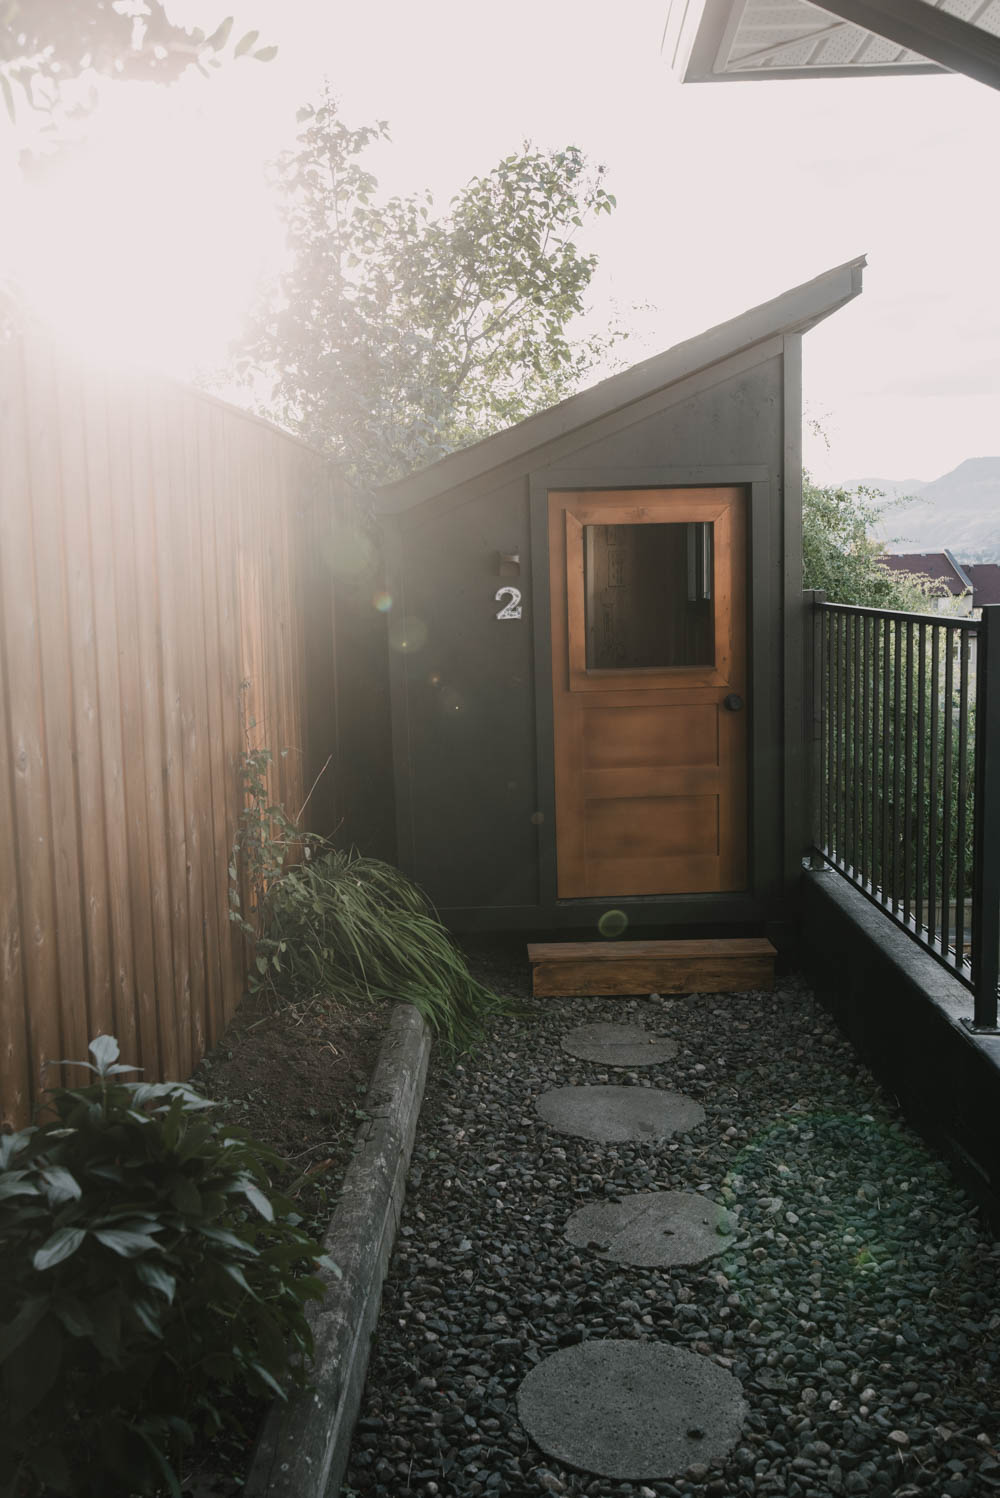
Alright, so other than the playhouse stain, here’s some details! We wanted to allow the existing bushes to grow around the playhouse, so we nestled it as far back into the goji berries as possible and only cut some branches off the lilac, which made the playhouse a bit narrower than if we’d cut the lilac down completely. My hope is that these grow over and around the playhouse.
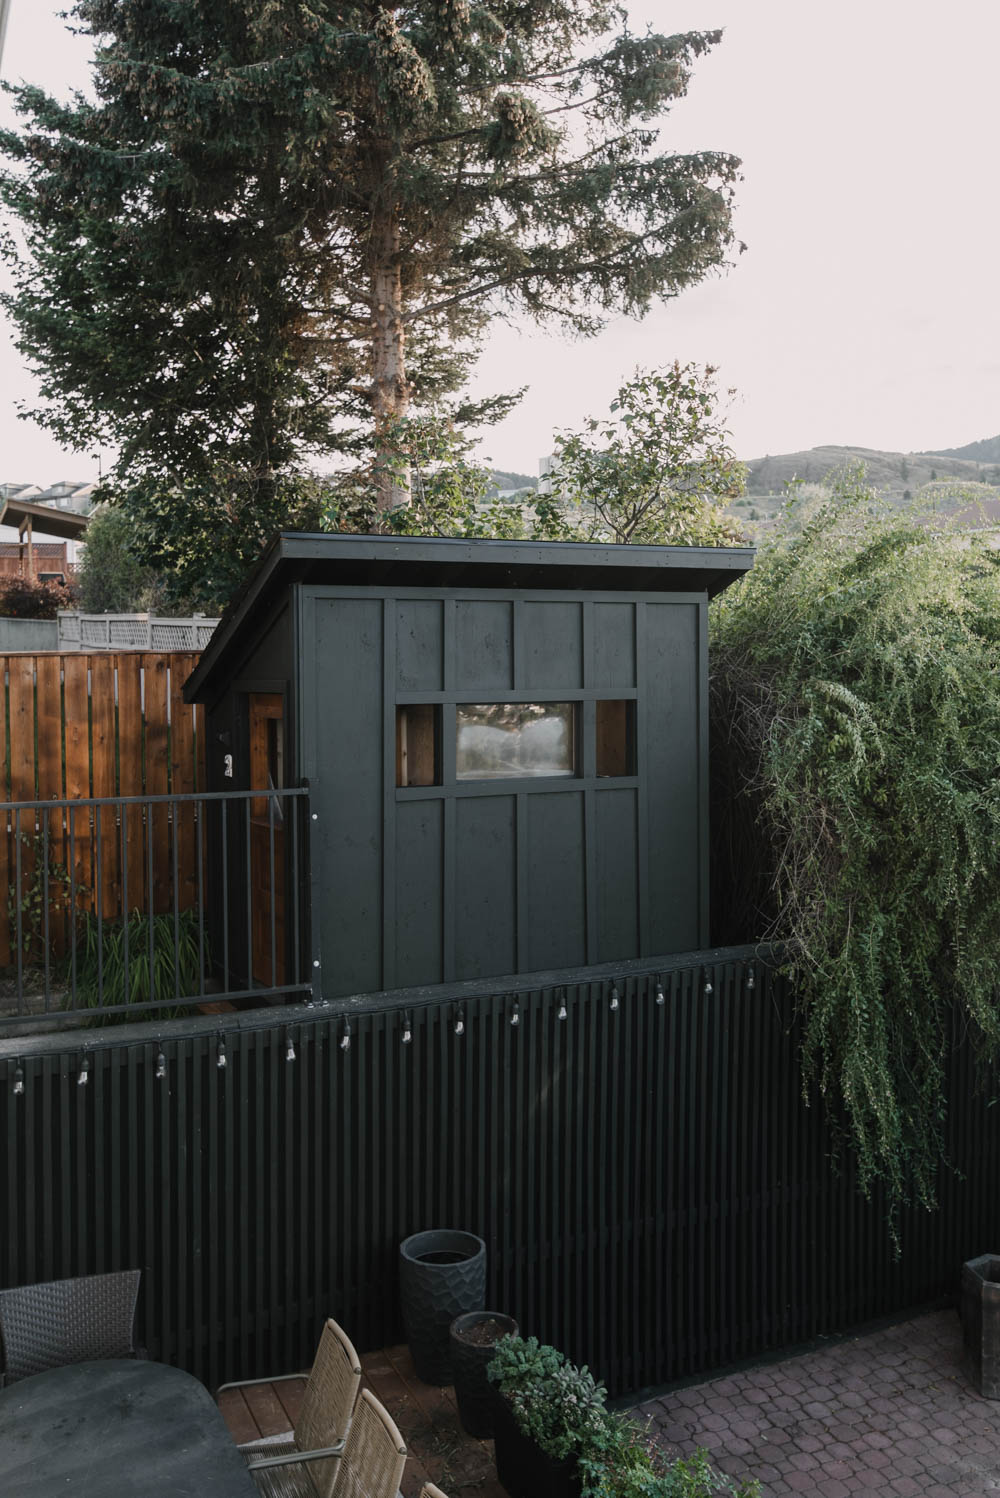
Since this is up on a retaining wall, we wanted to make this safe as possible. We got a piece of glass from the shop we order all our windows from and framed it into the playhouse. We didn’t want this to open for safety, but wanted the kids to be able to chat with us in the yard or on the deck. We framed out two open windows beside the glass window that are narrow enough that no kid could fit out them.
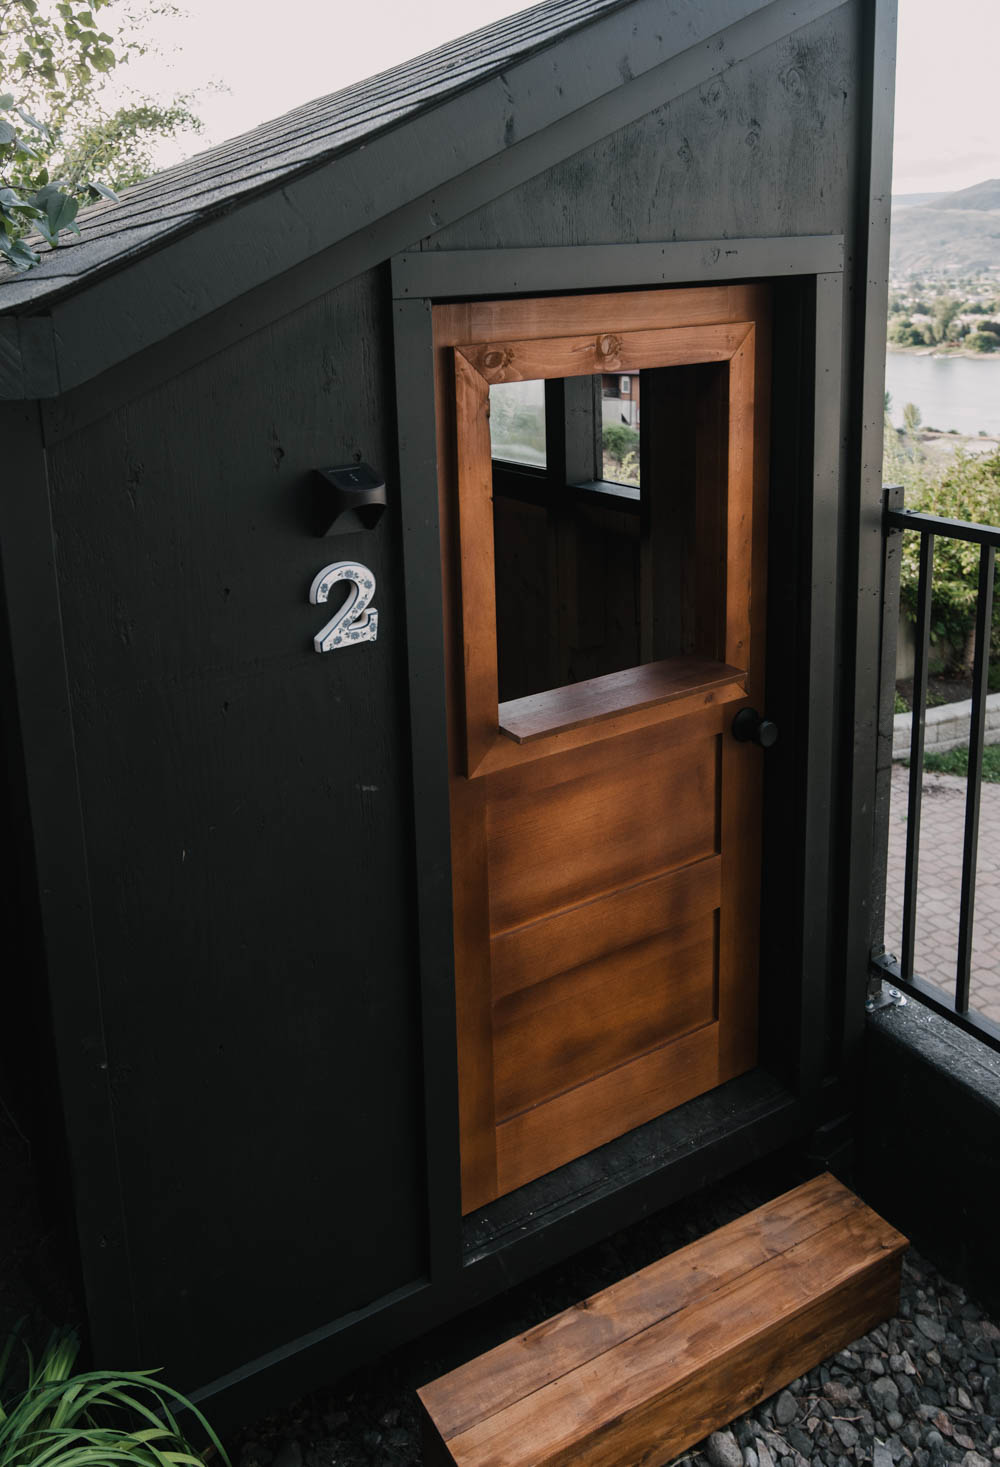
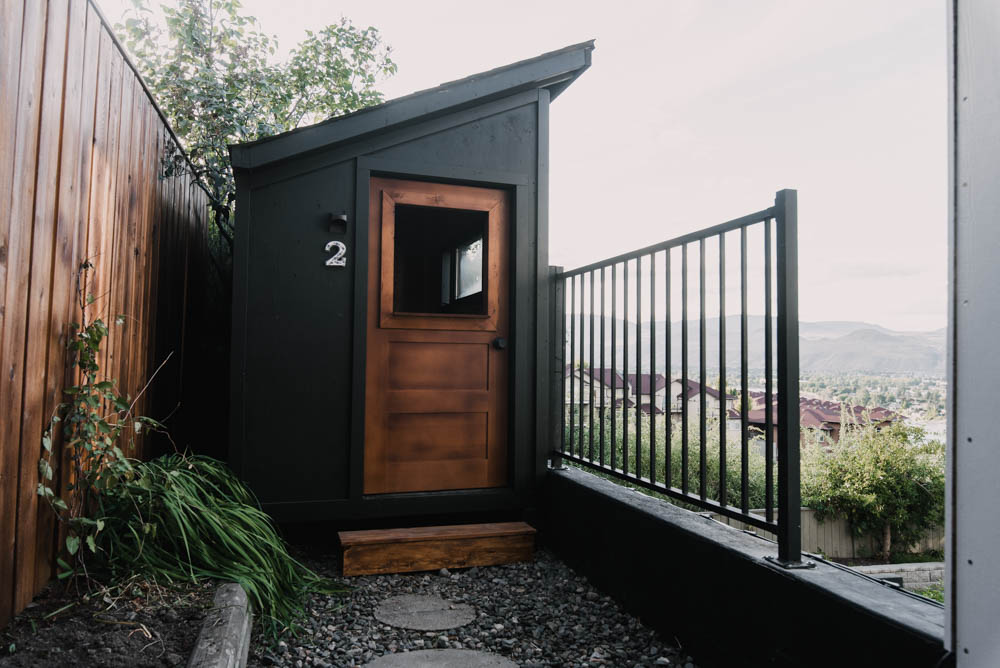
To allow for more natural light in the playhouse, we also cut out the top two panels of the shaker door to make an open window and added a little ledge with one of those cut out pieces. The kids have been using this as a drive through window to serve us pretend coffees and ice cream!
We added a little solar powered fence light (they were 4 for $20!) and one of our old house numbers which friends had brought us back from Holland. I can’t wait to add some more details on the interior to make it personalized to our kiddos!
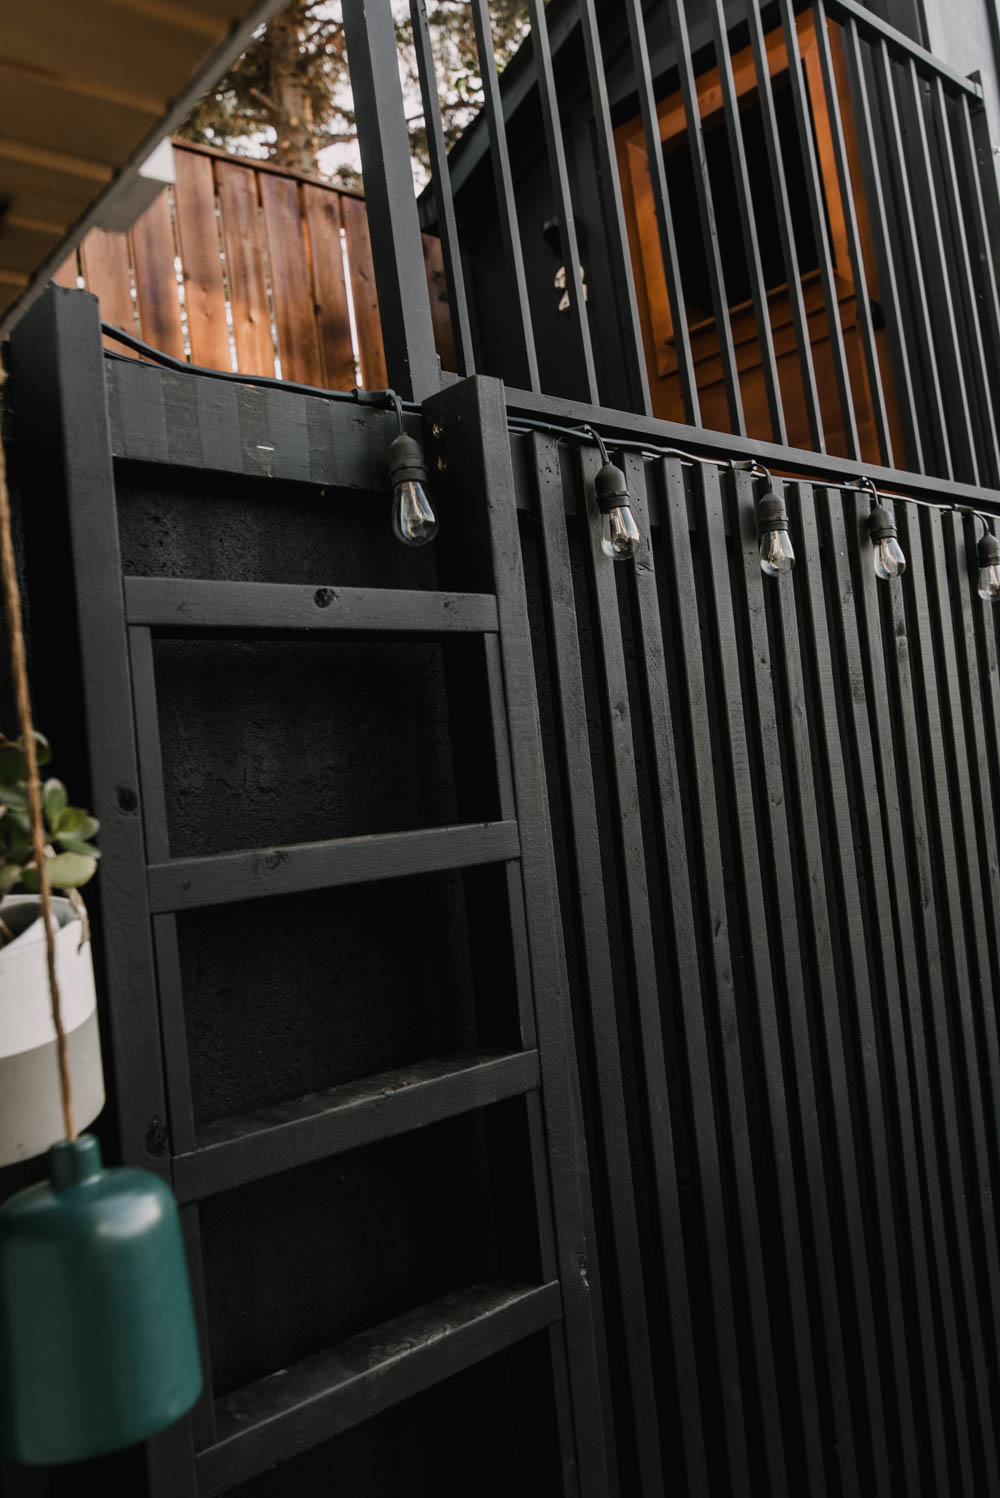
For access, we added a ladder to the retaining wall. We took off some of the 1×2 slats and used 2x4s to build the ladder, mounting it to the wall. We added a grab bar to the side of the house to help them get up and a railing along the retaining wall for safety. I still need to move those first couple string lights so they’re not in the climbing zone.
That’s it! I love how it turned out so much and our kids are already making good use of it. I’m thinking once we finish the inside I’ll share a full playhouse tour! I’d also love to know what you would like to see me paint next with my Wagner FLEXiO 5000 paint sprayer! If you’re following along on Instagram, you might have noticed that I’m using it for EVERYTHING even if I’m not writing a blog post about it. I used it to stain the playhouse door and the fence beside the playhouse as well. It makes big staining and painting jobs so much quicker!
 Cozy Modern Black and White Bathroom Remodel
The playhouse ties in so well to the house, and a great location….they even have a beautiful view! Can’t wait to see the interior.