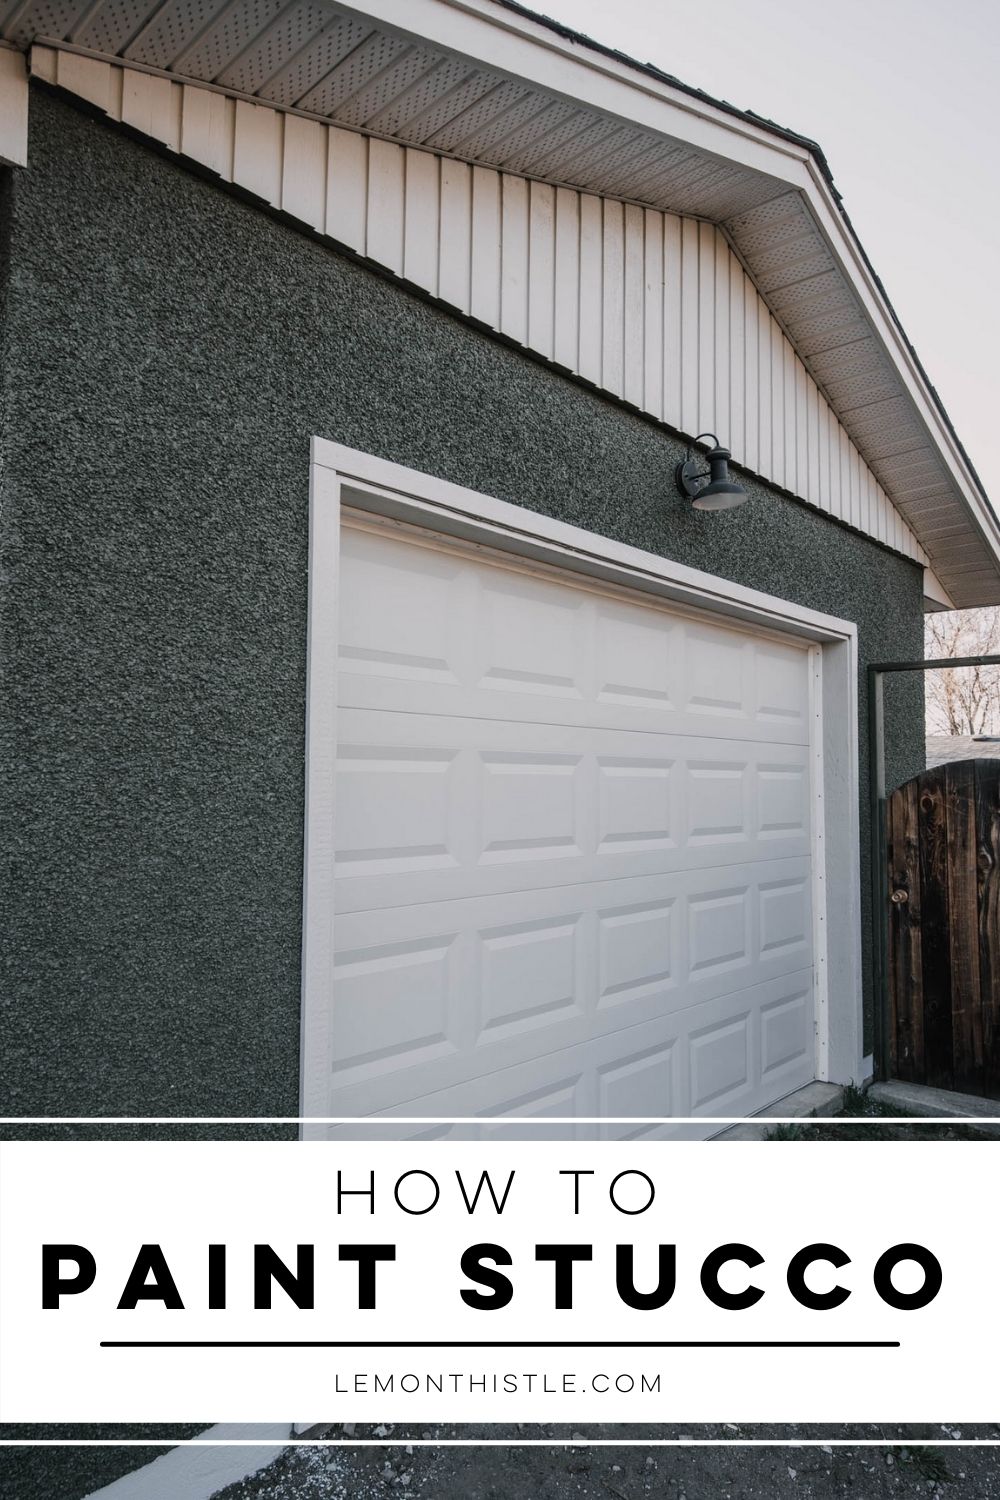
How to paint stucco quickly and beautifully using a paint sprayer. Tips for great coverage and ease.
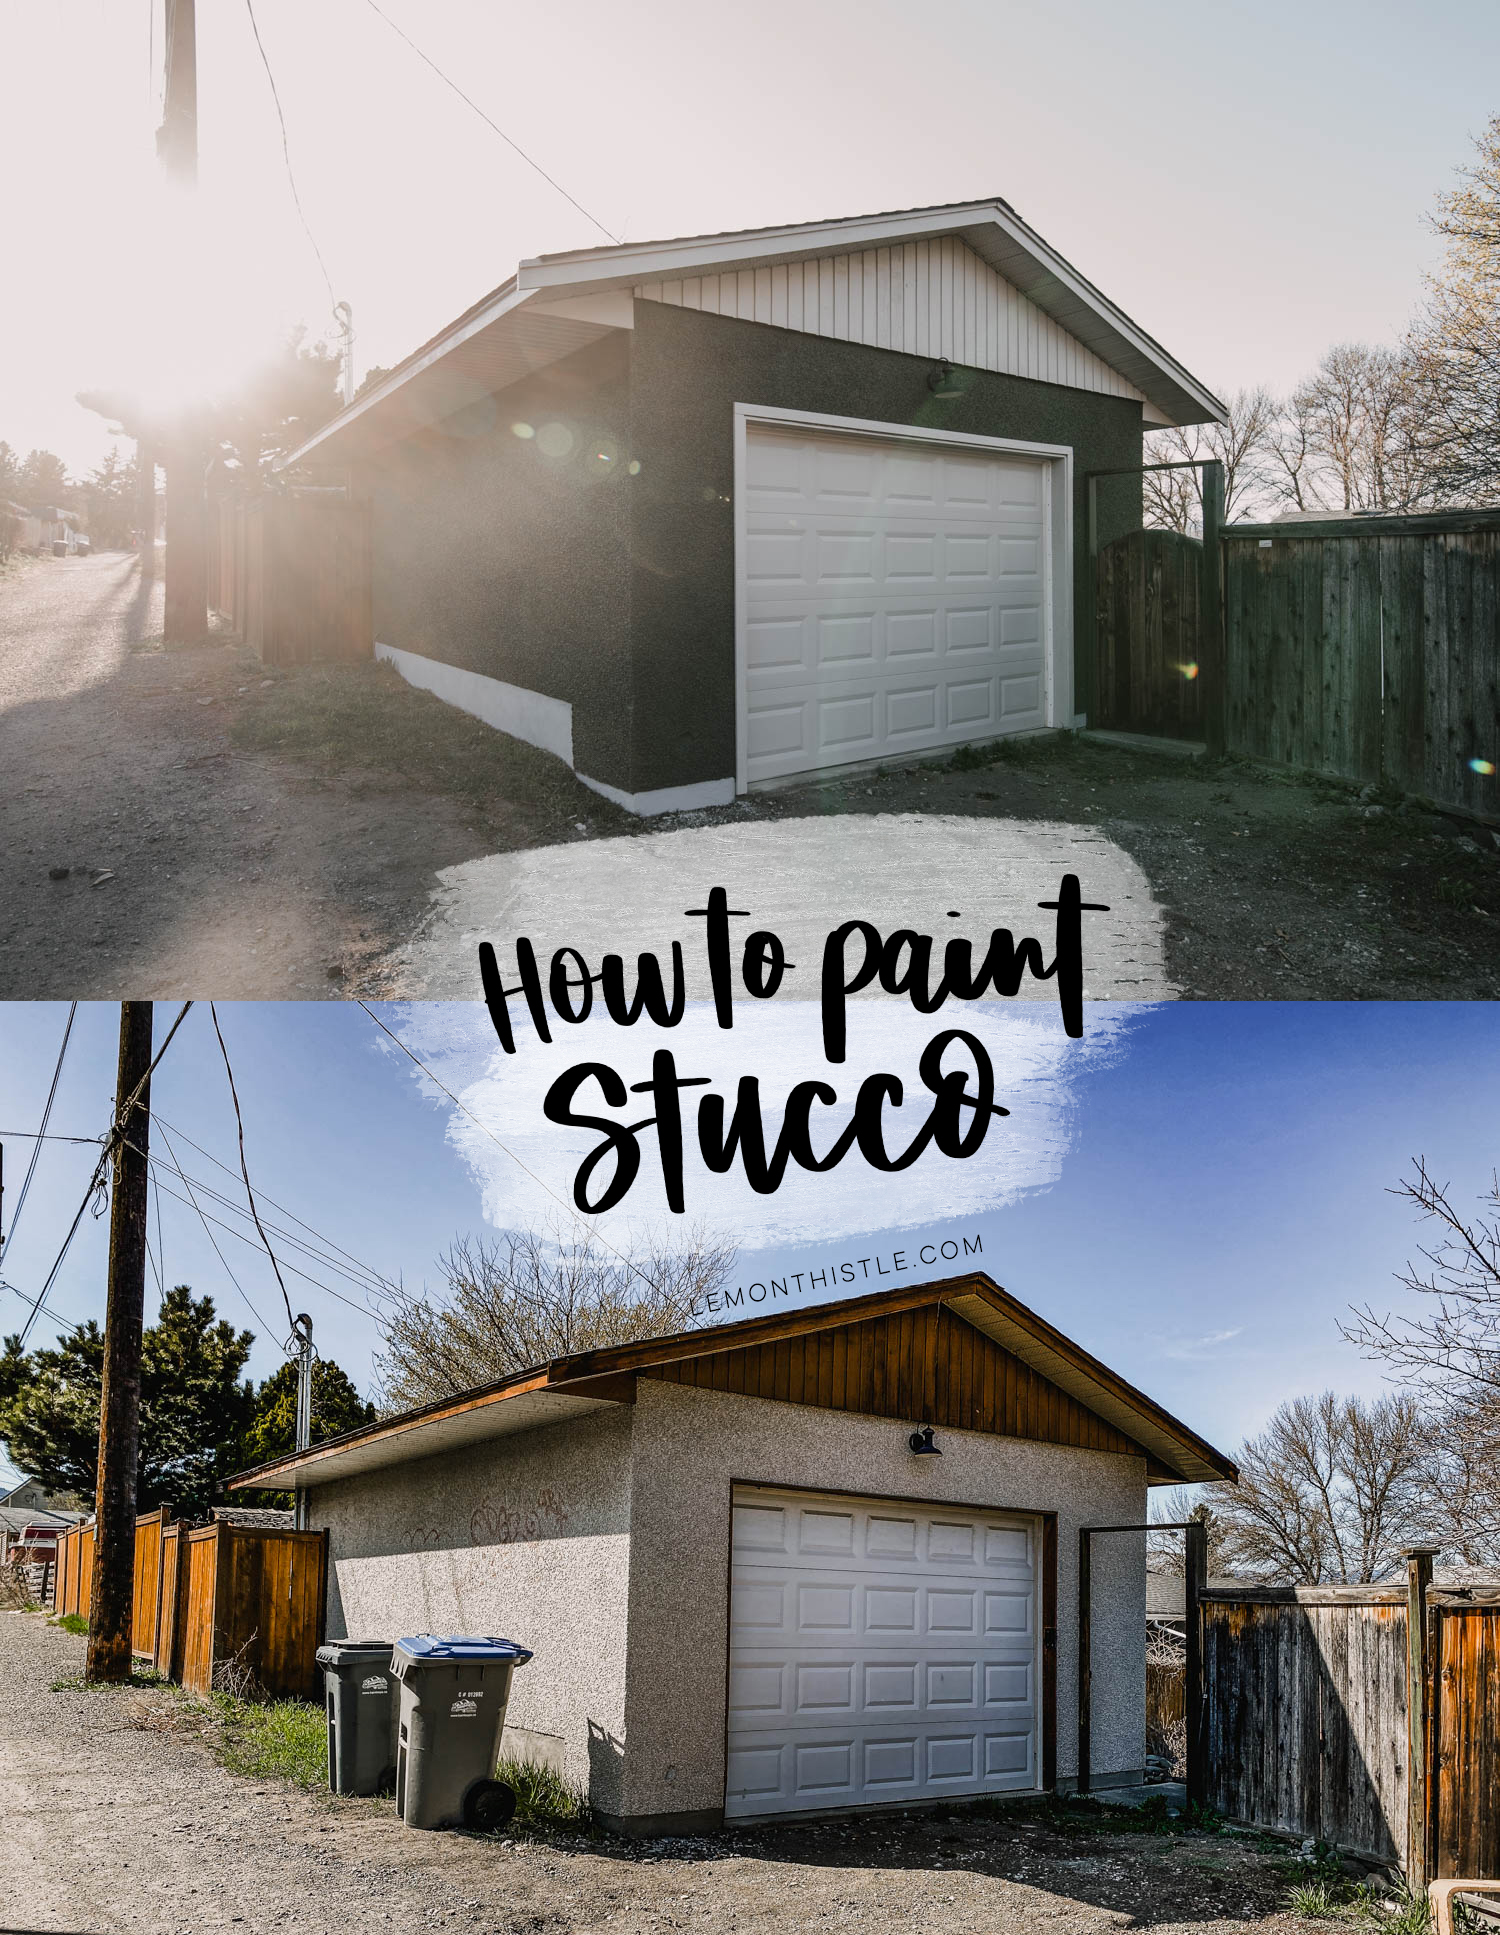
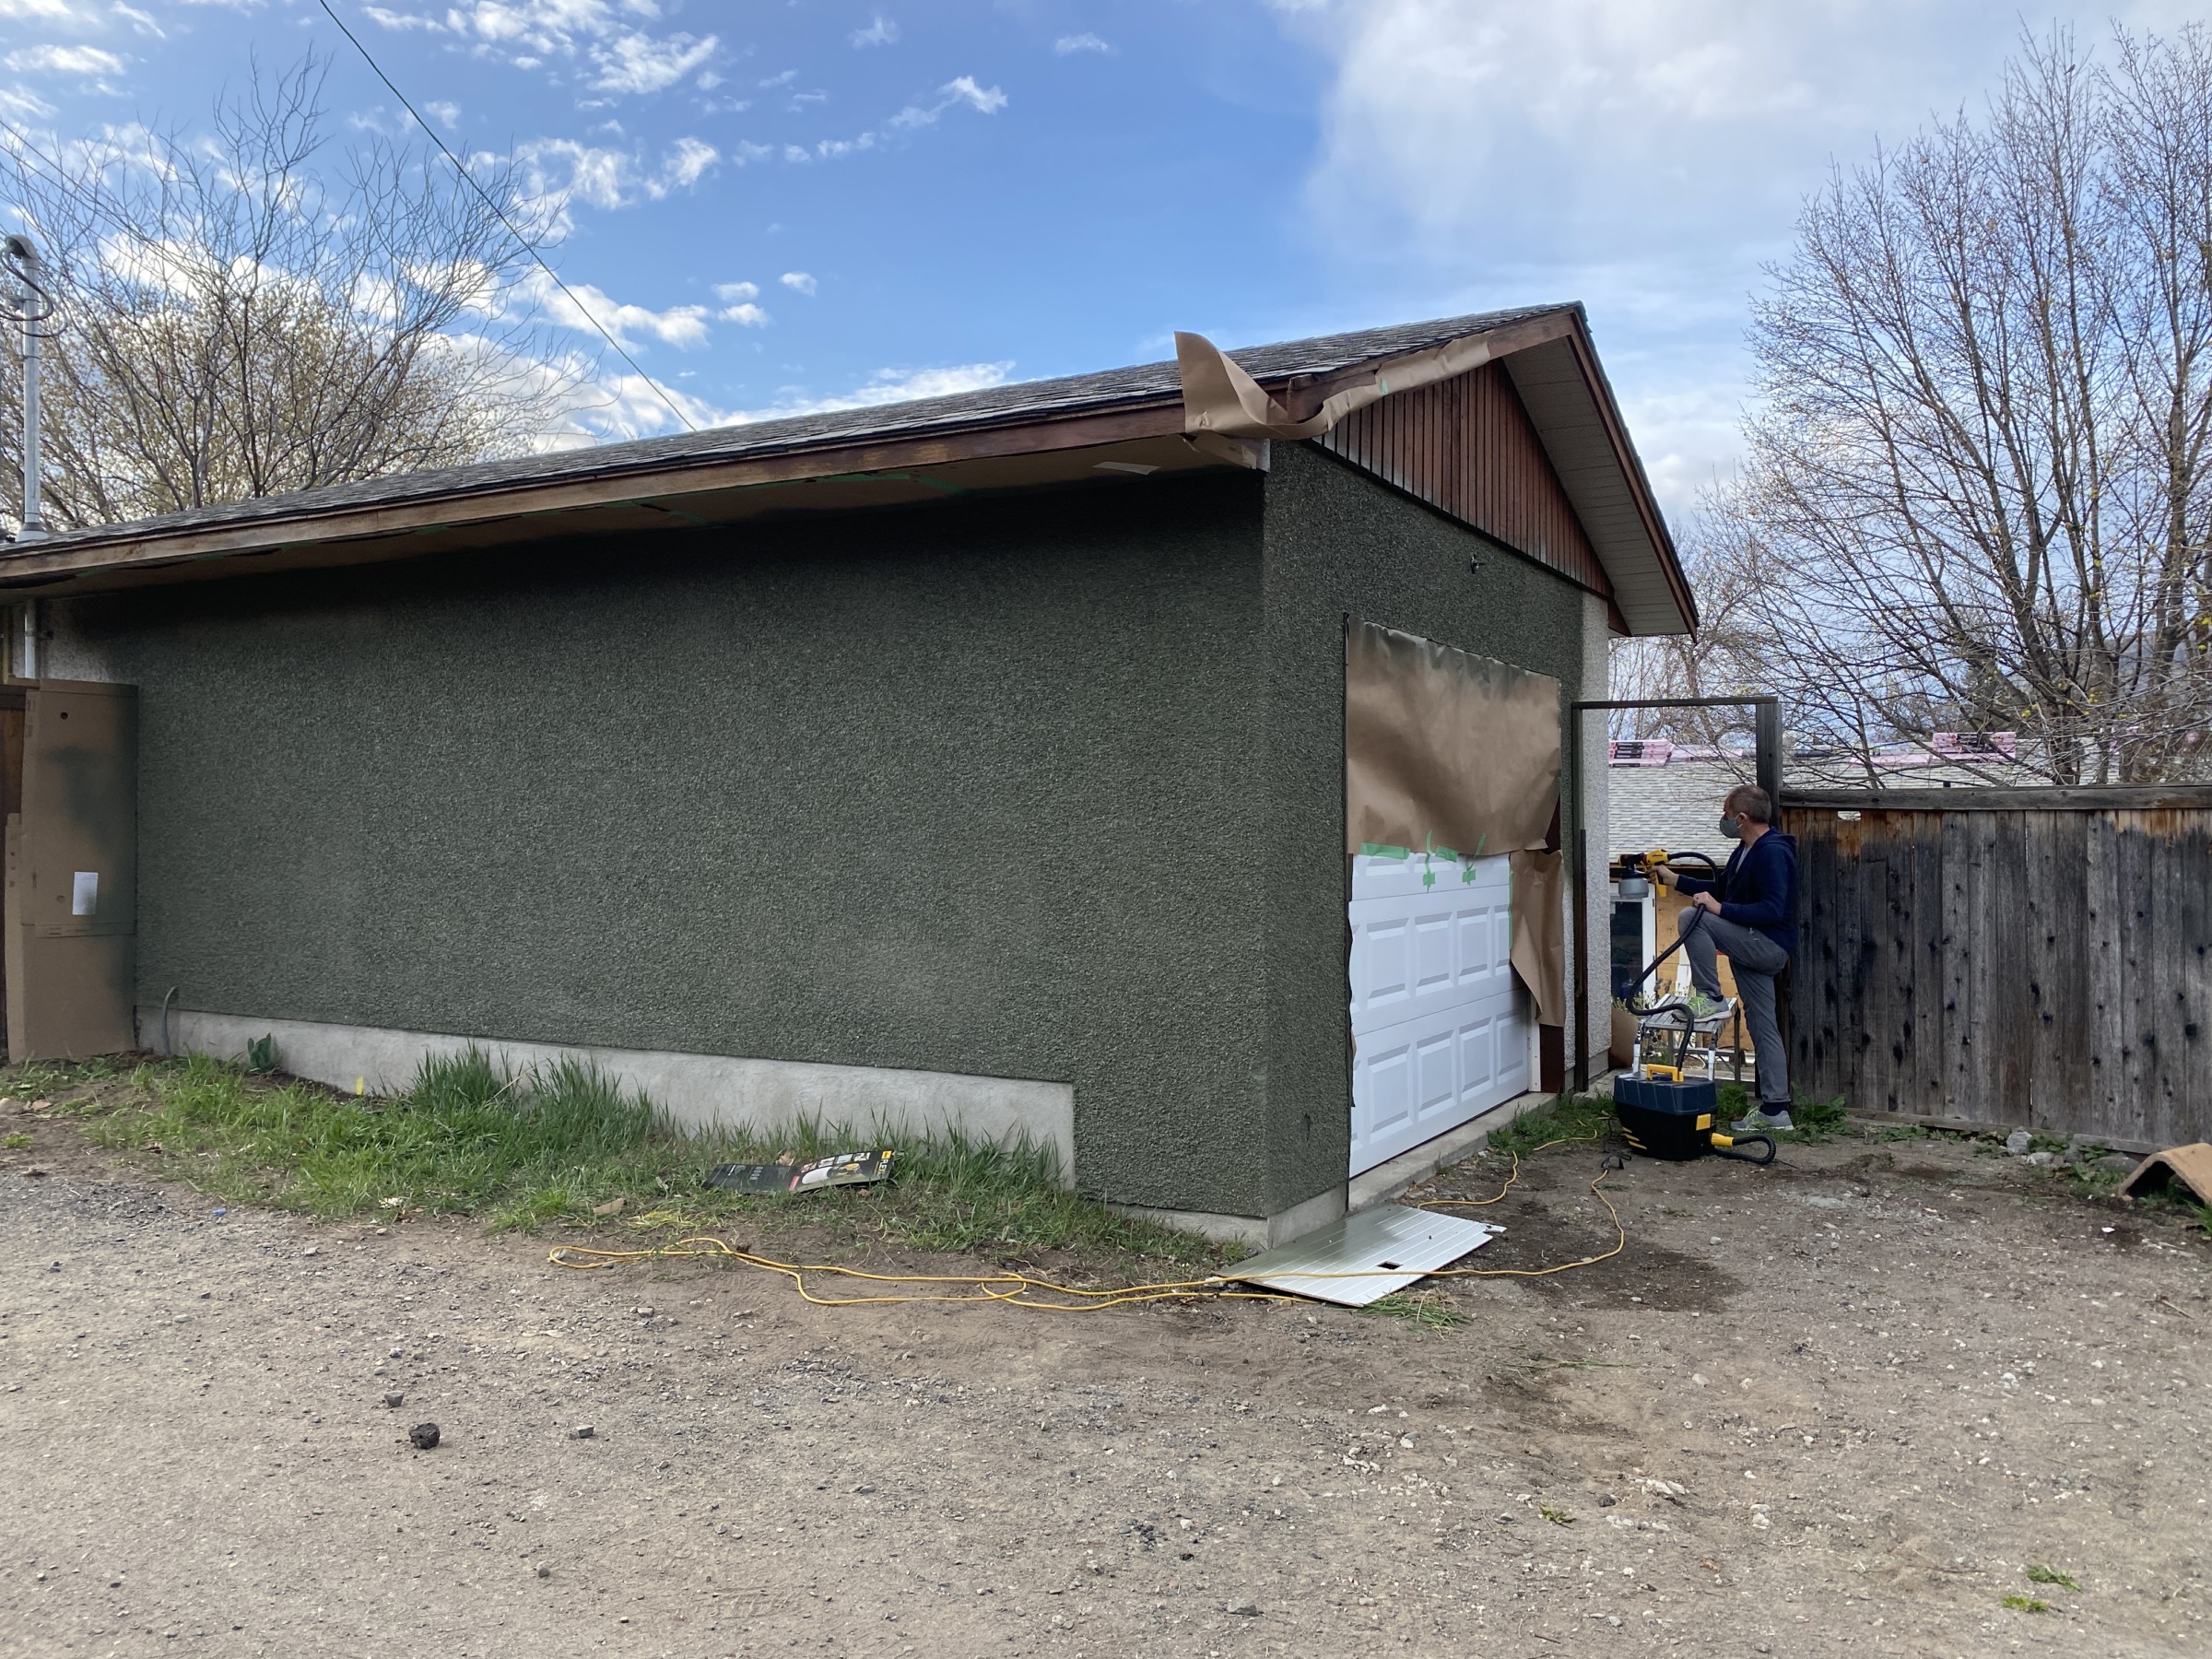
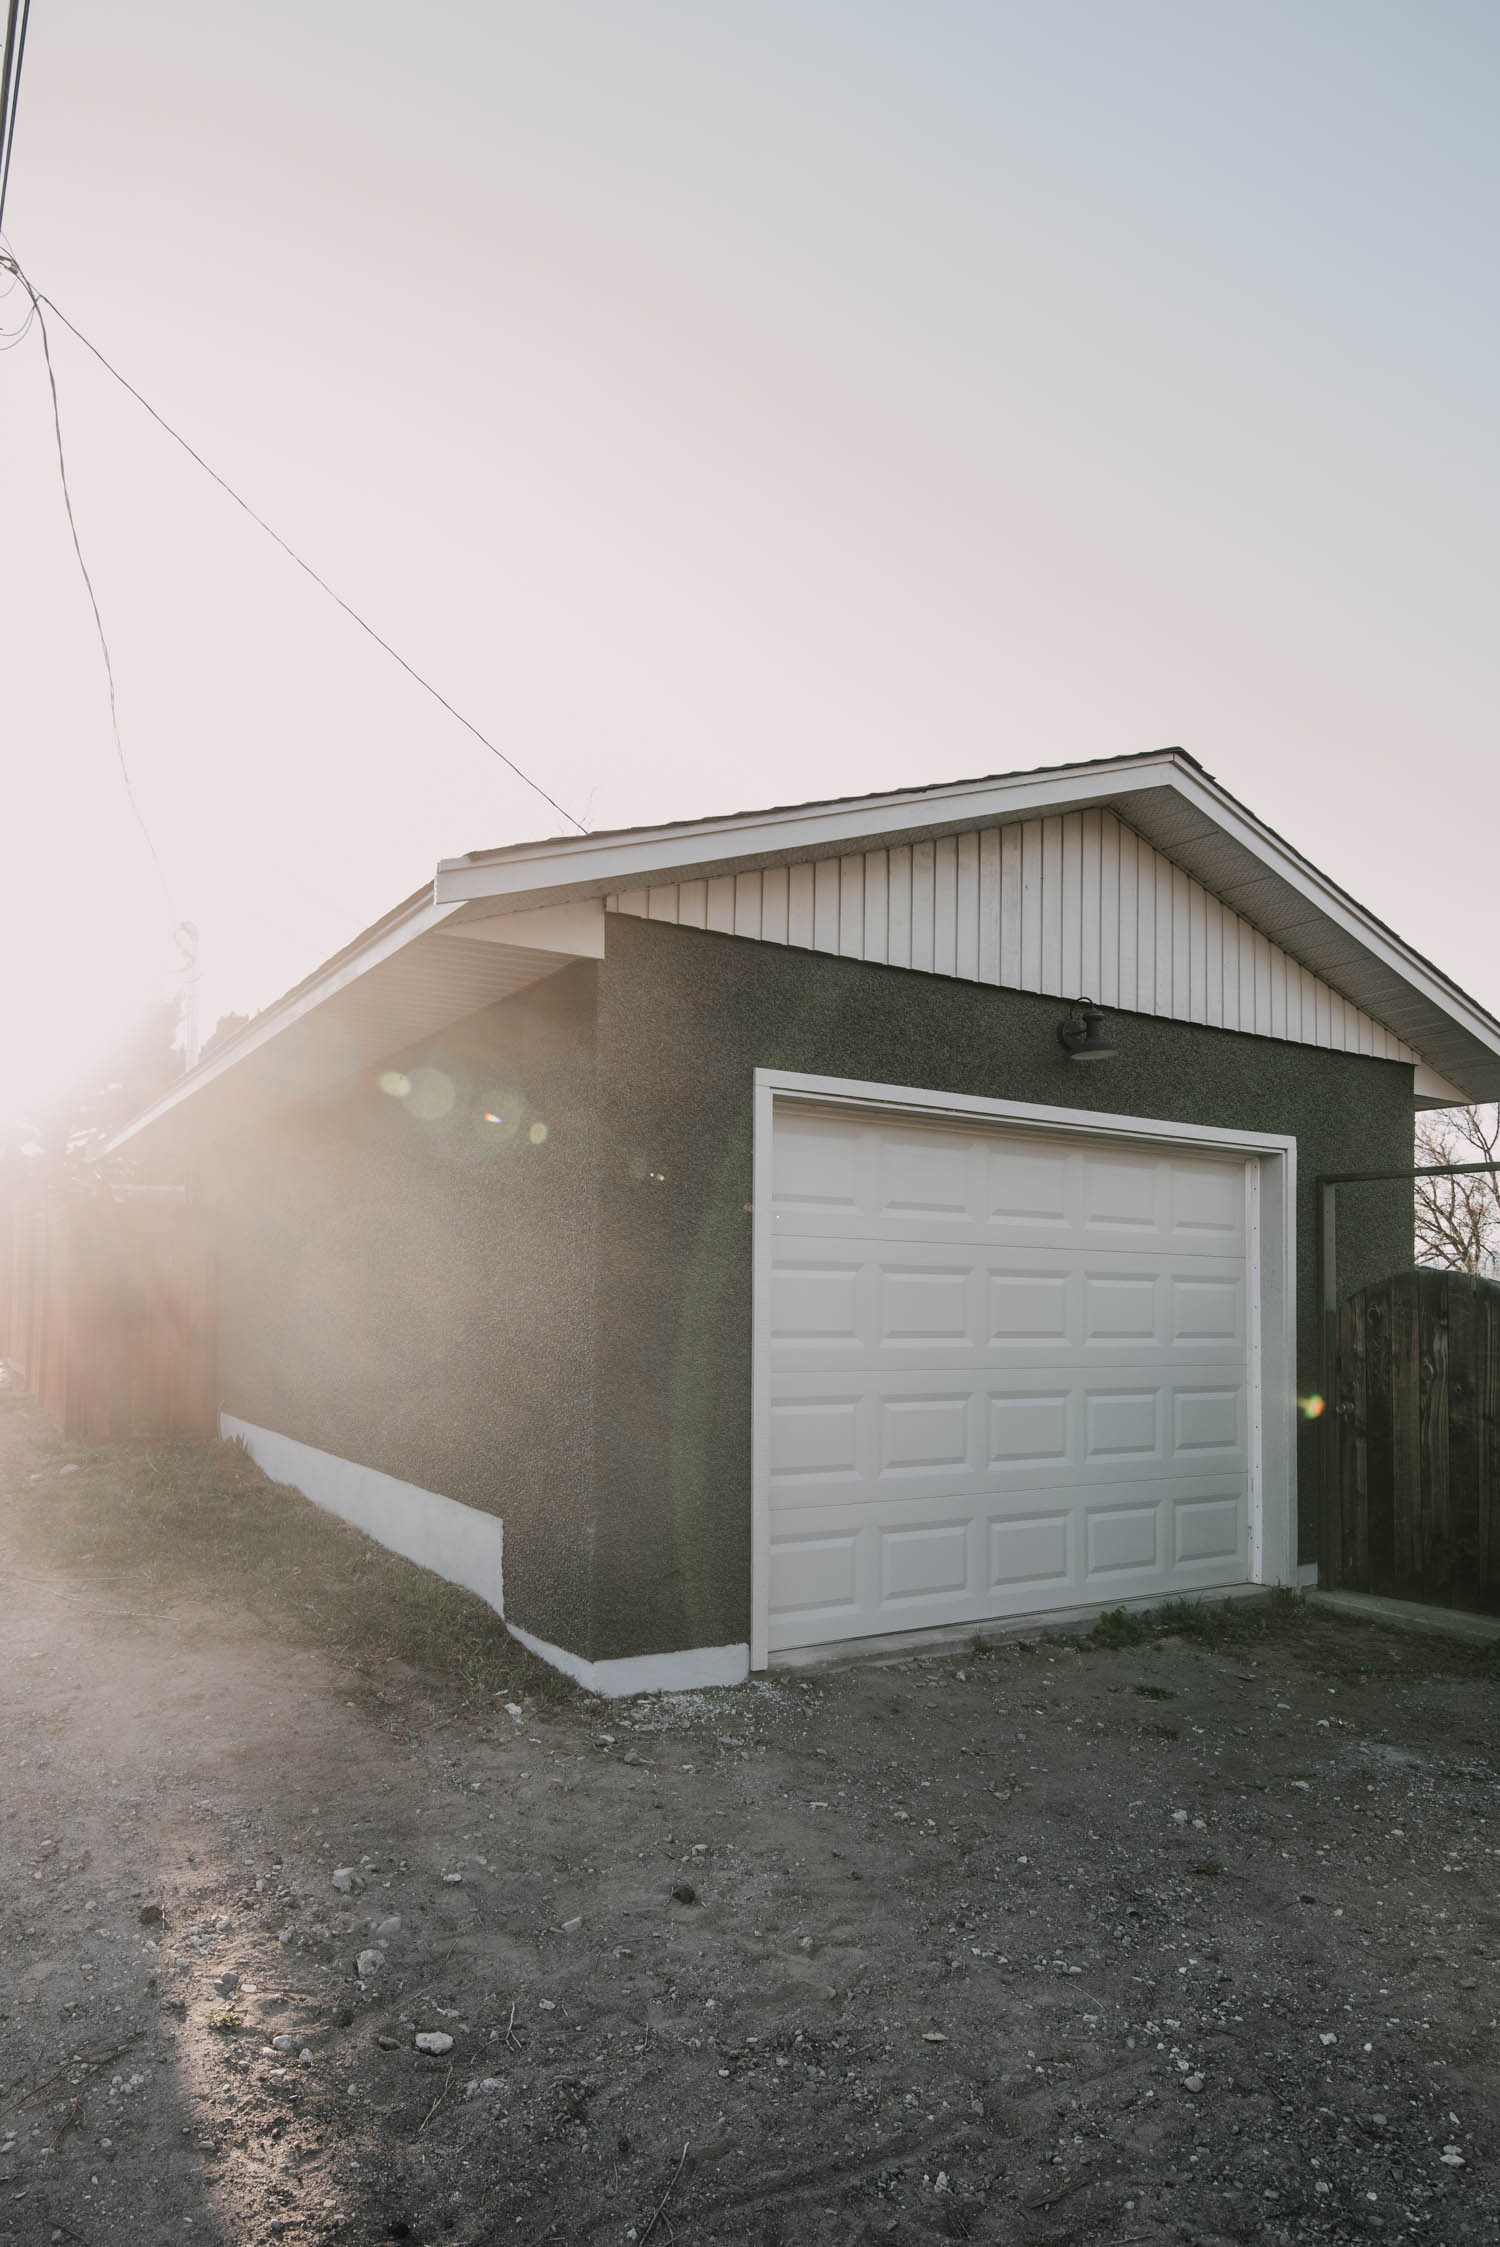
Recently, I spent a weekend painting my dad’s detached garage and teaching him how to use our paint sprayer. To say we’re so darn happy with this transformation is an understatement. The makeover went so quickly and it really updated the whole garage.
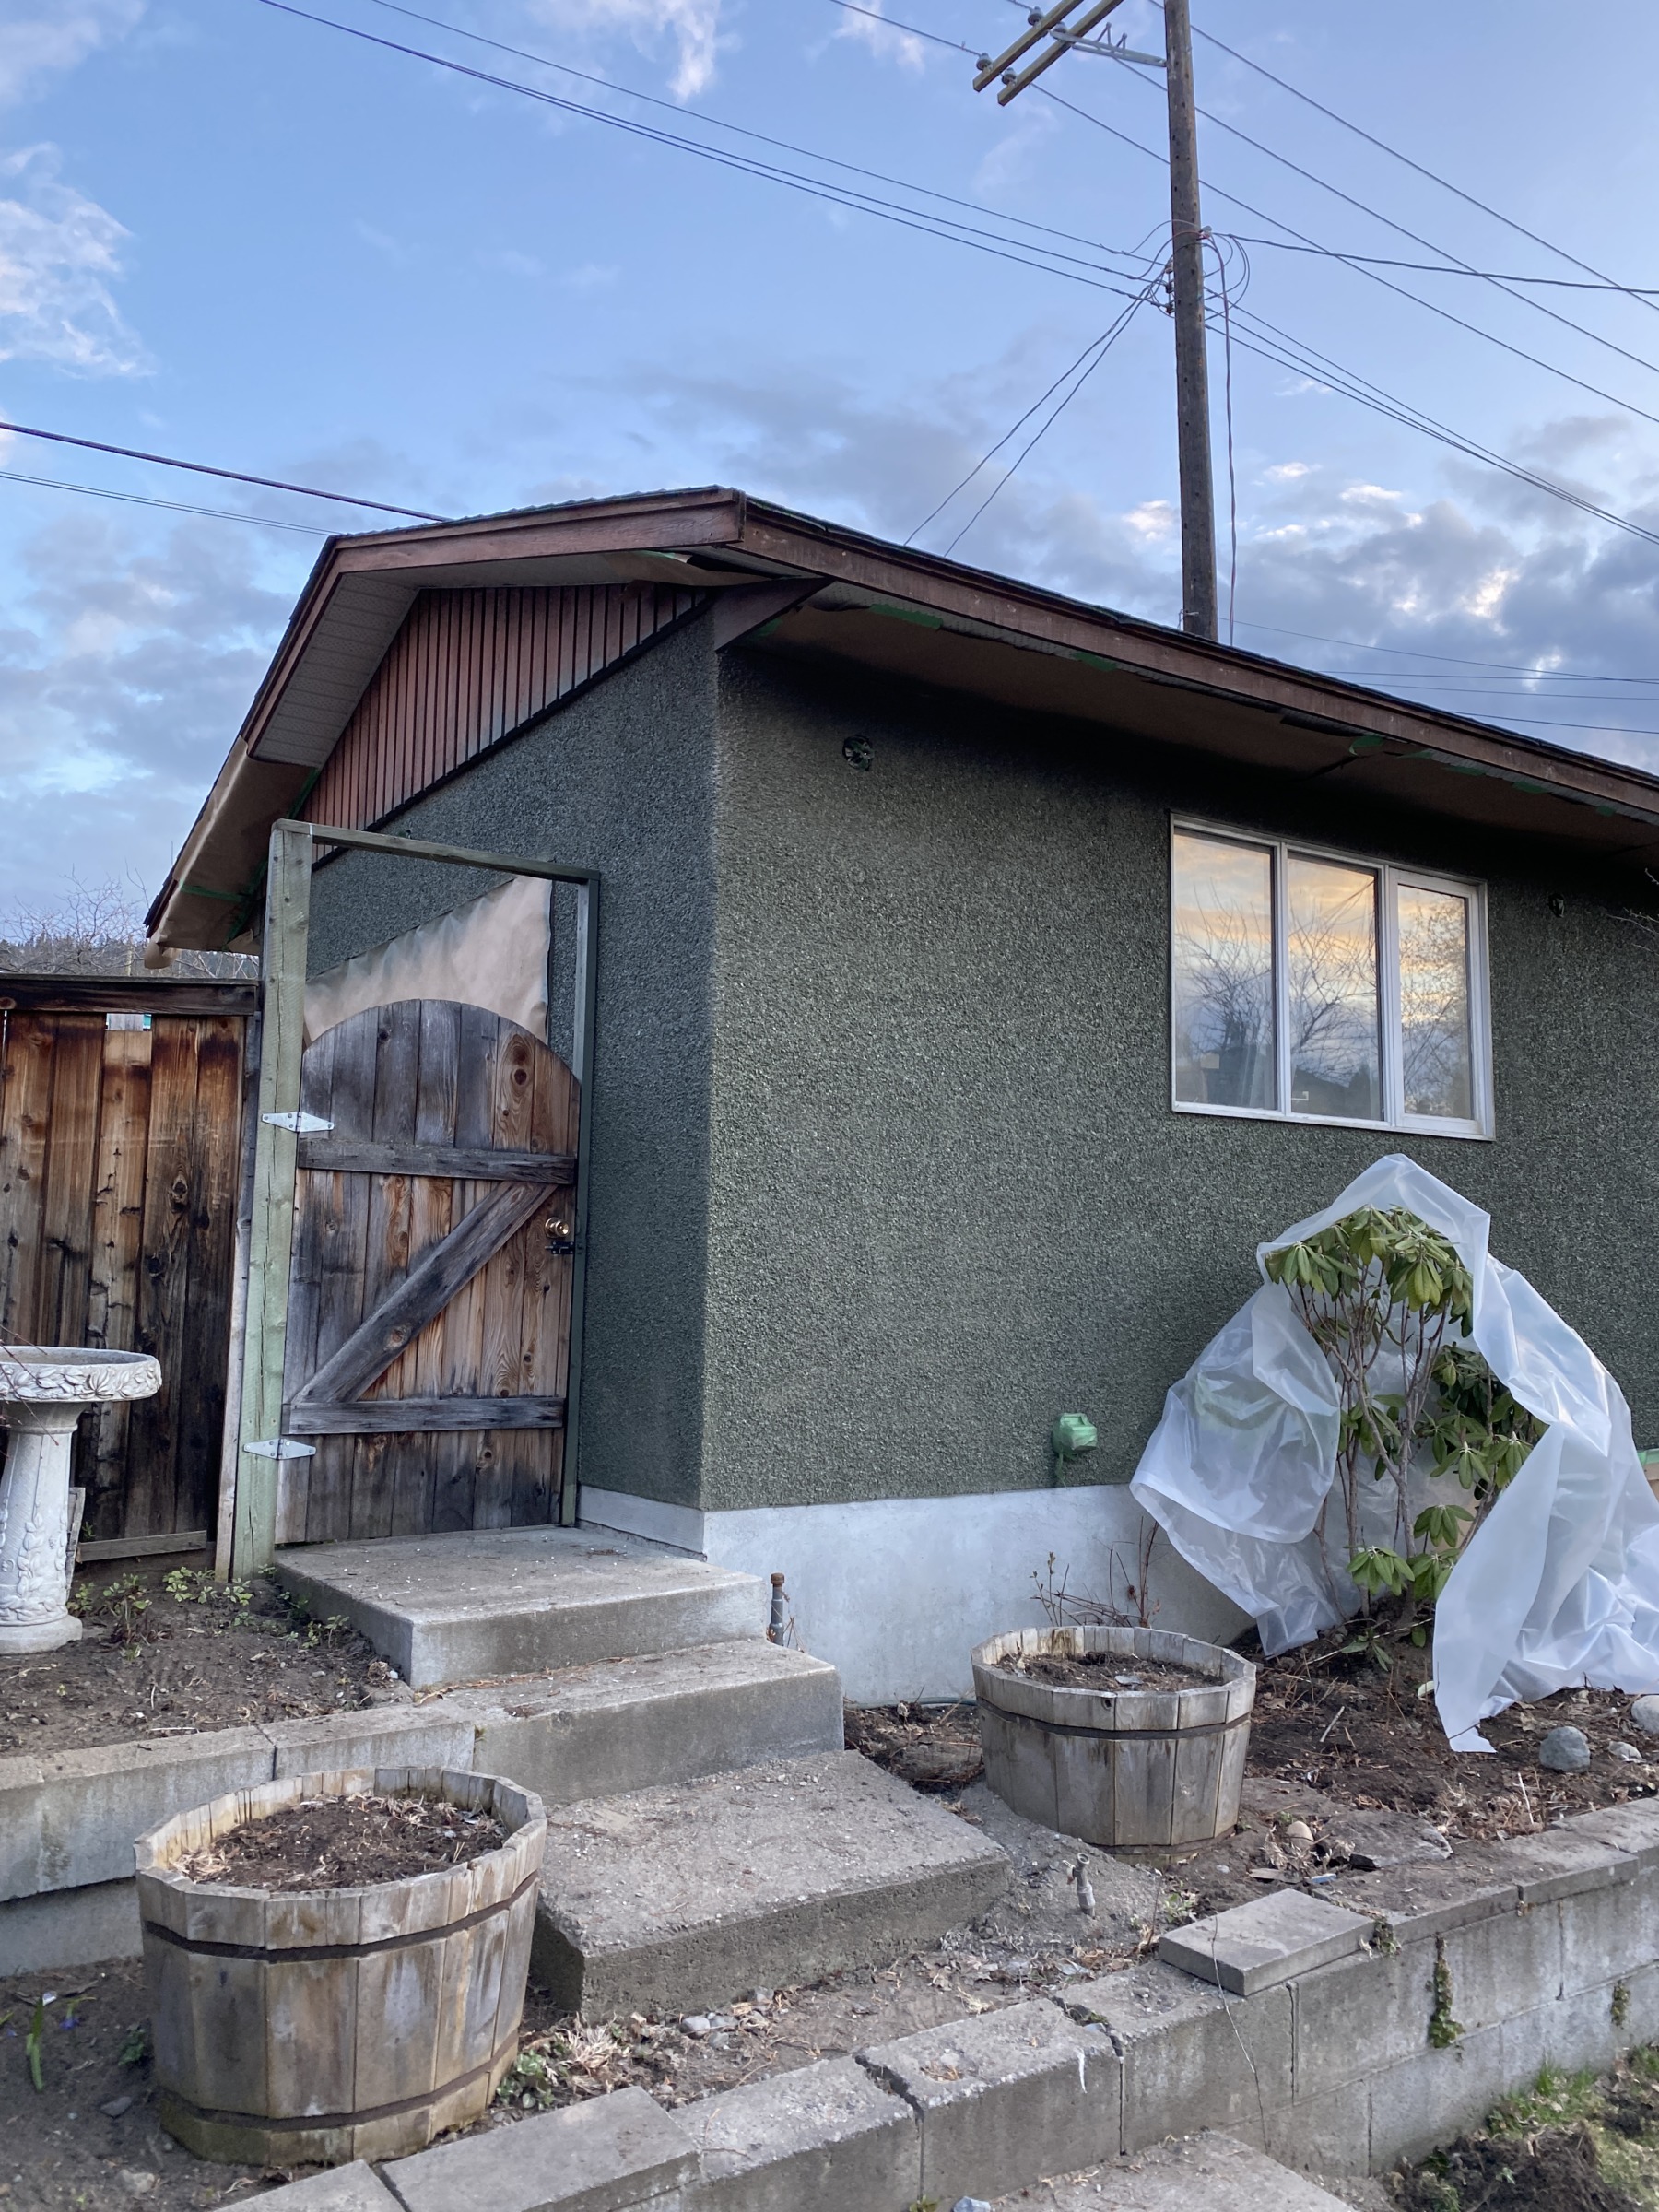
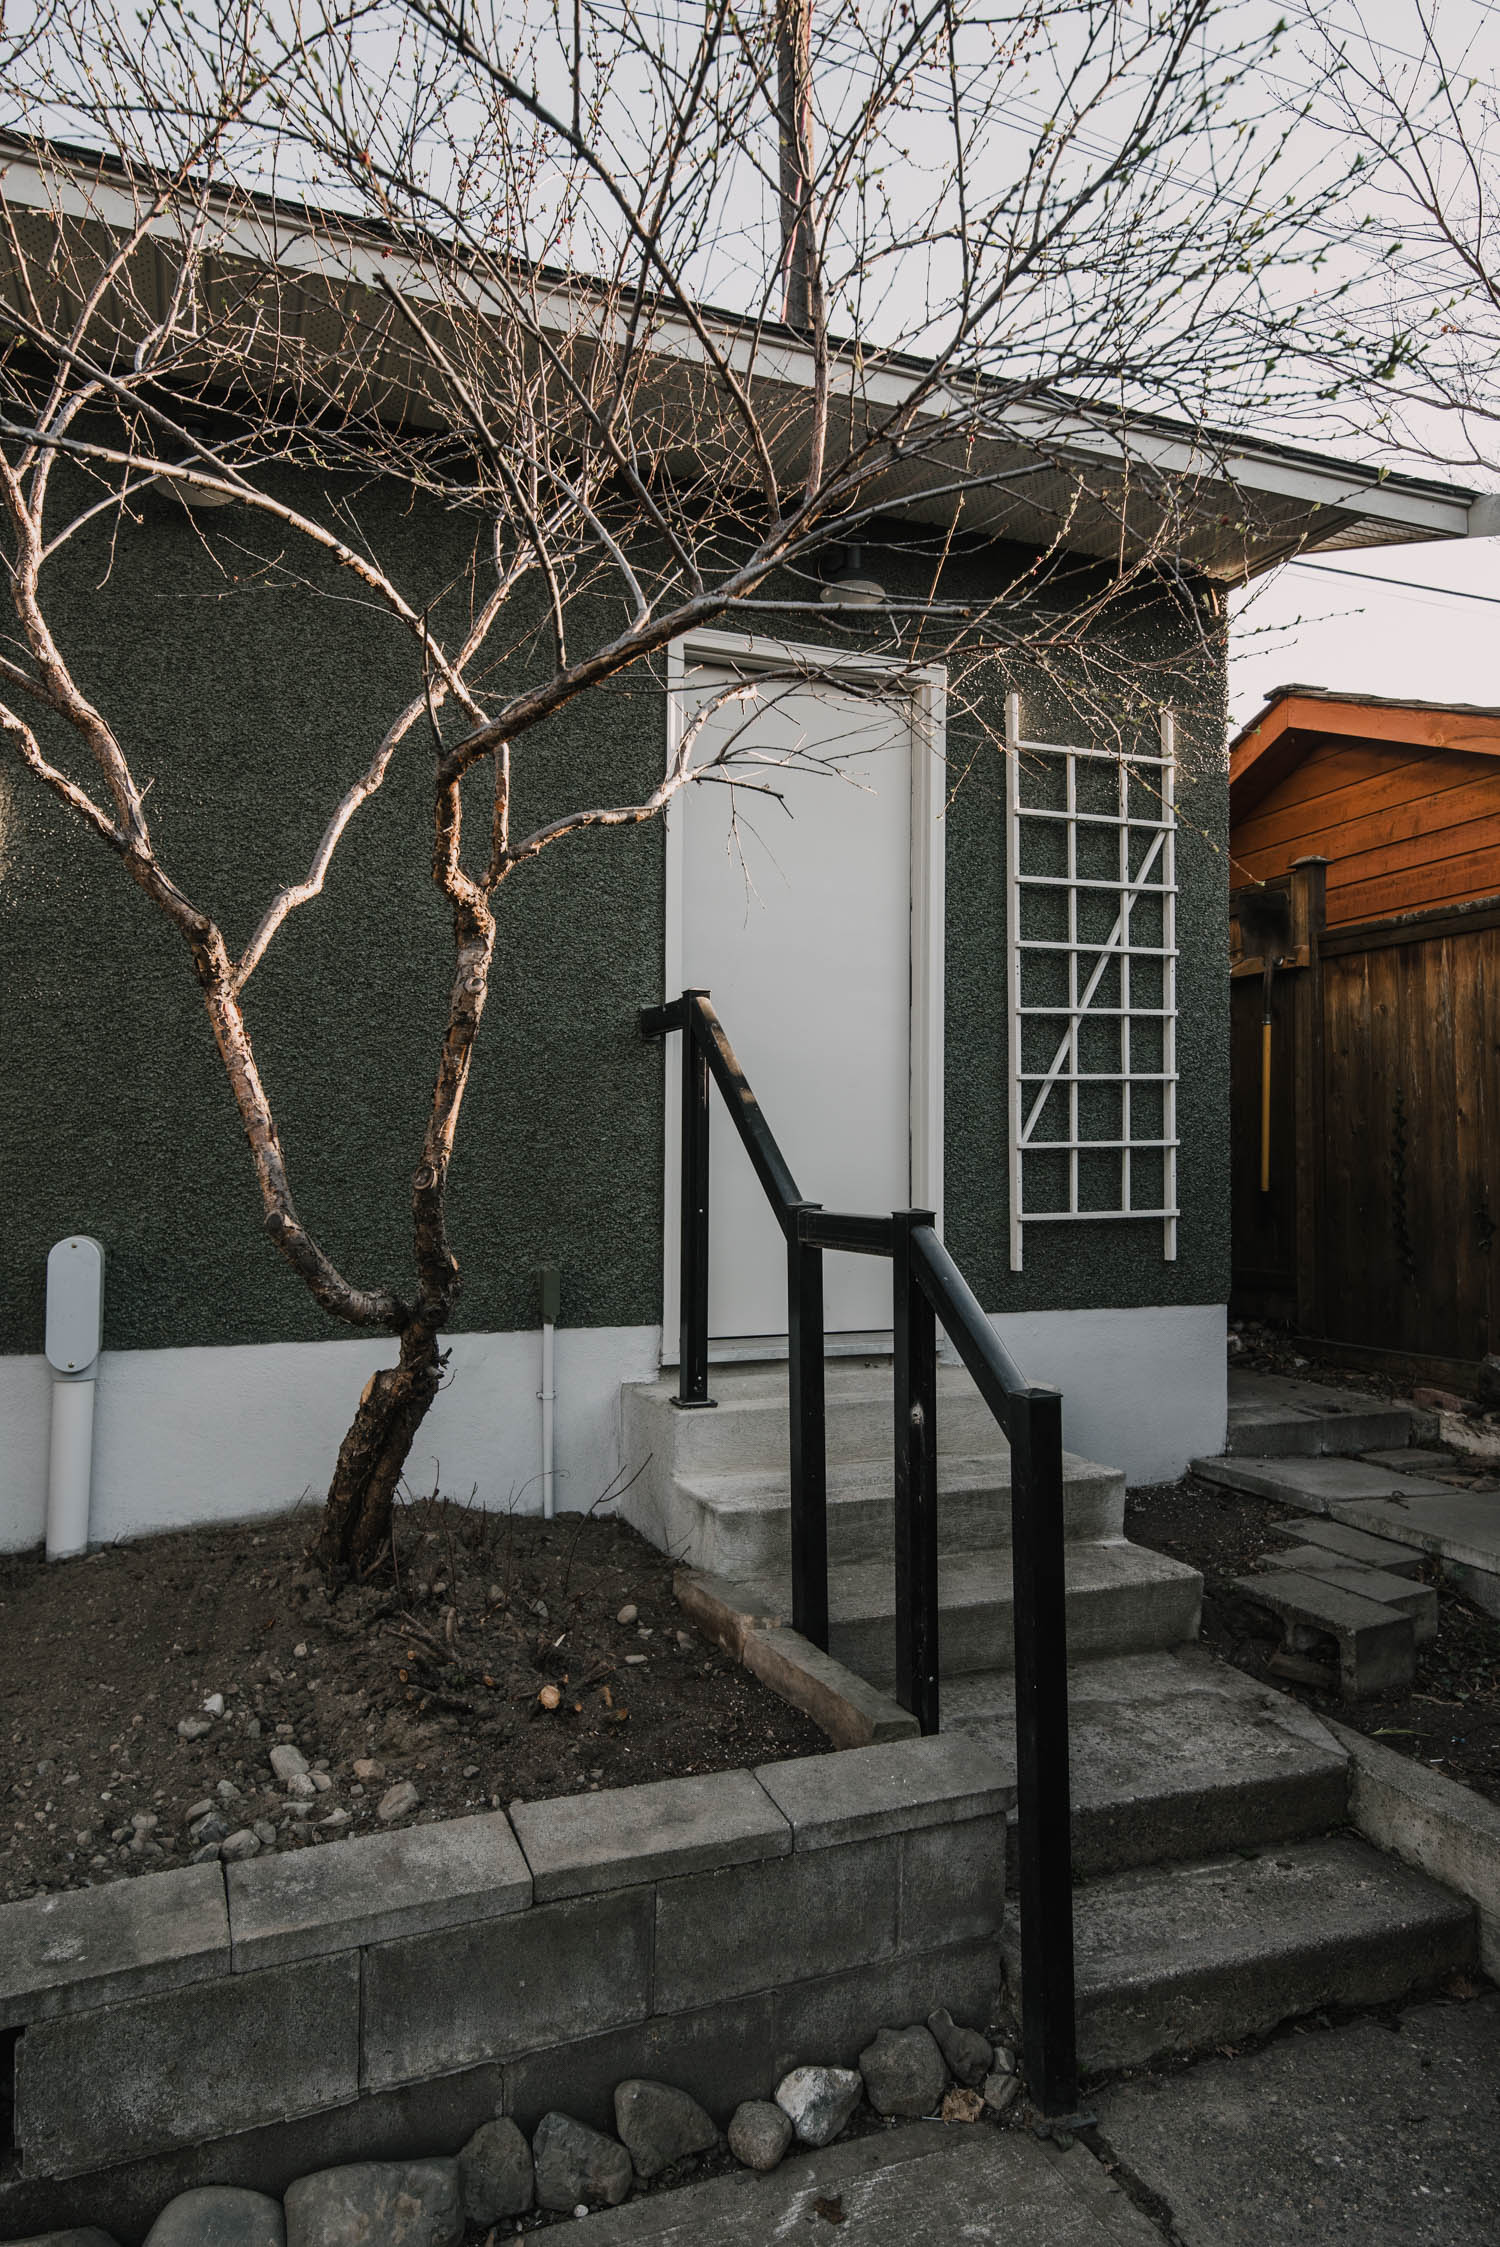
My dad’s been making over his whole house- top to bottom, gutted in every way. With moving the roofline on his house and adding an addition, the exterior of their house is getting a makeover as well. The detached garage didn’t need a gut job or new siding- the stucco was in good enough condition other than the graffiti on the back- it just needed a paint job. My dad had started painting the garage with a blue color before deciding on the green. The blue paint (by the man door) was done by hand and took as much time to paint that blue section as it took us to paint the entire garage with the sprayer. Plus- that small section of blue took one can of paint. We only used 3 on this entire exterior (the green). If I’m doing the math correctly- at $50 a can of paint (on the low side), if you’re using 2 and a half times more paint- painting by hand would have cost an additional $225 over what we spent on paint. I would happily spend that saved money on a paint sprayer knowing how much time I would buy back.
Alright, let’s get to how to paint stucco!
This was the best experience I’ve had with a paint sprayer yet. There’s a few reasons for that. I’ve been using one for a few years now, so I’m learning how to better control it with the settings, it was a dramatic color difference so it was so satisfying to spray this and watch it transform before your eyes. And lastly- this was a new sprayer, honestly the best one I’ve ever used by far.

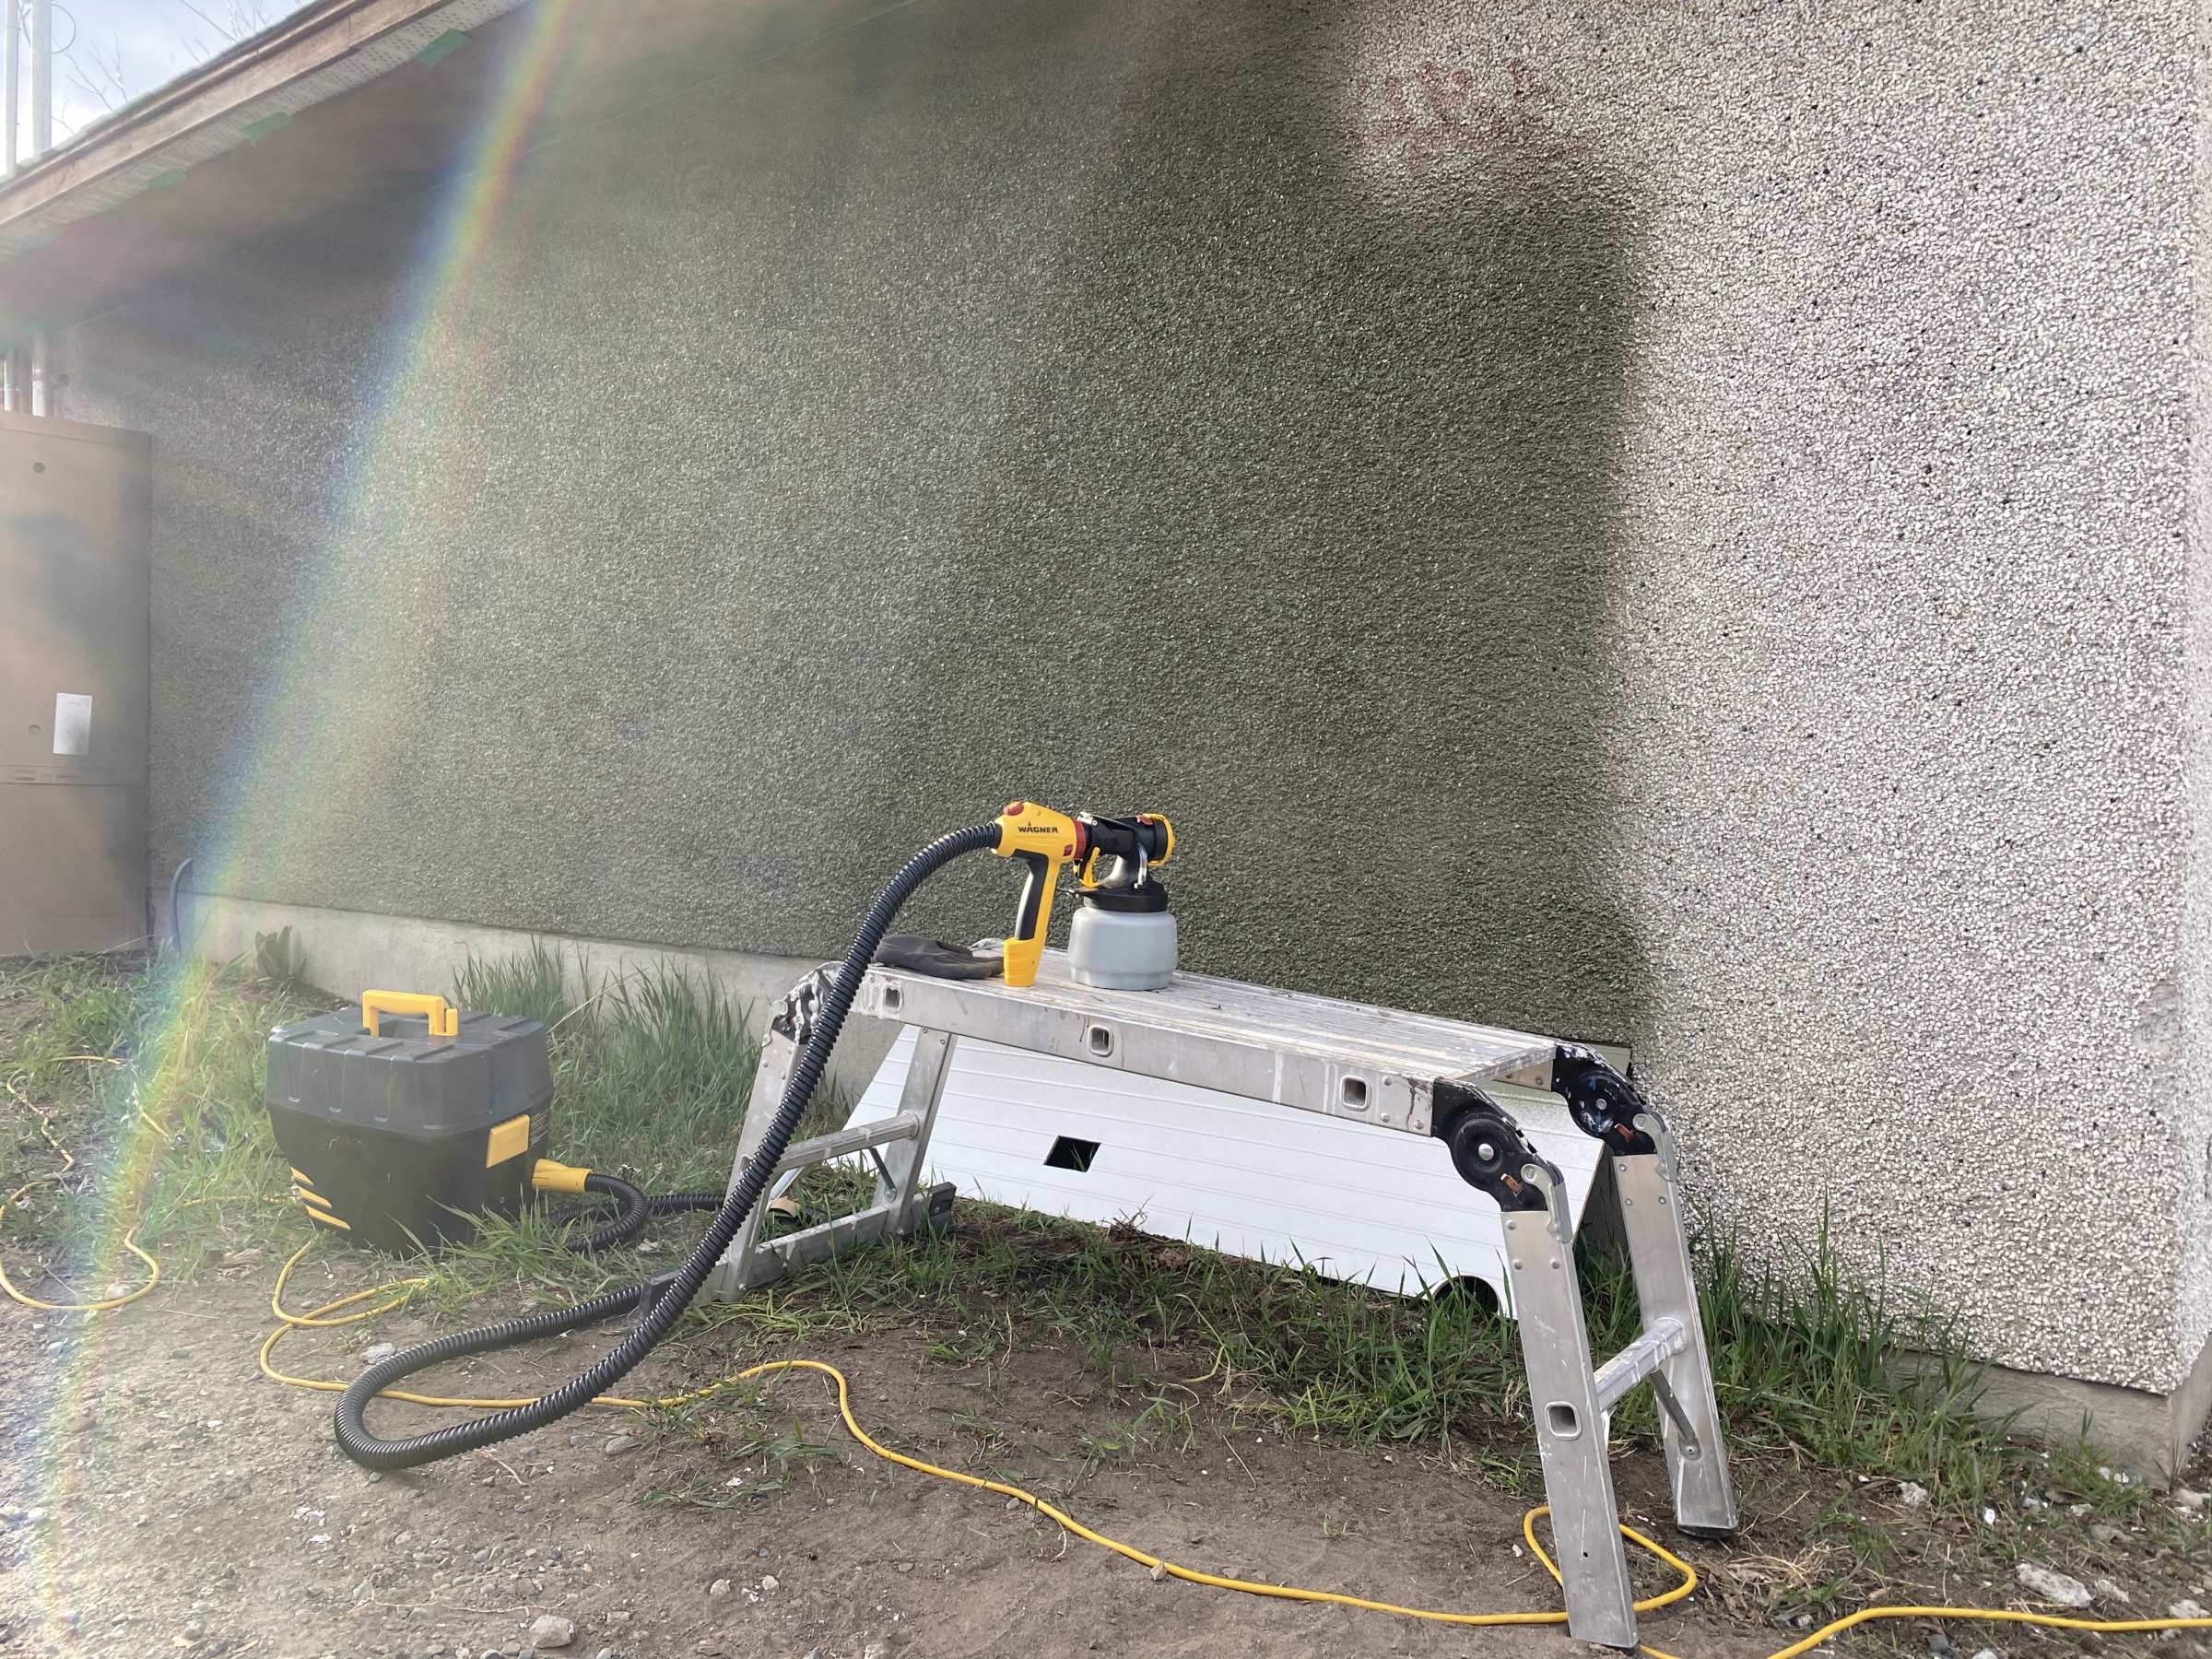
I partnered with Wagner Spray Tech for this post to share these tips with you. For this project, they sent me the FLEXiO 5000 which is one step up from the FLEXiO 3000 that I’ve used for past projects (which is also fantastic!). The big difference on this one is that it has the motor in a separate unit. Which means that you don’t have to lift that extra weight above your head when you’re spraying big surfaces like this. My scrawny arms LOVE that feature. Of course, it’s still a bit heavy when it’s full of paint, but it was noticeably lighter and easier to manage than ones I’ve used that are completely hand held. If you’re doing a large area like a detached garage or a whole home- I’d definitely recommend this one.
The thing that has overwhelmed me about using a paint sprayer (in the past) is the prep involved. The more I use a sprayer, the more comfortable I get with this and time and time again we find ourselves commenting how much quicker it is- even with the masking. This is especially true on textured surfaces like brick or wood. So let’s talk about it!
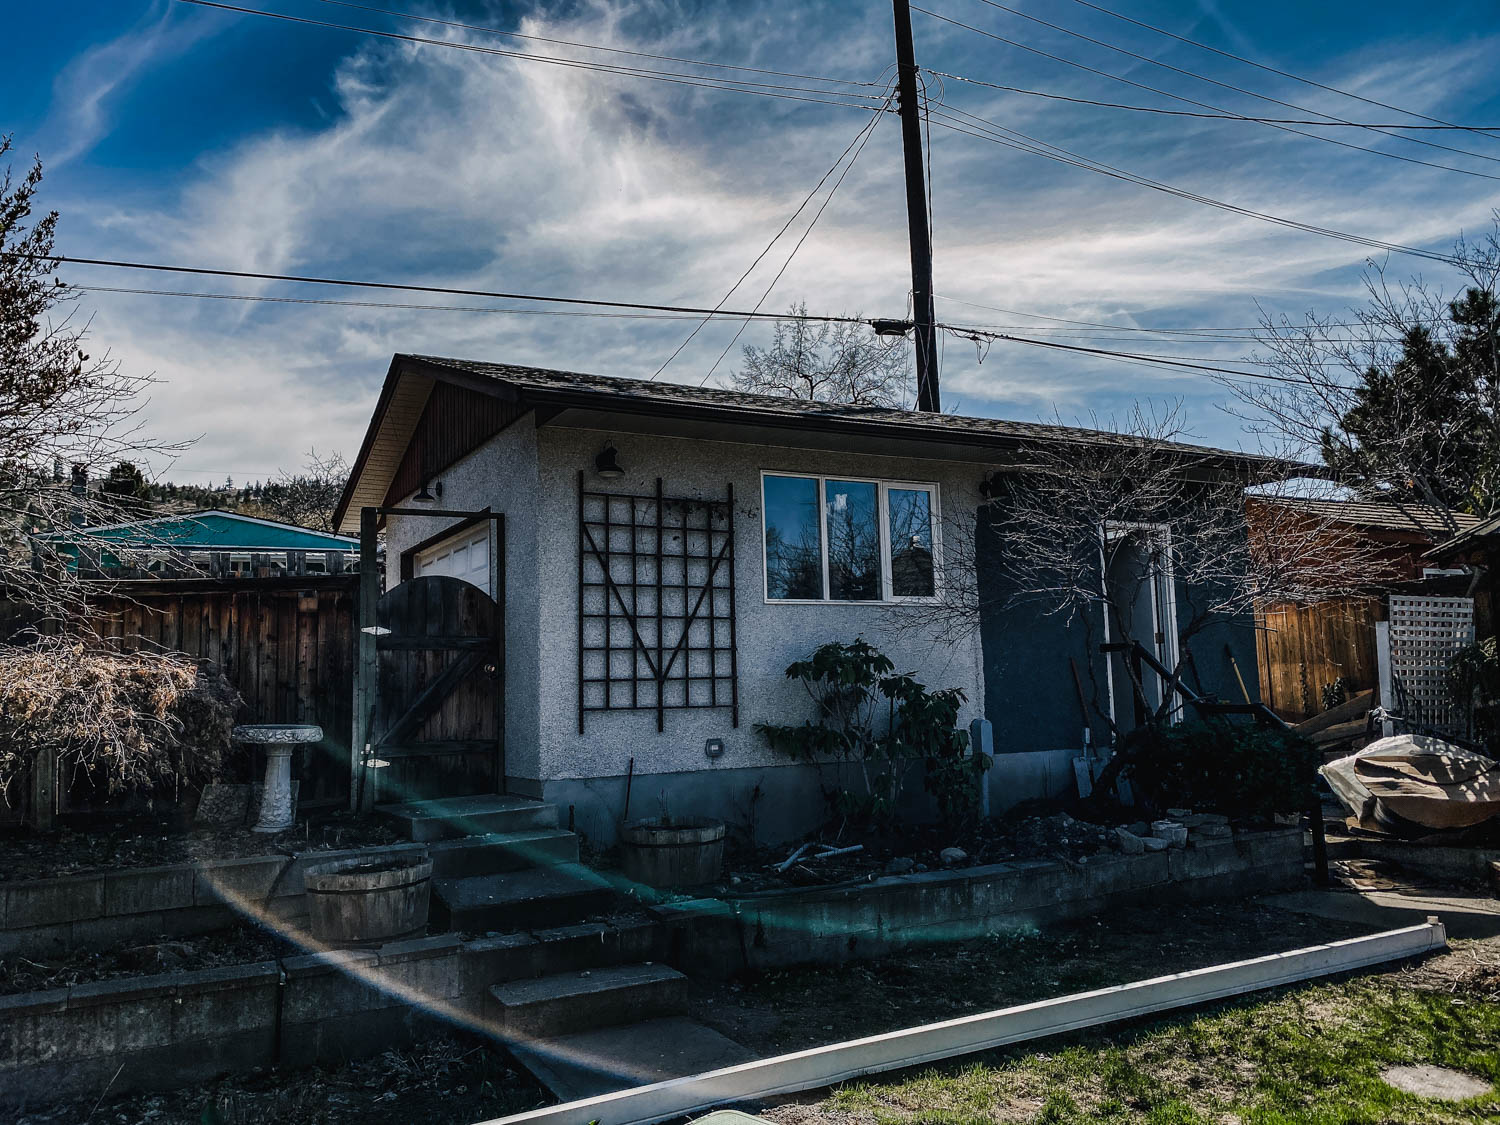
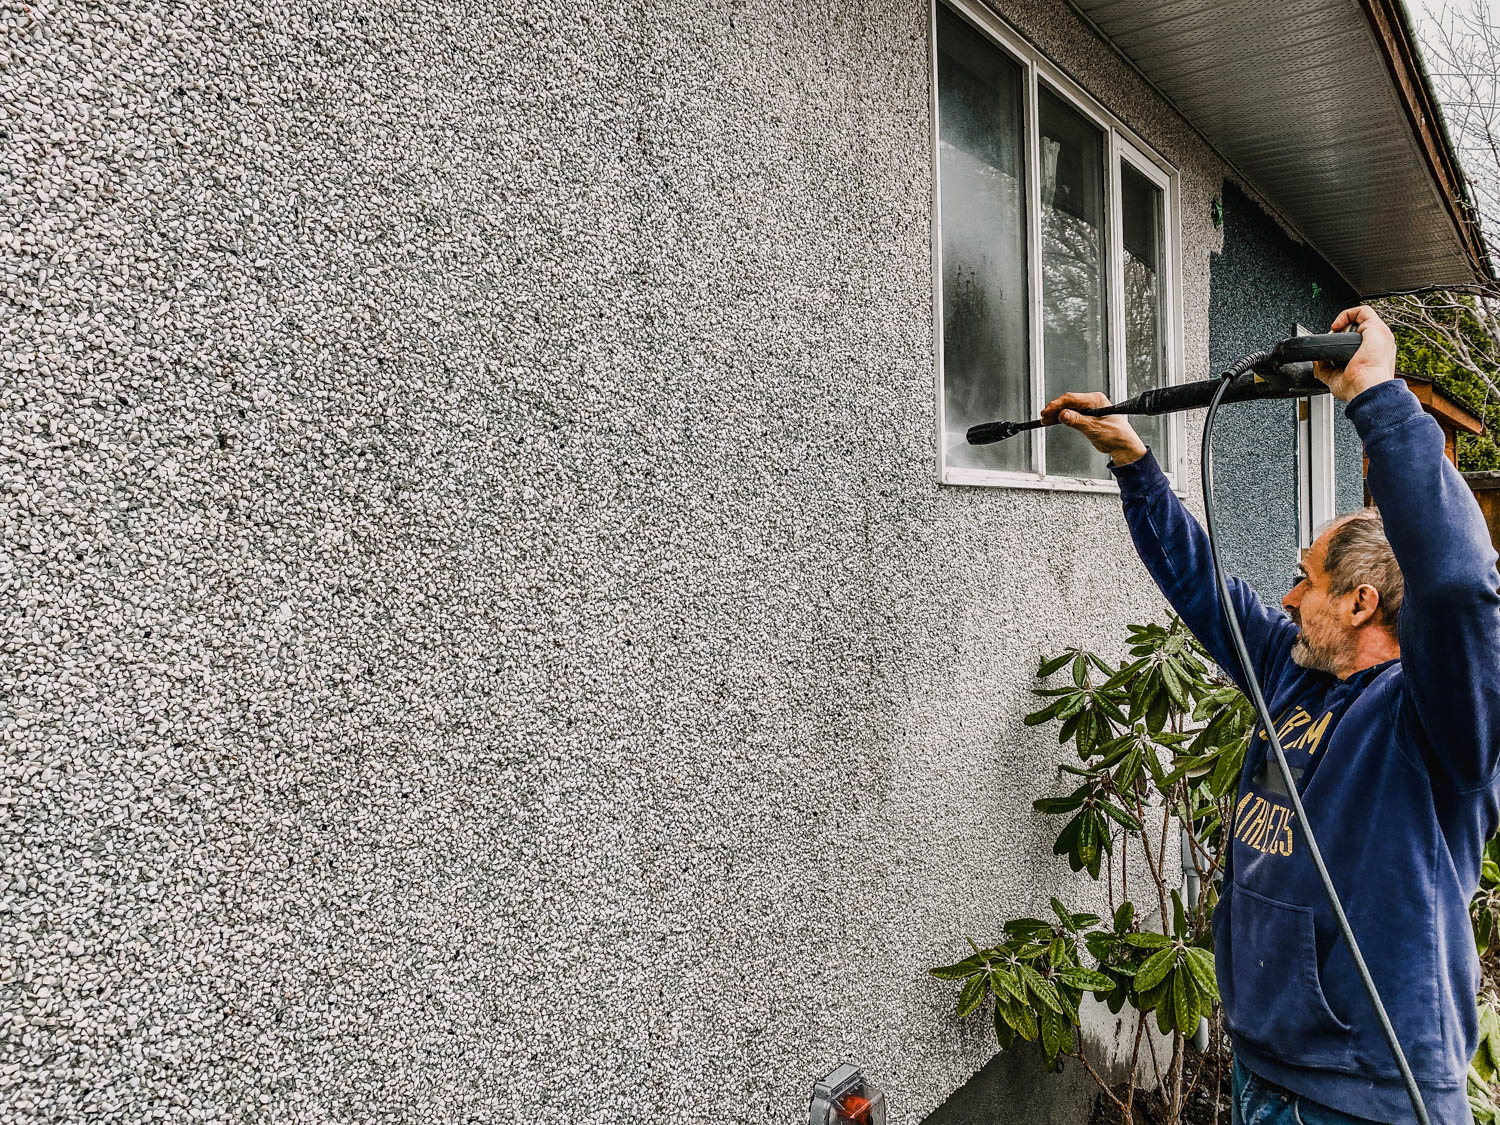
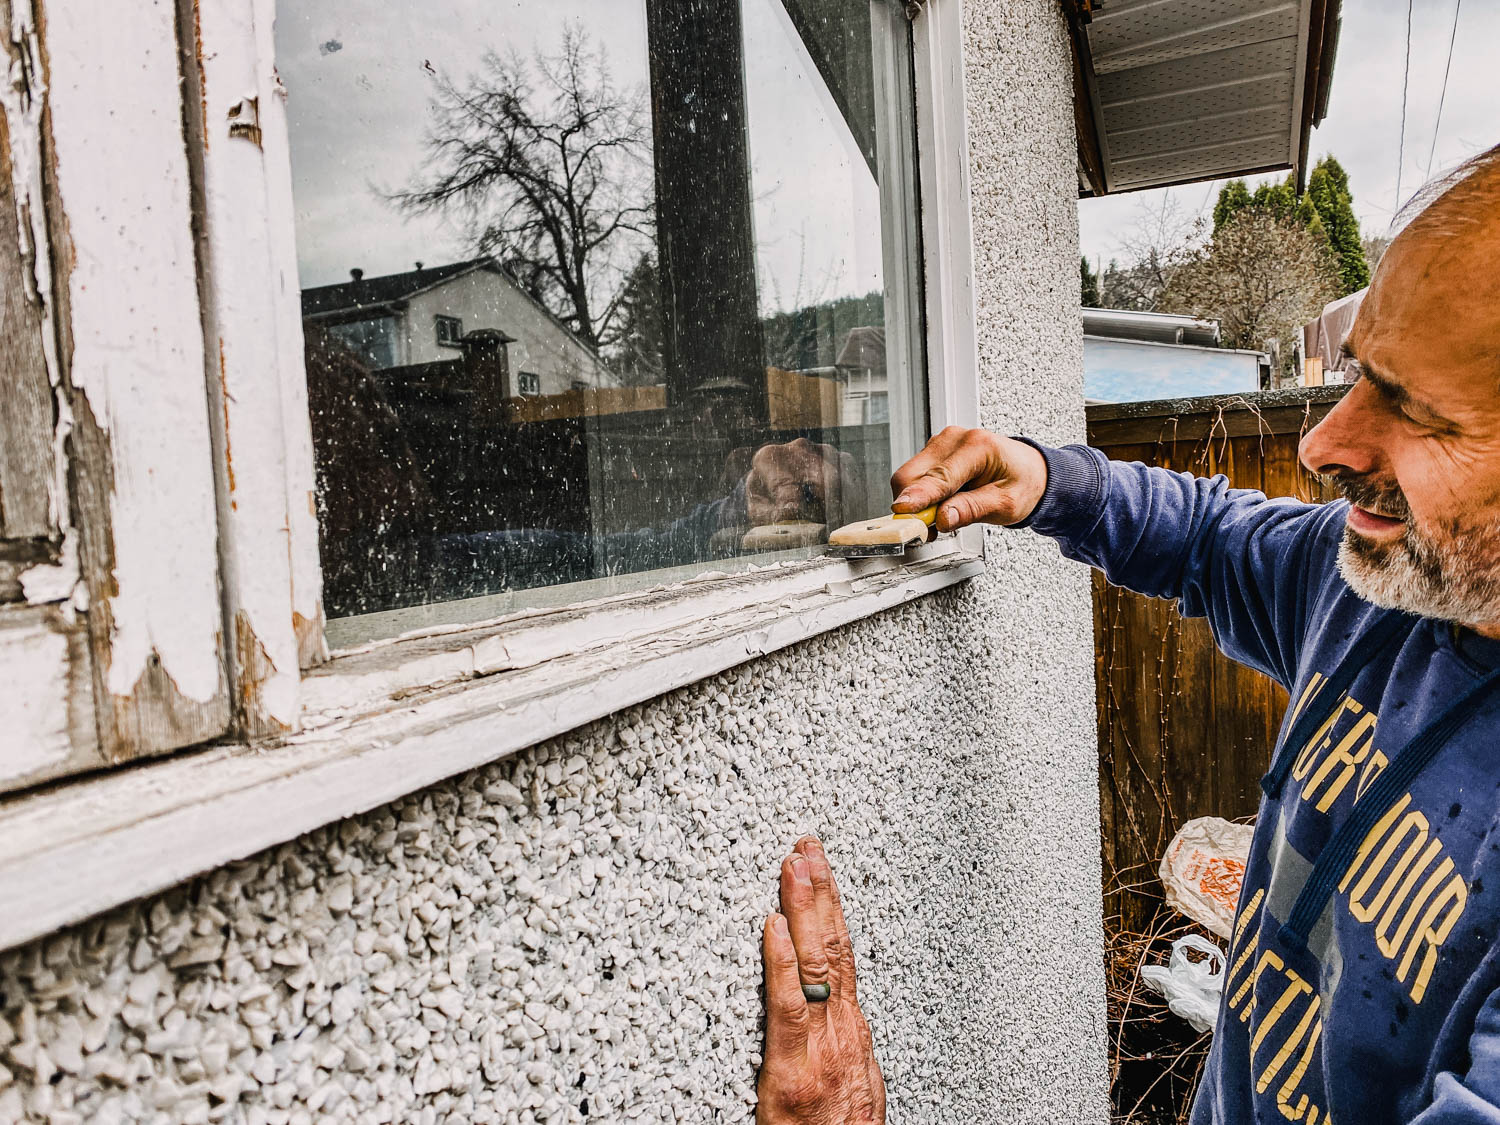
Before masking, make sure to clean the stucco really well. Older stucco will have pieces that want to fall off and if you’ve had trellises on your stucco (or other decor), the dirt really builds up around it. We used a pressure washer for this, but you could use a hose and a scrub brush on a broom stick (like a deck brush) as well. If you have peeling paint on window trims, give it a good wire brush or scrape so that your paint will adhere instead of flake off with the old paint.
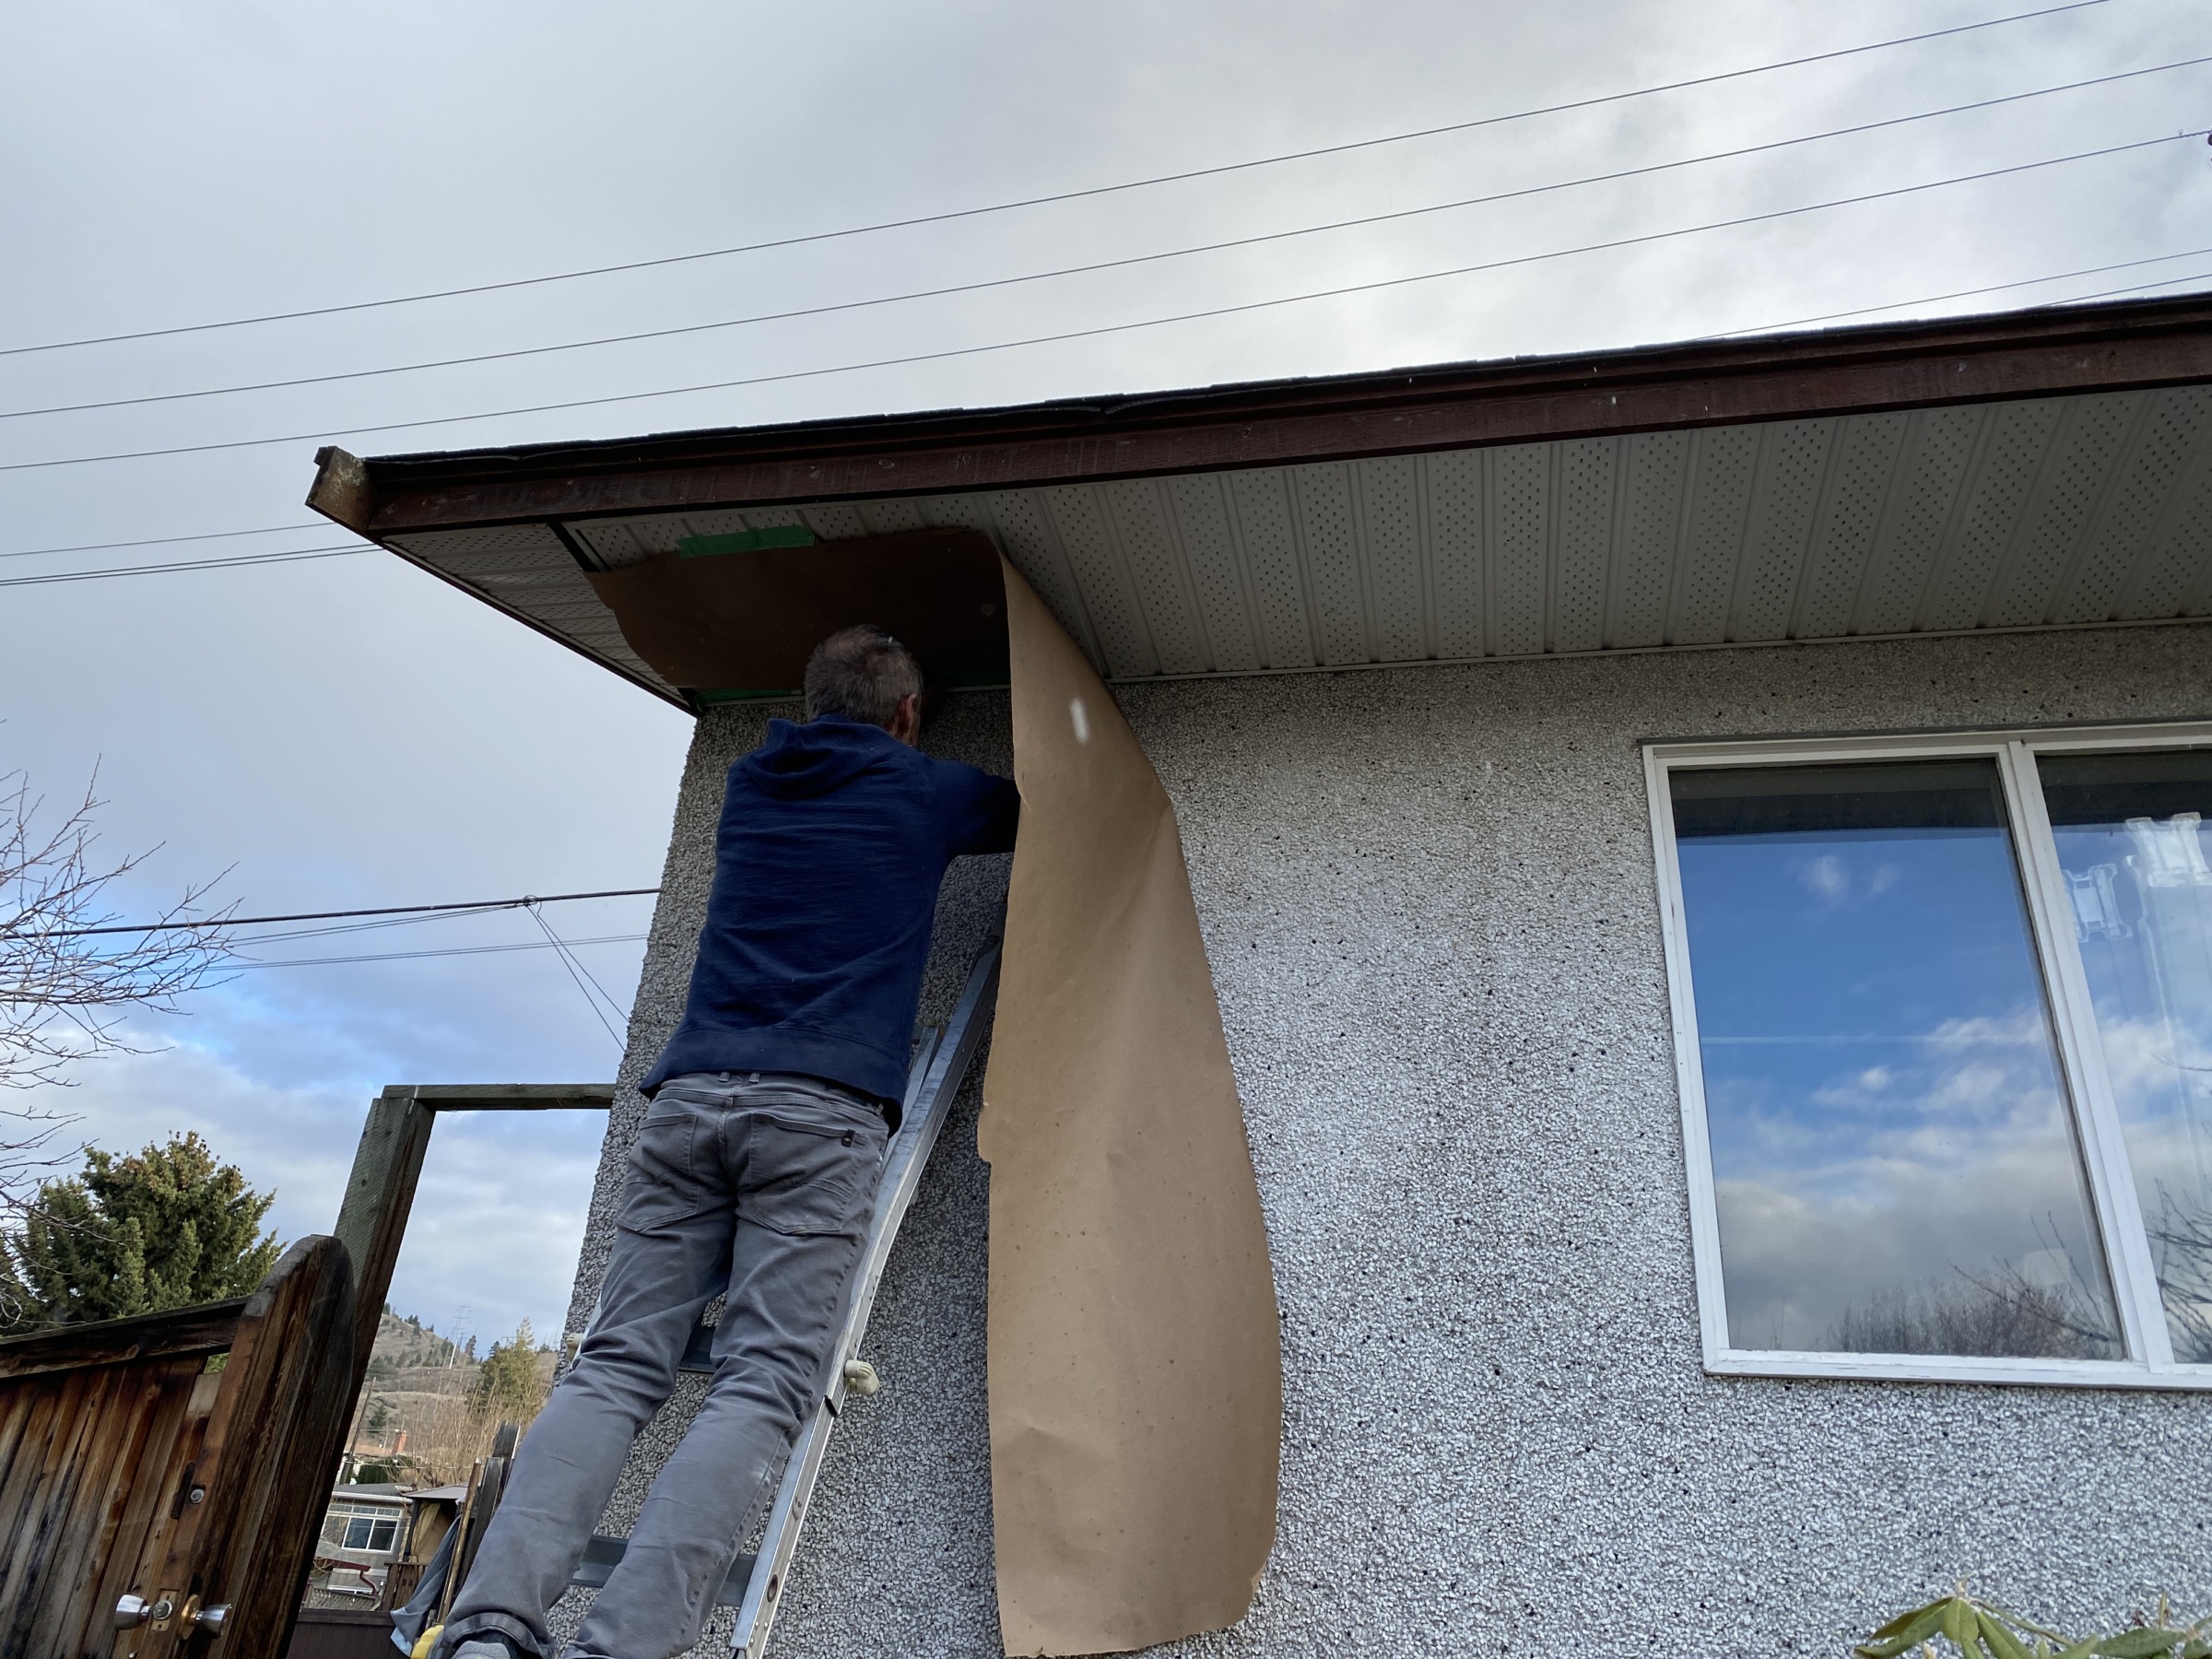
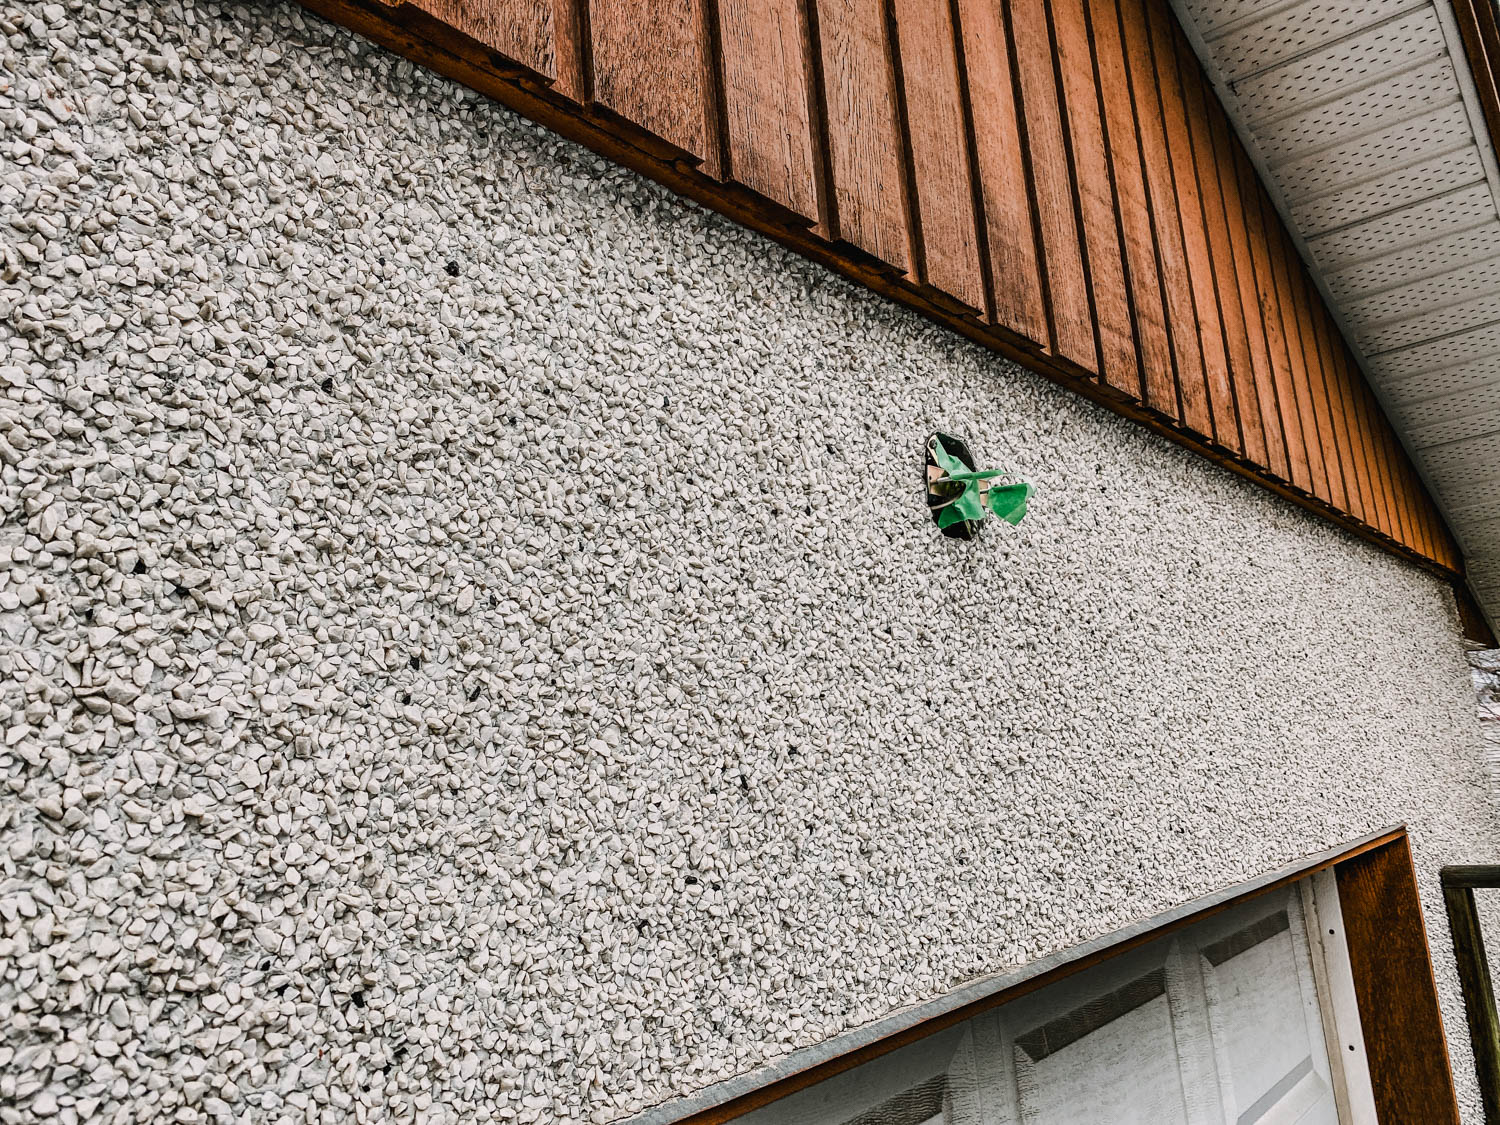
Once your surface is clean, it’s time to get masking! We did this on a warm day, so by the time we were done washing the last side, the first side we’d cleaned was dry. We used flooring paper (in the painting section at the hardware store) and painters tape to mask off the soffits. We didn’t worry about the windows or doors since we went back and painted them after. The window had old paint on it that would need to be scraped off so we just scraped it all off at once. We also tarped any plants we cared about and taped railings and pipes. The older fence will be rebuilt and painted the same green, so we didn’t worry about that one either. We masked the newer fence at the back of the garage. My dad also removed the garage lights and taped off the wires.
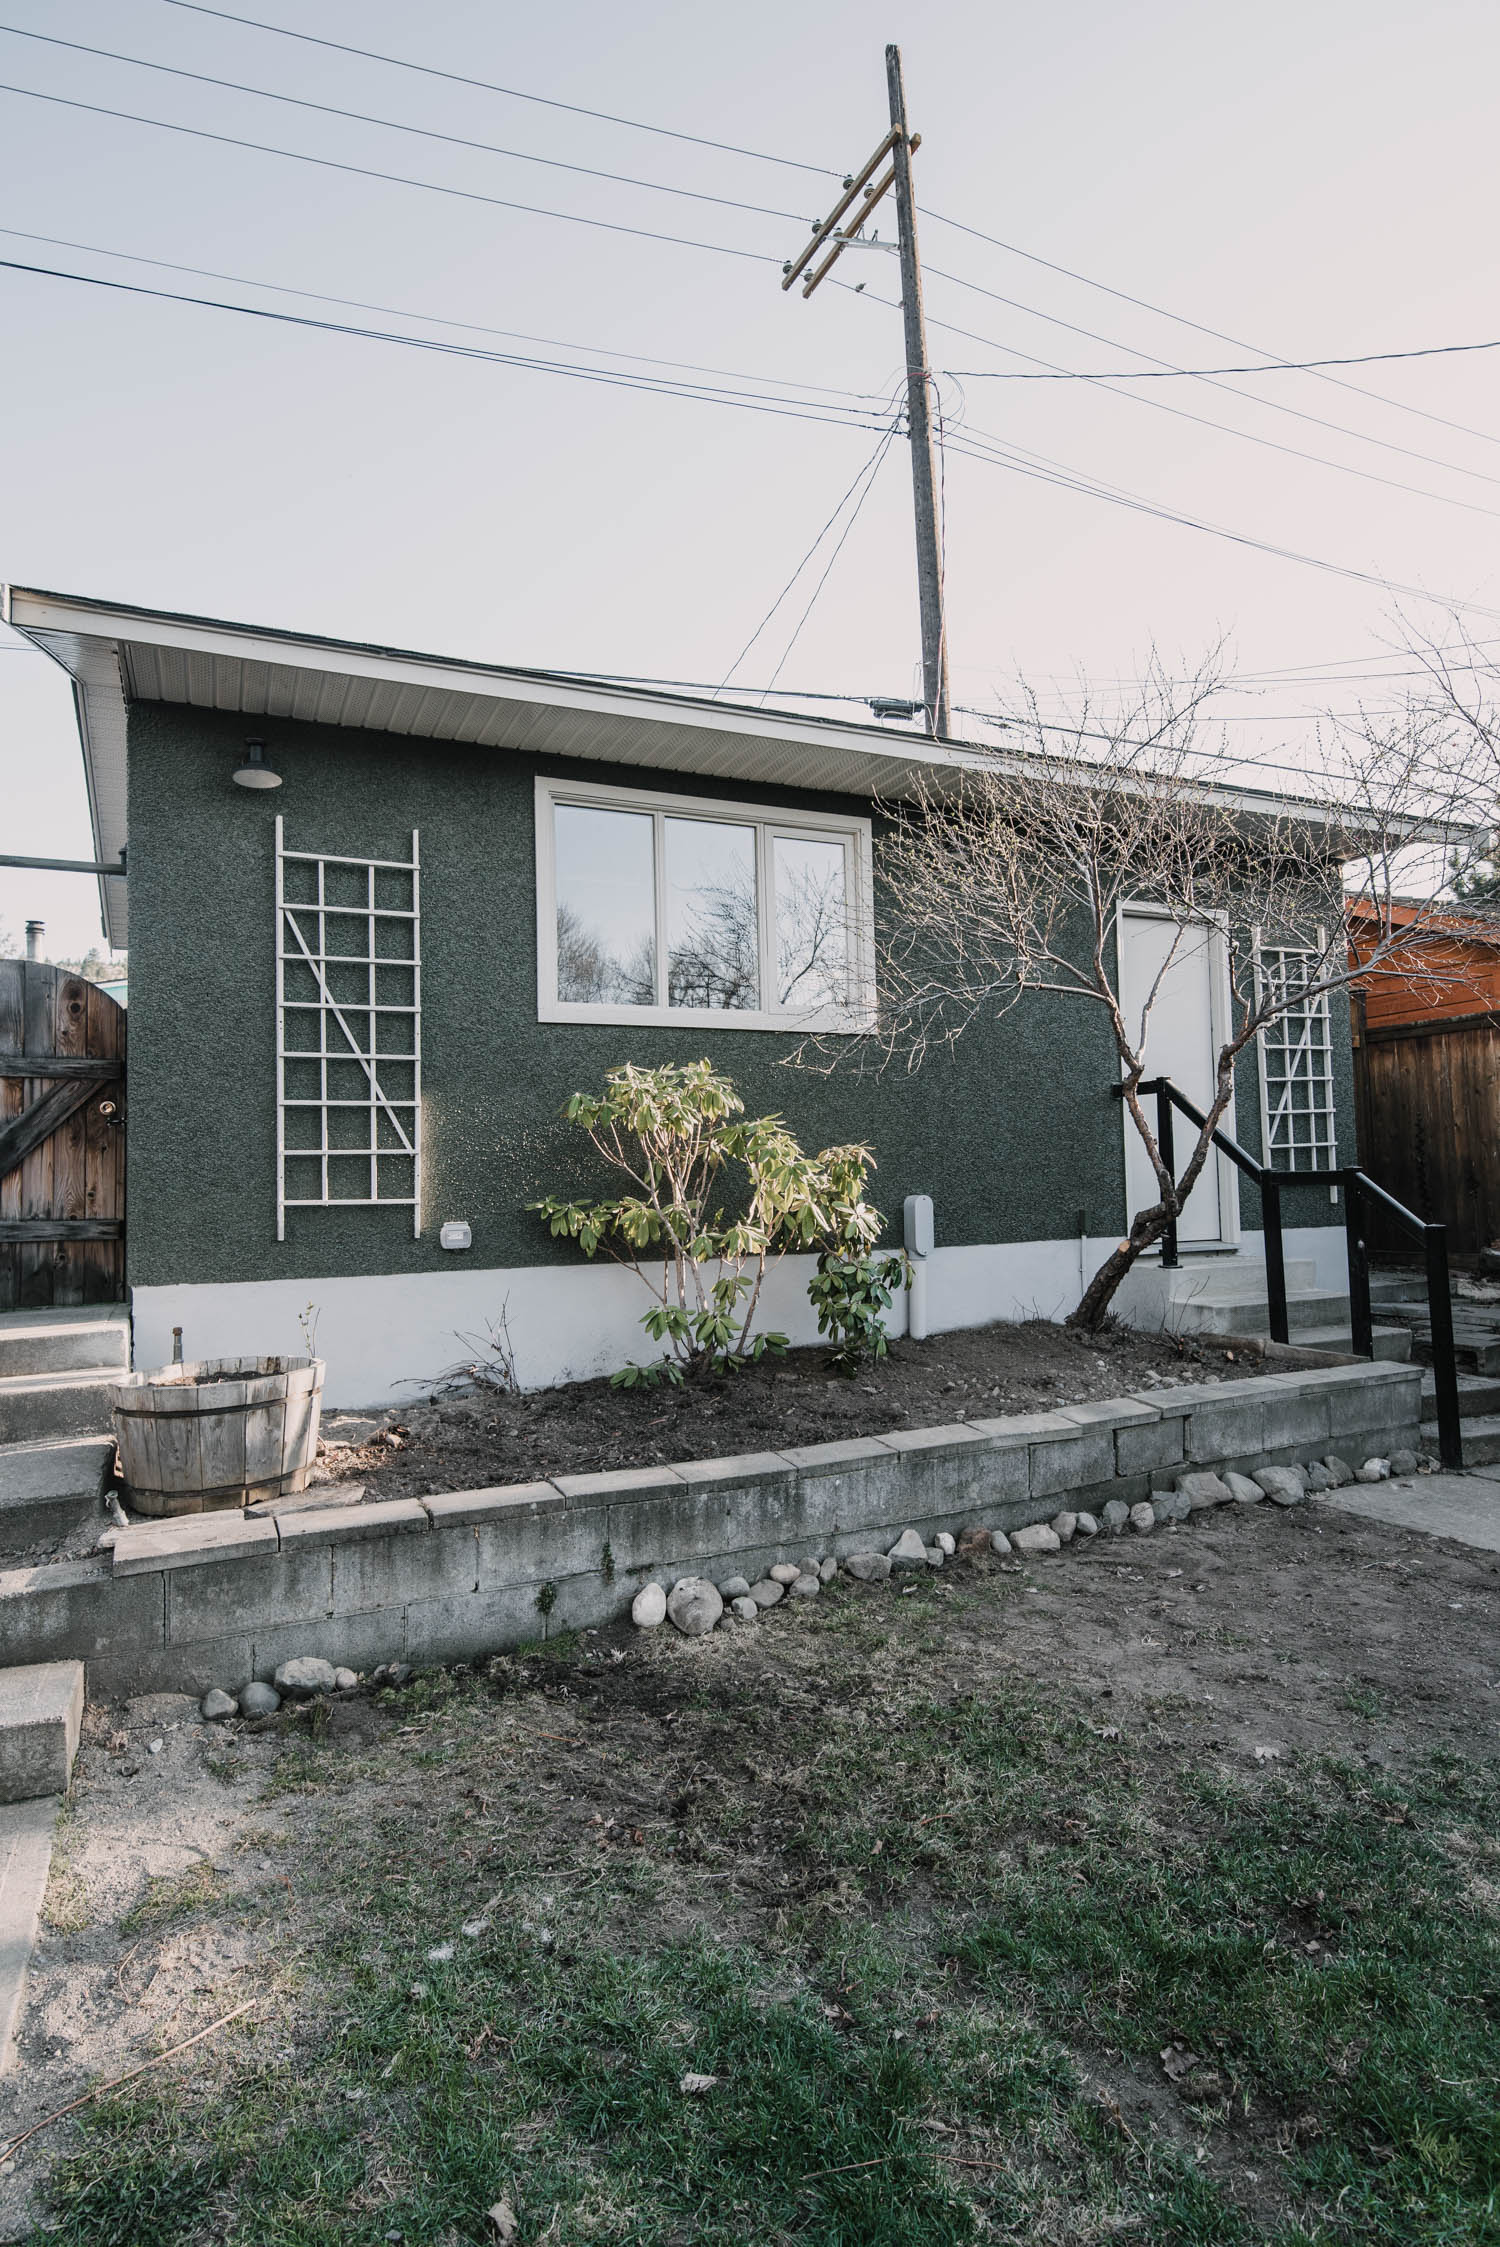
Once you’re masked, time to get spraying! You don’t need to thin paint to use with most newer paint sprayers. It was so convenient to just pour the paint straight in. Let’s talk specifically about how to paint stucco. There is paint that is specifically formulated for stucco that helps seal it from flaking off- I’d recommend using this even though it is more expensive. If not, you can use exterior paint in a matte. Outdoor paint sticks to the stucco itself great, but when the stucco flakes off (some kinds do this more than others! Especially those really rocky ones), it will reveal the old colour and you’ll end up doing touch ups. We used exterior paint in a velvet finish for the trim and doors. The colours we used for this project were color matched to the Hardie Mountain Sage (green) and Cobblestone (Trim/Doors).
The settings we used for this were as follows. While these are specific to the FLEXiO 5000, most home sprayers would have similar settings, just different numbers. We adjusted it to the highest spray pressure and a 9/12 flow. I used a wide angle nozzle and alternated between using it on a vertical and horizontal spray pattern depending which area I was working in. The spray pressure controls how much air is put to the spray gun. The higher the number, the more air and the more air, the finer the spray. The lower the spray, you may get larger droplets of paint, especially with thicker materials. Lower would be better for stain, for example since it’s so thin.
The flow controls how much paint get’s fed through for the spray. The more paint, the more coverage but too much and again, you’ll get those larger droplets. These two adjustments are what you would play with to get the perfect coverage and finish. I like to start spraying on cardboard right beside the surface to get my spray pattern right before I move onto my actual project. The other settings are to do with what you want to spray- you can do a wide angle spray for larger surfaces like this, or a more narrow/control spray for smaller detail projects. I switched to the narrow spray when I did the trim around the garage door, for example. Then the direction is just if you are wanting to work up and down or across.
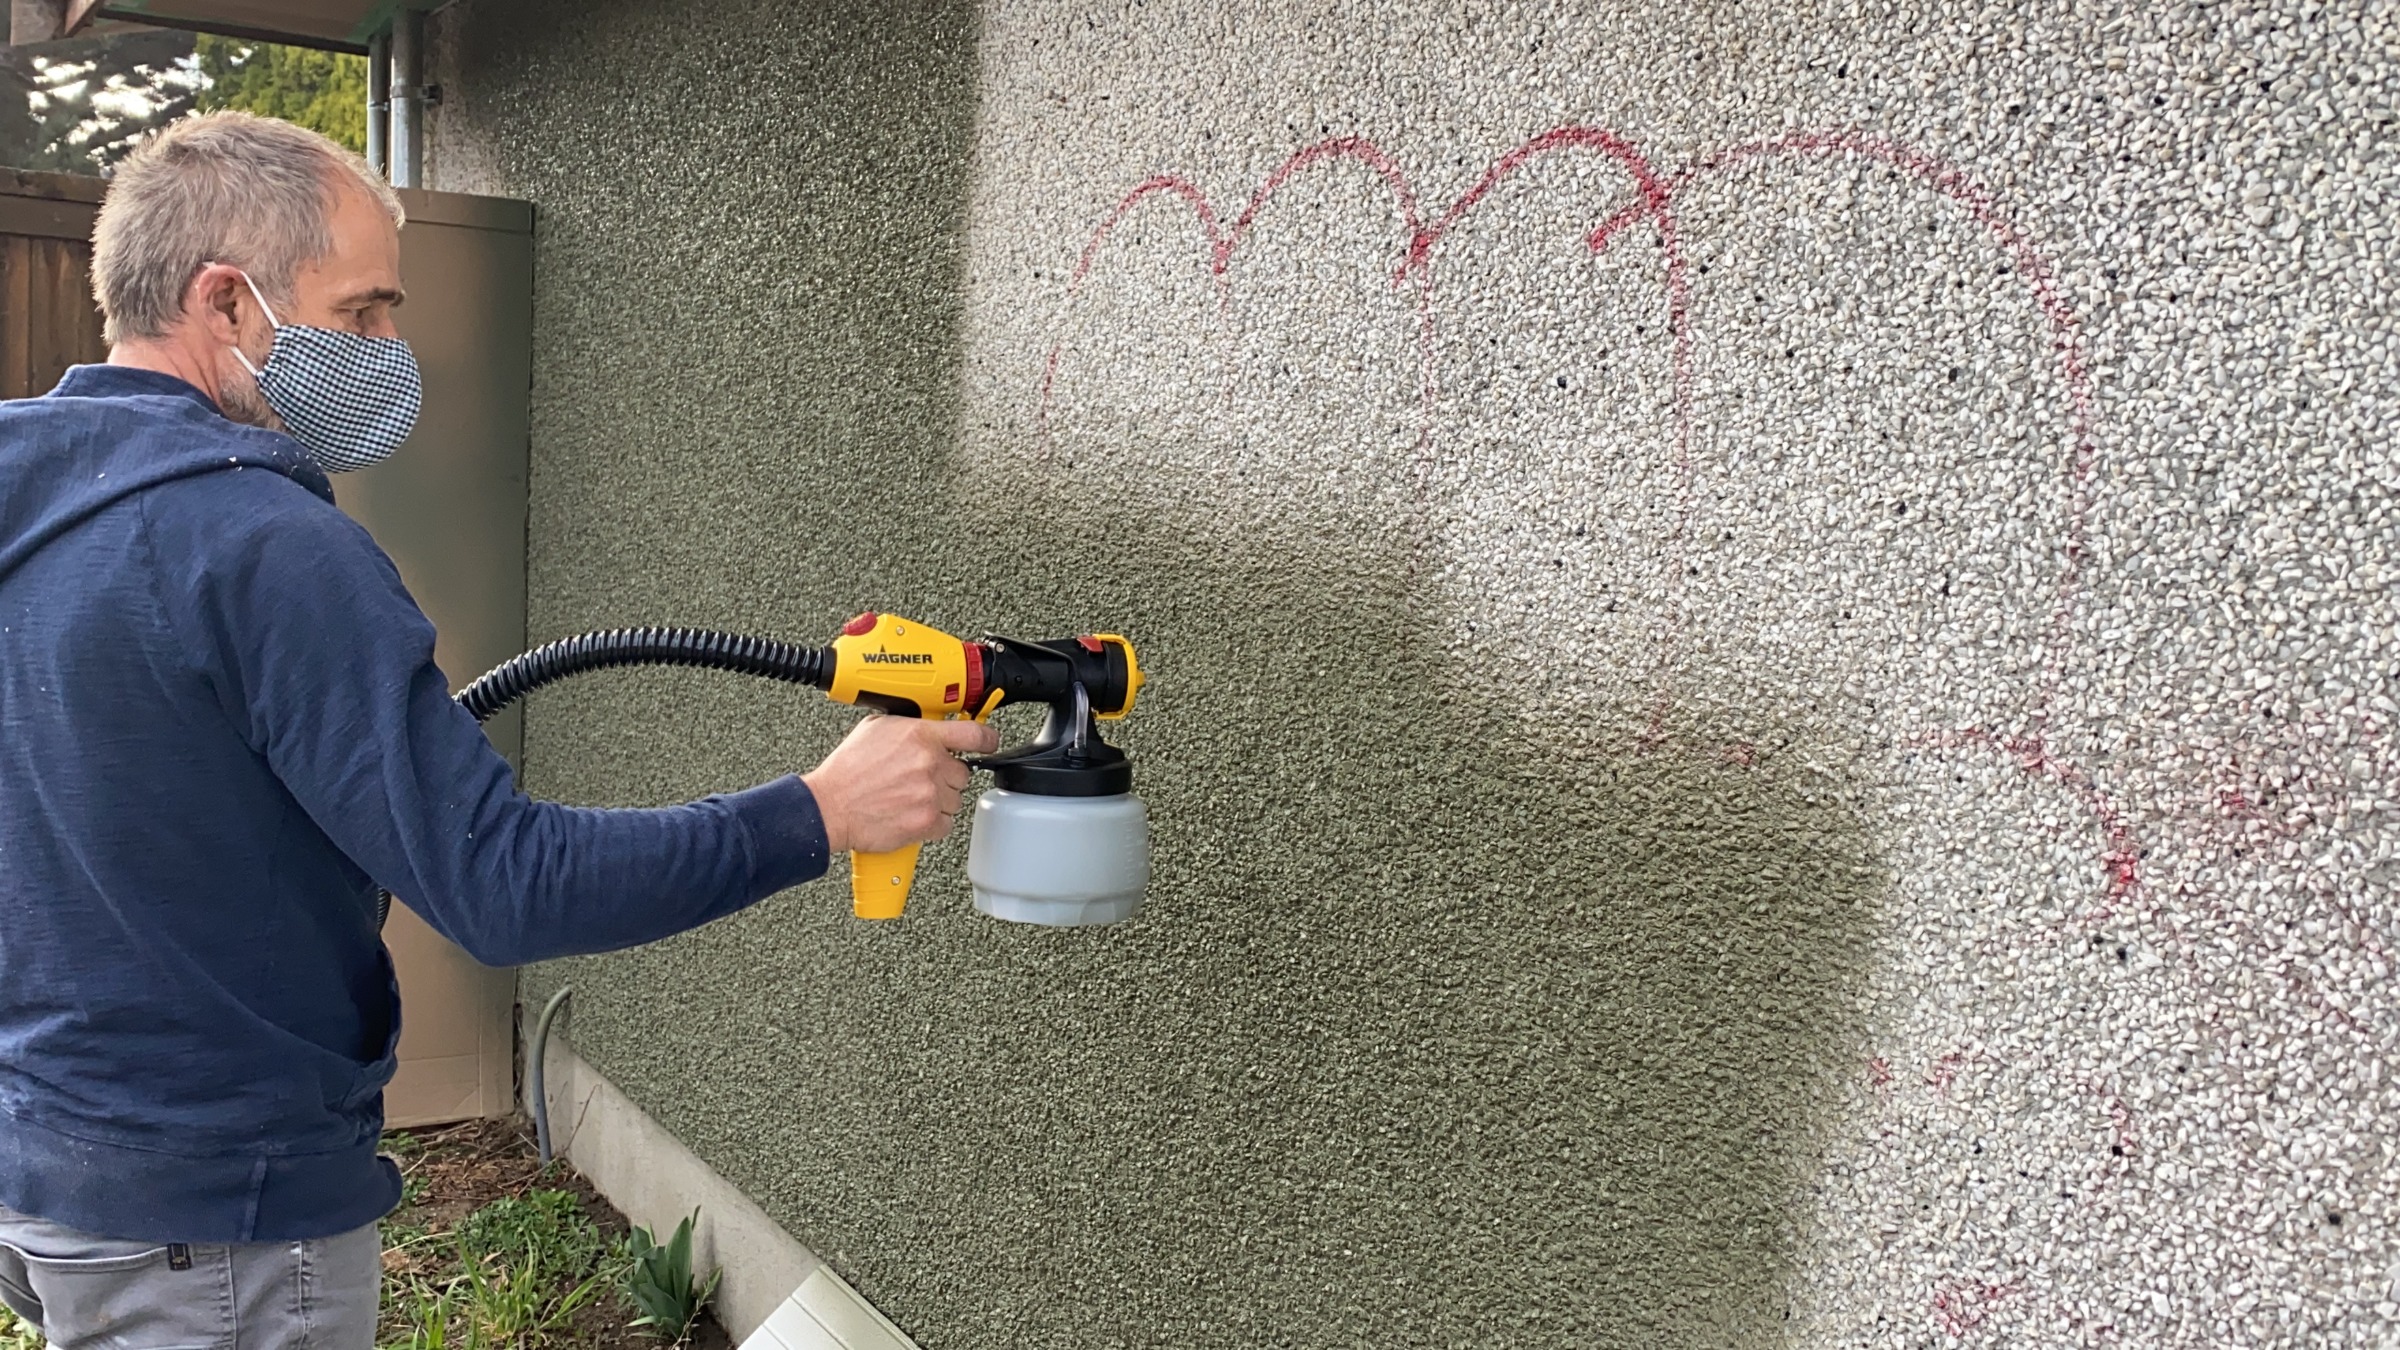
Alright… then get spraying! I like to move niiiiice and slow. I’m really methodical when I use a paint sprayer, but not with most other things. I love watching it get such great coverage- that graffiti practically disappeared as we went over it. Since this was my dad’s first time using a paint sprayer, I got to yell (over the sound of the sprayer) tips and directions at him. Which is great because now I know what to tell you ;) GO SLOW! Did that come out as a yell here too? You will save yourself a coat by going slow. We did two coats on this. You can see even after one coat, though- the graffiti was covered and you can’t tell where he had painted blue.
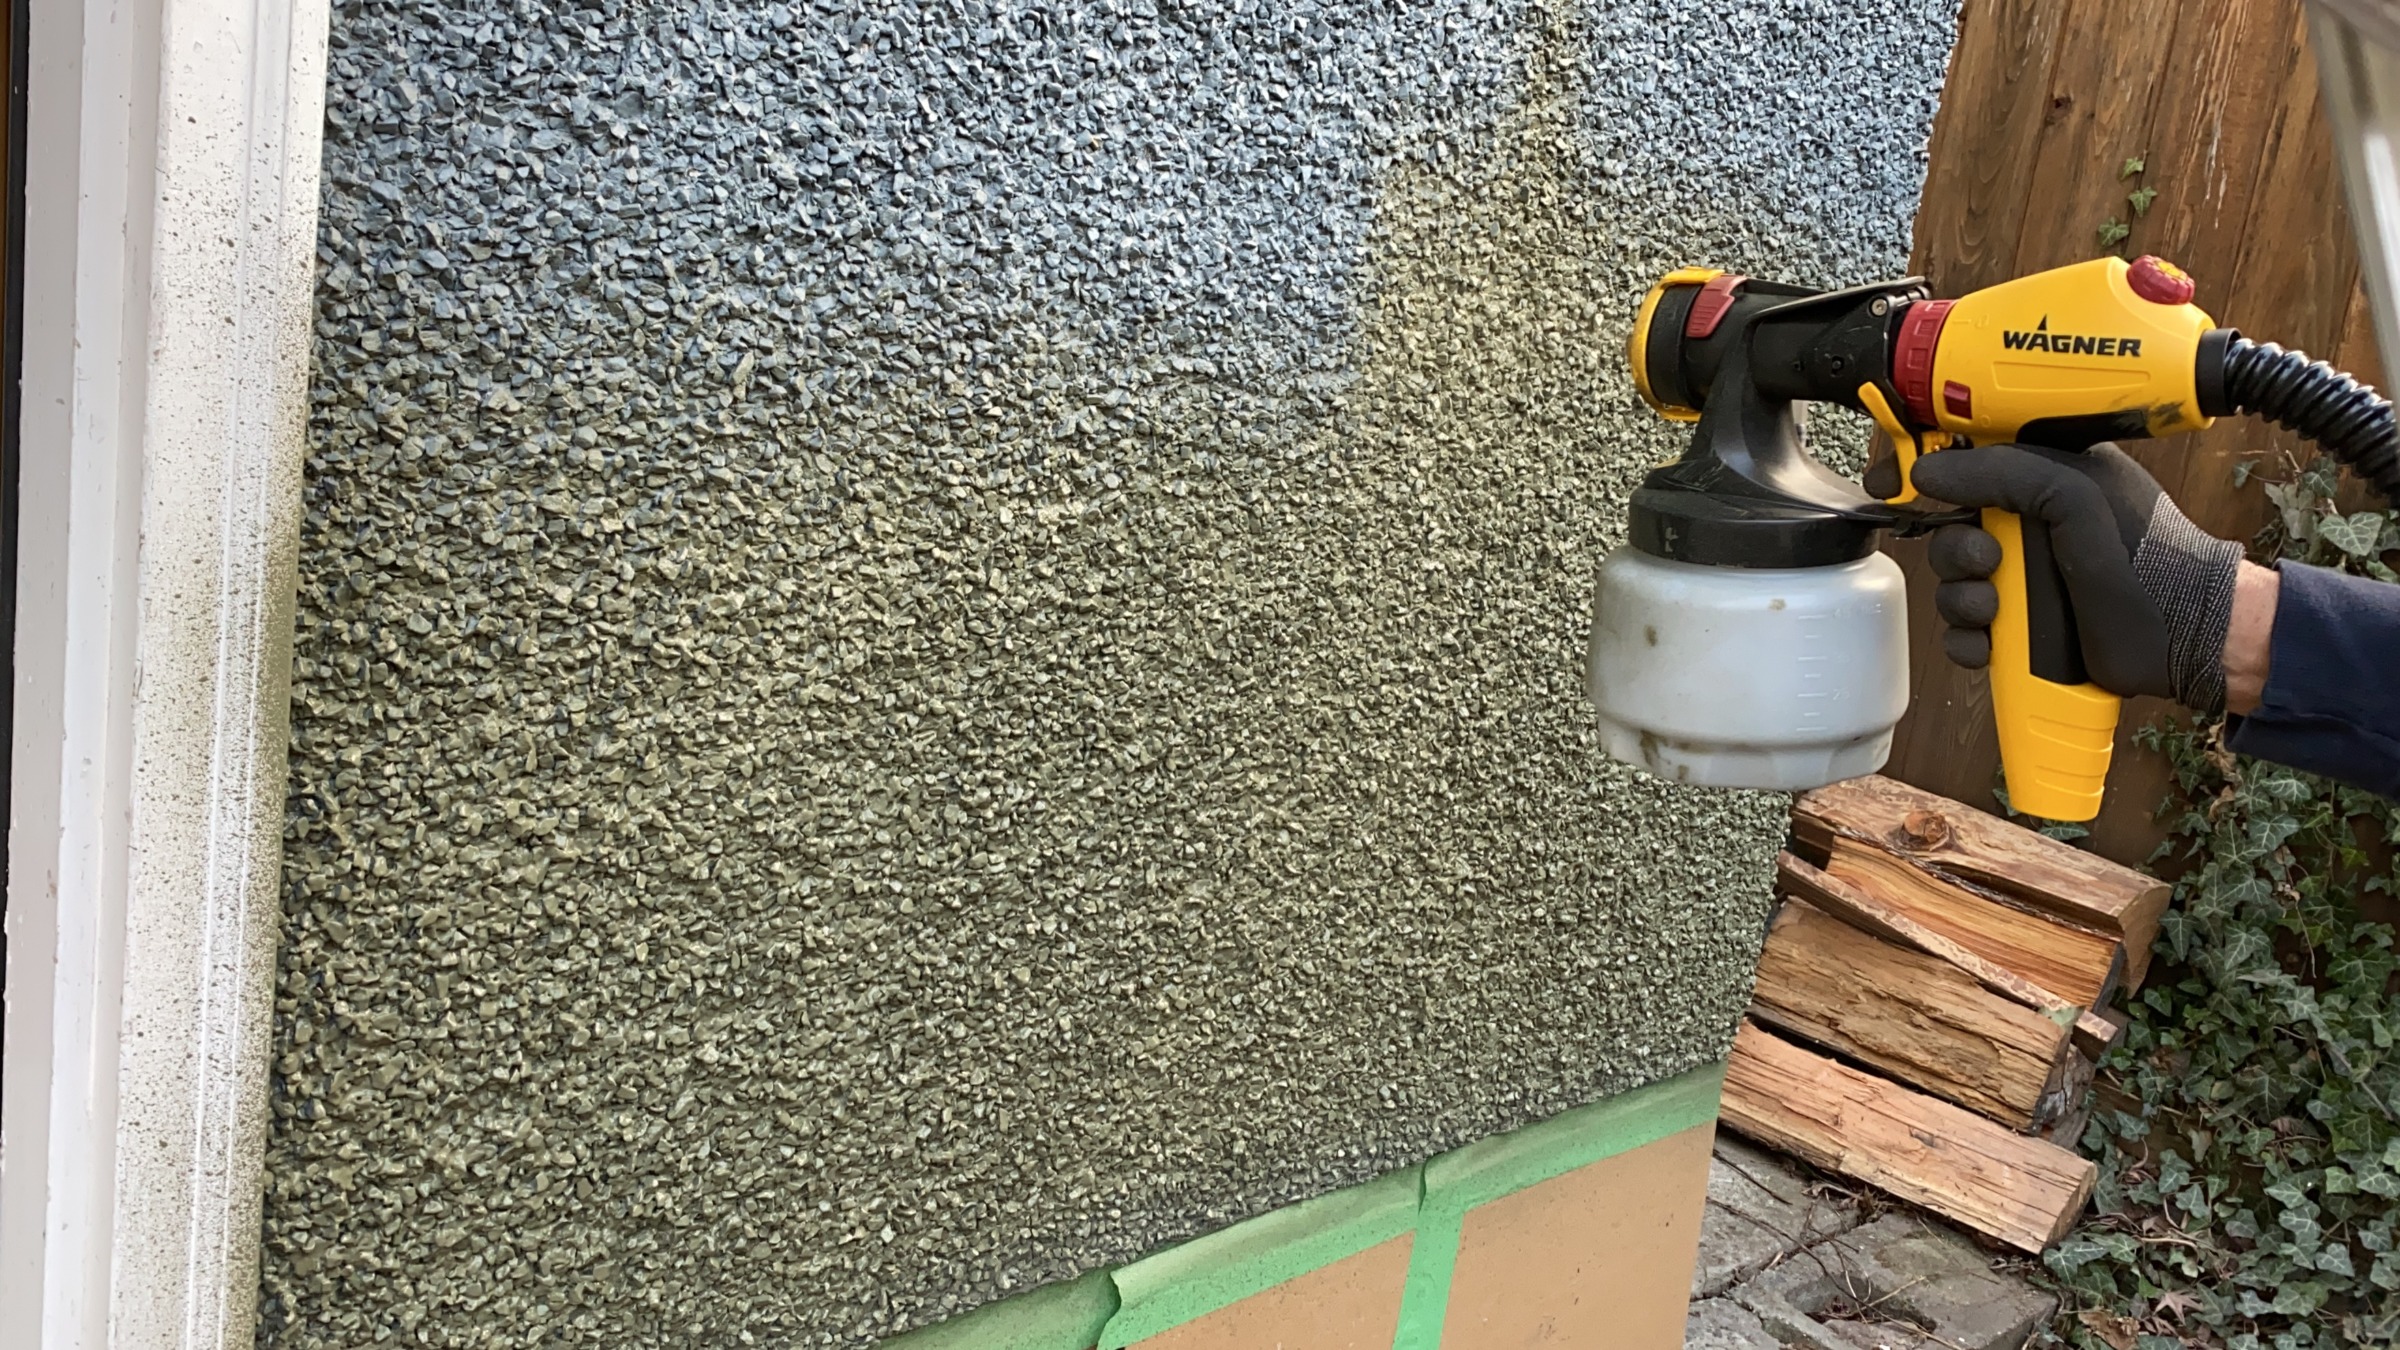
If your stucco is super chunky (like this one), you’ll want to pay attention to the angle you’re spraying it from. Spray straight on, instead of at an angle, so that you get even coverage on all facets of the tiny rocks. When I angled to spray a corner- if you look at it from the other side, it looks like you’ve done a poor job. So move your body, not just your arms. You can see that in the above photo that we didn’t spray the corner straight on and after one coat, you could see. We went and did a second coat but I wanted to show you how great the coverage was after one!
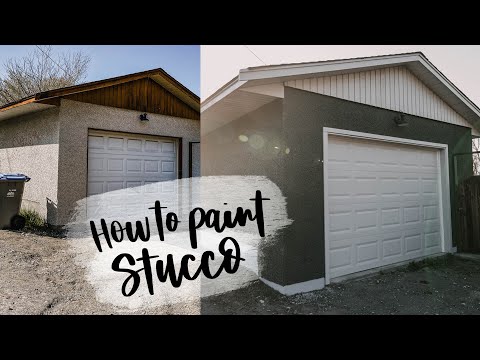
Oh! I didn’t get a photo of this, but I wanted to share this is a little thing but my dad and I talked about it so much because it was so dang helpful. There’s a hole in the bottom of the sprayer handle and a pin on the top of the motor so you can set your paint sprayer on it and it won’t tip over. Uhm… heck yes! I can’t count how many times I’ve set down my other paint sprayers then had to panic when it fell over. This is so handy. And no- I didn’t realize this until halfway through the first coat. I do demonstrate that in the video if you’re interested :)
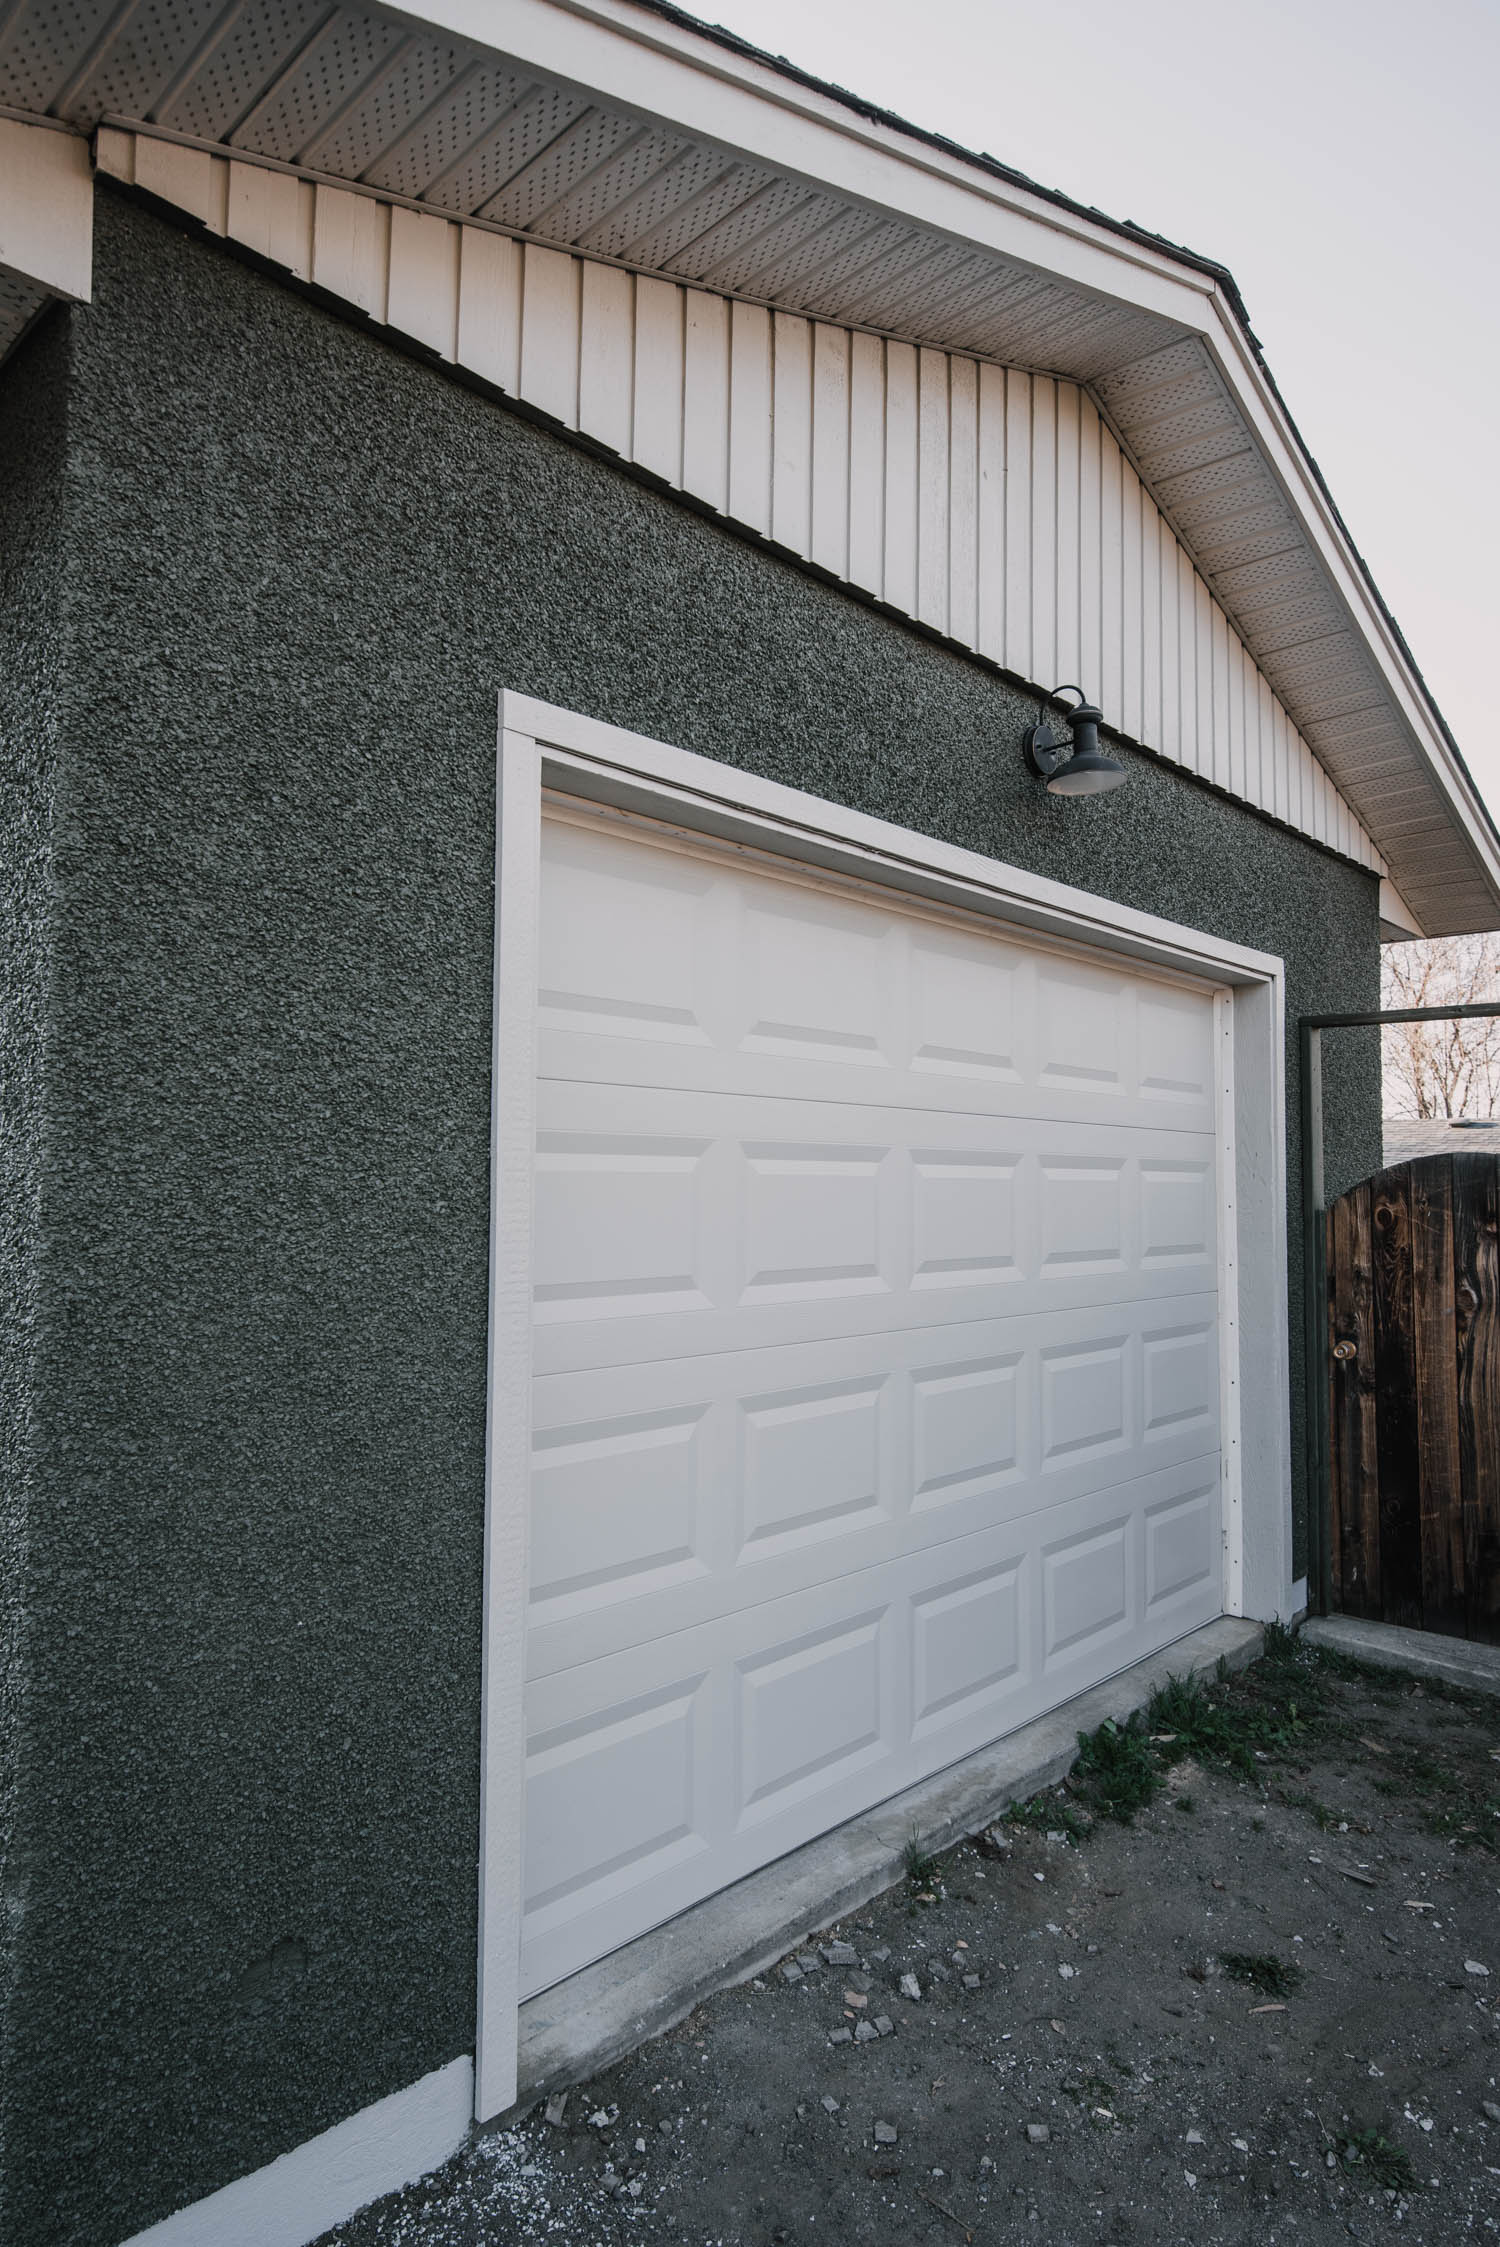
After these photos, we also went back with the other paint to paint the gables and doors. The finish on the garage door is so beautiful using the sprayer, you guys! My dad’s wife went behind us with a paint brush and did one coat on the concrete foundation with a gray paint they had on hand as well. I didn’t think this would be the most ‘pretty’ project- just practical but with these colours… I’m actually loving it! I can’t wait for the gardens to grow in for an english cottage look.
Alright… I hope this was so helpful if you were wondering how to paint stucco! I feel completely confident recommending you use a paint sprayer over painting by hand. Especially after this project. If I wasn’t sold before… this got me. And everyone who saw us working on this (looots of neighbours asking questions- ha!). If you have any questions, I’ll do my best to answer them in the comments below! Big thank you to Wagner Spray Tech for partnering on this post. Now my only question is… what do I spray next?
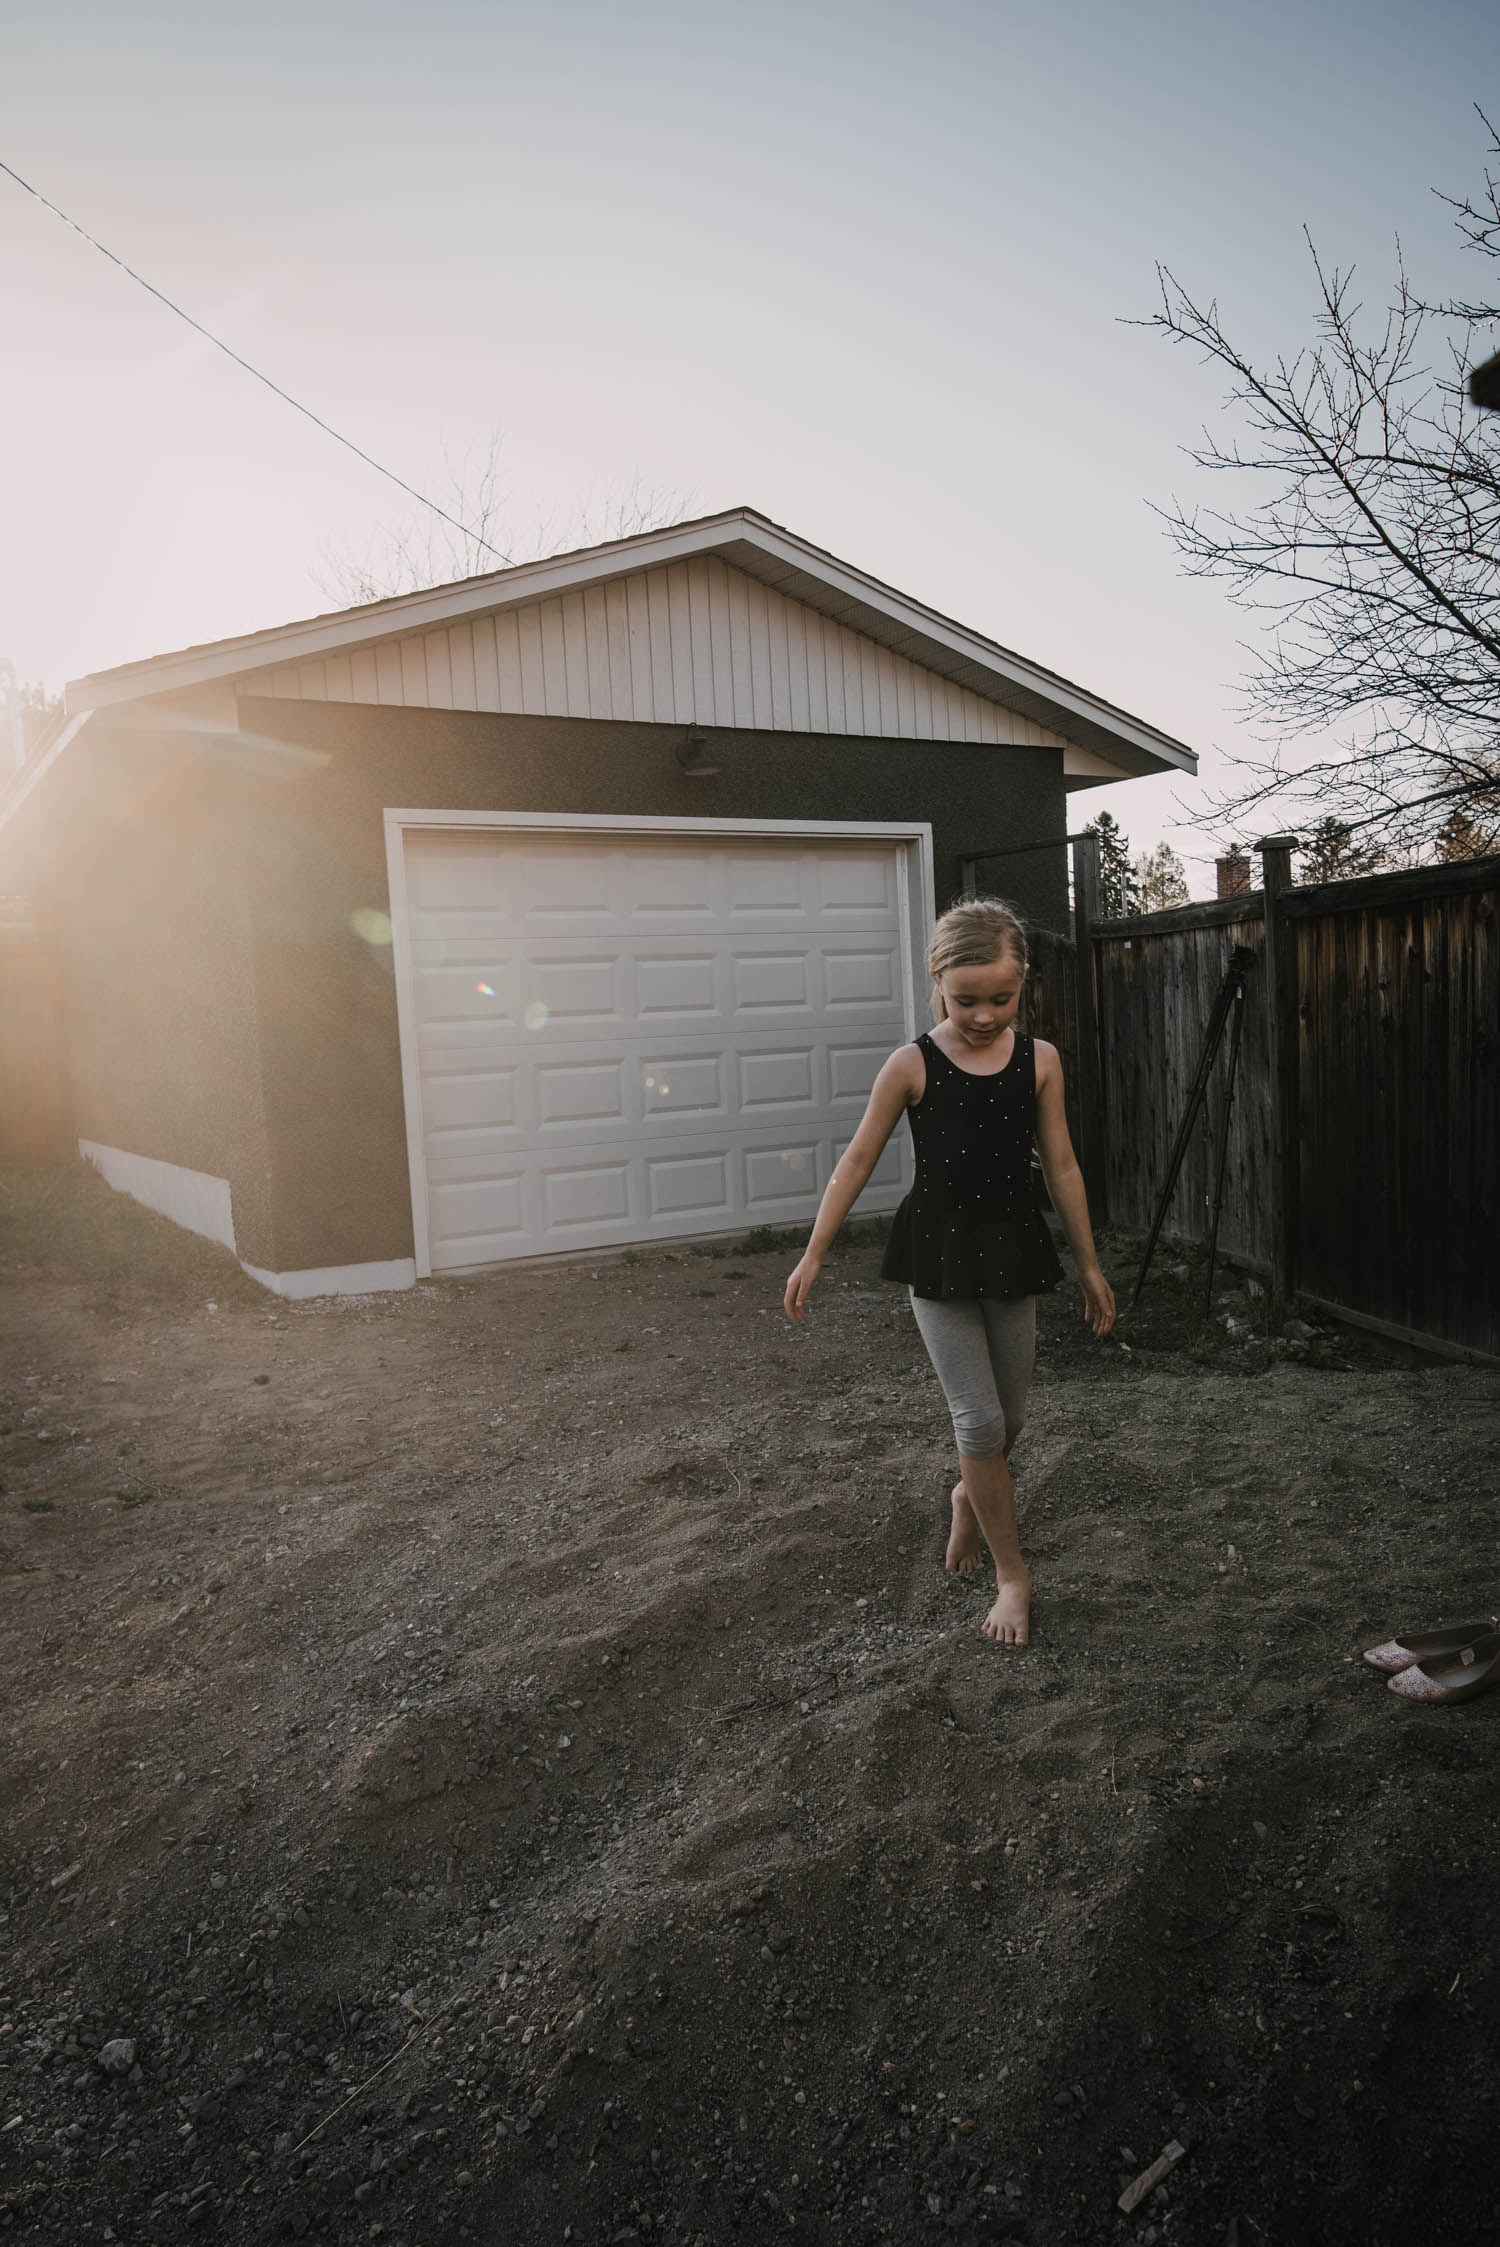
PS. Aubrey came with me to photograph this and lined up all the rocks in the yard along the retaining wall and danced in the dirt pile behind his fence while I shot my photos and videos. Somehow she’s not looking so little anymore.
Pin Me:
 Make Monograms in Cricut Design Space
Stucco is difficult to repair once painted it should be painted with elastroneric coating if one bent on painting stucco in which case a common sprayer would not atomize the elestromeric and if unit will your endangering the motor. The least expensive way to freshen up is to use pure white Portland cement and color with iron oxide powder pigment. 20-40 dollars. Again beware your options dwindle to repairs properly once painted to make an invisible repair. Without having to remove paint