A couple years back I shared 5 rad lawn games that you could make for your outdoor BBQs in partnership with Home Depot Canada and those are still some of my most searched tutorials of ALL TIME. Like, every single month. Even in the winter. And I don’t blame you guys- who doesn’t love a good yard game? Ever since we made those, Shane has told me that he wants ladder ball next. We played it every year camping with his family and it’s one we’d totally pull out in evenings and play 1 on 1.
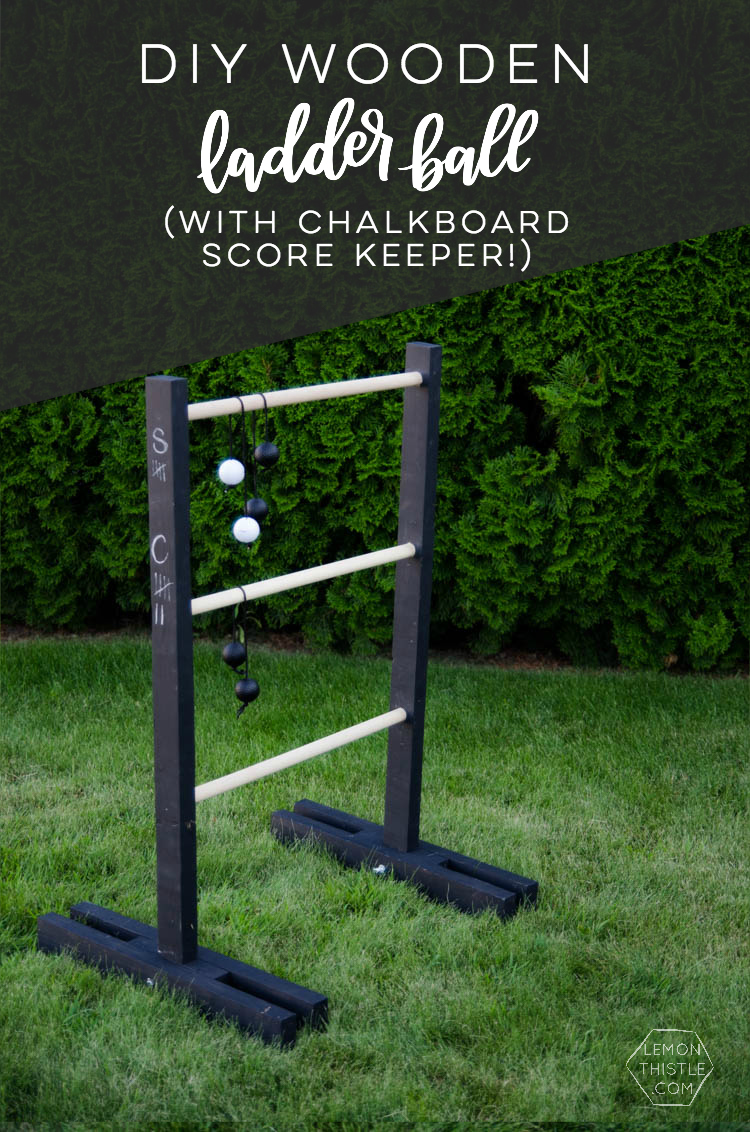
So today I’m excited to be partnering with Home Depot Canada again to share how we made it! I really wanted to make a version that stood up to regular use and as much as it’s practical, I didn’t love the PVC versions because they’re just not that pretty. So I decided on a black/white/wood colour scheme (which you know is my jam) and I’m so happy with how it looks! Plus… it’s chalkboard so you can keep score right on the game.
To make this game, you’ll need:
- 2×3 lumber; 4x 3’6”, 8x 2’, 8x 3” (You could also choose 2×4 if you prefer, we liked the flat cut edge…)
- Chop Saw
- 1” Dowel; 6x 2’ (you can really get any thickness, we liked how substantial this was)
- Drill with 1” Saw Bit, 3/8″ Bit (fraction larger than bolt size), 3/16″ Bit (fraction larger than rope size)
- 4x 5/16″ x 5″ Bolts with fitting wingnuts, 8x washers
- Sandpaper & Sander (I used 120 grit)
- Wood glue & clamps (fast dry is my fave!)
- Chalkboard Paint & Brush
- Brad Nailer with 2” Nails
- Matte Black Spray Paint
- Golf Balls
- 1/8″ thick Rope 6x 14” (I’ve linked to white but black was available in store as well)
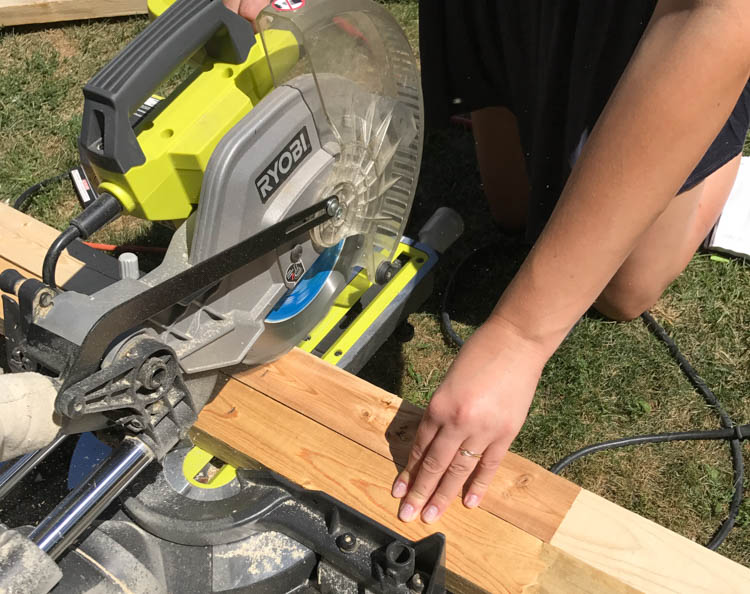
The first thing you’ll need to do is cut your lumber to size. We chose 2×3 instead of 2×4 because I really wanted a modern look and not having to use a table saw to give sharp corners to a 2×4 sounded appealing. The downside of 2×3 over 2×4 is that they’re not solid- they have joints. You can see that in the photos. This just means they really should be sanded and painted to look decent in a project.
I should note… I’ve since been corrected by Shane… and will only cut one piece of wood at once ;)
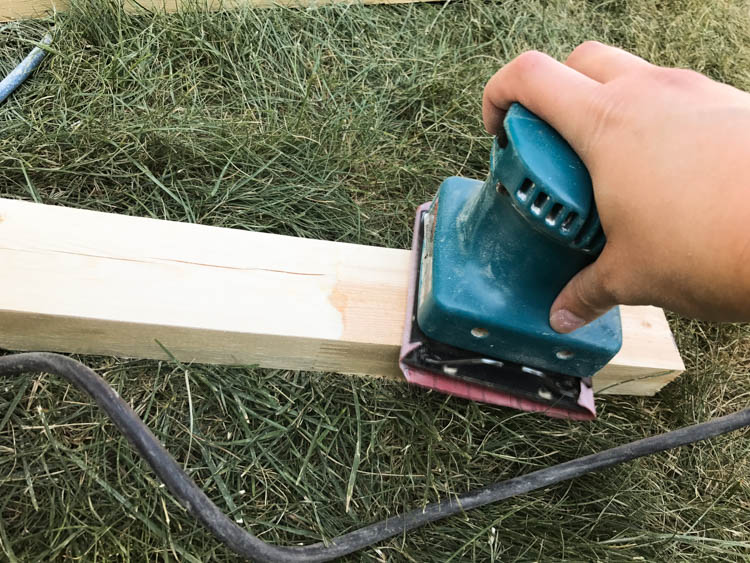
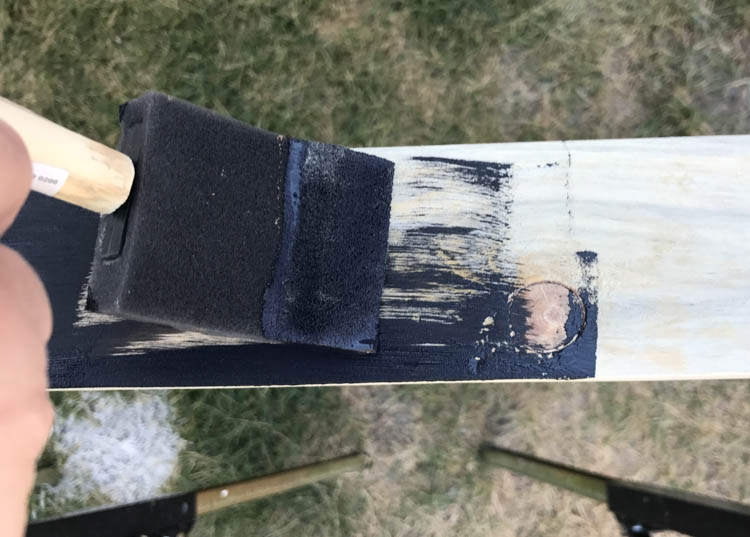
Once all your lumber is cut, give it a good sand and paint it! I used a 120 grit sandpaper on my mouse sander- but you could totally do it by hand. I went and got myself a decent sander after sanding every. single. piece. of my previous yard games by hand. I may or may not have paid friends in wine to help with that process (they also questioned me not having a sander, and they were oh so right!).
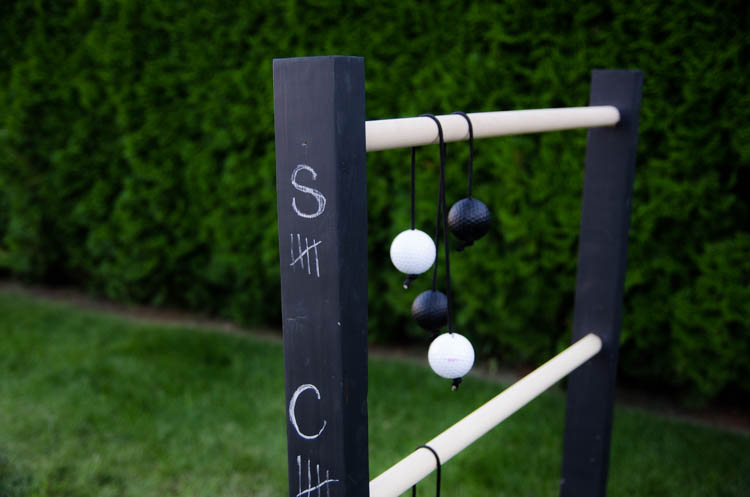
Wipe it clean from sawdust, and give it a paint! Chalkboard paint is pretty darn thick so you CAN get away with 1 coat, but two is best- especially if you want to actually write on it. I just did one coat on the feet and did two on the uprights that I’m writing scores on.
When it’s totally dry, get to assembling!
ASSEMBLY
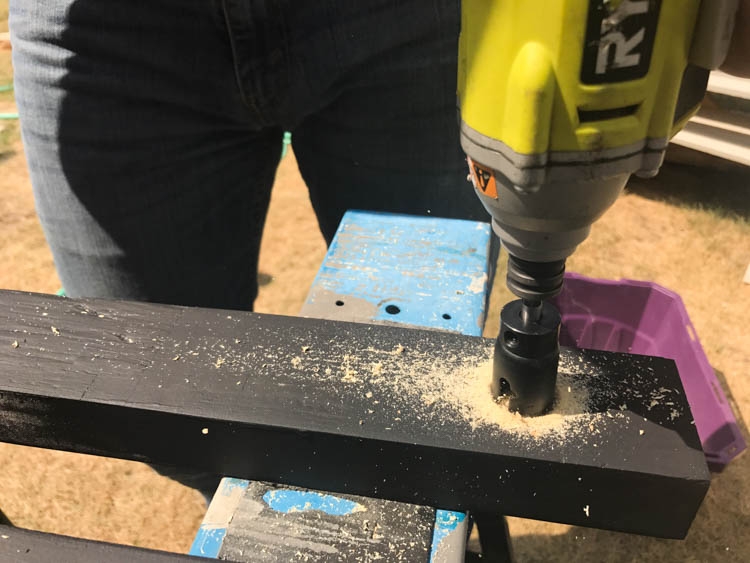
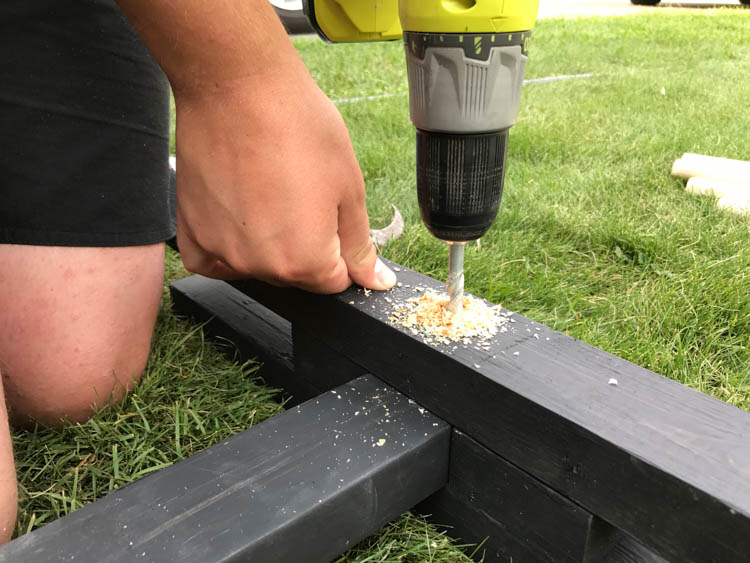
Start by drilling your holes for the dowel cross bars. We didn’t want the dowel to go the whole way through so we could have an even surface for score keeping. After chatting with the Home Depot staff, I decided to grab a 1” hole saw bit then clean out the centre with a standard drill bit. This is NOT a great idea if you’re using the ladder to climb up… but for a game it’s more than stable.
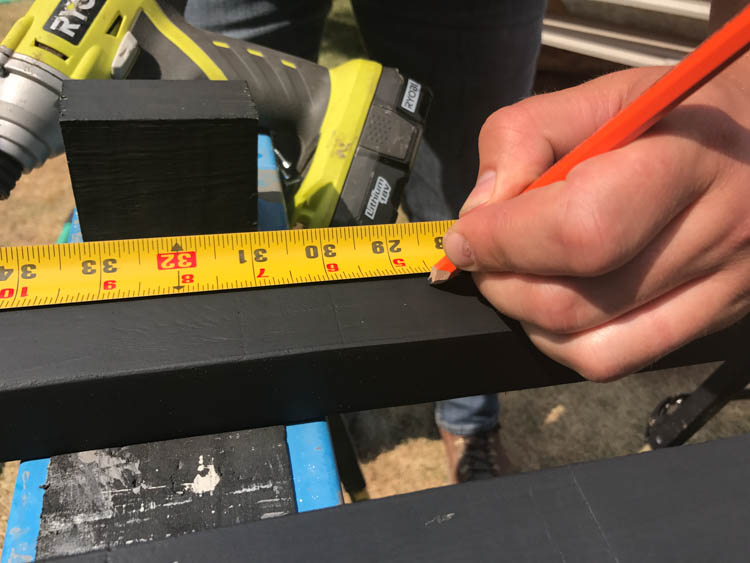
Mark your drill bit to drill 2/3 through the 2×3 uprights, measure out the spacing (1′ or 13″ between dowels) and drill your holes! We did also use a flat head screw driver to help clean out the holes for the dowels on a few.
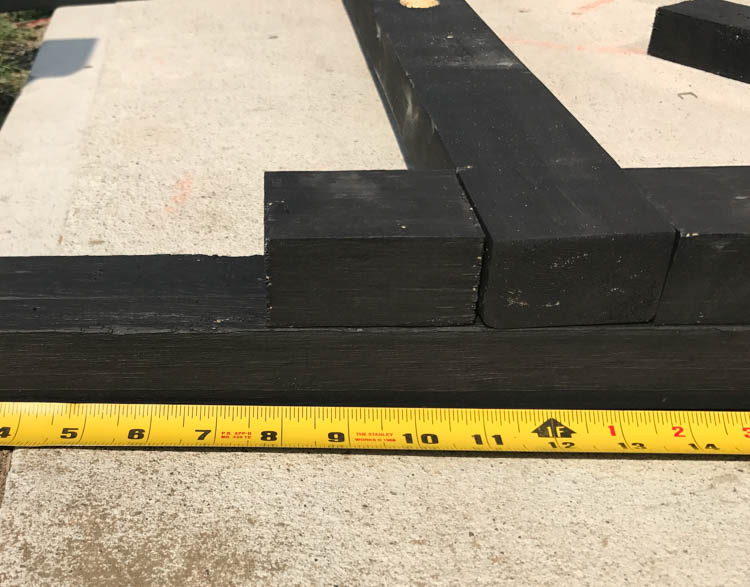
Next, assemble the feet/lets for the game. Lay out one, glue the supports (have the upright in there for measurement just to be safe), then glue the other side of the foot on and either clamp OR drill your bolts and tighten the wingnut/bolt to act as your clamp.

When your legs are assembled, time for the dowels! We had originally planned on just gluing them in place but our lack of patience with clamping won out and we chose to just tack them with brad nails. You can’t even see the holes from the brads once we touched up paint and I feel way more confident in their stability now. The easiest way to add the dowels in without going crazy is to lay one upright down, add the dowels in (standing up) and then pop the other upright on top and hammer with a cloth to get it secure before using your brad nail to tack them in place.
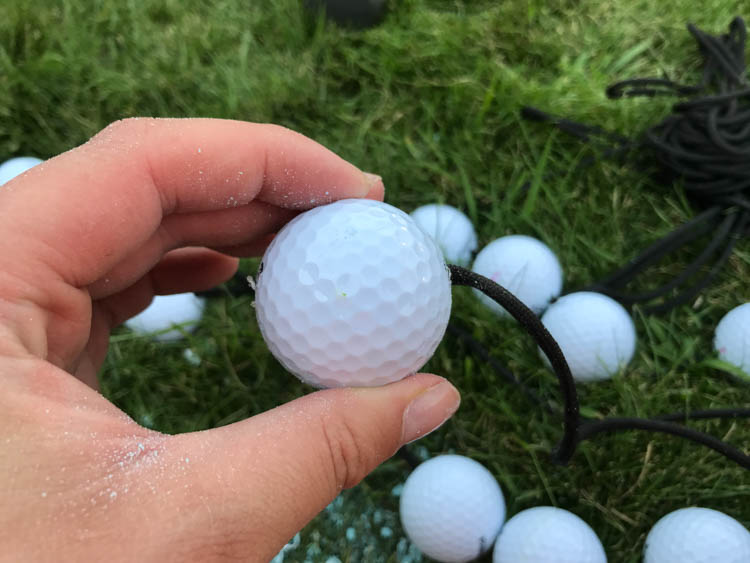
THE BALLS!
Alright, on to the golf balls. This is pretty simple. Just grab 12 of the cheapest golf balls you can find and get drilling! Put a hole through each of them and thread your rope through. I didn’t cut the rope until I had them all threaded on so that I could use the hard end of the rope to get through each of the golf balls. I’d recommend it, it’ll save you a headache!

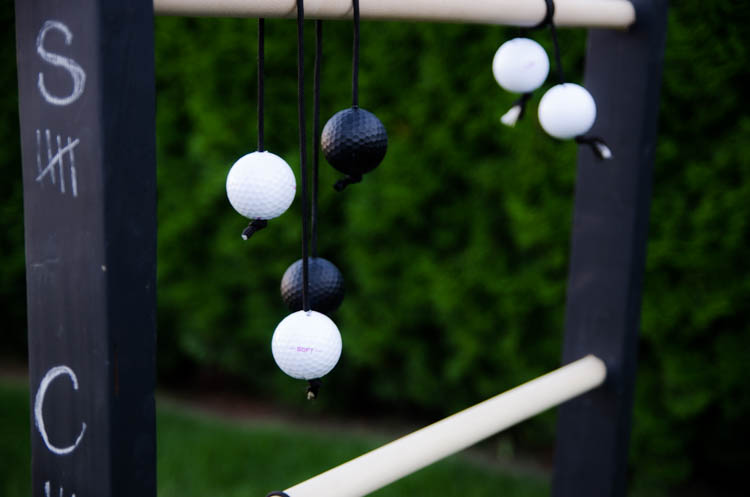
Tie off the golf balls 13” apart and then spray paint one set (3 ropes/6 balls) black. I found this easiest to do once assembled since I could hang them and spin the rope as I painted. I did one coat but am thinking I’m going to add a Matte sealer.
That’s it, that’s all! OH! And priming your chalkboard. If you do plan to use the uprights as a score keeper, you’ll want to prime the paint to be used as an actual chalkboard. This just means rubbing a piece of chalk aaaaaall over, and it in lots of directions to get chalk in all the nooks and crannies. Then wipe it all off. This will help it erase 1000x easier in the future!
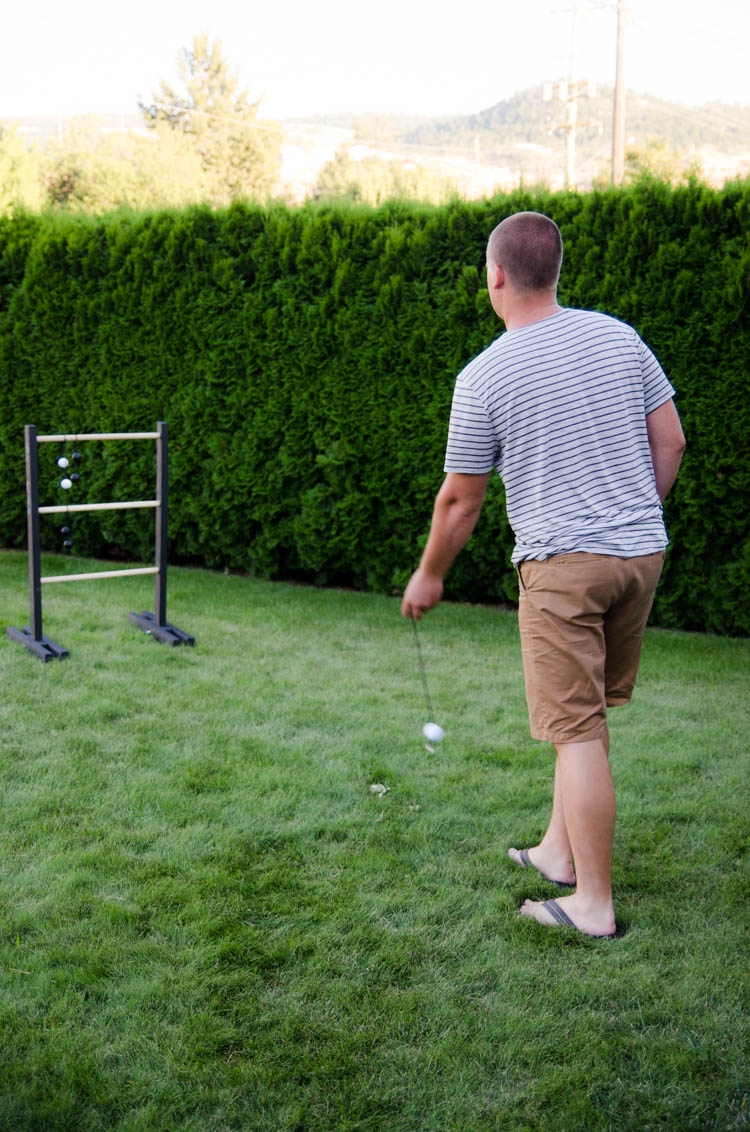
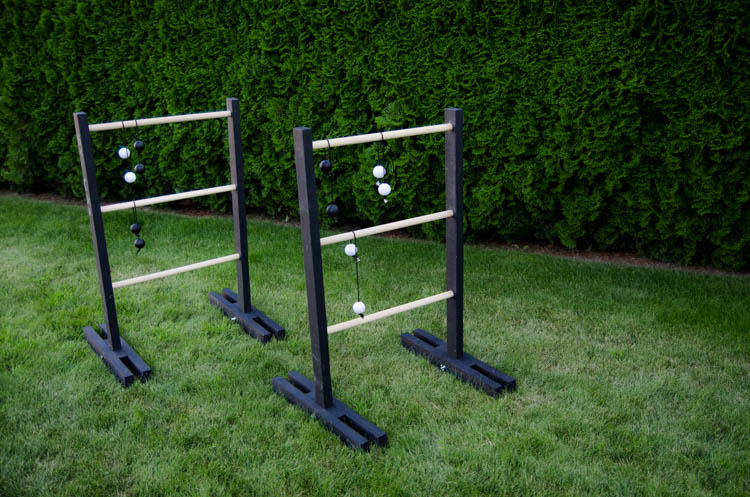

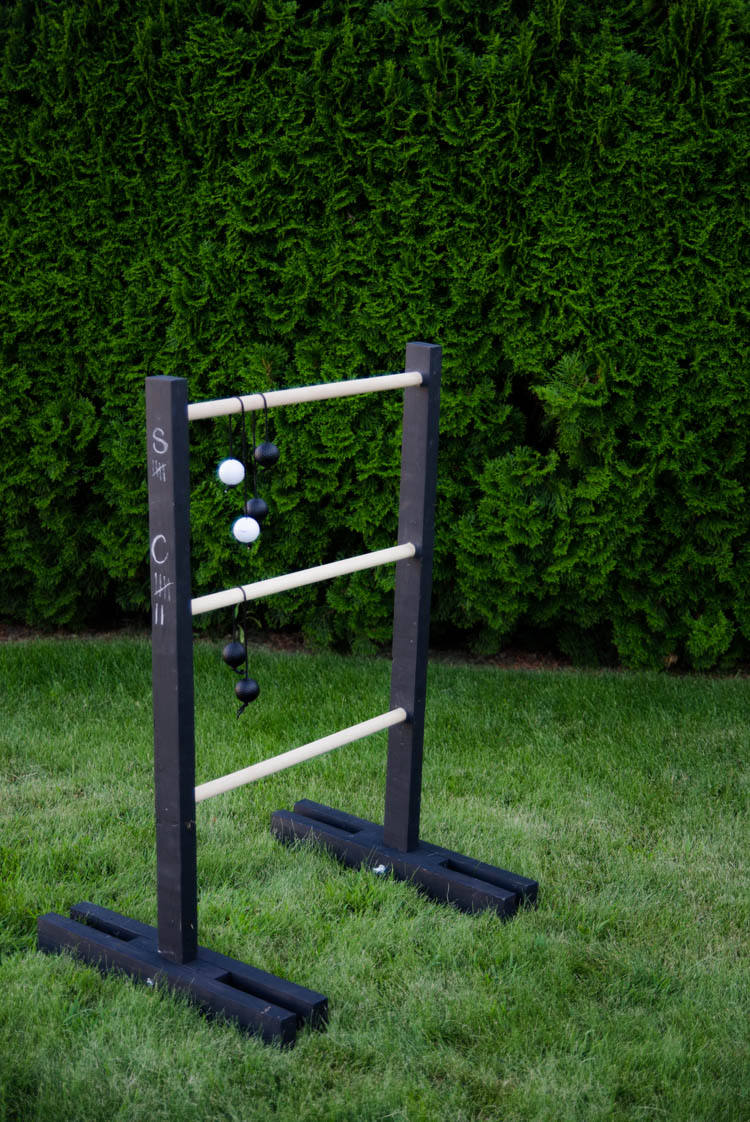
As a note… YES I am pretty darn competitive and even though I was just showing how you score keep on the sides, I did have to set it up so I was winning ;) Shane probably would have beat me at this game, but now he can never say that.
I hope you have as much fun playing with this as we are! If you are looking for other rad yard games for your backyard BBQs, outdoor weddings or WHATEVER… I’ve got you covered! Check out the tutorials below:
 You’re Invited Floral Invitation Cut File
Leave a Reply