Sharing 2 different DIY Yard Games full tutorials- click through to see how to make a giant Speed Scrabble and a Chalkboard Cornhole game.
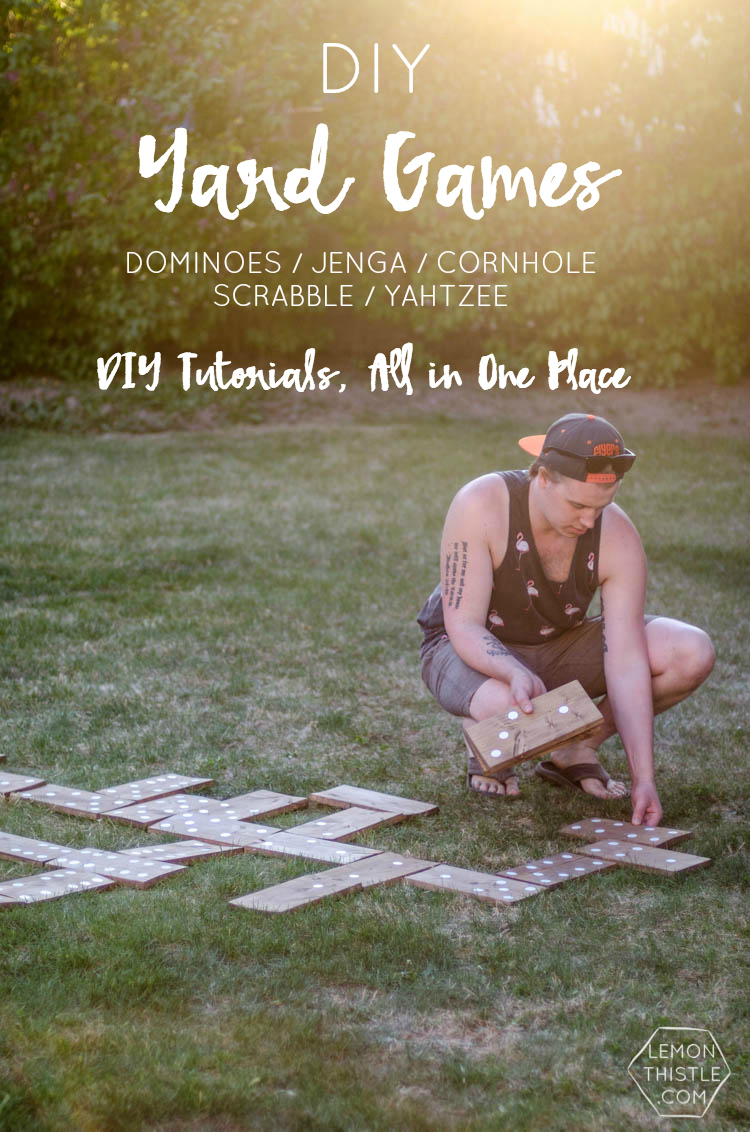
DIY Yard Games have been so much fun to create and to share with visitors at barbecues over the past few years. Not only are they a ton of fun to play, but they’re so good to help conversation when you have groups of guests who don’t know each other. Did I mention that they’re so much fun to make?
This isn’t the first time I’ve shared DIY yard games tutorials with you- they’ve always been such a hit. Today I’m sharing another two… Cornhole and Speed Scrabble! You can find Jenga, Yahtzee and Dominoes right here. You can see Ladder Ball right here.
These projects are featured in my DIY Backyard Games book, published April 2022! Featuring 13 fun projects plus a really great introduction to tools and materials for beginner and intermediate DIYers. Find it anywhere books are sold now!
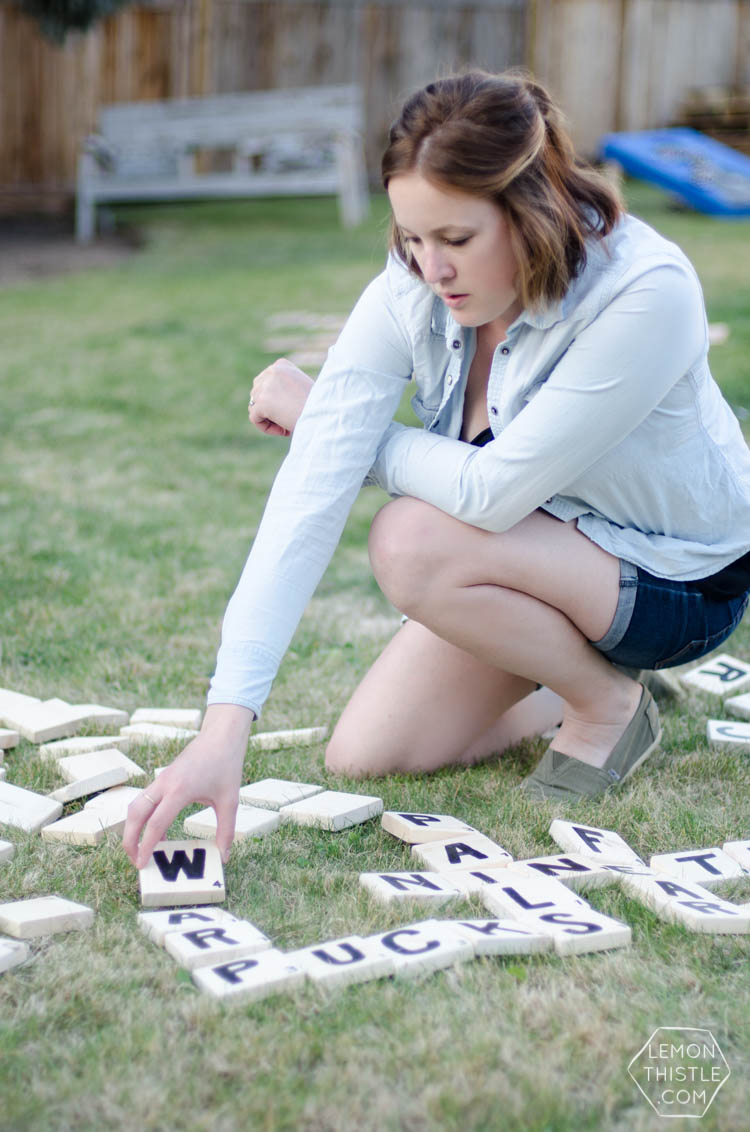
DIY GIANT Scrabble Tutorial
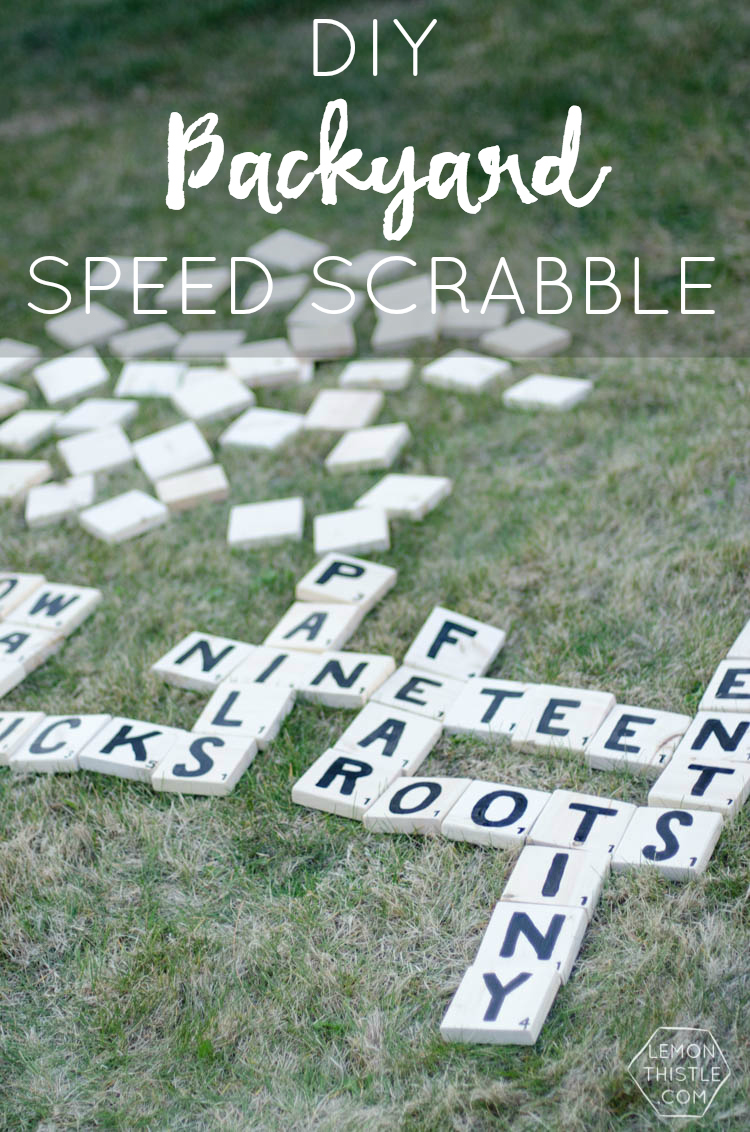
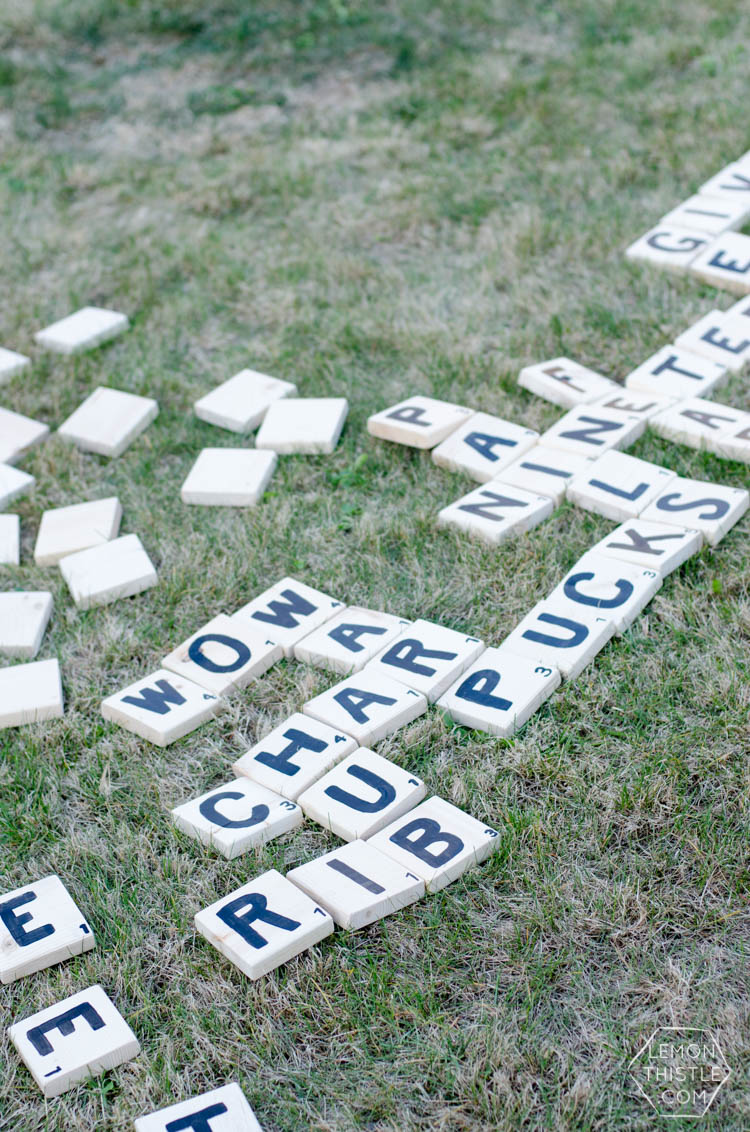
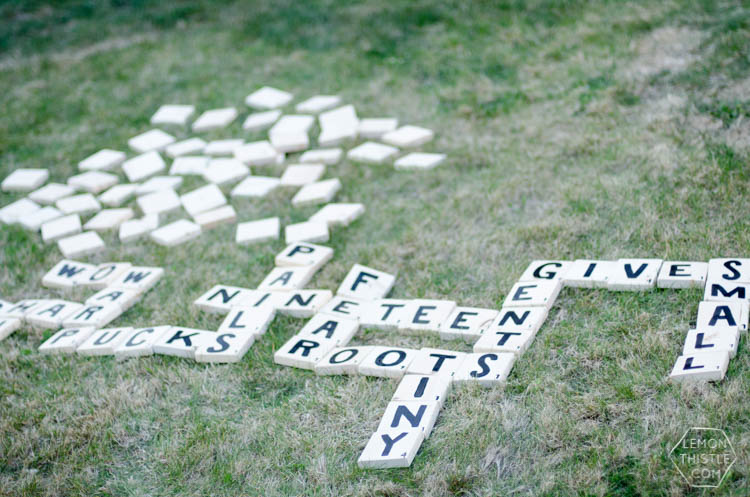
Have you ever played Speed Scrabble? It’s like normal Scrabble but fast. Not a great definition? Okay, okay. It’s the kind of game that is lively and keeps you on your toes… but it’s still scrabble so it’s mentally stimulating. I love it… but I love anything that’s speedy. Speed Scrabble is a lot like Scoring Anagrams or Banana Grams. It has no board so is great for the lawn.
I made standard Scrabble tiles (there’s 100!) for this one. You turn all the tiles upside down and everyone draws at once. You start playing your own board as soon as you have enough letters to play. When someone uses up all their tiles they yell ‘GO’ and everyone has to draw one more. You can rearrange your board as needed and the last one to yell ‘GO’ when there is no more tiles left wins! Fun, right? I know!
Here’s what you’ll need to make your own Giant Yard Scrabble:
- 34 Feet of 1×4 Boards
- Chop Saw or Miter Saw (preferably, if not- a skill saw or hand saw should work fine)
- Measuring Tape and Pencil to Mark
- 100 or 120 Grit Sandpaper (and lots of it) and Sanding Block
- Damp Cloth
- Black Indoor Outdoor Paint, Small Flat Paint Brush and Smaller Round Paint Brush
- Clear Spray Sealant
In Home Depot these boards are right by the 2x4s in the lumber section. Start by marking and cutting your 1×4 into 3.75″ pieces (photo example is the same as Jenga). That will give you square tiles.
Traditional Scrabble’s tiles aren’t exactly square, but I really like the way this works out for ease in creating this giant scrabble. You’ll be cutting 100 pieces and it’s easiest to do using a miter saw. Set up a guide using a clamp to make cutting them speedy.
When your pieces have all been cut, start sanding until they are smooth on all sides- I used 120 grit for this. Wipe clean with a damp cloth. If you wanted to stain your pieces, this would be the time.
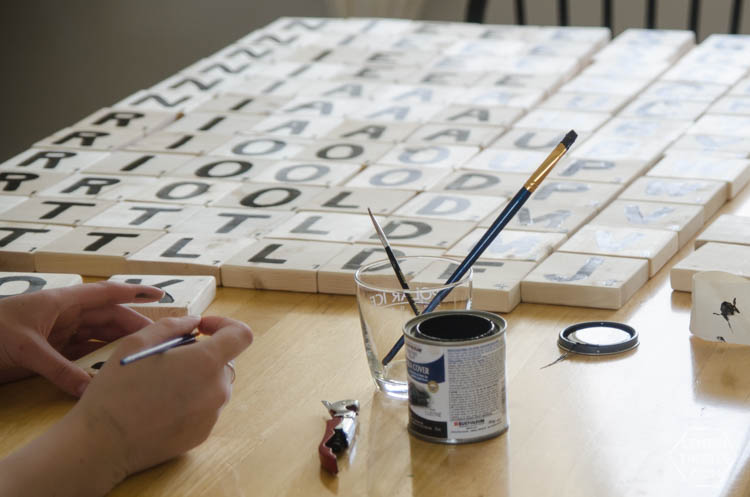
Now your blocks are ready for painting! I made this handy reference guide/diagram for you to mimic the letters to keep track of which letters you have completed… again, there is 100 which actually goes pretty quick but it’s easy to get confused. The reference guide helps keep you organized.
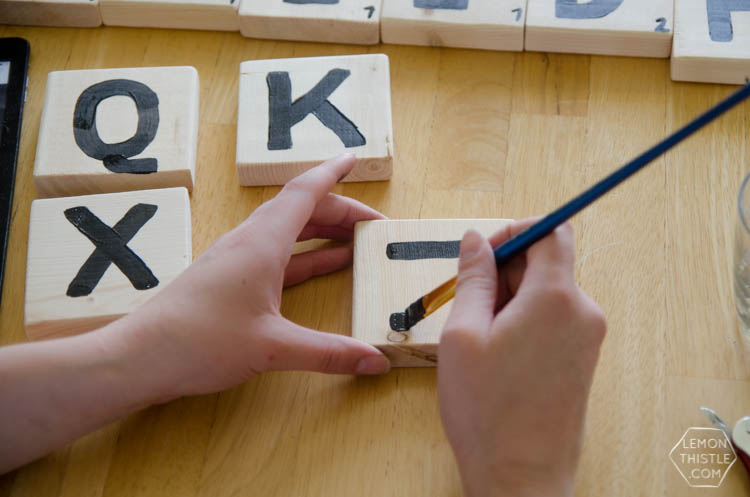
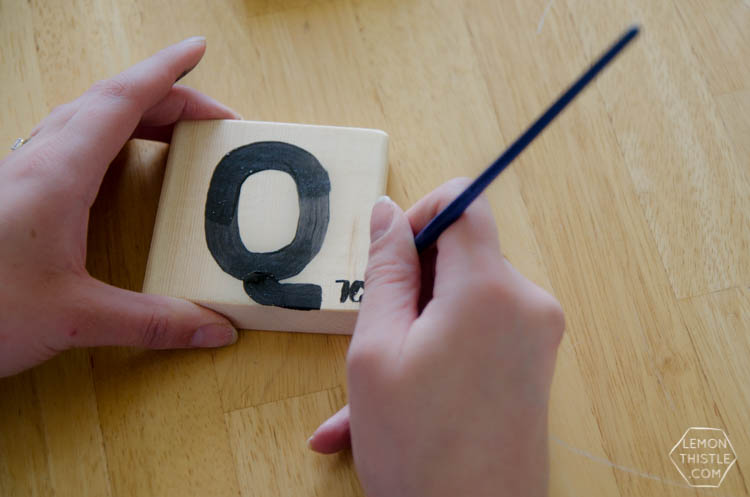
I used the flat (square looking) paint brush to paint the letters. It gave a consistent width with clean lines without much effort. I used Rust-Oleum Ultra Cover in Black Gloss for this and it is great because I only had to do one coat. To paint the smaller numbers I used a small round brush (it comes to a tip at the end for greater control).
When the paint is completely dry, you can cover both sides in a clear spray sealer (like Rust-Oleum Painter’s Touch Clear Satin to seal them).
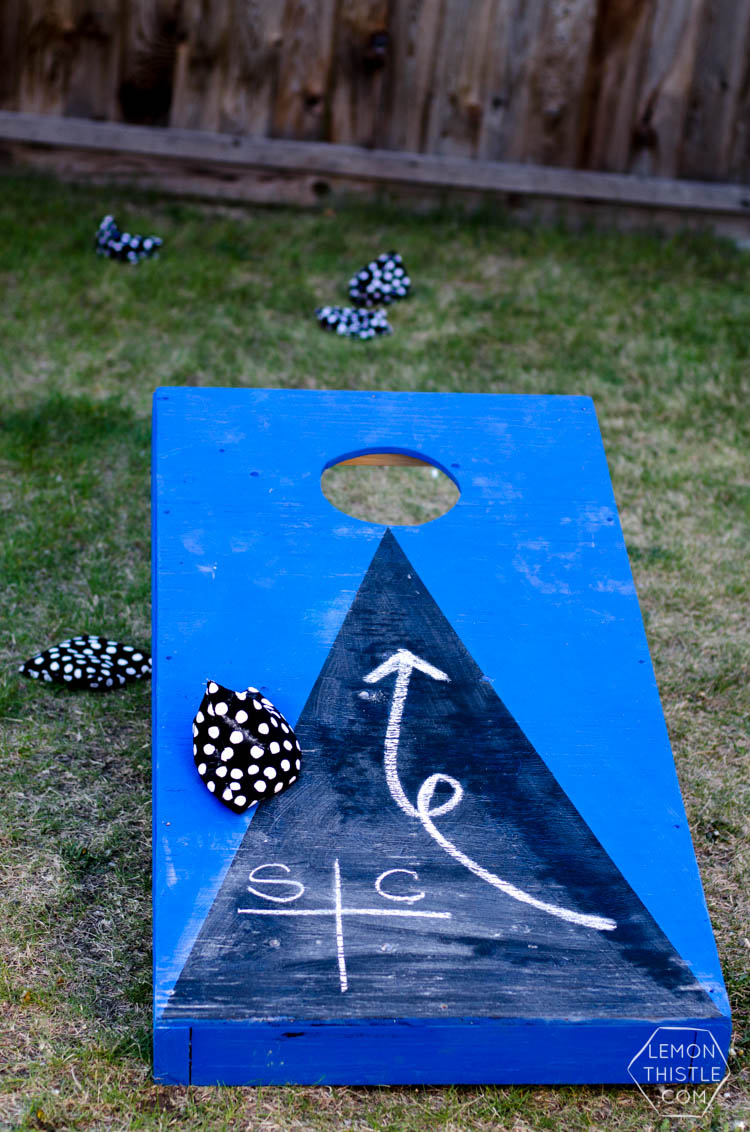
DIY Cornhole Tutorial
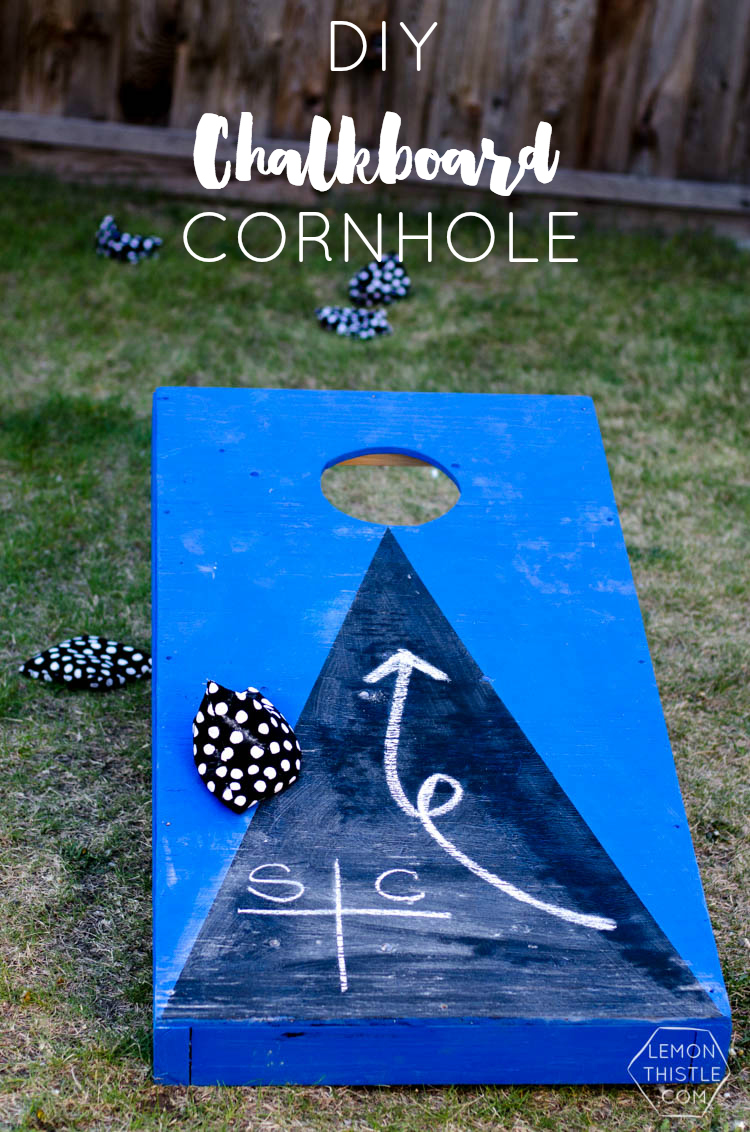
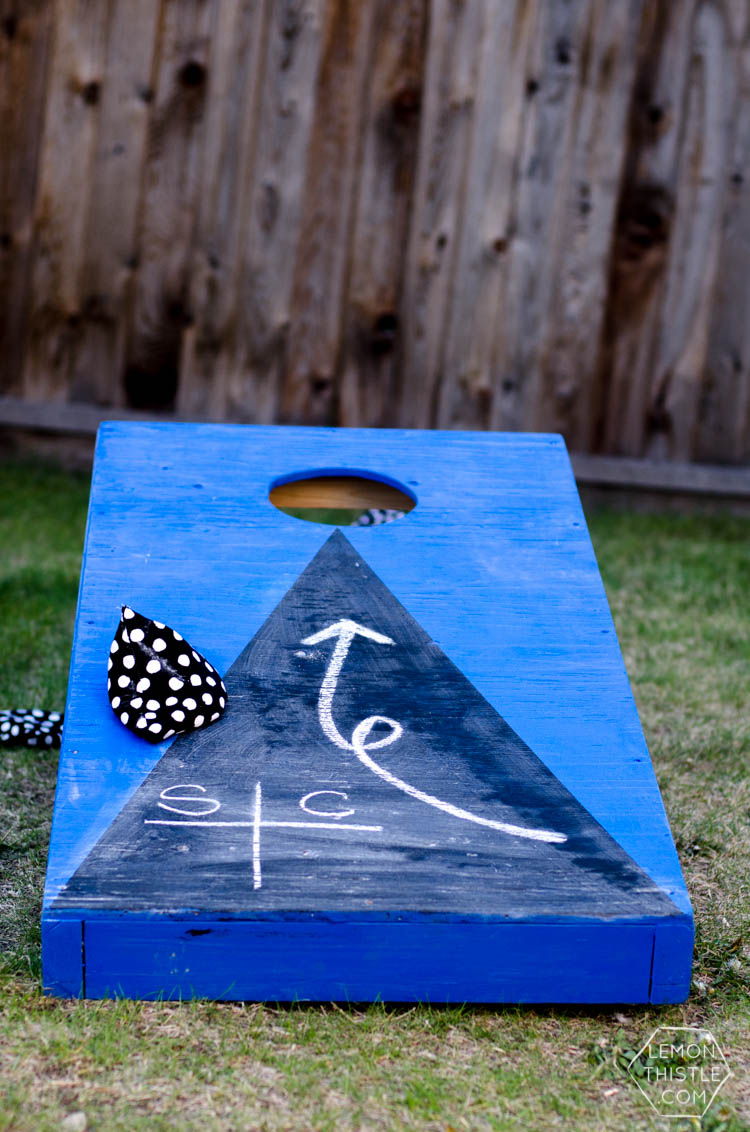
I feel like there are a thousand tutorials for Cornhole out there. Yet… my husband and most of my family at our barbecue had never heard of it! By the end of the day, a couple of them were asking if they could take it home (haha, not happening!). We added a chalkboard triangle to ours to make score keeping easy (since we’re such beginners!).
Game Boards:
- 1 Sheet of 1/2″ Plywood (You’ll need 2 pieces of 2×4 Feet)
- 24 Feet of 2×4 Boards
- Chop Saw or Miter Saw (preferably, if not just use the skill saw)
- Skill Saw
- Measuring Tape and Pencil to Mark
- Jigsaw
- Drill with large drill bit
- 1 or 2″ Screws and Coordinating Drill Bit
- 60 grit plus 100 or 120 Grit Sandpaper (and lots of it) and Sanding Block
- Damp Cloth
- High Gloss Outdoor Paint (I chose a Cobalt)
- Chalkboard Paint (I regularly use and love Rust-Oleum’s)
- Large Paint Brush
- Painters Tape
- Chalk
Corn Bags:
- Cotton Fabric (7″ Squares x 12)
- Fabric Scissors
- Sewing Machine
- Funnel or piece of paper
- Popcorn or Feed Corn
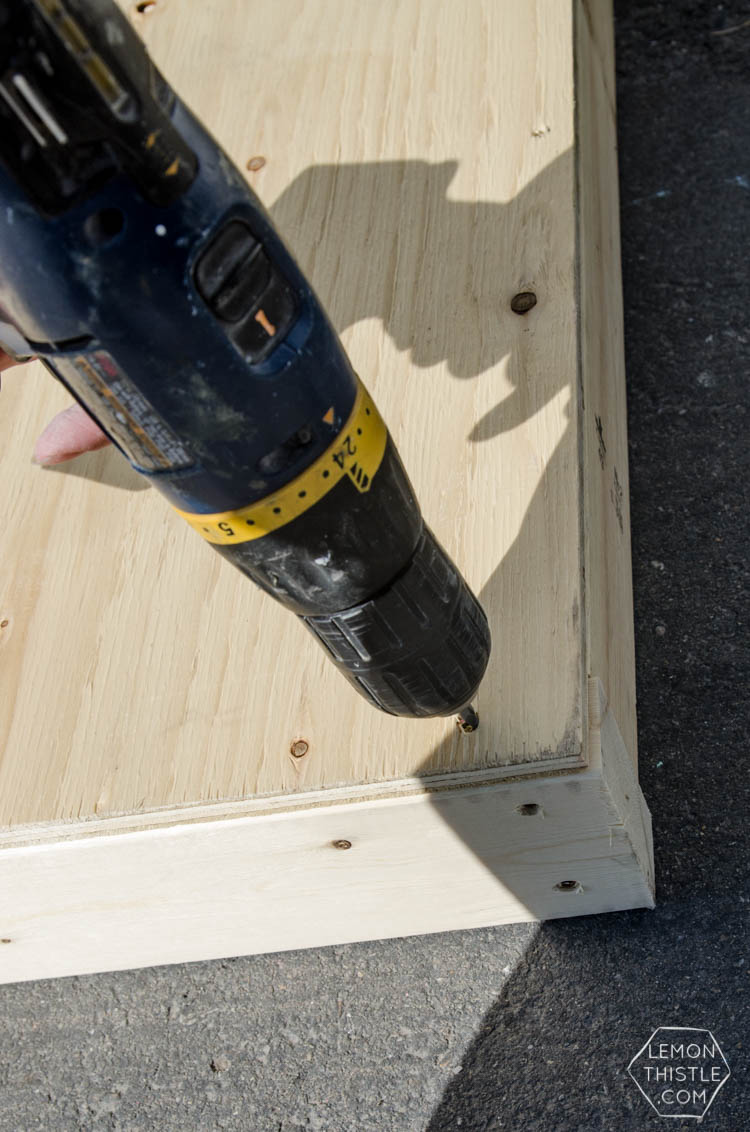
Start by cutting your plywood down to 2 Feet by 4 Feet rectangles. You will need two of these. We used a skill saw for this, but a table saw would work as well. Cut your 2x4s into four pieces each 21″, 48″ and 11.5″. Screw the plywood on to the frame, using 48″ 2x4s for the sides and the 21″s for the ends.
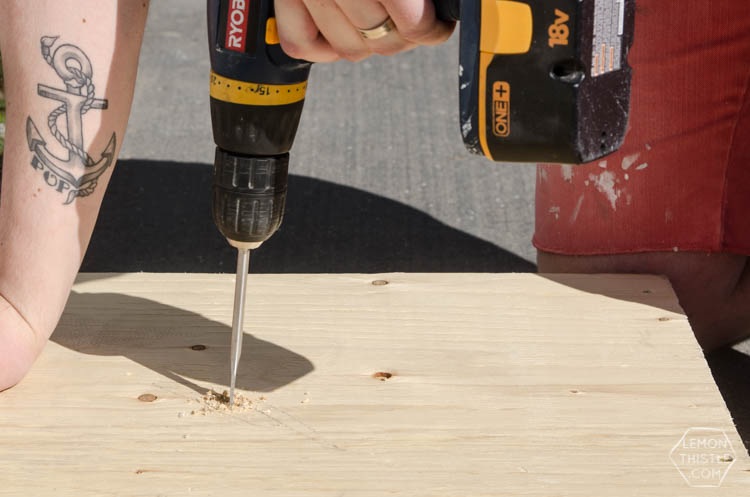
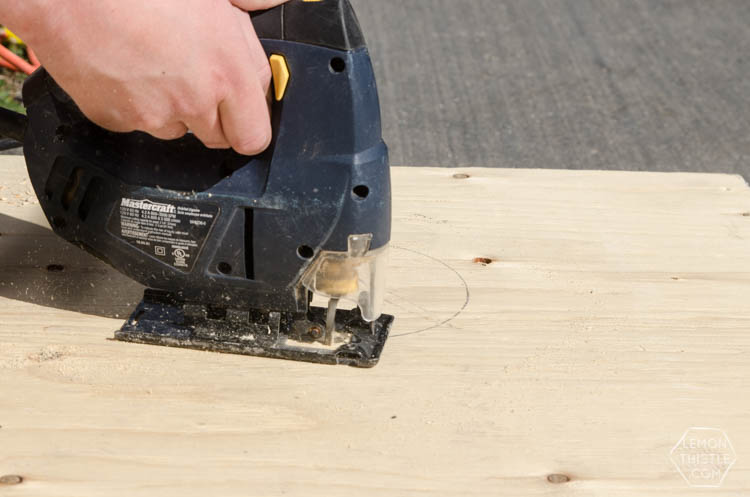
Mark a dot on the plywood, 9″ from the top and 12″ from either side. Draw a 6″ diameter circle around this dot. Use your drill with a large bit to drill close to the inside edge of that circle. Use your jigsaw in that hole to cut around the circle.
Give your whole game board a light sanding, using the 6 grit for the plywood and the lighter grit for the frame. When it’s sanded, use a damp cloth to wipe clean of sawdust. You could fill an holes with wood filler if you like and sand that as well.
Paint with your high gloss paint, you will need two coats. When dry, tape from the bottom centre of the circle cut out to the bottom corners of the game board to make your triangles. Paint with chalk board paint (again, this took me two coats for an even coverage).
To make the assembly simple, we just screwed the legs on to the back inside of the frame. In my book I have instructions on making them collapsable, but for the ease of this tutorial- just screw legs on!
Cure your chalkboard paint before drawing on it by rubbing a piece of chalk to cover the paint and wiping clean.
To make Bags for Corn Hole:
I followed Beth from Homestories A to Z’s tutorial on this. Essentially, you sew 7″ square pieces of fabric right sides together, leaving a space to turn right side. Fill with 1 lb (approx. half a cup) corn and stitch shut. You can head over there for more detailed instructions!

We played the game by tossing the beanbags into the holes and counting points that way. I know that the regulation rules are a bit different (find them here), but hey! We’re beginners and it was a blast. The kids had a ton of fun walking up the ramp and dropping the bags in the hole too. If it keeps them occupied for any amount of time, we consider it a win!
So- what was your favourite of the DIY yard games? I think that Cornhole and Jenga were the most popular at the barbecue, but my personal fave is the Speed Scrabble… because I’m a nerd like that ;) I’d love to hear if you take one of these projects on!
Want to make more DIY Yard games? I actually wrote a full book of tutorials! You can find it right here.
 DIY ABC Stones and Morse Code Garland
These are sooooo cool!! I love how you added a chalkboard triangle to the cornhole game. And yes… I would love a SNAP recap!!!
Oooh, you’re the second to ask for one so I just might have to! I’ll work on getting my notes typed up and see what I’ve got :)
Ok I seriously need to invest in some outdoor games! Love all of these!
They’re so worth the time! We love them :)
AWESOME collection of games! Camping here I come!!!
These would be perrrfect for camping! If only we had more room in our car ;)
I love scrabble this would be so fun!
Hurray for scrabble fans!
Boo-Yah! Loving the scrabble game. I will make my pieces 4″, cause I know I would not get 100 pieces to all be 3.75″! lol thank you
I would love to see photos when you’re done Angeles! I trusted my husband with the cutting- I’m not nearly detailed enough ;)
Colleen, your backyard games are fabulous. What a great way to spend an afternoon or evening with friends playing scrabble in a BIG way outdoors – love it!
Thanks so much Marie! I’m a huge boardgame fan so it’s definitely nice to have an outdoor alternative.
This is so fun! I love these ideas. This would be perfect right now with the cooler fall weather.
Yes! Hurray for the cooler weather- we made them in the dead heat of summer and would only play in the evenings. Now I could do an afternoon barbecue :)
I love outdoor games, thanks so much for the help on the dominos. Never thought of making one of these games (we love dominos).
Thanks so much! I’d love to see a shot of them if you finish them up!
So helpful. We have family game night the first Friday of each month. This is an awesome addition and gets the family outside.
I can’t wait until my kids are old enough for games nights! They were one of my favourite things growing up.
Hi, I have made many many cornhole sets, 14 so far another one in the works. Also,a child size set that are 2ft long by 1 1/2 ft wide. I add the bean bag storage right on the back of one. With a few hinges and an extra 2×4 and an 8″ board for the door with a simple latch. It makes it nice to keep track of the bags.
I would really love a recap! About to tackle the Giant Jinga first.
I think this would be great for a get to know you group. Talk and share while you build something together. I am going to suggest this to my church. We have a lot of not quite sure where I fit in peeps at my church and newbies too!
Where is the scrabble letter reference guide?
You can enter your email to receive it to your inbox in the form directly below the photo of me painting the Q!