• Skip to main content
  • Skip to header left navigation
  • Skip to header right navigation
  • Skip to site footer
  • Shop
  • Get The Email
  • Work With Me
  • About
  • Search

  • DIY
    • DIY Home Decor
    • With Power Tools
    • Renovation
    • For Kids
    • For Parties
    • Wearable
    • Organization
    • Cricut Crafts
  • Home Decor
    • Room Reveals
    • Kid Friendly
    • DIY Home Decor
    • Renovation
  • Lettering
    • Hand Lettered Printables
    • Free Practice Sheets
    • Handlettered DIY
    • Free Brush Lettering Quickstart Guide
Lemon Thistle

Lemon Thistle

Rad DIY, Lettering and Design for Real People

  • Printables
    • For Cricut
    • Party Printables
    • Home Decor Printables
    • Bachelor Bingo
    • Handlettering Practice Sheets
    • All Free Printables
  • Entertain
    • Party Printables
    • Party DIY
    • Tablescapes
    • Kids Parties
  • Blog

Transferring Deco Foil to Wood (& Giveaway!)

Mar 10

Tips and tricks to apply deco foils to wood- using a stencil and giving a crackled, rustic finish- LOVE the gold leaf overlay look

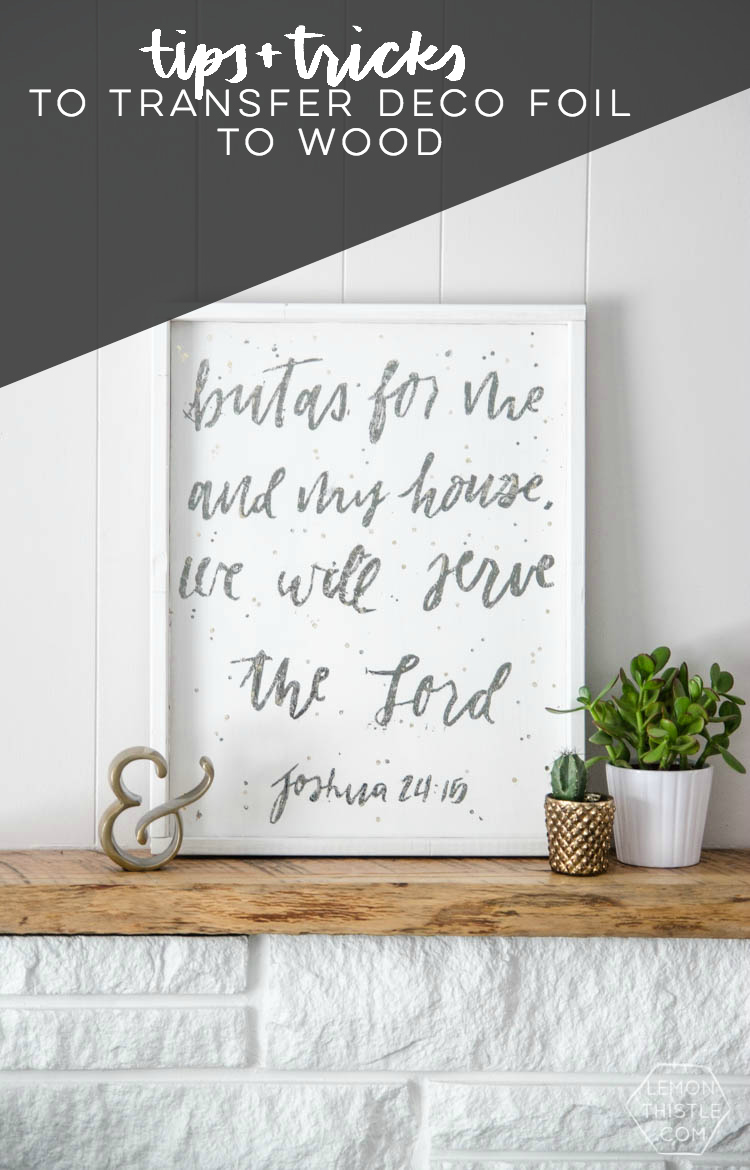
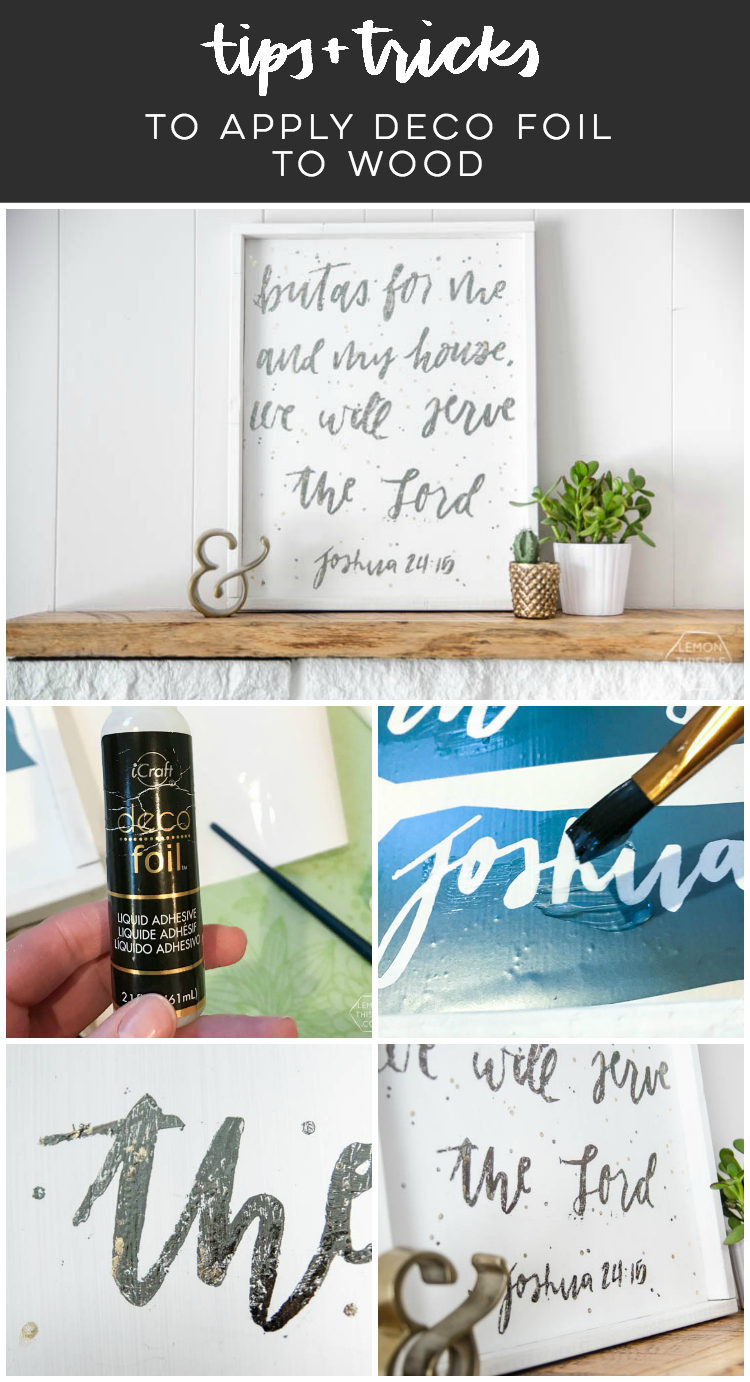
Today I’m so excited to share some tips with you all on how to transfer Deco Foil to wood a couple different ways- and then give you a chance to win some to test out yourself. But first I wanted to tell you WHY I decided to use this verse for the sign. When Shane and I were engaged, I gave him a tattoo GC and he got this verse tattooed on his arm. Then, when Shane and I got married and I started doing crafty things- he made one request. Just one. That I make a sign that says this. I said yes, of course. But we’ve been married almost 8 years you guys… and I never did. But you know I’ve made probably 15 signs and countless lettering pieces. But not this. So now I’ve finally made good on the promise… and it took way too long!

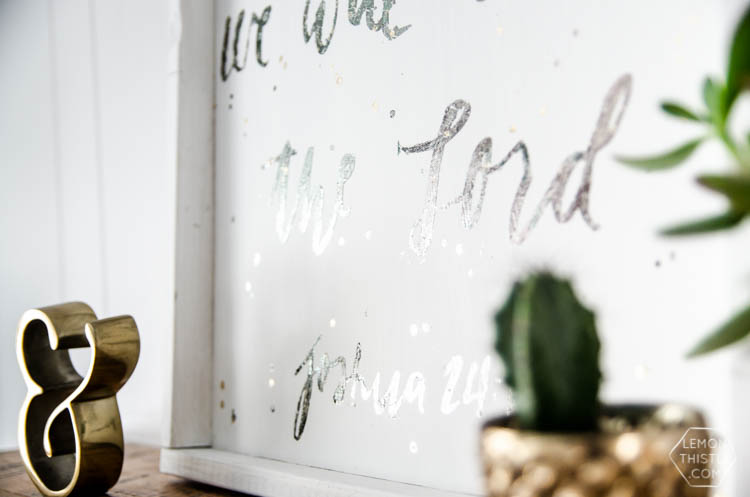
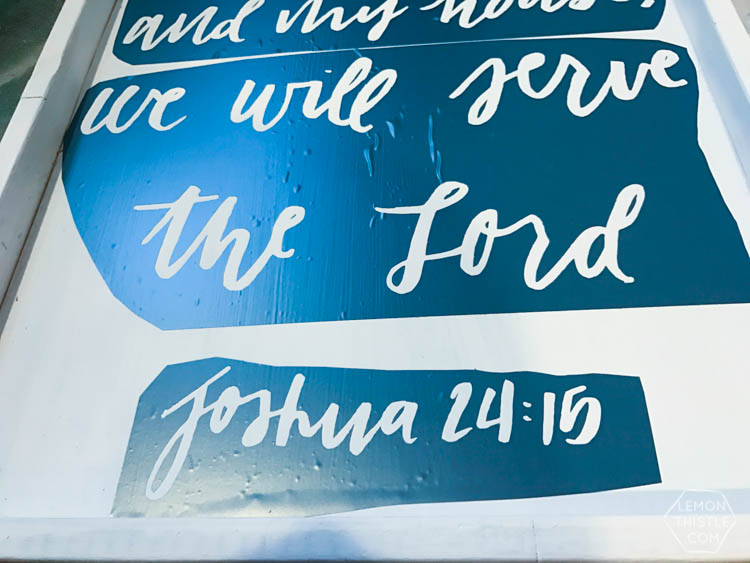
But now that we’ve got my #craftywifefail moment out of the way- lets’ talk about alllll the things I learned about transferring Deco Foil to wood and tips so that you can get it right the first time. It’s kind of hard to tell in these photos but the stuff is foil level shiny. I took a close up of it reflecting so you can see what I mean.

Tips and tricks to apply deco foils to wood- using a stencil and giving a crackled, rustic finish- LOVE the gold leaf overlay look

Tips and tricks to apply deco foils to wood- using a stencil and giving a crackled, rustic finish- LOVE the gold leaf overlay look

If you haven’t worked with Deco Foil before, it’s super fun to play with. I’m on the Therm-O-Web ambassador team this ear and I’ve not so silently made Deco Foils my favourite product of choice (although I do love the no sew products too #nosewforlife). I’ve made a few DIYs with it here in the past- like this metallic throw pillow, this holiday hoop decor, and this customized photo frame mat. It’s an easy way to get the foiled look without fancy heat tools (like the Minc… although I still covet one of those). Plus they come in SO many cool colors. The idea is that you lay down the adhesive and when it’s not liquid any more but still tacky, you lay the foil down and peel back the plastic to transfer where there’s tack. Pretty simple, right?

Tips and tricks to apply deco foils to wood- using a stencil and giving a crackled, rustic finish- LOVE the gold leaf overlay look

But there’s a few different adhesives and ways to transfer. My goal with this sign was to use a stencil I made with my Cricut (my lettering, if you like it, you can grab it to make your own stencil RIGHT HERE), and to end up with a rustic/crackled/ brush stroke looking sign. You know, kind of how gold leaf looks when it is applied but without all the mess. I chose to use a Pewter foil– I love the smoky but not black tone of this one, and a gold accent. The gold accent is my favourite part.

 Tips and tricks to apply deco foils to wood- using a stencil and giving a crackled, rustic finish- LOVE the gold leaf overlay look

Tips and tricks to apply deco foils to wood- using a stencil and giving a crackled, rustic finish- LOVE the gold leaf overlay look

Tips and tricks to apply deco foils to wood- using a stencil and giving a crackled, rustic finish- LOVE the gold leaf overlay look

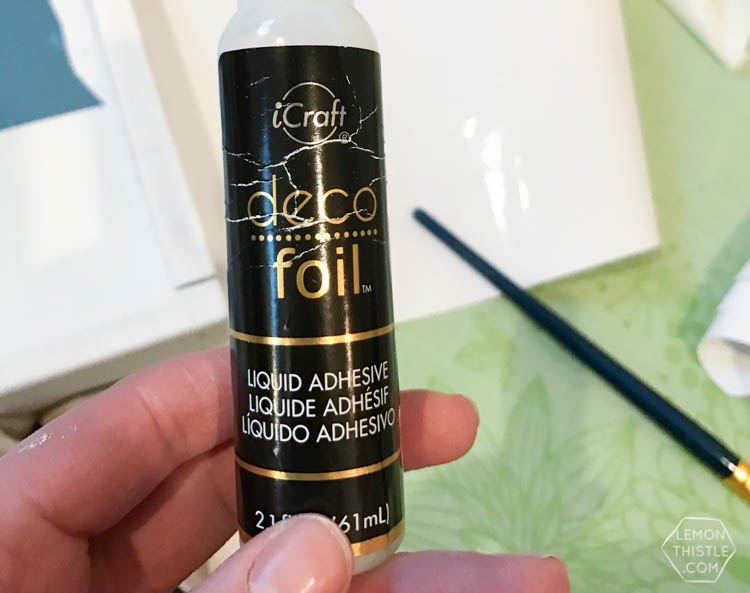
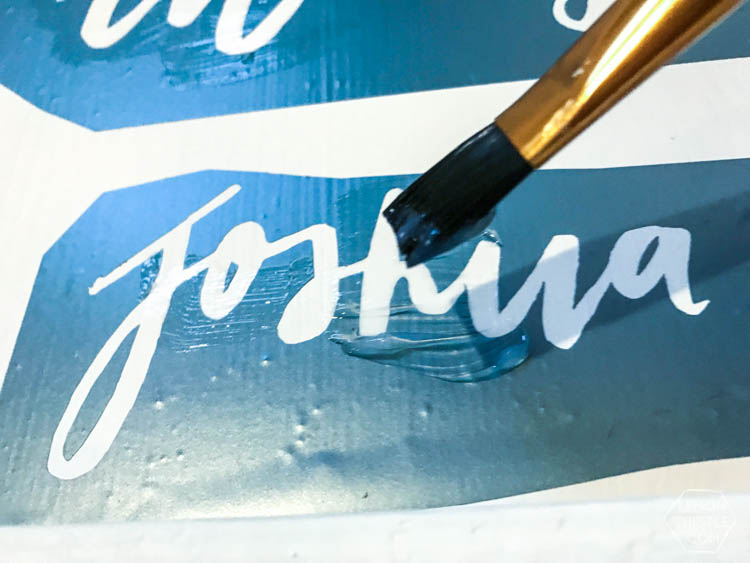
So there’s a few ways to do this. The method that was recommended to me was to brush the Liquid Adhesive on. It comes in a squeezy bottle, so I sqeezed it out and brushed it on over my vinyl stencil. It was looking so darn good… then I peeled back the vinyl. Do you remember that kids nail polish you used to get that could peel off? How if you got some on your cuticles and tried to peel that part off, the rest would kind of peel up too? Okay… so as it dries, the adhesive kind of does that. And what I mean is that if you waited and peeled back the stencil when you were ready to foil, you’d end up with imperfect edges. SO the key is to do one word at a time and then peel the stencil off before painting on the adhesive in the next word.

So if you get that right, you’re golden… right? Well here’s another tip. The adhesive dries much quicker than it says on the bottle if you brush it out instead of using the squeeze bottle. This is because it’s much thinner this way. Mine took about 10 minutes to dry to the point that it was ready to be foiled. If you foil before it’s dry to the point of tacky though, it will get adhesive on the back of the foil and that piece of foil will be ruined AND it will smudge the adhesive shape you’d stencilled on. If it dries too much and you can’t transfer the Deco Foil to wood, that’s okay because you can always add more adhesive to that spot later.

When it comes to applying the foil, I have treated it like vinyl in the past and used a scraper to get it pressed on firmly BUT I found it was WAY more effective to press down instead of across. Scratching the foil on (with a scraper like you would vinyl) can negatively affect the shine of the foil.

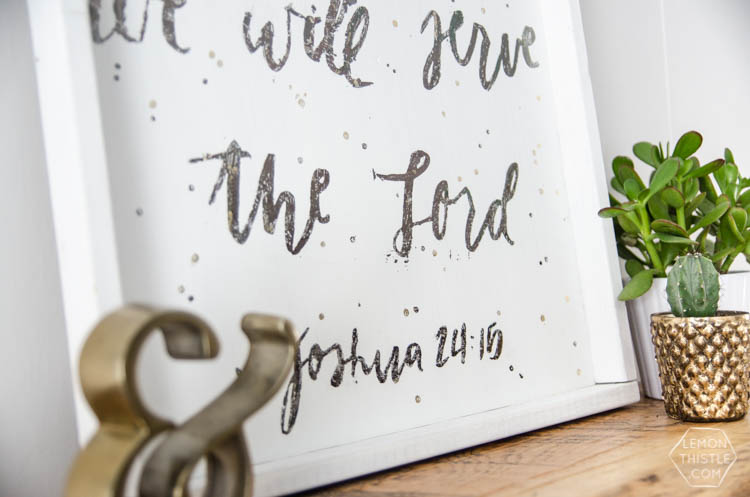
Okay so that’s using the liquid adhesive. Notice the nice brush stroke effect from brushing it on? I also tried the adhesive pen and it worked AWESOME. It doesn’t give you the brush stroke effect of course, and if you wanted to do a larger space it would be a total pain to spend the time coloring it in BUT for lettering or little polka dots? Perfect. That’s what all those little dots are done with. I will probably do another wood sign like this, just freehanding with the pen because it is so much quicker and I’m an impatient crafter.

Last but not least! I did NOT do this BUT if you want a really clean edge for your foil and smooth with no brush strokes- I’d suggest using the Hot Melt adhesive sheets. It’s cuttable with something like a Cricut so you could cut your shape, iron it on and transfer the Deco Foil to wood. I have some and I’m totally going to test it out another time.

Tips and tricks to apply deco foils to wood- using a stencil and giving a crackled, rustic finish- LOVE the gold leaf overlay look

Tips and tricks to apply deco foils to wood- using a stencil and giving a crackled, rustic finish- LOVE the gold leaf overlay look

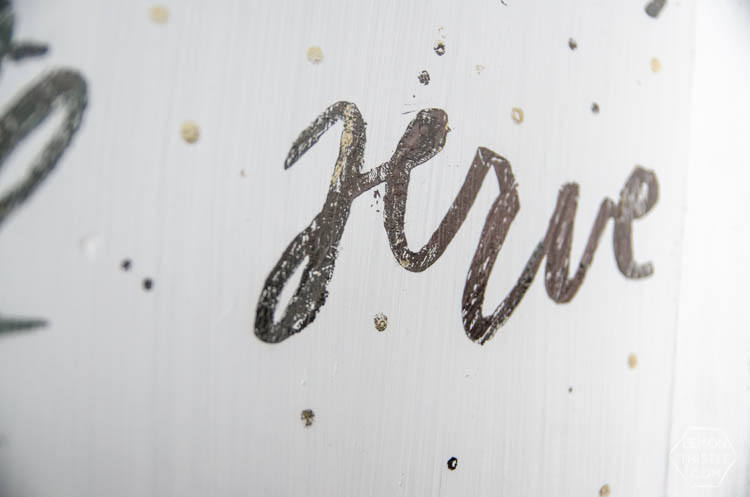
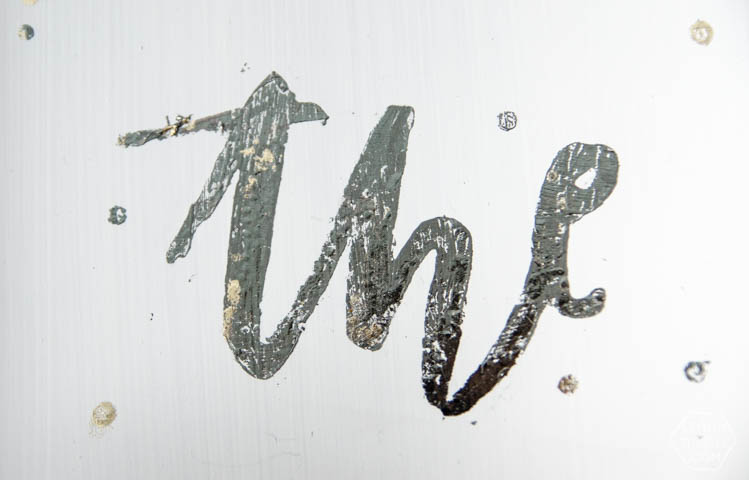
To add the gold foil detail over the pewter lettering, I used some dabs of the adhesive on top of the foiled letters to transfer the gold. Again- I so love how that detail turned out! I tried to get a close up of it without reflection so you can see what I mean.

Tips and tricks to apply deco foils to wood- using a stencil and giving a crackled, rustic finish- LOVE the gold leaf overlay look

Tips and tricks to apply deco foils to wood- using a stencil and giving a crackled, rustic finish- LOVE the gold leaf overlay look

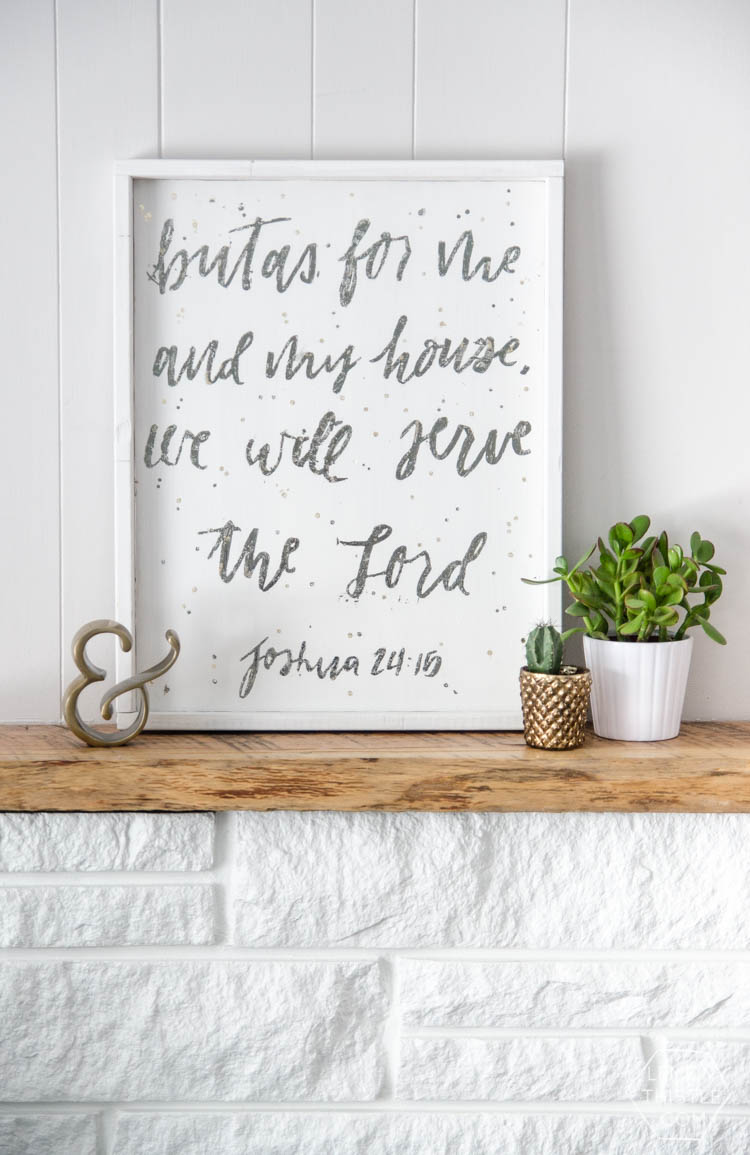
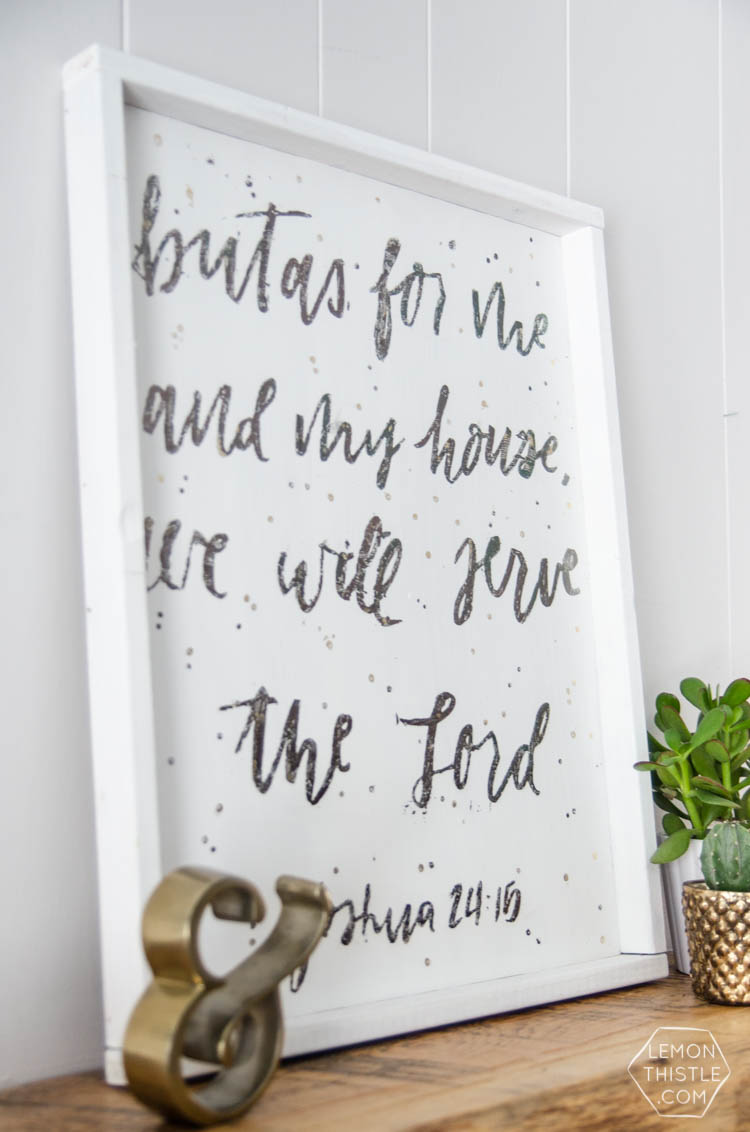
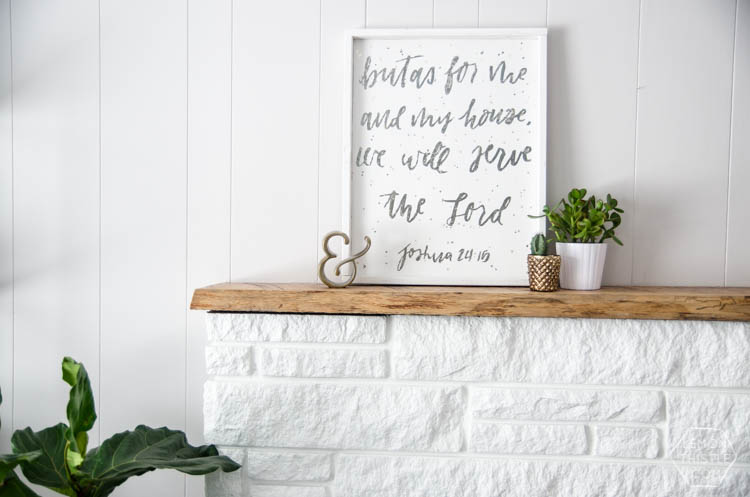
*phew* that was a lot of info, right? Before I go- I made the sign just using a piece of plywood cut to size and sanded and 1×2 on edge for the frame. Simple.

Alright… want to win some Deco Foil for yourself to try out? My friends at Therm-O-Web have been generous to give away a $50 GC (and free shipping!) to someone. Enter using the Rafflecopter below! And if you win- be sure to show me what you make with it. Good luck!

a Rafflecopter giveaway

LIKE IT? PIN IT!

Tips and tricks to apply deco foils to wood- using a stencil and giving a crackled, rustic finish- LOVE the gold leaf overlay look

Category: DIY, Giveaway, Home Decor, LetteringTag: Craft, Cricut, Deco Foil, DIY Home Decor, Handlettered DIY, Handlettered Printables, Handlettering, Metallics, Sponsored, Tips and Tricks, Wall Art, Wall Decor
Facebook0Tweet0Pin0LinkedIn0
Previous Post: « DIY Split Level Entry Makeover- I LOVE this entry. The oversize door, scandi influence and that shoe storage! A DIY Split Level Entry Makeover: Before & After
Next Post: I like to party. I like, I like to party! »

Reader Interactions

Leave a Reply Cancel reply

Your email address will not be published. Required fields are marked *

Sidebar

WOOHOO!

Check your email to confirm!

(+ get your freebies + discounts)


Thanks for dropping by!
I’m Colleen: wife; mom to 4 wild ones; and DIY blogger behind Lemon Thistle. You can expect to see rad DIY, modern home decor, renovations, hand lettering and the occasional party on Lemon Thistle. Read More…

email facebook youtube instagram pinterest

Unless otherwise noted, all content and images are mine. Full posts may not be shared without express written consent. But I love when you share! Feel free to share, without altering, one image with proper credit and a link to the original post. All free printables are for personal use only.

Everyone loves proper credit- if you ever notice something improperly credited, please please shoot me an email and I’ll fix it lightning fast.

Find all my policies right here.
This includes my privacy policy, info on the GDRP compliance and information on affiliate links (Including Amazon Affiliates).

Visit Colleen Pastoor’s profile on Pinterest.

colleenpastoor

My house is never this clean
-
DIY + Home Decor Blogger
Mama of 4 👶🏼🧒🏼👦🏼👧🏼
Renovating our 🏠 the DIY way
🖤 Lettering & ☕️
-
✉️[email protected]

colleen pastoor/lemon thistle
Spot the DIYs in these photos! I rounded up 10+ aw Spot the DIYs in these photos!
I rounded up 10+ awesome DIY home decor projects in partnership with @officialCricut #ad over on the blog yesterday, there's some really fun ones from my friends too!
#CricutMade #Cricut
Which do you like best? Even though it didn’t wi Which do you like best?
Even though it didn’t win the vote, I still decided to make this free printable a set instead of just the one!
You can find them plus so many other gorgeous spring printables from some friends of mine over on the blog today!
I’ve been doing some polls in my stories (thank I’ve been doing some polls in my stories (thank you for your responses!) and one that totally surprised me? 
Almost half of you don’t know I blog! That’s my job, guys 😂 IG is just a fun little part of that! So tell me... is this new information to you or are you team ‘knew that!’? 

Also... Should I do a blogging Q&A? 🤷🏼‍♀️
Happy Valentine’s Day, friends 🥰 Happy Valentine’s Day, friends 🥰
Anyone else feeling the balance between work and f Anyone else feeling the balance between work and family and rest and keeping your house liveable has all just toppled this year? I keep seeing articles about pandemic fatigue and long term stress and burnout and while it’s totally relatable, I really just want tips on how to actually deal with that. I thought I’d share some things that are helping me if you’re in the same boat... and I’d love if you shared your tips in the comments! We could all use them 🥰
-I’ve been going for a walk every day by myself. Even when it’s freaking cold like today, I just bundle. It’s the only time I get truly to myself with no kiddo asking for something and that I don’t have to try squeeze in an email or something else.
-I’ve been putting the instant pot to work and leaning on cheater meals (local soup mixes are amazing), Costco dinners... whatever
- I’m prioritizing friendships with phone calls, zoom games nights and group chats about the bachelor (with matching snacks!)
- I’ve given myself a schedule that has downtime to play with the kids and to read... even when there’s things I feel like I ‘should be’ doing
- I’ve realized exactly how much time I’ve been spending on my phone and that it’s become my response to stress. Have you ever looked up your screen time analytics? 🥴 look at how many times you pick it up in your day. I’m setting app limits for myself and trying to break this habit, but I’d really love tips!
Can you believe that address sign is a DIY?! I'm s Can you believe that address sign is a DIY?! I'm sharing the whole tutorial in partnership with @OfficialCricut today over on my blog! I'd originally made it as a place holder for a metal one but after having it up for 4 months... we totally love it long term! What do you think? Would you try it? #cricut #cricutmade #ad
What are your Sunday plans? Mine are to sit right What are your Sunday plans? Mine are to sit right here for the first half of the day drinking coffee, then the second half of the day it’s to clean this house so it looks like my Instagram feed again 😂
Who has DIY projects on their mind this year?! 

👏🏻CLOSED 👏🏻 congrats @kelseycford ✨
@ryobi_canada and I want to help you start knocking those projects off your list by giving away a new nailer and battery set! #ad 
This tool is what we used for this accent wall and all the trim in our home. It’s the one I used to trim out my built in shelving and add the decorative moulding to my geometric barn door. What I’m saying is this thing is a workhorse and I want you to have one too 😉
To enter:
✨Follow me @colleenpastoor and @ryobi_canada 
✨like and save this photo 
✨ tag some friends who’d love to win in the comments! One tag per comment, each is an entry. 
✨ share to your stories for a bonus 5 entries!

Open to Canadians only this time (sorry US friends!) and not associated with Instagram. Closes Friday Jan 22 at noon PST!
Let’s talk about coffee! This is my coffee ‘st Let’s talk about coffee! This is my coffee ‘station’ and the second photo is my dads! I’m talking aaaall about them over on YT today!
Also... see how nice that fresh silicone looks?! 😉 IYKYK
Load More... Follow on Instagram

Copyright © 2021 · Lemon Thistle · All Rights Reserved · Powered by Mai Theme