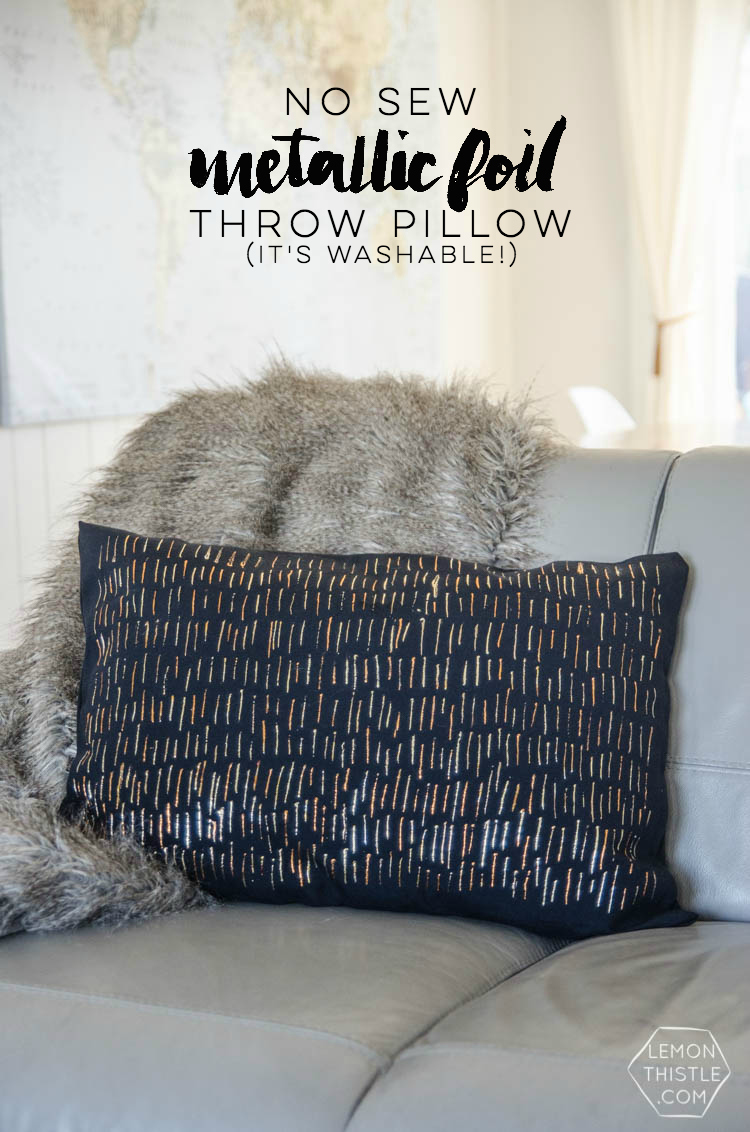
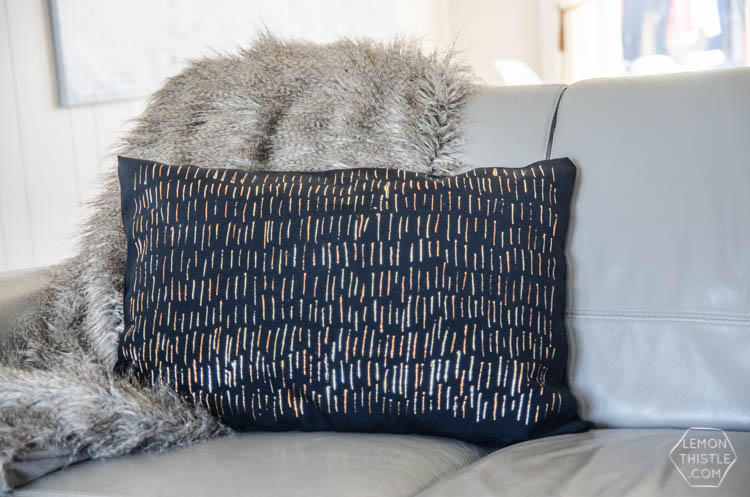
See that shine? I’m so excited to share this one with you. Not just this pillow, but about this foiling technique. I have SO many plans for it.
This is the first of four projects I’m bringing as part of a partnership with Therm-O-Web to showcase the rad Deco-Foils they’ve launched this past year. They’re totally dreamy, I fell in love with them at SNAP and was thrilled when they asked if I wanted to be part of their team this year. Honestly, though… you’ll probably see more than four projects with this stuff because I can’t get enough. It’s foiling but without any expensive machine to store. You’re all okay with a little more shine in your life, right?
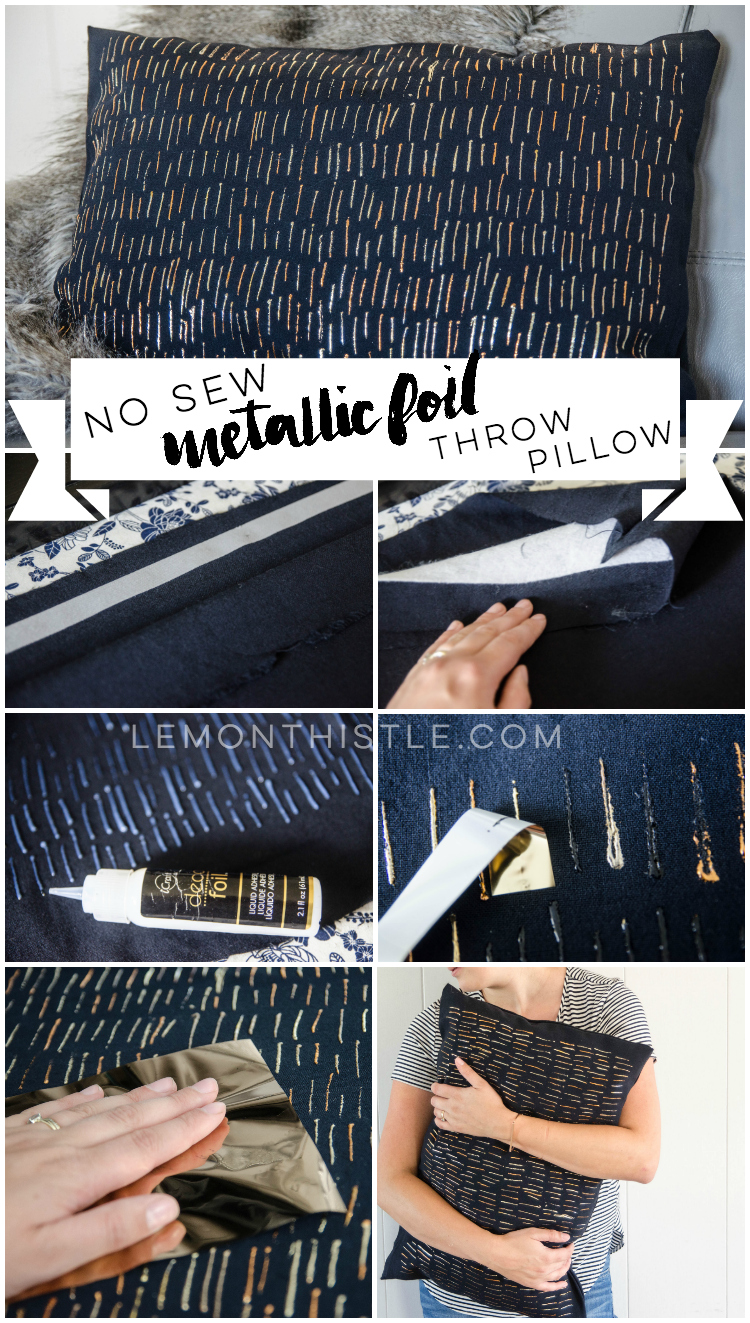
When I’ve shared DIY pillows with you in the past, I’ve always used either my simple envelope style or made them with a zipper. I don’t mind sewing so those are my favourite to make BUT I heard from so many of you that you don’t sew and you wanted a no-sew version. So here it is!
To make this Metallic Foil Pillow, you’ll need:
- Pillow insert
- Fabric, twice the size of the pillow you’d like to cover
- Iron and ironing board
- Scissors
- Therm-O-Web HeatnBond Fleece Fusible (High Loft) I’ll explain what this is for down there ;)
- Fabric tape or glue… So here’s the thing, I used Super HeatnBond Hem (I’ve used this stuff for a looong time)- there’s an ultra hold version but I’ve found the Super to be enough so far BUT I just noticed they have one that is NO iron… it’s on my list to try next time.
- iCraft Deco Foil Liquid Adhesive
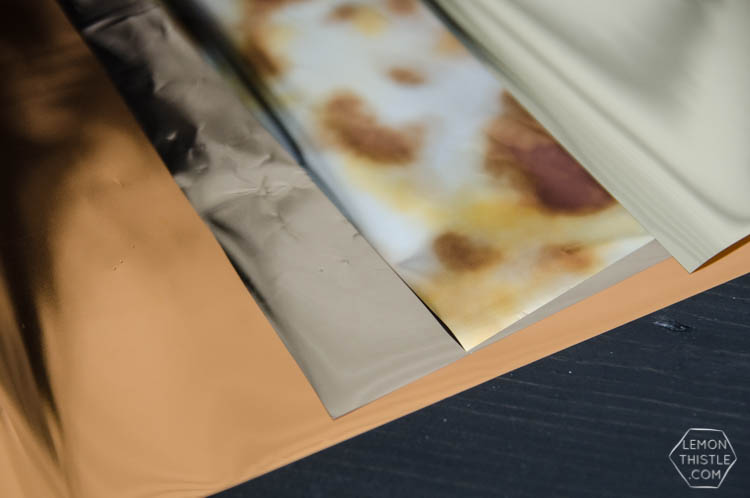
- Deco Foils (I used a combination of Amber Watercolor, Rose Gold, Copper, and Champagne) So here’s another thing… they’ve started selling mixed metals kits! It doesn’t have the amber watercolor one, but it has 5 different mixed metals and is a better deal (you know I love a deal)
Make the throw pillow cover:
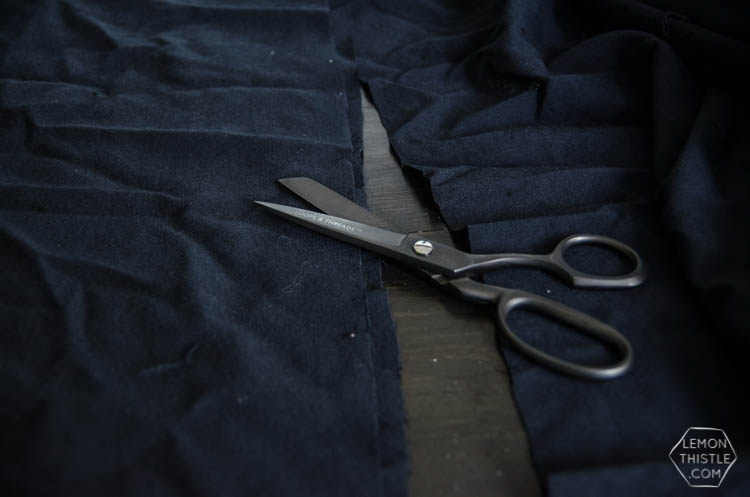
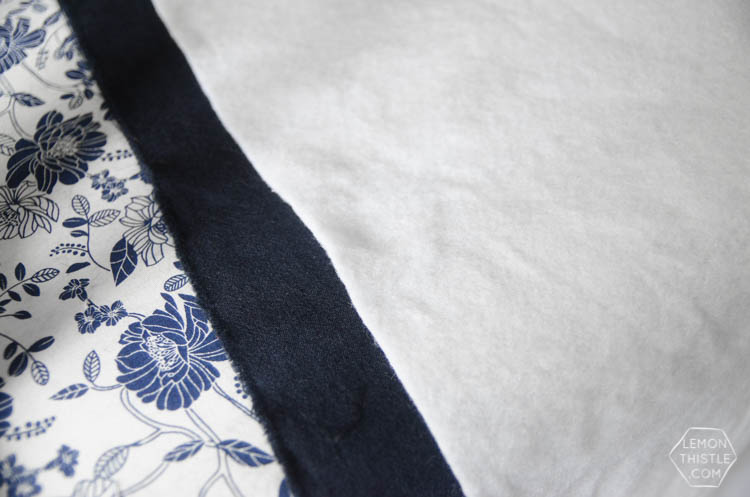
Start by cutting your fabric to size. Give about two and a half inches of allowance. I find when using hemming tape for throw pillows, I like to make them a bit bigger than if I’d sewn so its easier to iron and there’s less tension on the seams. I had a swack of this dark navy fabric I’d used for my bleach party and thought I’d put it to work.
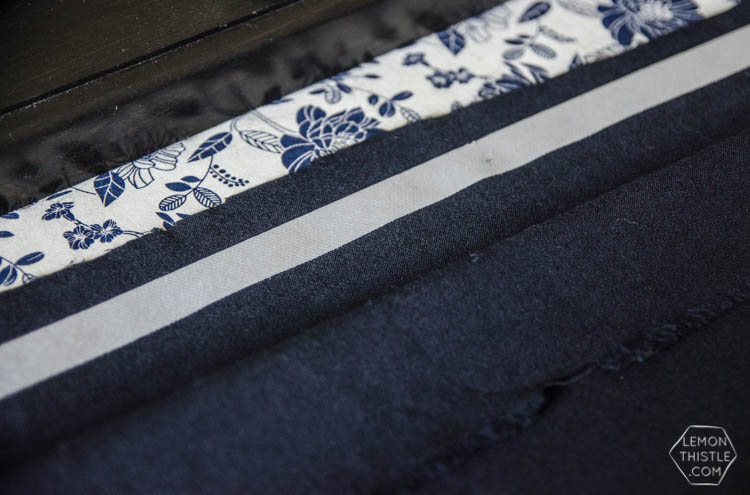
When it’s cut to size, cut a piece of your fusible to line the front piece of fabric (leave a seam allowance unlined). I used this to make the front a bit thicker and more substantial, it feels like a store bought pillow now, not a thin fabric one I made at home. To use the HeatnBond Fleece Fusible High Loft (that’s a mouthful) that I chose, you soak it in hot water for 15 minutes to shrink it first- don’t skip this step or the first time you have to wash your cushion you’ll have a mess when the lining shrinks! Let it dry and iron it on according to directions.
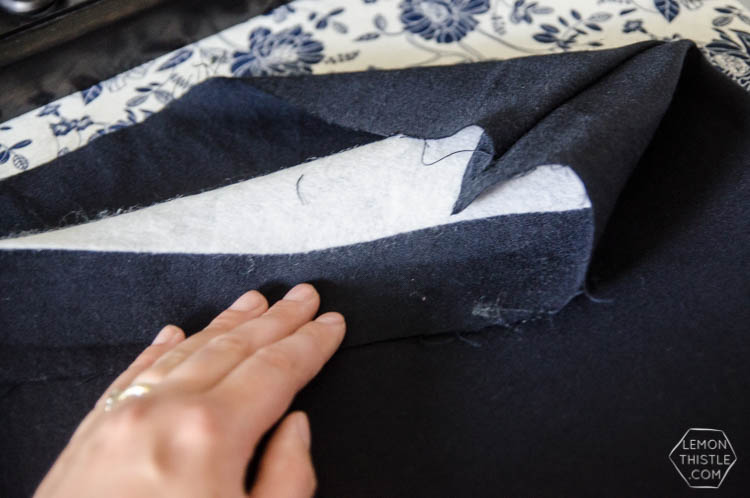
Then, put your two pieces of fabric right-side together (that means the part you want to see when it’s all finished) and sandwich your hem tape between them. Iron them together on three sides, let cool and turn right side.
Decorate it:
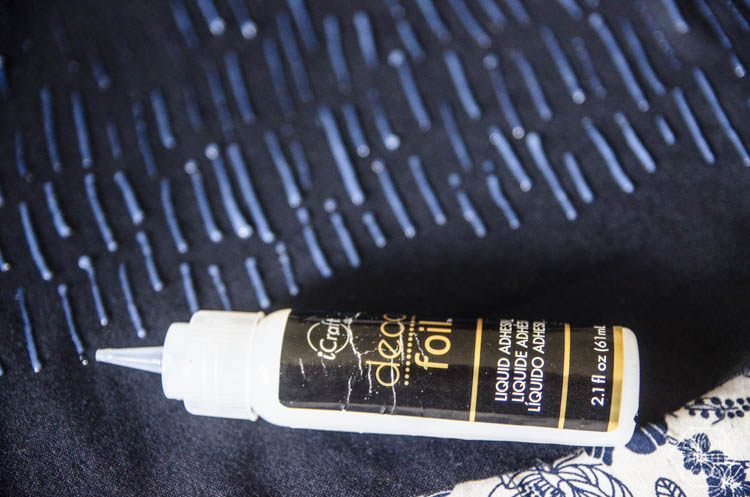
Now it’s time for the fun part! Take your iCraft Deco Foil Liquid Adhesive (there’s different kinds of adhesive- this one is safe for fabrics/ washable) and start drawing your design out. Then the hard part… walk away for an HOUR! I set a timer because I knew I’d try to rush it otherwise. The adhesive starts out a milky color and after an hour is almost clear.
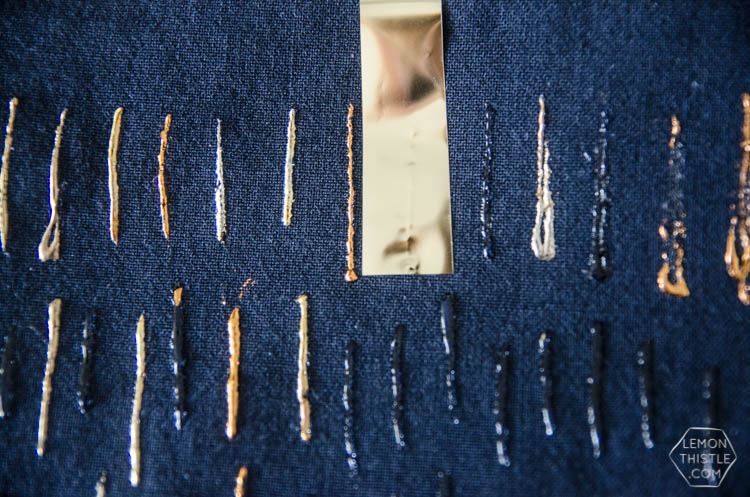
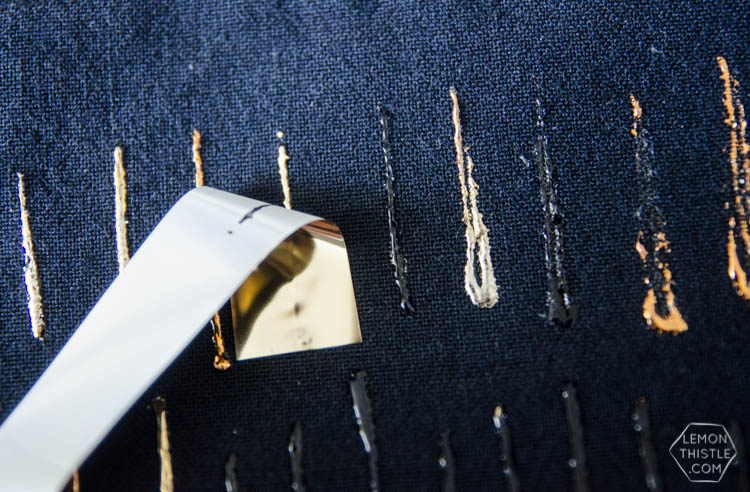
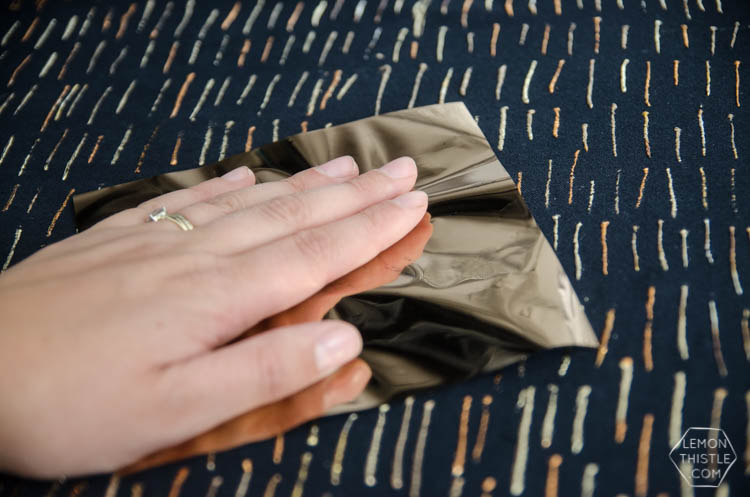
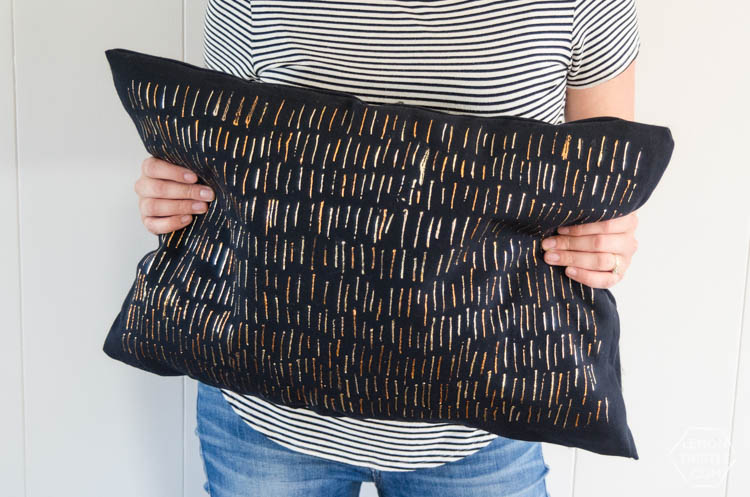
Cut strips of your Deco Foil, then press over your design and peel back. You don’t even need to press that hard, it’s like magic. I alternated between the four colors I chose for this random metallic look. We have a lot of different metallics in our house and I love that this pulls all of them in! When you’re done, go over with one of the larger pieces of foil, pressing firmly to cover any exposed adhesive that might have been missed.
I’m not going to lie… doing ALL of these ticks in different colors was pretty time consuming. But it looks so good that I’m not even upset about it. Even Shane’s impressed by this one. If you wanted to save some time, you could use just the watercolor in Amber since it has a variety of metallics.
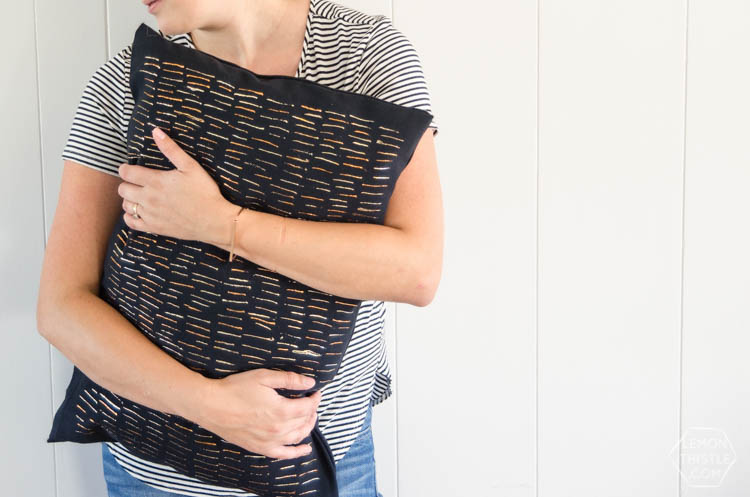
All that’s left… use the hemming tape, squeeze your pillow to the far side of the cover and iron it shut. Fluff it up and you’re set! I’m SO happy with this foil pillow, it’s like my best friend and will accompany me to every home movie date.
 Entertain: Tea Station with Printables
This looks so cool! I love that it’s no sew too, since I don’t have a sewing machine (yet). Definitely going on my ‘to try’ list!
Thanks SO much Rachel! No sew is my jam lately.
Can this pillow be washed?
Yes, it can.