These 7 Dollar Store DIY Christmas Decorations are simple to make and so budget friendly!

Last weekend I shared these 7 Dollar Store DIY ideas for Christmas and I had planned to make them each into their own blog post so they’d be easier to find the individual projects… but this week has been a busy one and I thought you’d rather see them sooner rather than later so I’ve put them all in one!
I love finding things at the dollar store that I can hack into beautiful home decor. Creating things that are totally custom and high end looking without the price tag that high end brings. I had so much fun making these dollar store DIYs and I hope you like them as much as I do!

As always, you can either watch the video here or keep scrolling to find all 7 projects with instructions below!
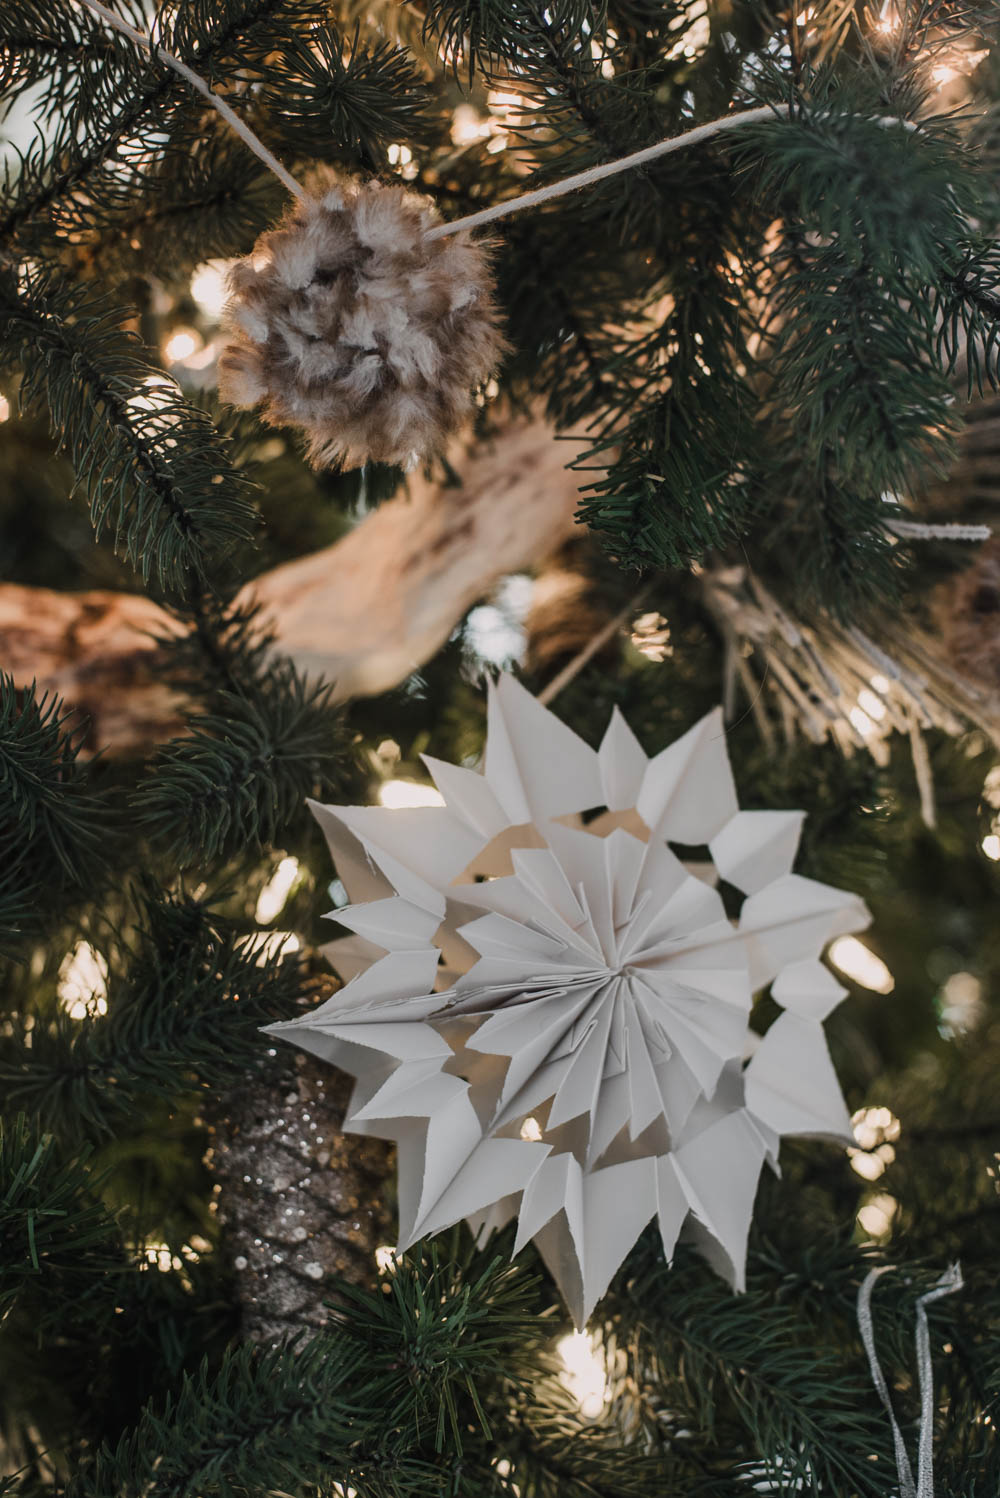
Tiny DOllar Store DIY Paper Bag Snowflakes
If you’ve been down the rabbit hole of home decor Instagram… or home decor TikTok this year, you’ve probably come across paper bag snowflakes. When I spotted these itty bitty paper bags at the dollar store, I knew I wanted to make mini ones for ornaments! My only disappointment with these is that I underestimated how many bags I’d need and wish I would have bought more.
These paper bag snowflakes are super simple to make using tiny paper bags, hot glue and the sharpest scissors you can find.

Start by running a bead of hot glue down the centre of each bag, and a line across the bottom just like an upside down T and then glue one on top of the other. Make sure you stack them facing the same direction. Bigger paper bag snowflakes are typically made with 6-8 bags, but for these teeny ones, I found that I needed about 10 paper bags for the size of snowflake that I wanted.

Next, you’ll cut little notches around the stack of bags to make your design and cut the open end to a point. I found that trying to cut all 10 bags together was really challenging, but cutting a stack of 5, glueing 5 more bags on top and then cutting those was much easier. Now, you’ll unfold your bags (like an accordion) and glue the top and bottom bags together. You’re done!
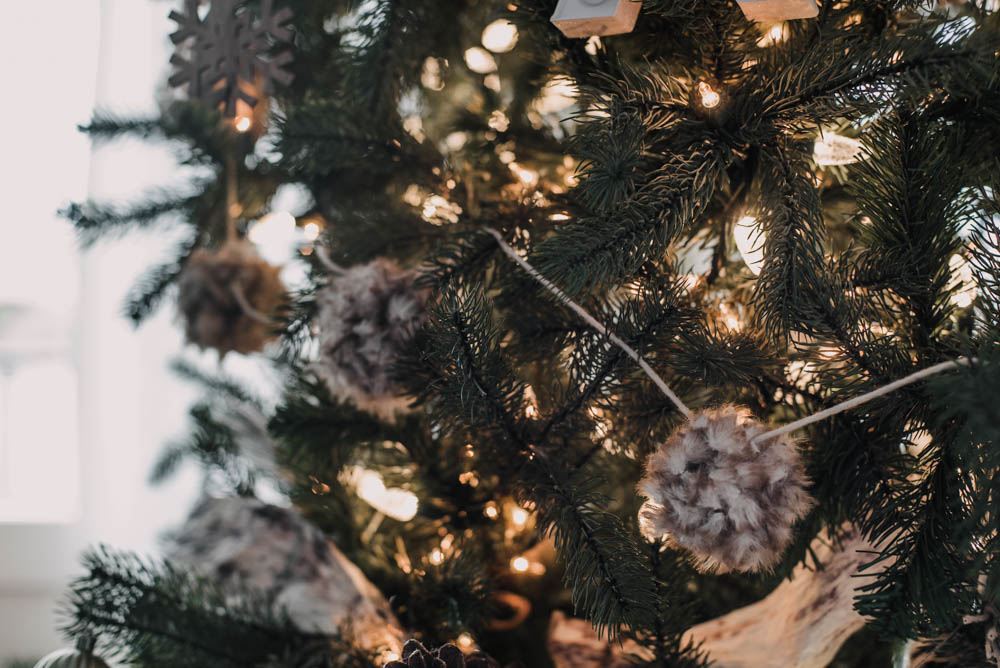
Dollar Store DIY Pom Pom Garland
I’ve been wanting a pom pom garland for my tree, but couldn’t drop $30 on one when I knew I could make it myself. I’d been meaning to get to the craft store to pick up some white yarn for this craft but when I saw this fuzzy furry yarn at the dollar store… well, it was meant to be!
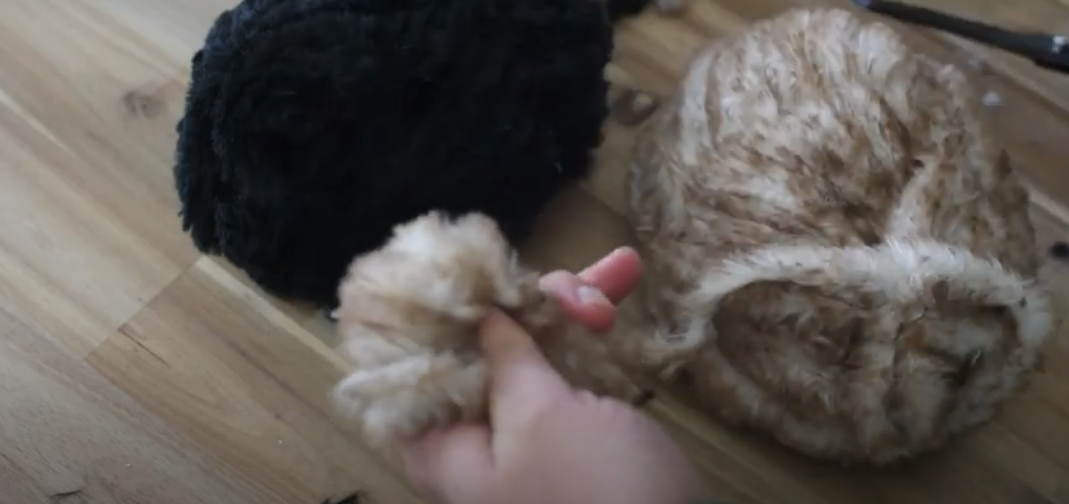
I used a Pom Pom maker but if you don’t have one, you can still make this garland. First, wind the yarn around your hand. Then, slide it off and tie the centre. Now, cut your loops and trim the edges. You’re going to want to do this over and over and over… and over and over and over. The only challenge with this furry yarn is that it was pretty slippery. And messy. I looked like a giant fluffball after this.
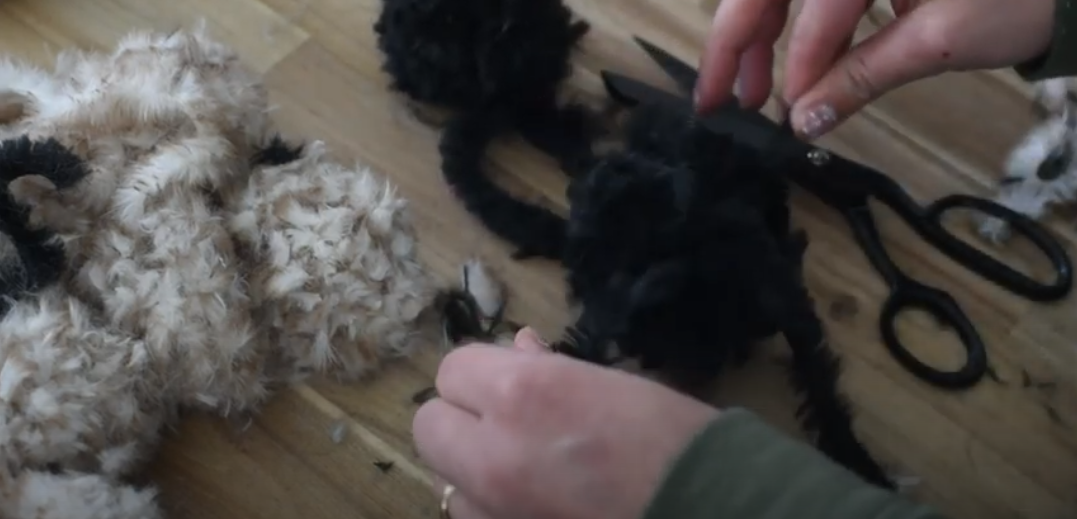
Once you have the number of pom poms you’ll need for your project, cut a long piece of yarn and tie them on, spacing them evenly. I made about an 8 foot garland from one ball of this yarn.

Dollar Store DIY Hand lettered wrapping paper
This isn’t a new craft for me but this time… I made it totally from the dollar store ;) The last few times I’ve been to any dollar store, I’ve been able to find brush lettering pens. You know I love brush lettering (I teach a whole course on it after all!) but I hate ruining great brush pens on rough kraft paper to make this. Finding dollar pens? PERFECT!
You can see the full written tutorial for this in this blog post, but basically using craft paper and a dollar store brush pen, I wrote some of my favourite lyrics, “Let it Snow” and I love how it turned out. You can finish it off with these printable tags I shared last week for a beautiful handmade gift!
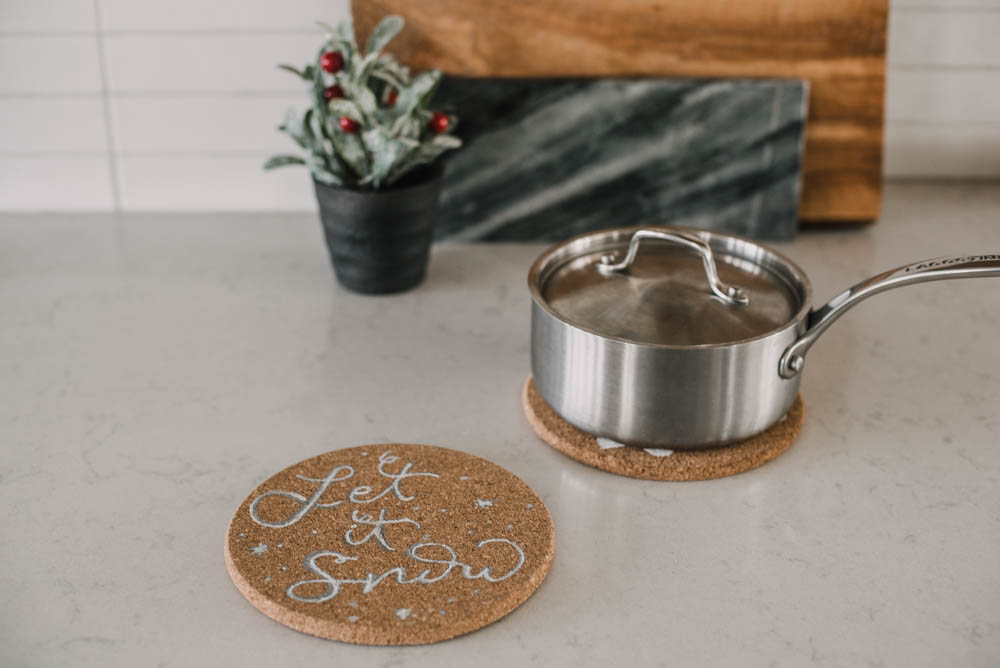
Dollar Store DIY Christmas Cork Trivets
I decorated these inexpensive, dollar store cork trivets two ways. First, I painted snowflakes (using acrylic paint), and then hand lettering with a paint pen. I think they turned out pretty darn cute! I think I’ll stick with my paint pens in the future, but the kids love the snowflake one the most. You can see some other cork trivet ideas (punny ones!) right over here.

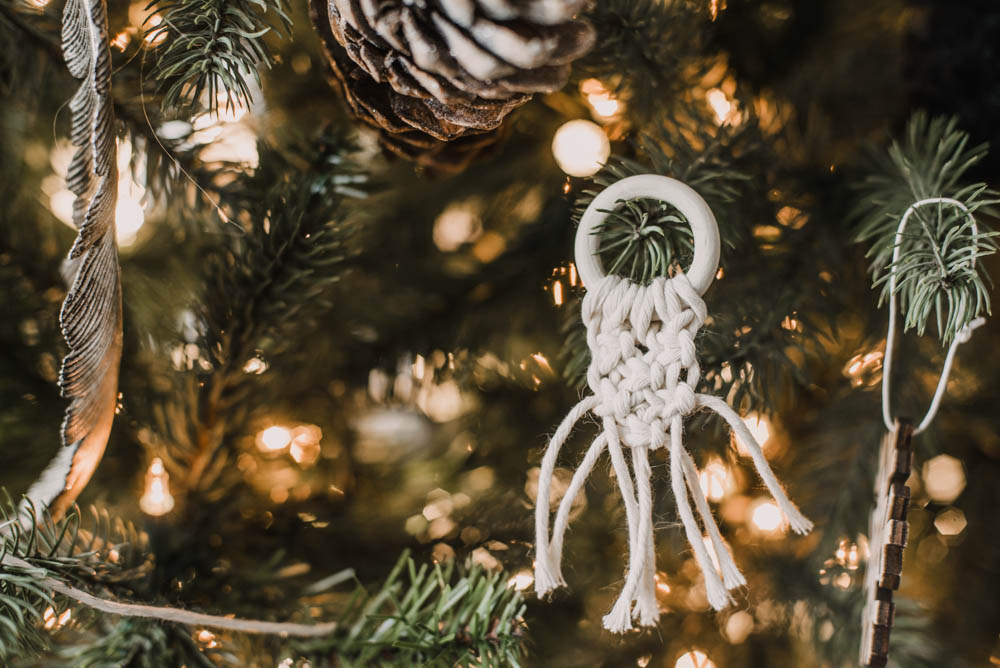
Dollar Store DIY Macrame Ornaments
You know I love macrame! These are super simple to make. I spotted these wooden rings in the craft section of the dollar store and thought they would make cute little boho ornaments. I used cotton cord I had at home but I’ve shared that dollar store poultry string (in the kitchen section!) is awesome for macrame too. You can see that in action right here.
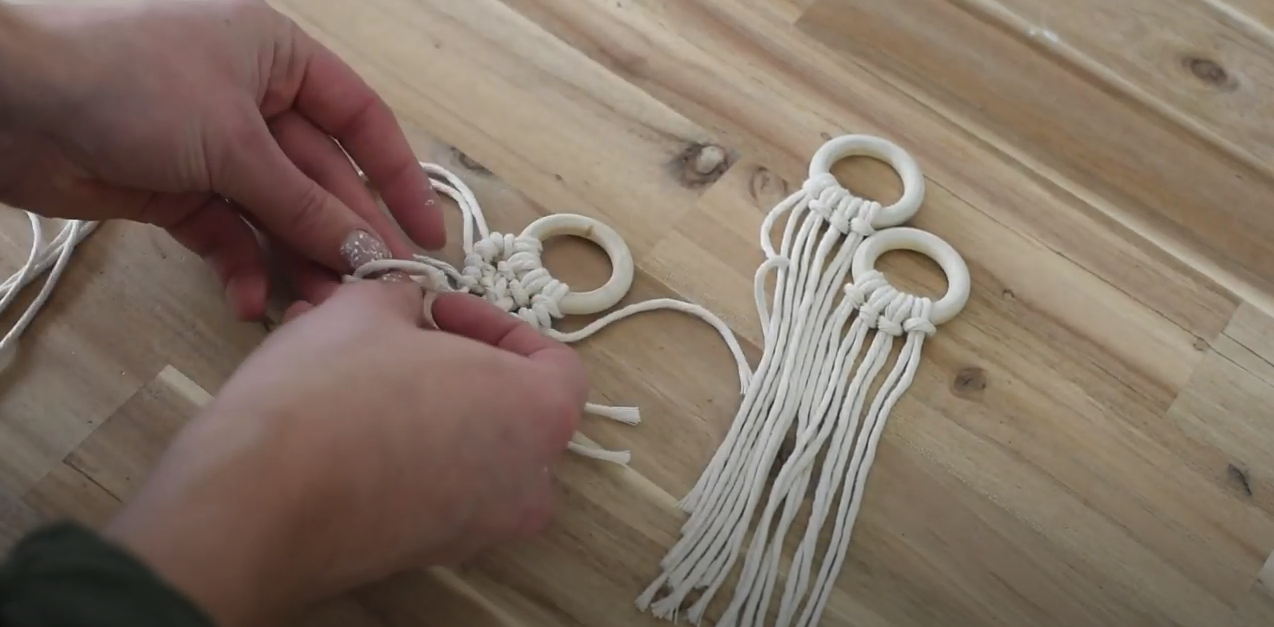
To make these I used three different knots, the larkshead (to attach to the rings), the double half hitch (to create the lines) and a square knot (the bulk of the designs). I love the boho vibe! They’re a great addition to your Christmas Tree or as a cute gift topper! If you’re unsure how to do any of those knots, I have a step by step tutorial right here that breaks it down into super simple steps, plus I troubleshoot some of the common issues in these knots!
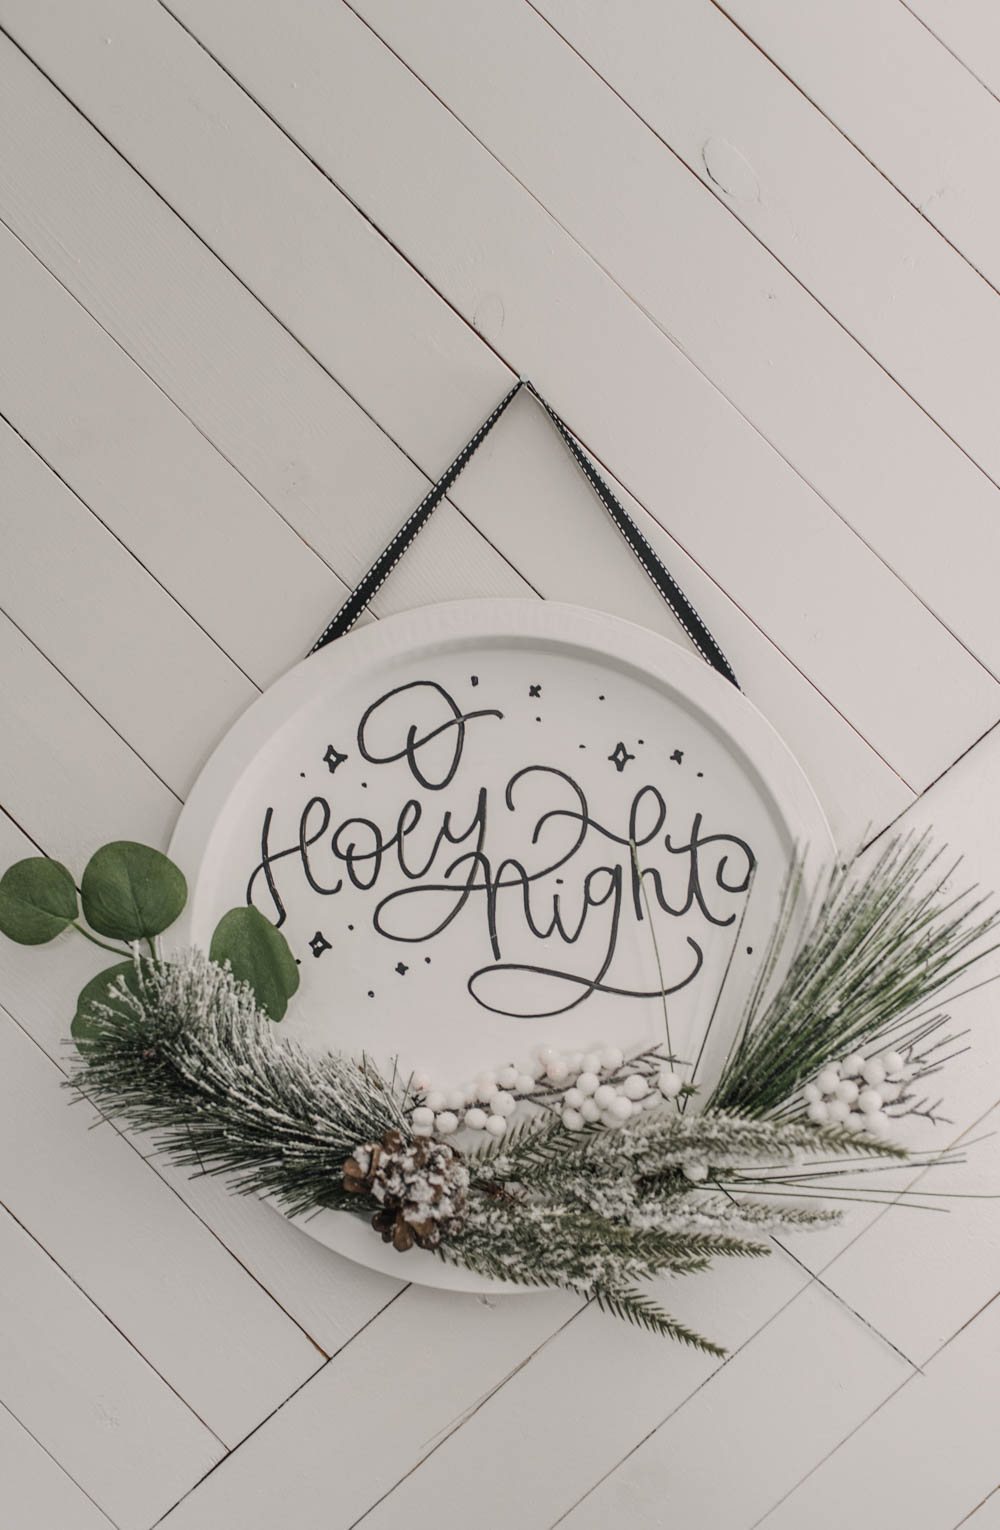
Dollar Store DIY Christmas Sign
For this DIY Dollar Store Christmas Sign, you’ll need metal serving try, acrylic paint, some greenery, a glue gun, and a paint pen. My friend Christina shared a similar DIY a couple weeks back where she used an aluminum burner cover to make a wall hanging. I loved the creativity so when I spotted this larger snowman cookie tray that was made out of metal, I knew it would make a great sign!
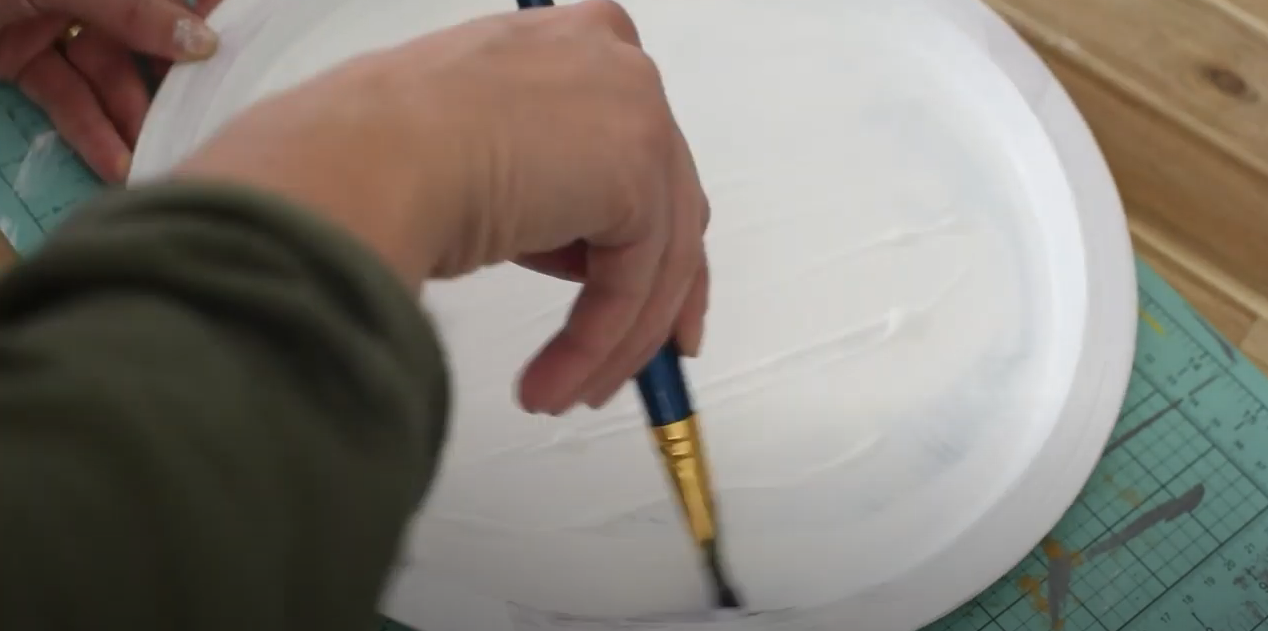
To make this sign, you’ll start by painting the aluminum with acrylic paint. This will take a few coats to cover the bright patterns. If I were to do this again, I might try use spray paint to see if it’s faster!
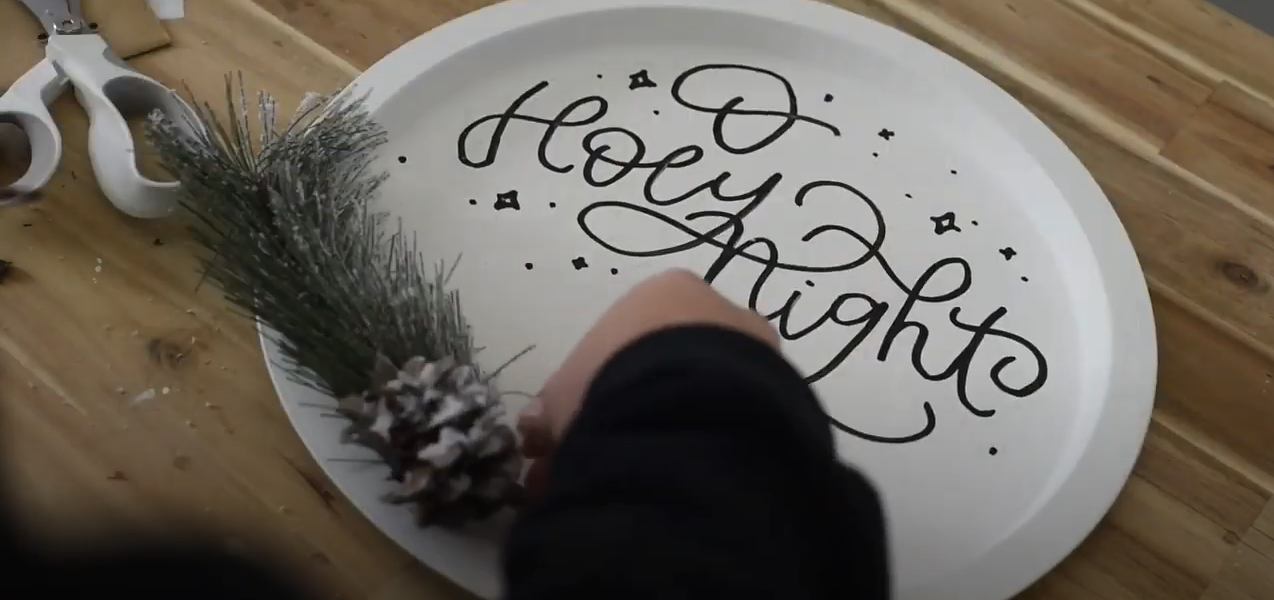
Once it’s dry, you’ll write your favourite holiday quote- I chose ‘O Holy Night’ and I just free handed it, but you could totally use a stencil if you like! If you want some tips on hand lettering so you can free hand it too, I have a free Brush Lettering Quickstart Guide right here! I always love to add stars to my holiday designs as well.
Then, start placing all of your elements and when you’re happy with the placement, start gluing. These pieces of greenery are actually all from one pick from the dollar store. They use paper tape to hold the smaller wired elements together, so you can get all this greenery in the little $2 bundle, you just need to pull it apart!
To finish this sign, add a ribbon loop to the top with a hot glue gun and hang it! It looks so cute in my studio on my barn door!
Dollar Store DIY Christmas Wreath
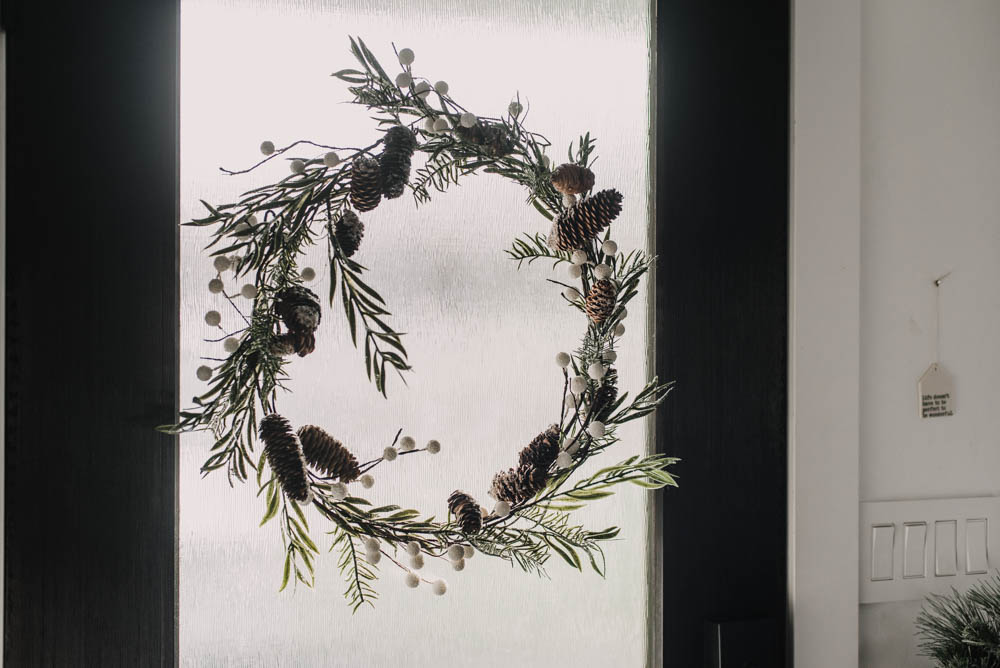
I’m obsessed with this wreath. There’s no way around it. Again, my only regret here is not buying 10 more of these garlands so I could make one for all of my friends. Because they’ve asked and these particular garlands are now sold out at my local store. *sigh*
I have a love hate relationship with wreaths. I truly love what they add to an entryway but they’re almost always so chunky and huge and for my entryway that’s not idea. My favourite wreath up until now was a minimal one I made using a couple garlands years ago and now this one can join it! Just like that old wreath, I made this wreath out of some inexpensive garlands from the Dollar Store. Three to be exact.

Start by shaping the garlands into the size of wreath that you want. I layered a few garlands to get the fullness that I was looking for and then I wrapped the wired pieces around each other to secure it. I absolutely love how this one turned out, and it cost under $10 to make it!
DOllar Store DIY Modern Planter
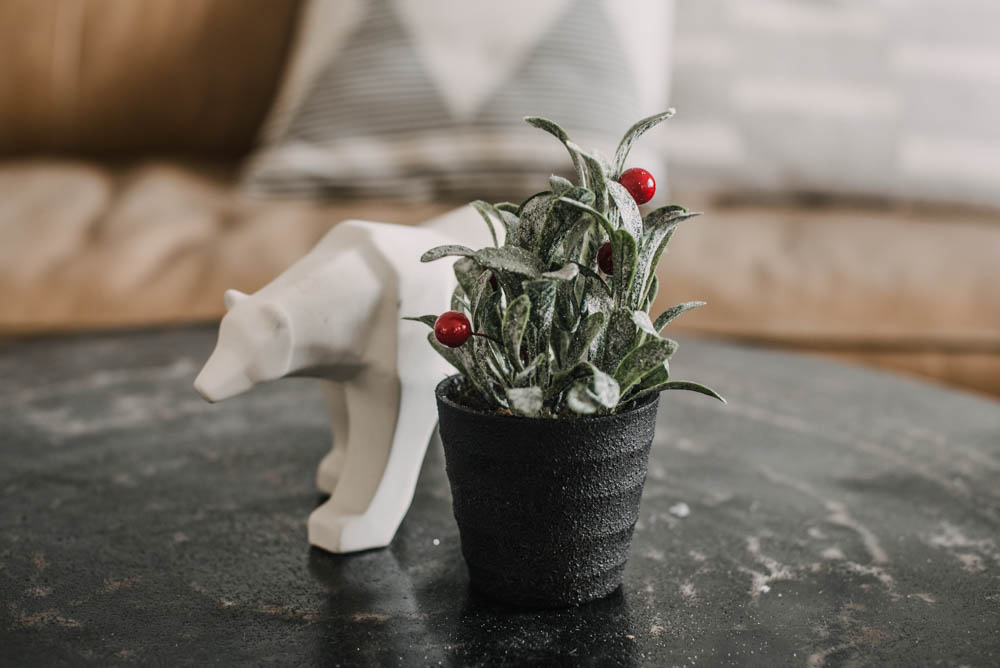
Last but not least, I found this cute little planter at the dollar store with that frosty greenery. The pot was a glossy grey which didn’t have the look that I wanted – you know I love black! To make this more modern and more my style, I spray painted it with Stone Effect Spray Paint but that didn’t have very even coverage, even after several coats… so, I added some black chalk paint on top and I am LOVING how this one turned out! I am definitely going to use these two paints together again.
I hope that you’ve found some inspiration from these dollar store diy ideas for Christmas- if you recreate any of them at all I’d be so happy to see! You can tag me on social @colleenpastoor or shoot me an email!
 Holiday Prep Printable Checklist
What side of the paper bag do you actually put the glue on or does it make a difference?
As long as they face the same direction as you stack them, it doesnt matter! just make sure to leave the open top of the bag on the side without the T :)