Create a DIY hand lettered pennant for the holidays two different ways! Choose the Christmas wall hanging tutorial that’s best for you!
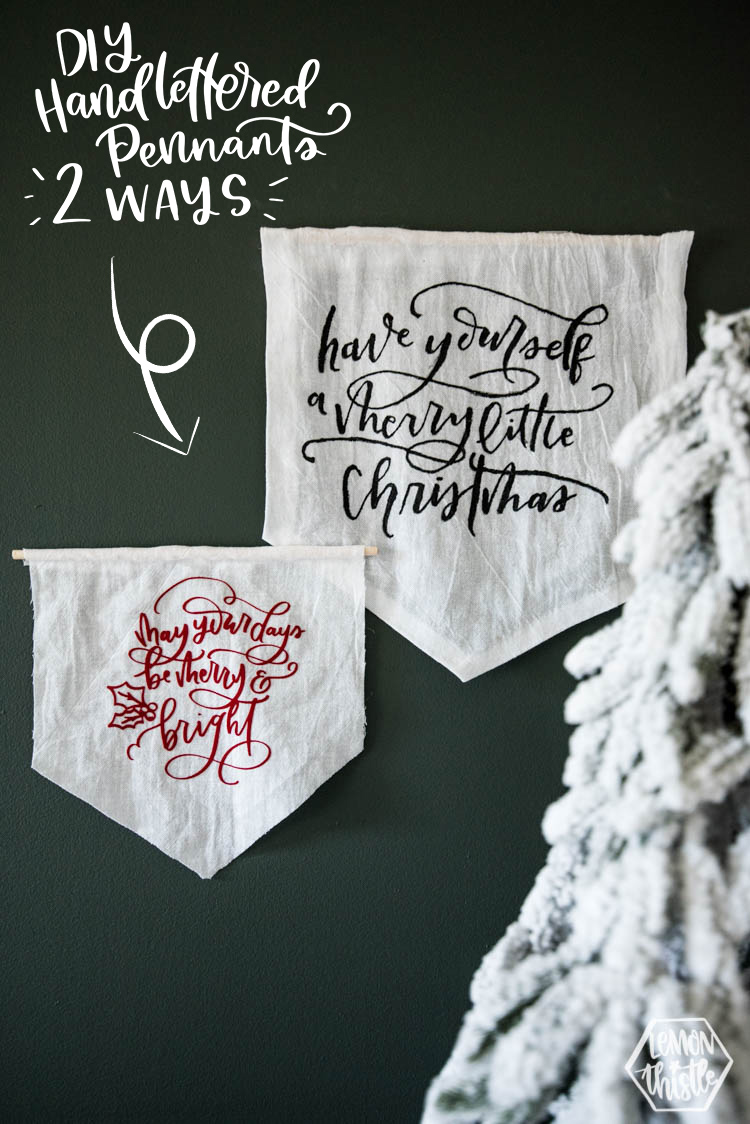
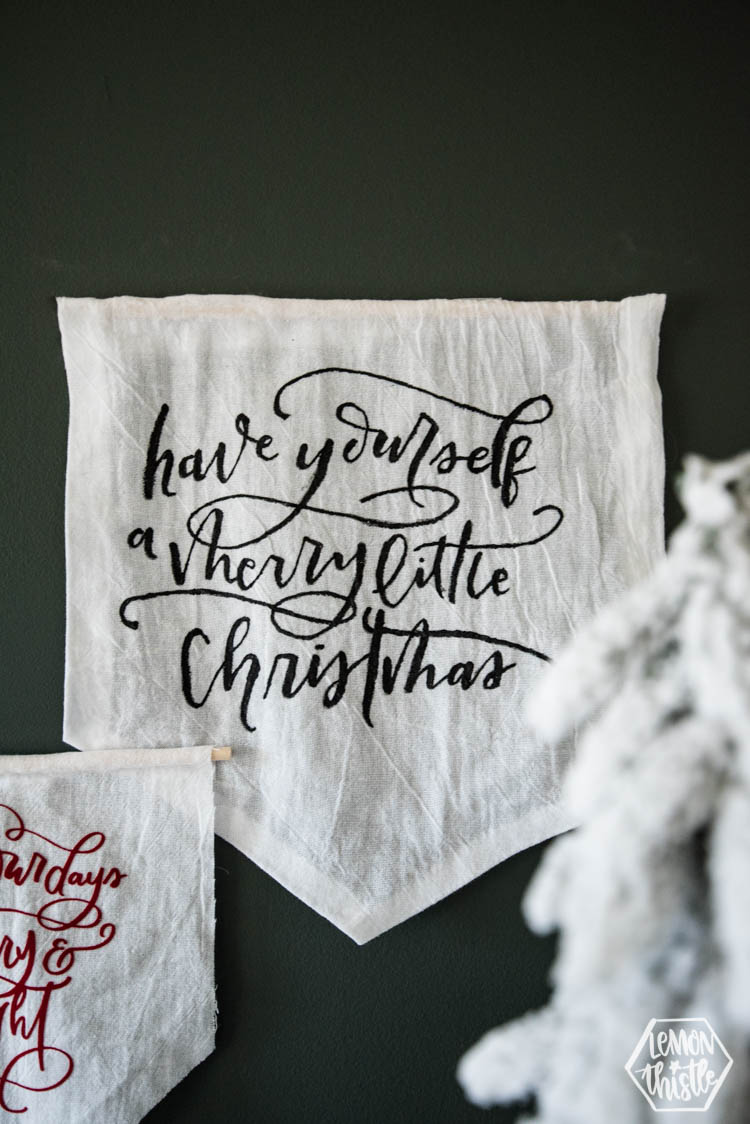
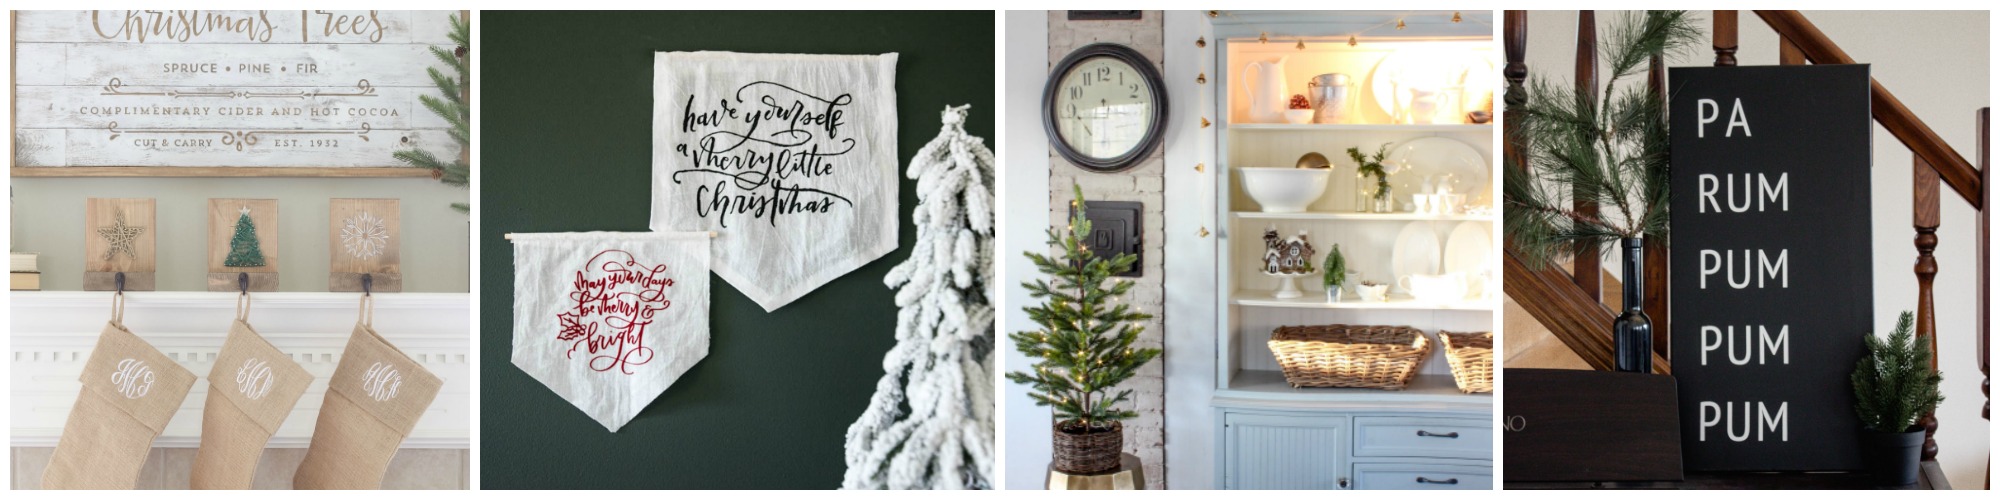
Does this look familiar? Yes? No? Maybe So? It might! If you’ve been following Lemon Thistle for a while, you’ll know that I LOVE these little hand lettered pennants. I’ve made a lot of them and even used to sell the larger versions (screen printed) in my shop.
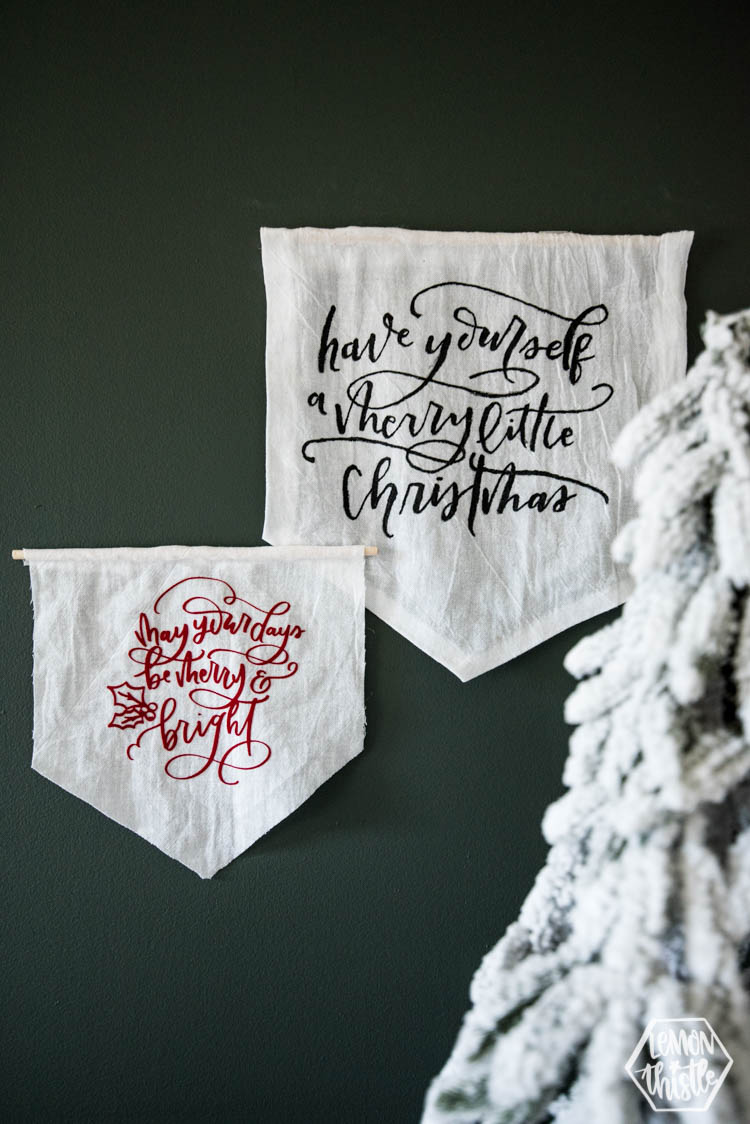
Over the years, I’ve made these a few ways. This was the first and this is the most recent but since there’s YEARS between the two and since options are nice… I thought I’d throw both of those techniques into one post to give a side by side comparison of both ways to make a hand lettered pennant for the holidays.
Also familiar… the designs! If you spotted my post yesterday, you might have spotted these guys in the new Fresh Cut SVG Cozy Christmas bundle! This multi-artist bundle is no longer available, but you can still get the designs I’ve used here in my shop! Check it out!
Since I’d already designed them and hadn’t had a chance to craft with them yet, I thought this post was the perfect opportunity to show them off!
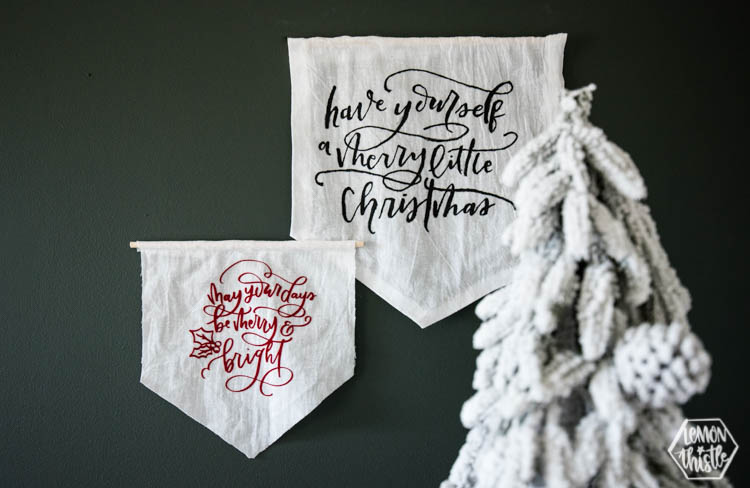
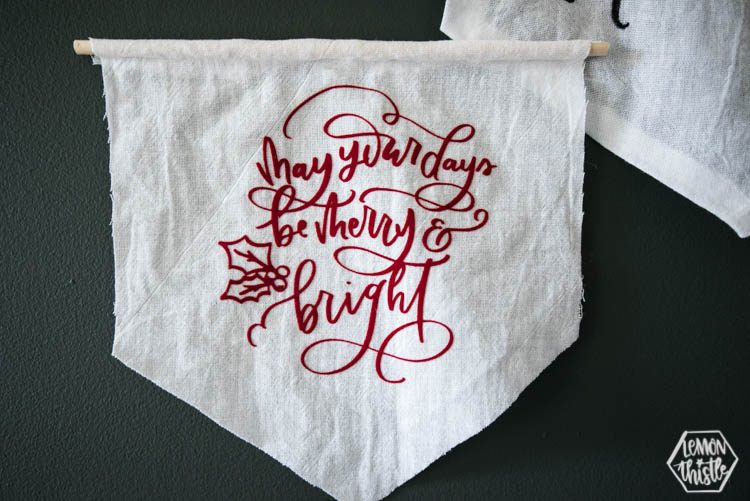
Both of these pennants are made with the same material- a flour sack tea towel cut to size and a dowel hot glued to give structure. On the larger one, I ‘hemmed’ the edges using iron on hemming tape and the smaller one I left the edges raw. You can buy a pack of tea towels and make SO many of these. If you’d like a tutorial on the making of the pennant blank, check out this post. Then you just have to decide how to get your designs on there.
That’s what this post is for.
The two options I’m sharing here are totally different from each other. One is more affordable but more time consuming and one is much cleaner and easier but you need the right stuff (which costs money). Let’s go with the low-tech option first. That’s painting it on. I shared TONS of tips on this technique in the past before I got all teched up.
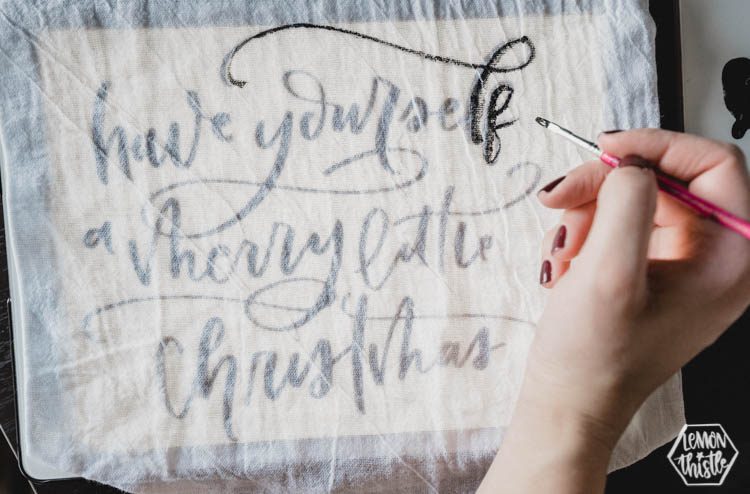
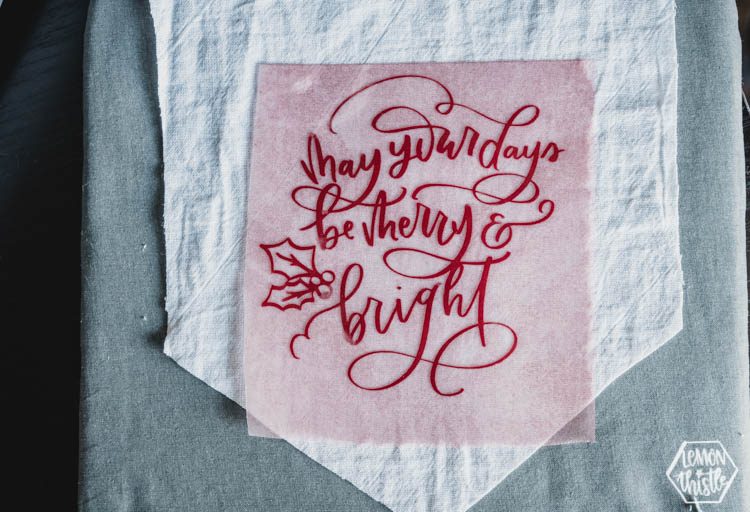
Since this is such a thin material, I opted to trace the design straight on to the pennant instead of use a transfer. Just lay your pennant over top of a computer screen (you can lay a laptop back) or an iPad or even just a printed out version of your quote. This fabric was pretty thin so even the printout would have been plenty to trace. Then, you can use either a pencil or your paint and paint the design on.
Taping your fabric down would be a brilliant idea. I skipped it this time thinking I have done it enough I’d be fine but I know it would have made it look so much cleaner and nicer had I taped it down to keep the fabric from sliding around. You can see what I mean by taping the towel down to trace it in this tutorial here.
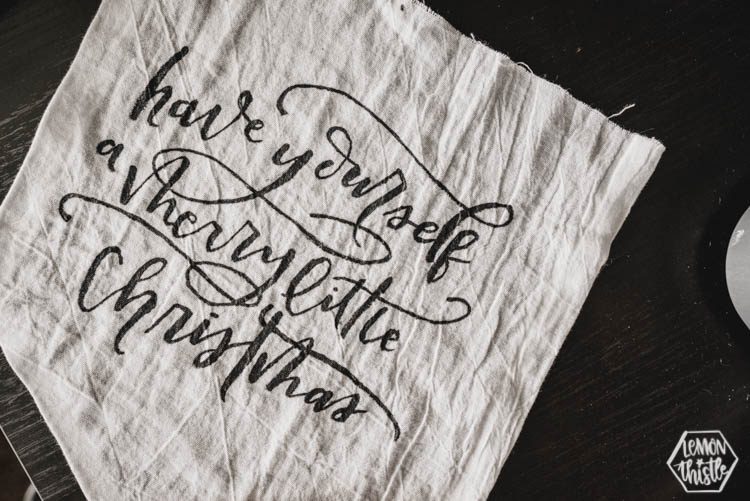
As for paint- I like to use a matte fabric paint. This one is from Deco Foil and is Lamp Black. I used a size 2 flat paint brush for this but would recommend a round one. The purpose of the tracing is just to get the design on to your pennant. Once you’ve traced it, you’re going to go over and fill it in and make it look more intentional.
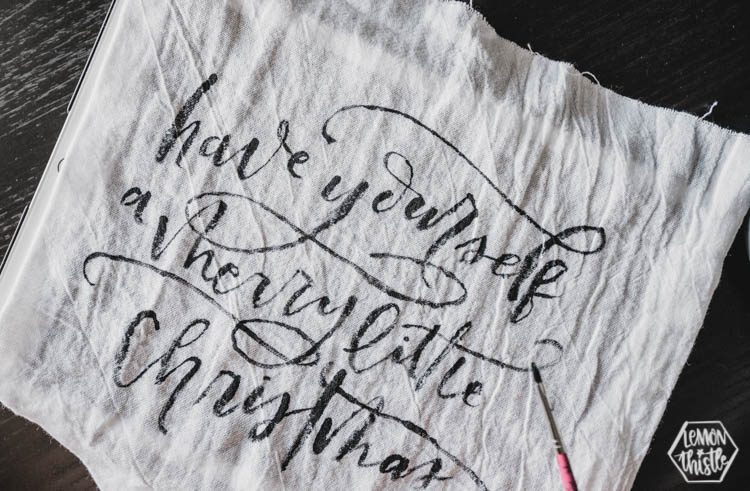
You can see what it looks like after I was done tracing and then when I went back and filled it all in. I’m not going to lie… this is tedious. It takes a long time but looks really nice once it’s finished! Since you’re transferring letter by letter and line by line, there is more flexibility in your design if you want to customize it though!
If you would like more tips on lettering on fabric, check out this video!
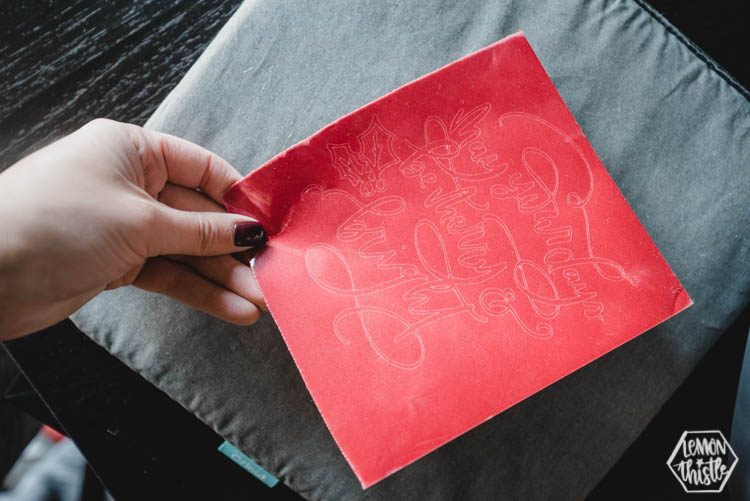
The second method is to use an iron on material. As I’m writing this, I’m realizing you could totally use a print an iron on transfer as well but I don’t love how those give the translucent part of the design a glossy finish. But they would definitely work! I used a stripflock heat transfer vinyl for this. Cricut no longer makes one so this one is from Expressions Vinyl.
For this method, you just upload your design to Cricut Design Space and cut it out. If you haven’t done this before- this post here is a great one for you. As with any heat transfer vinyl, make sure to mirror your image before cutting.
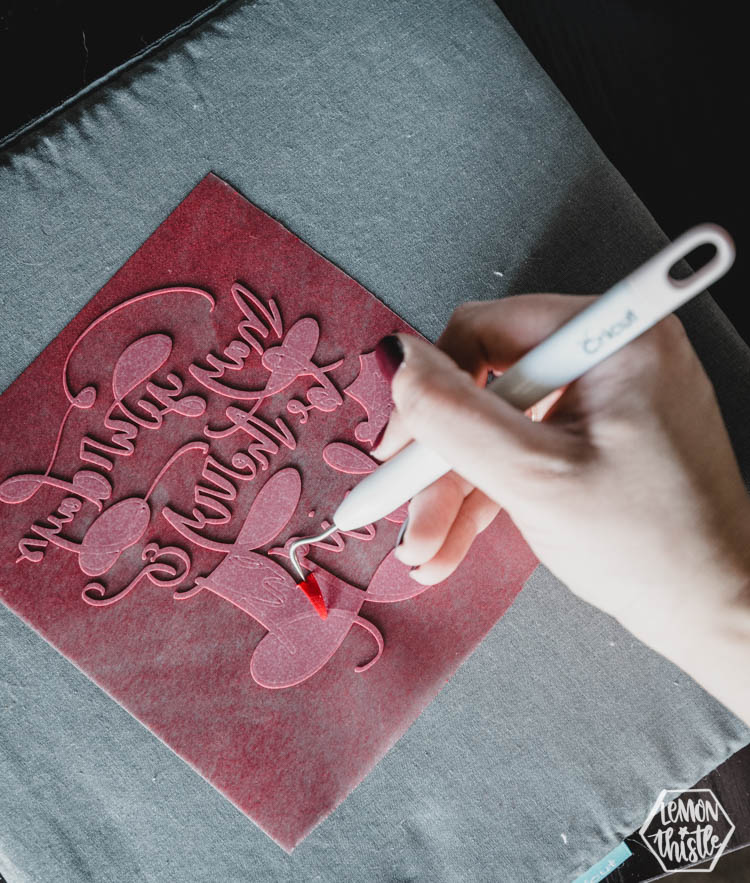
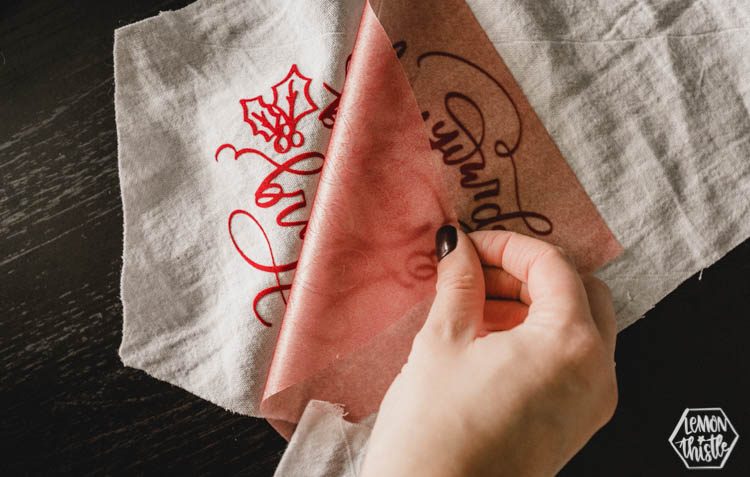
Then you can weed your design (take away the parts that you don’t wan’t on) and transfer it to your pennant using a heat press or iron. I always use my Cricut EasyPress and love how consistent it is.
That’s IT. See how much quicker that is? And how much cleaner it looks?
BUT you need a cutting machine to do it this way. And for years, I didn’t have one and didn’t want to spend the money on one to make a banner here and there. So that’s why options are nice, no?
I use a Cricut Maker for all of my projects. And I truly love it.
I hope that you enjoyed this side by side comparison of the two techniques!

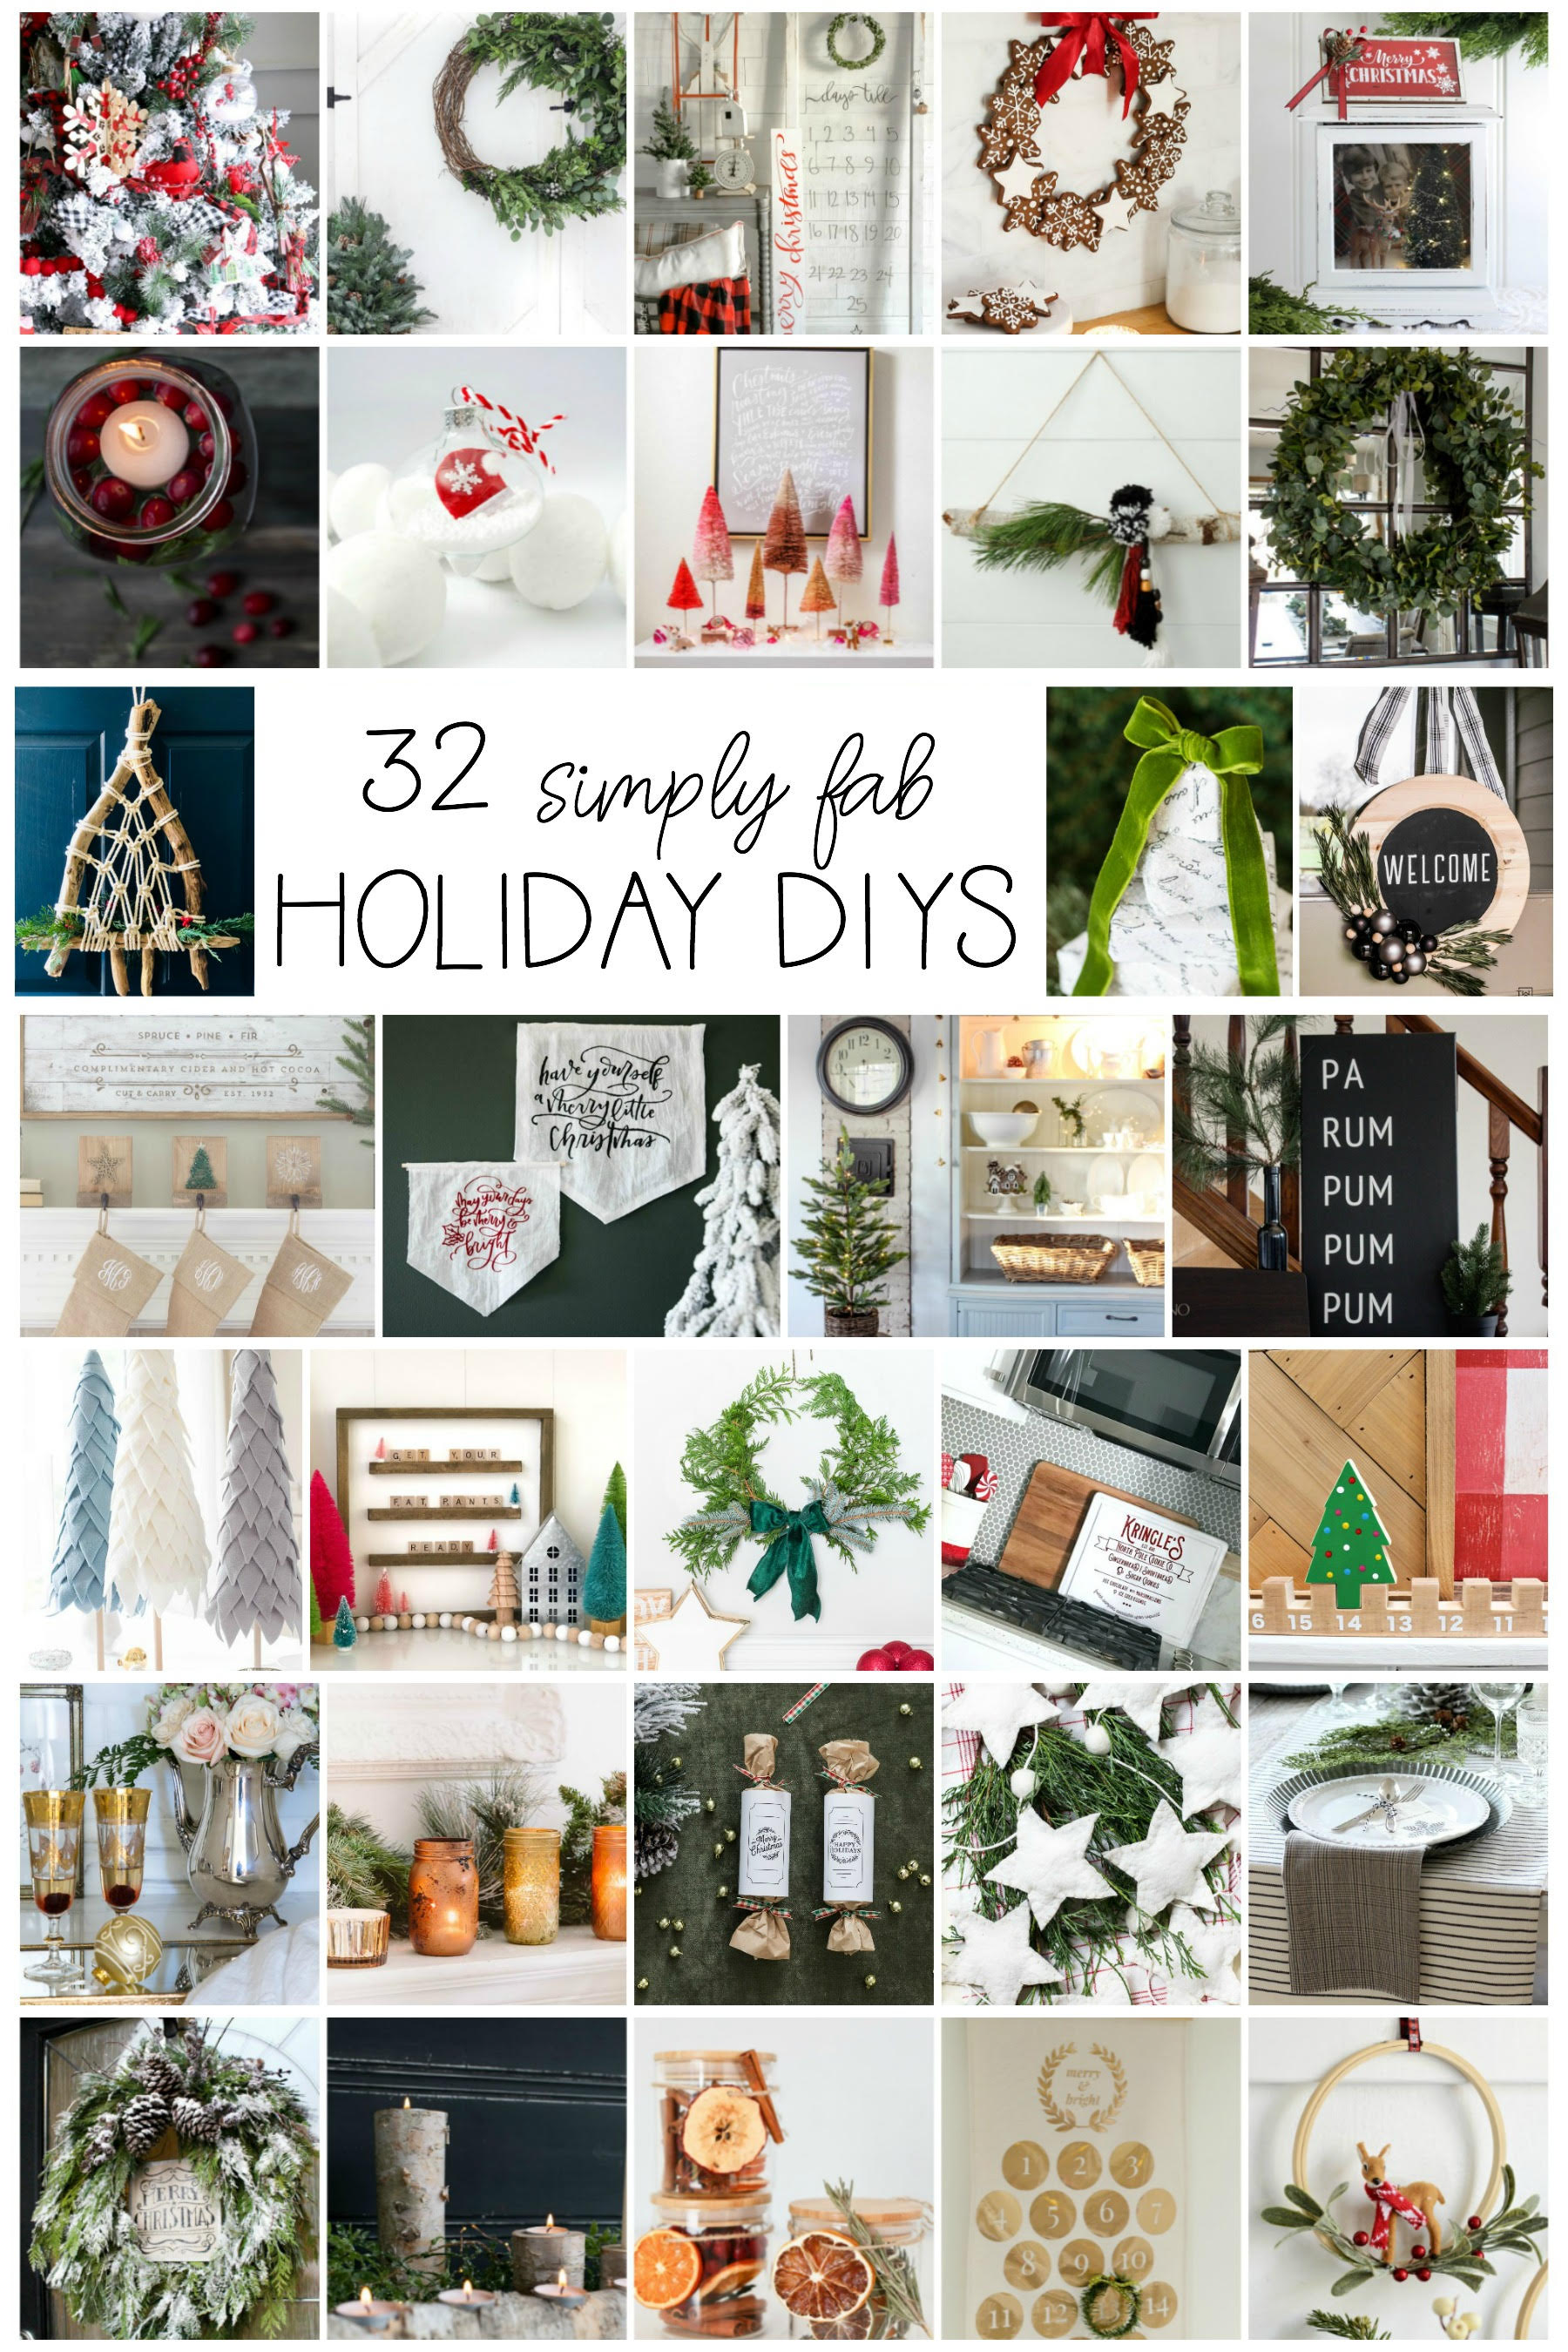
I’ve joined forces with some amazing bloggers today to share some rad DIY ideas for the holidays as part of The Happy Housie’s Seasonal Simplicity Series. There are so many gorgeous ideas in this collection, you guys. I’m going to be spending my whole day hopping around reading these tutorials, I’m sure!
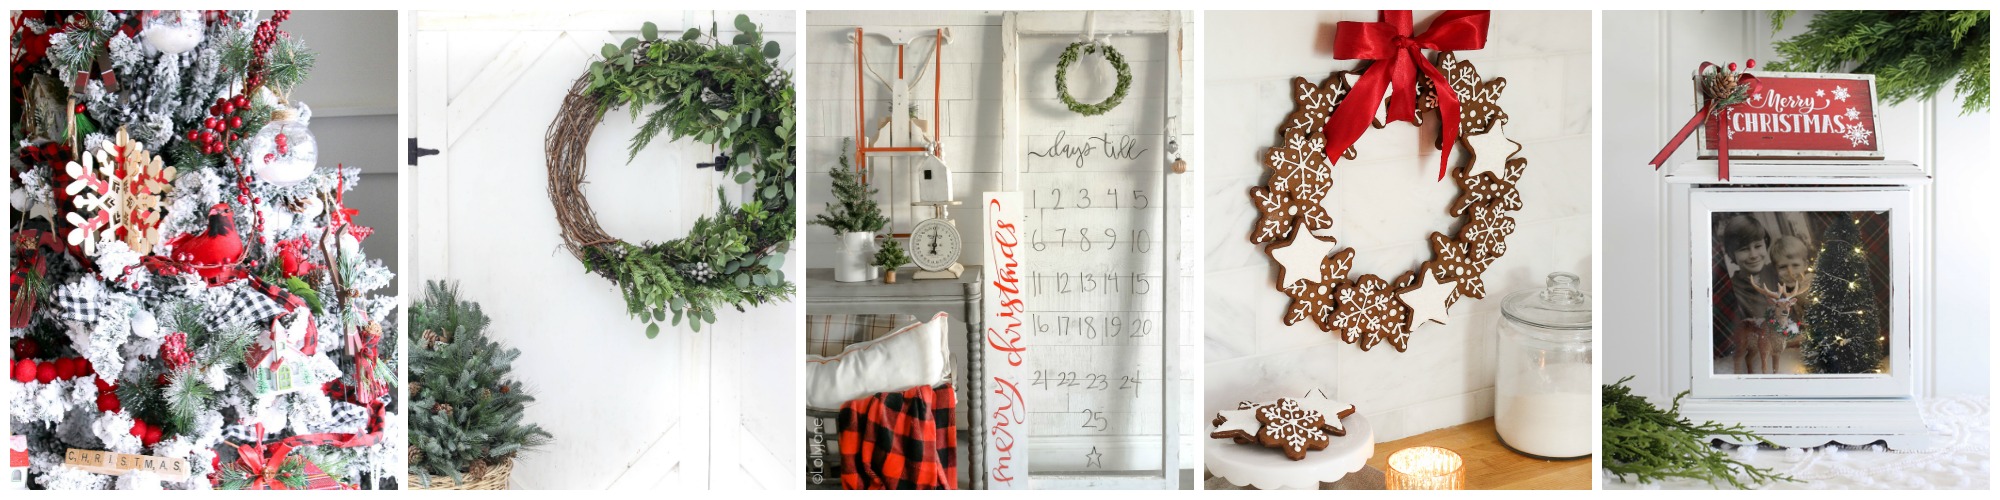
How to Flock a Christmas Tree at The Happy Housie
DIY Asymmetrical Wreath at Rooms FOR Rent
DIY Christmas Countdown at Lolly Jane
Christmas Gingerbread Cookie Wreath at Sincerely Marie, Designs
Clock turned Holiday Shadow Box at Confessions of a Serial DIYer
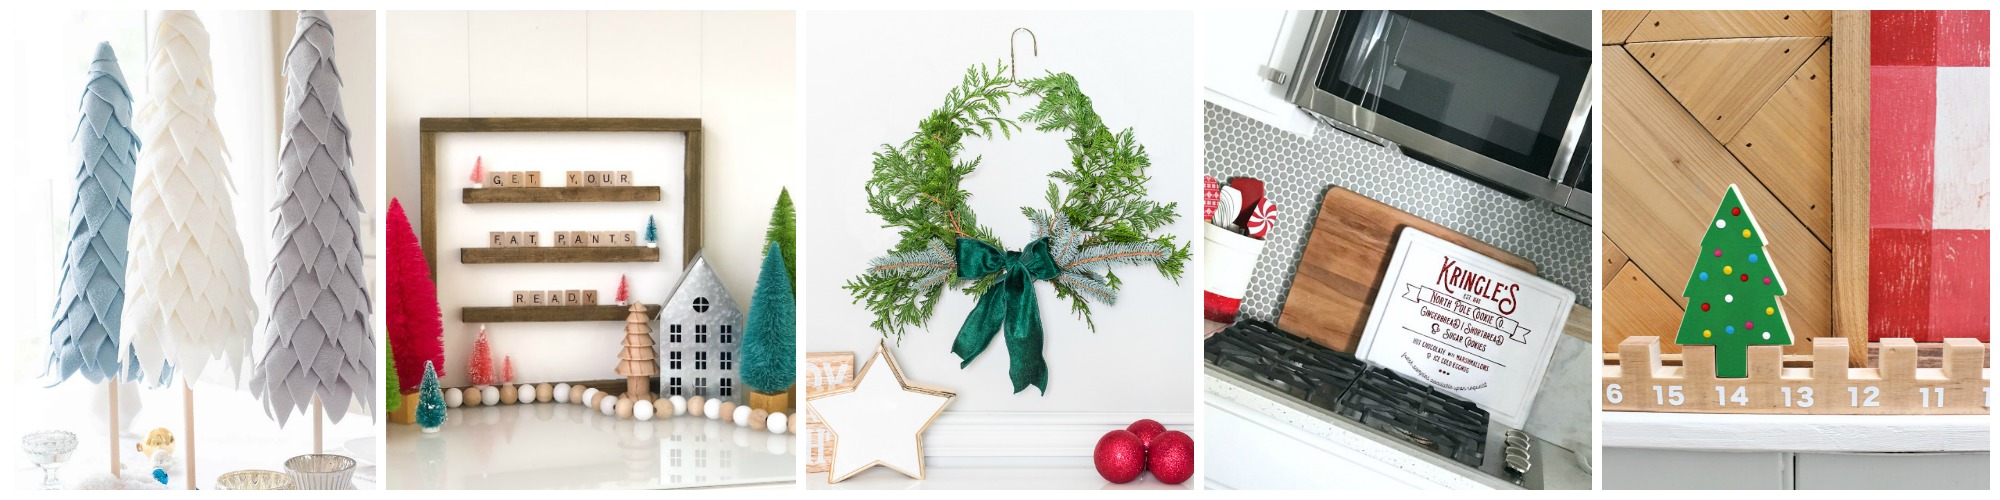
How to Make a Fleece Cone Christmas Tree at Happy Happy Nester
How to Make a Holiday Scrabble Letter Board at Tatertots & Jello
Simple & Natural Wire Hanger Christmas Wreath at Jenna Kate at Home
Kringle’s Cookie Co Christmas Kitchen Sign at Tauni Everett
Easy Advent Countdown Calendar at Jamie Costiglio

French Country Christmas Wreath Printables at Designthusiasm
Copper And Gold Mason Jars DIY at Shabbyfufu
DIY Christmas Crackers at So Much Better With Age
Star Christmas Tree Garland at On Sutton Place
Easy Fringe Napkins for Your Holiday Table at Satori Design for Living
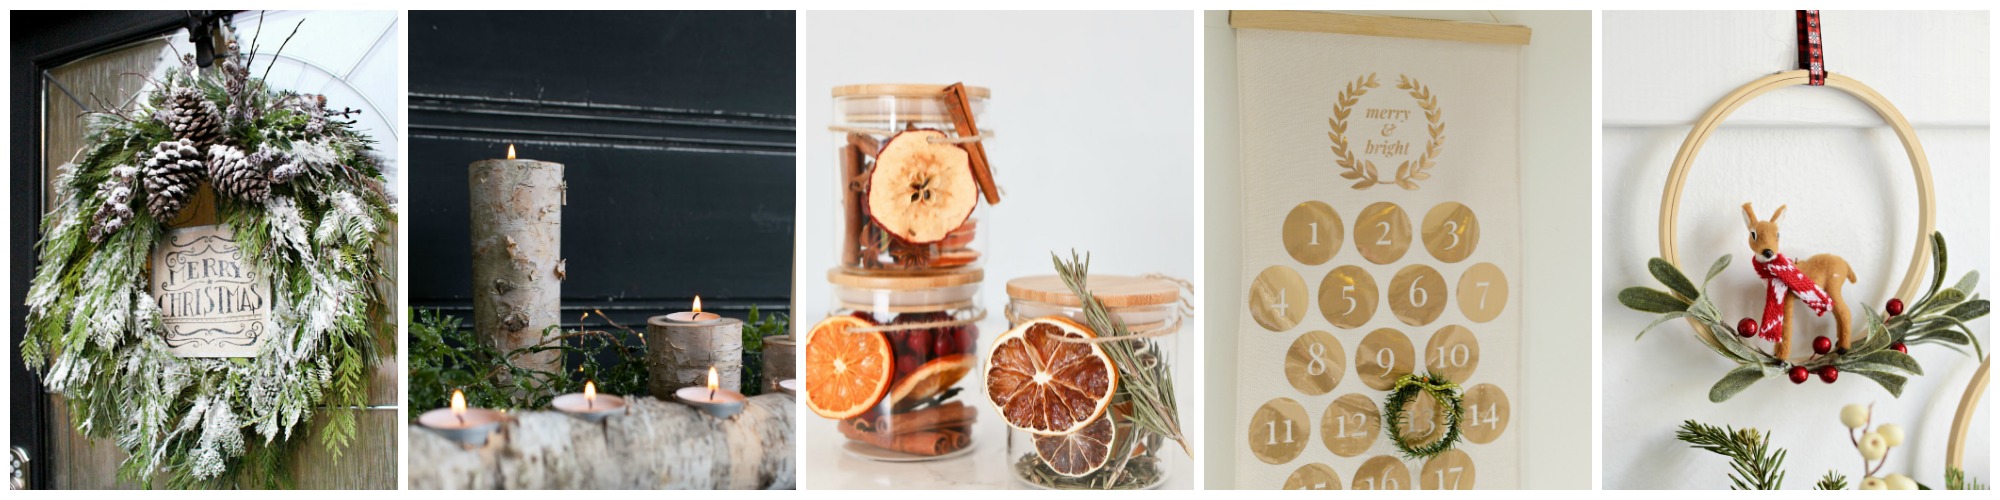
DIY Real Christmas Wreath at Clean and Scentsible
Birch Candle Holders at Finding Silver Pennies
Homemade Dry Holiday Potpourri at TIDBITS
Modern Traditional Christmas Countdown Calendar at Rambling Renovators
Embroidery Hoop Christmas Wreaths at Town and Country Living
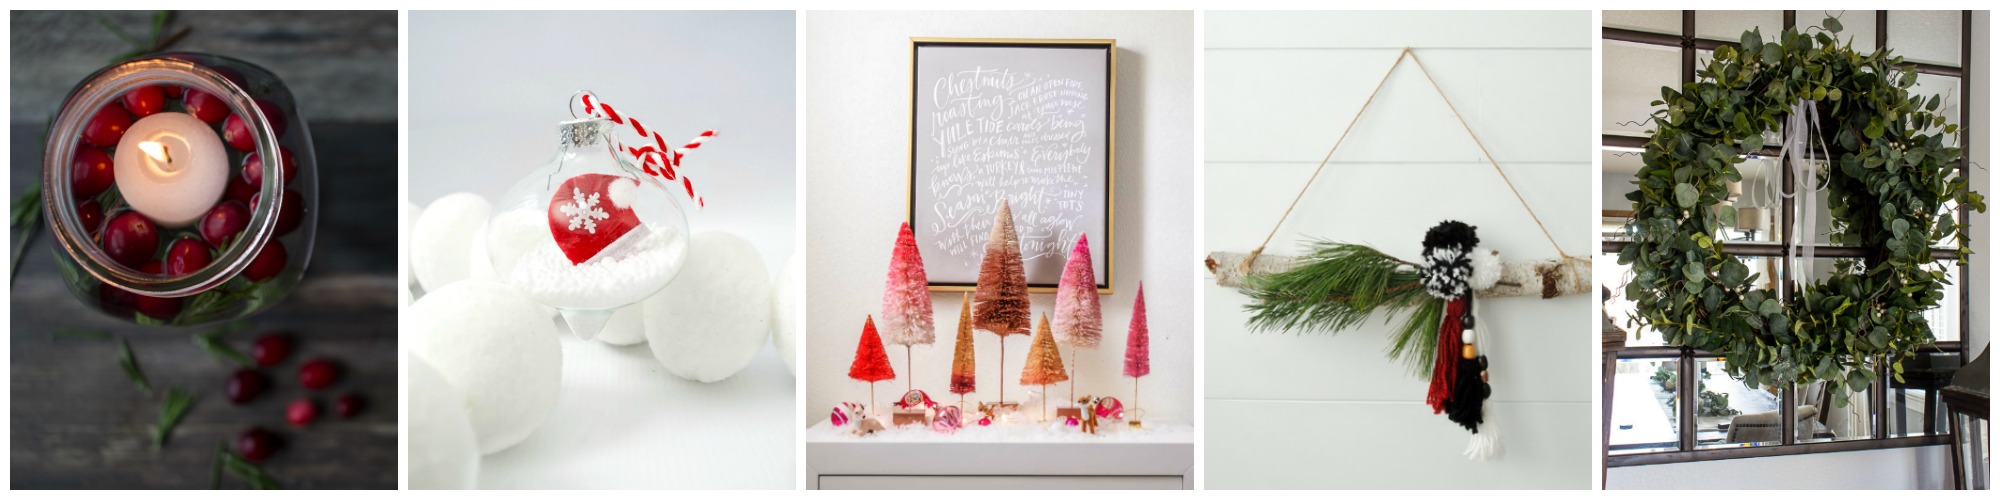
Quick & Easy Floating Candles for Your Christmas Centerpiece at Home.Made.Lovely
Glass Filled Ornaments at My Uncommon Slice of Suburbia
Ombré Bottle Brush Tree DIY at Modern Glam
Modern Boho Christmas Wreath at Life is a Party
How To Easily Make A DIY Eucalyptus Wreath at Inspiration for Moms
String Art Christmas Stocking Holders at The Turquoise Home
DIY Holiday Pennant- Two Ways at Lemon Thistle
Vintage Christmas Bell Garland at Willow Street Interiors
DIY Modern Christmas Sign at Love Create Celebrate
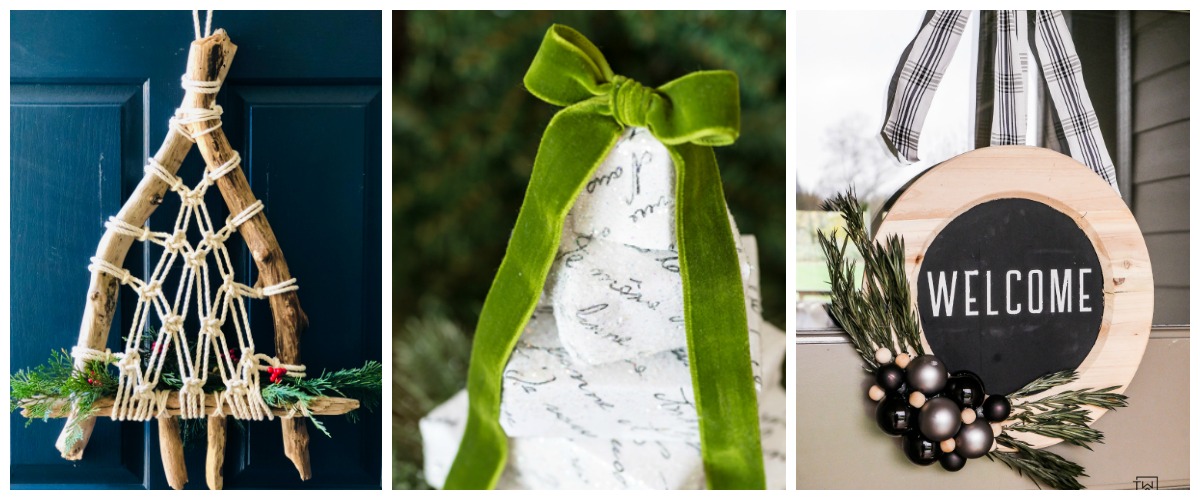
Easy DriftWood Macrame Christmas Wreath at Place of My Taste
Table Top or Mantel Christmas Tree Made Using Boxes at In My Own Style
Natural Wood Plate Charger Wreath at Taryn Whiteaker
Looking for the designs I used for these DIY pennants? You can grab them in this bundle!
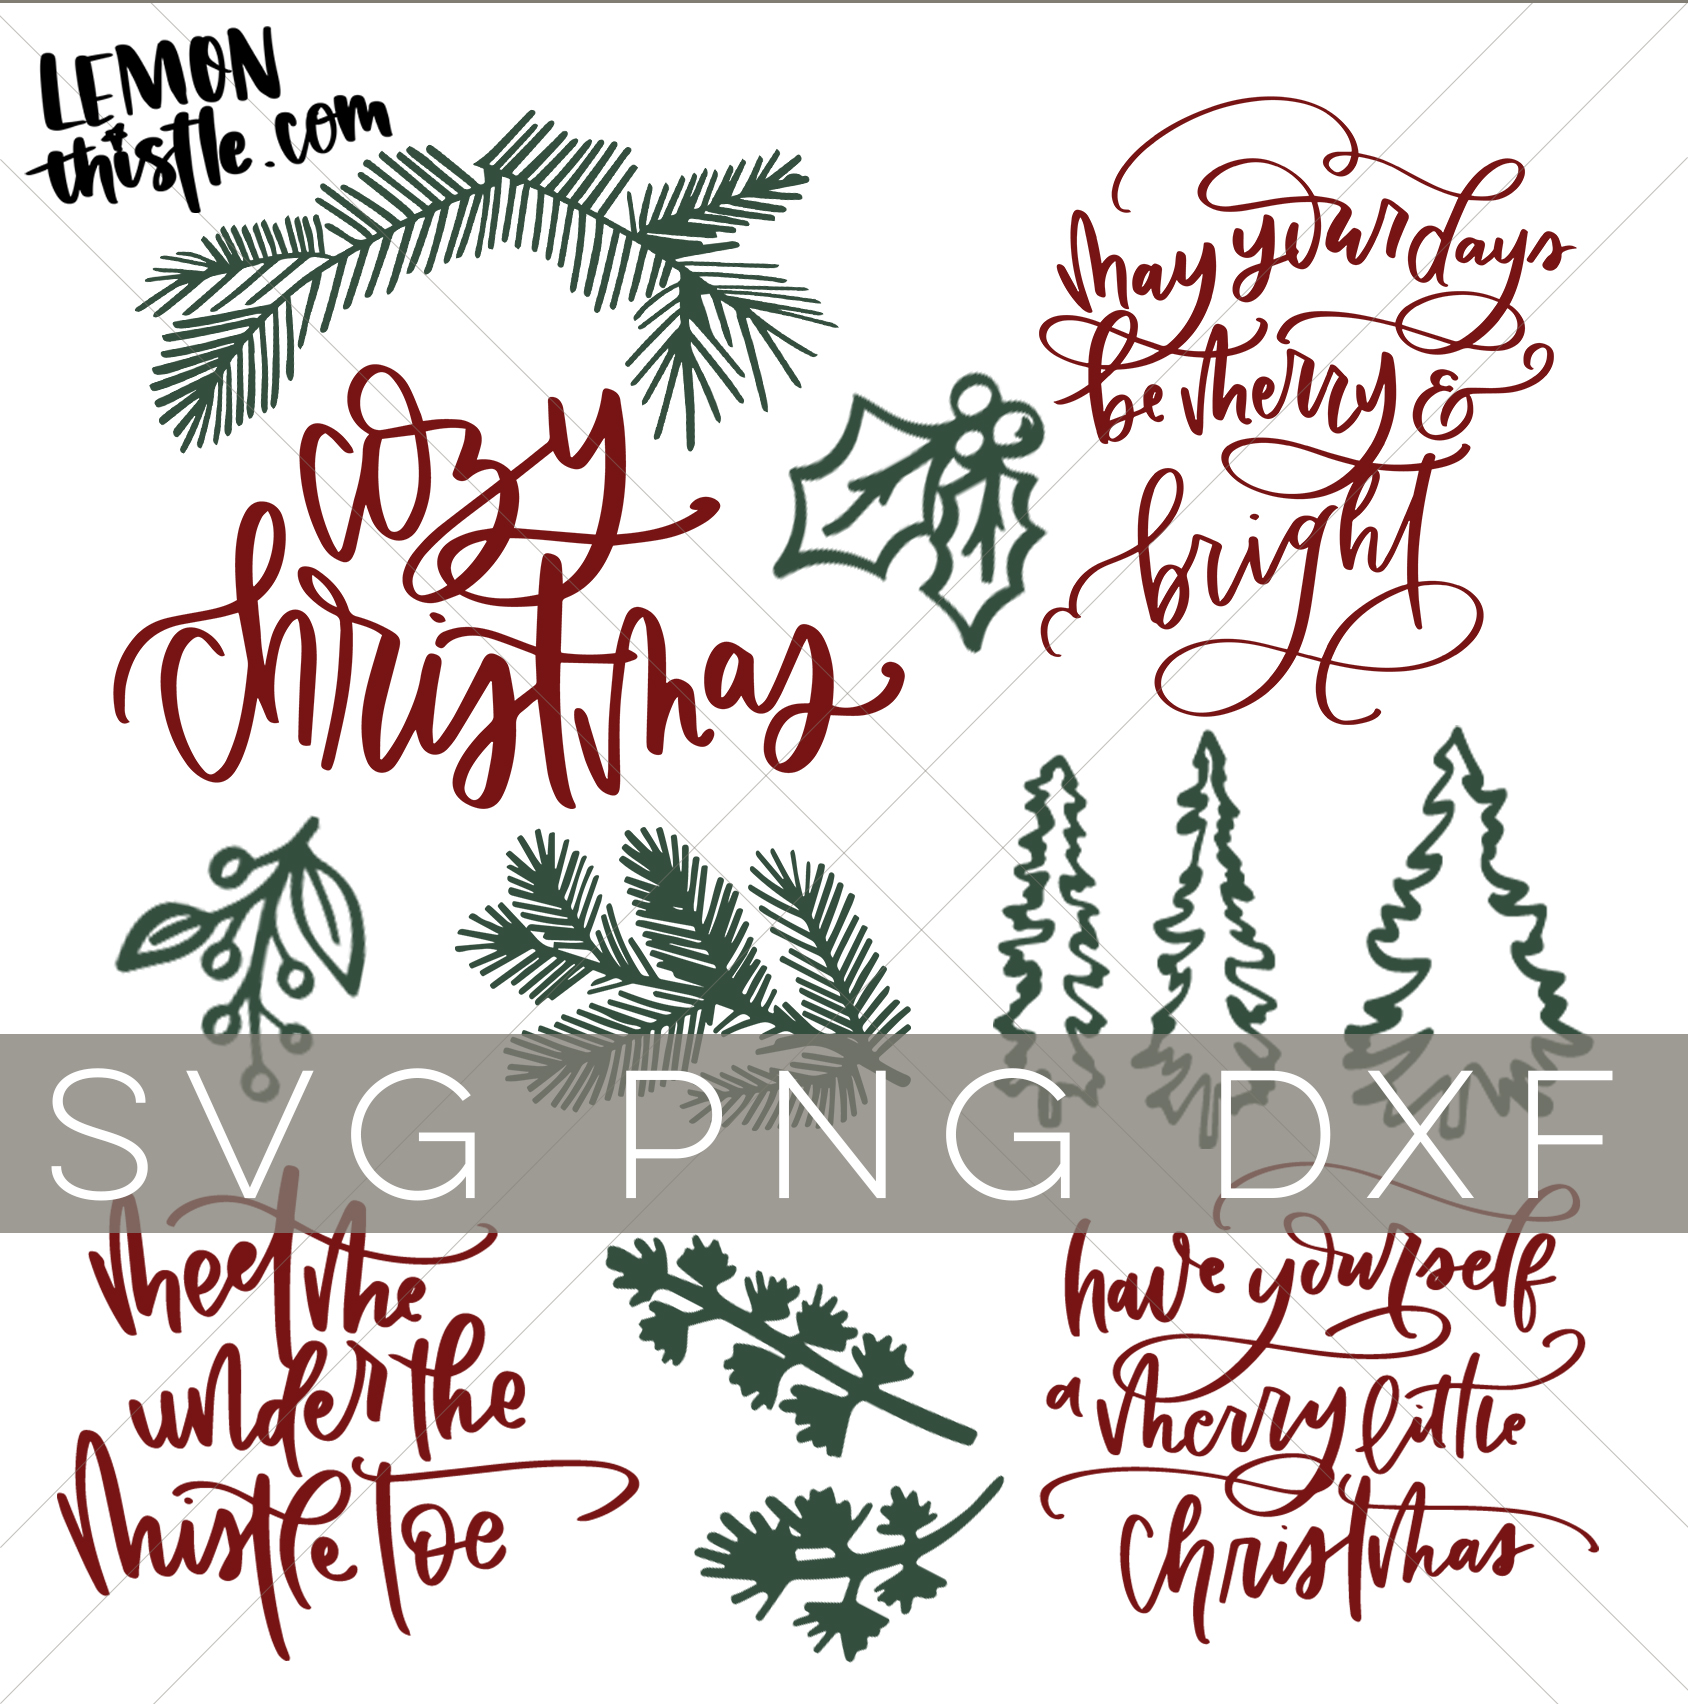
Cozy Christmas Hand Lettered SVG Bundle
Want to save them all for later? Do that here!
 Kids Closets- Designing a Closet that will Grow with Them (ORC Week 5)
What a great project! And I love that you showed two ways to do it for people that don’t have craft cutting machines!
I pinned it to my holiday board :)
xoxo
LOVE these cute pennants! The handlettering is so beautiful too.
OOOOOH I love this idea! I just got a Cricut too so I’m totally gonna try out some Christmas décor! Thank you!
Thank you for sharing both ways! I don’t know which I like better. Thanks for participating in the blog hop.
I love these! I’m definittely going to make a pennant next year! I can’t believe I haven’t made one yet!
Cute!! Love both options but there’s just something about that hand painted look!
These are both amazing, thanks for sharing!
Such a great idea, Colleen! I just love your lettering.
Hugs, Jamie