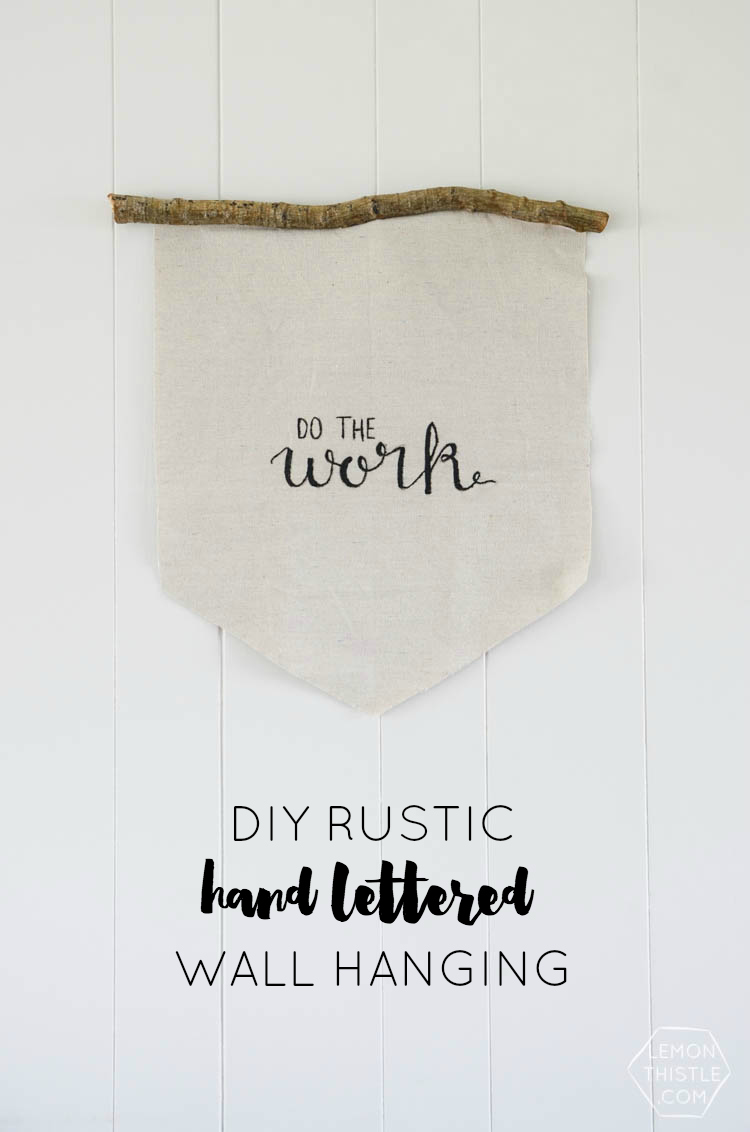
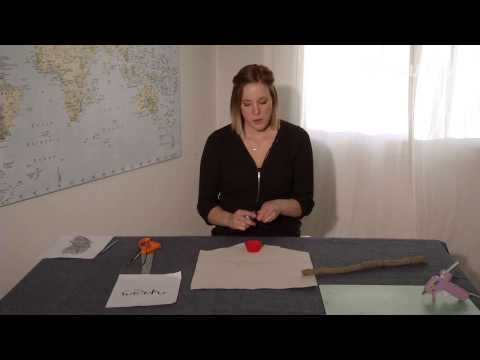
Hello blog friends! Today I’m excited to be sharing this DIY Rustic Hand Lettered Wall Hanging that says, ‘Do the work’. This little guy is hanging in my office to help motivate me (although I’m not sure how successful it’s been, it’s definitely pretty to look at!). For this DIY I’ve got a short video from my friends at Shaw TV to give you the how-to as well as a free printable template if you’d like to make one for yourself! Let’s get down to it, shall we?
Okay, before we do… my daughter has started saying ‘shall we?’ and it melts my heart! She’s such a parrot these days and that’s one of the cuter things she says. Not quite as cute? Today in the grocery store I said ‘darn’ because they were out of bagels, so she parroted that and when I told her that we shouldn’t say that word, she started shouting it over and over. Oohhh toddlers. But really now, shall we?
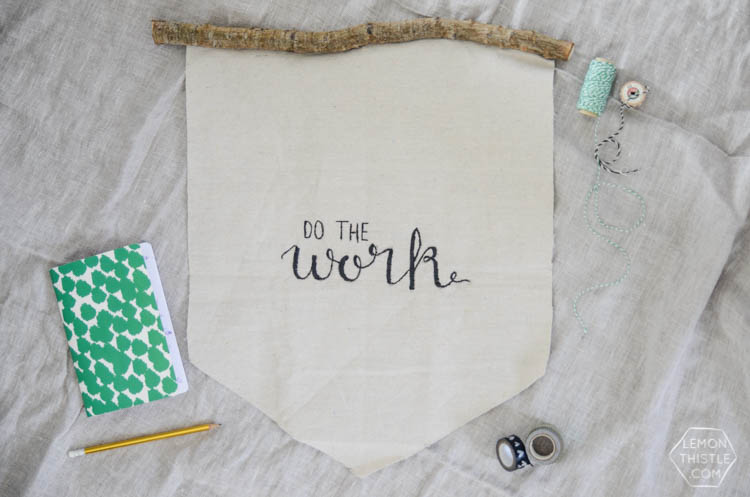
Here’s what you’ll need to make your own:
- Sturdy fabric (I used drop cloth)
- Thick stick (I used branch cutters for mine)
- Scissors
- Paint (I love Tulip Soft Matte Black
 , but any paint should work)
 - Thin, stiff bristled paint brush
- Hot glue gun
- Pencil
- Template
Start by cutting your fabric about an inch narrower than your stick. I chose to cut the bottom of my hanging into a point. Next, take your template (you can paint anything you want to on here!) and colour with a heavy pencil over the back. Turn it over and line it up where you would like the design, tracing over the letters firmly to transfer a thin outline to your fabric. Then, you can paint over it! The video gives some tips on painting thin designs on a course fabric.
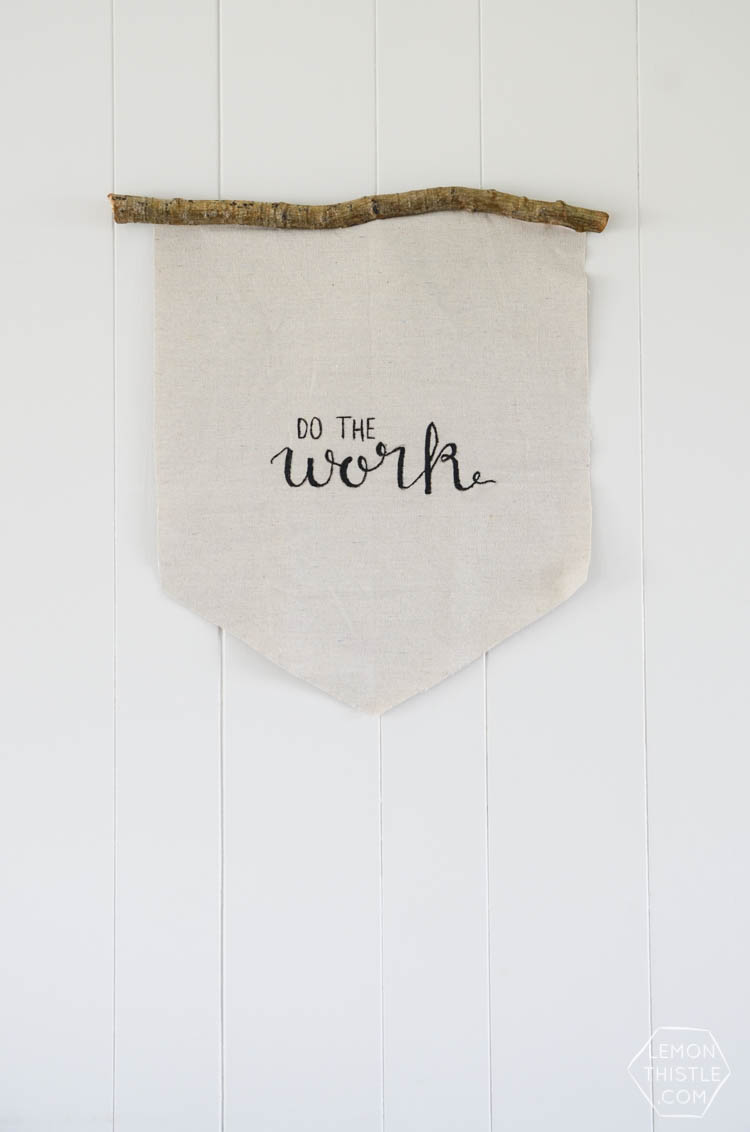
When it’s dry, you can glue your hanging to the stick. I add glue to the stick then press the cloth up against it. I cut off any excess since sticks aren’t typically straight! That’s all there is to it! So tell me… what would you write on your wall hanging? After writing this I kind of want to make a big ol’ ‘Shall we?’ for my daughters walls. But maybe I’ll sleep on that idea ;)
 Feather Walls: 7 Free Downloadable Feather Templates
Love this!
Thanks so much Darrielle!
Thanks Colleen – you make it look so easy. I think even I could manage this!
Aw, thanks Janet! I’m positive you could, the template makes it simple :)
Hi Colleen,
Beautiful sign. I’m working on changing my office space and I think I’d like to do something like this.
I popped over from Daring Creatives and this is my first time reading one of your posts, it won’t be the last though. I’m a fellow Canadian. I’m originally from New Brunswick but have been living in Ontario for 10 years now. Blogging is so great to e-meet people from every where but I must confess my heart skips a beat when the blog is by a fellow Canadian.
Kellie, from Princess and the Yard Ape
Woohoo for a fellow Canadian! I so agree it’s always sweet to meet another Canadian blogger (I feel like we’re the minority some times!). Your encouragement is so sweet, time for me to hop over and check out your blog :)
What a fun project with a great tutorial. Thanks for sharing on Snickerdoodle Sunday. I look forward to seeing your shares each week!
Thanks so much Beverly! I so appreciate all your support :)
I love watching other DIYers tutorials! I did something similar a while ago, but I think your project is inspiring me to make a lot of improvements. I used a thin muslin fabric, and I think a thicker one would dramatically improve the project! I also love that you used a branch for a natural touch. This is super cute!
Thanks so much Eva! I love muslin for projects- but drop cloth has quickly become a replacement for me since it’s so affordable and sturdy!
Thank you for joining the Small victories Sunday Linkup . Please join again. Pinned to the group board.
Thanks so much for stopping by Gail :)
this is so super cute! i swear I could feature your blog every week! cant wait to see what you bring this week ;)
Jess
LiveRandomlySimple
pinned and shared!
Ahh Jess, you’re too sweet!
This looks great, and I want one for my office! Thanks for sharing with us at Totally Terrific Tuesday Link Party. Be sure to stop by Sparkles of Sunshine tonight to see your feature!
Thanks so much for the feature Christie! Heading over to check it out now :)
Absolutely lovely Colleen!! I wanted to let you know that I’m featuring this post tonight at the Create & Share Link Party (7:00 PM MST)! Congratulations!!! Can’t wait to see what you share with us this week. :)
Woohoo! Thanks so much Mandee! Hopping over to check it out now :)
Oh I just found your blog I’m in love with it.
Making this project tonight.
May saying will be.
Get on your knees and pray, then get on your feet and get to work.
That’s SUCH a wonderful saying Letia! I’d love to see a photo when it’s all done :)