This post is sponsored by Minwax. As always, I only partner with brands I totally love. Find my full policy page here.
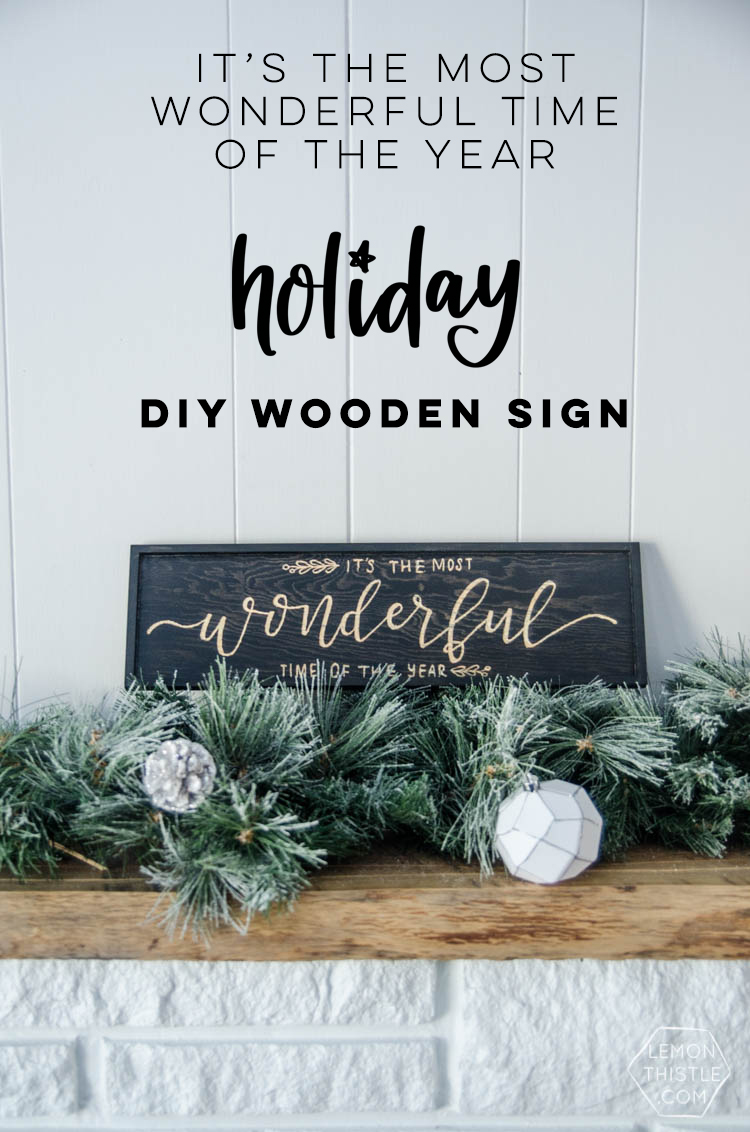
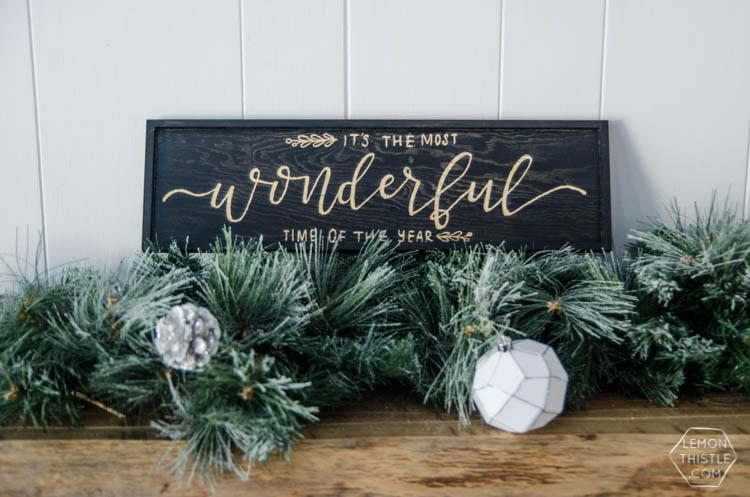
You guys know I’m a fan of wooden signs every day of the year. But wooden signs for the holidays? Even more so! I love holiday decorations that swap right in with my every day decor and add a subtle touch of Christmas cheer without looking like the north pole. Although those decorations are totally fun too… they’re just not for my living room ;) I made this wooden sign using a technique I’ve been itching to try out and am SO excited to share it with you guys. I even branched out from my typical, ‘Merry and Bright’ lettering (I have realized almost all my holiday signs say that!) and went with, ‘It’s the most wonderful time of the year’.

This month, I’ve joined forces with four other rad Canadian bloggers who love black, white, greenery and shine as much as I do for our Modern Holiday Home series. We’re going to be bringing some fun holiday projects and decor EVERY SINGLE WEEK for five weeks. This week, we’re partnering with Minwax (the ONLY brand of stain I buy) to take on some wooden holiday projects! You can find all of our projects linked at the bottom of this post- and I KNOW you will love them because I totally do… every single one of these could go in my house!
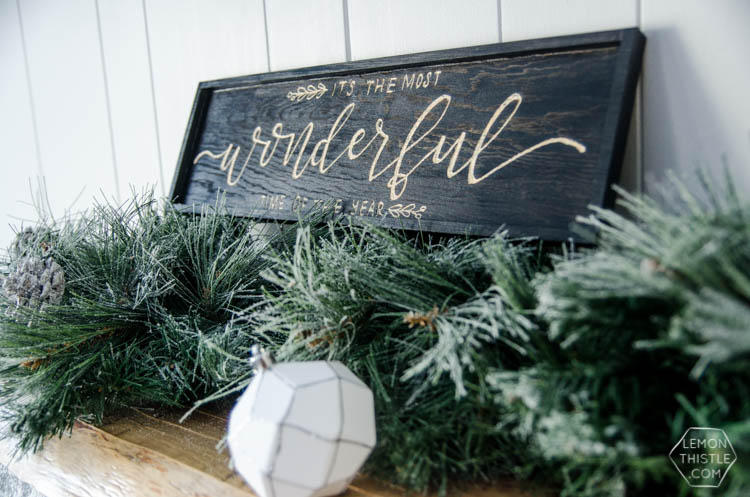
Okay, so back to this sign. I’m SO thrilled with how it turned out! I want to make a non-holiday version now so I can have one up year round. I have been wanting to try a relief style sign with stain. Kind of like this book crate I did with paint. I’ve actually done relief staining using vinyl stencils but spotted a sign at a friend’s house that had been etched with a CNC machine to make the relief and thought I could totally try that with my Dremel… So I did! Since the raw wood showing would be the lettering, I really wanted the stain to pop so I chose my favourite Ebony Stain. I have used this stuff for so many things around here lately, I knew it would work well with our decor. Like our new address sign (I can’t wait to share the exterior reveal!), laundry countertops, patio side table, front entry planter, and another holiday sign that I’ll be sharing in a couple weeks.
Ready for the play by play?
Here’s what you’ll need to make your own DIY Modern Wood Holiday Sign:
- Prefab wooden sign- this one is from Michaels and is under ten bucks. UNDER TEN BUCKS.
- Minwax Pre-Stain Conditioner
- Minwax Wood Finish Stain in Ebony
- Quality stain brush
- Pencil
- Dremel or other rotary/engraving tool
- Minwax Polycrylic in Satin finish
- Quality brush for clear coat (that doesn’t shed!)
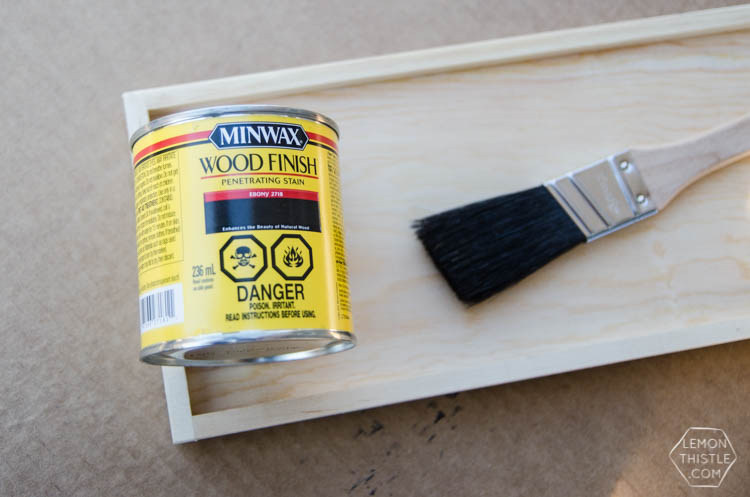
I would usually build my own wood sign for a project like this… but while I was at the craft store the other day, I found this wooden sign for like $6… with a frame and with mounting hardware on the back. I couldn’t afford not to grab it. And I’ve totally gone back to grab more because they’re perfect.
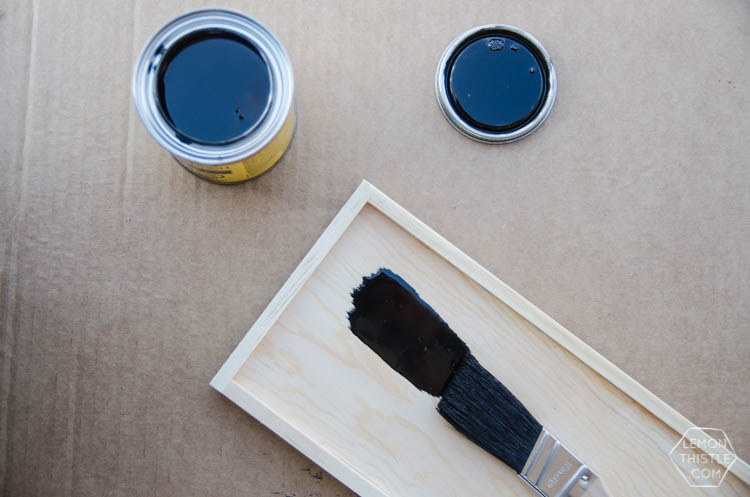
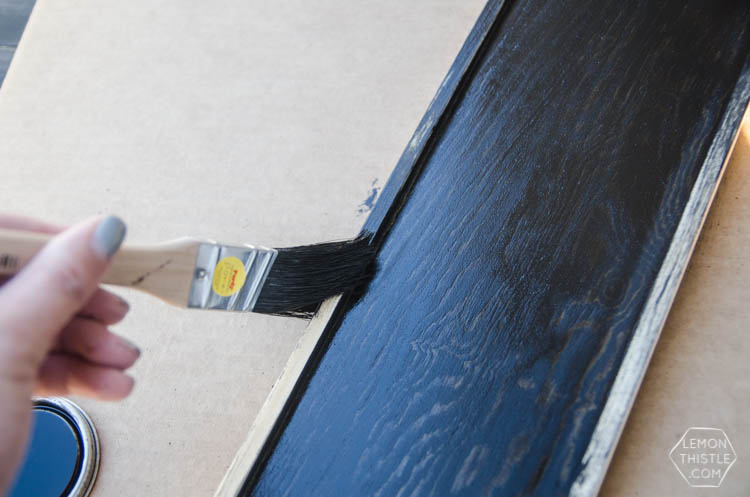
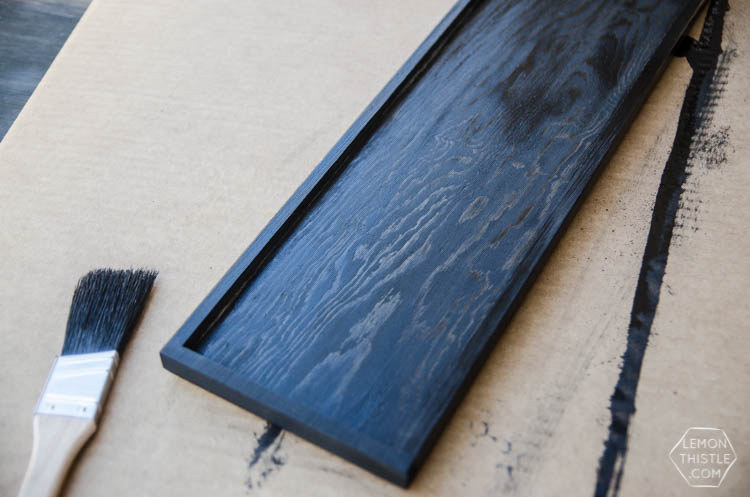
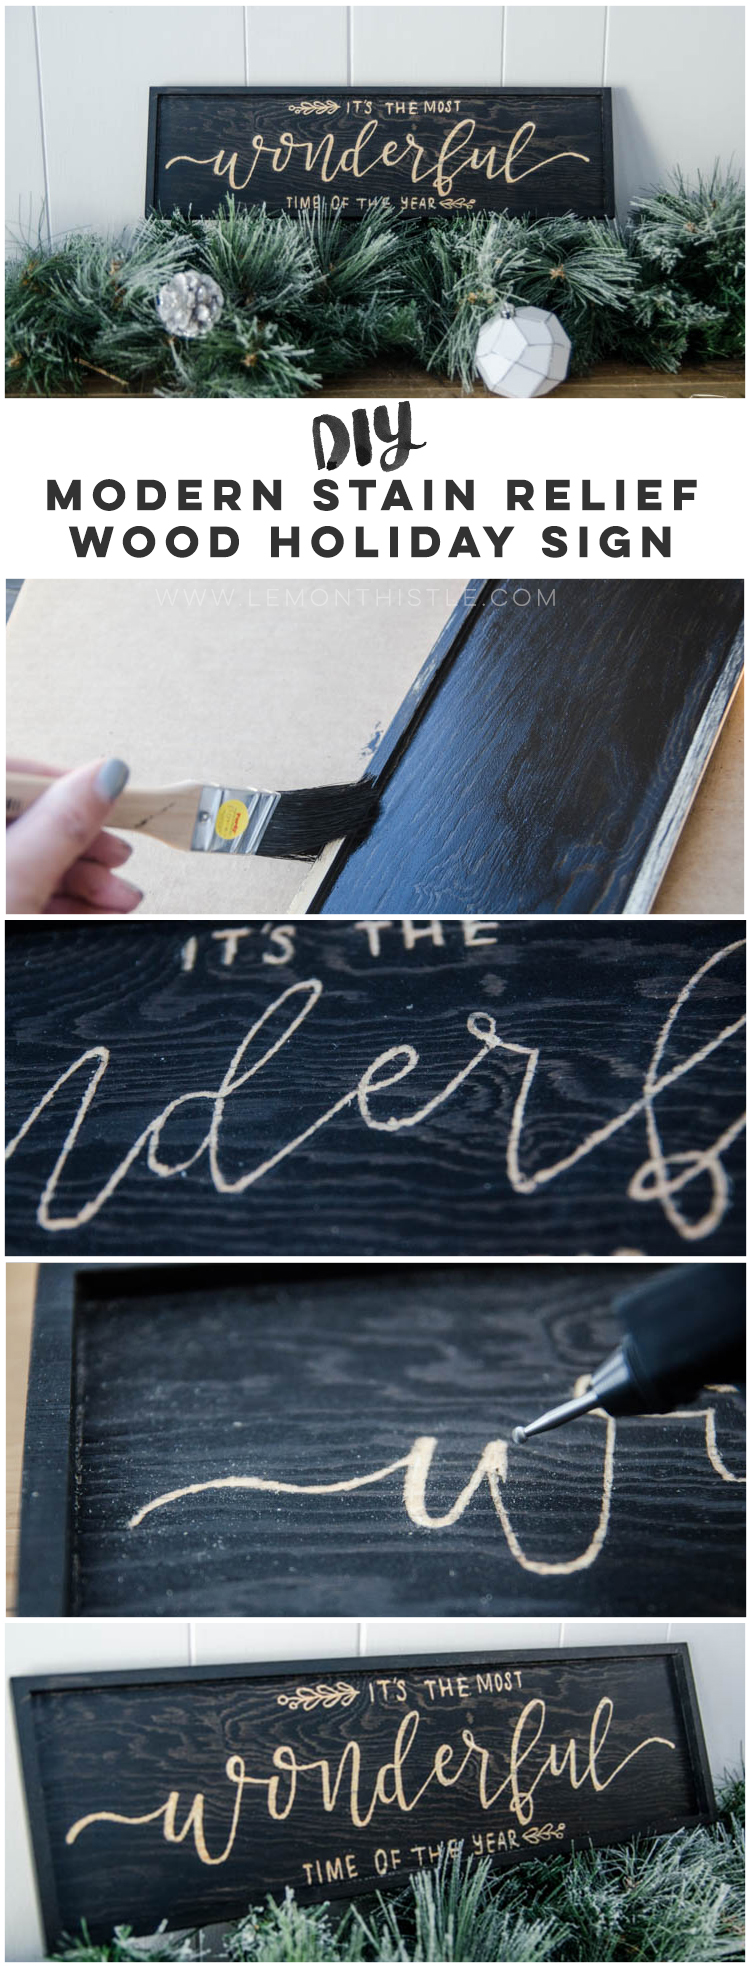
The first thing you’ll want to do is stain your sign. Applying a Pre-Stain Conditioner will help your stain go on SO much smoother. Applying the stain with a brush rather than a rag will help it go on thicker and give you a deeper colour. Make sure that you don’t put it on too thick though (watch for pooling). I only needed to do one coat- this sign soaked right up the stain! A harder wood might need two coats to get the same depth of colour.
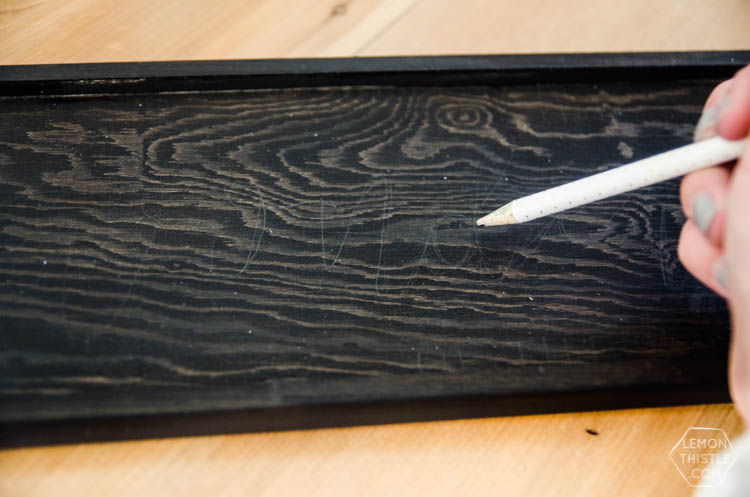
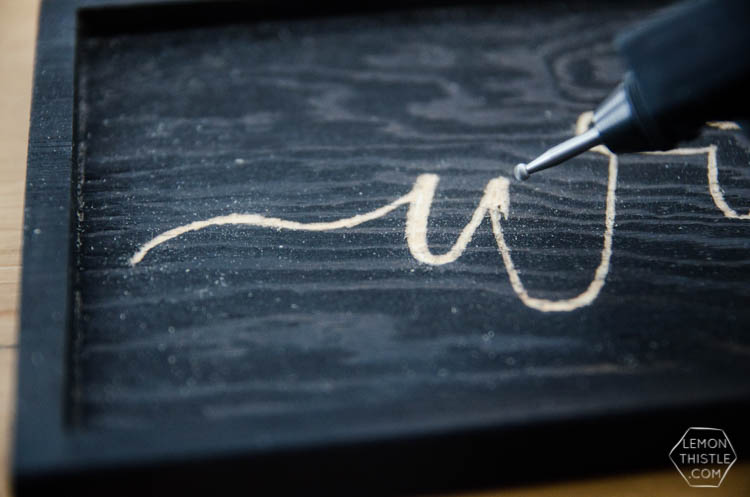
Now it’s time for the fun part! Sketch out your design on the wood before you pull out your rotary tool. You could totally print out a font you love and trace it onto the sign as well (using this technique). When you’re happy with how that looks- you get to start engraving! The rotary tool carves off that top layer of wood that has been stained, revealing the lighter wood underneath. It is SO cool to watch this process! This was my first time using a tool like this so here’s some tips:
- Go SO slow! Like slower than you ever thought you’d need to
- Go LIGHT handed… it will seem like you’re barely touching the wood
- Turn your sign around rather than trying to go every direction with your tool- you’ll find there’s certain directions that are easier to manage a smooth line so just go with it
- The wood will grab your tool on the thicker grains. Going light and doing short strokes will help minimize the chance of you going waaaay off course
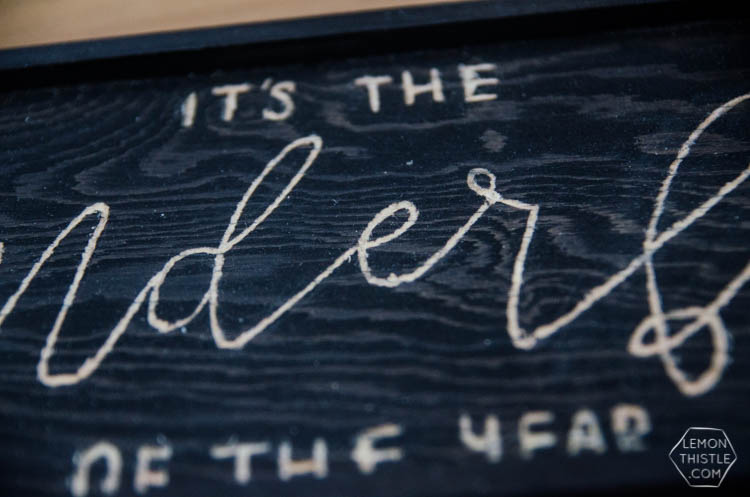
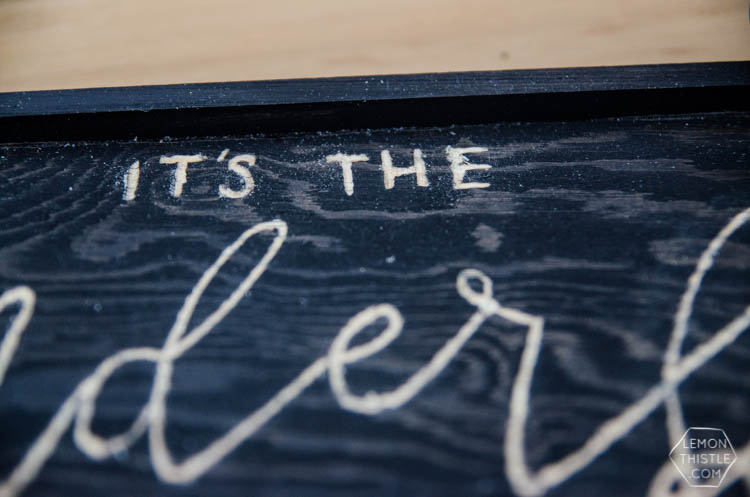
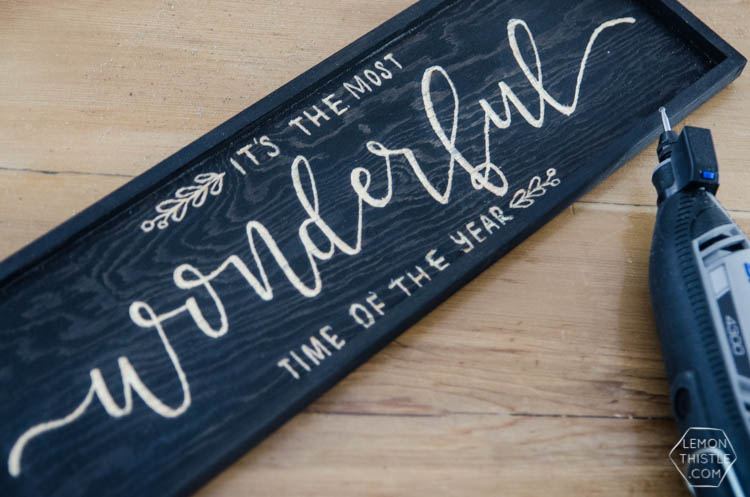
I went through and made the whole sign and went back to thicken the downstrokes before Shane told me that I skipped the words ‘most’ and ‘time’…. oops. I have such a habit of missing words or letters when I’m lettering or DIYing, you guys! Haha so they weren’t quite centred when I added them in so I added some leafy accents to help it seem centred again.
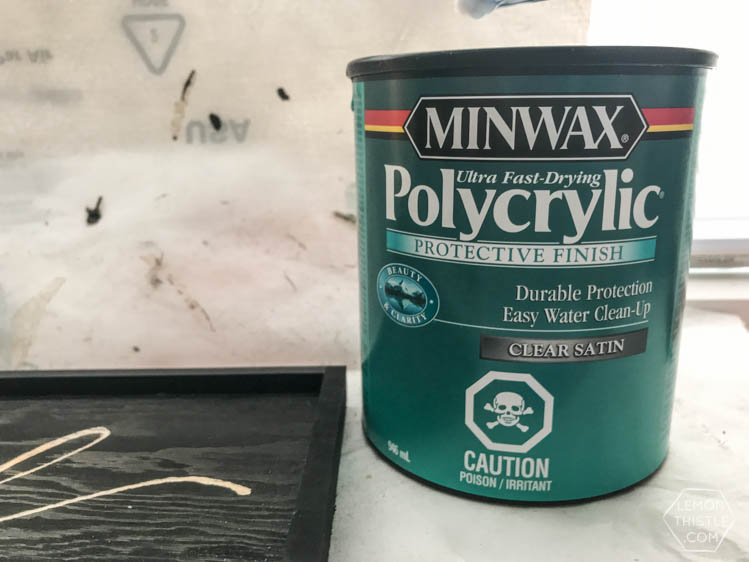
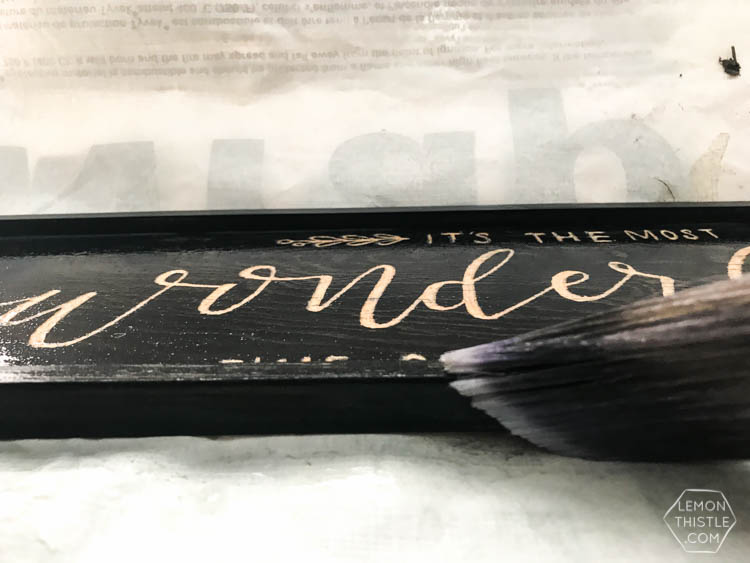
When the engraving is done, you can wipe all the shavings off- some of them might need to be picked off if they’re still stuck on. Then you can do a clear coat! I always, always, choose a satin finish instead of a gloss or semi-gloss. I really love how smooth and silky it looks- totally modern compared to the classic gloss. I used the Minwax Clear Polycrylic for this.
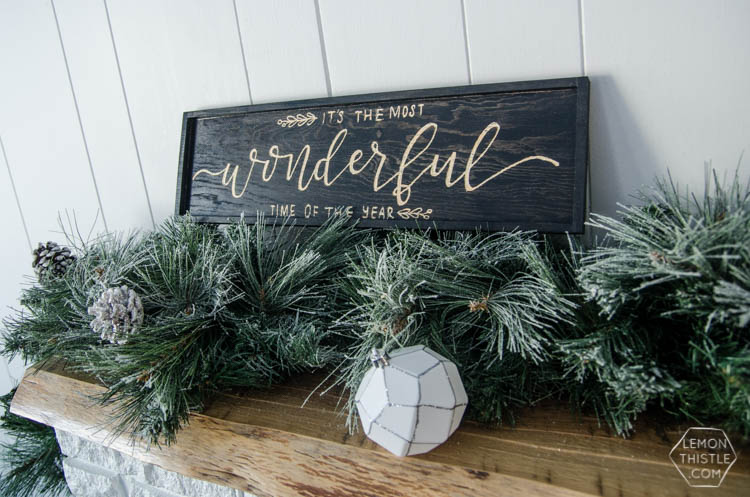

That’s it! I am really in love with how this sign came together. I’m definitely planning to make a non-seasonal version that I can leave out all year, I just need to decide what to put on it.
Make sure to check out the other projects in the series! I could honestly put any one of them (or ALL of them!) in my house and they’d fit right in. I love these ladies’ style!

LEFT TO RIGHT/ TOP TO BOTTOM
The Learner Observer’s Mini Wooden Trees/Love Create Celebrate’s Advent Candlesticks / Lemon Thistle’s Stain Relief Wooden Holiday Sign / Harlow & Thistle’s DIY Fawn Print Wood Serving Board / The Sweetest Digs’ Wooden Christmas Tree
I so hope you found some amazing inspiration this week on our Modern Holiday Home series! We will be back next week with some more modern Christmas inspiration for you all!
LIKE IT? PIN IT!
 Modern Bathroom Design Details: ORC Week 6
So beautiful Colleen – I’ve always wanted to try that Ebony stain – now I know what it looks like.
It’s my total fave! I buy it by the quart ;)