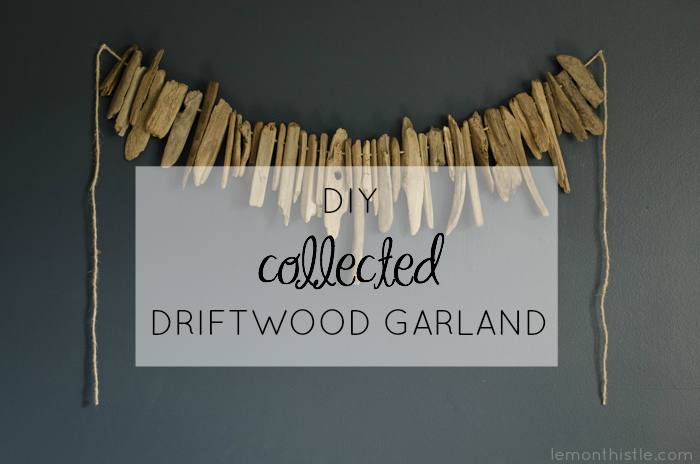
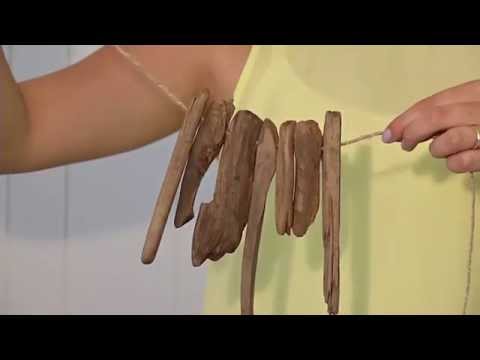
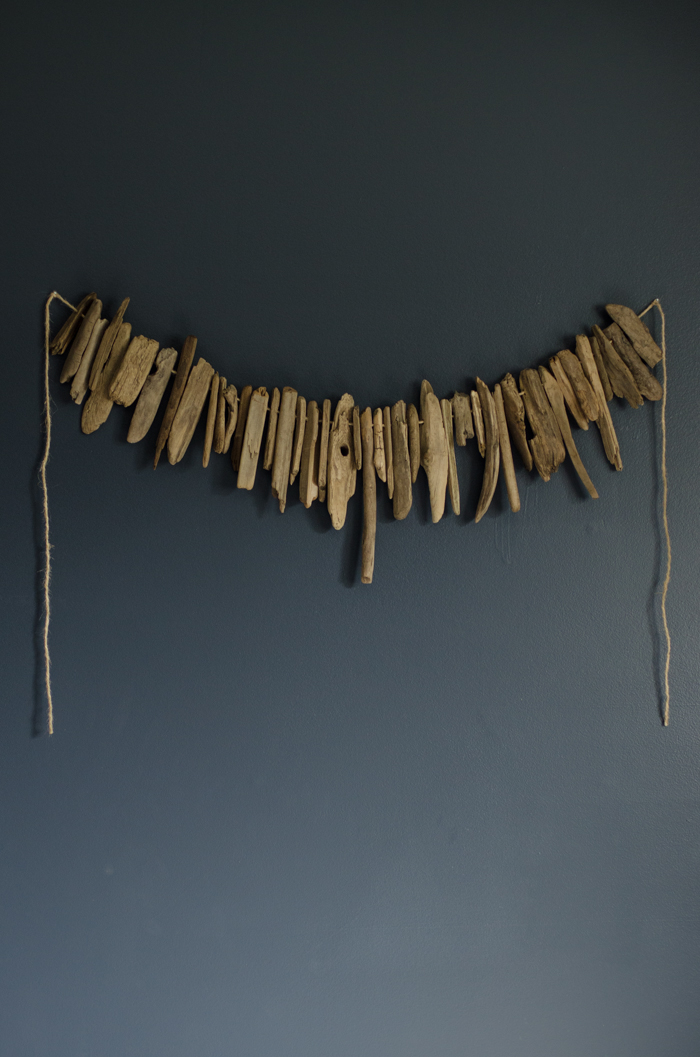
Guys. Some things turn out better than you had planned. And that’s just the best. This driftwood garland is one of those things… I can’t get enough. I have it hung above my bed right now and it just looks so lovely on the navy walls- I’m in love. I’ve got a video tutorial for this one (and photo tutorial below). If you remember last week I revealed my big secret that I’ve started doing some short video DIYs for the local Shaw channel here and this is the second one! Here’s the first one if you missed it!
So let’s start with the video and then I’ll walk you through step by step with pictures. And if you caught it, I said in the video I’m hanging it in my dining room- but then I tried it on the navy in our bedroom and couldn’t go back. So this video makes a liar out of me.
Isn’t it so easy? I would have made this guy a long time ago had I known. Anyways. Here’s what you’ll need to make your own:
- 20+ Small Pieces of Found Driftwood
- Stiff Brush for Cleaning
- Large Ziploc
- Drill with Small Bit
- Twine
- Tape
- Scissors
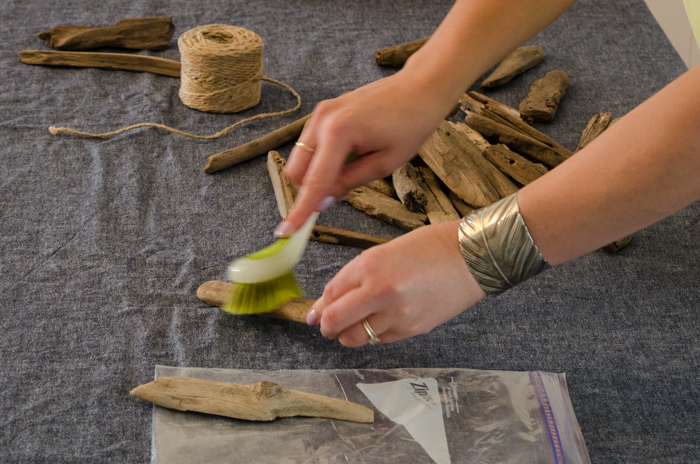
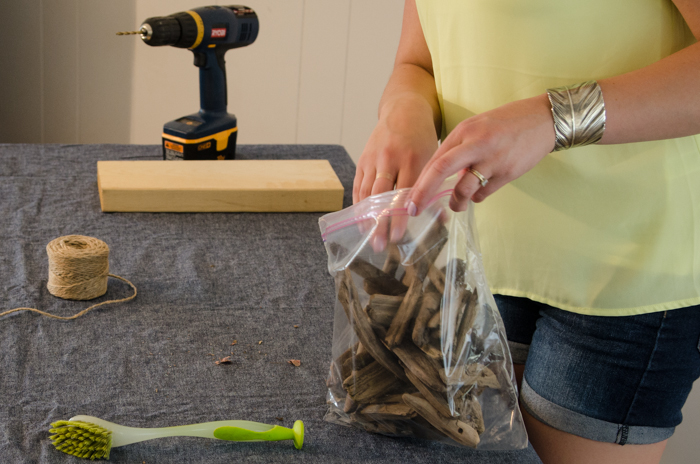
So after you’ve found your driftwood (if you’re local I recommend hitting Kamloops lake) you need to clean it! Use a stiff brush and clean off anything that’s loose. Then seal it in a ziploc baggy and stick it in the sun for 24 hours. This is supposed to kill anything that could be living in there. Yuck. I then brushed mine off again to make sure.
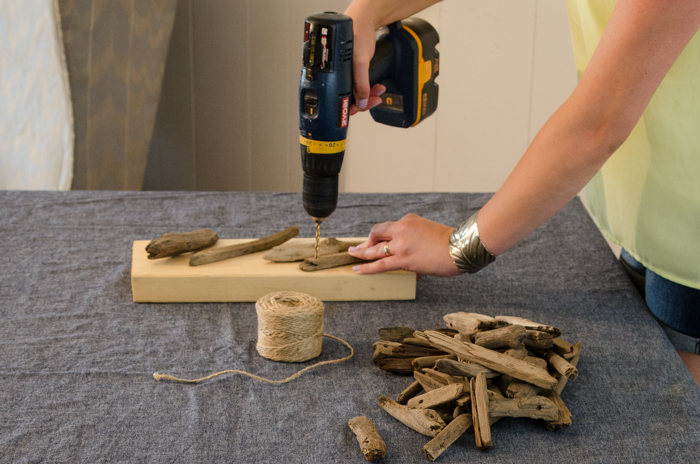
Then start drilling! I found drilling the smaller ones on an angle worked better than straight through (which split the wood). Apply gentle pressure as you drill through and you shouldn’t have too much troubles. Once you’ve drilled through, you can start threading them onto twine, just like beads. I found I needed to tape my twine to keep it from fraying when I was doing this. Keep threading them on, varying the sizes and shapes so you have an interesting garland to look at.

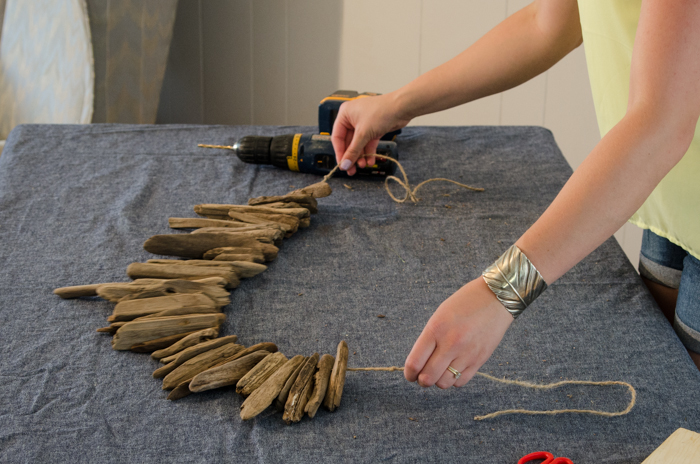
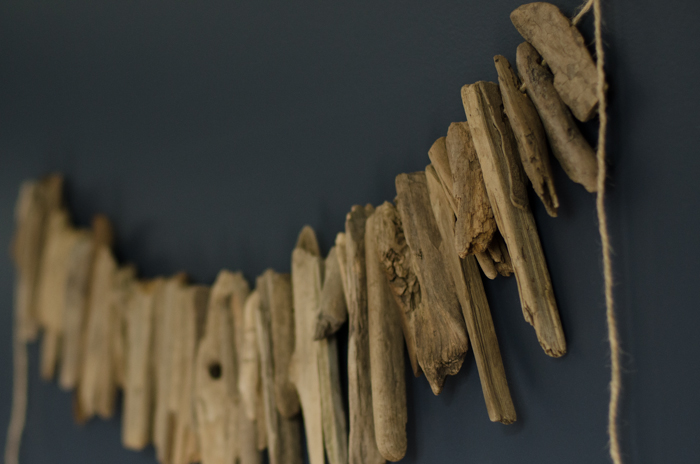
Once they’re all on, you’re pretty much done (if you want to be). You could tie knots in between the pieces to space them out and make a longer piece of garland. I liked the way they looked all together so just tied knots in the ends of my twine to keep them from sliding off. I hung it on my wall with two small nails and used those knots to hang it.
So- ridiculously simple, right? I thought so. I think it would look awesome at a rustic party or a beachy themed party. Or by a pool! Is this something you would make? Do you have places to find driftwood in your area? Same as last time… If you liked it, would you tweet Shaw and tell them? I’d love if they kept inviting me back :)
 DIY Vintage Cheesebox Floral Arrangement
I love this! It would be so perfect at a beach house:)
Wouldn’t it!? Now I just need to get a beach house ;)
This is SO cute! I’d love to do this when I one day have a lake property, providing that it has driftwood for me to salvage ;) I never go to Kamloops Lake, but I may just have to now.
Isn’t a lake property the dream? I love walking the beach out there, it’s beautiful and so quiet.
Totally adore this! Pinning. We are headed to Cali next week and I’m definitely going to be looking for driftwood. Thanks for linking up to the DIY’ers!
Thanks so much Ashley! California sounds wonderful! Enjoy your trip :)
That is so cool! I may have to go on a driftwood scavenger hunt lol. I love that it is super simple but looks so rich and could be used a number of ways to decorate with!
Sidenote: your twins are so stinkin cute! Way to go mama!
Jess
I always love a good scavenger hunt ;) Thanks so much for the comment Jessica! I think they’re pretty cute too!!
Hi Colleen! This is really beautiful! We live in southern California and I’ve never seen driftwood that pretty! It’s definitely available for sale at local shops. I truly love this and would totally buy driftwood just for this project!
Thanks so much Chelsea! We’ve got TONS of it at one of the lakes around here, I picked up some bigger pieces for future projects too.
What a unique and clever idea. Looks great. I will be featuring this tonight at my Sizzle into Summer party that opens at 8pm EST. Please stop by and pick up an I’ve Been Featured button. Thanks. http://diybydesign.blogspot.com
Thanks so much Judy! Headed over now :)
Love this project, great idea for all those little pieces of wood my kids pick up at the beach and I later find all over the floor of my van! Now what can I do with all those random rocks they collect? Thanks for linking up to the Be. YOU. tiful link party. Featuring your project this week and pinning to the Be. YOU. tiful features Pinterest board.
Thanks so much Adrienne! Can’t wait :)
As for the rocks? Have you seen my story stones?
I have so much driftwood collected on our summer holidays this year- this would be a perfect way to us it!! It looks amazing against your dark wall color too! We’re featuring you tomorrow at Work it Wednesday – thanks for sharing it with us!
~Krista at the happy housie
Thanks so much for the feature Krista! If you come up with another way to use yours- let me know… I love collecting it!
Girl I am about to stop reading your blog because every time I stop by you make me so jealous of your skills! Just kidding, I still have 3 more posts to catch up on tonight! :) Looks great!
Haha! You always make me smile Kala- thanks for being awesome.
This is so gorgeous! I had my eye on one for the holidays last year, but it was outrageous, and now I think I’ll just plan to make my own using your tutorial :) Thanks so much for linking up at Thursday STYLE :)
I hope you find it easy to follow :) Thanks for stopping by Angela!
This looks awesome! I love the idea and the finished product. Shaw should definitely invite you back! Thanks for sharing at On Display Thursday, come again!
Aw thanks Leia! We’re talking about doing another set, so fingers crossed :)
Oh my gosh — I’m loving your garland!!! Featuring you tomorrow. XO, Aimee
Thanks so much Aimee!! Can’t wait :)
Even though this is a little older project, you have to link this up! I love, love, love it! I hope you will link it up at the Found & Foraged Linky Party! http://www.thebigrevealblog.com!
Thanks so much Grace! It definitely fits the name ;)
Grace, I want to squeeze you for finding this project, and Colleen you are so great to link it up with us!! Absolutely stunning. LOVE!!!
Aw you girls are so sweet! Excited for your party, I love the theme :)
Hey Colleen! I’m so happy you linked up to Found & Foraged because we’re featuring this lovely project! WOOT! WOOT! Hope to see you again this Saturday night at 8PM at http://houseofhipsters.com
Thanks so much Kayla! That’s so exciting, I’ll be there :)
This is amazing. Right up my ally for christmas decor. My Grandma used to make so many things from drift wood. This makes me feel nostalgic. Love it!
Aw, thanks Kayla! I love Christmas decor that brings memories… I had never thought to use this for Christmas! It would totally fit with ours :)
This is so pretty, and you took great photos. Now if I could find some drift wood….
Thanks so much Brooke! I didn’t realize we had ANY around here but I found a perfect beach for it just a short drive away :)
Planning to do this project — and love the blue paint color. What is it??
Thanks!