Sharing my journey in brush lettering- why I bothered learning, a look at my old work, and why I love it!
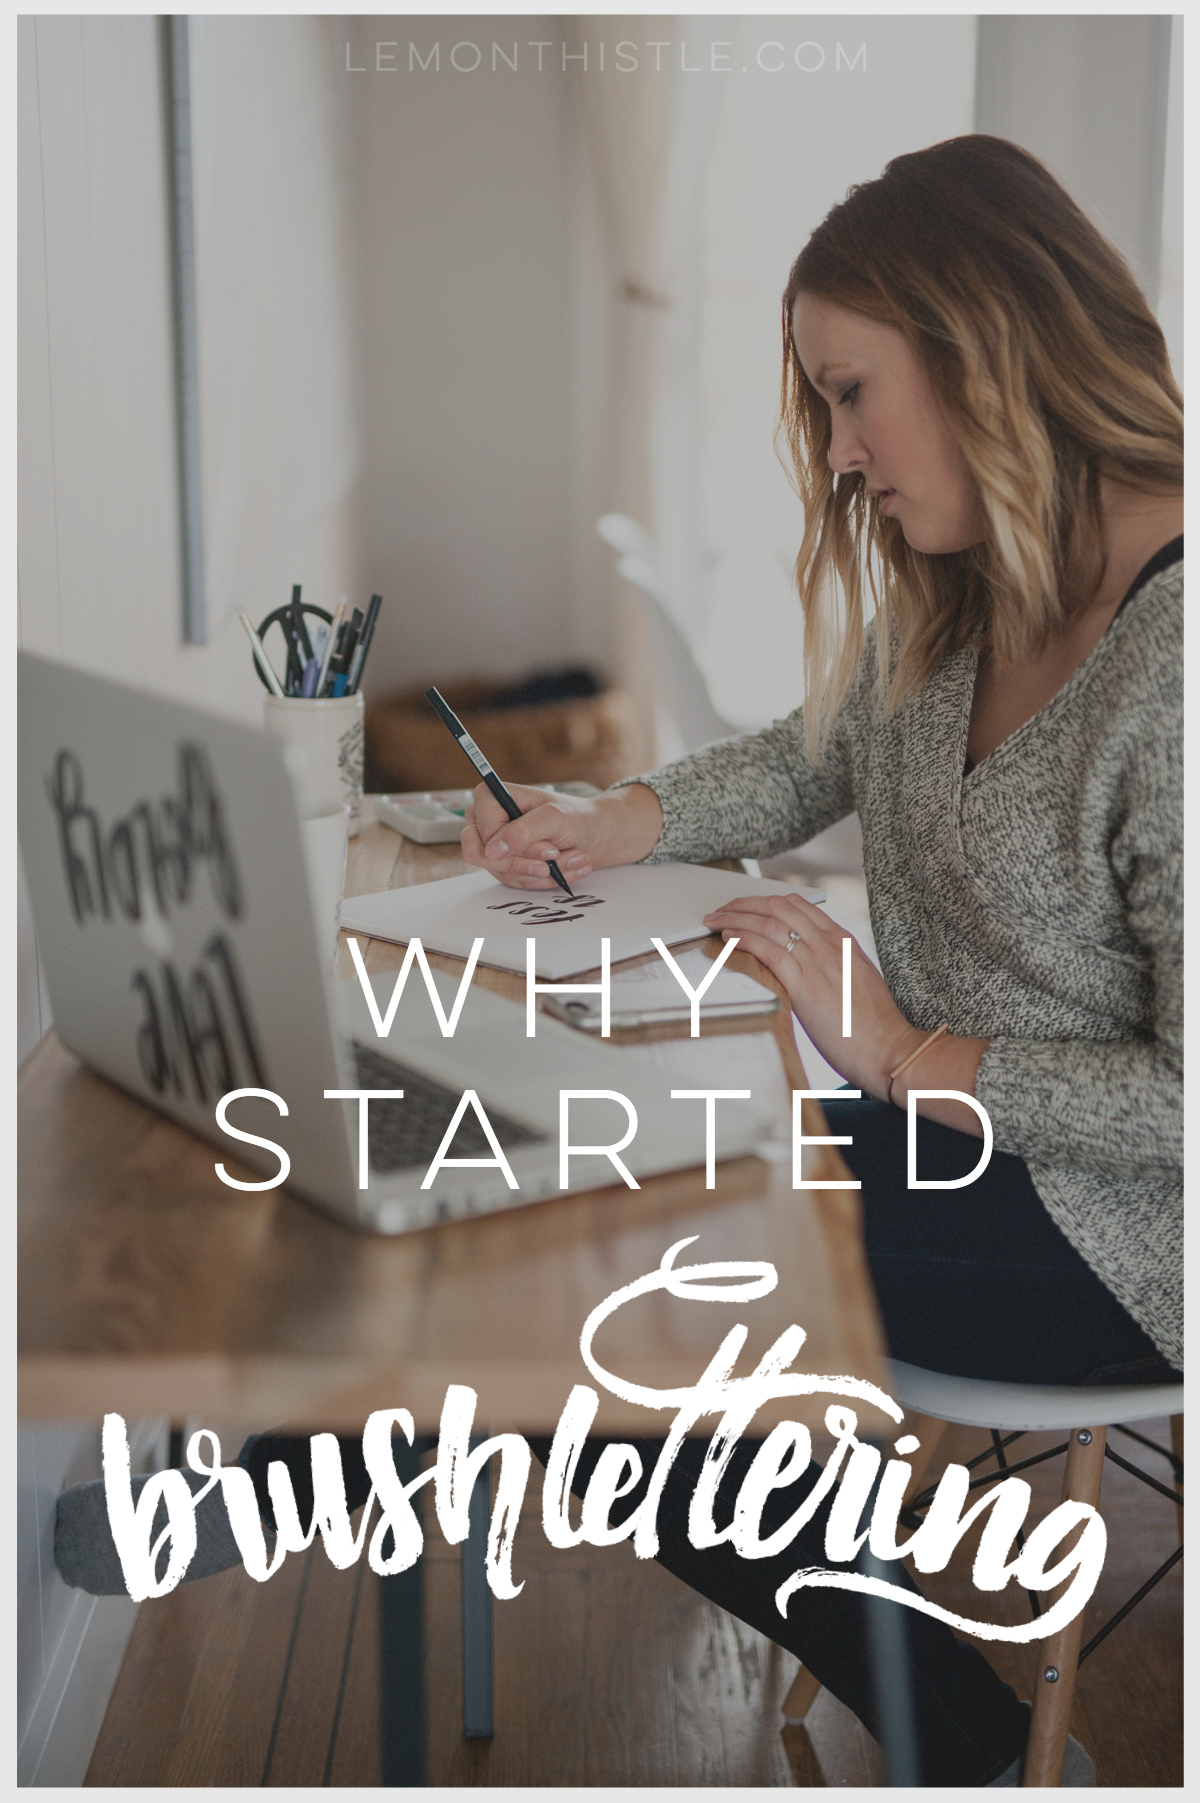
I’m sure you’ve noticed that I’m loving brush lettering. I love it as a hobby, I love it as decor in my home, and I love it as a discipline to learn. But honestly, it’s not something I’m naturally talented at. It was a lot of work to learn- and I always look at what I produced yesterday and am thinking about how I can improve it. I was so determined to make it happen, I’m glad I took the risk and hit publish on those posts even if I look back at the pieces I shared online when I started out and I can’t believe I hit publish on them. It’s amazing how much you can grow and change in few years.
Today I wanted to share a bit about why I bothered learning at all. Why I bothered putting so much time into something that I wasn’t awesome at. Everyone’s ‘why’ is a little different and I love hearing about motivations and drivers behind others. If you’re considering learning brush lettering with us, I’m sure you can relate to a few of these reasons! I really love to try new skills, but I’ve said before and I’ll keep on saying it… I’m pretty impatient. I love to DIY but I take every shortcut available. Instead of investing in learning to letter the proper way, I took every shortcut there was out there. And it ended up taking a lot longer to learn than if I’d just enrolled in a course. But that’s the way I do things ;)
Ultimately- I learned for one big reason, then found SO many other wonderful reasons along the way. I wanted to have beautiful things online (hey, blog), in my home, and at my parties- and my budget didn’t support the price tag. I know this is a really non-elegant and inspiring reason, but it was the biggest driver for me when I started. I’d covet some beautiful sign on Pinterest daily, knowing I couldn’t order that thang because I had to order drywall (hurray for renovations). I knew if I wanted handlettered style in my life, I was going to have to learn it myself.
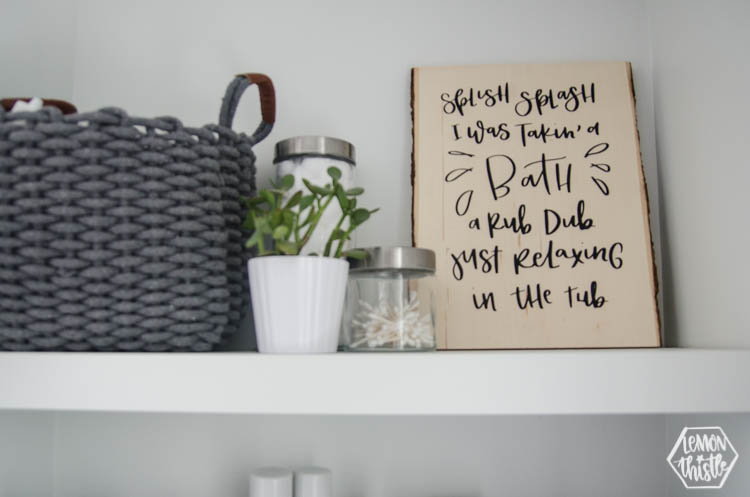
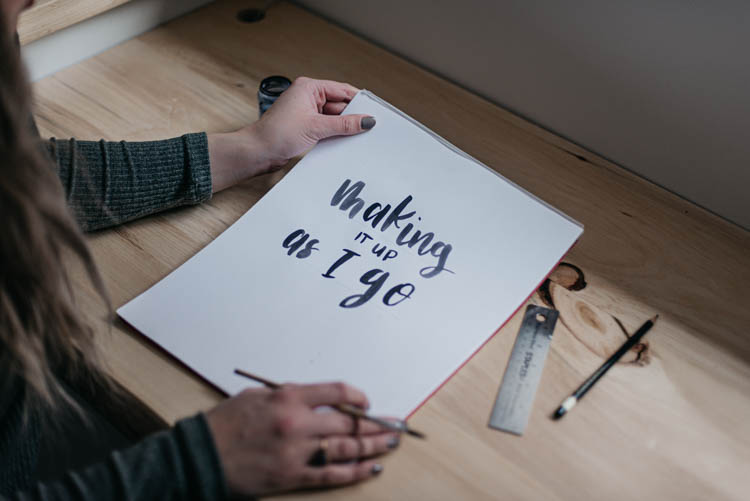
Along the way I found so much satisfaction in the creation, it’s totally therapeutic. I found it a joy to give handmade gifts and letter pieces to bless my friends and family that wanted that special quote on their walls or that were getting married and wanted some special signs made for their big day. I loved addressing snail mail with a little flourish and script. It was so rewarding to work at something and see visual improvements when most of the things we do day to day are such a slow process. It’s become such a big part of my life, something I love so much and really get such joy out of.
I would love if you joined me in learning brush lettering if that’s something you’ve been dreaming of. I know you’ll get so much joy from it as well. I wrote this out and realized it’s a bit long, but it was so wonderful recapping my story! I love seeing how far I’ve come and had a great time taking a walk down memory lane. If you’re interested in this sort of thing, read on, friend ;)
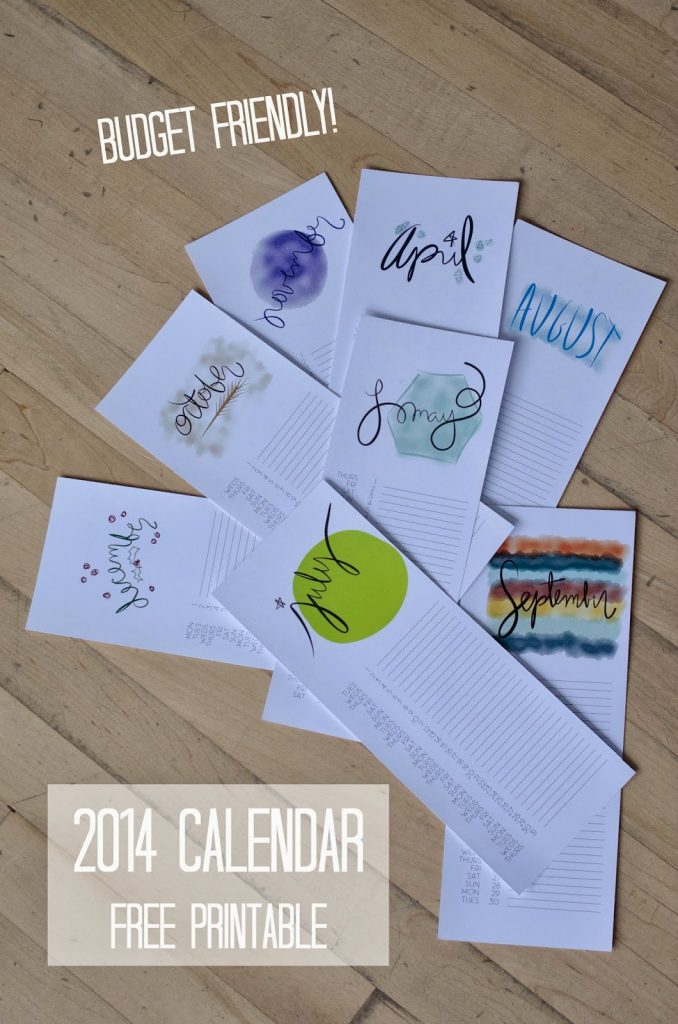
The first time I created something handlettered it was my blog logo. I tried it out on paper and honestly hated the way it looked. I looked for options and I created it in an app on my iPad… and it can hardly count as handlettering- it really is more of a scribble (I can’t wait to release my new logo by the way). I just loved the look of lettering so much but I didn’t have the budget to have someone create a logo or design for me. So I decided I’d make it happen. I read lots of tutorials online and decided the app was my best option. I couldn’t fail at it. I made my first lettered calendars in 2013 using that same app. I wanted these things and I didn’t want to pay for them. That’s the DIYer inside of me. This app (paper 53 if you’re wondering) was good enough for me for a while. I shelved that lettering nonsense (it was way too hard!).
Over the next year I fell hard for the look of handlettering- specifically brush lettering. I LOVED the way it looked and was lucky enough to work with Hannah on a couple projects. Seeing the things that she could create with her lettering totally inspired me. Pinterest started filling with beautiful signs and canvases that featured handlettered designs and I got all the heart eyes, you guys. We were renovating our new home to move into and I knew none of the decor I’d bought in our first couple years of marriage fit the style I wanted in our new place. And hand lettering? Those decor elements were gold in my eyes. I really wanted to learn enough that I could have beautiful home decor that didn’t cost me a fortune.
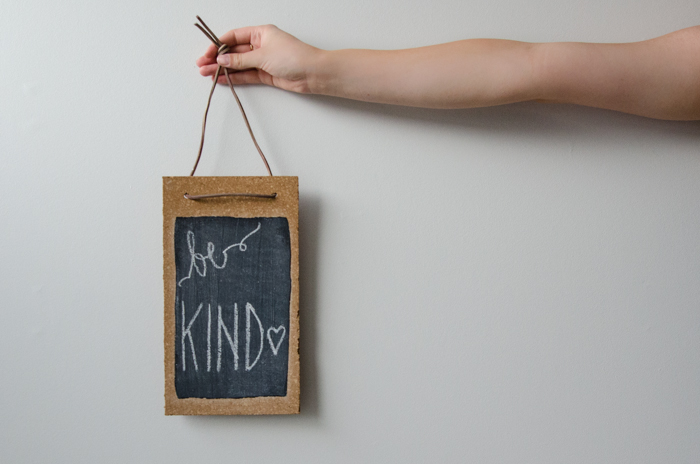
I played a little bit with lettering on chalkboards- that’s erasable, y’know. I made one for a baby shower, a little one to hang in my house… nothing big. By the end of the year I was falling hard for the look of brush lettering. The thought of actually using a brush intimidated the crap out of me, so I scoured Pinterest for every ‘faux’ brush lettering /calligraphy post I could find. I started to make my chalkboards with those tips, thickening the downstrokes. I started adding lettering to drop cloth wall hangings, wooden pennants, and party signs. I started to get over myself, gaining the confidence to give those templates away as free printables.
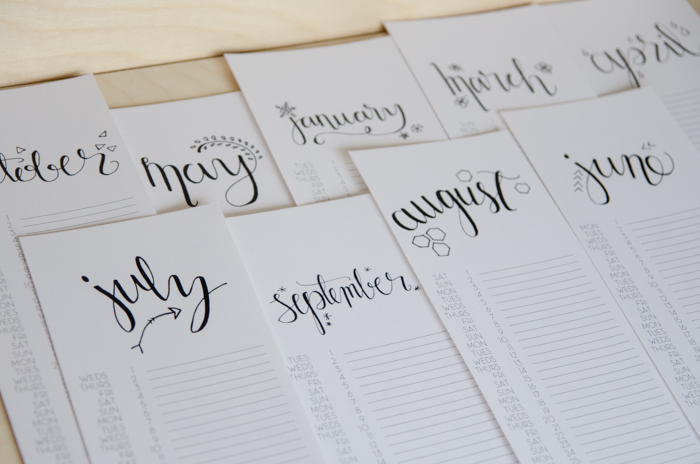
I decided to make another calendar for 2015 and used that ‘faux calligraphy’ I’d taught myself over the year. I never would have imagined how great the response would be to it! The more I gained confidence, the more I wanted to learn. I started brush lettering and the markers near killed me, you guys! I found it easier to letter with watercolor and a paint brush. I worked hard at that, spending most of my free time lettering page after page after page. I decided I wanted to do something with all of those and on a whim decided to open my Etsy shop (I’ve since closed it and have a shop here on my site instead!).
Honestly, you guys… it’s been such a whirlwind since then! This whole blogging thing is a crazy world and hand lettering is beyond addicting. When I started making those calendars, I never would have thought I’d be able to create the work that I do now. And I never would have thought that I’d be publishing lettering in magazines, teaching workshops, and selling custom art. It’s a total dream. So if you’ve read this far… thank you for the support, it really means the world.
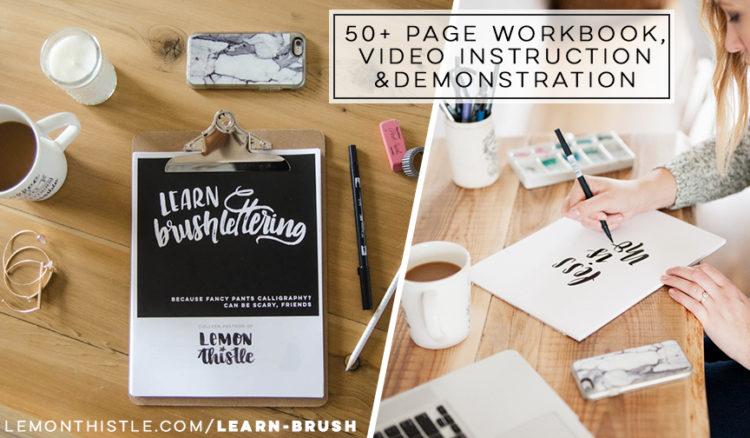
And if you are thinking about learning brush lettering- I can’t encourage you enough. It’s been such a fun part of my life and I would love to share it with you. I am opening up pre-sale for my e-course and the pricing is totally rad. It’s going up on launch date (December 1st) and I’ve got a couple bonus spots left. You can check out all the details RIGHT HERE and shoot me any questions at all you might have (colleen@lemonthistle.com). If you’re unsure and want to think about it a bit… I get it, I’d love to send you a two page brush lettering warm up that’s an exert from the 50 page workbook that’s included in my course. Just grab it by signing up right here (this is a different form than my main email list! Sign up with this one to make sure you get this warmup).
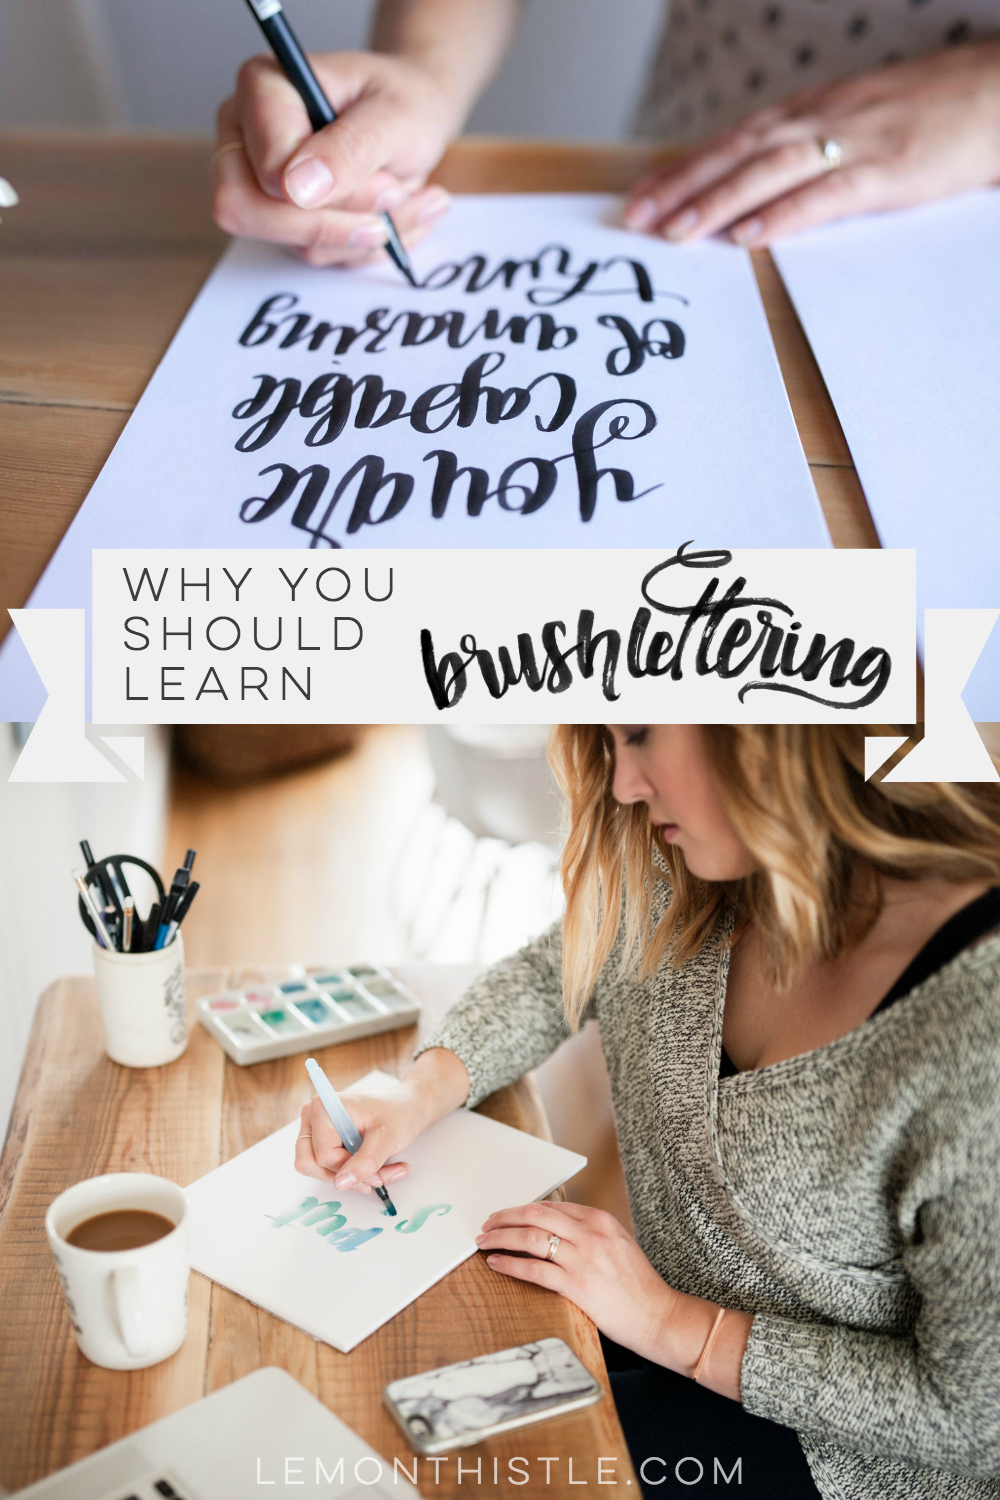
LIKE IT? PIN IT!
 Simple DIY Holiday Wreath with Fresh Greens (and an announcement!)
Hi ! I’m Keaira and I’m 11 years old. I have been facing medical challenges the last three years and something that I always love to do to keep busy is crafts. I started looking at your website yesterday and it is really great. I love all the free pintables that you have made. I especially love the calendars that you make, they are so beautiful.
Thanks Keaira! If you use any of the free printables, Colleen would love to see them! You can take a photo and send them to colleen@lemonthistle.com
I agree, she makes the best calendars!