• Skip to main content
  • Skip to header left navigation
  • Skip to header right navigation
  • Skip to site footer
  • Shop
  • Get The Email
  • Work With Me
  • About
  • Search

  • DIY
    • DIY Home Decor
    • With Power Tools
    • Renovation
    • For Kids
    • For Parties
    • Wearable
    • Organization
    • Cricut Crafts
  • Home Decor
    • Room Reveals
    • Kid Friendly
    • DIY Home Decor
    • Renovation
  • Lettering
    • Hand Lettered Printables
    • Free Practice Sheets
    • Handlettered DIY
    • Free Brush Lettering Quickstart Guide
Lemon Thistle

Lemon Thistle

Rad DIY, Lettering and Design for Real People

  • Printables
    • For Cricut
    • Party Printables
    • Home Decor Printables
    • Bachelor Bingo
    • Handlettering Practice Sheets
    • All Free Printables
  • Entertain
    • Party Printables
    • Party DIY
    • Tablescapes
    • Kids Parties
  • Blog

DIY Thin Modern Wood Shelf (With Partial Ledge)

Aug 12

I LOVE this DIY modern wood shelf for an entry way. It's totally minimal but really functional with that ledge.

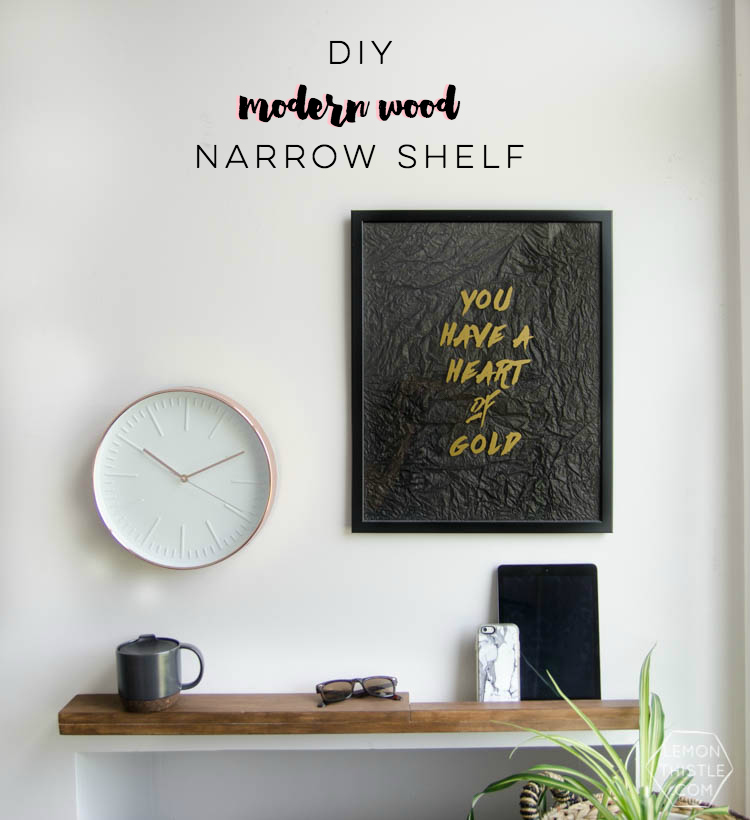
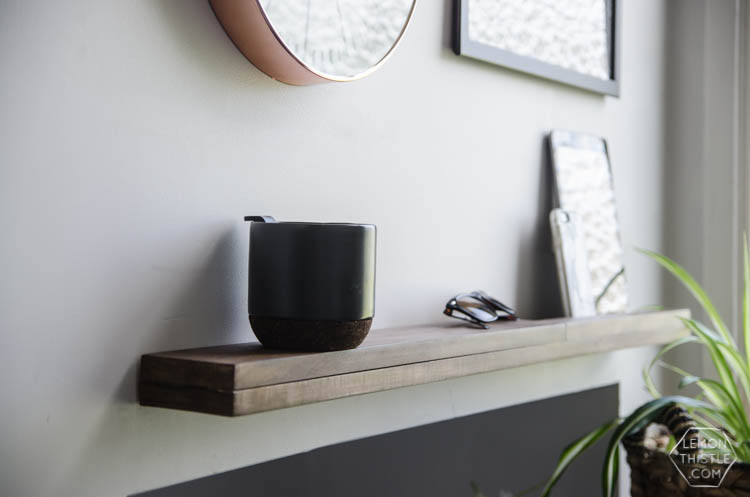
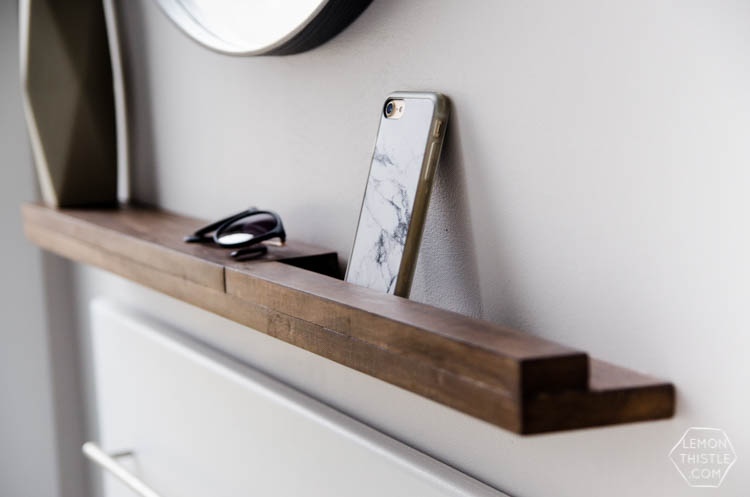
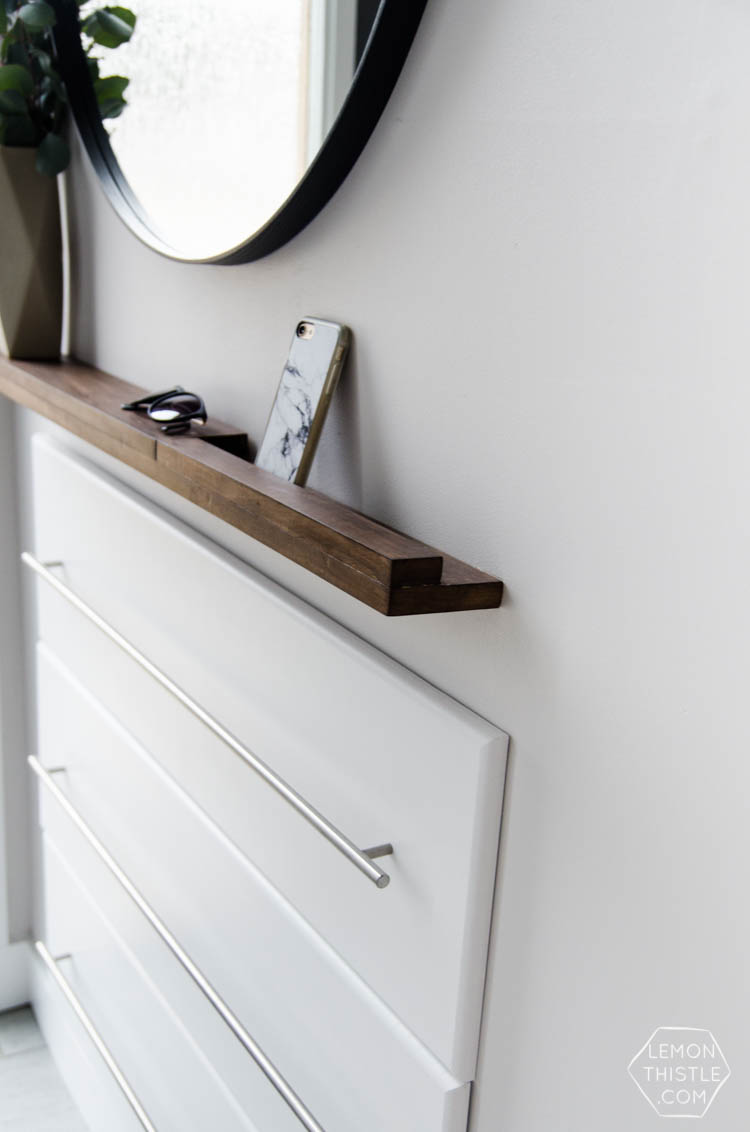
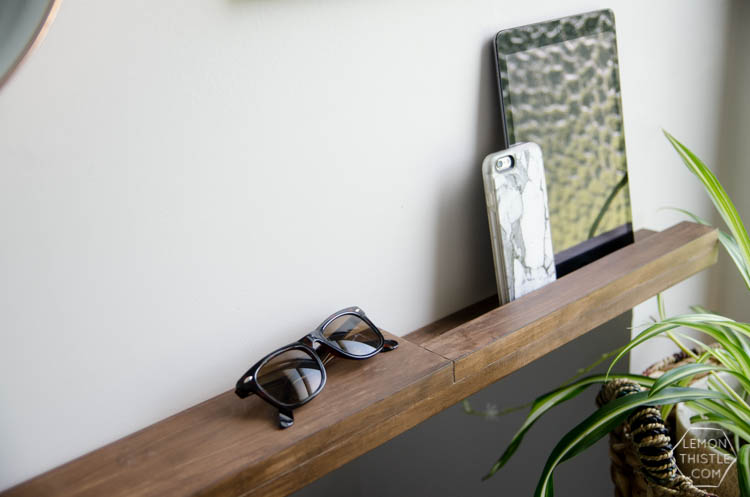
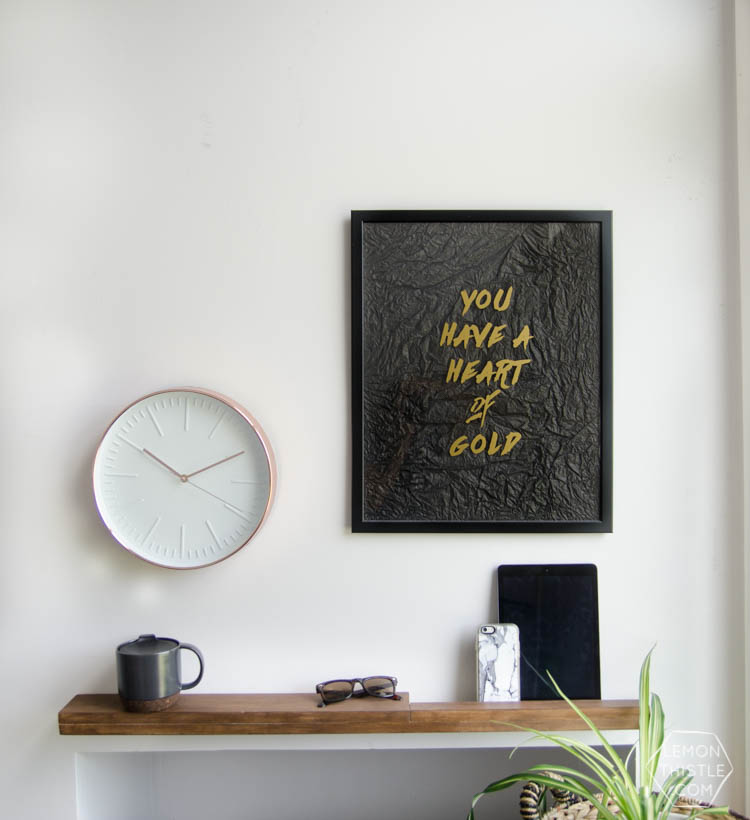
I am in love with how much this has improved our entryway… with one little tiny shelf. Our entry way is FAR from done, but this is a great start- I love having somewhere to drop my coffee and keys without the kids kicking the coffee over (and without me losing my keys). This minimal shelf is thin enough that it doesn’t take up precious space in our split level entry and it’s good looking enough for me to want to keep it around. Because of the partial ledge, this little guy packs a big punch when it comes to holding things. You can put your coffee and keys on the flat shelf, but the ledge lets you hold taller things, like books and iPads without trouble. Win/win/win.

I LOVE this DIY modern wood shelf for an entry way. It's totally minimal but really functional with that ledge.

I LOVE this DIY modern wood shelf for an entry way. It's totally minimal but really functional with that ledge.

I have spent way too much time on Pinterest for this small space. Figuring out what would work best to make the entry more functional without sacrificing style. I spotted this amazing shelf (it’s designed out of a single piece of wood so all the grain matches!) but the steep price tag wasn’t something I could justify. I knew that I don’t have the patience to make something so involved, but loved the idea of a split thin shelf. This is my compromise/ hack! And the best part? You can make it in an afternoon after only one trip to The Home Depot.

Okay, maybe I made two trips to The Home Depot because I’m forgetful like that. 

To make this modern wood shelf, you’ll need:

  • 1×4 (I used this oak) 2x the length of your desired shelf
  • Measuring tape, pencil
  • Chop saw & circular saw or table saw (You could do it all with a circular saw if that’s what you’ve got!)
  • 100 grit sandpaper (plus finer if you wish) and palm sander or patience with a sanding block
  • Wood glue and wood clamps (see notes below)
  • Wood stain and finish (I used this one that does both), rag and gloves
  • L brackets (both 3/4″ and 1.5″) with screws (and drywall anchors if needed!)
  • Drill and level for hanging

I chose to use a hardwood to skip the step of ripping the edges for a flat edge. Softer wood is usually sold as lumber and has rounded edges which are great for building, but without a table saw- they can be a pain to get that nice clean flat edge. Plus the grain on this red oak is rad.

I LOVE this DIY modern wood shelf for an entry way. It's totally minimal but really functional with that ledge.

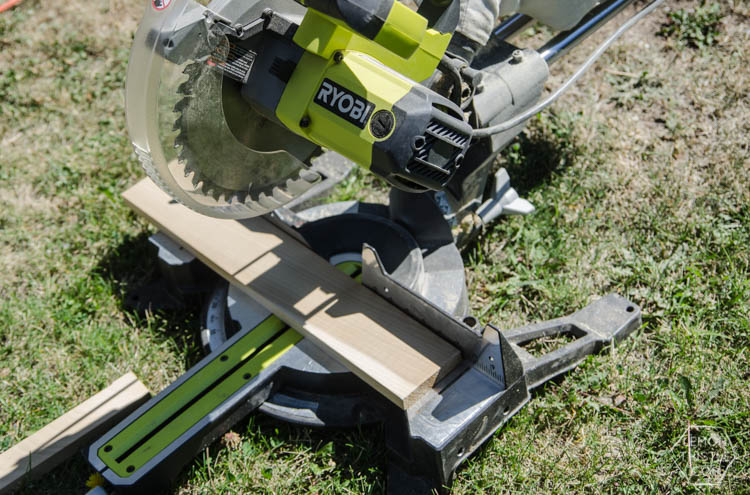
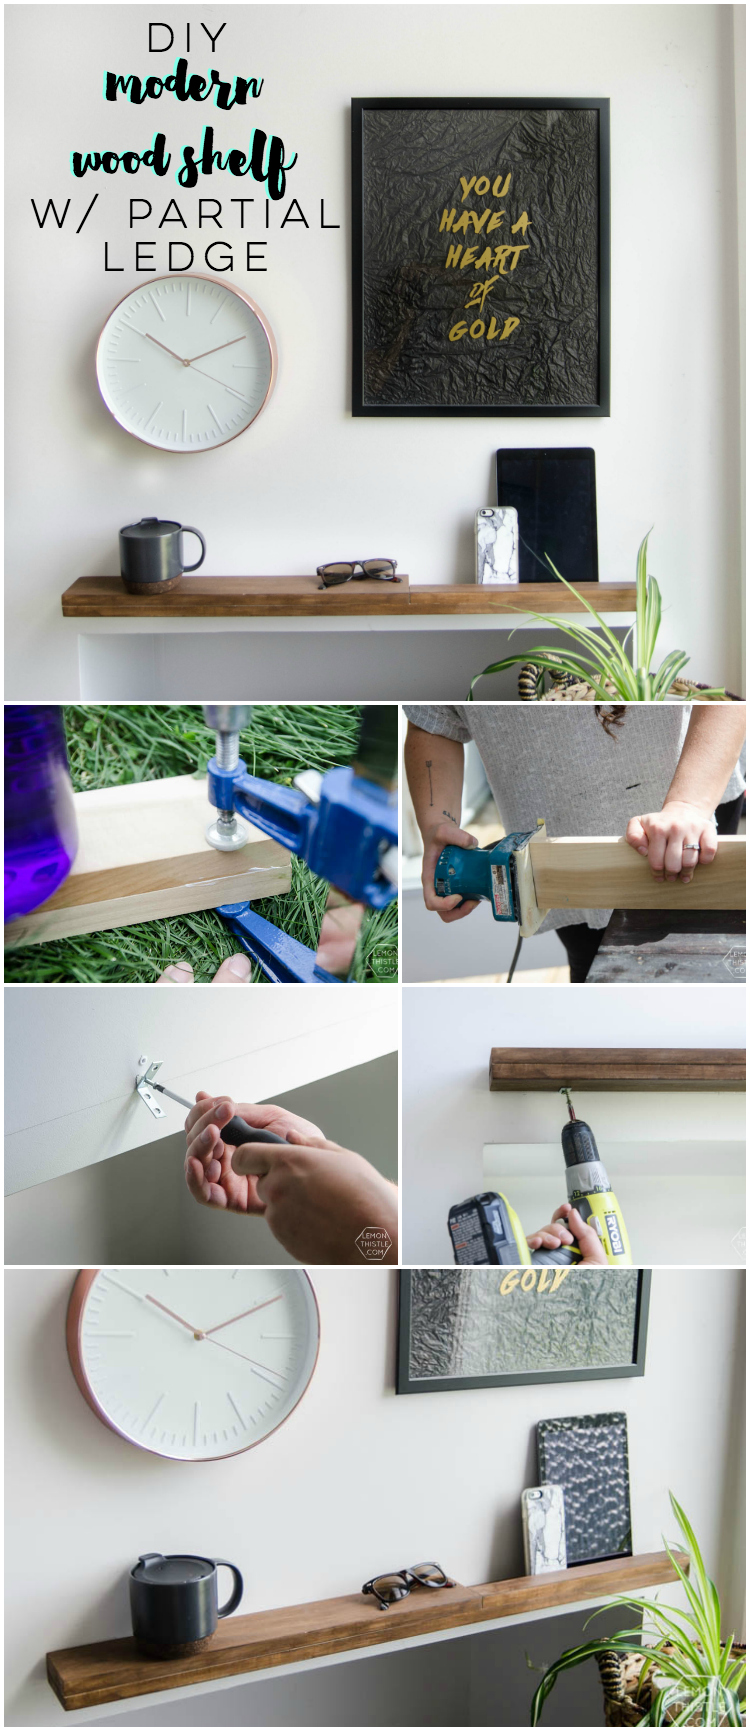
Start by cutting two lengths of 1×4 (however long you’d like your shelf to be, mine is 38″). Cut one of those pieces wherever you would like your ledge to be. Take the ledge side and cut it lengthways.

I LOVE this DIY modern wood shelf for an entry way. It's totally minimal but really functional with that ledge.

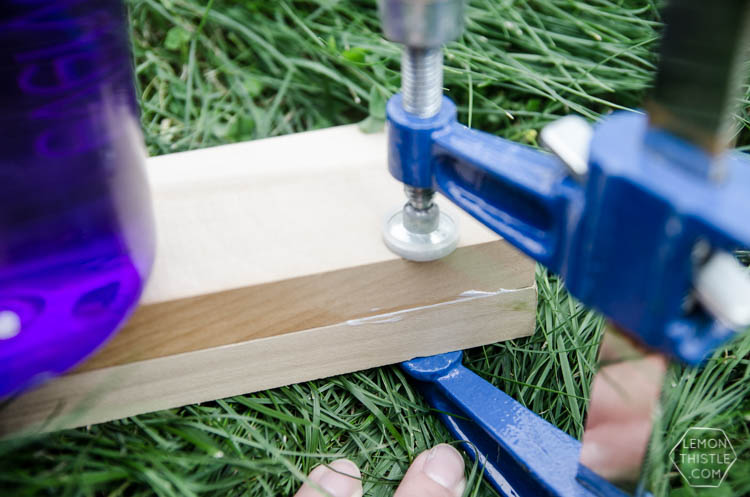
Take these two pieces (the top half) and line them up, then flip them, apply your glue and clamp them in place. *I only have two wood clamps. This is my first time using a hardwood, because usually I can pile heavy things on and the softer wood gives in. Hard wood? Not so much. I am not completely happy with how tight that seam is SO if you can- grab a few more wood clamps if you choose to use a hard wood for this.

I LOVE this DIY modern wood shelf for an entry way. It's totally minimal but really functional with that ledge.

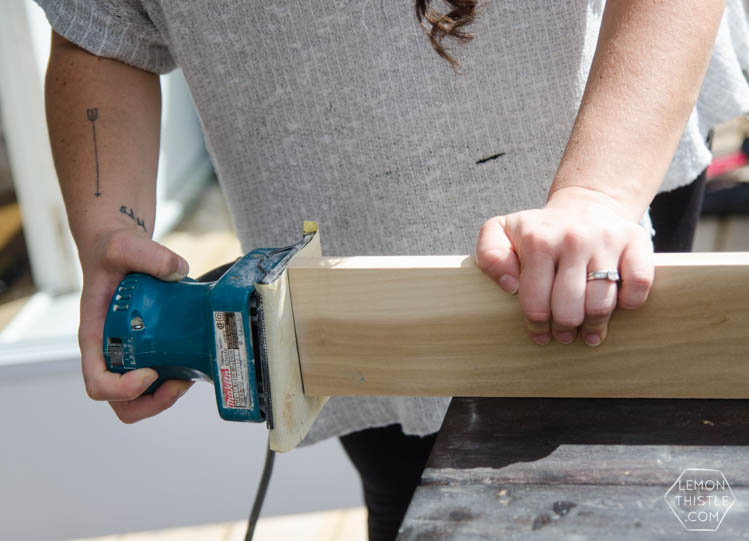
When the glue is completely dry, give it a sand (I used 100 grit) then stain! I used Minwax Wood Finish in Special Walnut. I wanted to match the look of some hooks we’ve purchased but are yet to put up. The colour is exactly what I was hoping for!

DIY Split Level Entry Makeover- I LOVE this entry. The oversize door, scandi influence and that shoe storage!

DIY Split Level Entry Makeover- I LOVE this entry. The oversize door, scandi influence and that shoe storage!

*UPDATE* We recently refinished our entry way and moved this shelf. We are still totally in love with it but wanted a more secure way to mount it. We have 3 kids that pull on this thing when they’re getting their shoes done. This time around we mounted it with 1/4″ hanger bolts and silicone adhesive. We drilled holes into the bottom board of the shelf (4) and then put the hanger bolts into the wall using heavy duty drywall anchors. We added the silicone adhesive (we have Iron Grip and that stuff holds SO well) then slipped it into place. Push it/ hold it on for the 1 minute then you can walk away and it’s so much more secure than the million L brackets we’d originally used. But if you don’t want permanent- use the L brackets instead (shown below) :) 

I LOVE this DIY modern wood shelf for an entry way. It's totally minimal but really functional with that ledge.

I LOVE this DIY modern wood shelf for an entry way. It's totally minimal but really functional with that ledge.

I LOVE this DIY modern wood shelf for an entry way. It's totally minimal but really functional with that ledge.

I LOVE this DIY modern wood shelf for an entry way. It's totally minimal but really functional with that ledge.

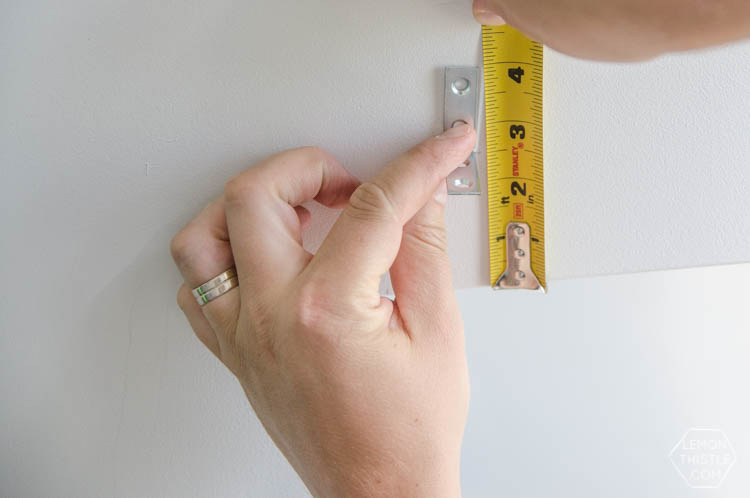
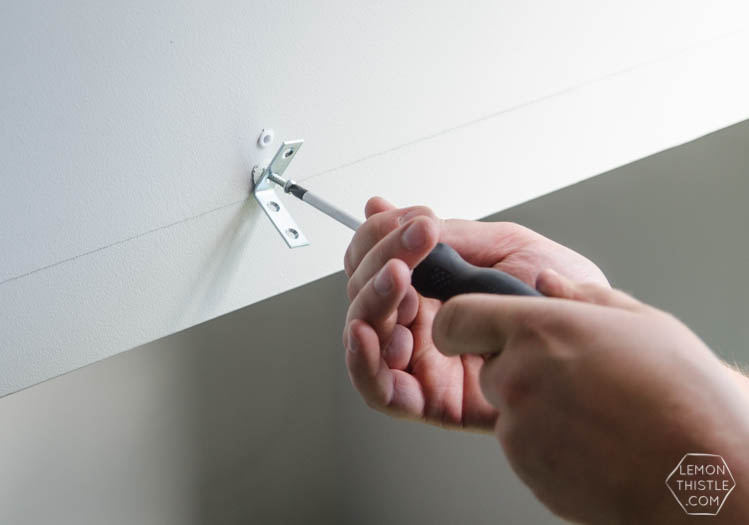
This is how we mounted it. Since it’s so thin (especially on the ledge side), we couldn’t use brackets that the shelf slips over. Drilling into such thin wood wouldn’t have provided much stability. We chose to use small L brackets concealed behind the shelf. Since it’s hip height, you won’t be below it much to notice and if I was worried about it, I could always paint those brackets out to hide with the wood better. If it were visible… I totally would have erased that pencil line too… really ;)

I LOVE this DIY modern wood shelf for an entry way. It's totally minimal but really functional with that ledge.

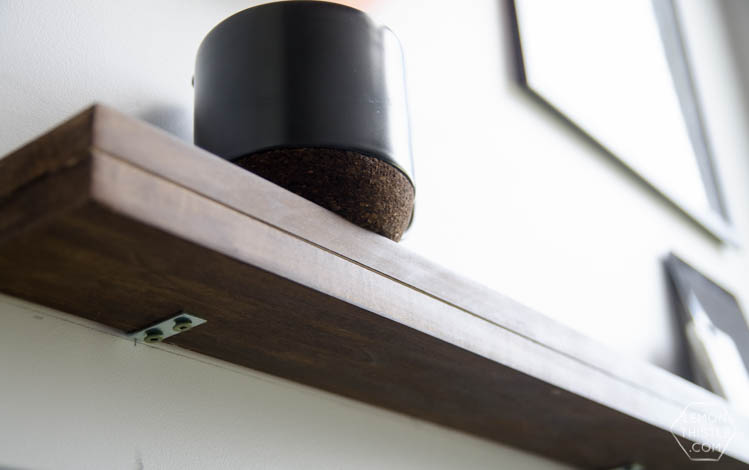
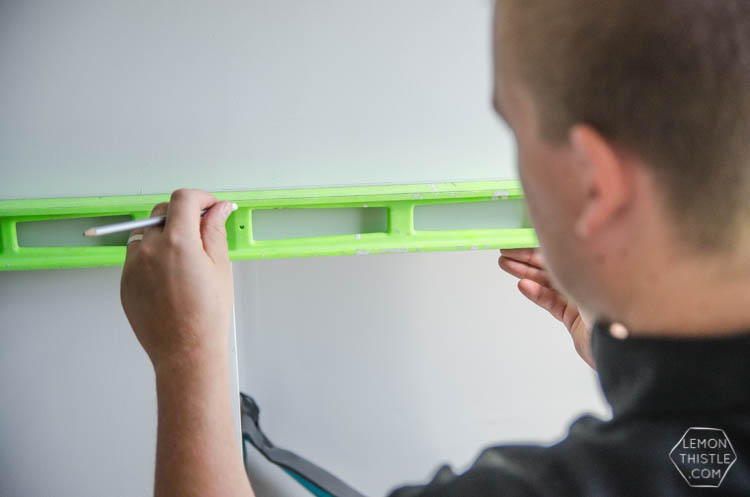
Run a level line, then find your studs and mount your L brackets into the wall. Use the larger ones where your shelf is double thickness (the flat shelf part) and the smaller brackets where the ledge is. When your brackets are all on, slip your shelf into place and screw the brackets into the bottom of your shelf to hold it in place. Easy peasy. Please keep in mind there is a small gap (the thickness of the L bracket metal) at the back of the shelf then. This totally doesn’t bother us, but I want to be clear.

I LOVE this DIY modern wood shelf for an entry way. It's totally minimal but really functional with that ledge.

I LOVE this DIY modern wood shelf for an entry way. It's totally minimal but really functional with that ledge.

I really am so thrilled with how it’s turned out. I have big plans for this space! Not only is it hardly functional, but it’s not safe for our kids right now. I can’t wait to tackle the rest of this space to get it finished, useable, pretty, and safe. But in the meantime… this was an easy win thanks to Home Depot Canada!

I LOVE this DIY modern wood shelf for an entry way. It's totally minimal but really functional with that ledge.

Category: DIY, Home DecorTag: Building, DIY Home Decor, Entry Way, Renovation, Sponsored, Storage, Wall Decor, Wood
Facebook0Tweet0Pin0LinkedIn0
Previous Post: « Such a great idea to label your drink at a party! I never would have thought of this, but it's so simple and cute DIY Drink Labels (fit for a party!)
Next Post: Navy Master Bedroom Refresh I LOVE this moody navy bedroom- the forrest, the gallery wall- the brass lights... it's all so good! And I love all the DIY »

Reader Interactions

Comments

  1. Susan

    Jun 22 at 8:52 pm

    Lovely shelf! Where is your clock from?! I love it!

    Reply
    • Colleen Pastoor

      Feb 27 at 4:34 pm

      Homesense!

      Reply

Leave a Reply Cancel reply

Your email address will not be published. Required fields are marked *

Sidebar

WOOHOO!

Check your email to confirm!

(+ get your freebies + discounts)


Thanks for dropping by!
I’m Colleen: wife; mom to 4 wild ones; and DIY blogger behind Lemon Thistle. You can expect to see rad DIY, modern home decor, renovations, hand lettering and the occasional party on Lemon Thistle. Read More…

email facebook youtube instagram pinterest

Unless otherwise noted, all content and images are mine. Full posts may not be shared without express written consent. But I love when you share! Feel free to share, without altering, one image with proper credit and a link to the original post. All free printables are for personal use only.

Everyone loves proper credit- if you ever notice something improperly credited, please please shoot me an email and I’ll fix it lightning fast.

Find all my policies right here.
This includes my privacy policy, info on the GDRP compliance and information on affiliate links (Including Amazon Affiliates).

Visit Colleen Pastoor’s profile on Pinterest.

colleenpastoor

My house is never this clean
-
DIY + Home Decor Blogger
Mama of 4 👶🏼🧒🏼👦🏼👧🏼
Renovating our 🏠 the DIY way
🖤 Lettering & ☕️
-
✉️[email protected]

colleen pastoor/lemon thistle
What’s next on your project list? Spring is teas What’s next on your project list? Spring is teasing us so we’re starting on outdoor projects around here!
$100 play room makeover is DONE! This room has se $100 play room makeover is DONE! 
This room has seen so much change over the past year (swipe over to see it 2 weeks ago, 10 months ago and 1 year ago!). I took this last week to make over this space with mostly pieces we already had and I’m so so happy with the results! It’s a good reminder that some hard work, creativity and of course paint can work magic.
I’m sharing all the details (and that under stairs space!) on YouTube today (link in my stories!) and so is my friend @thediymommy (she made over her daughters bedroom for $100!).
Do you think dried grasses are only for fall decor Do you think dried grasses are only for fall decor? I used to think so, but these bunny tail grasses are too cute to put in a bin until next year. Plus the name sounds like spring decor to me ;) What do you think?

Ps. Today’s going to be a full day of playroom progress! I’ll share as much as I can in stories as I go :)
Paint is honestly magic.✨ I am so excited to sha Paint is honestly magic.✨
I am so excited to share this kitchen makeover with you guys! These are the same cabinets, just painted (countertops too!) And some updated finishes. I blogged the full before and after if you’d like to check it out!
Big thank you to @schaubhardware and @wagnerspraytech for partnering to make this space possible!
Ps. Most of the work done here was by the homeowners so if you’re thinking about taking on a makeover in your own home, maybe this is the encouragement you need 😘
As I’m sitting here staring at the dishes on the As I’m sitting here staring at the dishes on the counter while I try to focus on editing a video, I thought it’s as good of time as any to share this reminder 😘
I feel like I’ve lucked into the best job out th I feel like I’ve lucked into the best job out there, but then I’m also so aware of the amount of work it took to get here. Today I chatted with two of my blog friends in an Instagram live about DIY blogging as a job and answered some questions we get asked all the time about our work and the balance of it all! I saved it as an IGTV so you can watch it if you missed 🥰

Big thanks to @love_create_celebrate and @thediymommy for chatting with me today! One of the biggest perks of this job is all the talented ladies I’ve had the privilege of meeting and calling friends- these two are top of that list!
I’m having some fun in stories with a little giv I’m having some fun in stories with a little giveaway guessing game. I’d love if you played along!

I put up a question box and you can guess my next room makeover and the guesses are all over the place. Some are projects on my dream list, some are rooms I wish to even have in my house and some are spaces we’ve already tackled! Like our main bathroom ✨ these photos are from my spring home tour I shared over on the blog earlier this week. Hung up a pennant and called it decked for spring 🐣
Who is ready for spring?! I know we totally are- w Who is ready for spring?!
I know we totally are- we’ve been soaking up outside time this week with the kids home on spring break but over on the blog... it’s spring home tour time! I am sharing my home all ready for spring along with some amazing bloggers as part of the #seasonalsimplicity spring series!
You know I love a touch of DIY decor in every spac You know I love a touch of DIY decor in every space in my home, so I’m so excited to be partnering with @HGTVCanada to celebrate #$aveMyReno being back TONIGHT! #partner
 
My favourite thing about $ave My Reno is that they encourage home owners to get involved and DIY to maximize budget. They even help kids get involved- it’s everything Shane and I work towards in our own projects. You can catch it every Tuesday at 9/9:30PM EP on @HGTVCanada or catch up on episodes on STACKTV through @primevideoca!
 
PS. I made those tie dye pillows, similar to the ones featured in tonight’s episode! You can catch my stories to see the super speedy how-to :)
Load More... Follow on Instagram

Copyright © 2021 · Lemon Thistle · All Rights Reserved · Powered by Mai Theme