• Skip to main content
  • Skip to header left navigation
  • Skip to header right navigation
  • Skip to site footer
  • Shop
  • Get The Email
  • Work With Me
  • About
  • Search

  • DIY
    • DIY Home Decor
    • With Power Tools
    • Renovation
    • For Kids
    • For Parties
    • Wearable
    • Organization
    • Cricut Crafts
  • Home Decor
    • Room Reveals
    • Kid Friendly
    • DIY Home Decor
    • Renovation
  • Lettering
    • Hand Lettered Printables
    • Free Practice Sheets
    • Handlettered DIY
    • Free Brush Lettering Quickstart Guide
Lemon Thistle

Lemon Thistle

Rad DIY, Lettering and Design for Real People

  • Printables
    • For Cricut
    • Party Printables
    • Home Decor Printables
    • Bachelor Bingo
    • Handlettering Practice Sheets
    • All Free Printables
  • Entertain
    • Party Printables
    • Party DIY
    • Tablescapes
    • Kids Parties
  • Blog

2 Minute Chalkboard Wrapped Drink Jars

Aug 31

DIY Chalkboard Wrapped Drink Jars... 2 minutes and NO dry time! Perfect addition to a party

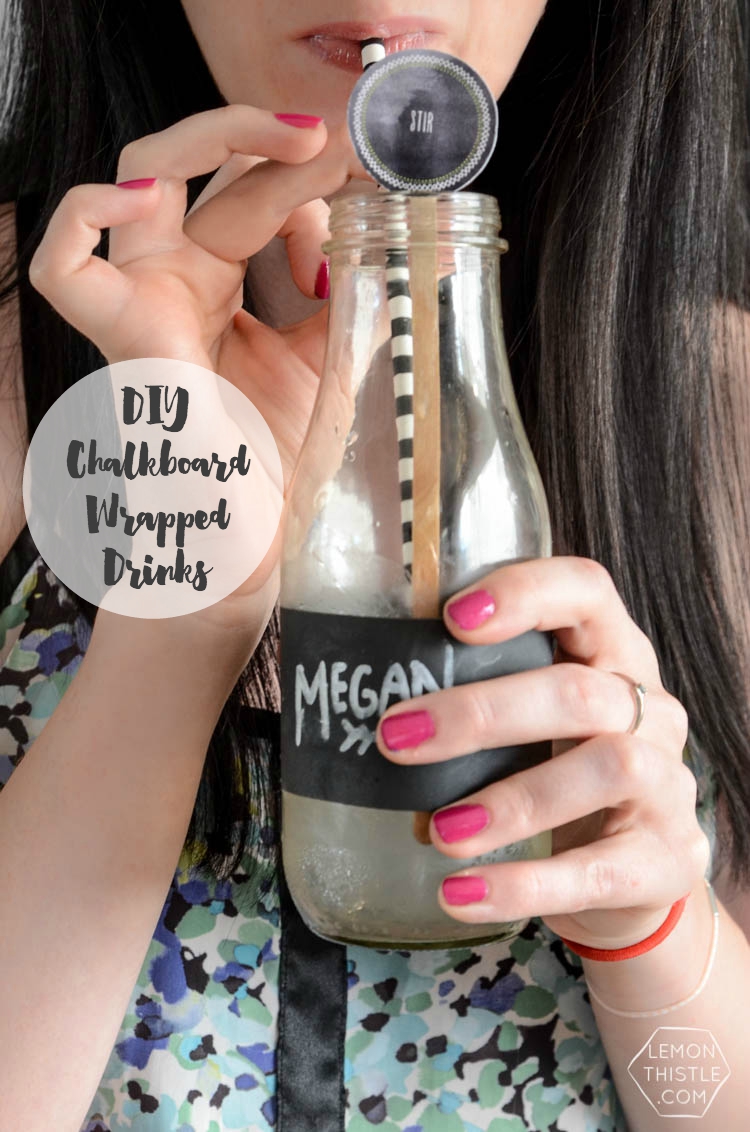
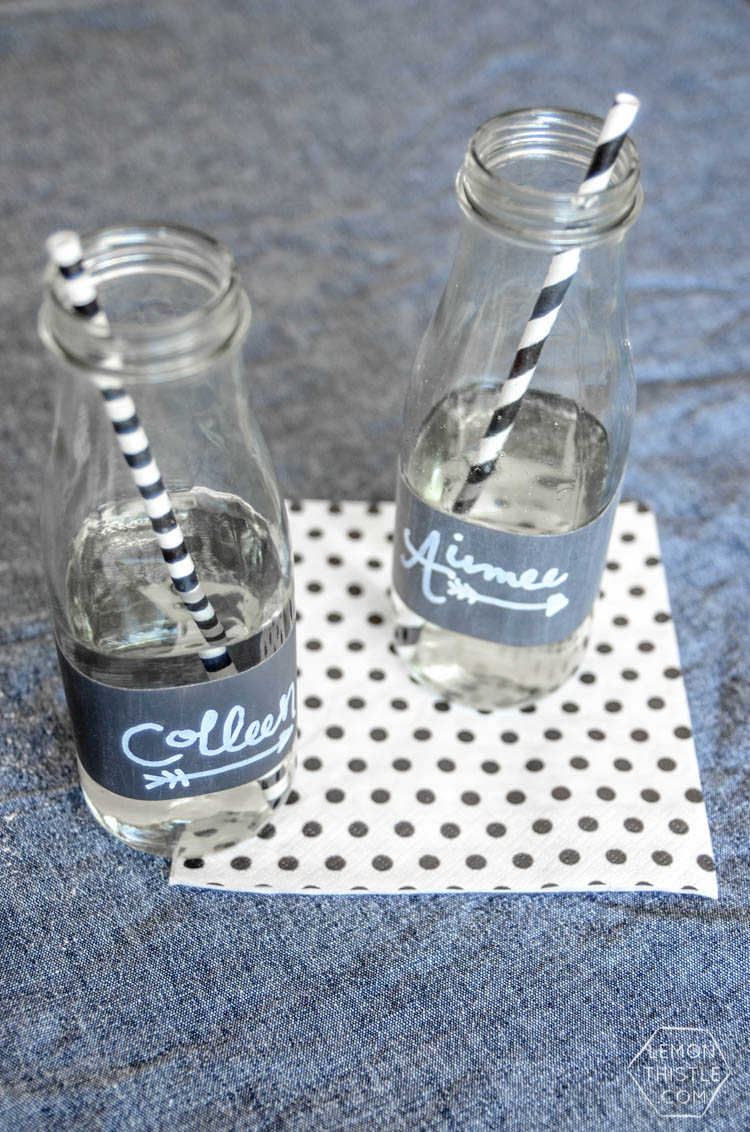
If you remember my Black and White Boho Party I posted a few months back, you might have spotted these DIY Chalkboard Wrapped Drink Jars. I originally shared the 2 minute DIY over at Pretty Providence, but realized I’ve yet to share it with you all! Let’s remedy that, okay?

DIY Chalkboard Wrapped Drink Jars... 2 minutes and NO dry time! Perfect addition to a party

These chalkboard wrapped drink jars are the best because they literally take 2 minutes and have NO dry time. With how quick they are, you could make them while guests are arriving. There’s no minute like the last minute, right?

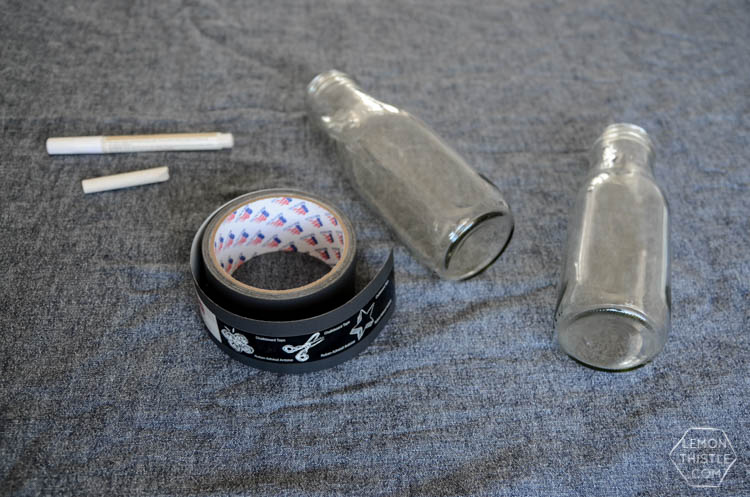
Here’s what you’ll need to make your own:

  • Glass milk ‘jars’ (I actually used Starbucks drink jars cleaned out)
  • Chalkboard tape (it’s a thing! I got mine on sale at Michaels for $3)
  • Scissors
  • Chalk
  • Chalk Marker

DIY Chalkboard Wrapped Drink Jars... 2 minutes and NO dry time! Perfect addition to a party

DIY Chalkboard Wrapped Drink Jars... 2 minutes and NO dry time! Perfect addition to a party

DIY Chalkboard Wrapped Drink Jars... 2 minutes and NO dry time! Perfect addition to a party

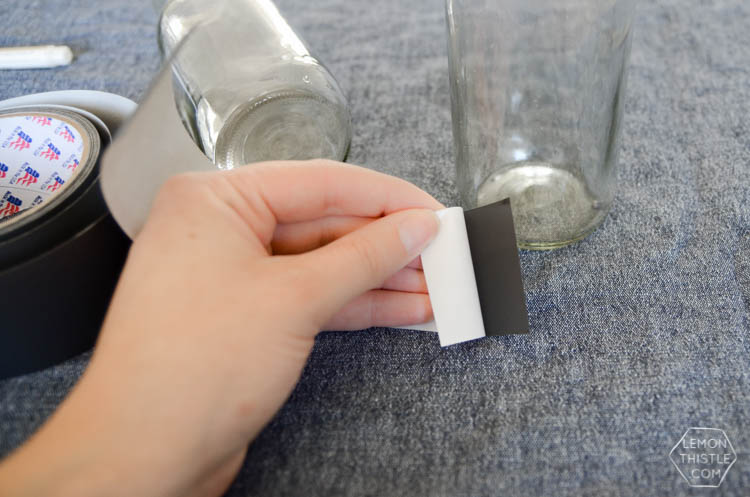
Ready for the super-involved, a little bit difficult instructions? Good! Cut pieces of the chalk tape long enough to wrap around your jars, peel off the backing and stick it on!

DIY Chalkboard Wrapped Drink Jars... 2 minutes and NO dry time! Perfect addition to a party

DIY Chalkboard Wrapped Drink Jars... 2 minutes and NO dry time! Perfect addition to a party

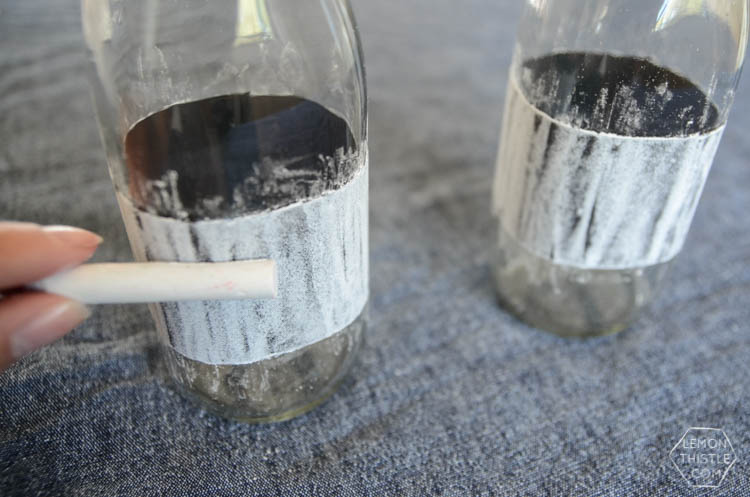
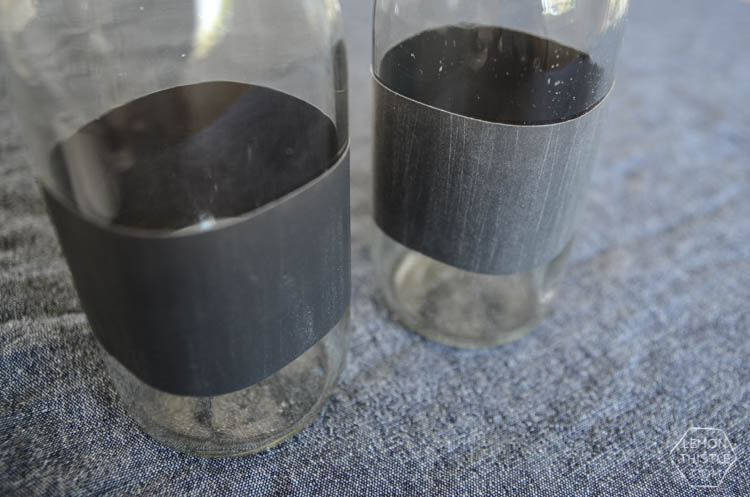
Seriously… so simple. I ‘cured’ my tape before writing with a chalk marker- I’m not sure if this was entirely necessary, but I always do it with regular chalkboards so the residue doesn’t stick around when I try erase. Just rub a piece of chalk all over the tape and wipe clean with a dry cloth.

DIY Chalkboard Wrapped Drink Jars... 2 minutes and NO dry time! Perfect addition to a party

That’s it, that’s all! They’re so darn simple. I still have yet to use the rest of this chalk tape up, so I’m dreaming up projects to finish it off. But if you have any suggestions… I’m all ears!

Category: DIY, EntertainTag: Baby Shower, Birthday, Chalkboard, Decorations, Dinner Party, Party, Party Decor, Party DIY, Party Food, Showers, Tips and Tricks
Facebook0Tweet0Pin0LinkedIn0
Previous Post: « September Tech Wallpapers
Next Post: DIY Modern Lettered Garland DIY Modern Lettered Garland- awesome for a party or for a kids room! »

Reader Interactions

Comments

  1. Sarah Eliza

    Sep 12 at 6:21 pm

    Ooh clever! What a fun touch for a party. :) Thanks for sharing!!

    Reply
    • Colleen Pastoor

      Sep 19 at 1:13 pm

      Thanks so much Sarah! Chalkboard tape is pretty clever in itself- I want to use that stuff on everything ;)

      Reply
  2. Theresa @DearCreatives

    Sep 16 at 11:33 pm

    Hi Colleen, Cute idea. Thanks for sharing at the Inspiration Spotlight Party. Pinned & shared. Hope to see you again soon

    Reply
    • Colleen Pastoor

      Sep 19 at 1:26 pm

      Thanks so much Theresa, appreciate you stopping by :)

      Reply

Leave a Reply Cancel reply

Your email address will not be published. Required fields are marked *

Sidebar

WOOHOO!

Check your email to confirm!

(+ get your freebies + discounts)


Thanks for dropping by!
I’m Colleen: wife; mom to 4 wild ones; and DIY blogger behind Lemon Thistle. You can expect to see rad DIY, modern home decor, renovations, hand lettering and the occasional party on Lemon Thistle. Read More…

email facebook youtube instagram pinterest

Unless otherwise noted, all content and images are mine. Full posts may not be shared without express written consent. But I love when you share! Feel free to share, without altering, one image with proper credit and a link to the original post. All free printables are for personal use only.

Everyone loves proper credit- if you ever notice something improperly credited, please please shoot me an email and I’ll fix it lightning fast.

Find all my policies right here.
This includes my privacy policy, info on the GDRP compliance and information on affiliate links (Including Amazon Affiliates).

Visit Colleen Pastoor’s profile on Pinterest.

colleenpastoor

My house is never this clean
-
DIY + Home Decor Blogger
Mama of 4 👶🏼🧒🏼👦🏼👧🏼
Renovating our 🏠 the DIY way
🖤 Lettering & ☕️
-
✉️[email protected]

colleen pastoor/lemon thistle
What’s next on your project list? Spring is teas What’s next on your project list? Spring is teasing us so we’re starting on outdoor projects around here!
$100 play room makeover is DONE! This room has se $100 play room makeover is DONE! 
This room has seen so much change over the past year (swipe over to see it 2 weeks ago, 10 months ago and 1 year ago!). I took this last week to make over this space with mostly pieces we already had and I’m so so happy with the results! It’s a good reminder that some hard work, creativity and of course paint can work magic.
I’m sharing all the details (and that under stairs space!) on YouTube today (link in my stories!) and so is my friend @thediymommy (she made over her daughters bedroom for $100!).
Do you think dried grasses are only for fall decor Do you think dried grasses are only for fall decor? I used to think so, but these bunny tail grasses are too cute to put in a bin until next year. Plus the name sounds like spring decor to me ;) What do you think?

Ps. Today’s going to be a full day of playroom progress! I’ll share as much as I can in stories as I go :)
Paint is honestly magic.✨ I am so excited to sha Paint is honestly magic.✨
I am so excited to share this kitchen makeover with you guys! These are the same cabinets, just painted (countertops too!) And some updated finishes. I blogged the full before and after if you’d like to check it out!
Big thank you to @schaubhardware and @wagnerspraytech for partnering to make this space possible!
Ps. Most of the work done here was by the homeowners so if you’re thinking about taking on a makeover in your own home, maybe this is the encouragement you need 😘
As I’m sitting here staring at the dishes on the As I’m sitting here staring at the dishes on the counter while I try to focus on editing a video, I thought it’s as good of time as any to share this reminder 😘
I feel like I’ve lucked into the best job out th I feel like I’ve lucked into the best job out there, but then I’m also so aware of the amount of work it took to get here. Today I chatted with two of my blog friends in an Instagram live about DIY blogging as a job and answered some questions we get asked all the time about our work and the balance of it all! I saved it as an IGTV so you can watch it if you missed 🥰

Big thanks to @love_create_celebrate and @thediymommy for chatting with me today! One of the biggest perks of this job is all the talented ladies I’ve had the privilege of meeting and calling friends- these two are top of that list!
I’m having some fun in stories with a little giv I’m having some fun in stories with a little giveaway guessing game. I’d love if you played along!

I put up a question box and you can guess my next room makeover and the guesses are all over the place. Some are projects on my dream list, some are rooms I wish to even have in my house and some are spaces we’ve already tackled! Like our main bathroom ✨ these photos are from my spring home tour I shared over on the blog earlier this week. Hung up a pennant and called it decked for spring 🐣
Who is ready for spring?! I know we totally are- w Who is ready for spring?!
I know we totally are- we’ve been soaking up outside time this week with the kids home on spring break but over on the blog... it’s spring home tour time! I am sharing my home all ready for spring along with some amazing bloggers as part of the #seasonalsimplicity spring series!
You know I love a touch of DIY decor in every spac You know I love a touch of DIY decor in every space in my home, so I’m so excited to be partnering with @HGTVCanada to celebrate #$aveMyReno being back TONIGHT! #partner
 
My favourite thing about $ave My Reno is that they encourage home owners to get involved and DIY to maximize budget. They even help kids get involved- it’s everything Shane and I work towards in our own projects. You can catch it every Tuesday at 9/9:30PM EP on @HGTVCanada or catch up on episodes on STACKTV through @primevideoca!
 
PS. I made those tie dye pillows, similar to the ones featured in tonight’s episode! You can catch my stories to see the super speedy how-to :)
Load More... Follow on Instagram

Copyright © 2021 · Lemon Thistle · All Rights Reserved · Powered by Mai Theme