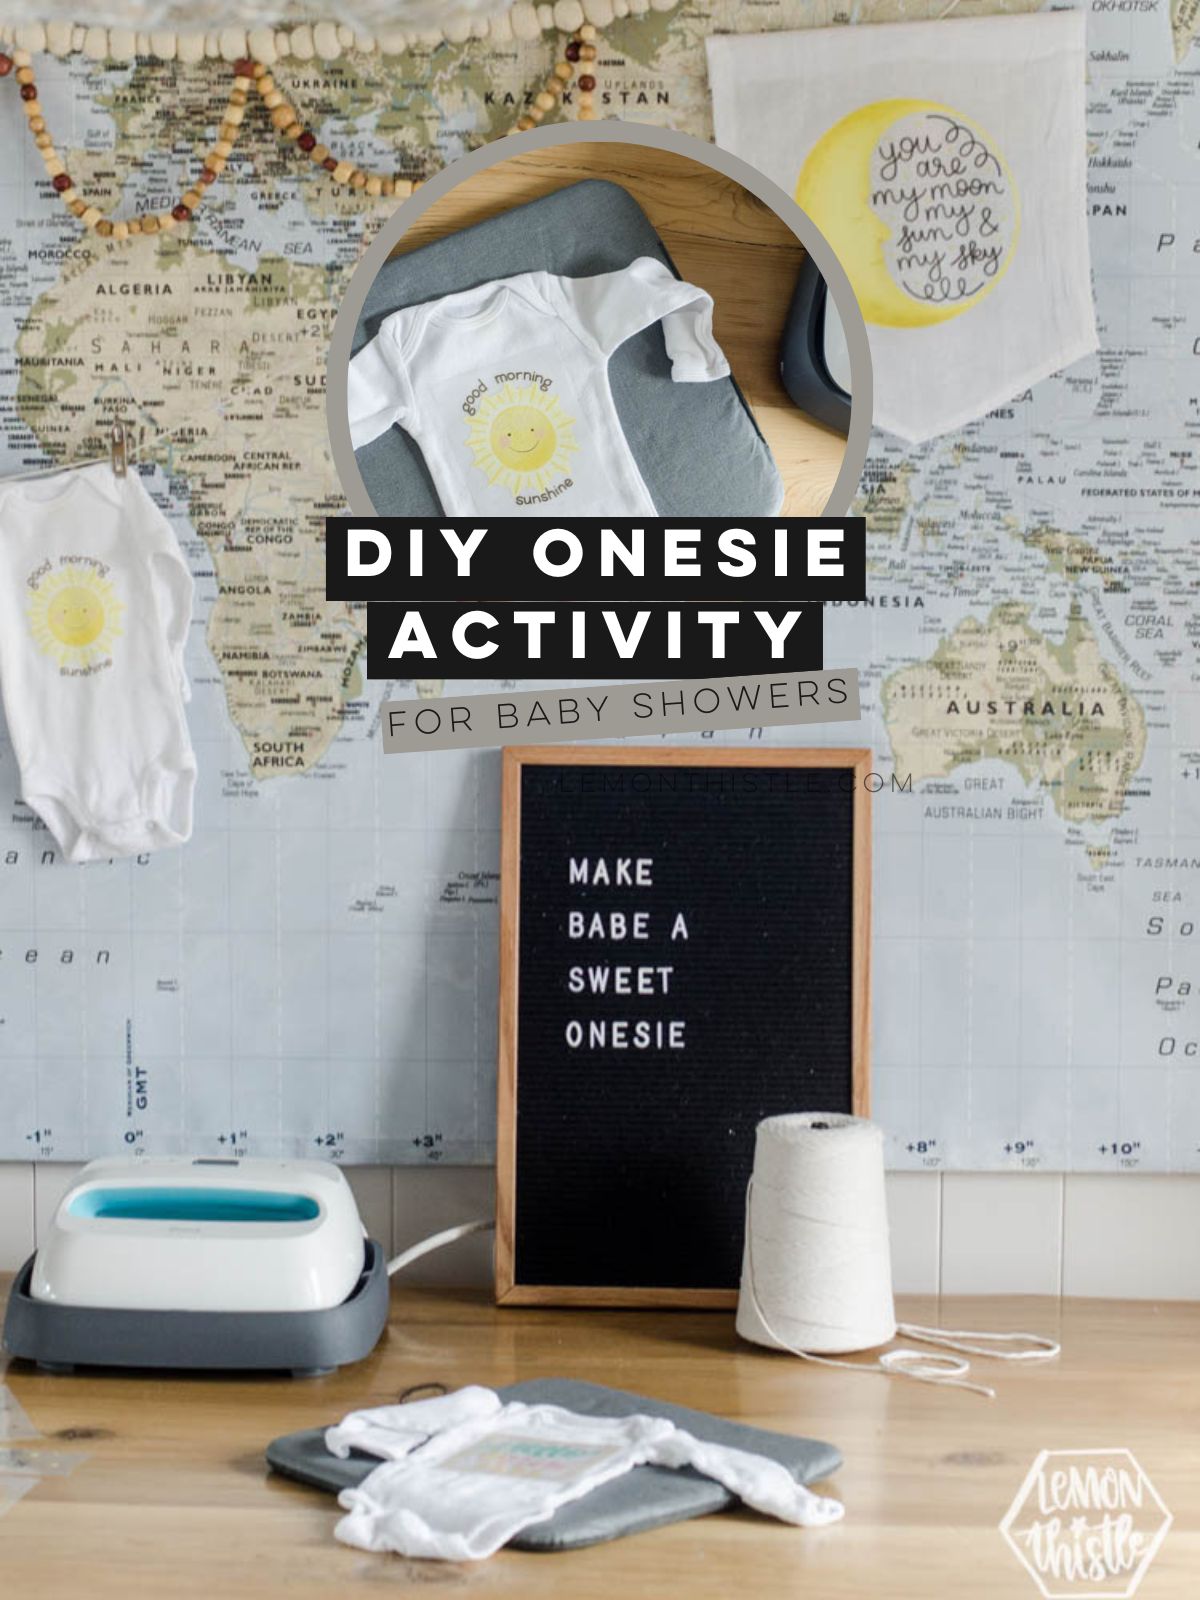
Set up an adorable onesie making station at a baby shower for a fun activity to gift handmade onesies to the mama-to-be! Here’s tips to easily make it happen.
You guys must know by now that I love a good party. And a good party activity that doesn’t embarrass guests. Today I’m excited to share this simple DIY onesie station as the perfect baby shower activity to try out.
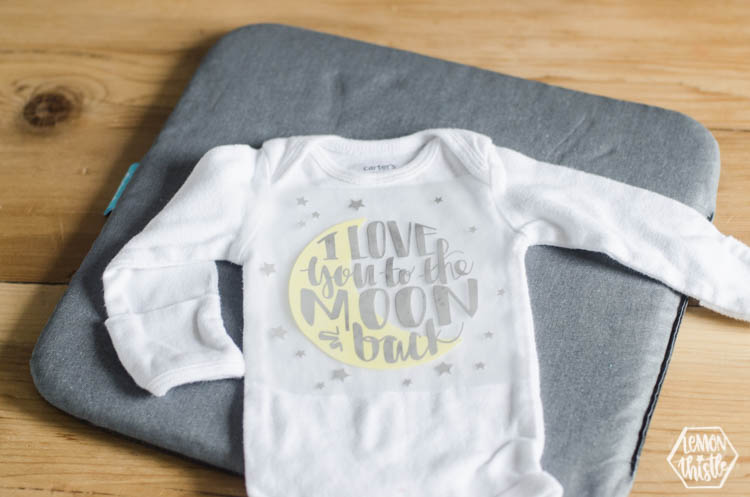
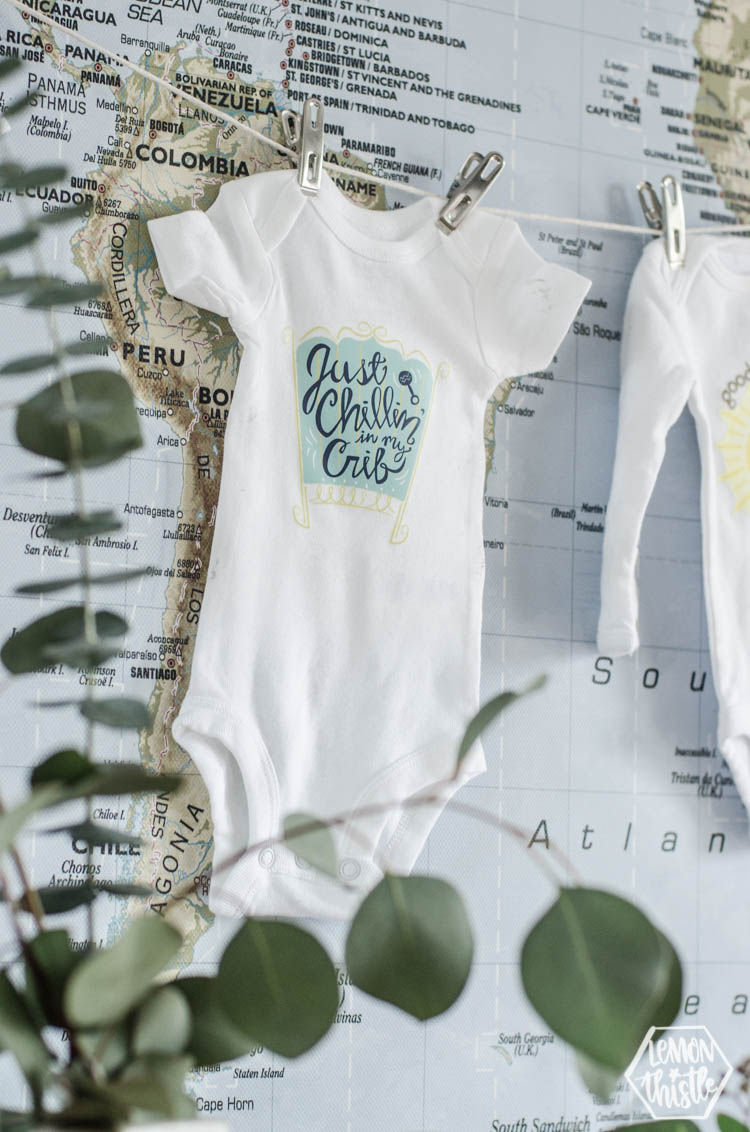
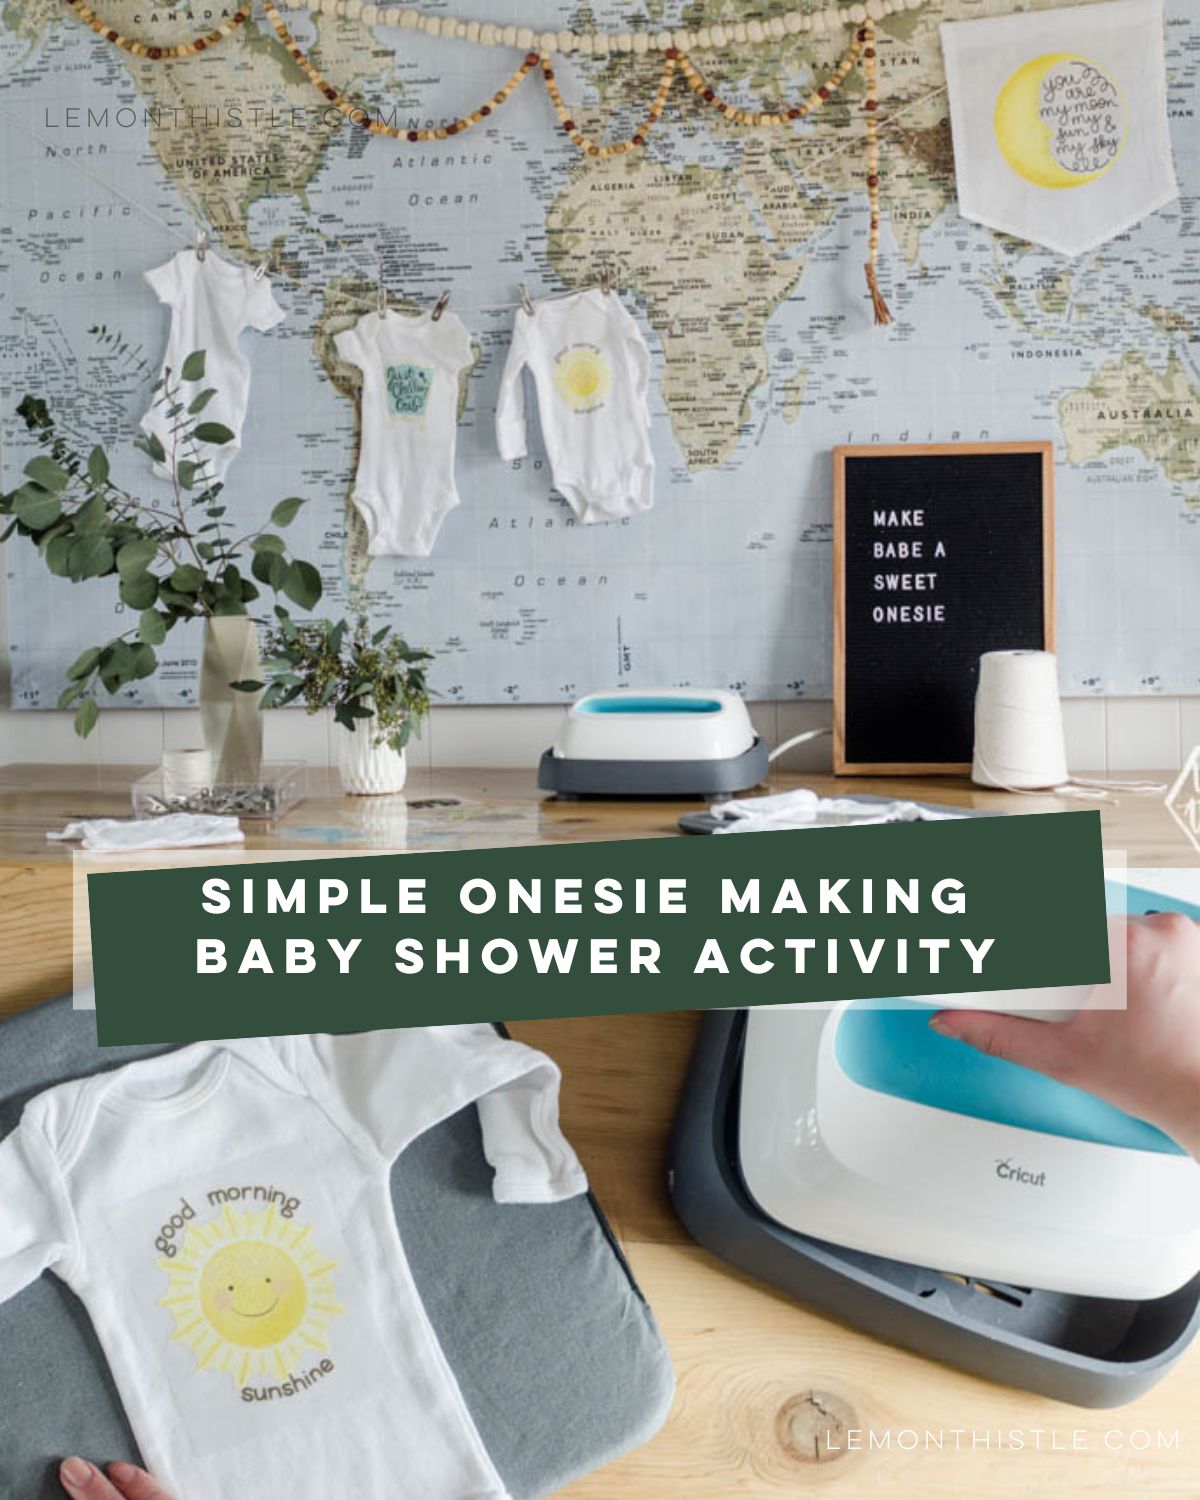
When I saw these adorable iron on transfers for baby onesies, I knew I wanted to set up a little onesie making station with some of them. Because they’re SO CUTE. So that’s what I’m sharing here today!
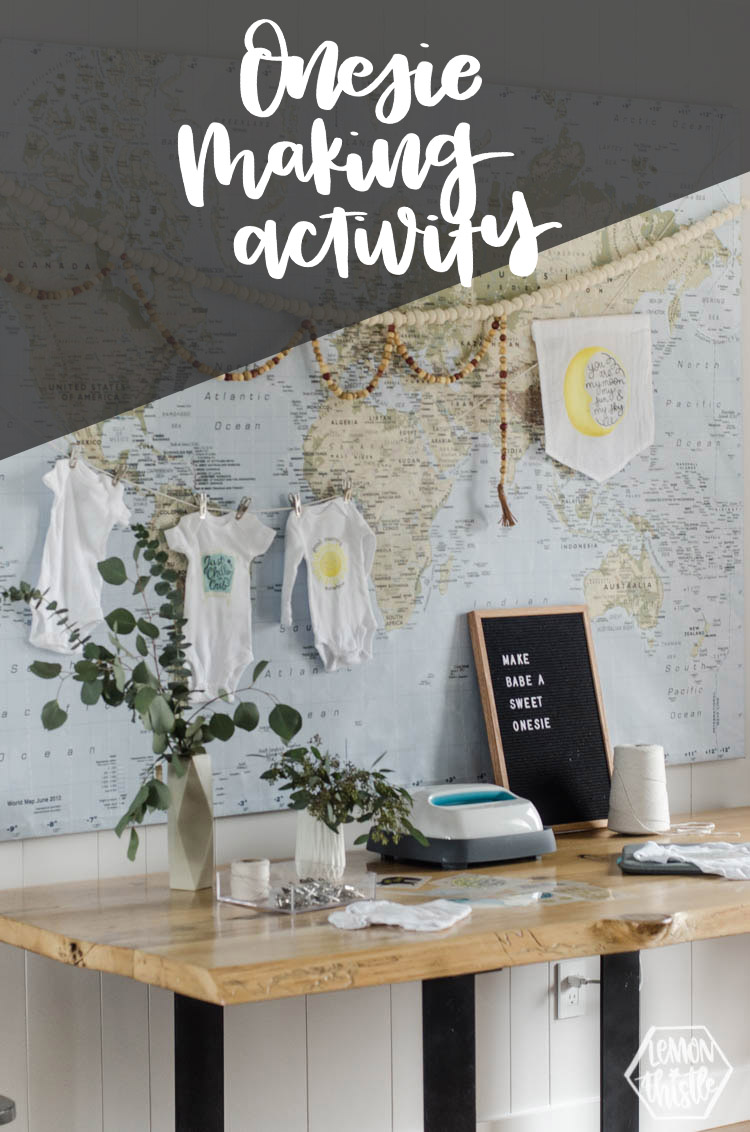
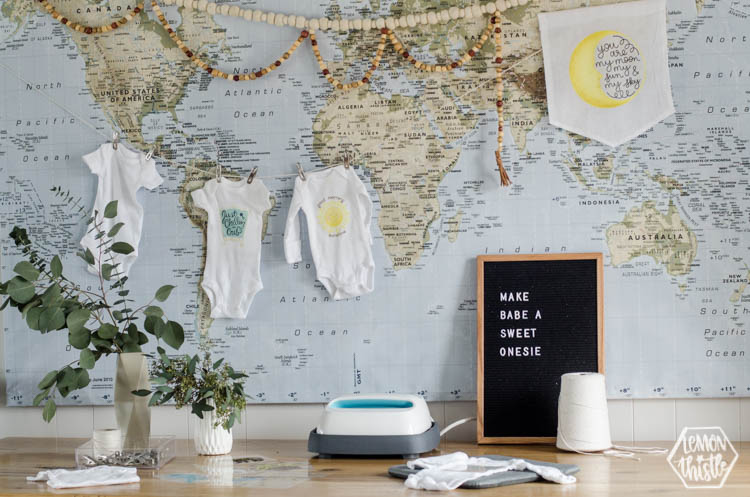
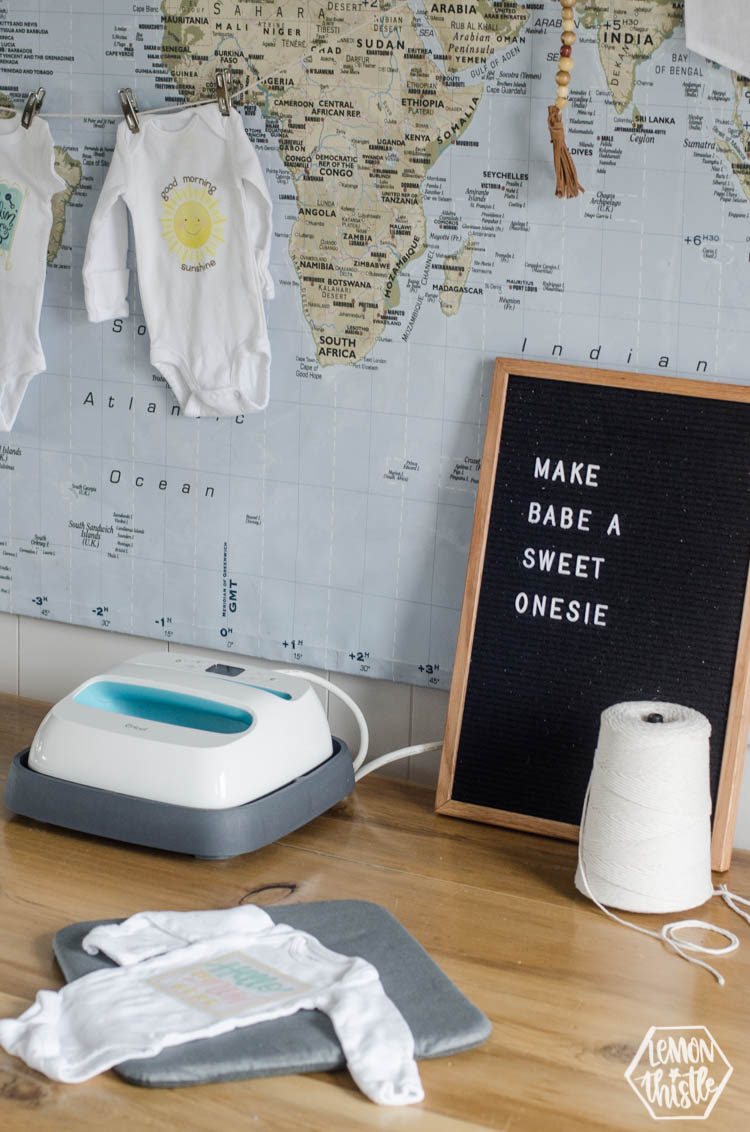
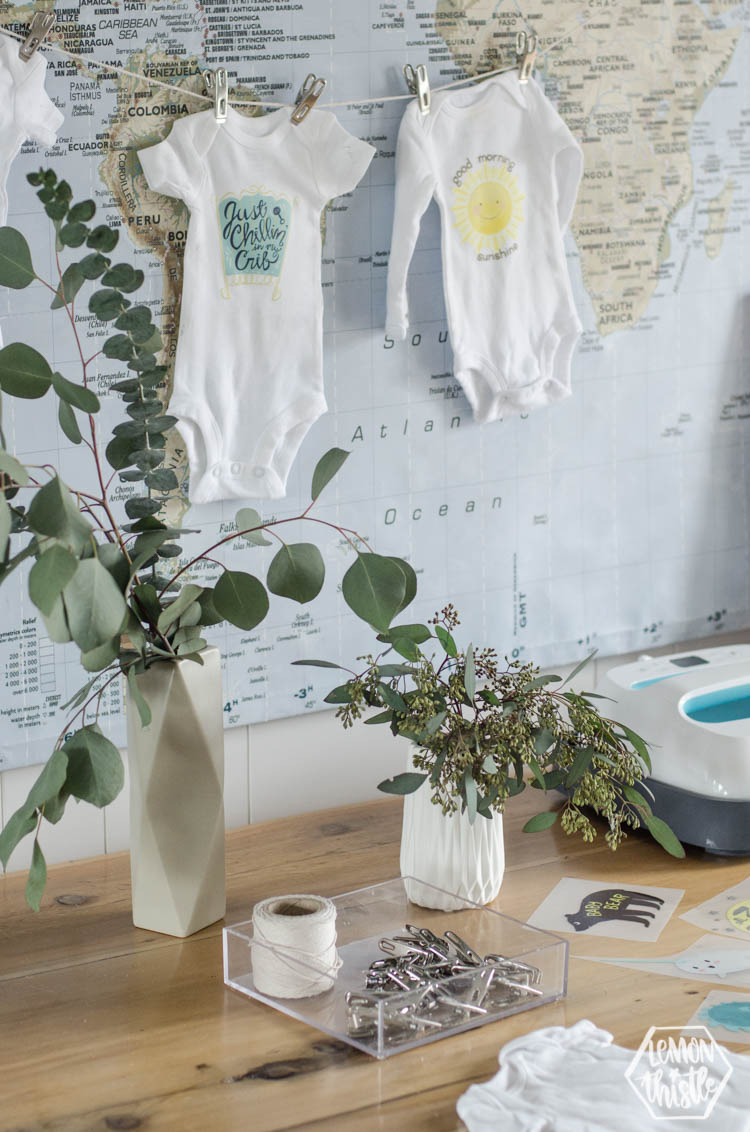
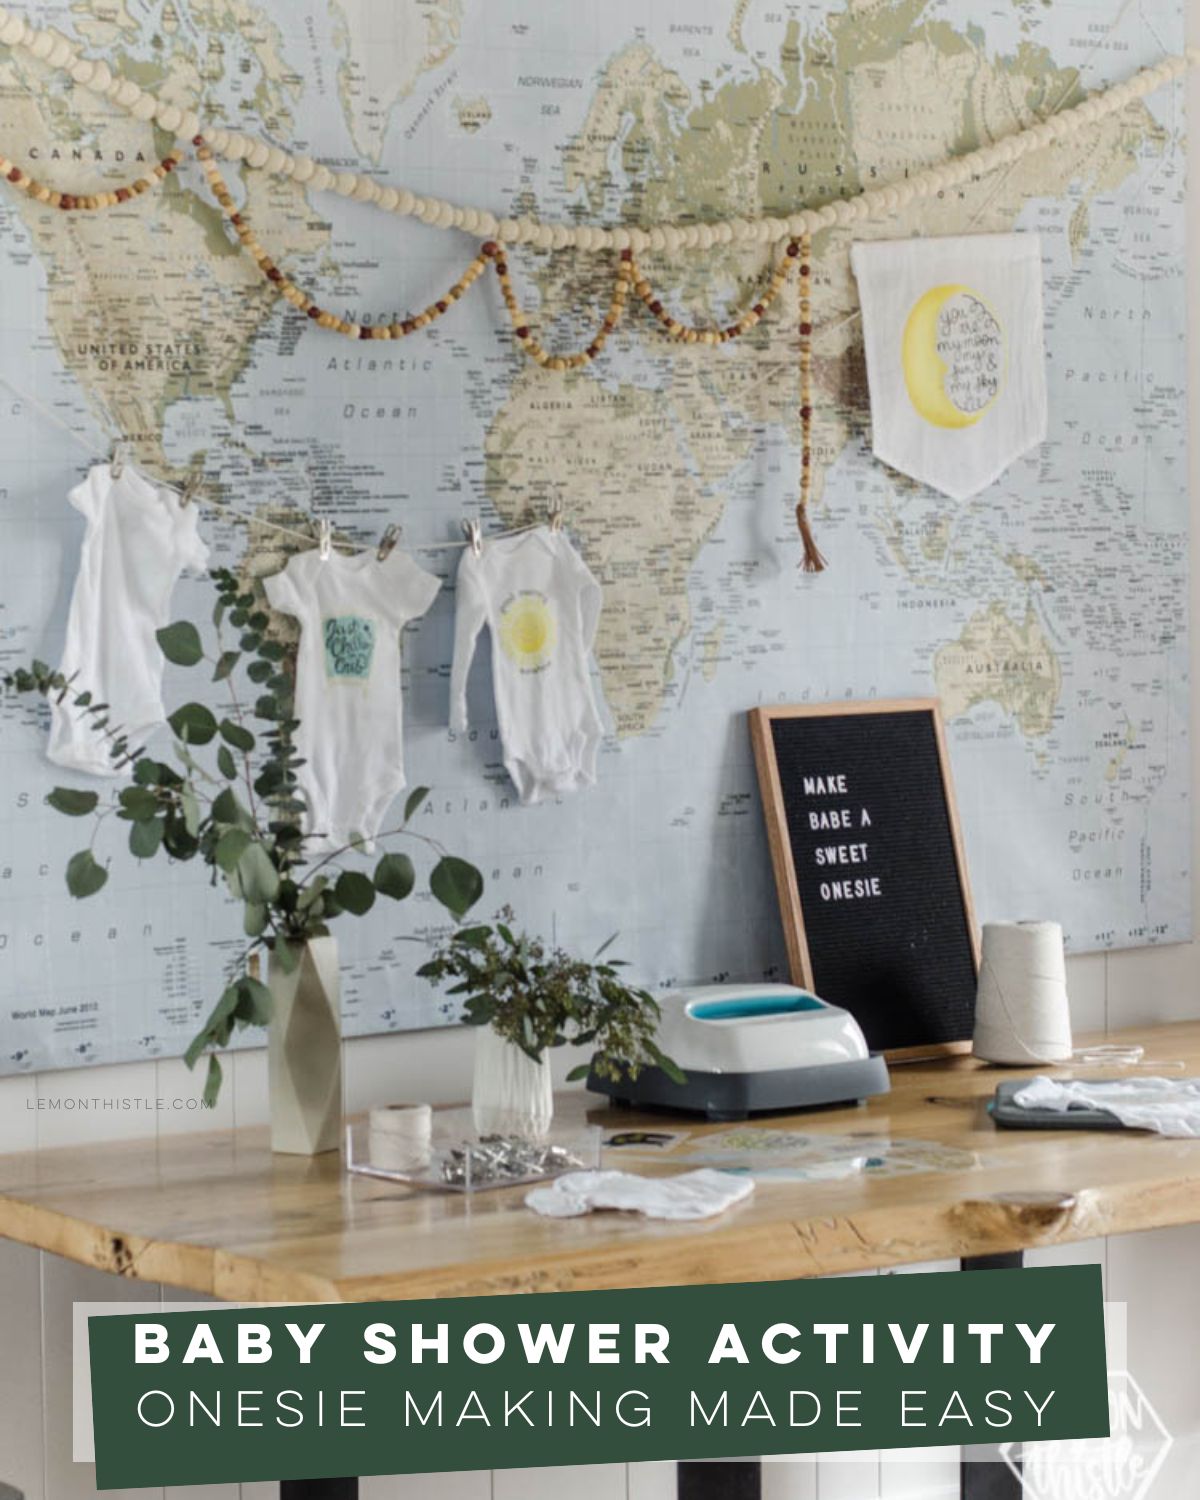
I really love how this little activity turned out! They were so easy to apply (like zero skill necessary) and required almost no prep at all on my part. Also… aren’t the onesies on the clothesline so darn cute? I’m kind of smitten with how this little setup looks.
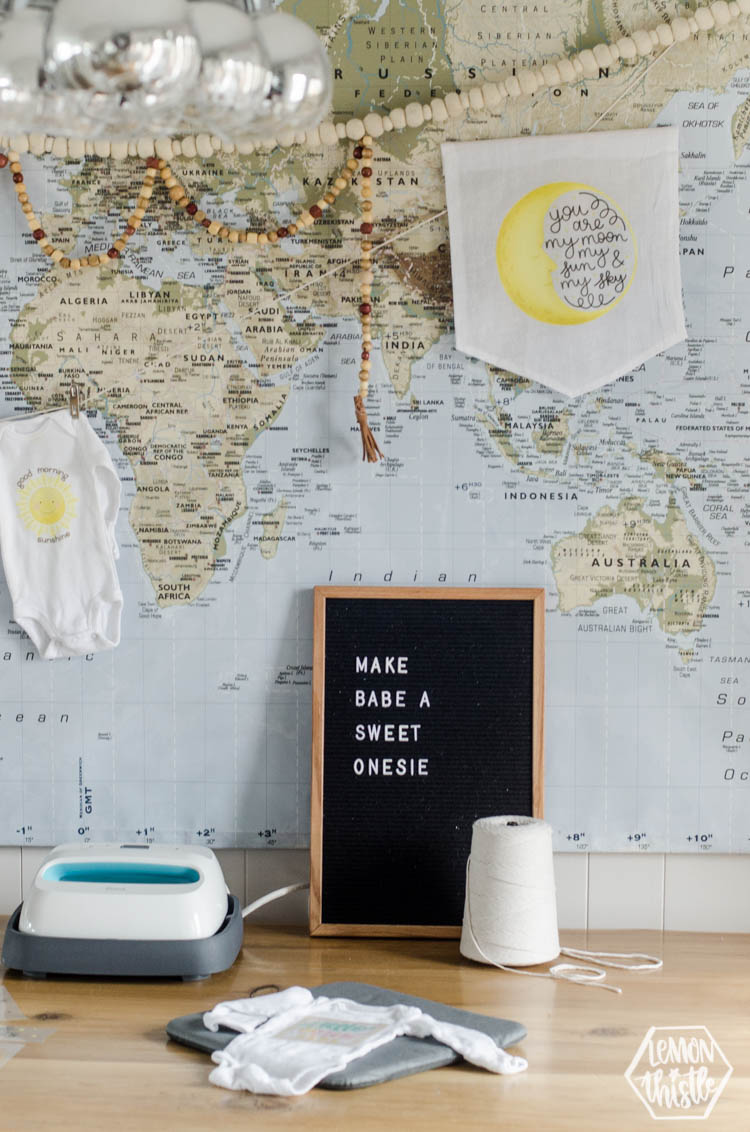
I’ve had that felt ball garland forever and haven’t had it hung in quite a while. Now that I’ve added the wood bead and leather tassel to it, I’m so excited to hang it in our home.
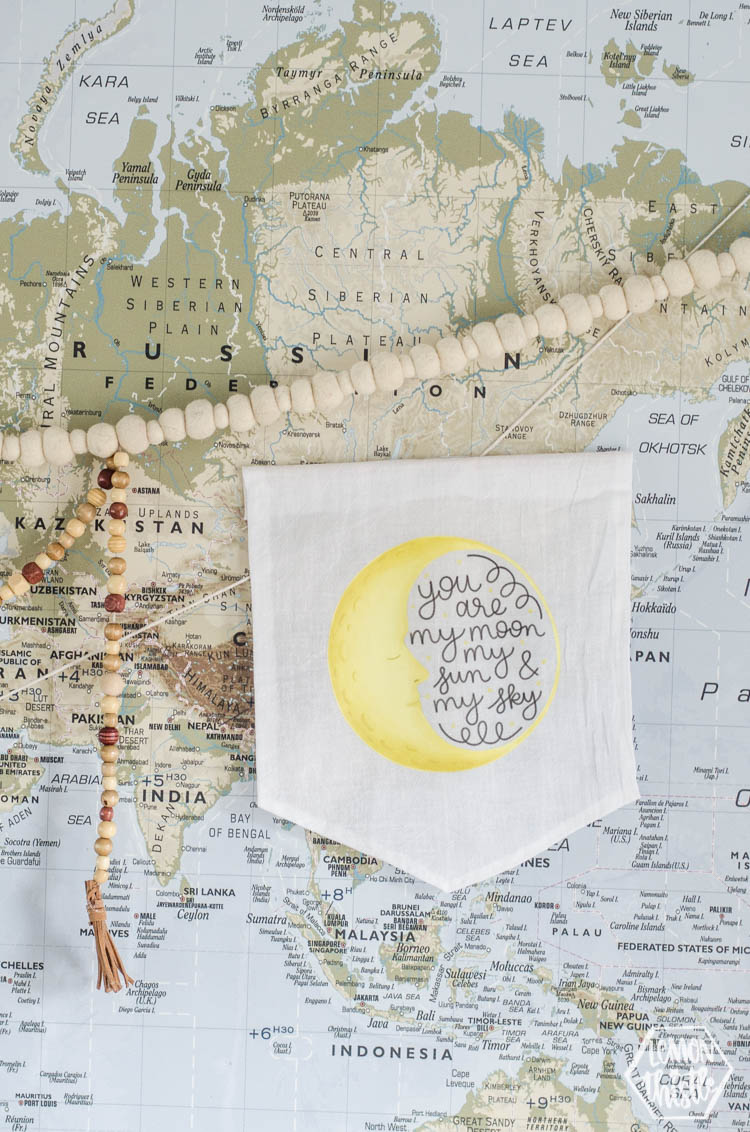
I also made a little flour sack banner for the decor that coordinates with the onesie designs we were making. I love how it looks for party decor but also, it’s the cutest little nursery decor gift.
Okay, enough about decor ;) Let’s chat about the activity!
This post was originally created in partnership with Cricut, but was updated in 2024 with current information and links. Cricut no longer makes these onesie transfers so I’ve included some alternate options for you!
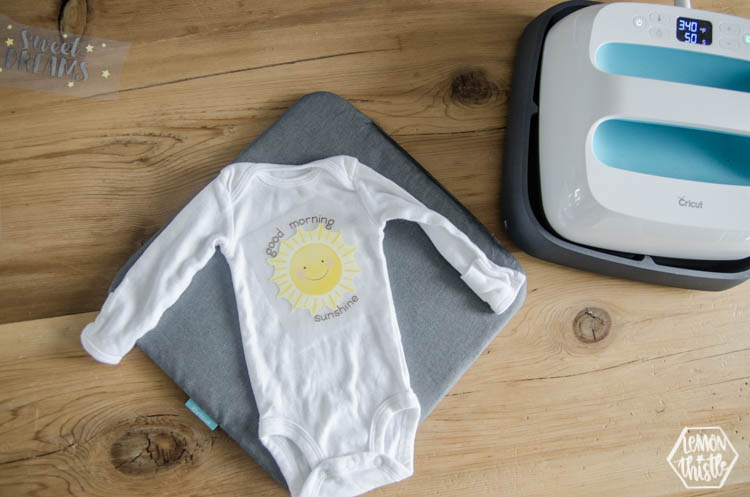
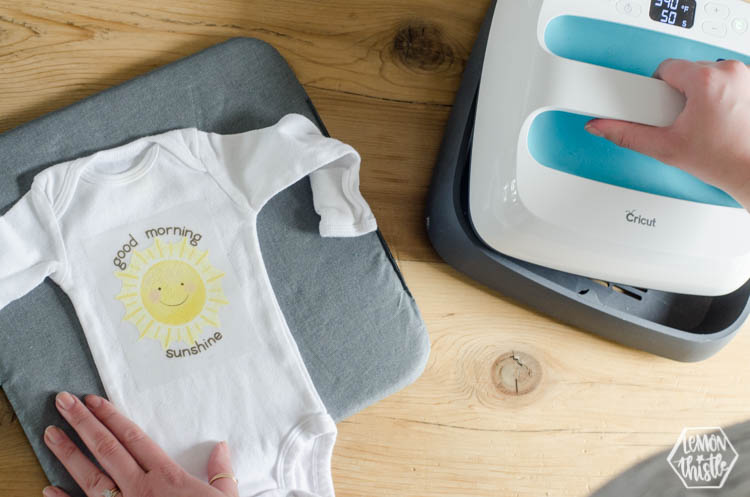
To make this little activity station happen, you need either an iron or Cricut EasyPress (a cross between an iron and heat press) so make sure to have a plugin near by.
You’ll also need either an EasyPress Mat or folded towel to protect your surface. I really recommend the EasyPress if you have one because it sits with the hot side down on the base when not in use so there’s WAY less risk of someone burning themselves accidentally during an activity like this when it’s not in use (reaching for something else… you know what I’m talkin’ bout).
Plus, since you can set the timer and the temperature ahead of time, it’s pretty fool proof for someone who doesn’t use iron on material.
If you are using an EasyPress Mat just know that it holds heat so much better than a towel so there’s actually different heat settings depending on what you’re using (EasyPress Mat OR towel).
You can find those recommendations for your material RIGHT HERE in their heat guide. I’ve saved this link on my phone so when I pull out my EasyPress I can quickly check what temperature/time I need.
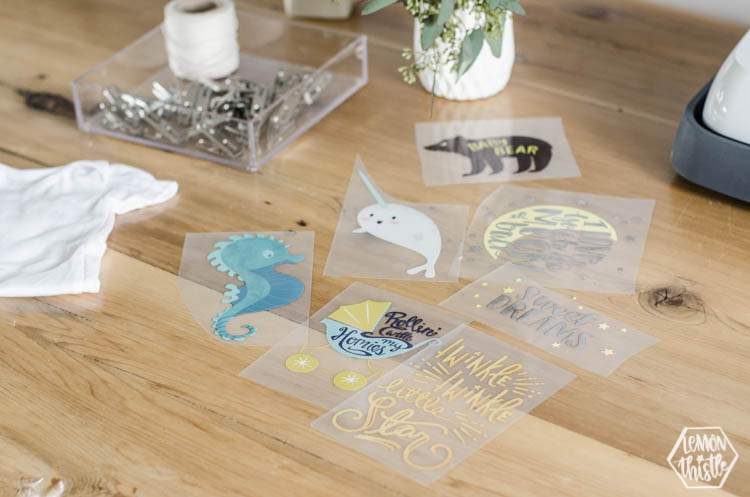
You want to know what you don’t need to set up, though? Your Cricut… or any cutting machine. Yeah, you don’t need a Cricut for this!
Because the designs are already totally created for you. And in more detail than you could really do yourself. So if you don’t own a Cricut, you can still totally host this activity! I unwrapped the designs and cut them (if there were two on a sheet) before setting them out on the table. This just makes it really easy for guests to pick one and make the onesie. I
chose a few different design packs to provide for this baby shower activity, but the ones shown here are now discontinued. I’ve found a couple comparable cute options on Amazon, see them below:
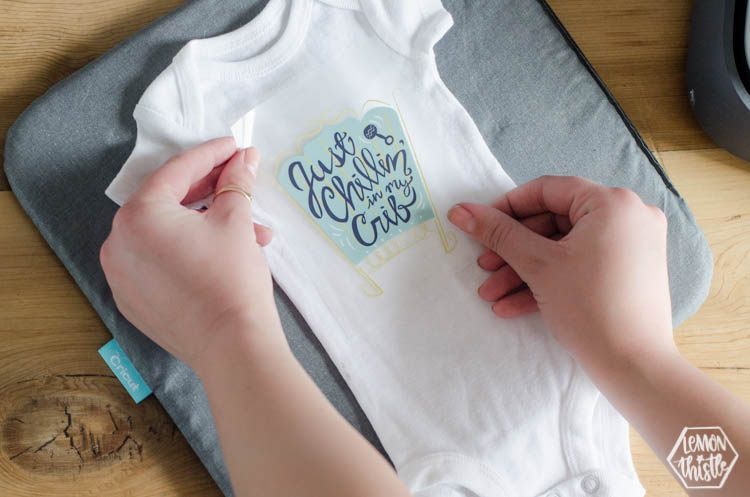
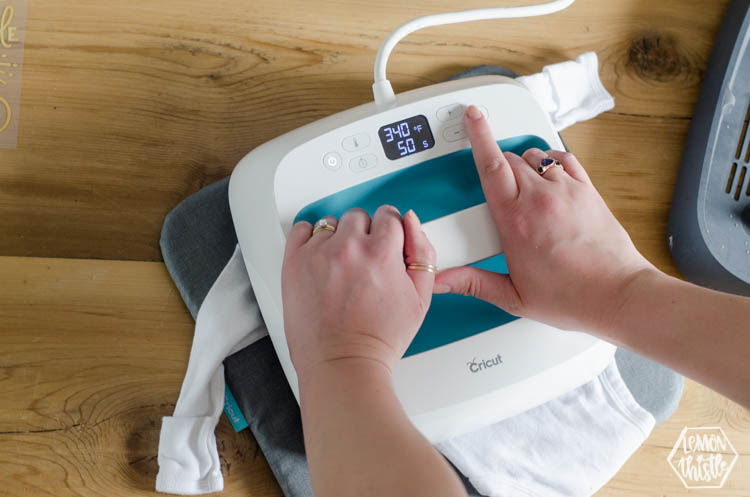
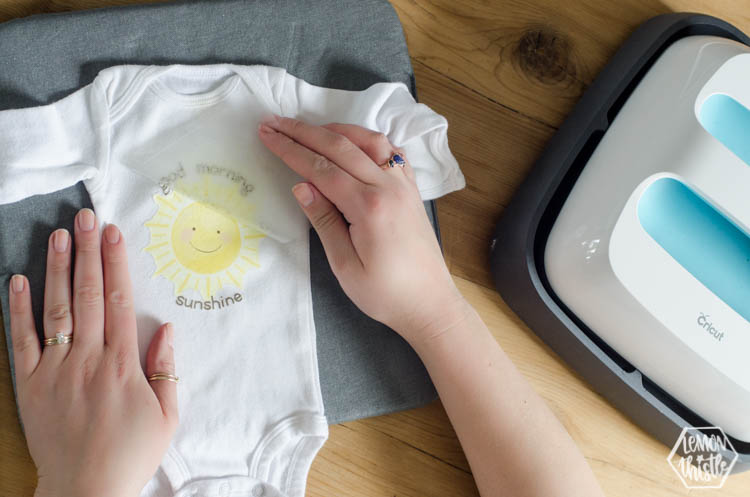
All you need to do to apply them is to heat up your onesie for about 10 seconds, then iron it on (depending on your mat) for about 30 seconds, flip that onesie over, iron again and then let it cool completely before peeling.
NO messy paint and no smelling diapers (why is that a thing?!) for your party activity. Rad, right?
This means that even the least crafty of them all can beautifully create a onesie at your baby shower activity station!
Other than the iron on designs and iron itself, you’ll need onesies and if you’d like to display them like I did here, you’ll need some clothespin clips like my metal ones to hang them. You could even buy a couple different sizes of onesies if you plan on having a lot of guests and making a lot of onesies. Here’s a pack of blank onesies that I’d order if I were to do this again!
I hope you enjoyed this little baby shower activity. It was fun to set up and I think it makes such sweet gifts for the mama.
Here’s some more DIY baby onesie ideas if you’d like to have some options available for guests!
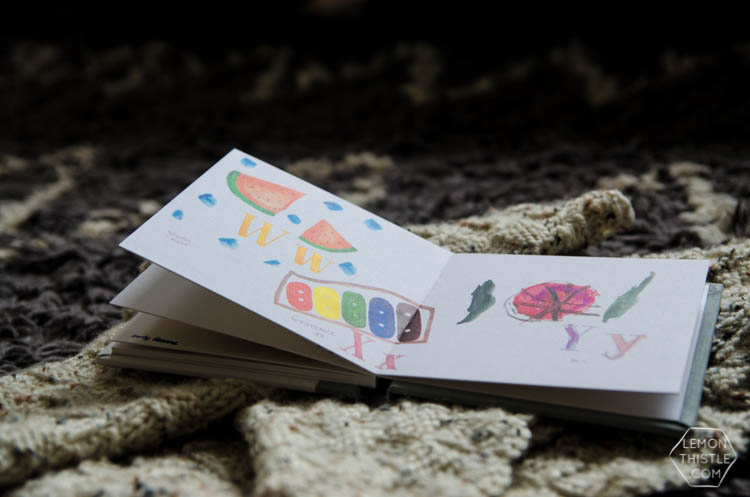
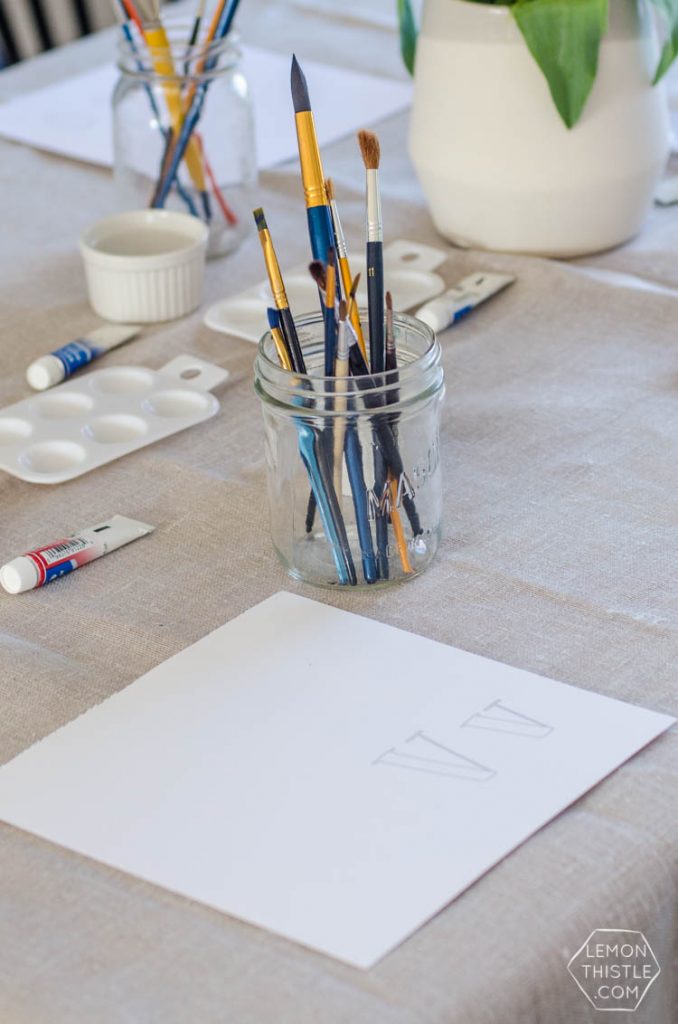
Perhaps my very favourite baby shower activity to date is this sweet watercolour book idea!
g
h
MORE RAD BABY SHOWER IDEAS!
Pin this for later!
Don’t have time to take on a budget right now? Planning to make over your space later this year? Pin this so you can come back to it! Plus, pinning or sharing on FB helps this post reach more people which helps me be able to keep sharing with you. Thank you!
 Modern Free Form Florals with Wet Foam | Modern Handmade Home
Hi, the links are not working in order to click on the cute designs for the onesie station. Would love to know where you buy the cute designs you used for the onesie’s in this post. Thank you so much
Hi Catherine, it looks like Cricut doesn’t make these anymore! you could definitely make your own with your Cricut or I found these cute ones on Amazon! https://amzn.to/3uzOVhp