This is one of this projects I’ve always wanted to try, but the thought of pulling it together just seemed like a lot of work. And I’m going to be honest… it shouldn’t have been as much work as it was! If I would have found a tutorial… or done more research, I think it would have been pretty straight forward. So hopefully if you’re reading this, you’ll have a super easy time… because it’s darn pretty now that it’s done! Ha!
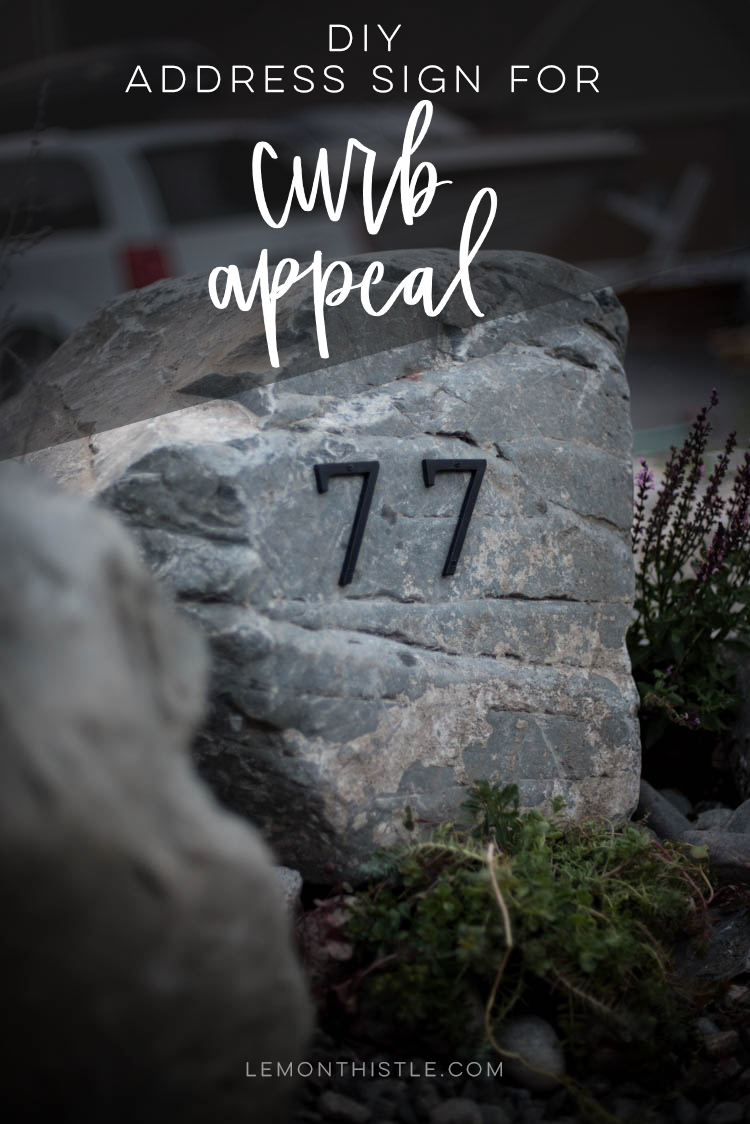
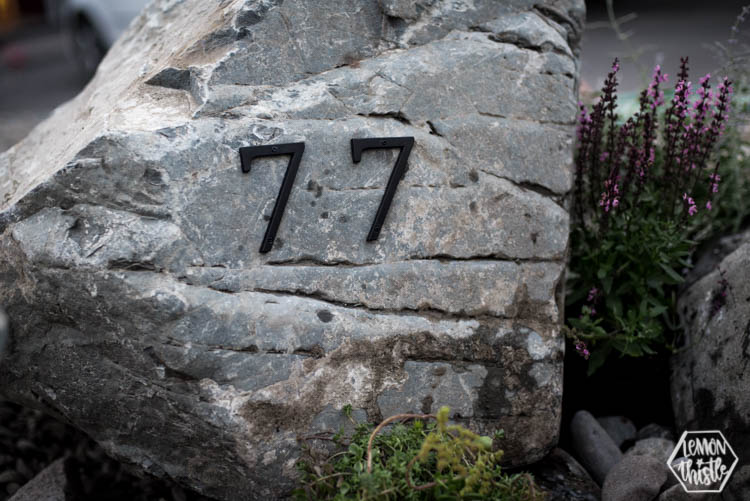
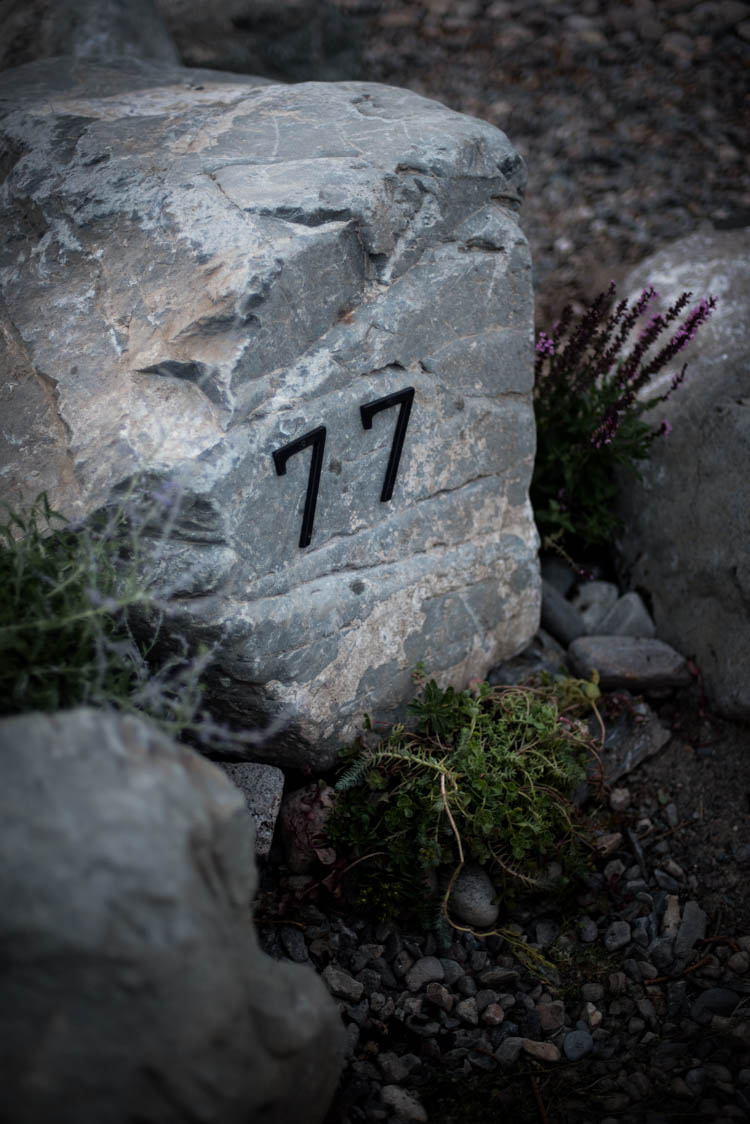
I really love the modern look of this address sign on the rock. I love that it’s out in front of the house so you don’t have to try see past all the cars in the driveway to see the house numbers and I really like that it becomes part of the landscape. Not that we have much for landscape. These plants you see here are pretty much it. That’s our plan to tackle next summer ;)
SO want to make your own? If you’re anything like me, you’re thinking… but where do we get a giant rock? Do you just go take one from the wilderness? My husband laughed at me. Like, he actually laughed out loud. I have since learned that there are no moving big rocks like this without a machine. So we have one scheduled to come and move this address sign to a more appropriate spot in our yard. Why? Well, that’s a story in itself. So lemme go ahead and break this post down into three parts, shall we? First- where to get big rocks. Second, my story about rock delivery *sigh*. And Third… HOW to drill into rock to mount the address sign.
But before we get to any of that… this post is part of our monthly Modern Handmade Home Series! Each month, 4 rad Canadian bloggers and myself share modern DIY or decor posts in partnership with some of our favourite brands. This month was in partnership with Ryobi… which if you’ve seen any of my DIY posts, you’ll notice the Ryobi One+ tools are our go-to tools. So this partnership was such a natural fit for us.
Shane has been wanting a hammer drill for all of our renovations (they’re awesome for drilling through floor joists and sub floors for wiring or plumbing) and won me over when he told me he’d make me my giant rock address sign if we got one. Honestly, I like new tools as much as he does, so he didn’t need to convince me… but that totally sold me ;)
So the first challenge was finding rocks. There’s actually a few places you can buy them. Landscaping centres sell them but also gravel yards have them. We got ours from a gravel yard and they are really really affordable. But the catch is that you can’t move them yourselves (If they’re really big) SO you then pay a flat delivery fee. So we got more than just the rocks you see here to make the most of the delivery fee.
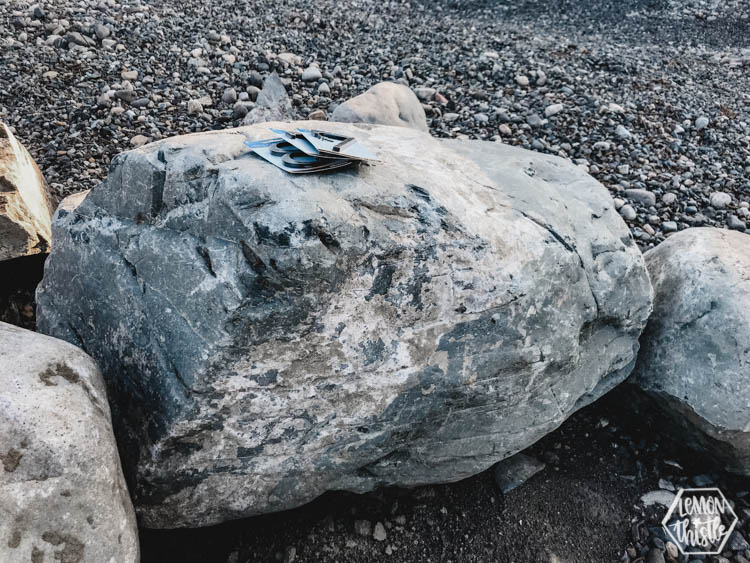
Picking the rocks was seriously harder than I’d thought it would be. We just got to walk around and pick our own out but I had no idea what I was looking for. What does one look for in a rock? We love the dark grey rocks but wanted black numbers to really pop so ended up choosing lighter grey ones. We also looked for one that had a flat face for the front for the address sign.
Now for my story… because this was an adventure. We are really happy with the rocks we got and that whole process BUT a third party company delivered and you guys, what a mess! If I give you any advice it would be to be SUPER specific about where you want the rocks and ask lots of questions about delivery. We just wanted them on the corner of the yard by our driveway, but I was the only person home when he arrived and honestly… the driver didn’t listen to me at all. He told me he couldn’t place the rocks where I wanted them and just dumped them in the middle of the front part of the yard. BUT… this is where it gets ridiculous… two of the boulders were dumped on the road! And then he was going to leave them there!
So picture this. Shane is at work and I’m home with all my kids (4), wearing my baby in a carrier, the kids totally amazed at the dump truck. The driver is older, he was there to dump the rocks and that’s all. So that’s what he did. He dumps the rocks and is starting to drive off… leaving them there on the road. I was so shocked, you guys… I wave him down and tell him he can’t leave them there. He looks at me and tells me that he can’t move them. As I’m bouncing my now crying baby in the carrier, I told him I couldn’t move them either… obviously neither of us could. But to prove his point… he tried to move the boulders by hand! I asked him to stop- I really didn’t want him to hurt himself. I asked what we could do and if there was someone from his company he could call. He got a hold of his boss and they came and four guys rolled them just onto our curb and took off.
So we have booked an excavator to come in and move them. Which is a pain- that costs more than the rocks are worth, honestly. SO consider this my cautionary tale. Be SO specific about the delivery and make sure you know they can put them where you want them.
Alright, now enough about rocks and on to the DIY, am I right!?
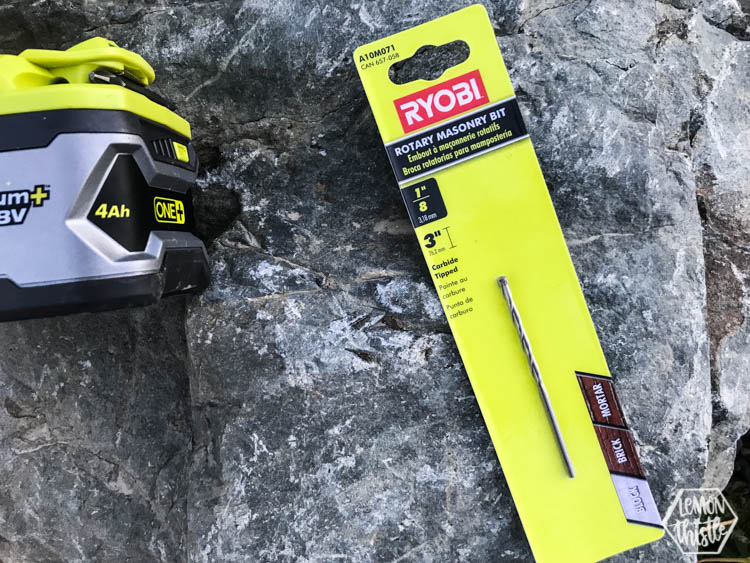
Drilling the rocks wasn’t hard once we had the right tools. It was a bit time consuming, but anything worth it is ;)
Hammer Drills are built for this- the drill didn’t overheat once. It did go through the high capacity batter twice… a normal drill? That would have been so many batteries and SO MUCH longer. I’m really impressed.
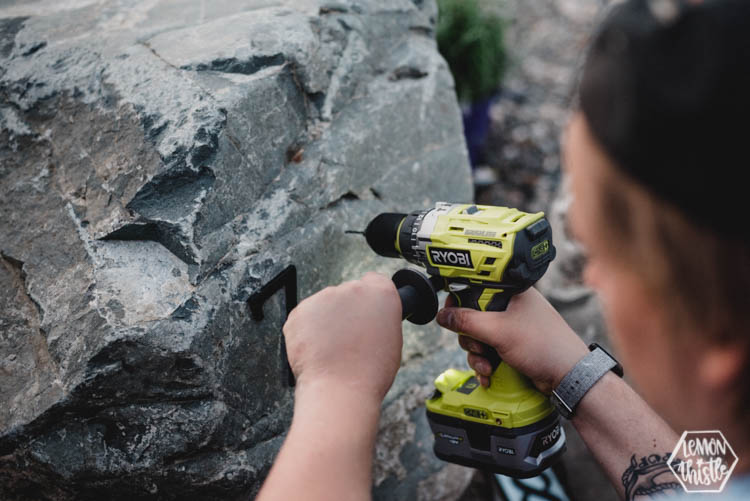
We picked up a masonry bit and drilled for the screws, then we just screwed the screws right into the hole. We had one hole that was a little bit loose, so we added some construction adhesive on the screw to help it stay in place permanently.
When drilling the holes, Shane gave me some tips including holding the drill super level to the surface. If it gets tipped, then the hole ends up larger than you need (like I mentioned above) and your screw will be too loose. Also don’t press too hard, the bit gets really, really hot. We actually went through two bits because we had one bend from the heat and too much pressure. After that we took it slower and didn’t have any more issues.
We also found pulling the drill bit out of the hole every 10 seconds or so helped clear some of the dust out and let the drill bit work a bit faster.
One last thing I wanted to point out… the hammer drill has a handle for your second hand to help apply pressure. I loved how easy it was to switch the handle from one side to the other without other tools. Shane is left handed and I’m right handed, so it was a quick switch when I took a turn.
So there you have it! I’m super happy with how it turned out and can’t wait to have it moved into place! Next year we’re planning on taking on our whole exterior and when that’s done we’ll share more photos of the outside. But in the meantime… I should probably share before and after photos of the exterior of our last place, right?! Haha, I need to get caught up, you guys! I have so many posts sitting here waiting for me to finish writing them up to share with you all. Also! Before photos of this place! I have those all done, I just need to write that up too. My goal is to share those with you later this week.
Alright, if you love modern home decor and DIY… I know you’re going to love these fab projects from the other girls in our Modern Handmade Home series! Make sure to hop around and check them all out!
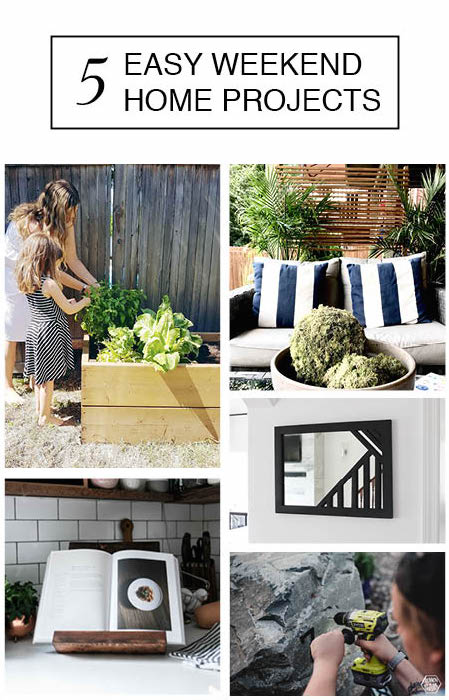
Left to Right, Top to Bottom:
DIY Raised Garden Beds – The Sweetest Digs
DIY Outdoor Privacy Screen – Harlow and Thistle
DIY Cookbook Stand – The Learner Observer
DIY Custom Framed Mirrors – Love Create Celebrate
DIY Modern Rock Address Sign – Lemon Thistle
 DIY Gold Foil Wood Sign
Love how this looks! Such a great idea.