• Skip to main content
  • Skip to header left navigation
  • Skip to header right navigation
  • Skip to site footer
  • Shop
  • Get The Email
  • Work With Me
  • About
  • Search

  • DIY
    • DIY Home Decor
    • With Power Tools
    • Renovation
    • For Kids
    • For Parties
    • Wearable
    • Organization
    • Cricut Crafts
  • Home Decor
    • Room Reveals
    • Kid Friendly
    • DIY Home Decor
    • Renovation
  • Lettering
    • Hand Lettered Printables
    • Free Practice Sheets
    • Handlettered DIY
    • Free Brush Lettering Quickstart Guide
    • Learn Brush Lettering E-Course SALE
Lemon Thistle

Lemon Thistle

Rad DIY, Lettering and Design for Real People

  • Printables
    • For Cricut
    • Party Printables
    • Home Decor Printables
    • Bachelor Bingos
    • Free Monthly Wallpapers
    • Handlettering Practice Sheets
    • All Free Printables
  • Entertain
    • Party Printables
    • Party DIY
    • Tablescapes
    • Dinner Party
    • Kids Parties
    • Party Eats
    • Baby Showers
    • Wedding + Showers
  • Blog

DIY Handlettered Pumpkins- tips and tricks!

Oct 02

hand lettering with paint marker on pumpkins

If you follow me on Instagram, you’re probably sick of seeing hand lettered pumpkins… but I don’t know if I’ll ever get sick of them! I recently lettered a whole bunch for autumn and Canadian Thanksgiving (which is this weekend already!) and now I’m starting on some for halloween. I have fun making them and thought that you might too! So I’m sharing some tips and tricks for you to make your own.

Plus- if you’re looking for more cute DIY ideas for Halloween, I’m linking up with some amazing DIY bloggers- you can find those all at the bottom of this post!

Halloween Hand Lettered Pumpkins


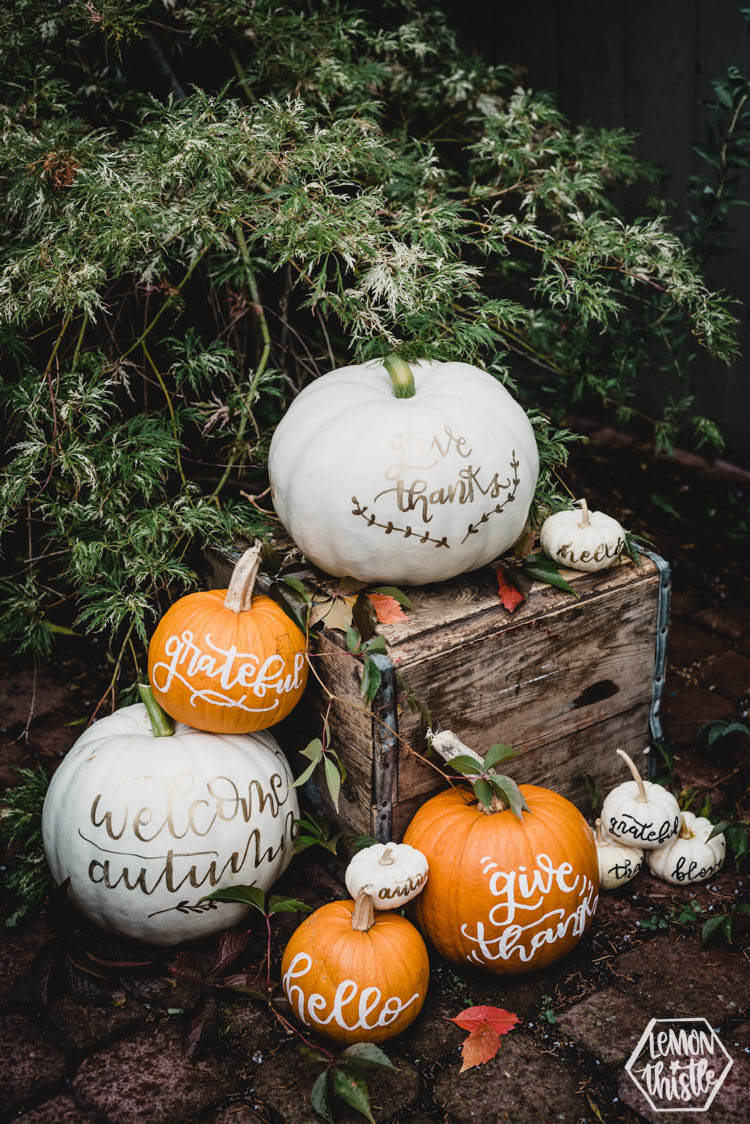
Alright- my first tip is to pick pumpkins that don’t have too deep of ridges. When I first started picking out pumpkins, I avoided the bumpy ones and didn’t think about the ridges and that was a mistake! You can totally letter over bumps but the ridges make it really hard to get clean lines.

Once you’ve picked your pumpkins, clean them really well. Not only does the paint not stick great to dirt, but your pumpkins will last so much longer if you take proper care of them. I read somewhere to clean your pumpkins with a mix of vinegar and water to help get rid of any bacteria that might make your pumpkins rot quicker, so that’s what I did. Then, dry them really well before you start lettering.

Last Name Hand Lettered Pumpkins

Fall Hand Lettered Pumpkins

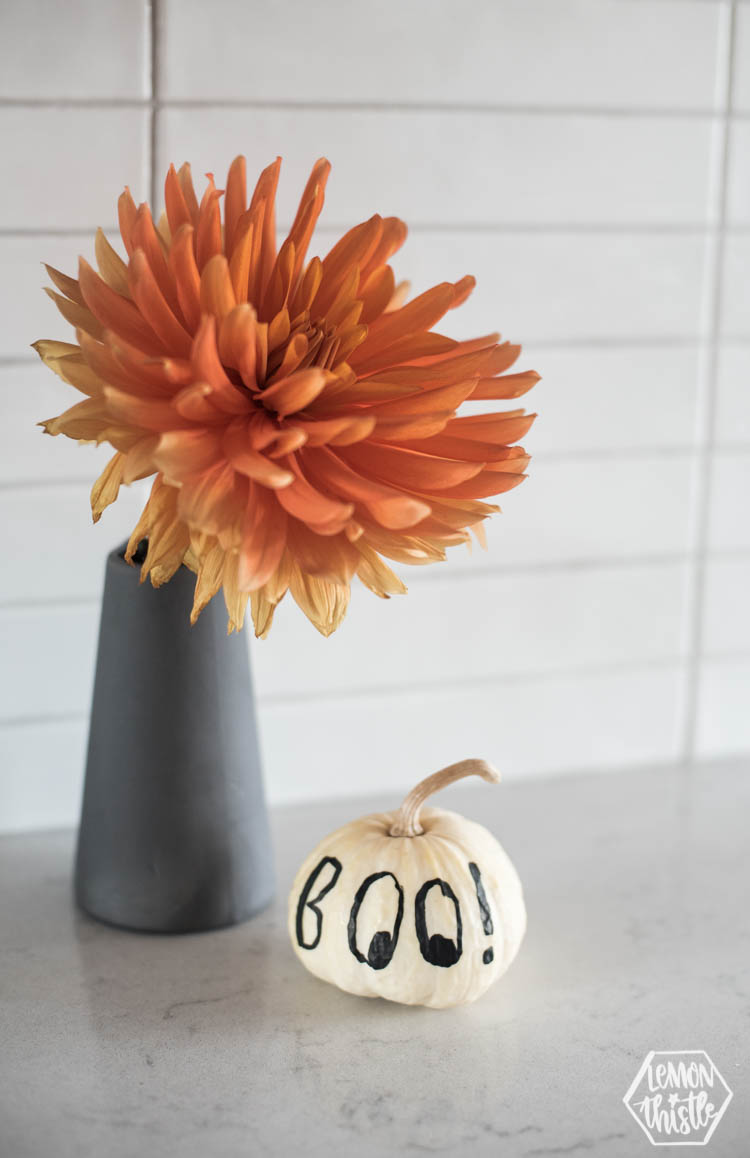
Test your paint markers out on the bottom of your pumpkin before you start lettering. I found that I loved the Montana Markers (always my fave, though) in black and white and for gold I loved the Craft Smart markers. I tried a few golds and found some of them super yellow on the white pumpkins for some reason. The Craft Smart ones look like liquid gold almost- they’re so shiny! Which made them so hard to photograph. But I promise… so pretty.

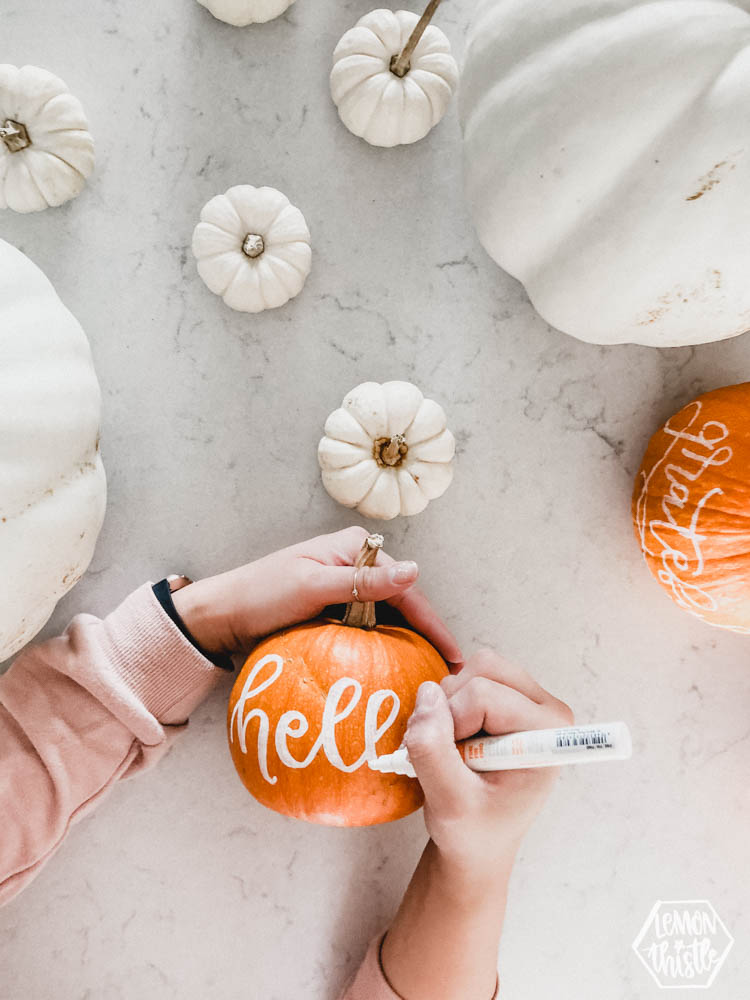
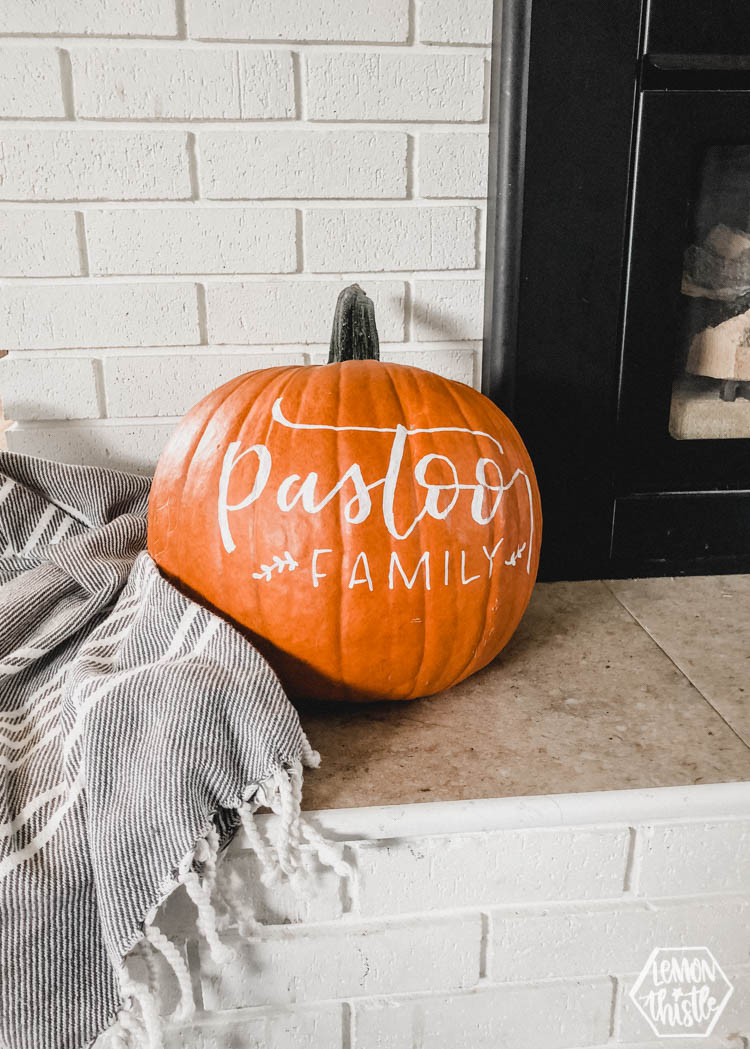
When you’re lettering using a paint marker- I use a faux calligraphy technique. I have a video about it right here, but basically, spread your cursive out more than usual to allow room to thicken the down strokes.

Halloween Hand Lettered Pumpkins

Halloween Hand Lettered Pumpkins

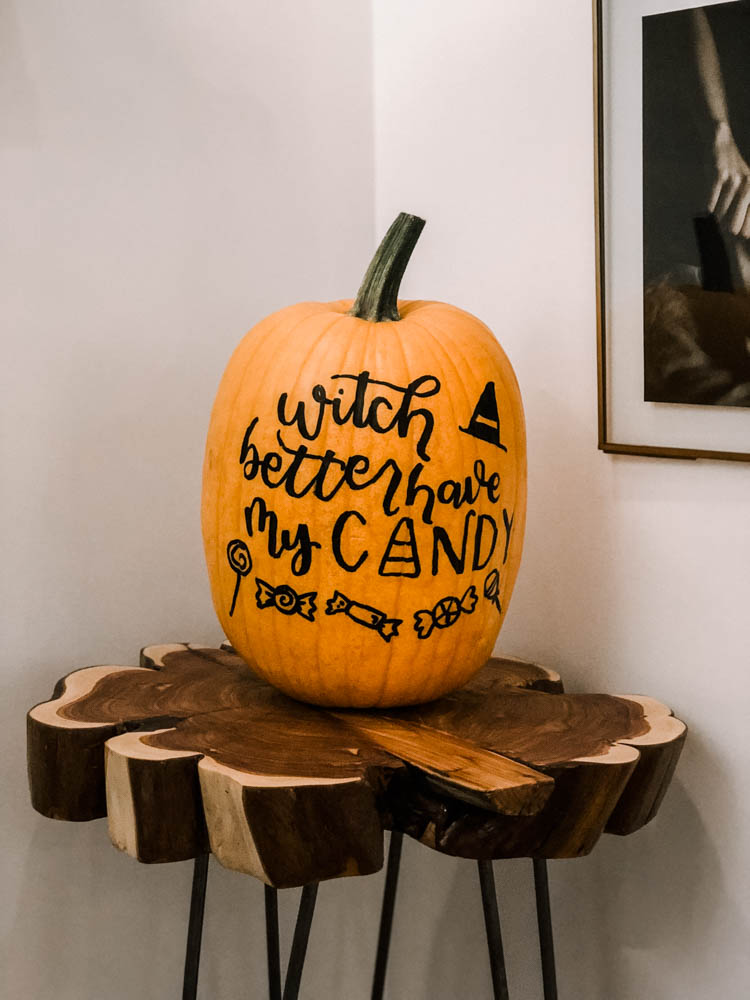
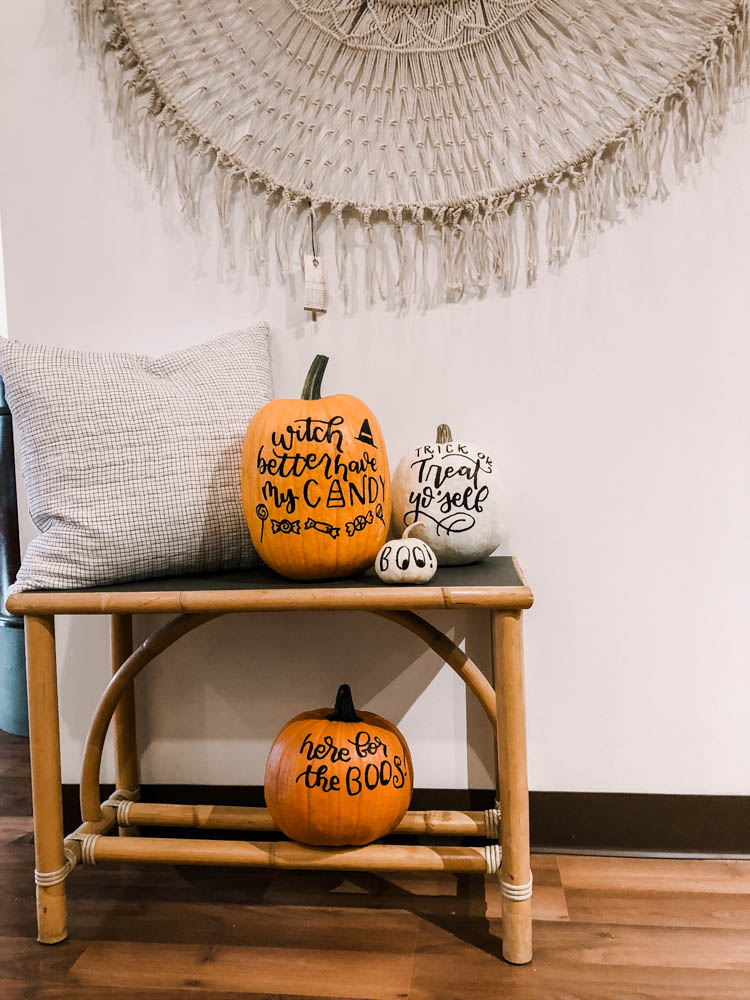
If you mess up… no problem! You can remove the paint marker with a little essential oil. Last but not least… let the paint dry completely before you do another coat. I found on the white I liked the look of two coats best.

I hope those tips help you create some beautiful pumpkins for your decor this fall/halloween season! If you do- I’d love if you shared them with me!

Now…

Today I’m excited to be joining a group of 16 bloggers who are also sharing a Halloween DIY or Craft project today! Hop around to take in all this stunning inspiration…

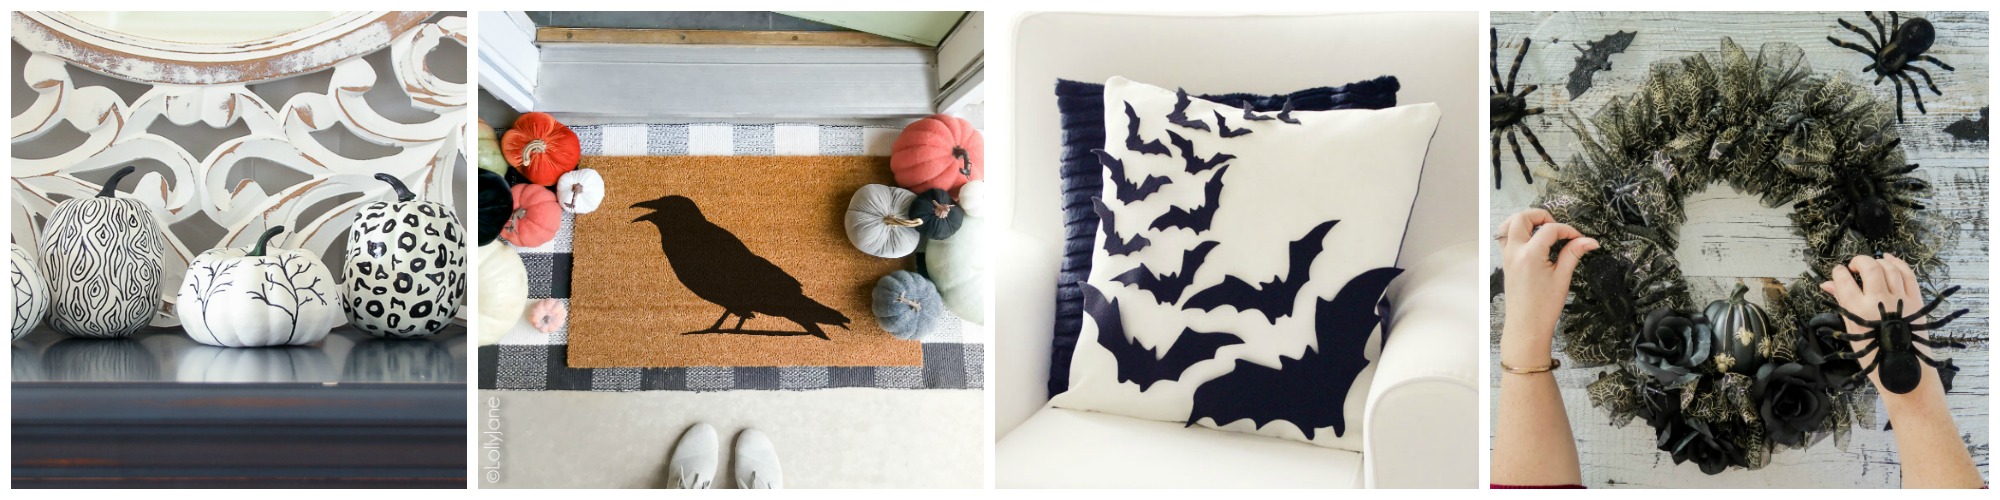
DIY Black & White Sharpie Pumpkins at The Happy Housie
DIY Halloween Doormat at Lolly Jane
DIY Felt Bat Pillow at Paint Me Pink
Spooky Glam Halloween Dollar Store Wreath at The DIY Mommy

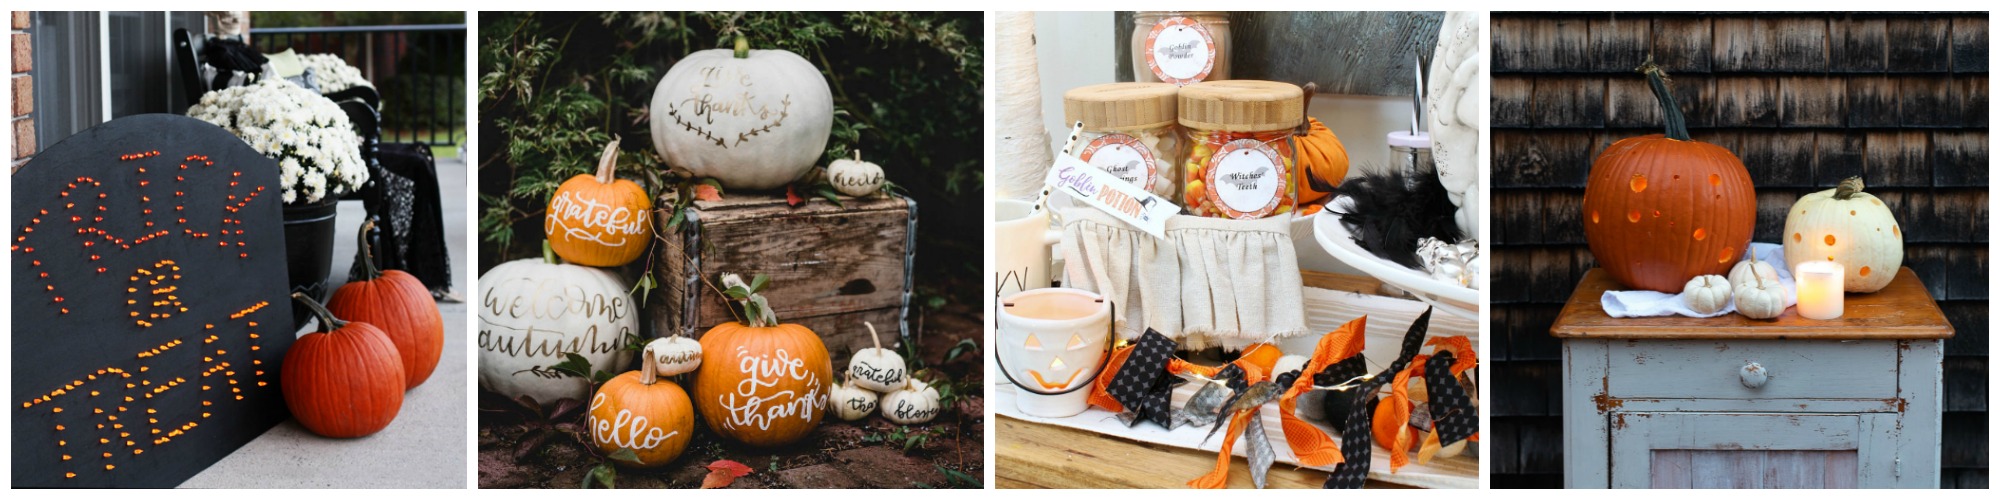
DIY Lighted Halloween Sign at Confessions of a Serial DIYer
Tips & Tricks for DIY Hand Lettered Pumpkins at Lemon Thistle
Scrap Fabric Lighted Halloween Garland at Clean and Scentsible
Polka Dot Pumpkin Lanterns at Finding Silver Pennies

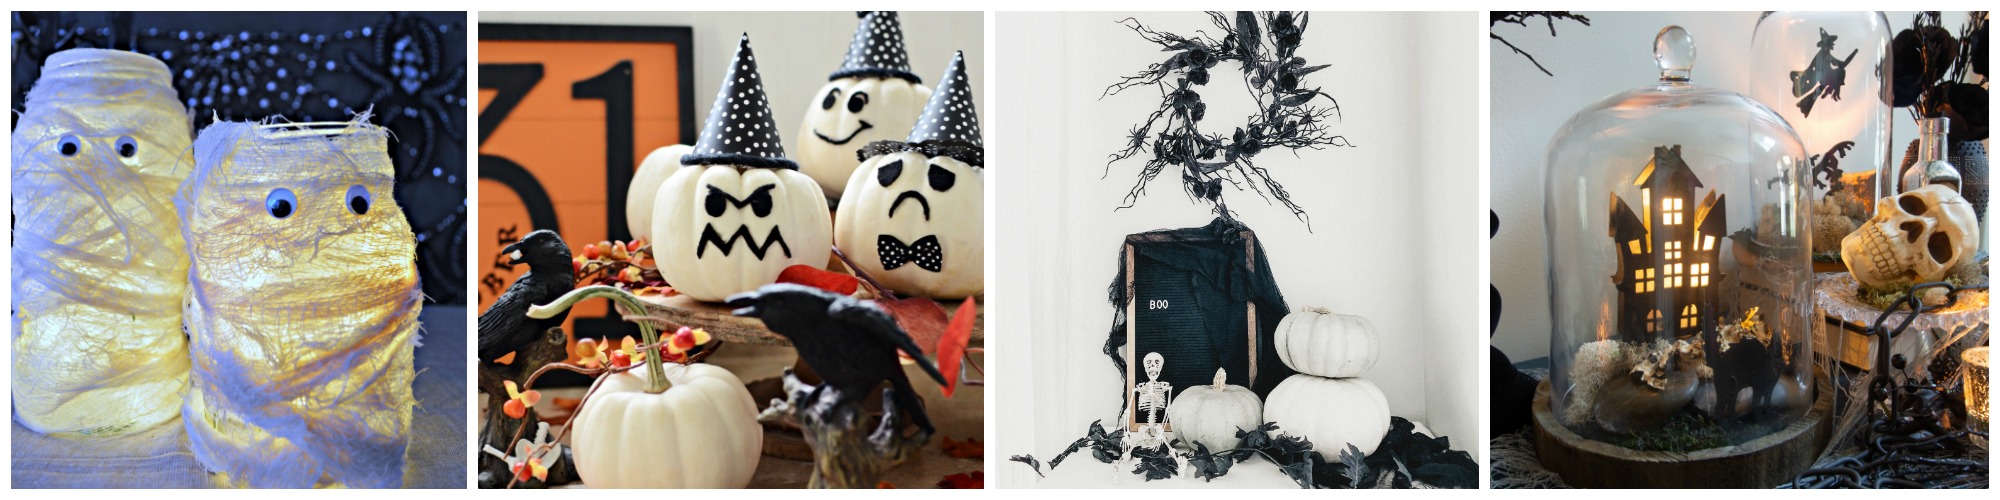
Cheesecloth Mummy Lanterns at My Uncommon Slice of Suburbia
Decorated Baby Boo Pumpkins at Town and Country Living
Spooky Wispy Halloween Wreath at A Pretty Life
Halloween Cloche DIY at Deeply Southern Home

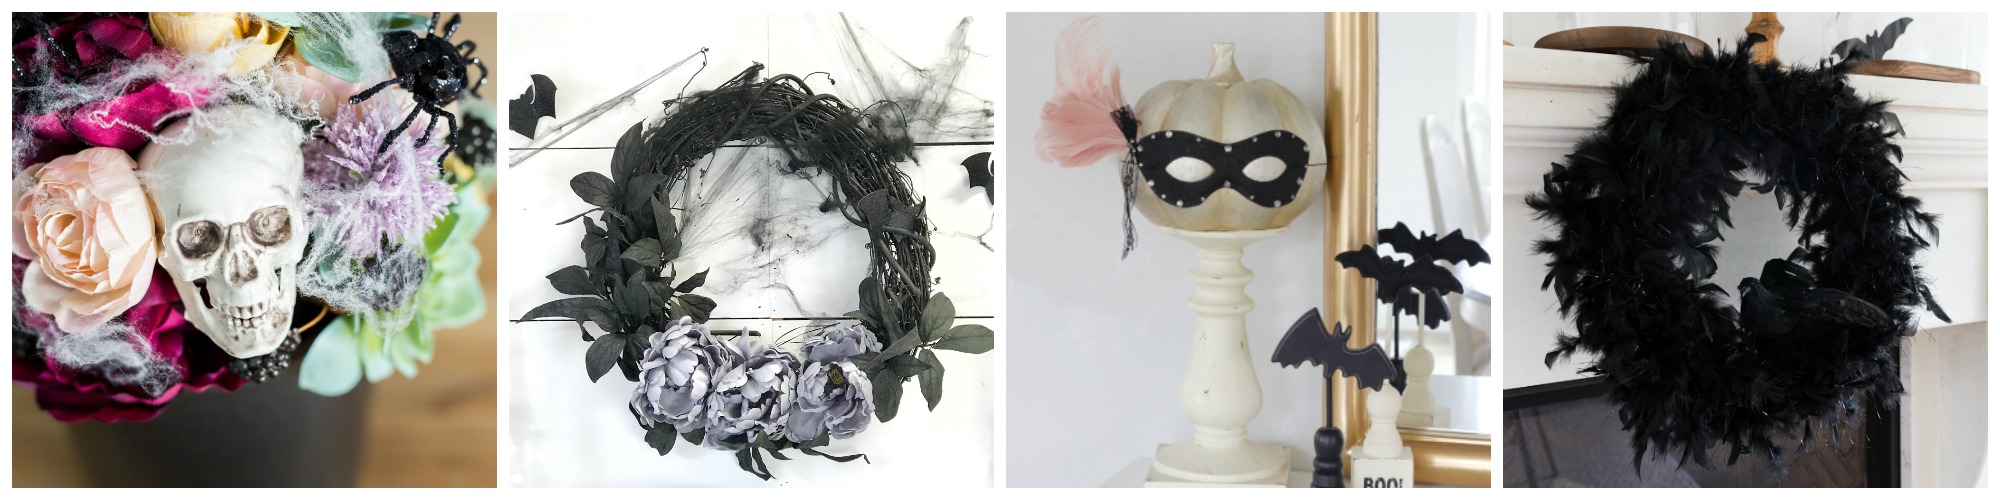
DIY Creepy Halloween Floral Arrangement at House by Hoff
Easy & Elegant Halloween Wreath at Hallstrom Home
Masquerade Mask at Summer Adams
Crow Halloween Wreath at So Much Better With Age

Category: DIYTag: Autumn, Collaboration, Decorations, Halloween, Handlettered DIY, Handlettering
Facebook0Tweet0Pin0LinkedIn0
Previous Post: ← DIY Pocket Tees with Cricut DIY Pocket Tees with Cricut
Next Post: A Girls’ Bedroom with a Modern Scandi Vibe – ORC Week 1 Girls Bedroom Makeover Design Board- scandi boho style →

Reader Interactions

Comments

  1. Christy James

    Oct 02 at 7:40 am

    These are so pretty and fun! Great tips too! XO

    Reply
  2. Rhonda Hallstrom

    Oct 02 at 11:47 am

    Wow I love this the hand lettering is so special and cute

    Reply
  3. Krista

    Oct 02 at 3:27 pm

    I can’t get enough of your hand-lettered pumpkins! So easy and fun to make. Thanks for joining my Halloween Hop this year Colleen.

    Reply
  4. Leslie

    Oct 02 at 7:55 pm

    These are stunning!!

    Reply
  5. Jamie

    Oct 03 at 2:03 pm

    I love this Colleen! You are so talented.
    Hugs, Jamie

    Reply
  6. Jenn

    Oct 03 at 6:54 pm

    Love these so much!! So pretty and so many options!

    Reply
  7. Danielle

    Oct 04 at 2:27 pm

    Your hand lettering is soooooo beautiful. Wow. It looks gorgeous on the pumpkins. Great tips. xx

    Reply
    • Colleen Pastoor

      Oct 05 at 2:55 am

      Thank you SO much Danielle!

      Reply
  8. Jo-Anna

    Oct 05 at 10:34 am

    These are THE best Colleen! I wish I could hand letter like you do…mine would never look as gorgeous!!

    Reply
  9. Susan Bentley

    Oct 24 at 6:03 am

    I kust love these pumpkins – look so adorable! Thank you for sharing those lovely pics.

    Reply
    • Colleen Pastoor

      Oct 24 at 10:59 am

      Thank you Susan!

      Reply

Leave a Reply Cancel reply

Your email address will not be published. Required fields are marked *

Sidebar

WOOHOO!

Check your email to confirm!

(+ get your freebies + discounts)


Thanks for dropping by!
I’m Colleen: wife; mom to 4 wild ones; and DIY blogger behind Lemon Thistle. You can expect to see rad DIY, modern home decor, renovations, hand lettering and the occasional party on Lemon Thistle. Read More…

email facebook youtube instagram pinterest

Unless otherwise noted, all content and images are mine. Full posts may not be shared without express written consent. But I love when you share! Feel free to share, without altering, one image with proper credit and a link to the original post. All free printables are for personal use only.

Everyone loves proper credit- if you ever notice something improperly credited, please please shoot me an email and I’ll fix it lightning fast.

Find all my policies right here.
This includes my privacy policy, info on the GDRP compliance and information on affiliate links (Including Amazon Affiliates).

Visit Colleen Pastoor’s profile on Pinterest.

colleenpastoor

My house is never this clean
-
DIY + Home Decor Blogger
Mama of 4 👶🏼🧒🏼👦🏼👧🏼
Renovating our 🏠 the DIY way
🖤 Lettering & ☕️
-
✉️[email protected]

colleen pastoor/lemon thistle
The hallway is finally finished and I’m so stink The hallway is finally finished and I’m so stinking happy! 

It’s felt like such a long time coming for such a small space. Since we moved in 2.5 years ago, this space has seen new doors and hardware, new trim, new floors... twice😅, we changed the boob light to a pot light and I hated it and now it’s got the most beautiful flush mount fixture I’m in love with (thanks @mymitzi!). It finally got some fresh paint and now frames on walls and last but not least... After this weekend, the new floors look like they were here all along (no door jamb gaps!) which was the last thing really bugging me since our flood last year. 

All this to say that home takes time and sometimes getting it right might take a couple tries. Also- the spaces we don’t really think about (hallways) can totally help a house feel like home with some love (and family photos 🥰)
ps. I partnered with #mymitzi to create a tiktok for This makeover... are you following me over there yet?! I’d love if you popped over and said hi!
It’s done! It works! And I’m calling it a grea It’s done! It works! And I’m calling it a great use of my afternoon the other day. Did you catch the stories? These projects both cost me under $10 by using pieces I already had in my home (yay for scraps!) and one package of drawer slides).
You can find the full video about these two kitchen organization projects over on YouTube in collaboration with my friend @love_create_celebrate and her #scrapsmademodern challenge! But for now... I’m rejoicing this coffee maker is off my counter for good 🎉
How’s your January going? Full speed or are you How’s your January going? Full speed or are you taking it a bit slow too? 

I’m not going to lie, I’m easing into this new year thing pretty slowly. All my decorations are still up (we always leave them up til Ukrainian Christmas which is later this week) and I I’ve yet to respond to my emails since before Christmas 😅
I’m enjoying the slowness of it all.
Happy Christmas Eve from our fam to yours 🥰 Happy Christmas Eve from our fam to yours 🥰
Yes, I made the paper bag snowflakes too. Have you Yes, I made the paper bag snowflakes too. Have you? 😅
This year has been one of a kind and I know so man This year has been one of a kind and I know so many people who are taking this year as the push they’ve been waiting for to start a side hustle, start an new career altogether or to just get creative about how they’re making money. So today I’m excited to partner with @kregjig to share some rad projects to make and sell this year! 
Like this rolling storage system I made for my office, that rad dollhouse and the gorgeous bath toy storage. All of these projects are things that I’d personally love to buy for our family and look like they’d be a great return on your time making them! And yes, all of them use #Kreg tools to make them easy to assemble and quick to make! Plus, they’re having a great sale on right now with deals on their K4 and K5 jigs, Rip-Cut and even a hardware jig bundle! There’s never been a better time to get your workshop set up!  #sponsored
Just a peaceful moment and then a real life moment Just a peaceful moment and then a real life moment for ya 🙃 
My #holidayhometour is on the blog and YouTube (I’ll put links in my stories) as part of the #seasonalsimplicity holiday home tour series. I’ll share those too so you don’t miss any!
My holiday home tour will be up tomorrow, but for My holiday home tour will be up tomorrow, but for tonight... I’m just enjoying the lights. And possibly a hallmark movie with some more custom order lettering 😅 what are your plans?
#christmasdecor #christmastree #holidaylights
We finished decorating yesterday and I’m just si We finished decorating yesterday and I’m just sitting here enjoying every minute of it 🤩 have you decorated yet?
Ps... talking more about hand lettering in my stories tonight!
Load More... Follow on Instagram

Copyright © 2021 · Lemon Thistle · All Rights Reserved · Powered by Mai Theme