• Skip to main content
  • Skip to header left navigation
  • Skip to header right navigation
  • Skip to site footer
  • Shop
  • Get The Email
  • Work With Me
  • About
  • Search

  • DIY
    • DIY Home Decor
    • With Power Tools
    • Renovation
    • For Kids
    • For Parties
    • Wearable
    • Organization
    • Cricut Crafts
  • Home Decor
    • Room Reveals
    • Kid Friendly
    • DIY Home Decor
    • Renovation
  • Lettering
    • Hand Lettered Printables
    • Free Practice Sheets
    • Handlettered DIY
    • Free Brush Lettering Quickstart Guide
Lemon Thistle

Lemon Thistle

Rad DIY, Lettering and Design for Real People

  • Printables
    • For Cricut
    • Party Printables
    • Home Decor Printables
    • Bachelor Bingo
    • Handlettering Practice Sheets
    • All Free Printables
  • Entertain
    • Party Printables
    • Party DIY
    • Tablescapes
    • Kids Parties
  • Blog

DIY Natural Wood Baby Rattle

Dec 02
**While I’m busy preparing for and welcoming a new baby into our home *woohoo!* I’m having some of my fave blogging friends step in and share some rad posts with you all. Please give them some love and enjoy their creative ways!**
DIY Natural Wood Baby Rattle
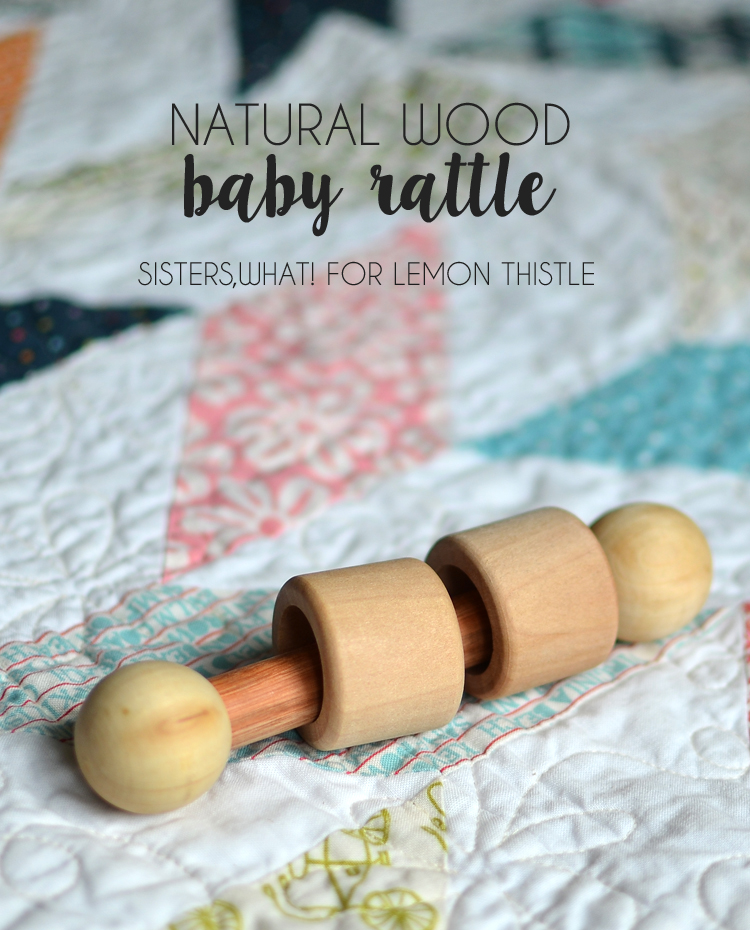
Hi Lemon Thistle readers, this is Havalah from Sisters, What! I like tiptoeing, I love eating ice cream after the kids are in bed and I love the rain. I’m super excited to be here today to share with you this natural wood baby rattle.
DIY Natural Wood Baby Rattle
I saw some of these online and thought they were so fun, I just had to make one for our little baby. They were quick and easy to make, plus safe for the baby to eat and suck to it’s heart desire. To seal the wood I used a mix of coconut oil, beeswax and lemon essential oil. My hands felt so soft after applying the stuff. My favorite part of the rattle is that it makes just enough noise to entertain, but it’s not annoying like some rattles can be.
DIY Natural Wood Baby Rattle

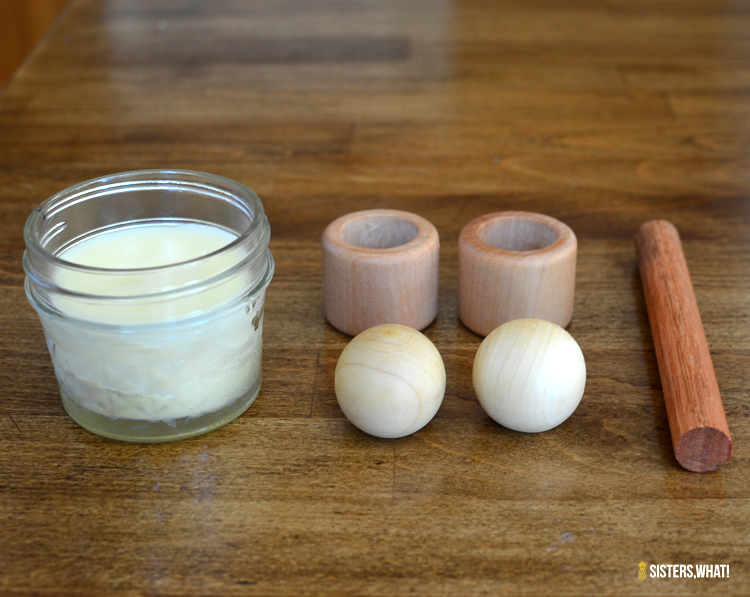
To make this DIY Natural Wood Baby Rattle you’ll need:

 (I got all my things at Joanns in the wood craft section)

  • Dowel (the size is determined by the round end bead you get) – cut the dowel to the length you want.
  • Round end beads (a opening in just one end)
  • Big beads (the ones in the picture were the only ones big enough for the dowel, but you can find more options online).
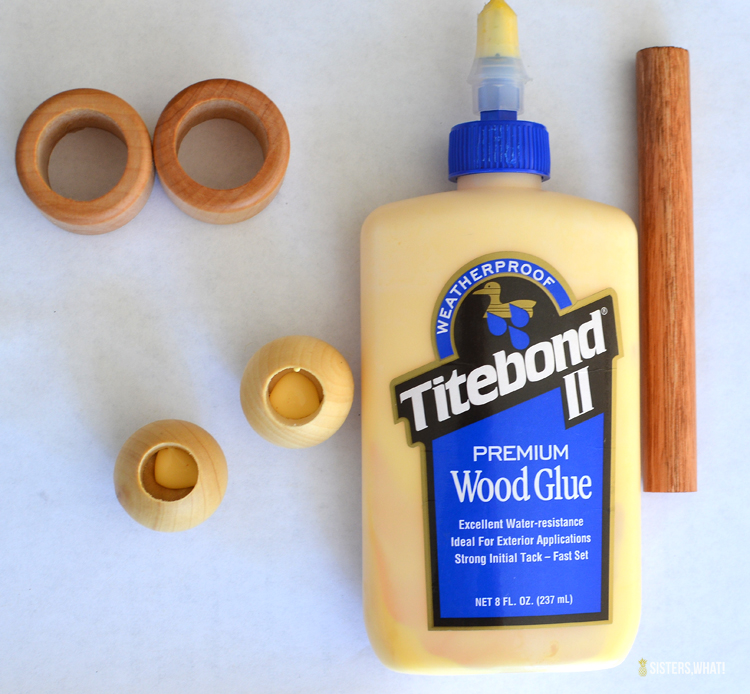
  • wood glue
  • Wood Polish Recipe
    • 2 Tbsp beeswax shredded or cut into small pieces
    • 6 Tbsp coconut oil
    • essential oil (optional
DIY Natural Wood Baby Rattle
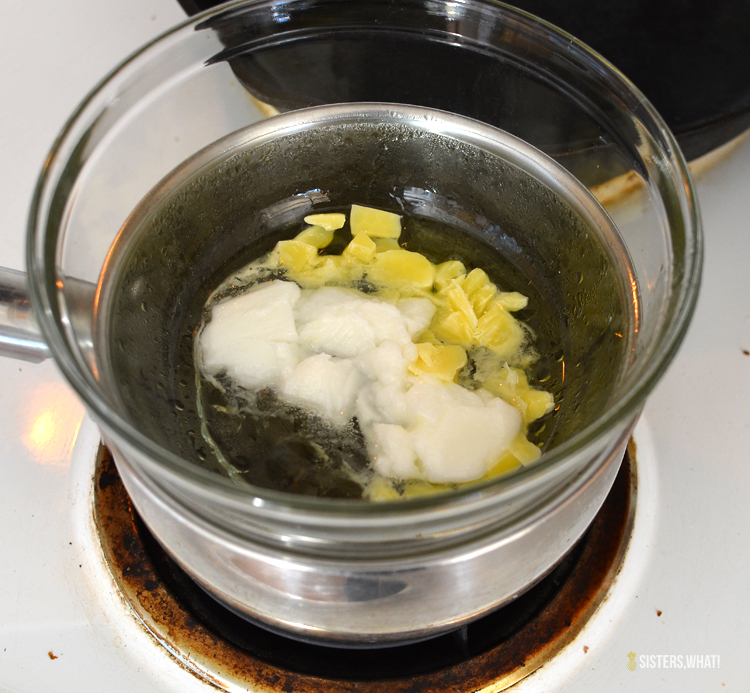
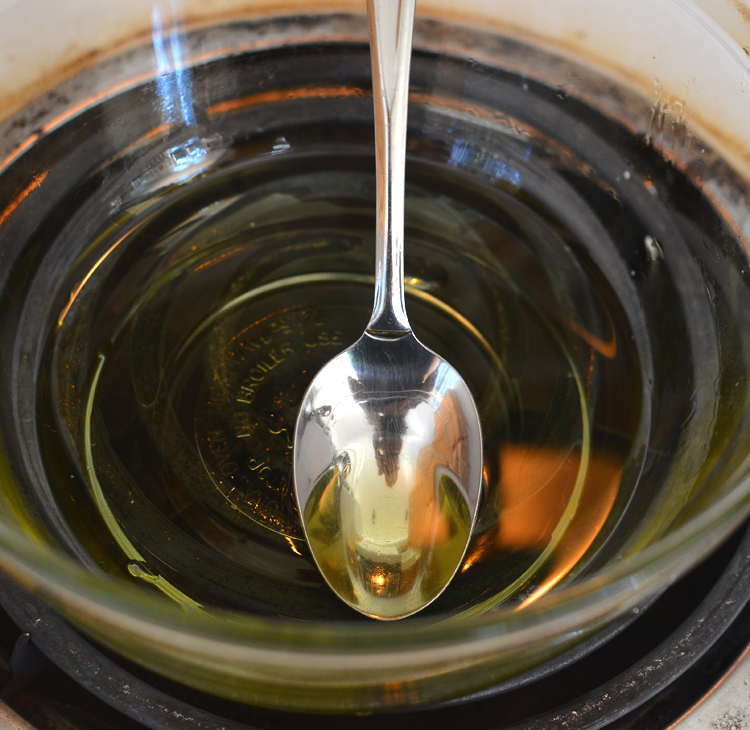
Using a glass bowl over a pot of water (you know double boiling), melt your beeswax and coconut oil. After it is melted, pour into a small glass container and let cool.
DIY Natural Wood Baby Rattle
Apply your polish to all the wood parts of the rattle. If you wanted to get fancy, you could stain your beads with natural food stain like coffee or tea.
DIY Natural Wood Baby Rattle
Using some wood glue, put a few dots into the bottom of the ball. Then insert one end of the dowel into one bead. Add on the big beads and then insert the other end of the dowel into the other ball. Let set until dry. And that’s it. Your done.
DIY Natural Wood Baby Rattle
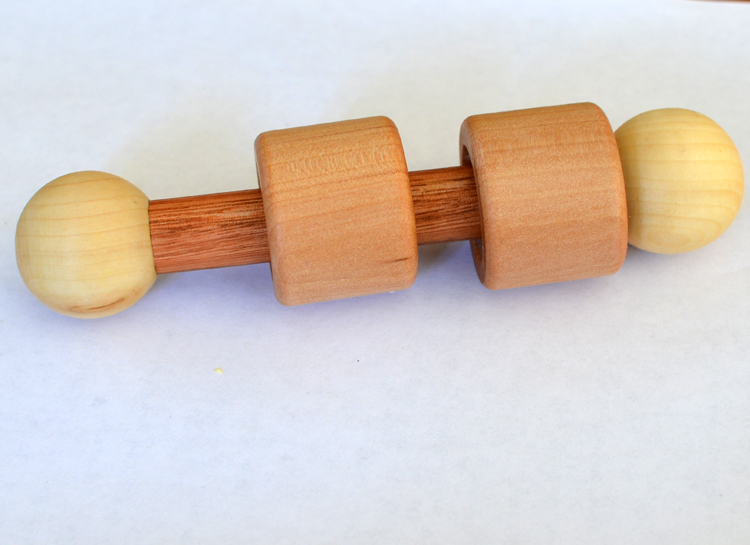
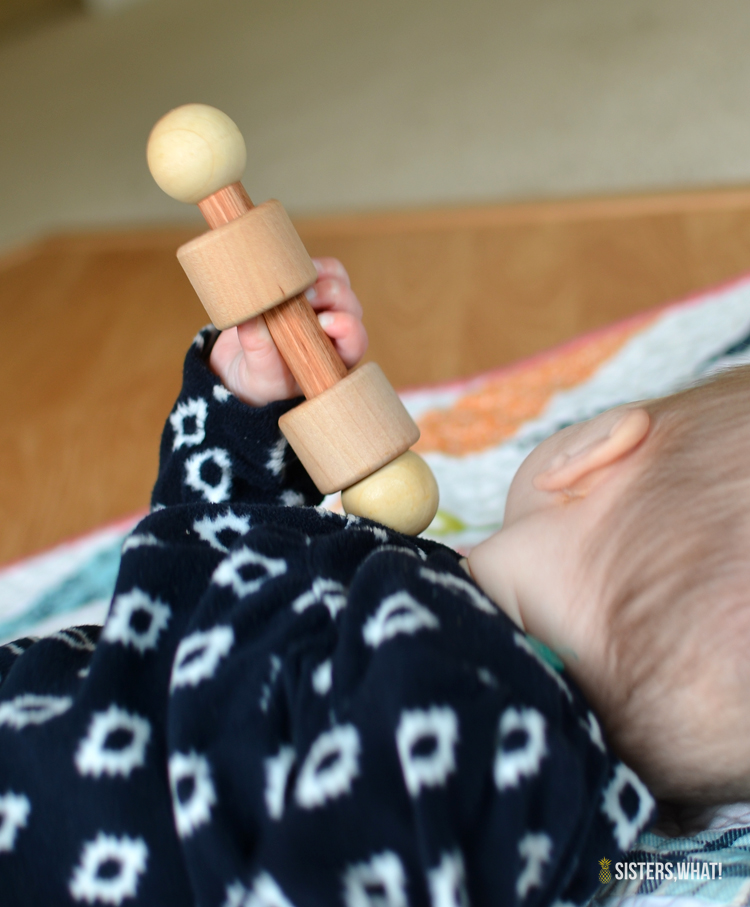
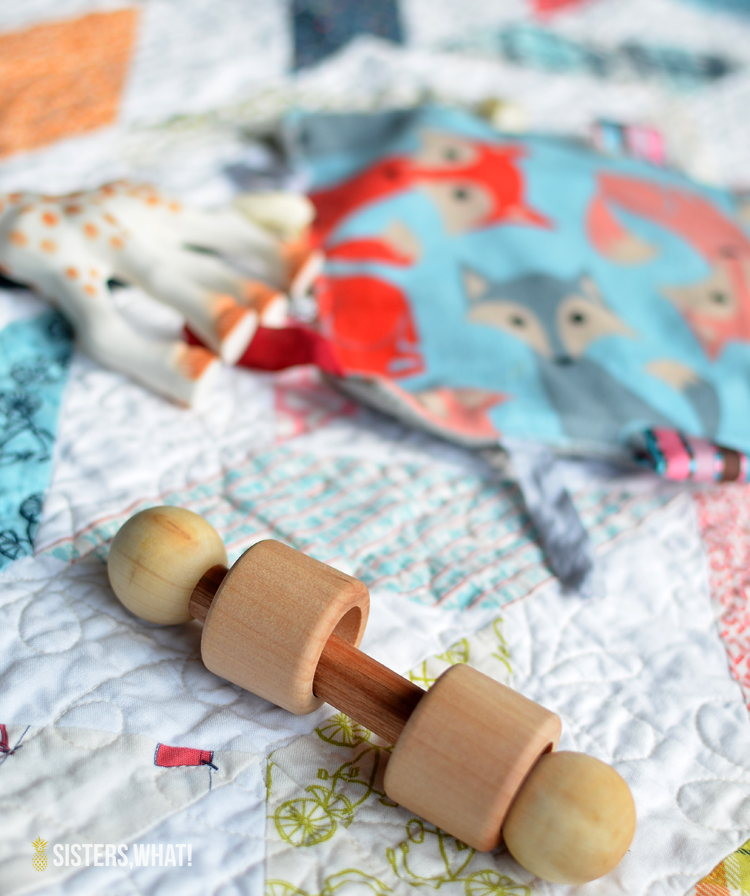
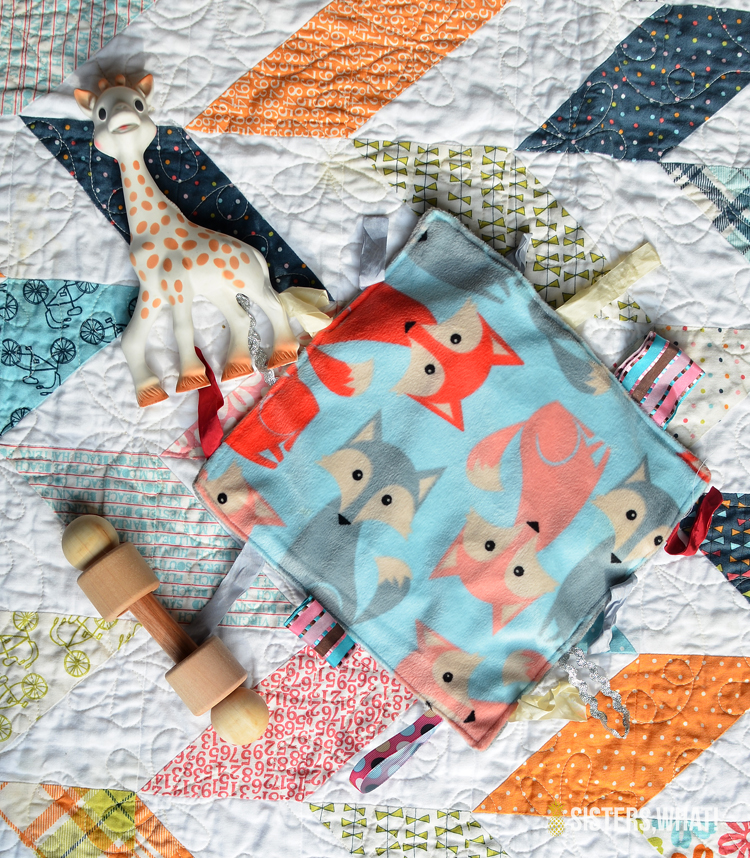
I just love how the natural wood baby rattle turned out. It’s one of my favorite baby toys (haha, I know weird but I totally have my favorite baby toys for our little girl). The giraffe below is definitely another favorite and that crunchy tag blanket below (see here for tutorial).
DIY Natural Wood Baby Rattle
Thanks Colleen for having me!

 photo HAVASIG copy1_zpsuqfffyef.jpg

Category: DIYTag: Babies, Baby Shower, Craft, Gifts, Guest Post, Kids DIY, Wood
Facebook0Tweet0Pin0LinkedIn0
Previous Post: « Get Cozy! Free Tech Wallpapers for December
Next Post: So I Designed a Holiday Card! O Holy Night Holiday Cards »

Reader Interactions

Comments

  1. Linda

    Dec 11 at 10:47 am

    What a fun idea. I recommend you use TiteBond Wood glue (no affiliation). My tests show that the wood will break before the bond comes loose. And they have a waterproof glue, too, so baby’s saliva won’t cause the glue to come loose.

    Reply
  2. Sharon Rowe

    Dec 13 at 9:16 am

    Thanks for sharing this awesome post on Monday Madness link party! It is nice to see a baby’s rattle that is natural and not full of plastic and other toxins! I loved the simplicity of the whole design! I loved it that much that it is one of the features in this week’s party! Hope to see you there!

    Reply
  3. Clark

    Aug 08 at 1:15 pm

    I see a few of these projects online at different blogs.

    In order to meet government regulations, the balls on the ends need to be 13/16″ to prevent choking. At that size (just over 3/4″), the ball cannot fit in a child’s mouth.

    Pass the word.

    Reply

Leave a Reply Cancel reply

Your email address will not be published. Required fields are marked *

Sidebar

WOOHOO!

Check your email to confirm!

(+ get your freebies + discounts)


Thanks for dropping by!
I’m Colleen: wife; mom to 4 wild ones; and DIY blogger behind Lemon Thistle. You can expect to see rad DIY, modern home decor, renovations, hand lettering and the occasional party on Lemon Thistle. Read More…

email facebook youtube instagram pinterest

Unless otherwise noted, all content and images are mine. Full posts may not be shared without express written consent. But I love when you share! Feel free to share, without altering, one image with proper credit and a link to the original post. All free printables are for personal use only.

Everyone loves proper credit- if you ever notice something improperly credited, please please shoot me an email and I’ll fix it lightning fast.

Find all my policies right here.
This includes my privacy policy, info on the GDRP compliance and information on affiliate links (Including Amazon Affiliates).

Visit Colleen Pastoor’s profile on Pinterest.

colleenpastoor

My house is never this clean
-
DIY + Home Decor Blogger
Mama of 4 👶🏼🧒🏼👦🏼👧🏼
Renovating our 🏠 the DIY way
🖤 Lettering & ☕️
-
✉️[email protected]

colleen pastoor/lemon thistle
I’ve been doing some polls in my stories (thank I’ve been doing some polls in my stories (thank you for your responses!) and one that totally surprised me? 
Almost half of you don’t know I blog! That’s my job, guys 😂 IG is just a fun little part of that! So tell me... is this new information to you or are you team ‘knew that!’? 

Also... Should I do a blogging Q&A? 🤷🏼‍♀️
Happy Valentine’s Day, friends 🥰 Happy Valentine’s Day, friends 🥰
Anyone else feeling the balance between work and f Anyone else feeling the balance between work and family and rest and keeping your house liveable has all just toppled this year? I keep seeing articles about pandemic fatigue and long term stress and burnout and while it’s totally relatable, I really just want tips on how to actually deal with that. I thought I’d share some things that are helping me if you’re in the same boat... and I’d love if you shared your tips in the comments! We could all use them 🥰
-I’ve been going for a walk every day by myself. Even when it’s freaking cold like today, I just bundle. It’s the only time I get truly to myself with no kiddo asking for something and that I don’t have to try squeeze in an email or something else.
-I’ve been putting the instant pot to work and leaning on cheater meals (local soup mixes are amazing), Costco dinners... whatever
- I’m prioritizing friendships with phone calls, zoom games nights and group chats about the bachelor (with matching snacks!)
- I’ve given myself a schedule that has downtime to play with the kids and to read... even when there’s things I feel like I ‘should be’ doing
- I’ve realized exactly how much time I’ve been spending on my phone and that it’s become my response to stress. Have you ever looked up your screen time analytics? 🥴 look at how many times you pick it up in your day. I’m setting app limits for myself and trying to break this habit, but I’d really love tips!
Can you believe that address sign is a DIY?! I'm s Can you believe that address sign is a DIY?! I'm sharing the whole tutorial in partnership with @OfficialCricut today over on my blog! I'd originally made it as a place holder for a metal one but after having it up for 4 months... we totally love it long term! What do you think? Would you try it? #cricut #cricutmade #ad
What are your Sunday plans? Mine are to sit right What are your Sunday plans? Mine are to sit right here for the first half of the day drinking coffee, then the second half of the day it’s to clean this house so it looks like my Instagram feed again 😂
Who has DIY projects on their mind this year?! 

👏🏻CLOSED 👏🏻 congrats @kelseycford ✨
@ryobi_canada and I want to help you start knocking those projects off your list by giving away a new nailer and battery set! #ad 
This tool is what we used for this accent wall and all the trim in our home. It’s the one I used to trim out my built in shelving and add the decorative moulding to my geometric barn door. What I’m saying is this thing is a workhorse and I want you to have one too 😉
To enter:
✨Follow me @colleenpastoor and @ryobi_canada 
✨like and save this photo 
✨ tag some friends who’d love to win in the comments! One tag per comment, each is an entry. 
✨ share to your stories for a bonus 5 entries!

Open to Canadians only this time (sorry US friends!) and not associated with Instagram. Closes Friday Jan 22 at noon PST!
Let’s talk about coffee! This is my coffee ‘st Let’s talk about coffee! This is my coffee ‘station’ and the second photo is my dads! I’m talking aaaall about them over on YT today!
Also... see how nice that fresh silicone looks?! 😉 IYKYK
The hallway is finally finished and I’m so stink The hallway is finally finished and I’m so stinking happy! 

It’s felt like such a long time coming for such a small space. Since we moved in 2.5 years ago, this space has seen new doors and hardware, new trim, new floors... twice😅, we changed the boob light to a pot light and I hated it and now it’s got the most beautiful flush mount fixture I’m in love with (thanks @mymitzi!). It finally got some fresh paint and now frames on walls and last but not least... After this weekend, the new floors look like they were here all along (no door jamb gaps!) which was the last thing really bugging me since our flood last year. 

All this to say that home takes time and sometimes getting it right might take a couple tries. Also- the spaces we don’t really think about (hallways) can totally help a house feel like home with some love (and family photos 🥰)
ps. I partnered with #mymitzi to create a tiktok for This makeover... are you following me over there yet?! I’d love if you popped over and said hi!
It’s done! It works! And I’m calling it a grea It’s done! It works! And I’m calling it a great use of my afternoon the other day. Did you catch the stories? These projects both cost me under $10 by using pieces I already had in my home (yay for scraps!) and one package of drawer slides).
You can find the full video about these two kitchen organization projects over on YouTube in collaboration with my friend @love_create_celebrate and her #scrapsmademodern challenge! But for now... I’m rejoicing this coffee maker is off my counter for good 🎉
Load More... Follow on Instagram

Copyright © 2021 · Lemon Thistle · All Rights Reserved · Powered by Mai Theme