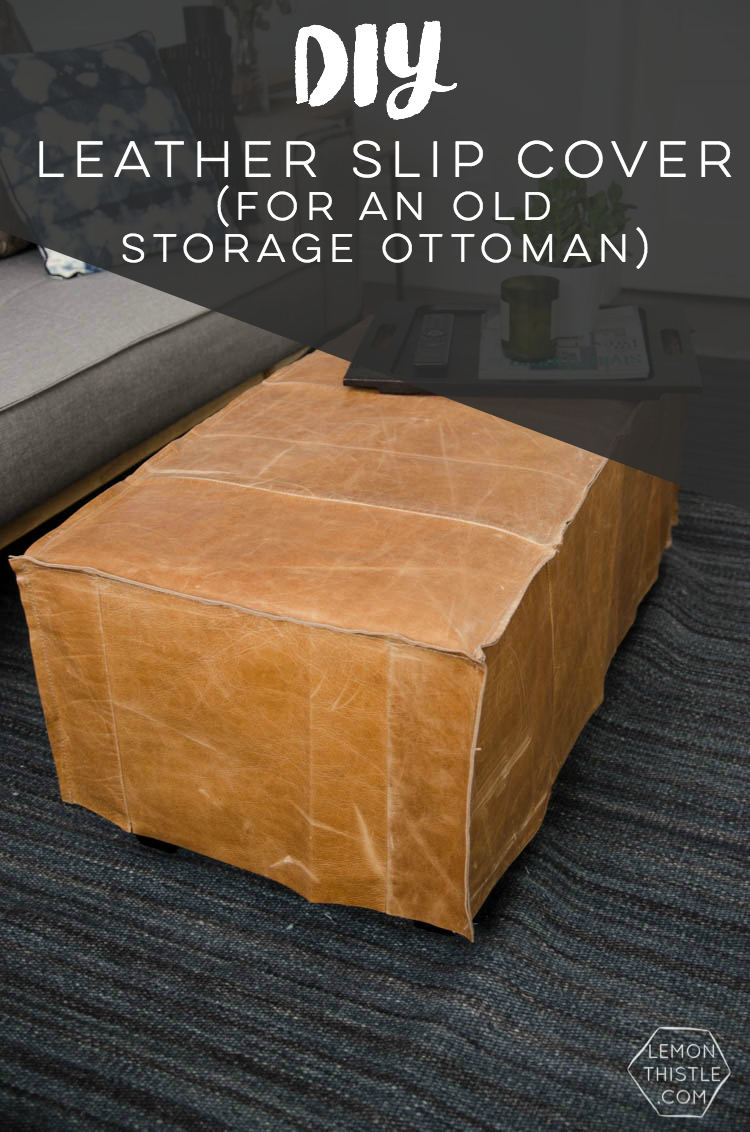
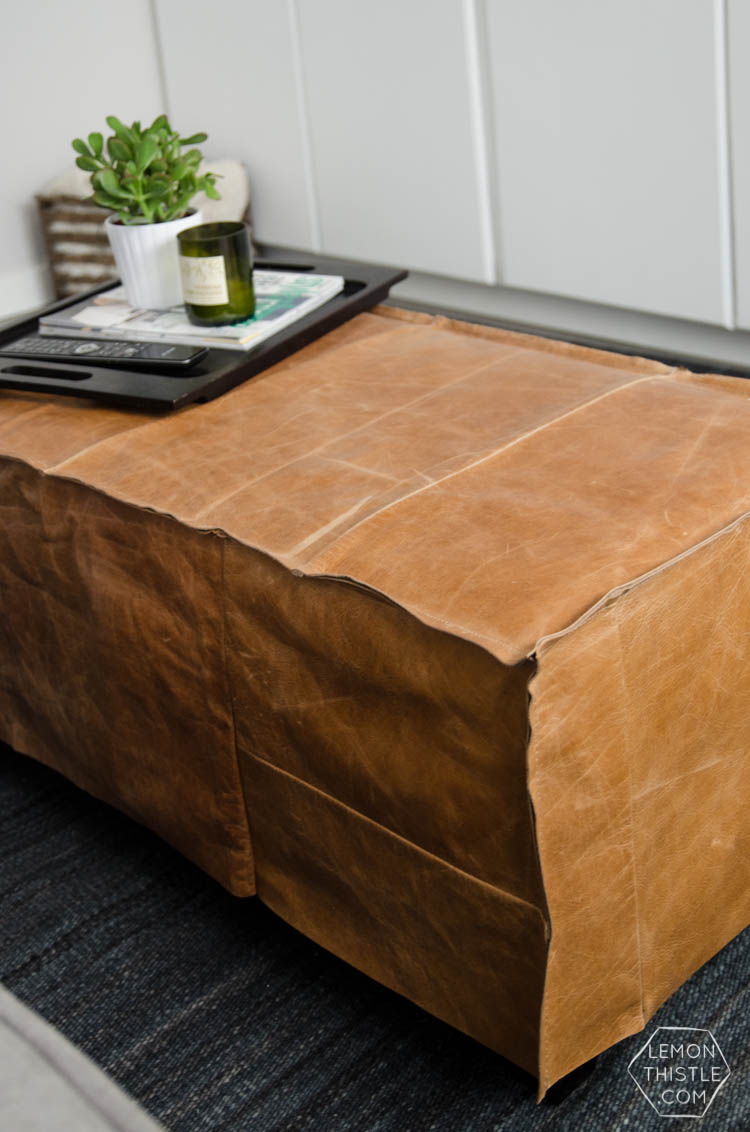
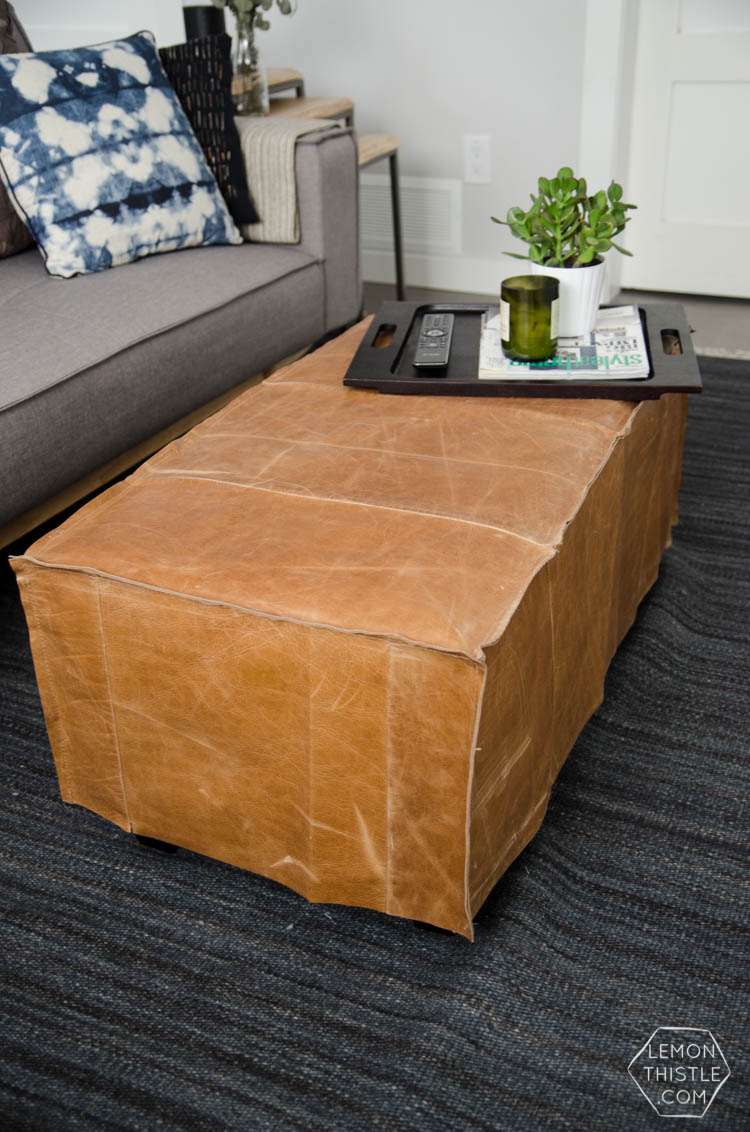
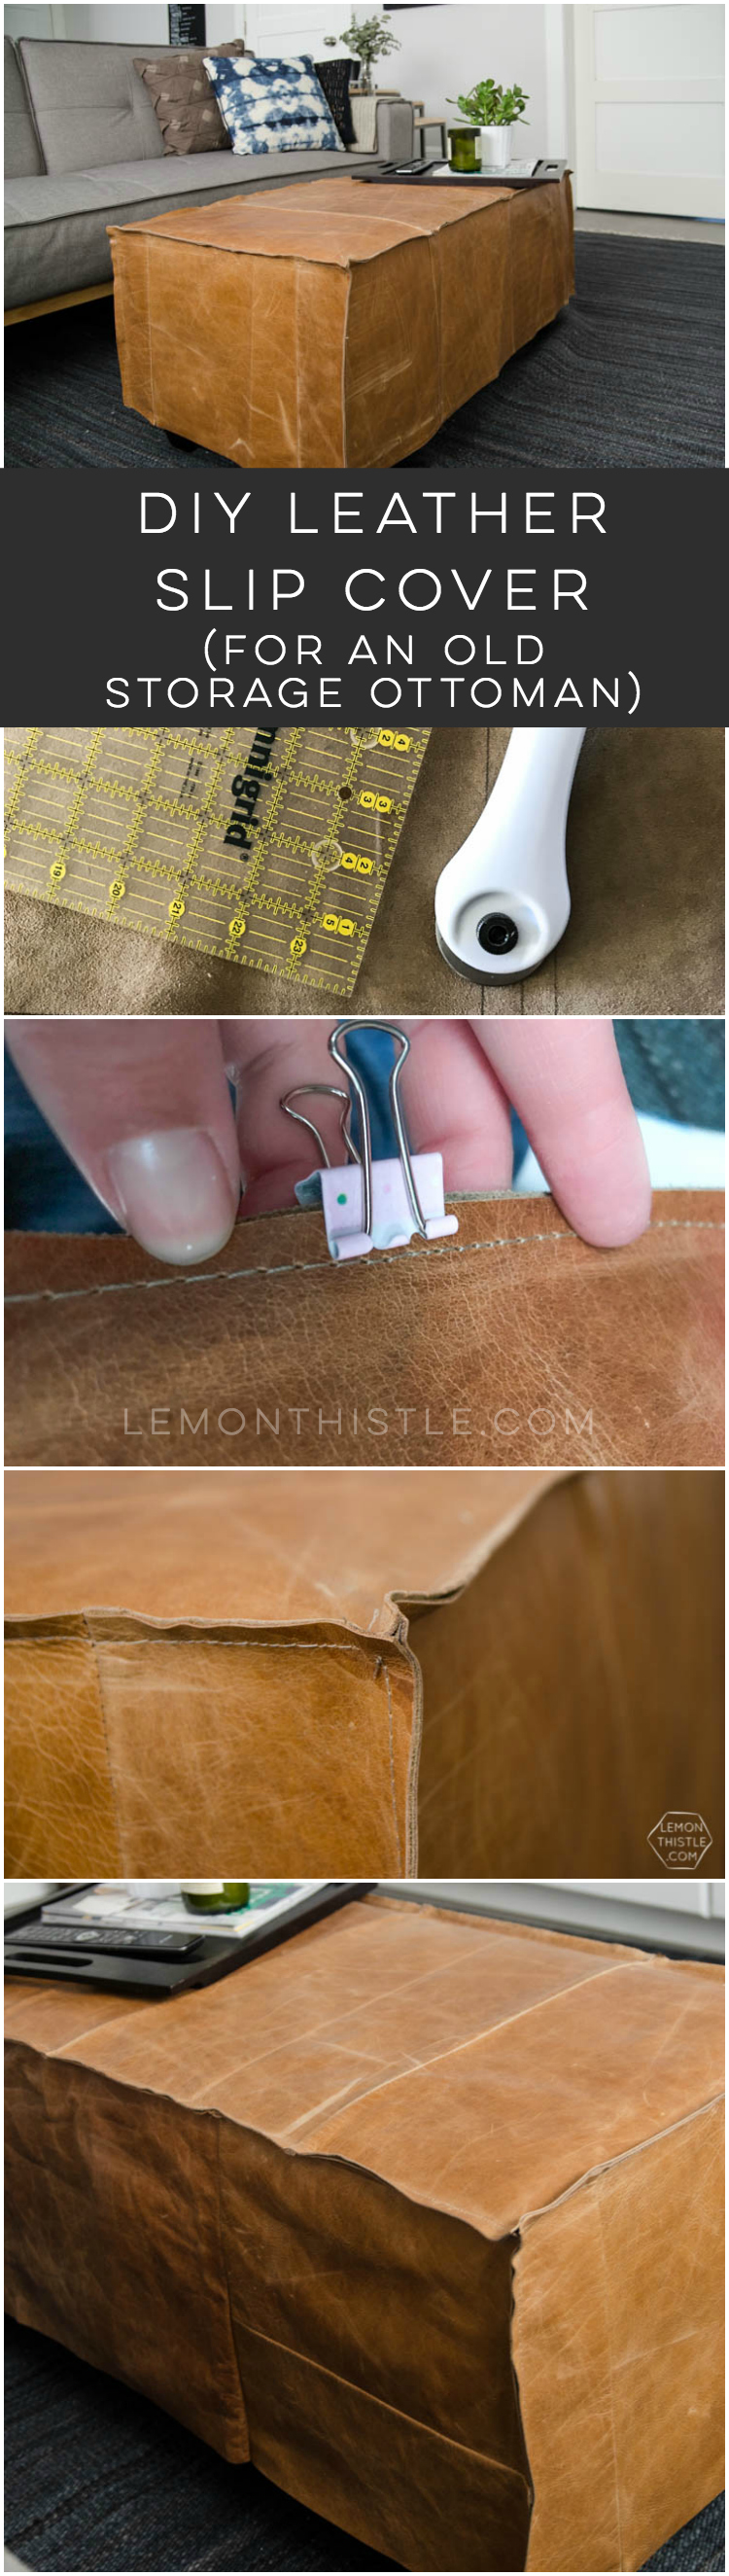
Remember when I shared my Rec Room Reveal with you all? That was a while ago now, and it’s looking a LOT messier than it did then… but I am finally getting around to sharing the DIY instructions for that leather slipcover! This leather slipcover is for an old storage ottoman- you know the kind… dark leather with lighter stitching and square brown legs, probably ripped from putting your feet on it over the past ten years. This is the MOST asked for tutorial from that whole space and I am going to be honest with you: I didn’t really document the process well. I’m not sure why I thought- ‘I made a slipcover out of salvaged leather’ would be a good enough explanation for you all. I mean… I spent probably hours researching tips to sew leather and to see if this was even possible to make. So today, even though I don’t have a ton of how-to photos for you… I’m going to give you all of my tips that I’ve learned sewing this baby (and a couple other leather projects I’ll share soon!).
But before that… can I just talk about how handy this is?! Ottomans and coffee tables are expensive! And the prettiest ones (I think) don’t have much for storage. If you have one of these old storage ottomans sitting around, this is such a great way to update it without it losing it’s storage function. I will say that it’s not the most convenient to get into (you have to pull the cover off, then open it. BUT I don’t store everyday items in there anyways, it’s full of photos and stuff that I want to keep but don’t need out. I originally had planned on making a couple leather pouffs to go here- I love the look of these ones– but I’ve made pouffs before and that requires a zipper and a ton of stuffing and did you know that stuffing is expensive?! Plus then we couldn’t have set our drinks down on it while we’re watching TV how we do now. Did I mention losing the storage wasn’t appealing? This was the perfect quick fix. Alright… let’s get to the DIY!
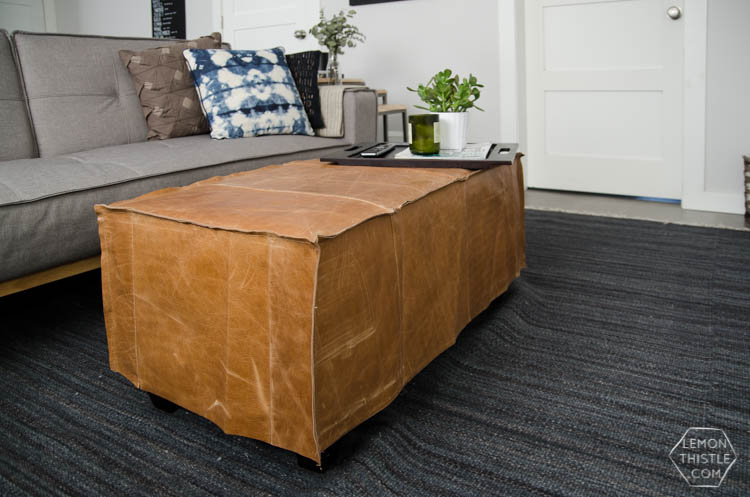
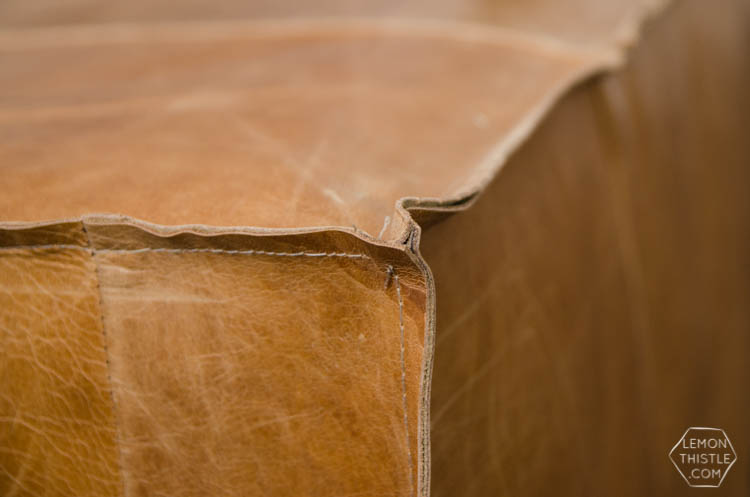
The first thing you’ll notice is that the leather is pretty beat up. That’s because it’s salvaged. And salvaged means free ;) I scored an old couch off of Kijiji and skinned it for all the good leather. I still have stacks of the stuff, you guys! I’m not going to lie… moving a giant couch and cutting all the leather off of it wasn’t the easiest thing I’ve ever done but it was sooo worth it. I left the detail seams in the leather- the seams that separated the three ‘cushions’ on the back and front of the couch. That’s the seams you see on the top and sides of the leather here. See how nice and straight and flat they are? None of that was me ;) Since the leather came off of the couch with those seams, I could use the larger pieces of leather and didn’t have to piece anything together for it.
Okay… so here’s my best tips for sewing leather:
Before that though… I did a ton of research and found almost everyone said that it’s best to sew leather by hand. And that it a home sewing machine probably couldn’t sew through upholstery weight leather (like from a couch) but honestly, now that I’ve done it a few times- I’ve had no issues. So if the thought of hand sewing something makes you want to cry, I say give it a shot. I’m really glad I did!
The ottoman slipcover is assembled using one piece for the top, then sewing all sides onto the top before joining the corners together. I left a half inch allowance for each seam (you can see that drawn on the back of the leather below- I just used pen).
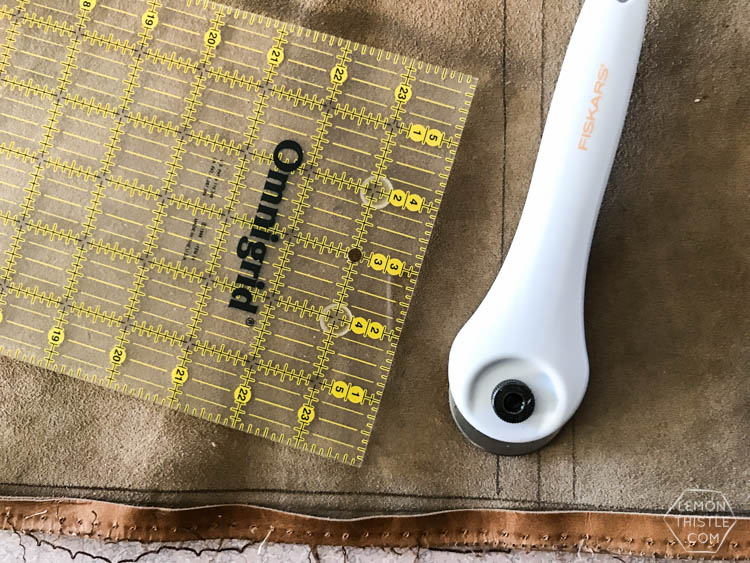
1. Cut straight- it’s not forgiving
Even more than fabric, leather is really not forgiving of wavy lines or mis-cuts. And since the seams are showing in this slipcover… you can see aaaaallll of them. I took the leather to my Grandmas because she has a giant cutting mat and a great rotary cutter. It was amazing and I went out and bought myself a rotary cutter after using it! I have a big cutting mat on my wishlist still. Mark your lines using a ruler and use a straight edge to make sure your cut stays exactly on track.
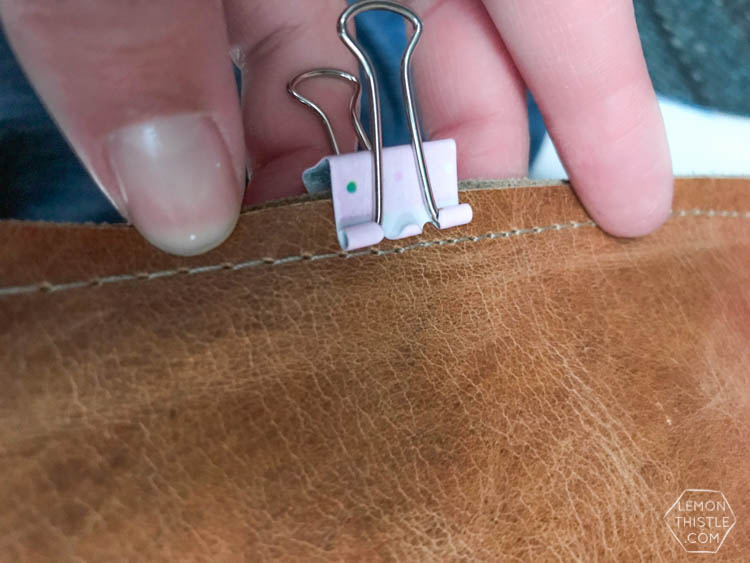
2. Don’t use pins
Along the same lines as the last… leather is so much less forgiving than fabric. If you poke a pin in… when you pull it out, you’ll see that hole forever and ever. But obviously you want your pieces to stay put while you sew! The best tip I found was to use binder clips instead… they work great! You do need a lot of them though, which wasn’t a problem for this office supply hoarder.
3. Use the right needle and thread
This was my biggest concern because I’m relatively uninformed about sewing machines and even what I think I know I still somehow mess up (y’know… threading my own machine for the 3000th time). I ended up with upholstery thread and a leather needle- it worked awesome and I’ve had no issues with seams pulling or breaking.
4. Use a long stitch
The longer the stitch, the faster it will go and the less little holes there will be in your leather.
5. And most of all… GO SLOW!
The biggest tip I have for you! I could say it 1000 times. Just go slow. Help feed the leather through with your hands instead of relying on that little feeder under the foot. It feels tedious but I had no issues this way. Since you can’t seam rip without leaving holes where the needle went through- why not just go slow and not chance it? Plus since your home machine isn’t built to do really thick materials, you’re giving it the best shot by going slower. If there’s a tough spot (going over the seams in the leather for example), use the hand crank on the side for a couple stitches if you need to. That’s better than forcing the motor in your machine to do it for you.
Hope these tips help! It really wasn’t as intimidating as I thought it would be… I actually enjoy sewing with leather because it doesn’t bunch up the way that more delicate fabrics do. If you have any questions about the project or sewing with leather, let me know and I’ll do my best to answer! But keep in mind I’m a try it and figure it out as I go kind of gal ;) And if you decide to make your own- I’d love to see it! Shoot me an email or share it on social and tag me!
LIKE IT? PIN IT!
 Simple DIY Coat Rack
Love it! Would really like to do something like this to ours. :)
And your stitches would probably be so straight and perfect too ;)
This is exactly what I’m planning to do with my ottoman and the same color of leather. This was very helpful! Curious, any reason you didn’t flip it inside out so the seams won’t show or was that the intended style?
I love the look of the ottoman. What a great idea to use leather from an old couch, not to mention on the cost savings.
My niece asked that I make a cover for her husband’s table using faux leather. No problem (I think), I have been sewing for years. Since he wants the drop to go the floor (around 40”) should I leave one end side seams open so it is easier to put on the table, which is 27” x 73”? I am thinking, by cutting one end piece about an 1” wider on each side so it wraps around the leg and having the sides cover that inch so it looks a little more finished would make it easier to put on. Your thoughts are greatly appreciated.
Hi! I’m having a hard time picturing it but I’d just make it a 1/2 inch larger than it needs to be so it can drop over top easily!