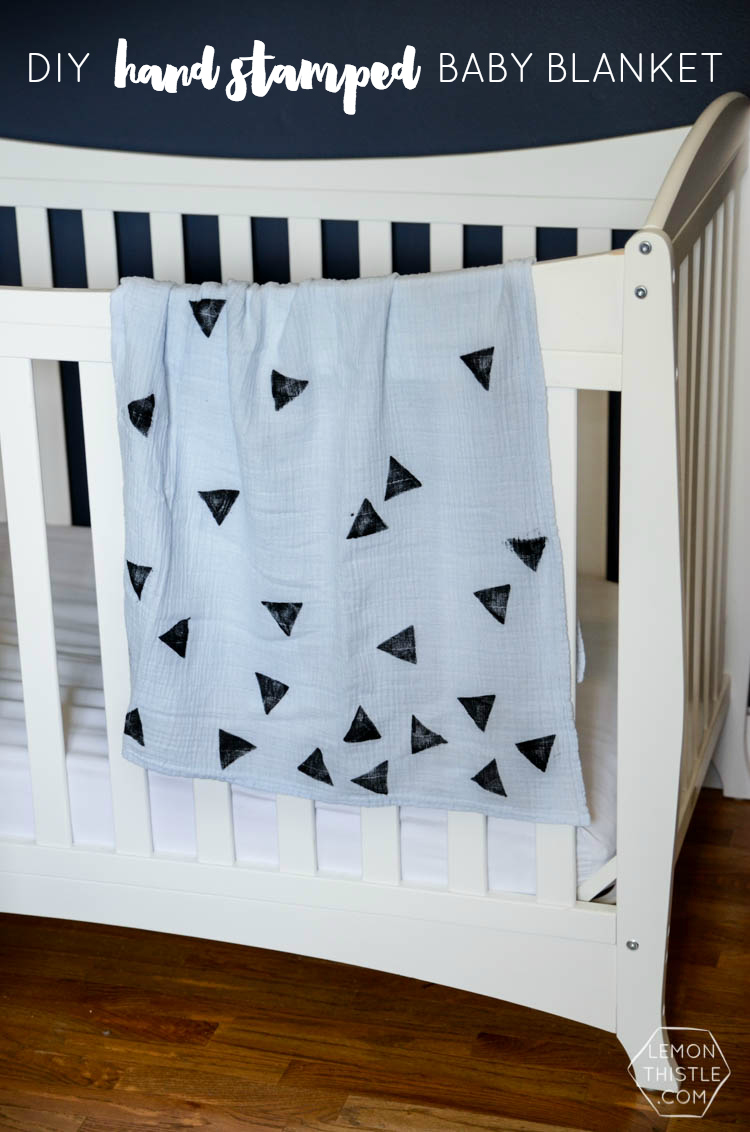
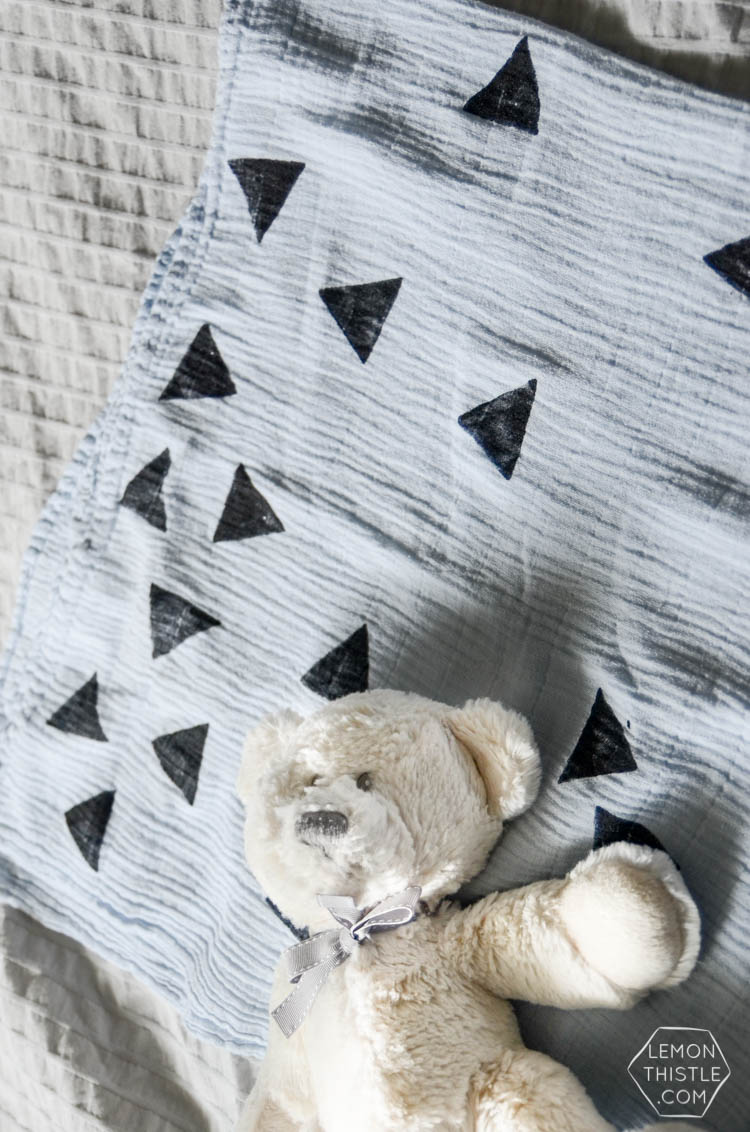
Today I’m going to show you this super simple video DIY- a hand stamped baby blanket. I really love how this one turned out! I love the look of hand stamping (I’m sure that’s obvious by now!) and I love to give gifts that have some handmade love. This blanket is so simple to customize and since I chose to use black triangles, it’s not too baby-ish.
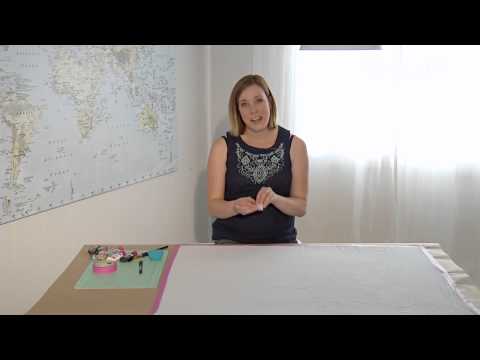
I created this DIY hand stamped baby blanket as part of my mini DIY series with my local Shaw TV channel, so we’re bringing you a video for this one!
Here’s what you’ll need to make your own:
- Muslin baby blanket (or you can make your own!)
- Fabric paint (I swear by this stuff!)
- Thick craft foam (if it’s not very thick then add double sided tape and a mounting block)
- Paint brush
- Scissors (or craft knife and cutting mat)
- Paper to line your surface and tape
I didn’t mention this in the video, but before you get to stamping, I’d recommend washing your baby blanket so if it does shrink at all you don’t end up with warped shapes (especially if you’re doing something detailed like letters). I found my baby blankets at Winners so I won’t be any help- but I did spot these ones![]() on Amazon that look like they’re really similar! Tape your blanket down flat, smoothing out any wrinkles. Since muslin is a light weight fabric, I would put paper underneath to catch any paint that bleeds through.
on Amazon that look like they’re really similar! Tape your blanket down flat, smoothing out any wrinkles. Since muslin is a light weight fabric, I would put paper underneath to catch any paint that bleeds through.
I chose to use black paint with a triangle stamp, but really, you could stamp any shape you like. In the past I’ve done an initial- actually I did one blanket with a ‘d’ stamped (for baby’s name) and a coordinating one with dolphins. I really wish I had photos of those ones because they were so stinkin’ cute! BUT that was before blogging. Draw out your shape on the craft foam and cut it out. If your foam isn’t thick enough to grip, you can add a mounting block (any piece of wood or a jar lid) with double sided tape. Then… get to stamping! I stamped mine in a confetti type pattern, but a more measured pattern would have looked great too!
A word on fabric paint- I only use one and I really swear by it. It’s the same stuff I used for that baby blanket years ago and it will be the same stuff I use I’m sure for years. Tulip Soft Matte![]() – I really like how soft it washes up and I like that it’s not shiny like the fabric paint from my childhood. BUT, if you have another brand you like- I’m sure that will look awesome as well. Let it dry overnight and give it a wash before wrapping it up to give as a gift!
– I really like how soft it washes up and I like that it’s not shiny like the fabric paint from my childhood. BUT, if you have another brand you like- I’m sure that will look awesome as well. Let it dry overnight and give it a wash before wrapping it up to give as a gift!

Let’s hear from you! Do you like personalizing gifts? What would you stamp on your baby blanket? I just got some metallic fabric paints so I’m wanting to try stamping those on a blanket! I just need someone to have a girl ;)
 Raspberry Mojitos
This is so brilliant! I’m so picky when it comes to patterns on baby things, so this is a fun and easy way to get exactly what you want without dishing out piles o’ cash! I may just have to find some pattern-free blankets and give it a whirl myself.
PS – I just so happen to be expecting a baby girl in the very near future. Just sayin’ ;)
Baby things can be so cheesy! Congrats on your sweet girl Kara, she’s adorable :)
So super cute! And I must add it’s so special because it’s made with lots of love! Besides, where am I going to find another one just like that one?
XOXO
Aw, thank you for the sweet comment Camila!
Such a cute blanket and I love the idea you can customize it . Thank you for sharing your video with Share It One More Time. Cathy
Thank you for stopping by Cathy!
Hi! I love how it turned out. I have tried doing my own but the design is (partially) visible on the other side because some of the paint passes through… Is it normal? Does the back of your blanket look completely white?
Thanks!
It definitely went through a little bit!
Your blanket is gorgeous! I am attempting to make one for my sister’s baby, but i’m not sure if i can actually pull off something like that! :)
Could i use the Slick type of fabric paint, or does it dry differently than the Soft?
It would dry shinier and I find a bit scratchier!