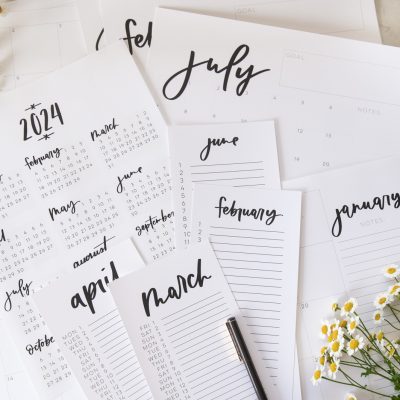
UPDATE! 2024 CALENDARS ARE HERE!
- You can download the most recent year (2024) for free RIGHT HERE.
- For backdated calendars 20215-2023, please see the bundle in my shop HERE.
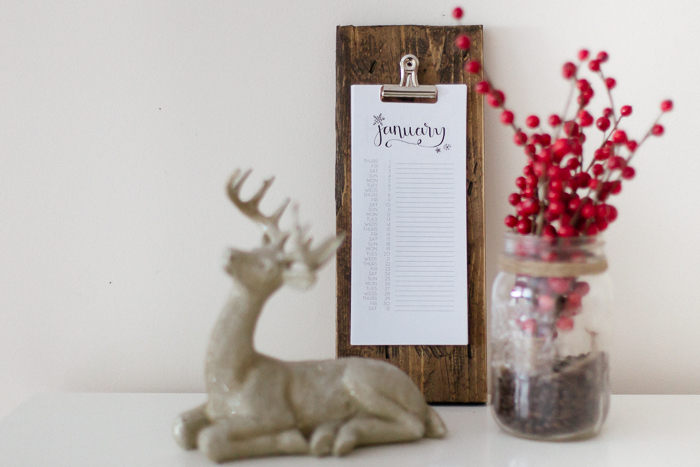
This DIY calendar stand is a simple DIY project that can turn any free printable calendar into a lovely gift! Perfect for teachers or administration gifts.
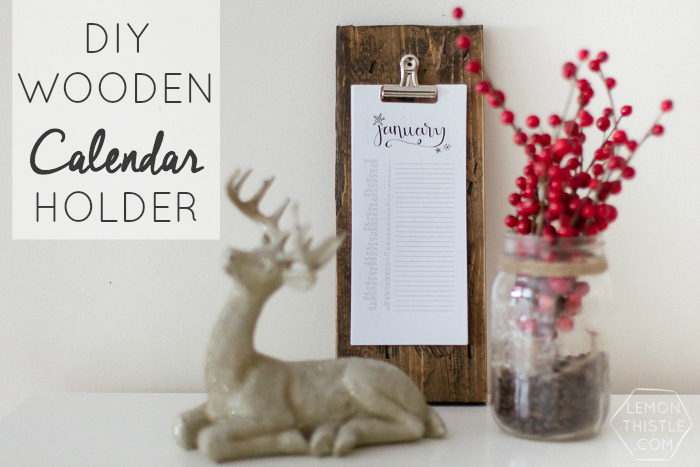
I’m really excited about today’s post, friends! If you follow me on Instagram, you saw me share this goooorgeous calendar stand for my free printable calendars. I didn’t make it.
Nope, a reader (and new friend!) Jennifer Hawkins created it for the calendar she printed for herself (and her friends and family for Christmas) and shared the photo with me on Facebook. I died, of course, and begged her to make another one and share the DIY process with you all!
If the name Jennifer Hawkins sounds familiar- it’s because she’s the same talented lady that submitted her daughter’s birthday shoot to Lemon Thistle this fall (those pictures still make me swoon!). So basically, she’s wonderful and you should tell her that.
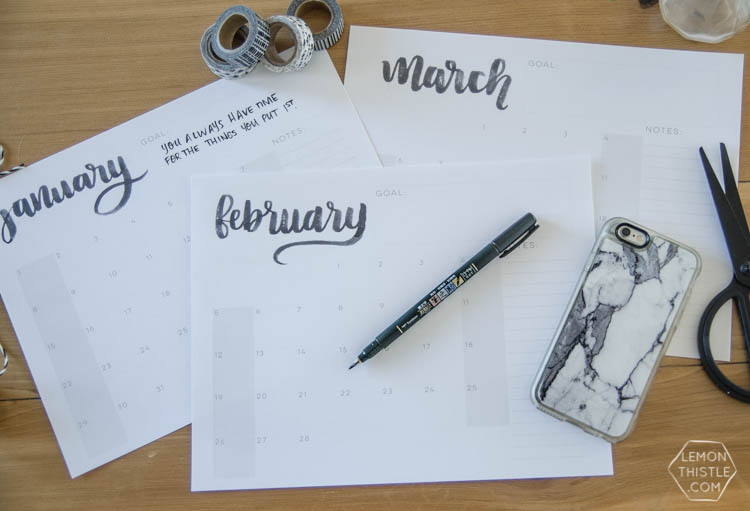
In other news… if you haven’t gotten your free printable calendar yet- I’m releasing it for everyone today! So if you hop back over to the original post, you’ll be able to download all three calendars for free! If you’re a part of my e-mail list, I’ll be launching your next freebie on Monday… and it’s pretty awesome, if I do say so myself!
Oops! These calendars have been archived into my shop. Want the Current 2024 calendars for FREE?! Grab them RIGHT HERE!
Alright, back to the calendar stand! I’ll turn it over to Jennifer now:
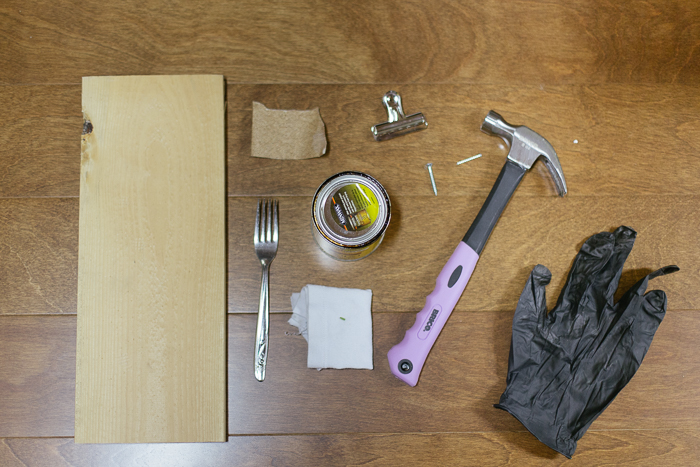
Here’s what you’ll need to make your very own rustic DIY Calendar stand:
- 1×6 wood purchased from the hardware store and cut to 14” in length
- Minwax stain: Dark Walnut
- Sand paper 80 grain
- 2 Inch metal paper clip, & small nail for hanging
- Hammer
- Fork, Screw (for distressing)
- Small old rag
- Plastic gloves
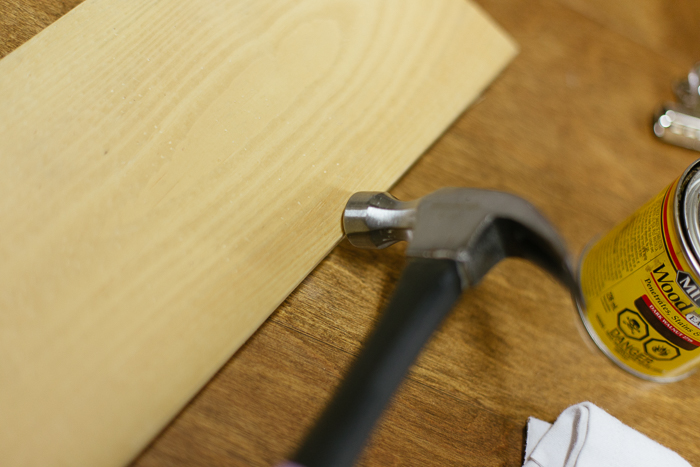
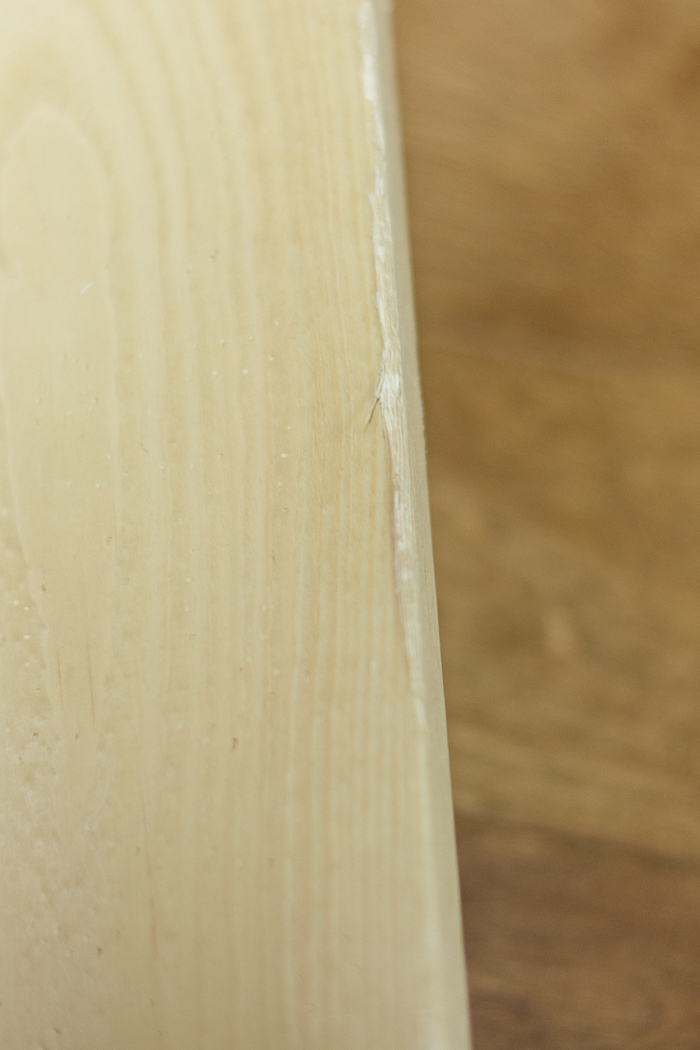
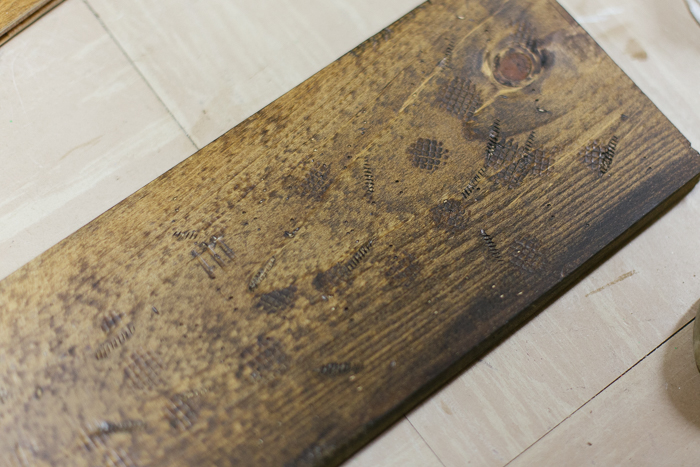
Once you’ve gathered all your supplies, you can get started distressing the wood. First, use the hammer to distress the wood. I hammered the edges to give the effect of a knot running along the edge of the stand.
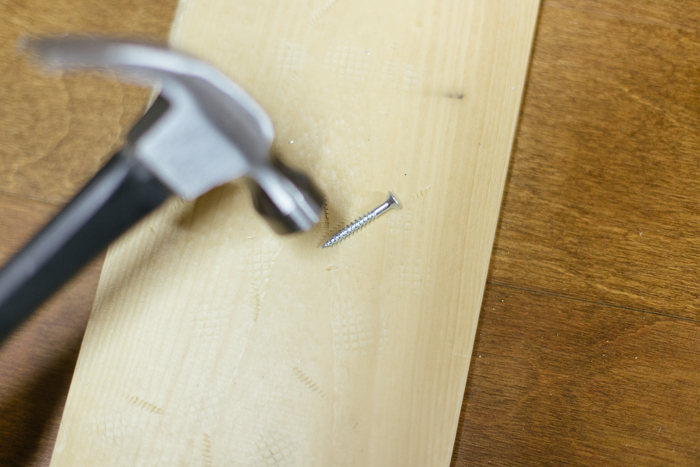
I then hammered the stand randomly to create a texture in the wood. Next, I used the hammer to hit the end of the screw into the wood. This created a circular indentation in the wood. Lastly, I used the end of the fork to create small holes randomly through out the stand.
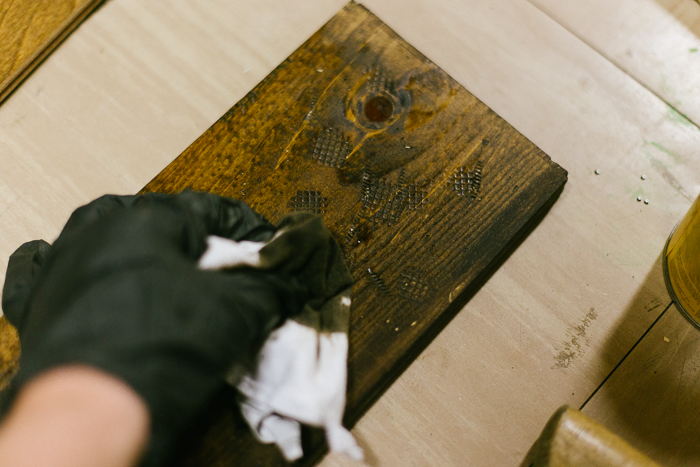
Next, I used an old rag, and applied a heavy coat of stain to the stand. Once entirely covered, I used a clean side of the rag to wipe away the stain that had no yet soaked into the stand.
This takes about 5 minutes as the darker spots need a little more attention.
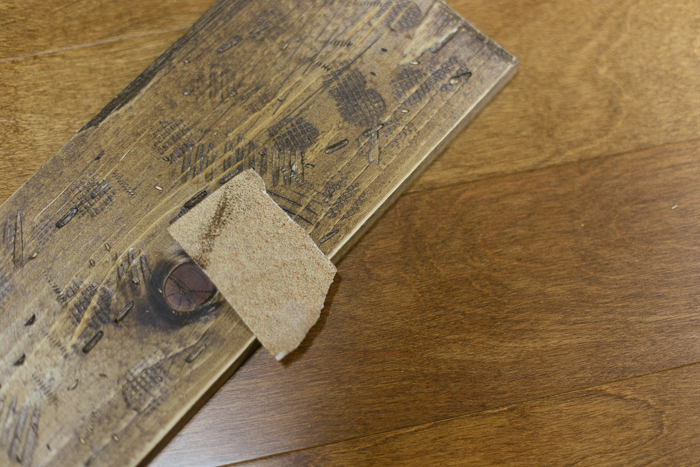
Once dried (I let it sit for 3 hours), take sand paper to the edges to give it a more distressed/ rustic look.
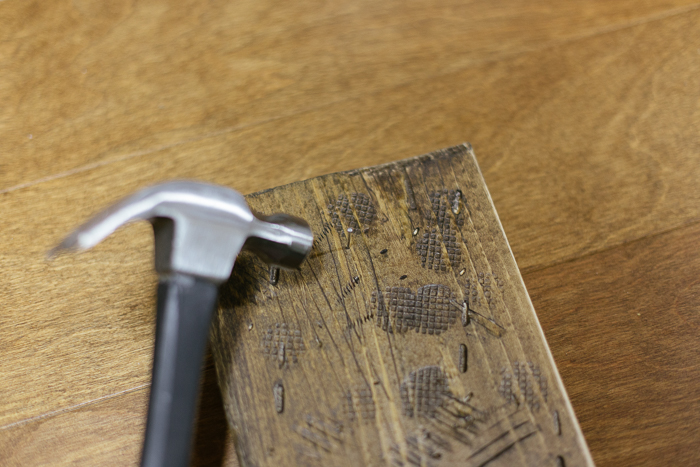
I then measured to the find the middle of the board and hammered in a nail to hang the metal clip.
Colleen Again! Ummm, how easy is this? I can’t wait to make my own- I actually have leftover 1×6 from a Christmas gift I made (it was meant to be!). I’ve already set a date with a friend to make it… and I can’t wait! How perfect will it look on my desk? Perfect.
One tip I wanted to give (especially if you don’t have a hoard of power tools– and say, live in an apartment like we did for the first 5 years of our marriage): did you know that you can ask your hardware store (Home Depot, for instance) to cut your wood to size for you? Yep, so instead of hauling home an 8 ft board, you could haul home ready to distress pieces.
So- have you printed up (or bought) all your calendars for the year, or are you dragging your feet (because it can’t possibly be January yet)? How do you display your calendars? And just a reminder to grab your free calendars- they’re now available to everyone here.
UPDATE! 2024 CALENDARS ARE HERE!
- You can download the most recent year (2024) for free RIGHT HERE.
- For backdated calendars 20215-2023, please see the bundle in my shop HERE.
 Office In Progress- Practical tips for an Inspiring Workspace
So happy I found your cute blog! As soon as I saw your header I bookmarked it… no questions asked! Love’n your ah-mazing DIY tutorials! Thumbs way up!
Thanks so much Brie! I totally love your style! You look like someone I’d like to get to know better… who loves a good party!
Jennifer – super cute calendar holder! It seems like you might need to start a blog of your own! Thanks for sharing it with Colleen’s readers, and Colleen, thanks for letting Jennifer share her talents with us! xo
Thanks for the sweet comment Bre- She definitely could! She’s so crafty :)
I was literally thinking I needed something like this! Love your projects and would love you to share at my link party http://www.carissamiss.com/2015/01/outside-box-no-19.html
Thanks so much Carissa! It would be super handy, I can’t wait to make one for myself :)
This is so cute but yet so simple. I love it! Thanks for sharing at Motivational Monday Link Party! Hope to see you again next week.
Bethany from The Southern Couture
The simplicity is what I love the most about it! Jennifer rocked this DIY :)
What a cute idea! Thanks for the printable calendar! I would love for you to share this at our link party Wednesday!
Thanks so much Roxanne! I’ll have to check it out :)
This looks so lovely. The calenders are really cute. Thanks for sharing. Your pictures are great too.
Over from Funky Polkadot Giraffe.:o)
Thanks so much Kate! Jenn is actually a photographer- so she rocks it in the photography department!
So cute! I definitely need to make one of these, it looks like something expensive and trendy!
This is adorable!! What a great project:)