• Skip to main content
  • Skip to header left navigation
  • Skip to header right navigation
  • Skip to site footer
  • Shop
  • Get The Email
  • Work With Me
  • About
  • Search

  • DIY
    • DIY Home Decor
    • With Power Tools
    • Renovation
    • For Kids
    • For Parties
    • Wearable
    • Organization
    • Cricut Crafts
  • Home Decor
    • Room Reveals
    • Kid Friendly
    • DIY Home Decor
    • Renovation
  • Lettering
    • Hand Lettered Printables
    • Free Practice Sheets
    • Handlettered DIY
    • Free Brush Lettering Quickstart Guide
Lemon Thistle

Lemon Thistle

Rad DIY, Lettering and Design for Real People

  • Printables
    • For Cricut
    • Party Printables
    • Home Decor Printables
    • Bachelor Bingo
    • Handlettering Practice Sheets
    • All Free Printables
  • Entertain
    • Party Printables
    • Party DIY
    • Tablescapes
    • Kids Parties
  • Blog

Be Brave – DIY Wooden Pennant

Sep 14

This post is sponsored by Walnut Hollow. I only partner with brands I truly love! Find all my policies HERE.

Be Brave Wooden Pennant DIY with text overlay

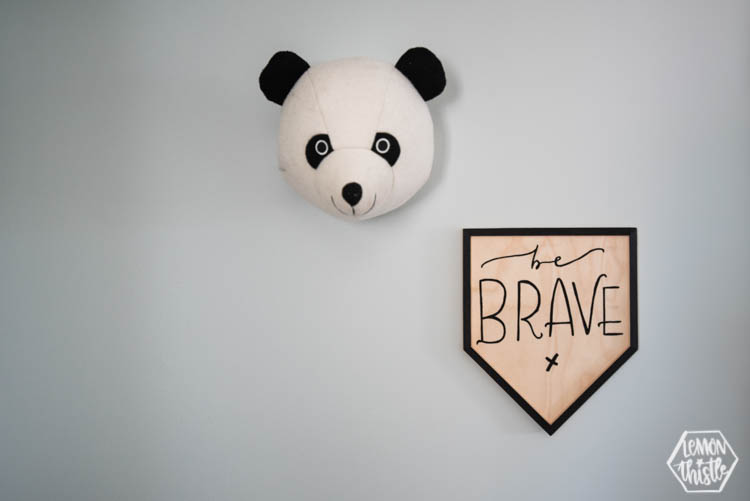
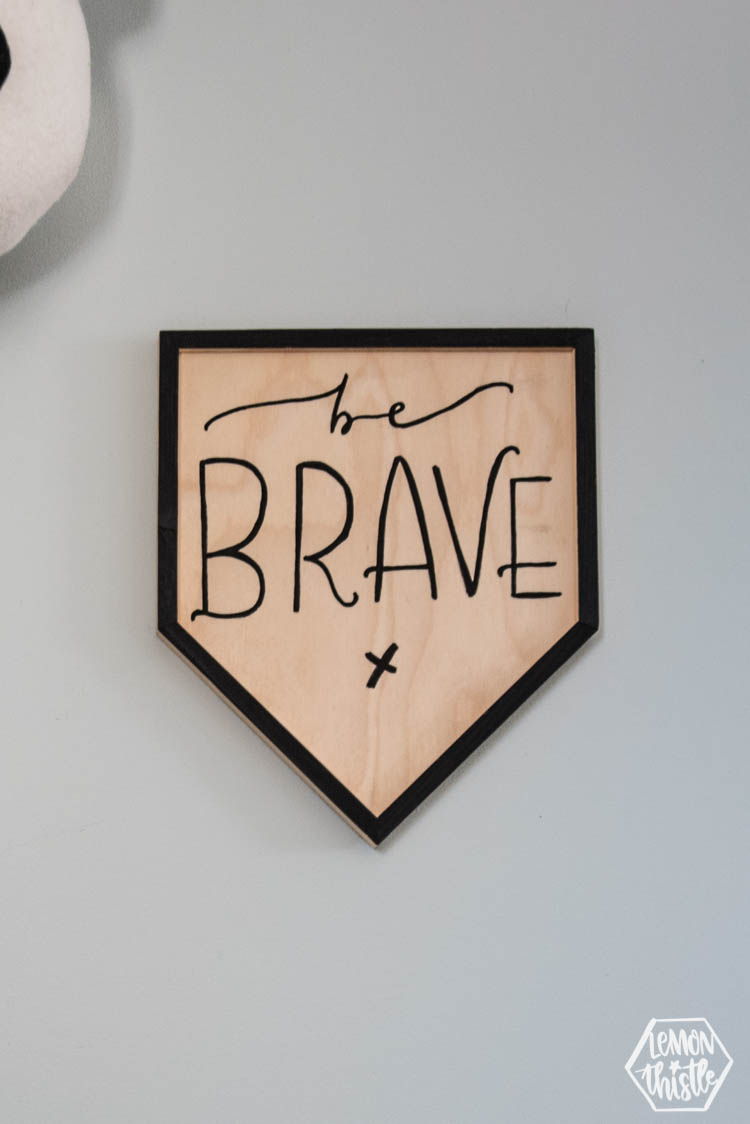
You guys know I love a good pennant… and I love natural wood in my home decor. So guess what I really love? This sweet wooden pennant! I lettered ‘Be Brave’ on this wooden pennant for my boys’ room. When I was telling Emmitt what it said after I hung it in there, I could see him think about it for a little bit and smile. I feel like we’re always telling girls to be brave (and we should!) but those boys need to hear it too. Anyways… let’s chat about this DIY!

Be Brave Wooden Pennant DIY

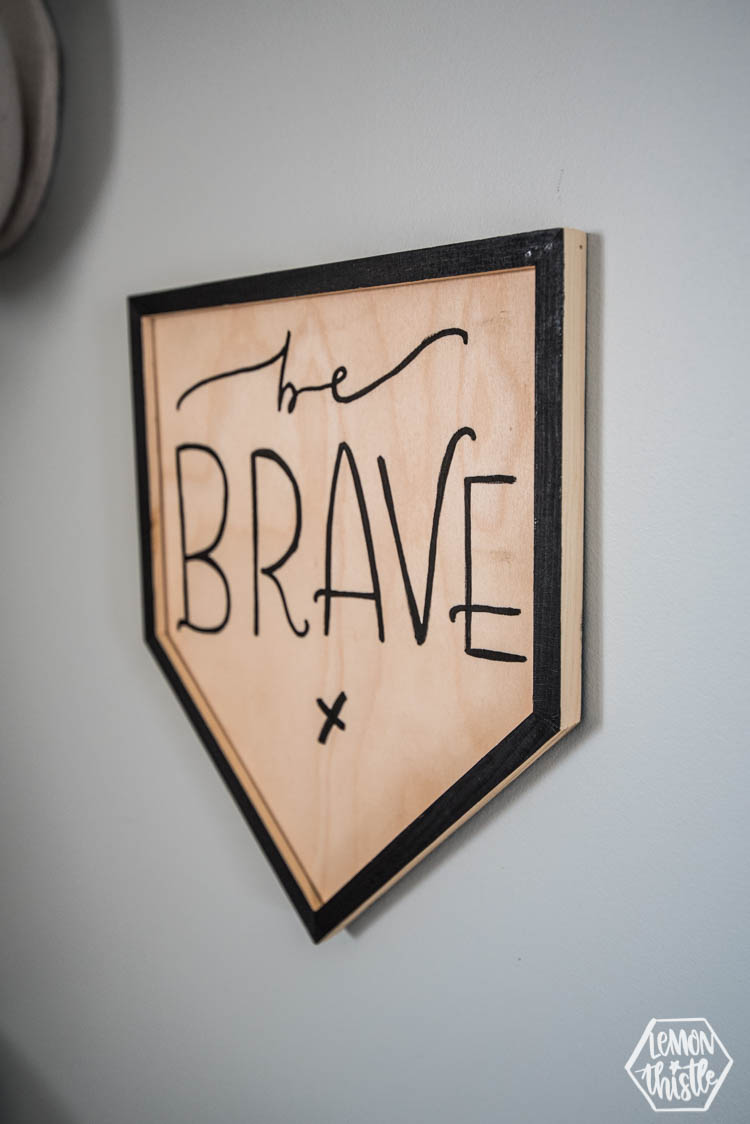
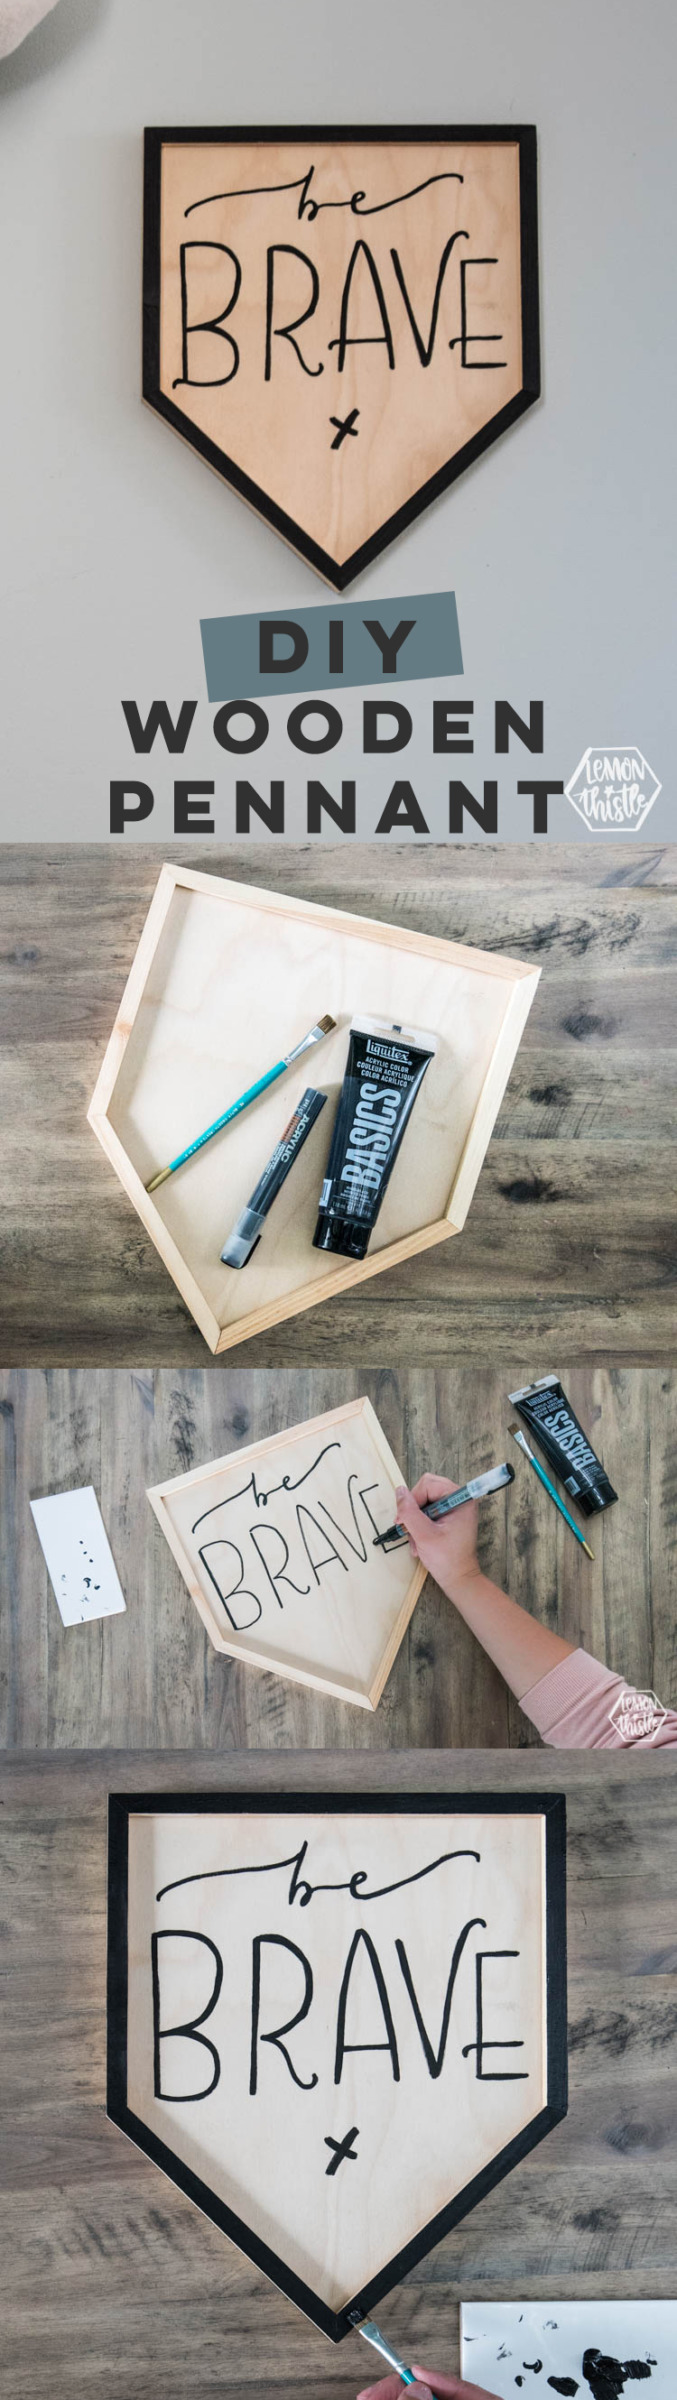
If you’ve been following Lemon Thistle for a long time, you might remember this wooden pennant that I made. I love that thing but being able to make a wooden pennant without pulling out any power tools? That’s a win to me! This wooden pennant from Walnut Hollow is the perfect starter for this craft… and can we talk about that border? I love how it gives the whole pennant a kind of 3D look to it! I pained it black to really help it pop- I’m so glad I did- I think it really finishes the piece. 

Okay… let’s talk about the DIY! This one’s really simple and I’m sure you can piece it together for yourself- but I do have a few tips.

Be Brave Wooden Pennant DIY LT-1809131

Be Brave Wooden Pennant DIY

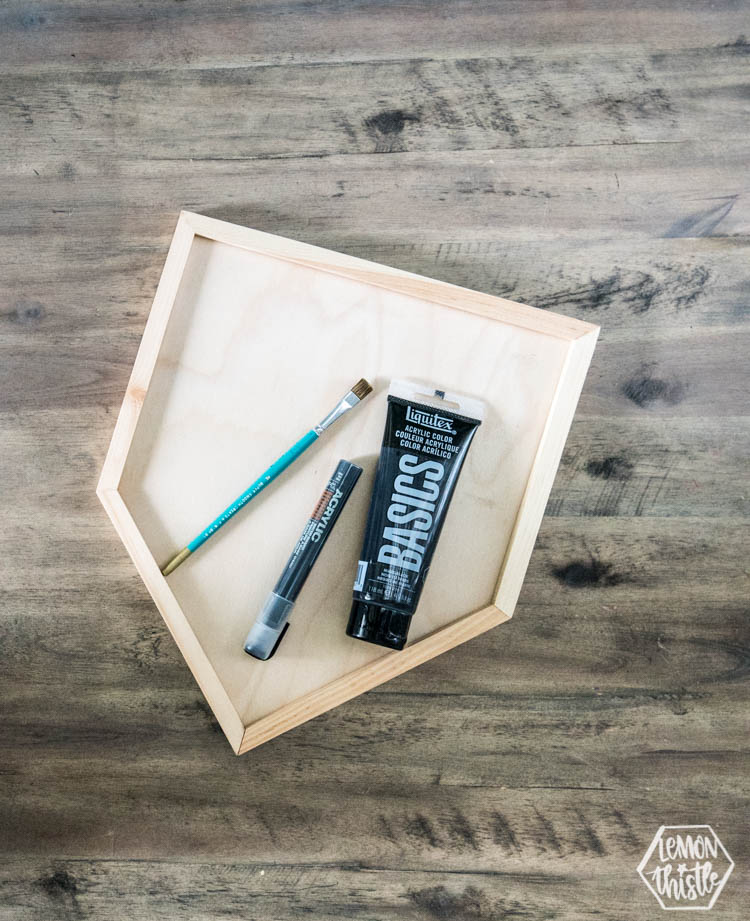
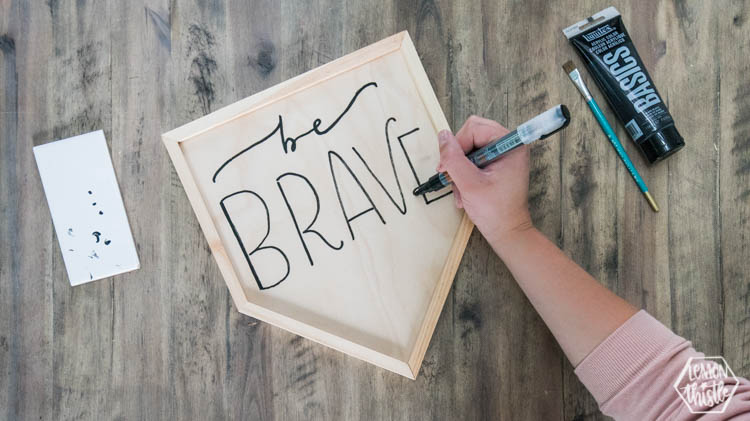
For the lettering- I practiced on paper before lettering. I wanted it to be suited for a kids room, so didn’t want it to be ‘perfect’ but more organic. If you want it to be really clean and perfect, you could stencil your lettering instead. My paint marker of choice is a Montana Marker because it covers on the first coat.

Be Brave Wooden Pennant DIY

For the border of the sign, I just painted using an acrylic craft paint. My biggest tip here is to use a flat brush instead of a round one and to avoid dragging your brush over the edges so you don’t end up with drips down the side. Also… that’s a tile I’m using for my paint brush and marker. I’m loving tiles for my paint palettes lately! They wash up so easily and when it comes to paint markers, it’s easy to press down and get the paint flowing.

If you make mistakes or change your mind on what you’d like it to say in a month or two… you can use a fine grit sand paper to take off the paint and start over!

Be Brave Wooden Pennant DIY

Be Brave Wooden Pennant DIY

Be Brave Wooden Pennant DIY

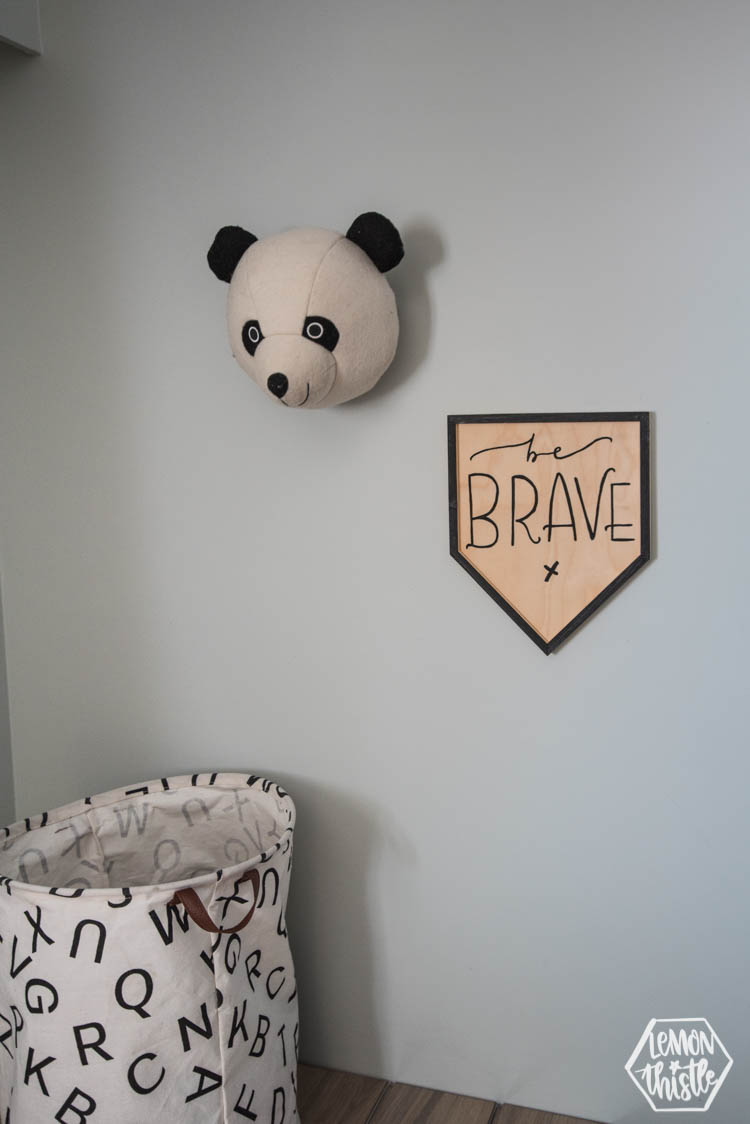
I love how much of a blank slate this project is. You could change it up to suit your style. One that I’d love to try is stained wood with white lettering… maybe for holiday gifting! I’d love to hear what you’d put on yours!

You can grab the pennants that I used on the Walnut Hollow website and if you’re Canadian like me, you can still totally order, but you just need to call and they can submit it for ya! (800.395.5995). Happy crafting, friends!

LIKE IT? PIN IT!

wood pennant DIY with be brave lettering- collage image of process

Category: DIY, Home DecorTag: DIY Home Decor, Kids DIY, Kids Rooms, Sponsored, Wall Art, Wall Decor, Wood
Facebook0Tweet0Pin0LinkedIn0
Previous Post: « I'll roll with you! Free printable sushi card I Like the Way You Roll! Free Printable Sushi Cards
Next Post: DIY Mermaid and Pirate Costumes with Cricut DIY Pirate & Mermaid Costumes with Cricut »

Reader Interactions

Leave a Reply Cancel reply

Your email address will not be published. Required fields are marked *

Sidebar

WOOHOO!

Check your email to confirm!

(+ get your freebies + discounts)


Thanks for dropping by!
I’m Colleen: wife; mom to 4 wild ones; and DIY blogger behind Lemon Thistle. You can expect to see rad DIY, modern home decor, renovations, hand lettering and the occasional party on Lemon Thistle. Read More…

email facebook youtube instagram pinterest

Unless otherwise noted, all content and images are mine. Full posts may not be shared without express written consent. But I love when you share! Feel free to share, without altering, one image with proper credit and a link to the original post. All free printables are for personal use only.

Everyone loves proper credit- if you ever notice something improperly credited, please please shoot me an email and I’ll fix it lightning fast.

Find all my policies right here.
This includes my privacy policy, info on the GDRP compliance and information on affiliate links (Including Amazon Affiliates).

Visit Colleen Pastoor’s profile on Pinterest.

colleenpastoor

My house is never this clean
-
DIY + Home Decor Blogger
Mama of 4 👶🏼🧒🏼👦🏼👧🏼
Renovating our 🏠 the DIY way
🖤 Lettering & ☕️
-
✉️[email protected]

colleen pastoor/lemon thistle
What’s next on your project list? Spring is teas What’s next on your project list? Spring is teasing us so we’re starting on outdoor projects around here!
$100 play room makeover is DONE! This room has se $100 play room makeover is DONE! 
This room has seen so much change over the past year (swipe over to see it 2 weeks ago, 10 months ago and 1 year ago!). I took this last week to make over this space with mostly pieces we already had and I’m so so happy with the results! It’s a good reminder that some hard work, creativity and of course paint can work magic.
I’m sharing all the details (and that under stairs space!) on YouTube today (link in my stories!) and so is my friend @thediymommy (she made over her daughters bedroom for $100!).
Do you think dried grasses are only for fall decor Do you think dried grasses are only for fall decor? I used to think so, but these bunny tail grasses are too cute to put in a bin until next year. Plus the name sounds like spring decor to me ;) What do you think?

Ps. Today’s going to be a full day of playroom progress! I’ll share as much as I can in stories as I go :)
Paint is honestly magic.✨ I am so excited to sha Paint is honestly magic.✨
I am so excited to share this kitchen makeover with you guys! These are the same cabinets, just painted (countertops too!) And some updated finishes. I blogged the full before and after if you’d like to check it out!
Big thank you to @schaubhardware and @wagnerspraytech for partnering to make this space possible!
Ps. Most of the work done here was by the homeowners so if you’re thinking about taking on a makeover in your own home, maybe this is the encouragement you need 😘
As I’m sitting here staring at the dishes on the As I’m sitting here staring at the dishes on the counter while I try to focus on editing a video, I thought it’s as good of time as any to share this reminder 😘
I feel like I’ve lucked into the best job out th I feel like I’ve lucked into the best job out there, but then I’m also so aware of the amount of work it took to get here. Today I chatted with two of my blog friends in an Instagram live about DIY blogging as a job and answered some questions we get asked all the time about our work and the balance of it all! I saved it as an IGTV so you can watch it if you missed 🥰

Big thanks to @love_create_celebrate and @thediymommy for chatting with me today! One of the biggest perks of this job is all the talented ladies I’ve had the privilege of meeting and calling friends- these two are top of that list!
I’m having some fun in stories with a little giv I’m having some fun in stories with a little giveaway guessing game. I’d love if you played along!

I put up a question box and you can guess my next room makeover and the guesses are all over the place. Some are projects on my dream list, some are rooms I wish to even have in my house and some are spaces we’ve already tackled! Like our main bathroom ✨ these photos are from my spring home tour I shared over on the blog earlier this week. Hung up a pennant and called it decked for spring 🐣
Who is ready for spring?! I know we totally are- w Who is ready for spring?!
I know we totally are- we’ve been soaking up outside time this week with the kids home on spring break but over on the blog... it’s spring home tour time! I am sharing my home all ready for spring along with some amazing bloggers as part of the #seasonalsimplicity spring series!
You know I love a touch of DIY decor in every spac You know I love a touch of DIY decor in every space in my home, so I’m so excited to be partnering with @HGTVCanada to celebrate #$aveMyReno being back TONIGHT! #partner
 
My favourite thing about $ave My Reno is that they encourage home owners to get involved and DIY to maximize budget. They even help kids get involved- it’s everything Shane and I work towards in our own projects. You can catch it every Tuesday at 9/9:30PM EP on @HGTVCanada or catch up on episodes on STACKTV through @primevideoca!
 
PS. I made those tie dye pillows, similar to the ones featured in tonight’s episode! You can catch my stories to see the super speedy how-to :)
Load More... Follow on Instagram

Copyright © 2021 · Lemon Thistle · All Rights Reserved · Powered by Mai Theme