This is a sponsored conversation written by me on behalf of Cricut. The opinions and text are all mine.

When I first heard about Cricut’s Print then Cut feature, I’m not going to lie- I thought I’d never use it. All I could imagine was colourful printables cut out and put on cards or party decorations or whatever else you’d want to print then cut out and I’m just not that kinda crafty. But in the past year I’ve found myself getting creative and using this feature and completely loving it. I really, really got started with a Silhouette VS Cricut challenge about printable vinyl last year and since then I’ve used it for personal projects and now some planner stickers that I’m going to share a tutorial for next week (aren’t they so cute?!). So before I jump into that tutorial, I wanted to share some tips to get started using the Cricut Print then Cut feature.
Alright, if you’ve never used Cricut’s print then cut feature before, you’ll need to calibrate your machine for it. You can do that RIGHT HERE. It’s quick and easy, I promise. And if you’re finding your machine is cutting off a little bit even though you’ve done this in the past- you can do it over. Then, you’re ready to get designing! For the sake of this post, I’m going to share how to use the feature after you have your design picked. Next week, I’m going to share how to make the planner stickers so if you want to design your own print then cut design- that post will be for you.
Before I start- a couple FAQs. Cricut Print then Cut is available on all of the Cricut Explores and on the Cricut Maker. Your Cricut will not print but works with a home printer. If you do not have a printer and want to print elsewhere, you still need to send to print with Cricut Design Space and just select ‘Print to PDF’. THAT is what you would upload to print as it includes the bounding box markers for the Cricut to read. However, most materials cannot be printed at print shops and would need to be done on a home printer (Inkjet).
OKAY! To find a design that is ready for printing, you can either upload your own .jpg or .png OR you can open up Cricut Design Space and choose one of their ready made designs that has a little printer symbol next to it (see the watercolour ones have that?). The ones in this screen grab would be great to test out, they’re from Natalie Malan who is ah-mazing at watercolor. Her designs are also included in Cricut Access!


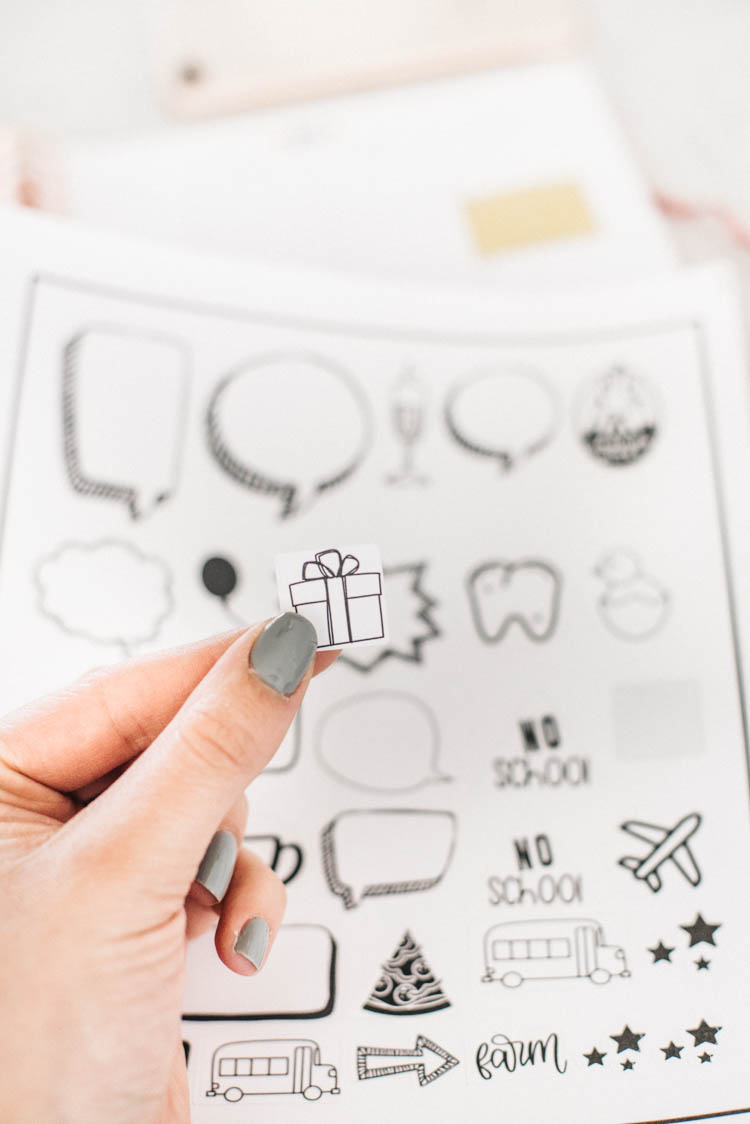
Once you’ve inserted a print then cut design, you’ll see in the layers panel that they are set to cut and print. If it is a printable file like these ones or like a .jpg you uploaded, you can resize them here before clicking make it. If it is a cut design that you are customizing with a fill pattern (like I show in this post/video), then you can change that and customize it further before clicking ‘make it’. It’s important to note that the print then cut size is smaller than the regular cut size. It is limited to standard 8×10 paper and the cut size of designs on this paper is 9.25 x 6.75. This is because of the bounding box the Cricut prints to make sure the cut is perfectly lined up. You can see this in the cut previews as well as the printed stickers sheet.


Once you click ‘Make it’, you’ll be taken to a preview and once you click ‘Continue’, you’ll be prompted to send your design to the printer. Here you’ll be given the option to add bleed. This means that the printed area will be printed a little bit farther than your design so that when it’s cut, it allows for the colour to go straight to the edge. If it’s mostly a fill colour or pattern… this is great! BUT if it’s a more intricate design like I’ve done in all of these examples… you’ll want to turn that off (it defaults to on). This will make your designs clearer. The Cricut DOES NOT PRINT. It works with a home printer.
Then, you’ll want to click ‘Advanced Options’. Depending on how your printer is set up, you’ll need to change the options like paper type and which tray to pull from. When printing anything other than standard paper, I need to switch to my rear tray which can’t be done inside Cricut Design Space but must me done from this Advanced Options area. Keep in mind that MOST printable materials are designed for use with inkjet printers. The Cricut Sticker Paper AND Printable Vinyl call for this. As someone who has jammed/wrecked her laserjet using sticker paper in the past… just follow the directions on your materials ;).


Once it’s printed, you can pull it off your printer and carefully line it up on your mat to get your Cricut set up! If Cricut Design Space doesn’t detect that you’ve printed it, you can look to the right and see linked text that says ‘I’ve already printed this’ that will take you to the cut part. Select your material and hit GO! You will see your Cricut shine a bright light to identify the bounding box to square up your cuts before it starts cutting.


Alright! That’s it, that’s all! It’s really so simple to use once you dig in and when you have the right design type. Next week, I’m going to be sharing how to design your own using other elements in Cricut Design Space. I’ll be making planner stickers but the concepts will apply to any type of print then cut design you’d like to create! I hope this helps take the intimidation out of this feature on your Cricut. I know I took SO long to use it, but once I did… it’s so easy!
Interested in the projects you see here? The bears, watercolour mouse pad and computer stickers are all in my ‘How to Use Printable Vinyl’ post and the notebook project is in my, ‘How to Cut ANY Image with Cricut’ post. The planner stickers are coming next week!
 Modern Entry Plans Full of Storage
I have a Cricut Maker, and I’m trying to print some banners and then cut for my daughter. But for some reason in the Cricut Design Space, my printer is not printing. Any ideas how can I fix this?
Hi Martin, Cricut Support is so great with trouble shooting issues like that! Without knowing all the details and being able to check your account (which they can!) I wouldn’t be able to give advice!