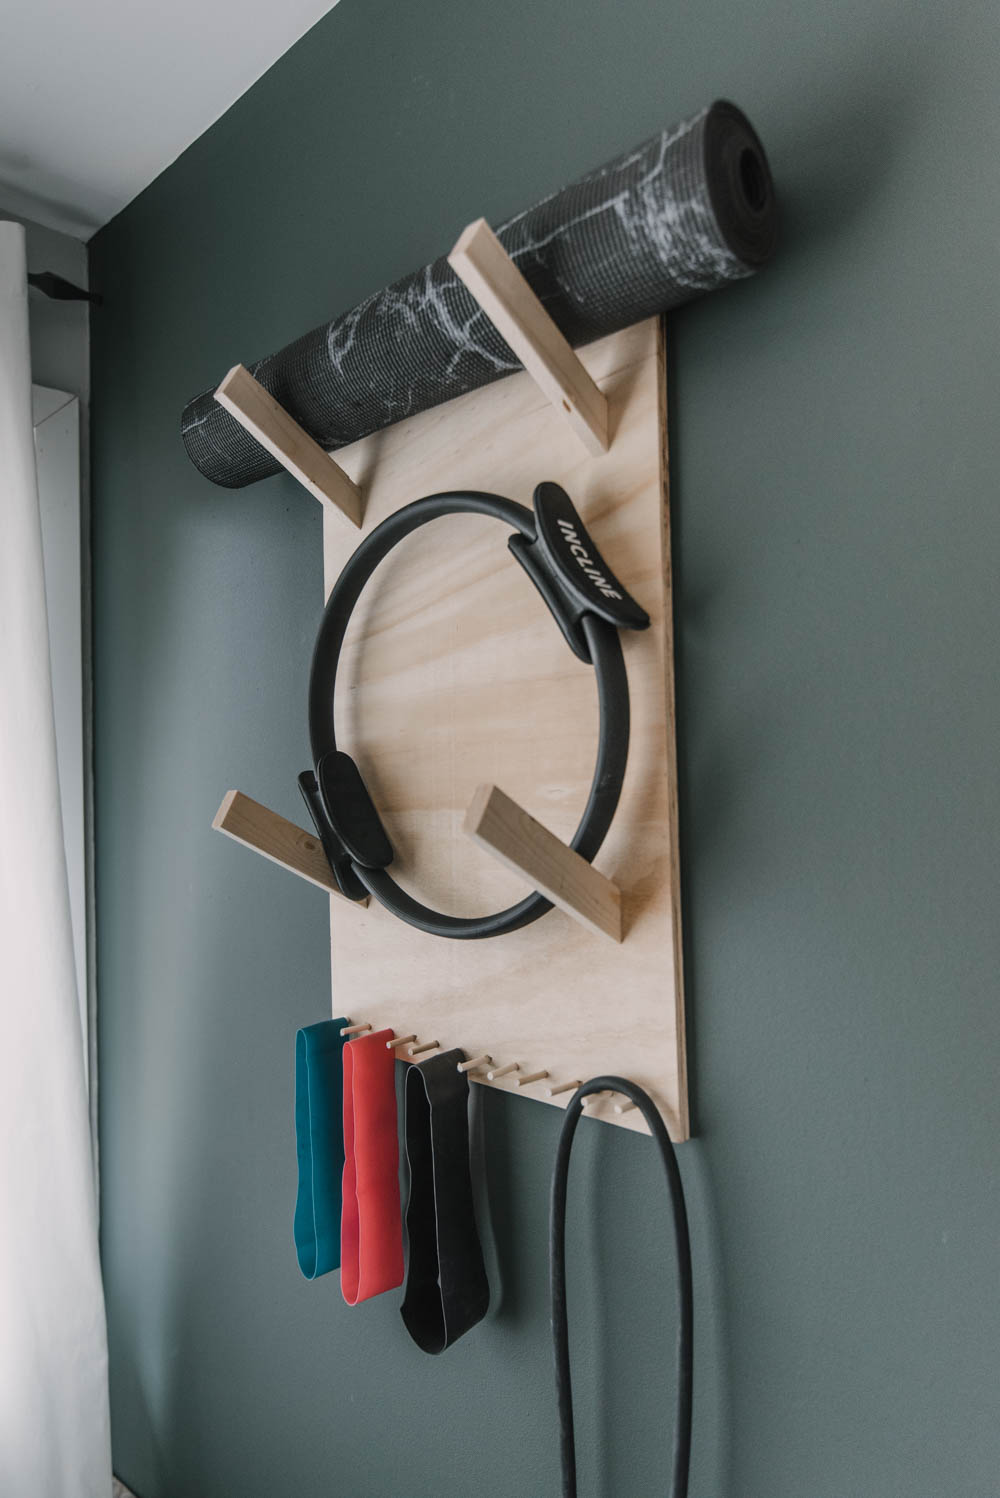
Simple DIY wall mounted shelf system out of plywood for small equipment storage in an exercise room. Pilates, bands, yoga mats taking over? This will get them off the floor!
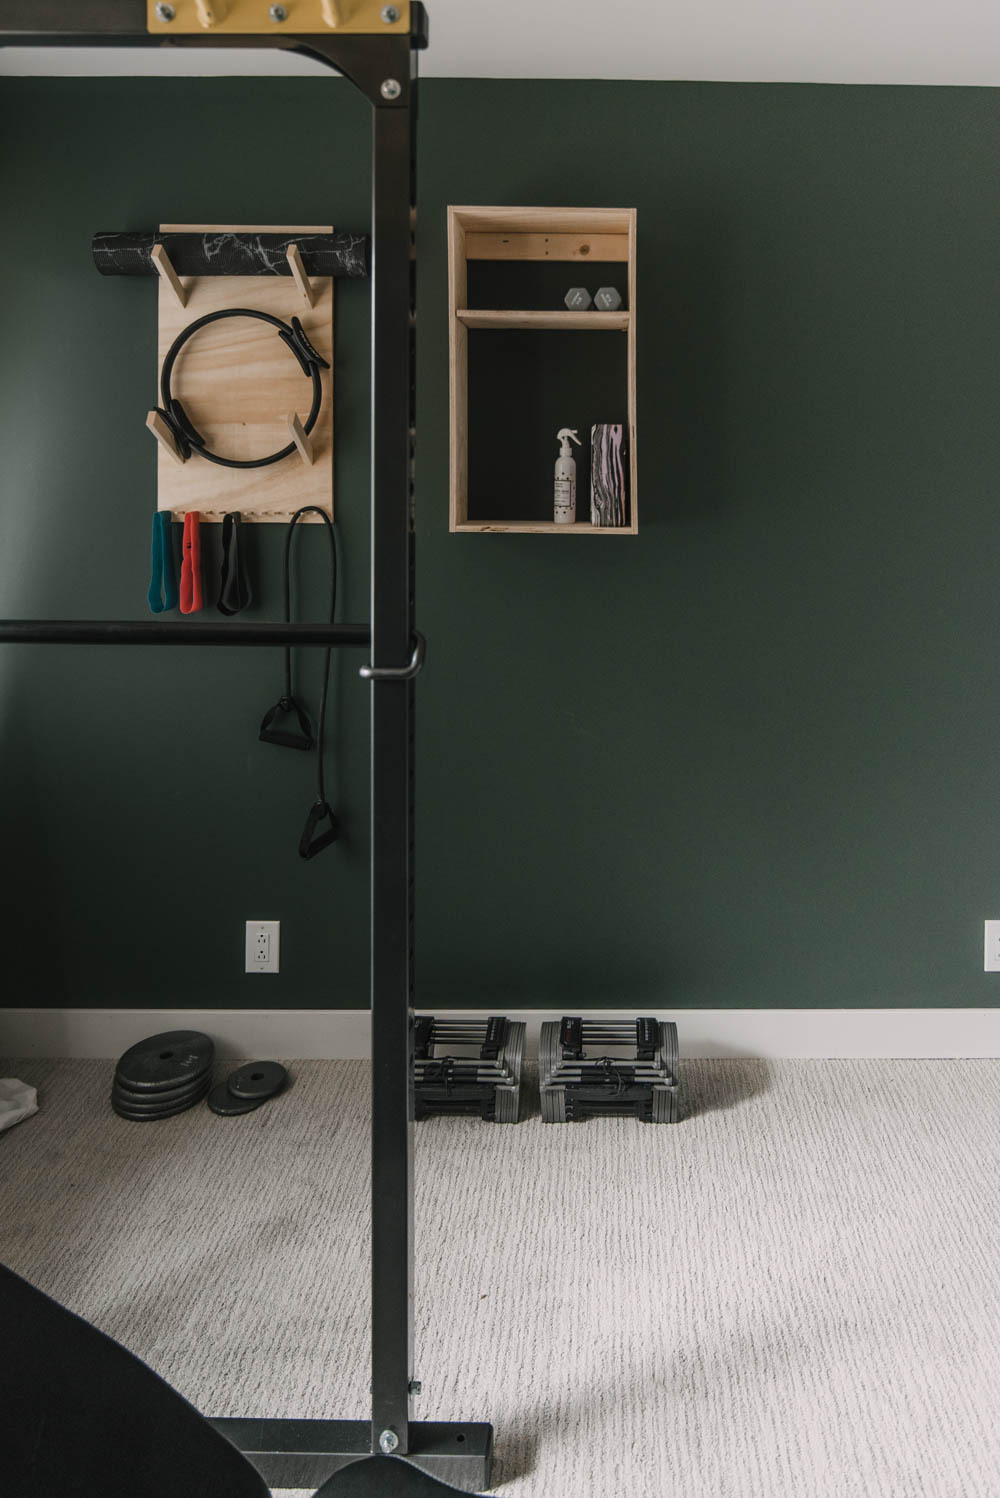
A while back, we decided to move our exercise equipment out of the kids’ playroom and into the spare bedroom, putting the mattress in storage as it’s easy to pull out when we have guests- where this gets used almost daily. Now that we have a space dedicated to this purpose- I wanted to get some storage for the things I use daily that I don’t want my two year old playing with… like my mat spray. So wall mounted storage was the plan. I looked online for some different ideas and after looking around, I decided I wanted to just make my own.
Today I’m excited to partner with Kreg to share this simple afternoon build and some plans with you! It’s really simple to make and it makes me feel like I have an intentional workout space now- instead of just a basket of things beside Shane’s equipment!
TO BUILD THIS SMALL EQUIPMENT STORAGE, YOU’LL NEED:
- Saw to cut wood (circular saw with guide track plus miter saw or table saw plus miter saw)
- Half sheet of 1/2″ sanded plywood, cut to 8″ depth with 2 lengths of 27″ and 3 lengths of 15″, 1 cut to 16″ wide to 27″
- 1 1×2, 4 of them cut to 5″ with one end cut at a 30 degree angle
- 1×3 cut to 15″
- 16x 3/4″ screws
- Kreg Jig (I used this pocket jig this time)
- Kreg Shelf Pin Jig
- Drill
- 120 Grit Sandpaper
- 4 Shelf Pins (or dowel)
- 12 Dowel cut to 2″ that fit in the shelf pin holes
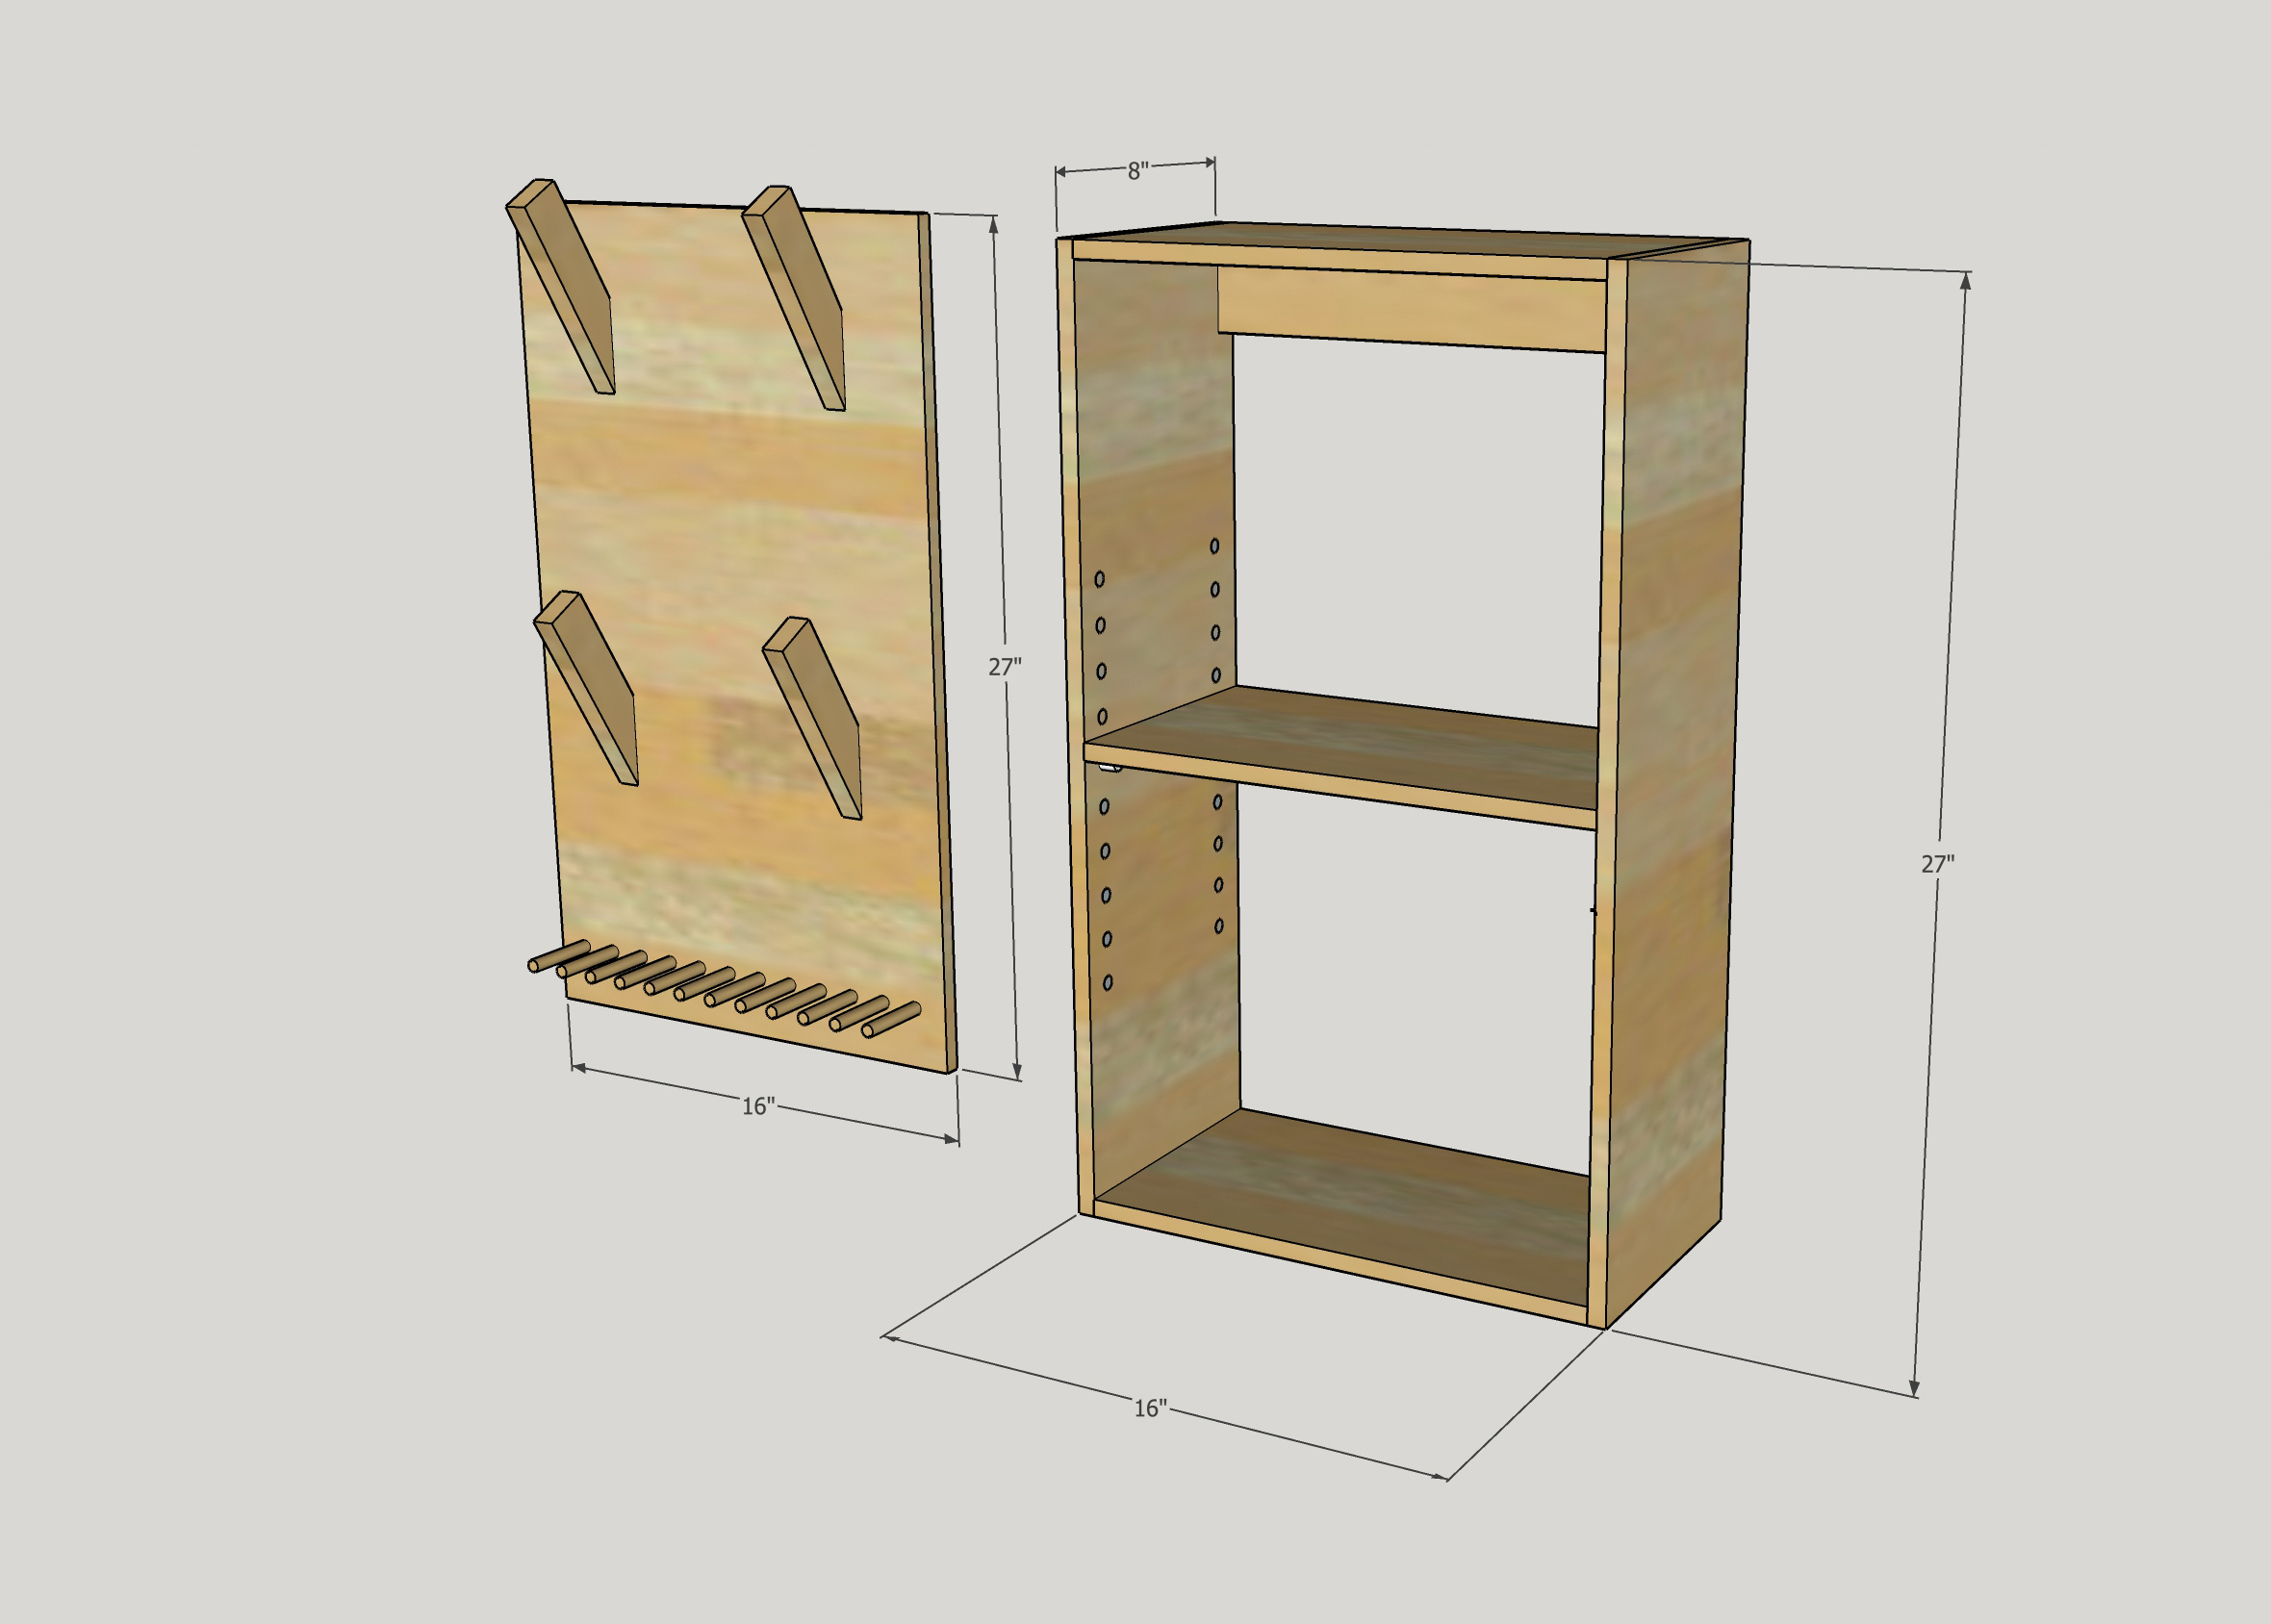
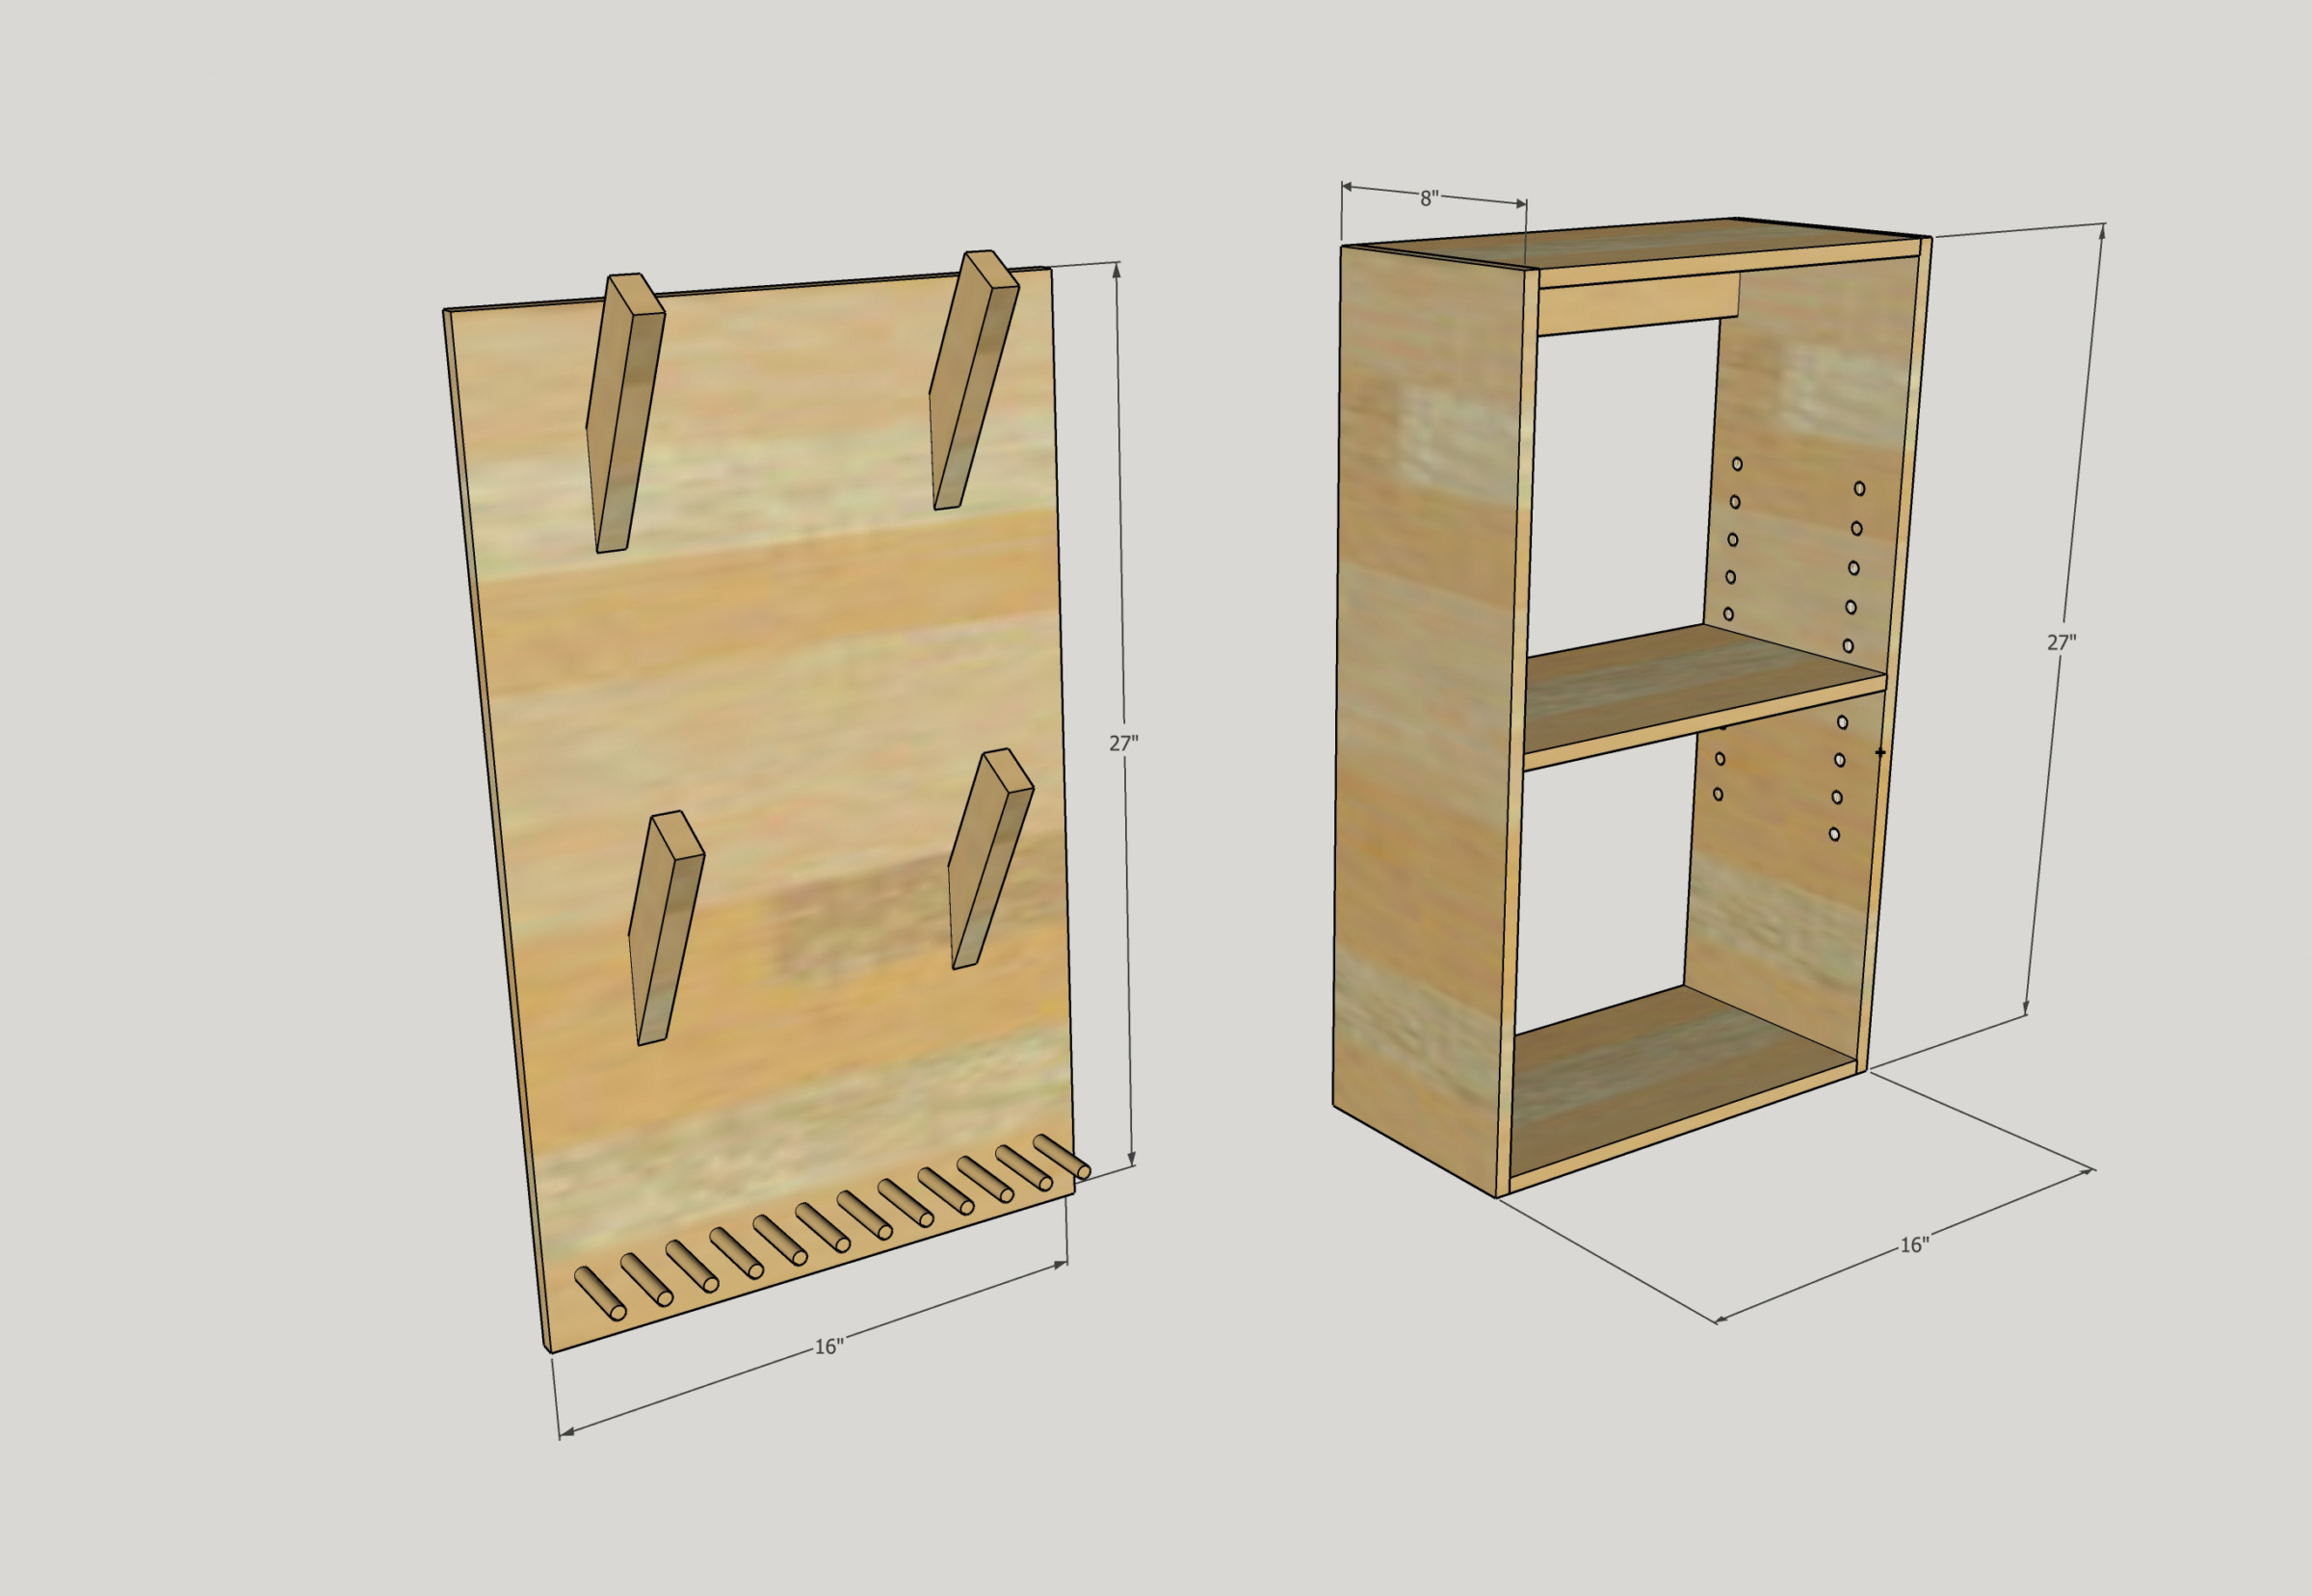
I had the design made into these plans to make it really clear how the shelf is put together. It was such an easy build, I put it together in an afternoon… after an extra trip to the hardware store to get the right size screws ;)
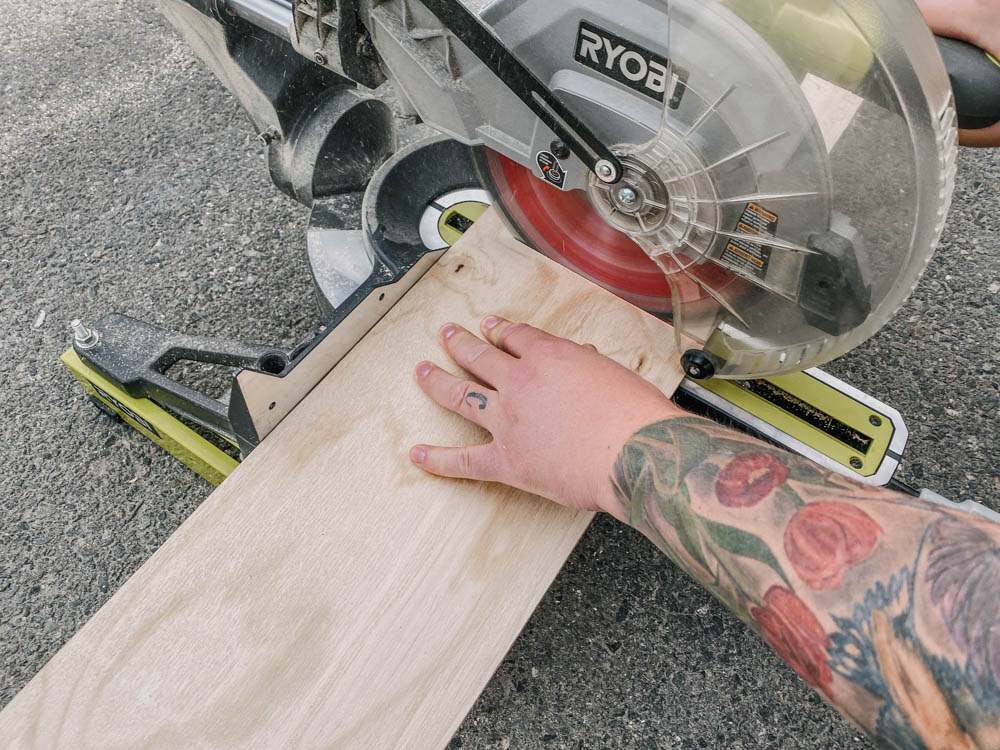
The first thing you’ll need to do is decide how big you’d like your small equipment storage shelf to be and cut your plywood to size. I chose to make mine 8″ deep to be a little deeper than my yoga block and hand weights. I’ll use that shelf for my waterbottle and phone as well while I’m exercising. I’m also on the look out for sliders so will add those when I find them.
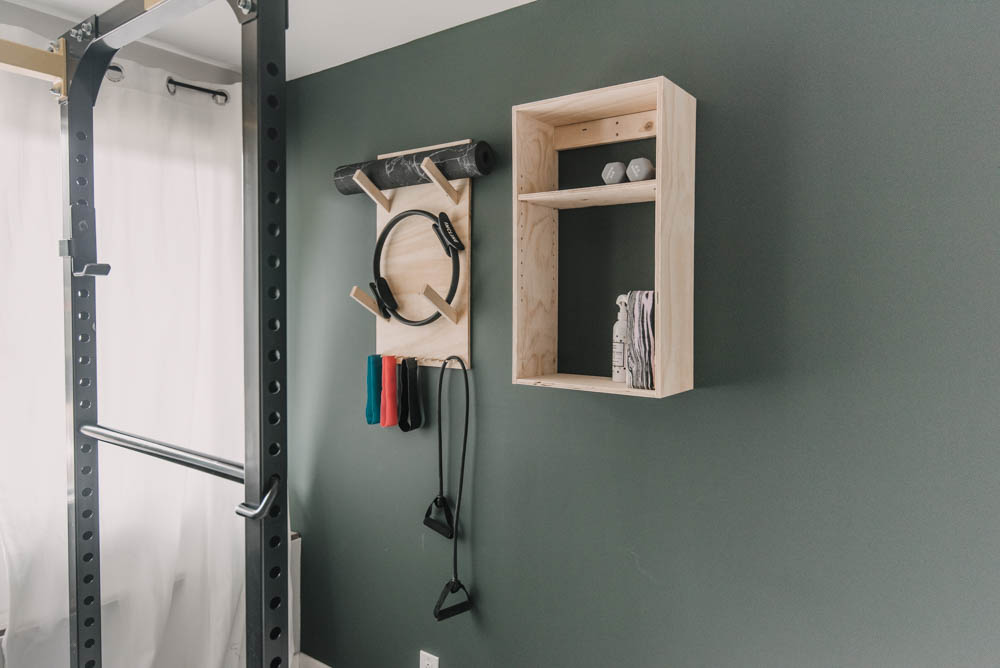
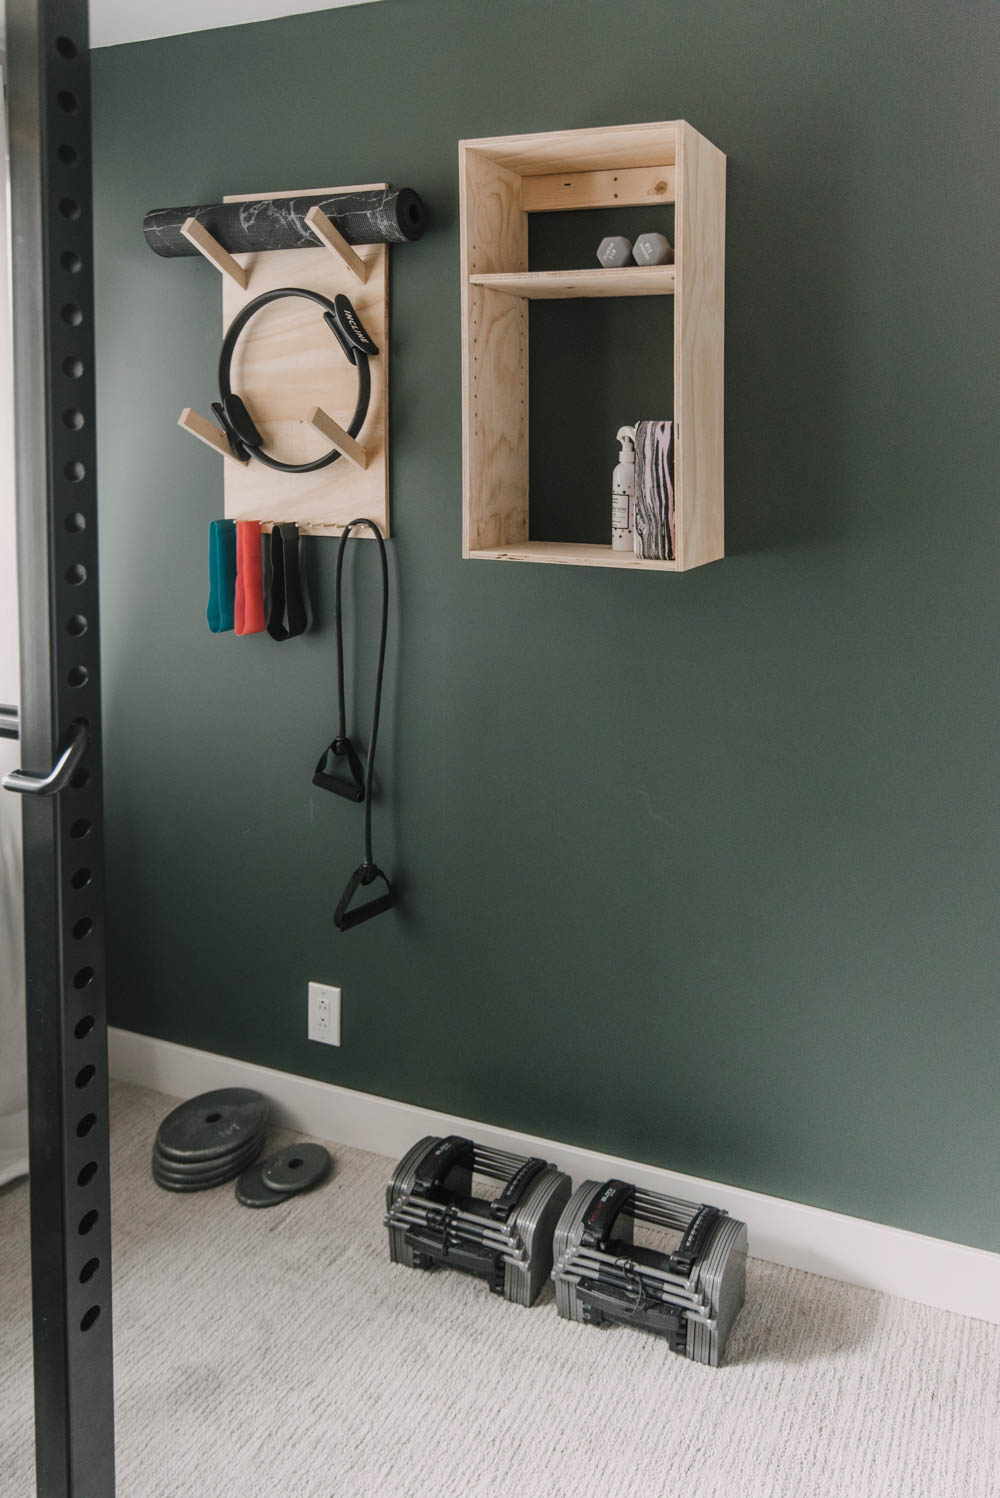
I made my box and the flat panel beside it a total of 16″ x 27″. That means you’ll need to cut your plywood strips that are 8″ wide to 15″ (3 of them) and 27″ (2 of them).
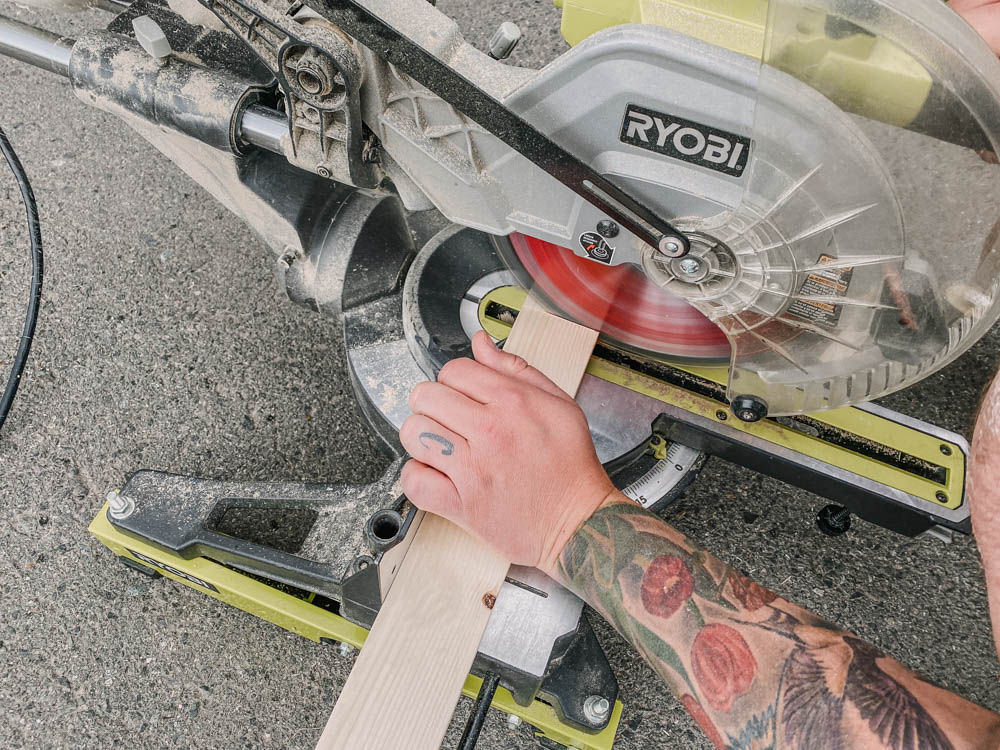
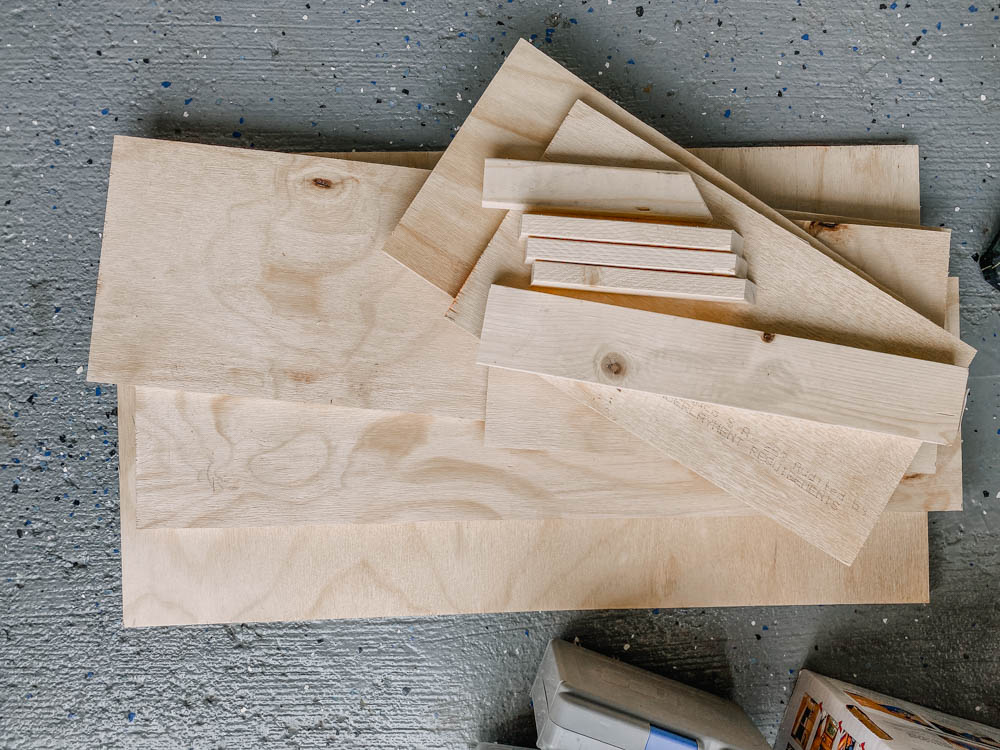
Next, cut your boards to length- the 1×2 are to hold a yoga mat and pilates ring or foam roller if you prefer.
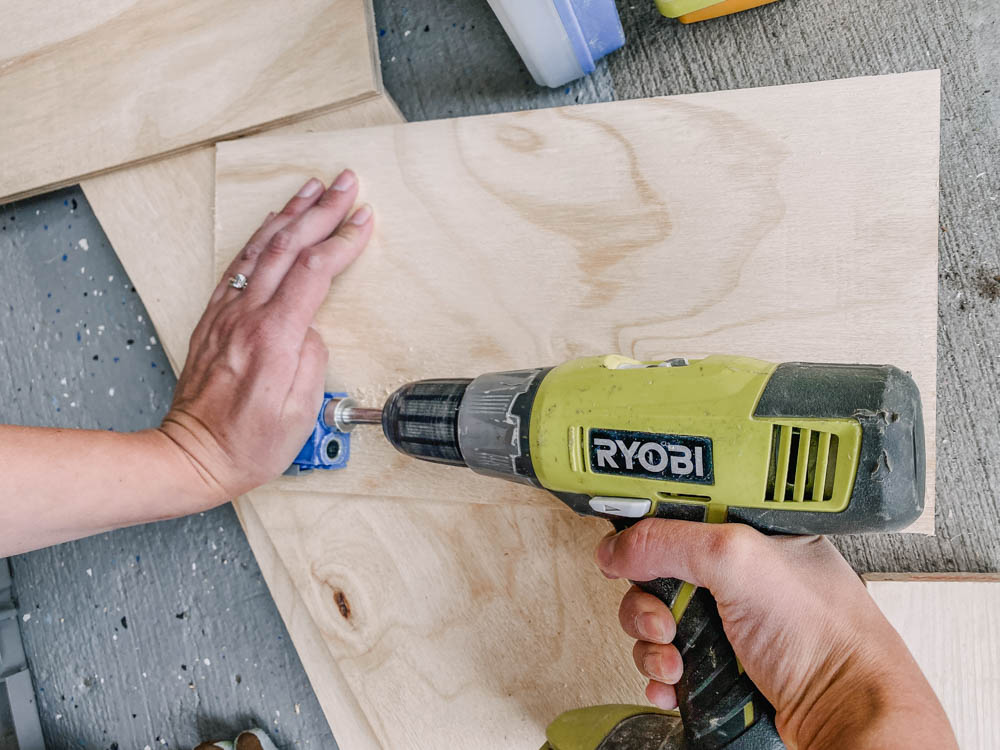
Once everything is cut, you can add your pocket holes. I used my Kreg R3 Jig for this. Drill 2 pocket holes in each end of the top and bottom panel of your cube (the 15″ ones). The third 15″ piece of plywood is for a shelf that will be held by pins so you can adjust the height. Also drill 2 pocket holes in each end of your 1×3 hanging support.
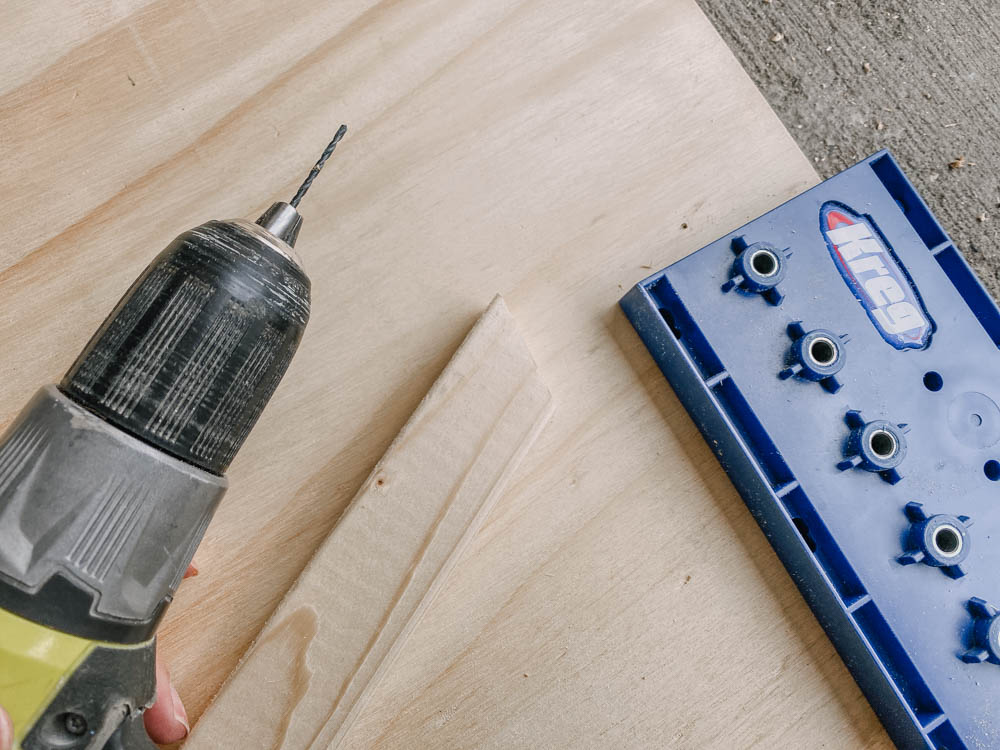
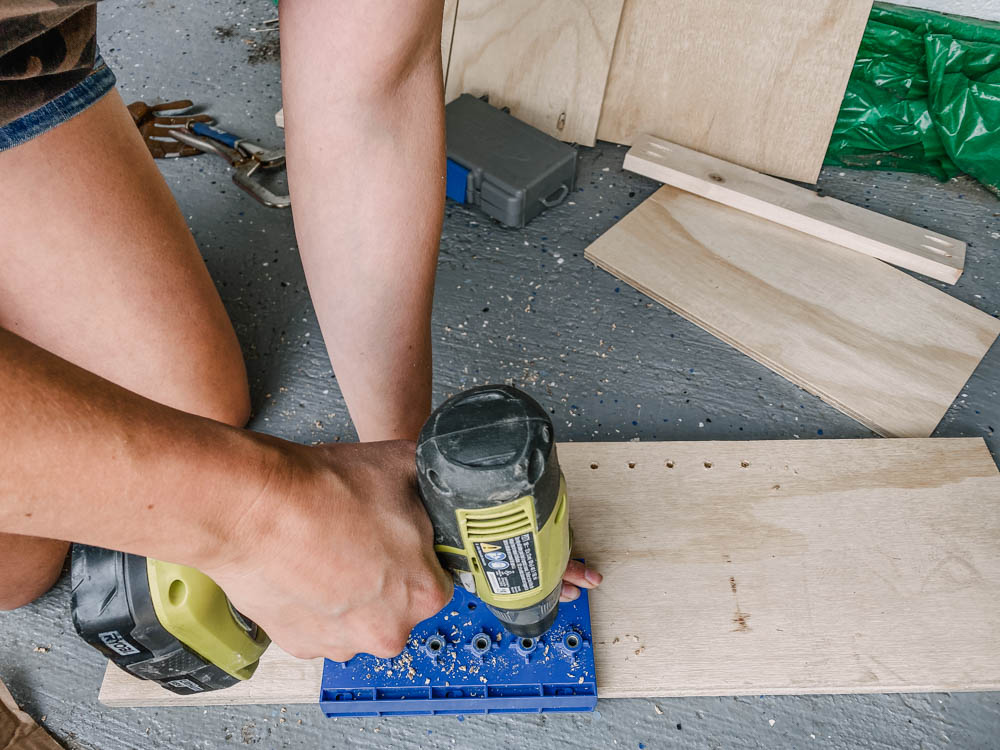
Now it’s time to add your shelf pin holes! These are in the cube for an adjustable shelf and in the flat panel for some storage pegs. You could skip this and just do a fixed shelf with your pocket holes if you prefer and some hooks on the bottom of your flat panel. I use the Kreg Shelf Pin Jig for this- it makes it really easy to get consistent depth and spacing. I found some dowels that fit perfectly in the holes and used ‘No More Nails’ to affix them in there. I probably could have done every second hole instead of each one but this gives me lots of room to hang a towel or more resistance bands if I grow my collection.
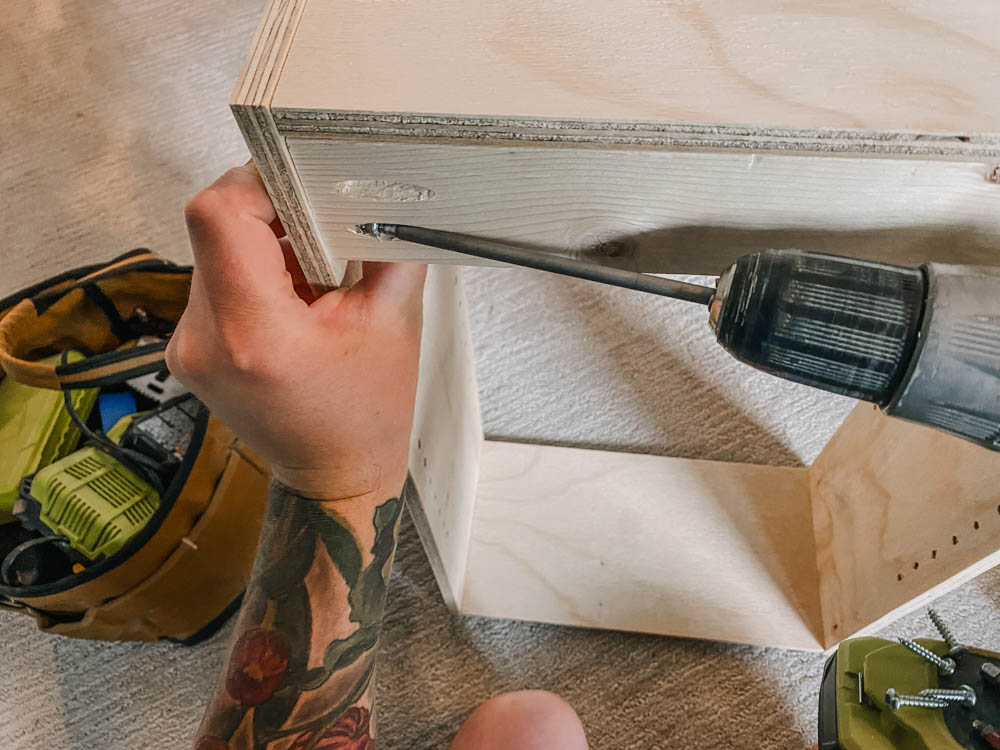
Once those are drilled, you can assemble it all! Use 3/4″ pan head screws soft wood (coarse thread) for this. To add the brackets for the yoga mats, I just screwed through the back of the flat panel of plywood into them. I drilled pilot holes first and used my shelf pin jig to measure them in equal distance from the sides of the flat panel.
I attached them to the wall by screwing long screws into studs on my wall- I put them through the 1×3 support and on the flat panel through the space the yoga mats hide when they are up on the wall.
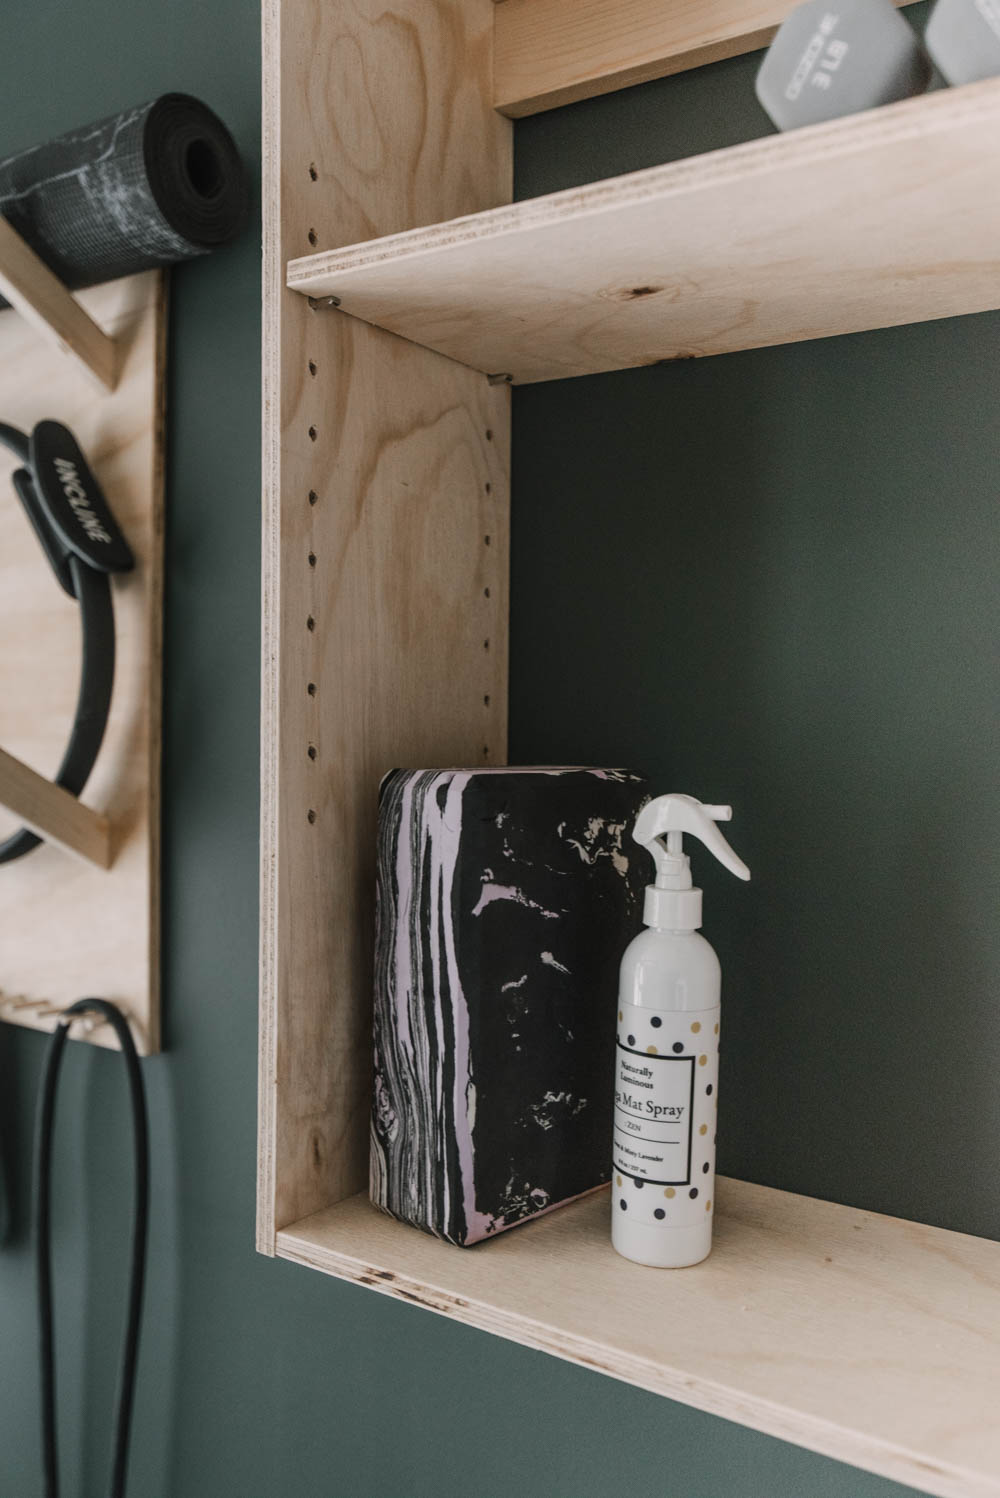
I think I will probably add a clip of some kind to keep my work out plan on the side of the cube- it’s the perfect size to hold a sheet of paper!
If you’d prefer to save this project on Kreg’s Build Something site, you can do that here!
As always, if this project inspires you to make this small equipment storage system or something similar in your home- I’d so love to see! Share by email (colleen{at}lemonthistle.com) or @colleenpastoor on social!
 Canada Day DIY and Decor Ideas
Leave a Reply