• Skip to main content
  • Skip to header left navigation
  • Skip to header right navigation
  • Skip to site footer
  • Shop
  • Get The Email
  • Work With Me
  • About
  • Search

  • DIY
    • DIY Home Decor
    • With Power Tools
    • Renovation
    • For Kids
    • For Parties
    • Wearable
    • Organization
    • Cricut Crafts
  • Home Decor
    • Room Reveals
    • Kid Friendly
    • DIY Home Decor
    • Renovation
  • Lettering
    • Hand Lettered Printables
    • Free Practice Sheets
    • Handlettered DIY
    • Free Brush Lettering Quickstart Guide
Lemon Thistle

Lemon Thistle

Rad DIY, Lettering and Design for Real People

  • Printables
    • For Cricut
    • Party Printables
    • Home Decor Printables
    • Bachelor Bingo
    • Handlettering Practice Sheets
    • All Free Printables
  • Entertain
    • Party Printables
    • Party DIY
    • Tablescapes
    • Kids Parties
  • Blog

How to trace and stencil with foil

Apr 04

This post is sponsored by Therm O Web (Deco Foil), all opinions and projects are my own! Find my full policies here.

shiny design made with foil- text overlay reads 'how to stencil with foil'

I’ve been using Deco Foils for a couple years now (you can see all my projects with them here). And I really love how they can add shine to any project. It’s so hard to photograph the beautiful shine but it really catches the light so beautifully. For this post, I wanted to bring it back to the basics and take on a paper project this week. I decided to do a simple phrase for my kids art station and add some colourful details. There really are so many ways to do this using Deco Foil. You could design it on the computer and print it with a laser printer, then apply the foil with a laminator. That is my favourite way to use the Deco Foils because they apply so clean and perfectly. But since I’ve done that a few times (like on these Valentines), I thought I’d try creating a design by hand and skipping a trip to the print shop to get a laser printed design.

art station with macrame string, pencil crayons and clipboard with 'fun stuff' quote in black foil

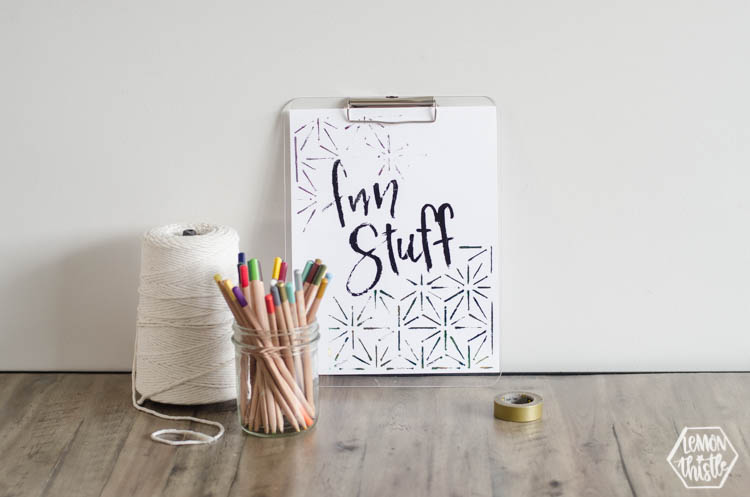
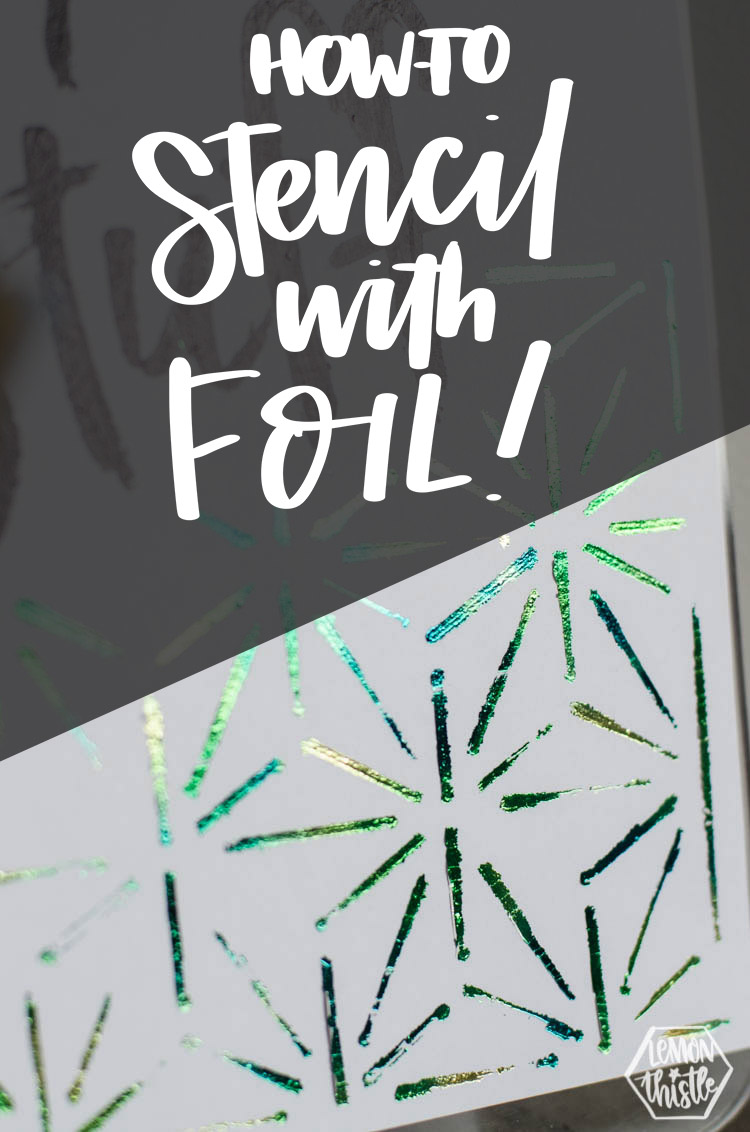
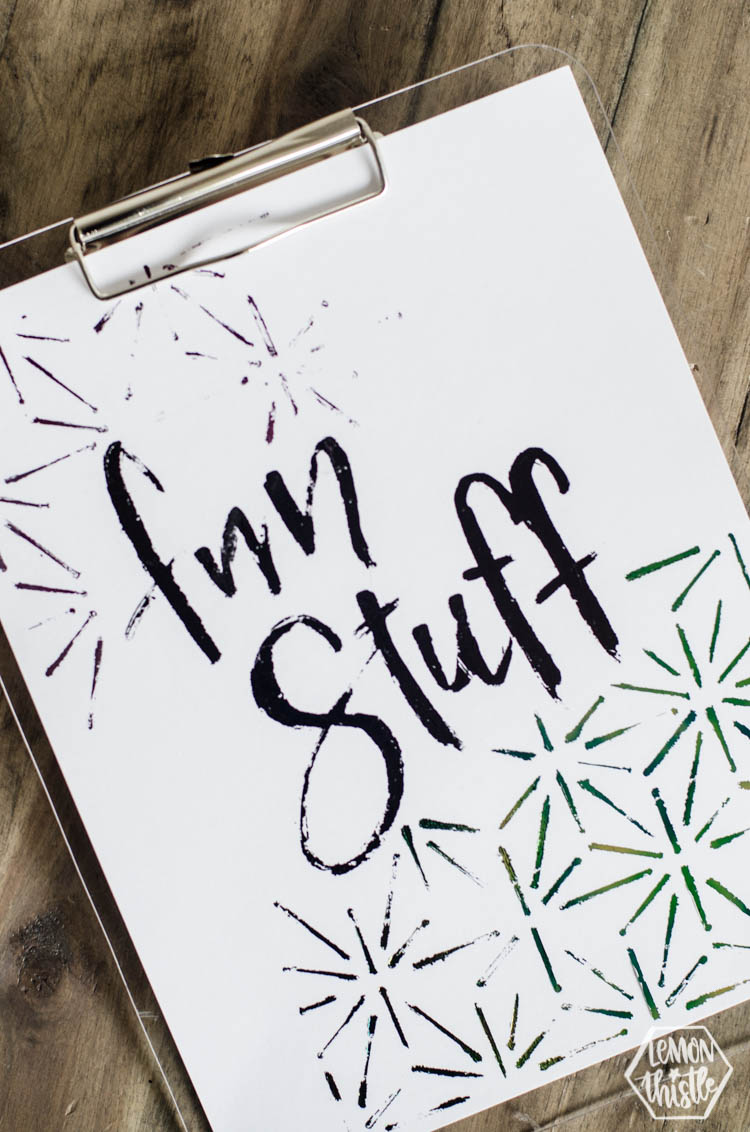
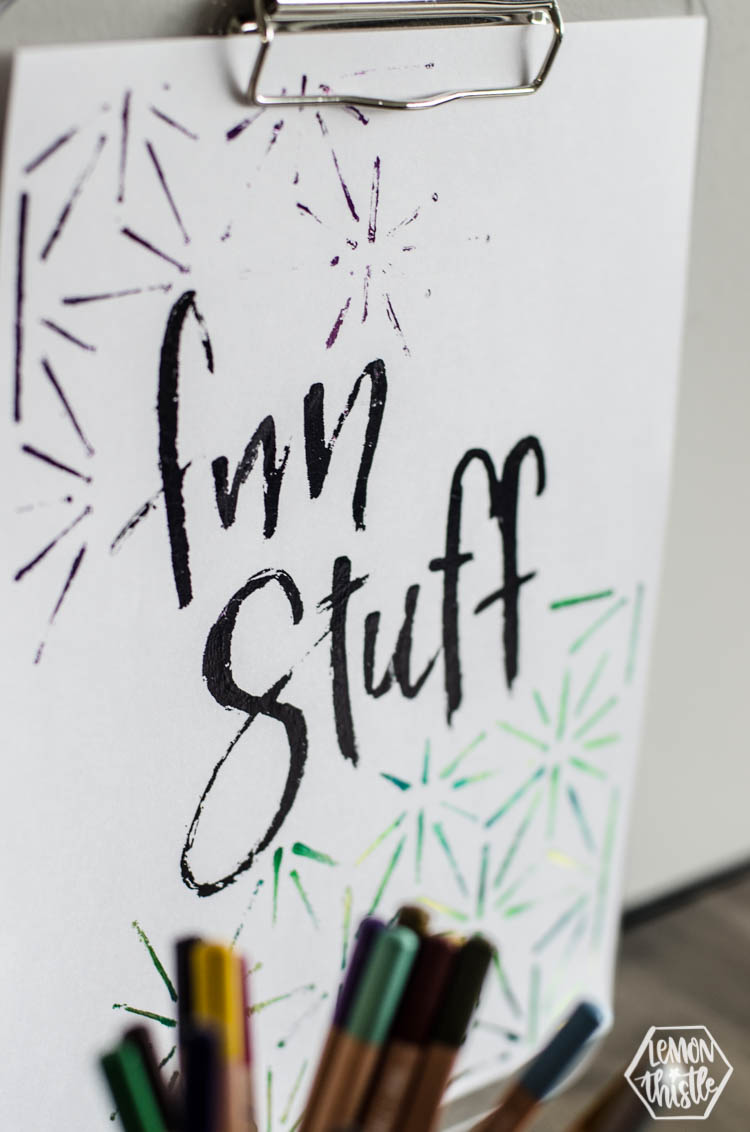
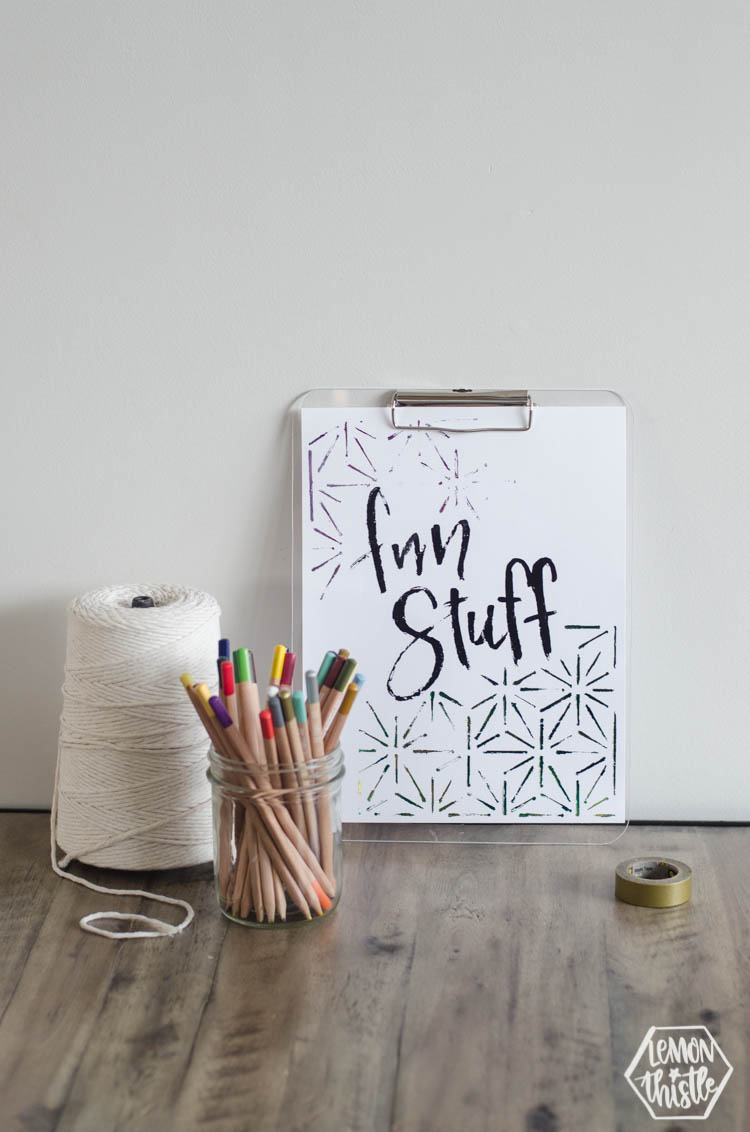
SO I wanted to share two different techniques on how to do this. Stencilling (that fun design) and tracing (the lettering). I wanted to show how both techniques can be used with the Adhesive Pen to apply the Deco Foil (using a laminator). I made a bunch of designs and this was my favourite of the lot. It’s funny that now I have it photographed and I’m realizing ‘fun’ looks a little like ‘fnn’. But I love how the lettering has almost a brush stroke look by using the pen quickly instead of slow and steady. I also love how the crinkled watercolour foil looks on the stencilled design. Honestly- you could play with this stuff all day!

Ready for the tips on these two techniques?

Fun Stuff foiled design on clipboard

How to Trace and add Deco Foil

Tracing is nothing new… I’m sure BUT since getting a light box, I’m all about it! You can trace SO easily, using as thick of paper as you like. I originally tested out a beautifully thick watercolour paper for this project, but found the adhesive soaked in too quickly on that paper so switched to a smooth printer cardstock. With thicker paper like this, it’s difficult to see a design through the paper without a light. By turning on a light box or holding your designs up to a window, you can trace much more easily.

using a lightbox to trace a design in adhesive for foil

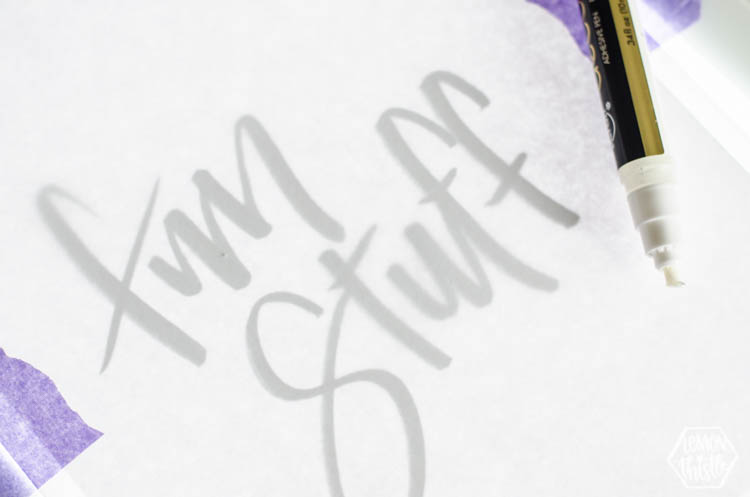
I chose to trace instead of freehand my design because I’ve found that lettering with a pen that has no color gives me such shaky lines. Lettering with a black brush pen, I can see my lines so much clearer and am always more happy with my design. I lettered on a piece of paper and laid that underneath to trace (I found the adhesive pen picks up the color if you use the adhesive over the marker).

I taped the papers down on top of the lightbox to keep it from shifting. I used this Purple Tape for this- it held firm but peeled right off the paper without damaging it at all.

switch to the chisel tip on the adhesive pen

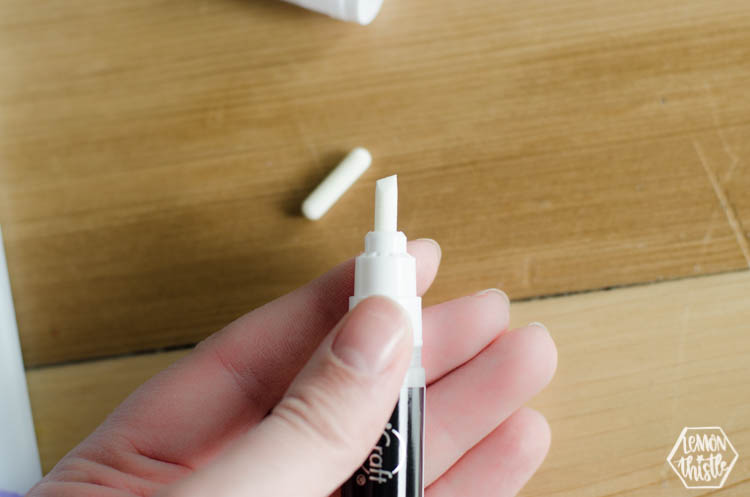
To get that brush stroke look, I switched to the chisel tip (the pen comes with a bullet nib on). Then I would press down to get the adhesive running on a scrap paper before doing a stroke on the cardstock (tracing). The only big tip is to go really quick. Just like a brush that runs out with the stroke- by going quickly, your pen doesn’t let more adhesive down, so it looks like it runs out (gets streaky) as the stroke goes on.

using a laminator to apply black foil to design

how to trace lettering for deco foil (gold foil or colored)

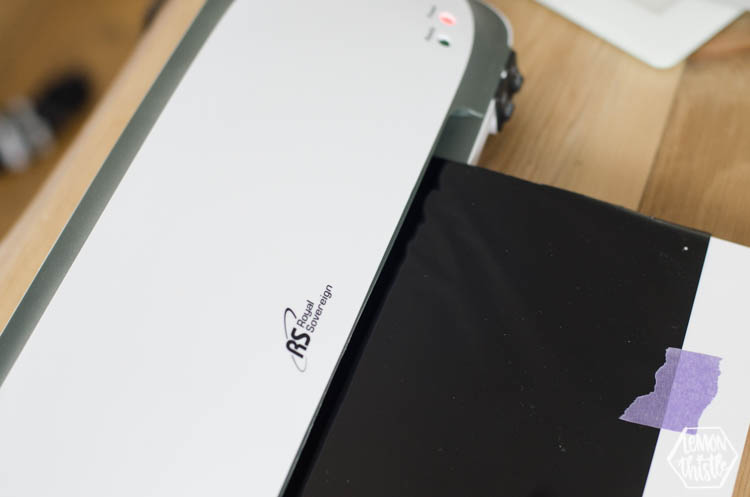
Let it dry for about 30 seconds, then lay your Deco Foil over top. I taped this in place with the Purple Tape as well. Then run it through your hot laminator. Press the design down firmly after it comes out of the laminator before peeling back the foil to reveal your design! I used a black foil on the lettering to really help it pop against the colourful pattern.

How to Stencil a Design for Deco Foil

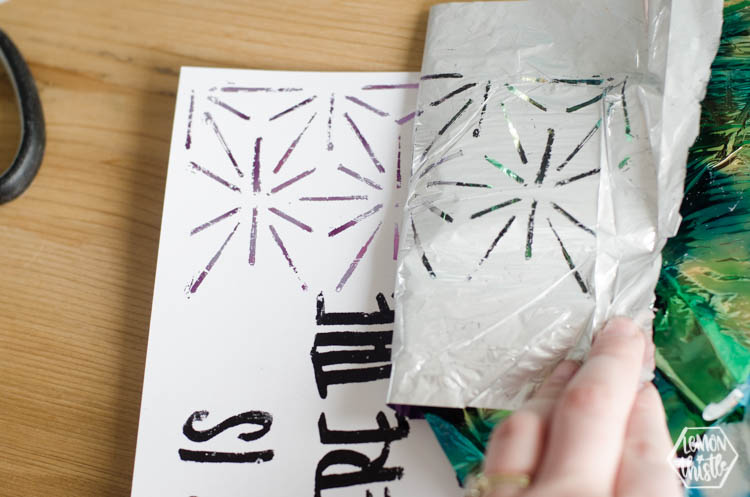
Deco Foil recently came out with stencil designs and sent me a couple to test out. I’m not going to lie… I’ve never been a fan of stencilling. I just haven’t ever found a design I like enough to opt for over my just drawing something. But this one with the retro star burst pattern really is rad! I really love how it worked in this design.

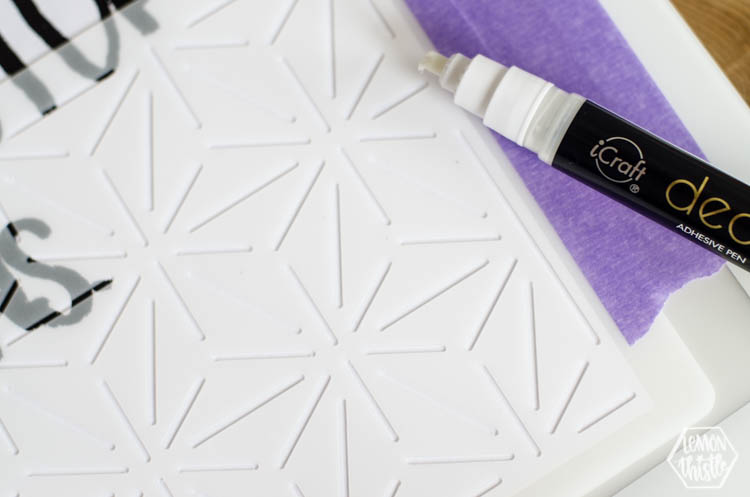
I used the purple tape again to tape down the stencil in place so the pattern lined up all the way across. The only challenge with this is that you can’t really see which lines you’ve stencilled since the adhesive is clear, so you need to go a little systematically. I used the chisel tip on the adhesive pen for this as well but did find that it chewed the tip up a bit. Just like the black foil, leave the adhesive for 30 seconds before layering the foil overtop and putting it through the laminator.

How to stencil adhesive for foil application

How to stencil adhesive for foil application

How to stencil adhesive for foil application

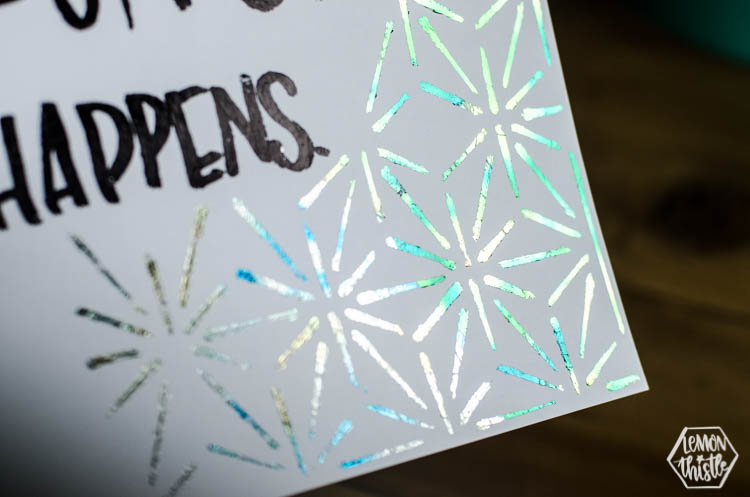
Since I wanted the design to be an accent and not a focus, I used watercolor foils instead of matching the black foil lettering. The two colors I used for this are the Emerald Watercolor Deco Foil and the Amethyst Watercolor Deco Foil. I also wanted it to look more faded than the black lettering. I chose to crumple the foil before applying to make sure there were lots of natural looking cracks and voids in the foil. I used this crumpled technique in these black and copper invitations and have been waiting to try it on something again.

art station with macrame string, pencil crayons and clipboard with 'fun stuff' quote in black foil

So there you have it- two fun techniques to try using the Adhesive Pen with Deco Foil! I had so much fun playing with these and definitely am not done… I have a few more ideas I’d love to try out- maybe on some cards for Mothers Day! What would you make with these techniques?

Want more Deco Foil? Find all my posts using it RIGHT HERE.

Category: DIYTag: Craft, Deco Foil, Handlettered DIY, Sponsored
Facebook0Tweet0Pin0LinkedIn0
Previous Post: « Onesie with large C in two designs of patterned iron on- simple cricut diy DIY Patterned Letter T-Shirts with Cricut
Next Post: Give Yourself a Little More Grace – April Tech Wallpapers Give yourself a little grace- free printables and tech wallpapers each month »

Reader Interactions

Leave a Reply Cancel reply

Your email address will not be published. Required fields are marked *

Sidebar

WOOHOO!

Check your email to confirm!

(+ get your freebies + discounts)


Thanks for dropping by!
I’m Colleen: wife; mom to 4 wild ones; and DIY blogger behind Lemon Thistle. You can expect to see rad DIY, modern home decor, renovations, hand lettering and the occasional party on Lemon Thistle. Read More…

email facebook youtube instagram pinterest

Unless otherwise noted, all content and images are mine. Full posts may not be shared without express written consent. But I love when you share! Feel free to share, without altering, one image with proper credit and a link to the original post. All free printables are for personal use only.

Everyone loves proper credit- if you ever notice something improperly credited, please please shoot me an email and I’ll fix it lightning fast.

Find all my policies right here.
This includes my privacy policy, info on the GDRP compliance and information on affiliate links (Including Amazon Affiliates).

Visit Colleen Pastoor’s profile on Pinterest.

colleenpastoor

My house is never this clean
-
DIY + Home Decor Blogger
Mama of 4 👶🏼🧒🏼👦🏼👧🏼
Renovating our 🏠 the DIY way
🖤 Lettering & ☕️
-
✉️[email protected]

colleen pastoor/lemon thistle
What’s next on your project list? Spring is teas What’s next on your project list? Spring is teasing us so we’re starting on outdoor projects around here!
$100 play room makeover is DONE! This room has se $100 play room makeover is DONE! 
This room has seen so much change over the past year (swipe over to see it 2 weeks ago, 10 months ago and 1 year ago!). I took this last week to make over this space with mostly pieces we already had and I’m so so happy with the results! It’s a good reminder that some hard work, creativity and of course paint can work magic.
I’m sharing all the details (and that under stairs space!) on YouTube today (link in my stories!) and so is my friend @thediymommy (she made over her daughters bedroom for $100!).
Do you think dried grasses are only for fall decor Do you think dried grasses are only for fall decor? I used to think so, but these bunny tail grasses are too cute to put in a bin until next year. Plus the name sounds like spring decor to me ;) What do you think?

Ps. Today’s going to be a full day of playroom progress! I’ll share as much as I can in stories as I go :)
Paint is honestly magic.✨ I am so excited to sha Paint is honestly magic.✨
I am so excited to share this kitchen makeover with you guys! These are the same cabinets, just painted (countertops too!) And some updated finishes. I blogged the full before and after if you’d like to check it out!
Big thank you to @schaubhardware and @wagnerspraytech for partnering to make this space possible!
Ps. Most of the work done here was by the homeowners so if you’re thinking about taking on a makeover in your own home, maybe this is the encouragement you need 😘
As I’m sitting here staring at the dishes on the As I’m sitting here staring at the dishes on the counter while I try to focus on editing a video, I thought it’s as good of time as any to share this reminder 😘
I feel like I’ve lucked into the best job out th I feel like I’ve lucked into the best job out there, but then I’m also so aware of the amount of work it took to get here. Today I chatted with two of my blog friends in an Instagram live about DIY blogging as a job and answered some questions we get asked all the time about our work and the balance of it all! I saved it as an IGTV so you can watch it if you missed 🥰

Big thanks to @love_create_celebrate and @thediymommy for chatting with me today! One of the biggest perks of this job is all the talented ladies I’ve had the privilege of meeting and calling friends- these two are top of that list!
I’m having some fun in stories with a little giv I’m having some fun in stories with a little giveaway guessing game. I’d love if you played along!

I put up a question box and you can guess my next room makeover and the guesses are all over the place. Some are projects on my dream list, some are rooms I wish to even have in my house and some are spaces we’ve already tackled! Like our main bathroom ✨ these photos are from my spring home tour I shared over on the blog earlier this week. Hung up a pennant and called it decked for spring 🐣
Who is ready for spring?! I know we totally are- w Who is ready for spring?!
I know we totally are- we’ve been soaking up outside time this week with the kids home on spring break but over on the blog... it’s spring home tour time! I am sharing my home all ready for spring along with some amazing bloggers as part of the #seasonalsimplicity spring series!
You know I love a touch of DIY decor in every spac You know I love a touch of DIY decor in every space in my home, so I’m so excited to be partnering with @HGTVCanada to celebrate #$aveMyReno being back TONIGHT! #partner
 
My favourite thing about $ave My Reno is that they encourage home owners to get involved and DIY to maximize budget. They even help kids get involved- it’s everything Shane and I work towards in our own projects. You can catch it every Tuesday at 9/9:30PM EP on @HGTVCanada or catch up on episodes on STACKTV through @primevideoca!
 
PS. I made those tie dye pillows, similar to the ones featured in tonight’s episode! You can catch my stories to see the super speedy how-to :)
Load More... Follow on Instagram

Copyright © 2021 · Lemon Thistle · All Rights Reserved · Powered by Mai Theme