Affiliate links are used in this post for your convenience. These are at no cost to you. Find out more in my policies.
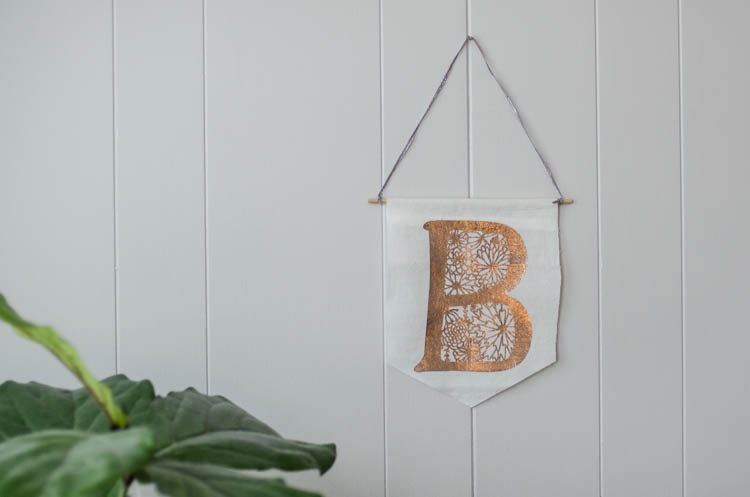
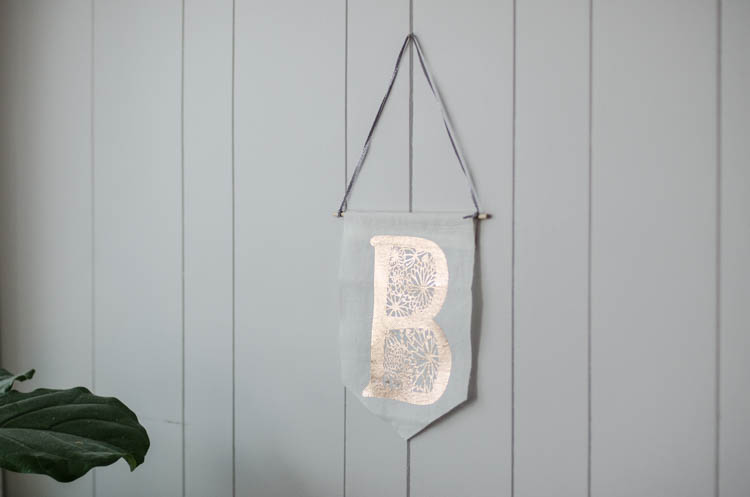
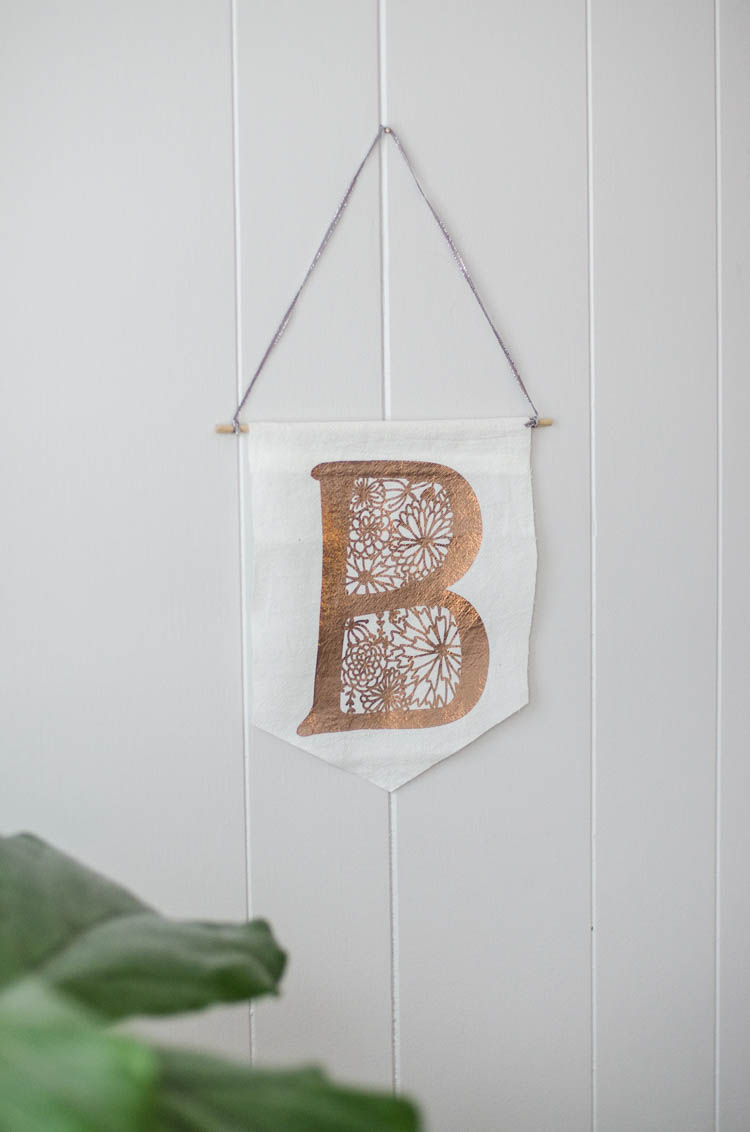
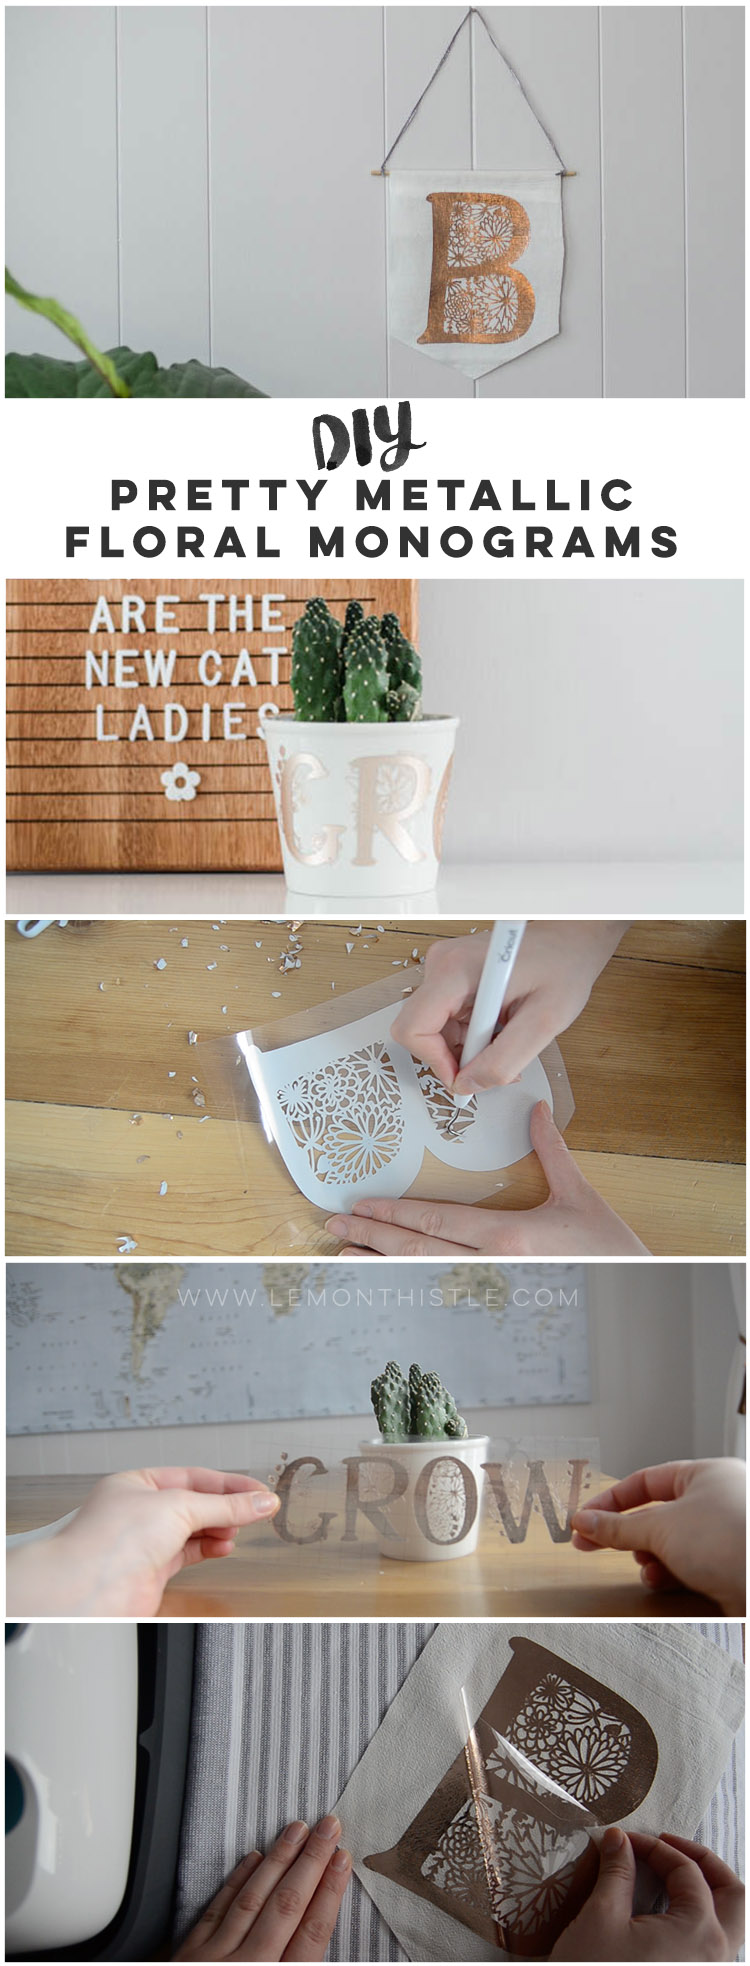
So I got carried away again. I was making one project to share with you using the designs I illustrated for the Spring Fresh Cut SVG Bundle, but then as I’m making this tiny plant pot (weeding that thing left me with a lot of time to let my mind run), I thought it would be so pretty to make a bigger version of one of the letters. And that second, last minute project ended up being my favourite out of the two! It’s a cotton pennant with rose gold foil iron on and I’ve got to say- the shine on that baby is ridiculously good.
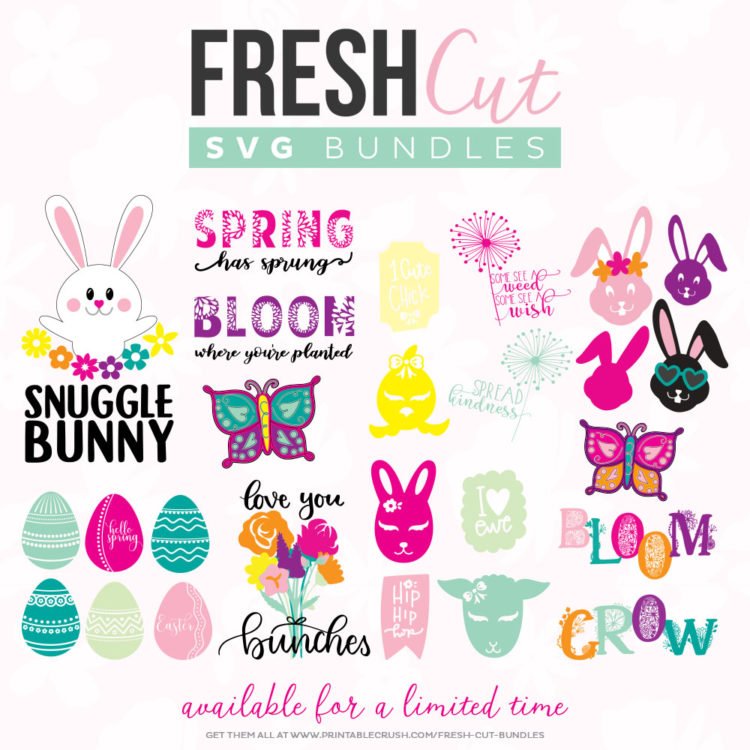
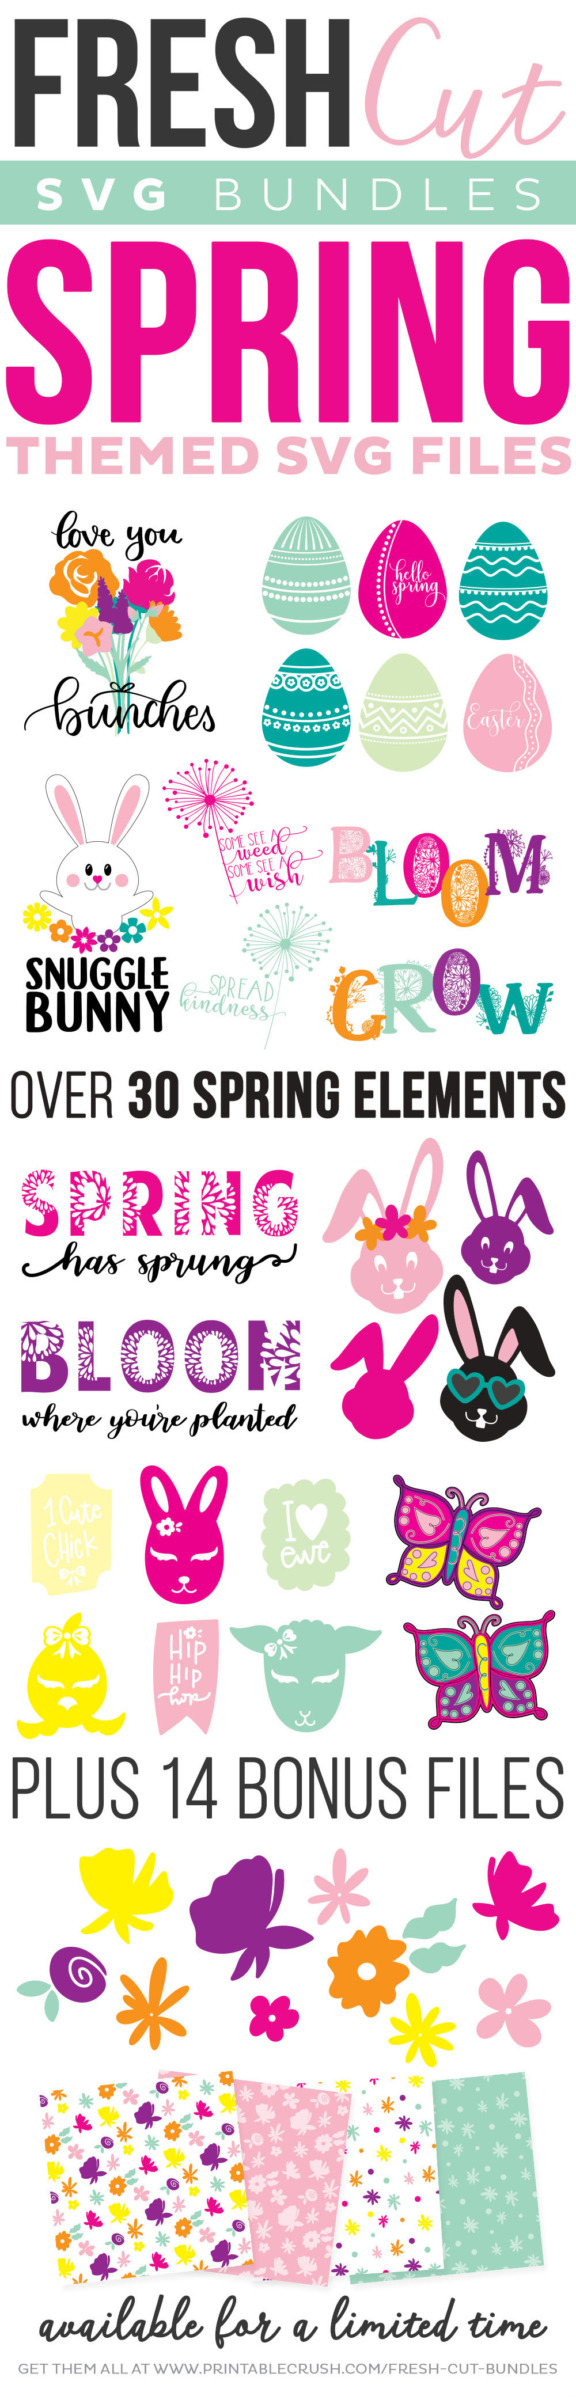
The spring Fresh Cut SVG Bundle is LIVE for a limited time and you guys, it’s so playful and fun! You can see all the images in the design down below and if you want to check out more you can do that RIGHT HERE.
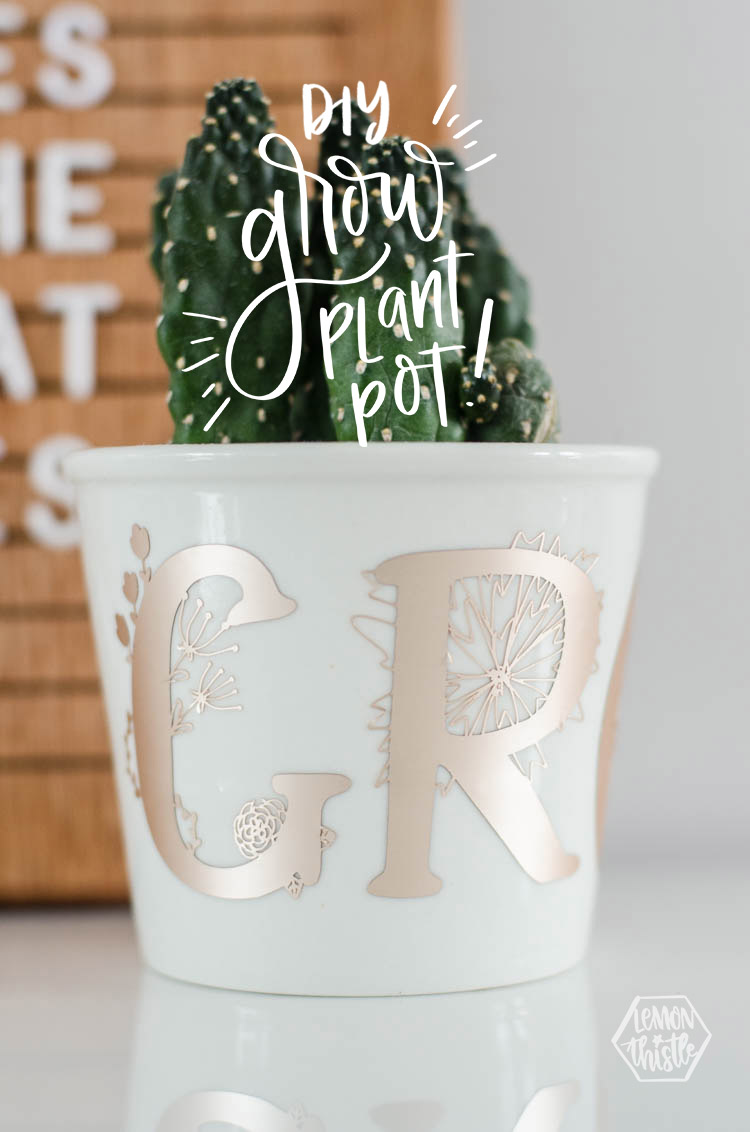
Let’s start with that plant pot, though! I wanted to see how small I could cut the design. This is the minimum cut size I decided on and after weeding it. I can attest… you don’t want to go any smaller than this ;) I’m in love with how the champagne matte foil plays with the dark green of this cactus and the bright white of the plant pot. It’s an elegant colour and the thickness of the matte foil looks laser cut or 3D.
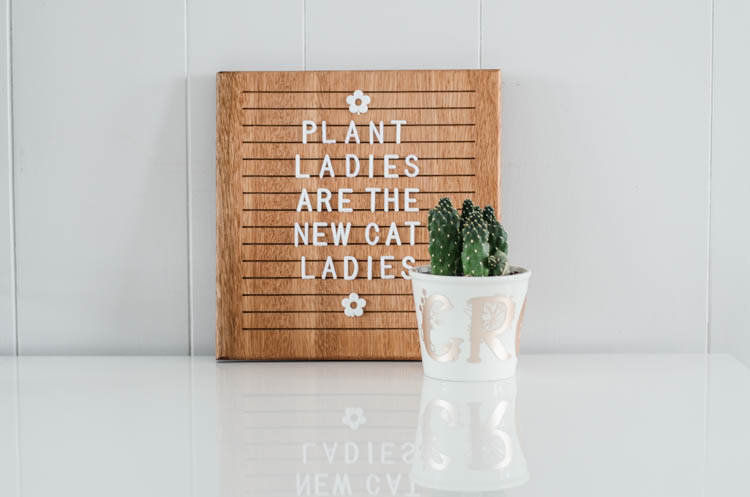
Psst… isn’t that letterboard amazing?! Bethany and Art from This Little Estate (fellow Canadian bloggers!) make them… isn’t that rad? And even better, all the mula from these babies go towards their giving back initiative where they renovate other peoples homes. Uhm. They’re kind of amazing you guys. And no- they’re not paying me to say that… I bought this letterboard for myself because I LOVE what they are doing! You can grab one for yourself RIGHT HERE.
Before I share, I’ll pop the video in here if you’d like to watch!

I’m *finally* feeling like I get this video thing. I’m having fun adding my lettering as overlays and this is the first video where lighting hasn’t completely frustrated me. So expect to see more videos ;) If you haven’t already, I would SO love if you subscribed to my Youtube Channel!
Alright- let’s chat that DIY plant pot first! All of the designs for both projects are from the Spring Fresh Cut SVG Bundle. You can grab that before it’s gone RIGHT HERE.
TO MAKE YOUR OWN DIY GROW PLANT POT, YOU’LL NEED:
- Your design- you can get the ones I used over at the Fresh Cut SVG Bundle site
- Cricut Maker
- Champagne Matte Adhesive Foil
- Weeding tool kit
- Transfer Tape with Grid Guidelines
- Ikea Plant Pot (I couldn’t find the exact one online… but it’s plain white, I’m sure you can find something like it!)
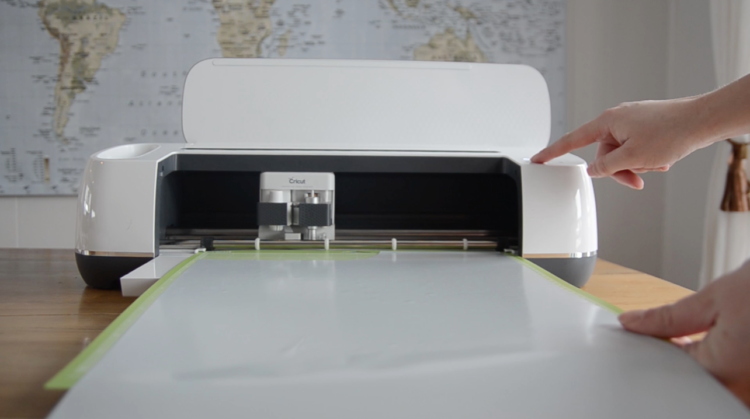
The first thing you’ll need to do is upload your design to your cutting machine software. For Cricut, this is called Design Space. I’m thinking I’ll do a more detailed video about how to do this soon. But really, it’s SO SIMPLE. Just open a new project, hit upload, select your image, simple image, and cut only file. Size it according to your project size and you’re good go go. There is a specific setting in the Cricut software for the matte adhesive foil, so there’s nothing special you need to do there. Make sure to put the finished side UP on the mat when working with adhesive foil and hit go!
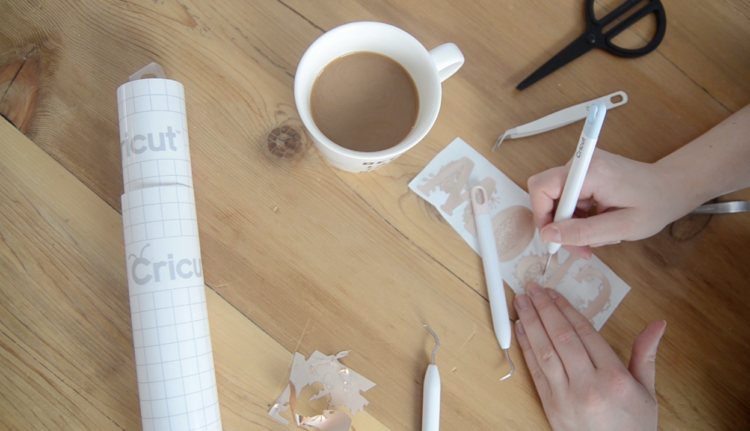
Then it’s time for weeding. One tip I mentioned is to cut away the excess that you’ve weeded. This is for bigger pieces- like the outside. That way it won’t stick to your design and pull any of it up accidentally. Then, I weed the inside of the design. In the video, you can see how tedious this is for something so small. I found that the matte foil was so much thicker than vinyl too which looks amazing but makes it more challenging for me to weed. I pulled out my weeding tool kit which I haven’t opened in over a year. I found that the straight weeder was sharp and wonderful for weeding the tiny pieces but the tweezers that came in the pack just didn’t get the job done. I ended up using my eyebrow tweezers- they worked so much better, you guys. The weeder would get the piece out, the tweezers would pick the little pieces up off the design.
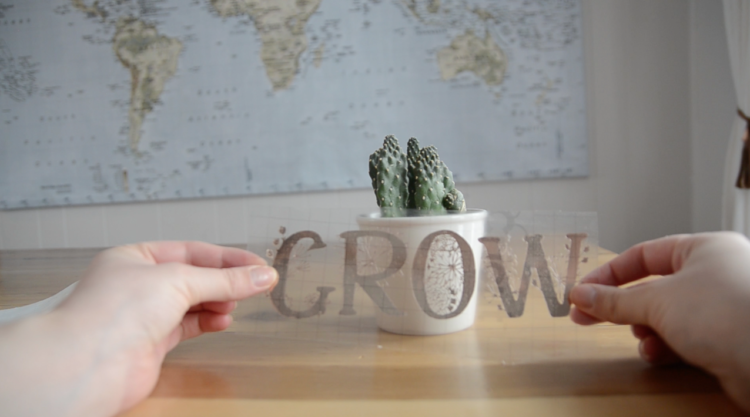
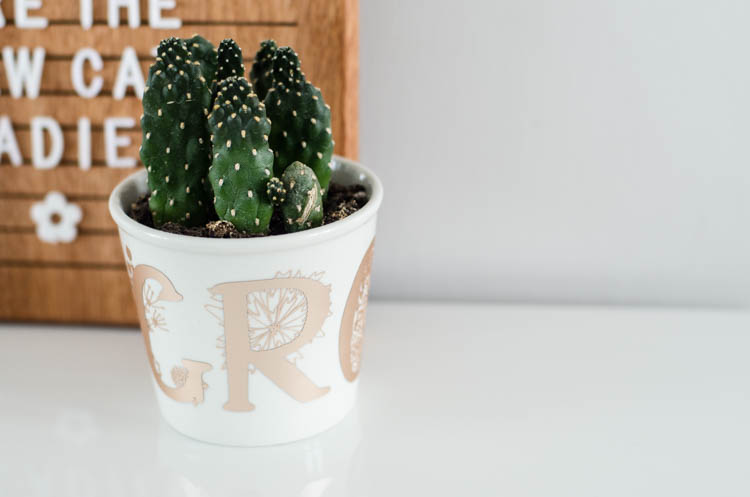
When you’re done weeding, you can cut a piece of transfer tape the size of your design and apply it. Then, when you peel it back, you’ll pick up your design on the transfer tape. Lay it on your surface and smooth it to transfer the design. BUT with the plant pot I used being round and tapered, I should have realized (I did after two letters) that they wouldn’t go on straight. I would recommend placing each letter individually instead of as a set like I started to. You’ll see in the video that the ‘G’ and the ‘R’ I placed individually and that worked really well.
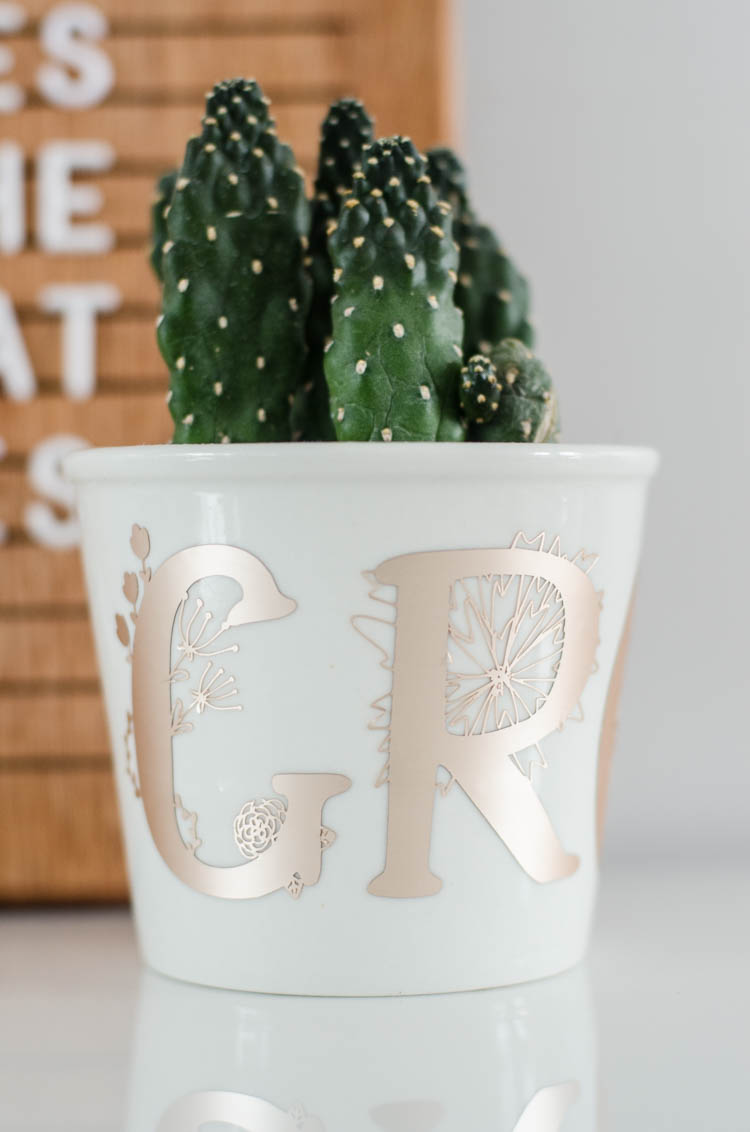
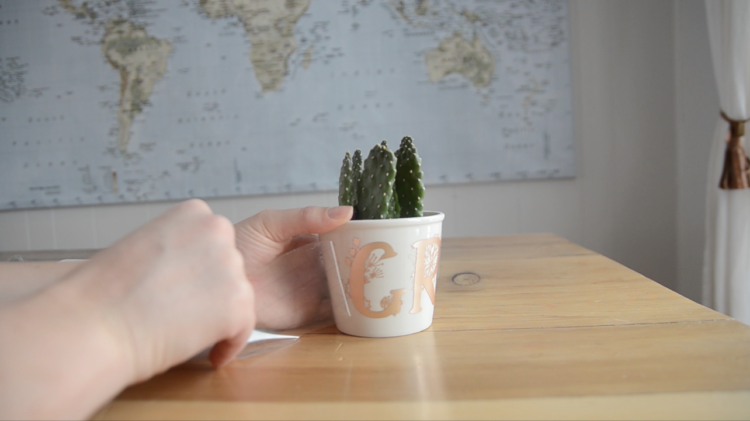
Isn’t that matte foil cool? Look how it stands out from the surface. It looks almost laser cut because of the thickness and the texture of the florals is just awesome. I really love this champagne colour too. I would love to do this on a larger plant pot… maybe something bright for outdoors? There’s also letters to spell ‘bloom’ which would really be cute with some spring flowers.
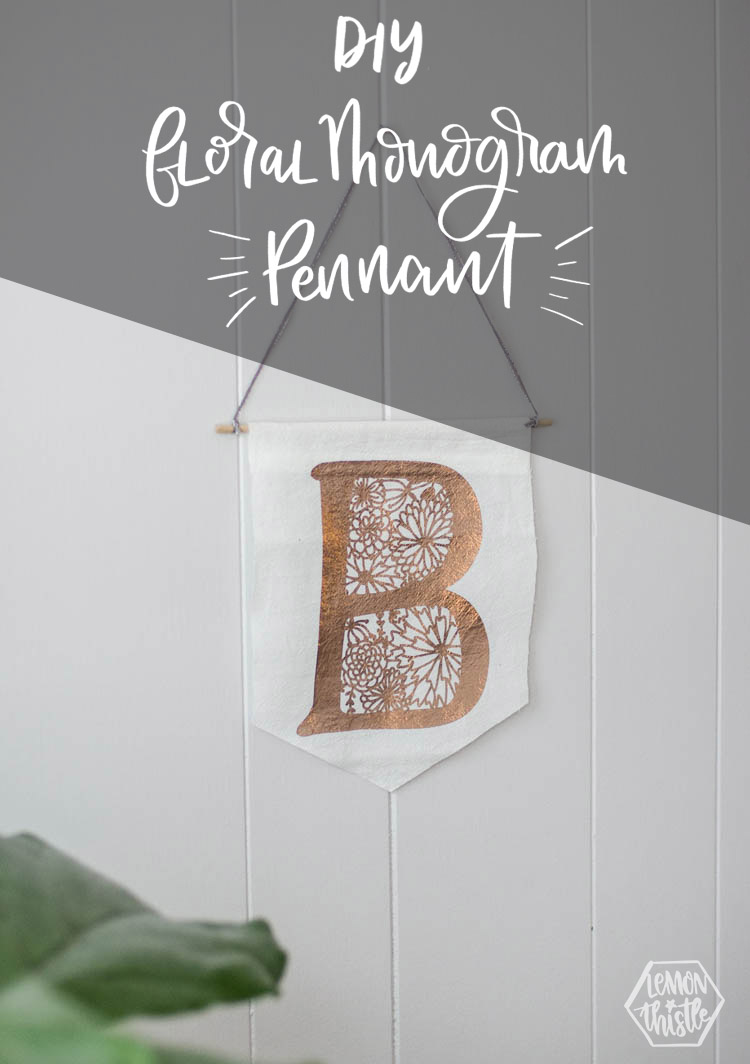
Alright… on to the pennant! YES I am super into these little pennants. I made some black and white inspirational ones last month and I’m giving them a more feminine twist this month. I would love to see something like this in a little girls room.
TO MAKE YOUR OWN DIY FLORAL MONOGRAM PENNANT, YOU’LL NEED:
- Your design- you can get the ones I used over at the Fresh Cut SVG Bundle site
- Cricut Maker or other cutting machine
- Rose Gold Foil Iron on
- Weeding tool kit
- Cricut EasyPress or iron
- Hemming Tape
- Wooden Dowel & Ribbon from Michaels
- Flour Sack Tea Towel
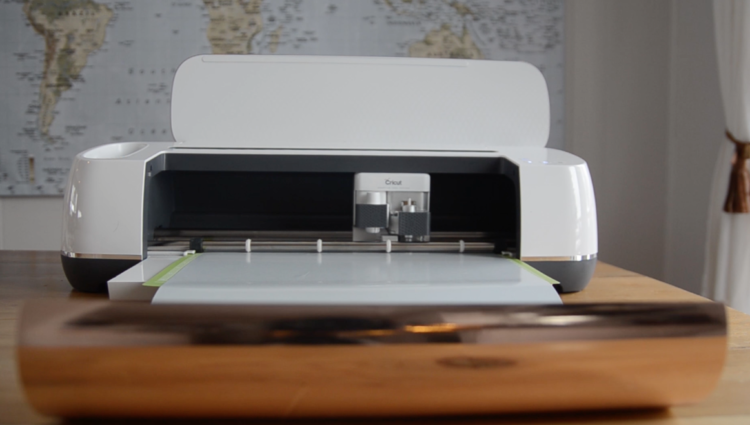
Just like the other design, the first thing you’ll need to do is upload your design to your cutting machine’s design software. Just open a new project, hit upload, select your image, simple image, and cut only file. Size it according to your project size and make sure to hit ‘mirror’ when it’s on your mat. Always mirror for iron on material. There is a specific setting in the Cricut software for the iron on foil, so there’s nothing special you need to do there. When cutting iron on material, make sure you put the shiny (finished) side down on the mat. Then hit GO!
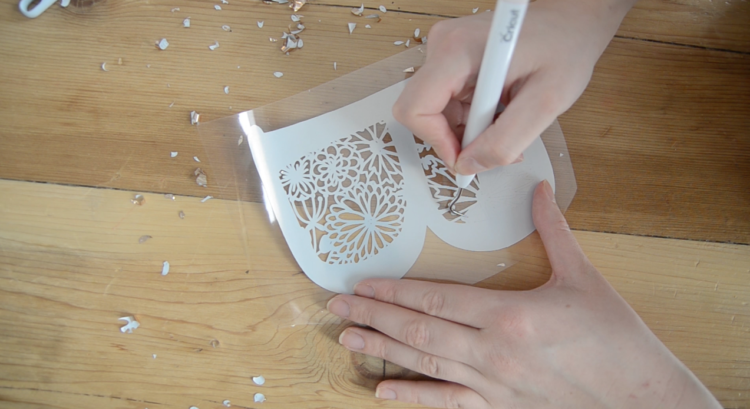
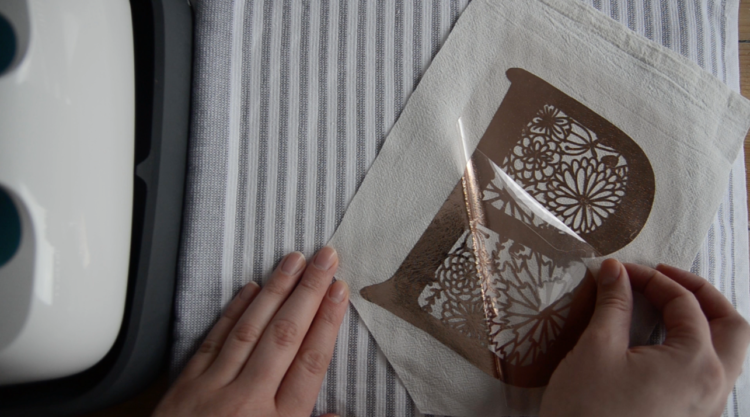
For weeding, I like to cut around my design so I’m not dealing with the entire sheet of iron on. Then, I start by weeding around the design before getting the detail pieces inside. I prefer to weed iron on material since it doesn’t stick to itself as the pieces come off. The backing is actually the sticky part. When you’re done weeding… time for the magic! I use my Cricut EasyPress to iron on the material BUT you can totally use an iron too. I’ve been told (and have been finding with pieces I’ve made) that the EasyPress applying more even heat gives a much better bond which means the heat transfer vinyl will last longer if you’re washing the piece. For a pennant like this, that’s not obviously an issue.
The heat settings for foil iron on to cotton is 295 degrees for 35 seconds and I found that worked perfectly. Heat up your surface before applying the heat transfer vinyl, then make sure to flip it over and heat the reverse side. Let it cool before peeling back and voila!
Well there you have it! Two rad DIYs using my designs that are available in the Spring Fresh Cut SVG Bundle. Want the bundle? it’s only available for a limited time!
If you’re looking for more ideas, I went ahead and made a playlist over on YouTube with all the videos we’ve been making (not everyone makes them… and I’m just starting on YouTube, but it’s getting there!) showing different ways to use the files! You can find that RIGHT HERE.
Like It? Pin It!

 How to Use Iron on Vinyl on Wood (Silhouette Vs. Cricut)
Where do you get the super cute all wood letter board?!?! Love your ideas – thanks for sharing!
my girl bethany from thislittleestate.com makes them! XO
WOW!!! These are really great ideas Colleen! Love them and hope to get such ideas more and more! On the way to make a plant pot like yours! Wish me a good luck! :)
Hi Colleen. I love your new designs and projects?What size did you make the “Grow” letters? You mentioned minimum. I am new to Cricut Design Space and don’t understand what that is. I also didn’t see the thumbs up or playlist when I watched your video. I would like to subscribe. Thanks so much!
minimum is just the smallest I would recommend sizing them to be able to get clean cuts! Good luck!