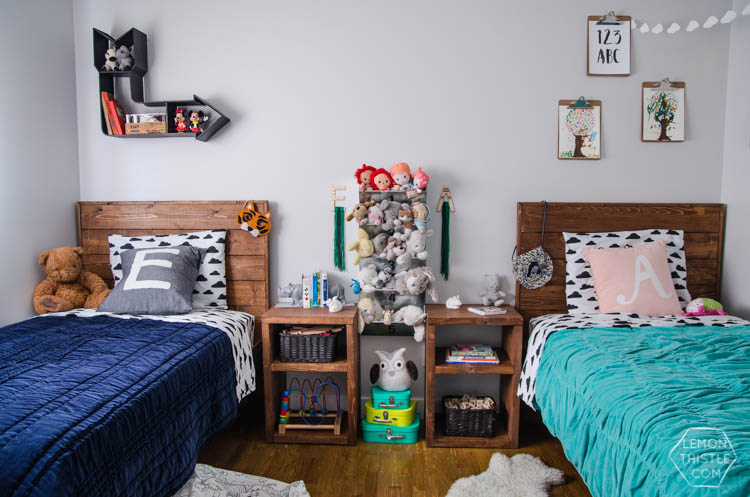
• Skip to main content
  • Skip to header left navigation
  • Skip to header right navigation
  • Skip to site footer
  • Shop
  • Courses
    • Course Login
  • Get The Email

  • DIY
    • DIY Home Decor
    • With Power Tools
    • Renovation
    • For Kids
    • For Parties
    • Organization
    • Cricut Crafts
    • DIY Yard Games
  • Home Decor
    • DIY Room Makeover E-Course
    • Room Reveals
    • Kid Friendly Home
    • DIY Home Decor
    • Renovation
    • Shop My Home
  • Lettering
    • Hand Lettered Printables
    • Free Practice Sheets
    • Handlettered DIY
    • Steal My Lettering
    • Free Brush Lettering Quickstart Guide
Lemon Thistle

Lemon Thistle

DIY, Hand Lettering + Home Decor

  • Printables
    • For Cricut
    • Party Printables
    • Home Decor Printables
    • Bachelor Bingo
    • Handlettering Practice Sheets
    • All Free Printables
  • Entertain
    • Party Printables
    • Party DIY
    • Tablescapes
    • Kids Parties
  • Blog

DIY Framed Rustic Wooden Beds

May 25
DIY Framed Wood Plank Twin Beds with detailed how-to instructions and measurements... I love these! Kids could grow with them
I’ve been holding onto this post for SO long to share with you guys, waiting to show off the kiddos whole new bedrooms first. And now that we have… well hip hip hurray! When our kids grew out of their cribs, we started looking at beds and with our small budget, we didn’t love anything we’d be able to get our hands on. We decided it would be special (and a lot nicer to look at) if we built them beds that they could grow into and have throughout their childhood. After building our patio table last summer, we were more confident that we’d be able to pull off the project. I am so happy we took the risk because these beds are my favourite. And as for this room? Well I’m already making changes (not that I didn’t love it) to add some fun pattern on the walls and give them some lights since they like to read before bed now. Also… I’m working on a rag rug- it’s the project that never ends- I regret starting but I’m too far in now to stop. But… Beds!
DIY Framed Wood Plank Twin Beds with detailed how-to instructions and measurements... I love these! Kids could grow with them
Today I’m turning the blog over to my hubby BECAUSE as much as I’d love to take credit for building these beds, I was 30 weeks pregnant when we were building them so I was on camera duty and not much else. I will tell you that I designed them though- apparently that’s half the battle he tells me. I really love how the frame gives such a clean finish to the rustic planks. And I will also tell you that the beds are standard height for a twin bed… not toddler bed height. We chose this to make under bed storage a reality. We eventually plan on building drawers on casters to fit under there, but found that Ikea bins we already had (also on wheels) fit under there perfectly so we’ve been procrastinating. Alright… here he is! And nope, he doesn’t make jokes like I do (I know you’ll miss my wit). Oh! And nightstand plans are to come friends :)

DIY Framed Wood Plank Twin Beds with detailed how-to instructions and measurements... I love these! Kids could grow with them

Headboards

Pieces required:

  • 1″ x 6″ x 43″  qty 7
  • 1″ x 4″ x 37.5″  qty 3
  • 1″ x 2″ x 37.5″  qty 2
  • 1″ x 2″ x 43″  qty 1

DIY Framed Wood Plank Twin Beds with detailed how-to instructions and measurements... I love these! Kids could grow with them

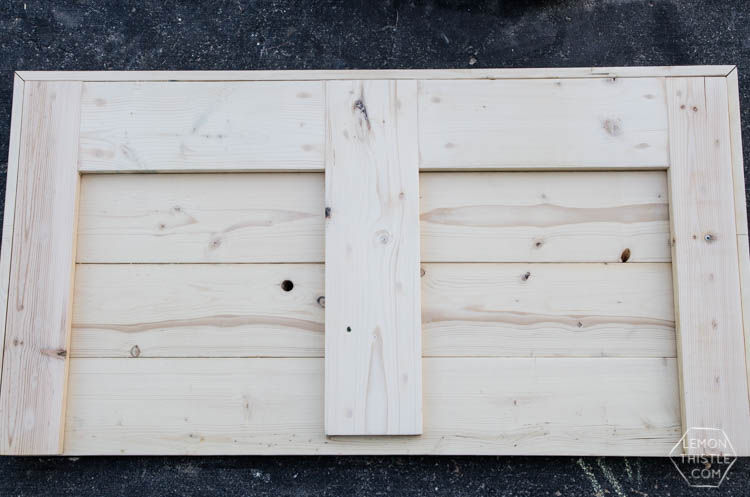
Lay all seven 1 x 6 “face down” on the floor with them all as tight together as possible. Pick whichever side of the 1 x 6 looks best to be the front facing side (the “facedown” side).
Take the 1 x 4, place one on top, tight to either end and then measure out and place the 3rd 1 x 4 in the centre.
Drill pilot holes so that there are 2 holes through the 1×4 into each 1×6.  To help prevent splitting, ensure the pilot holes are not too close to the edges of the wood but also not drilled too close to one another.

DIY Framed Wood Plank Twin Beds with detailed how-to instructions and measurements... I love these! Kids could grow with them

Fasten the 1×4 to the backside of the 1×6 using the 1 1/4″ screws. There should be a torque setting around the chuck on your drill (mine is a dial around the chuck and it is numbered 1-24). I kept mine set between 12 and 15 while I was setting these screws. This will ensure the screws aren’t over tightened and will help prevent the wood from splitting.

Once all three 1 x 4 pieces are fastened, the 1 x 2 frame is next.
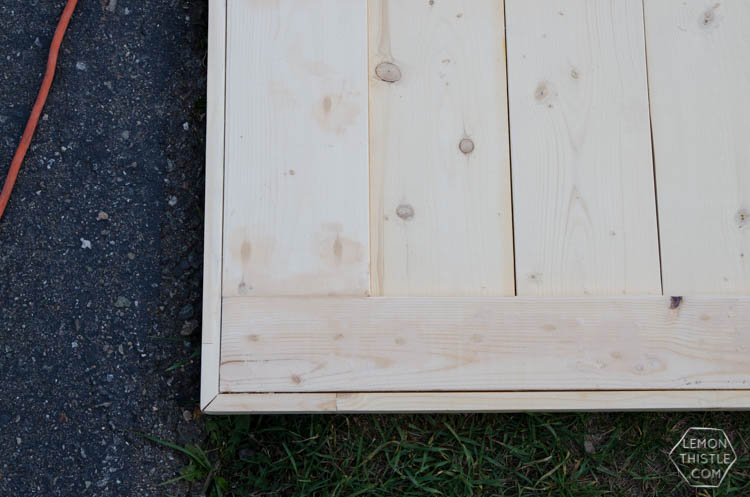
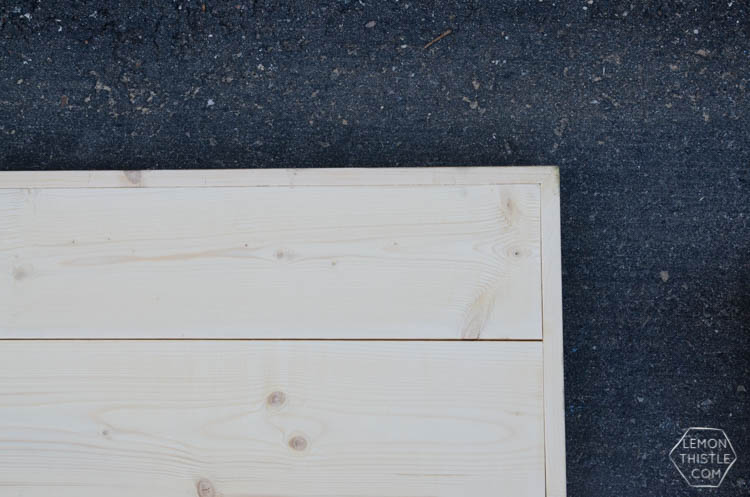
Mock up the frame around the assembled headboard to ensure all our lengths and corner cuts line up ok (you would cut these with a mitre saw). You may notice very tiny gaps at the corners but you will see those become a non factor when you sand and stain.

DIY Framed Wood Plank Twin Beds with detailed how-to instructions and measurements... I love these! Kids could grow with them

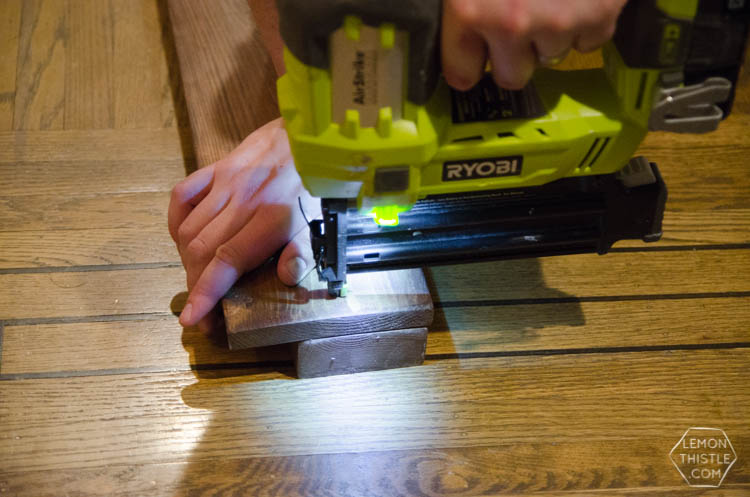
Use the brad nailer to fasten the frame pieces around the outside of the headboard. Since you will use 2″ nails, you need to be cautious that you are nailing in as straight as possible to avoid them shooting out the side or top.

DIY Framed Wood Plank Twin Beds with detailed how-to instructions and measurements... I love these! Kids could grow with them

DIY Framed Wood Plank Twin Beds with detailed how-to instructions and measurements... I love these! Kids could grow with them

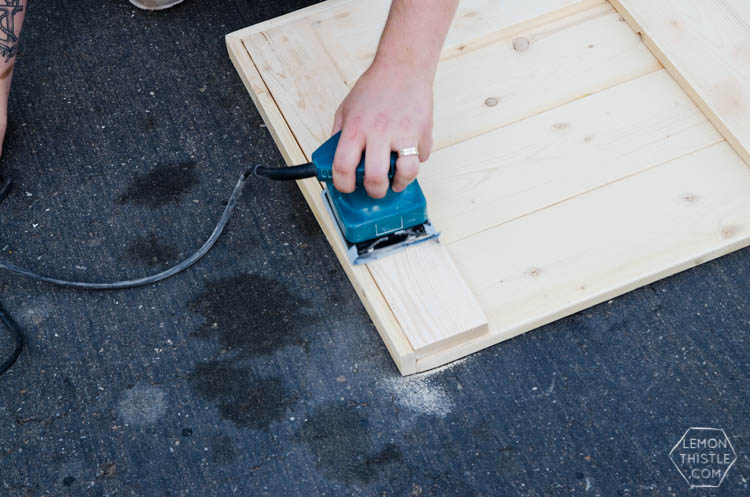
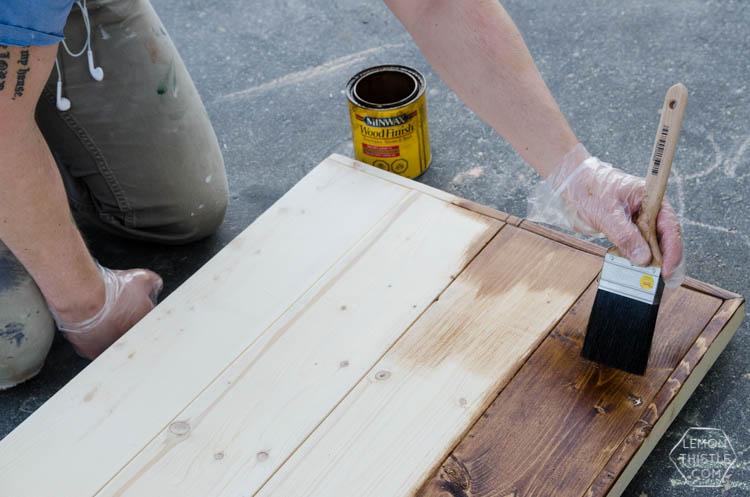
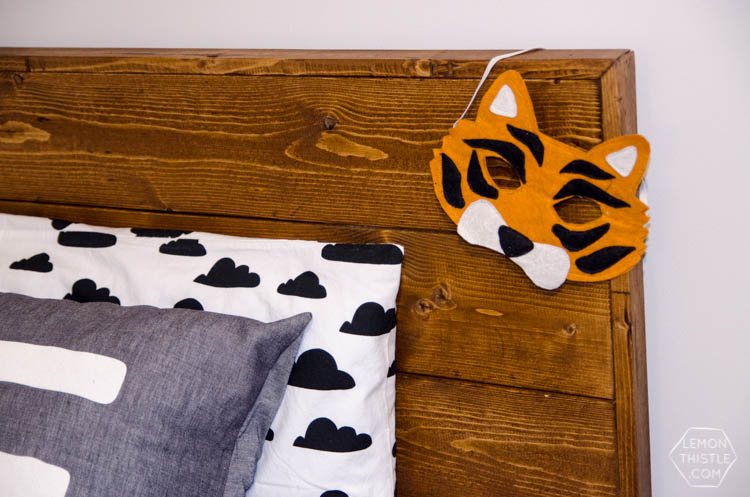
If there is any gaps you’re not happy with, you could choose to wood fill- but we were happy with the rustic, plank look of them. At this point, give it a really good sand job then stain it. We used Early American stain from Minwax, then sealed it with Varathane Diamond Satin Finish Crystal Clear (we use that stuff for everything). Also- when it comes to stain and clear coats, I really recommend a quality brush (our favourite is Purdy) since they don’t lose hairs and get stuck in your project! While you’re doing the headboard and foot board- don’t forget to sand and stain the side rails as well!

All the same steps as above for the footboards. Materials for footboards:

  • 1 x 6 x 43″  qty 2
  • 1 x 4 x 43″  qty 1
  • 1 x 4 x 14.5″  qty 3
  • 1 x 2 x 14 3/8″ qty 2
  • 1 x 2 x 43″  qty 1

Side rails:

Each rail is comprised of a 1″ x 6″ x 75″ and a 2″ x 4″ x 75″.

DIY Framed Wood Plank Twin Beds with detailed how-to instructions and measurements... I love these! Kids could grow with them

DIY Framed Wood Plank Twin Beds with detailed how-to instructions and measurements... I love these! Kids could grow with them

The 2 x 4 is mounted with the long side up against the face of the 2 x 6. Again, if one side of the 2 x 6 looks better than the other, mount the 2 x 4 to the ugly side.
I fastened these together with brad nails and wood glue but in hindsight I wish I’d used screws. I also filled any screw holes in the footboards that may be visible, but it’s not a must. I would along the top of the footboards so that they aren’t seen and then there is nothing for the sheets or kids toes to contact. (Sorry for the poor photos on this… it was late at night but we really wanted to get them done so kids could sleep in them that night!)

Assembly:

DIY Framed Wood Plank Twin Beds with detailed how-to instructions and measurements... I love these! Kids could grow with them

DIY Framed Wood Plank Twin Beds with detailed how-to instructions and measurements... I love these! Kids could grow with them

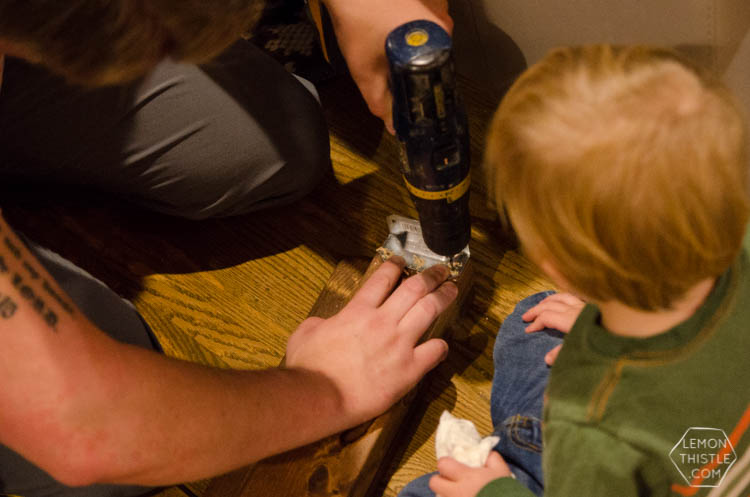
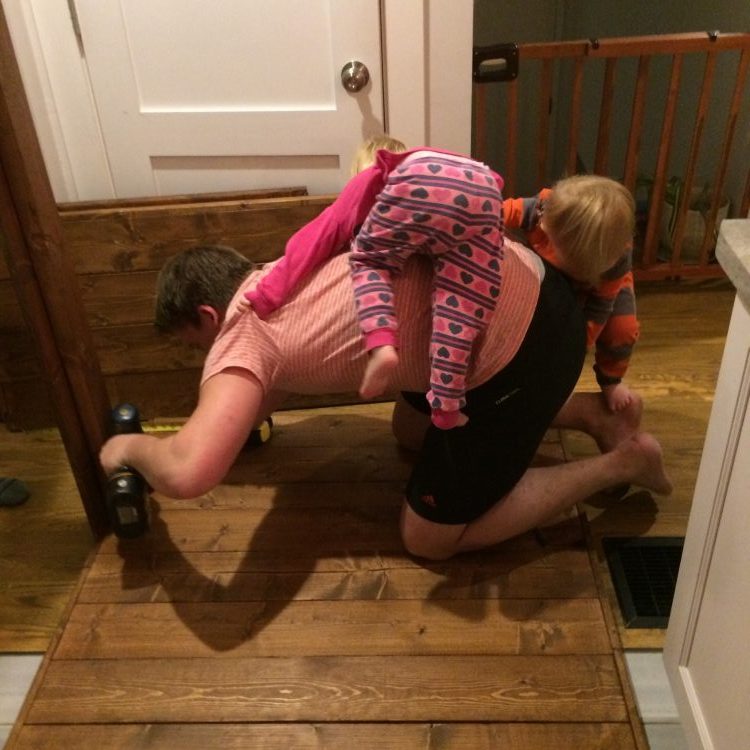
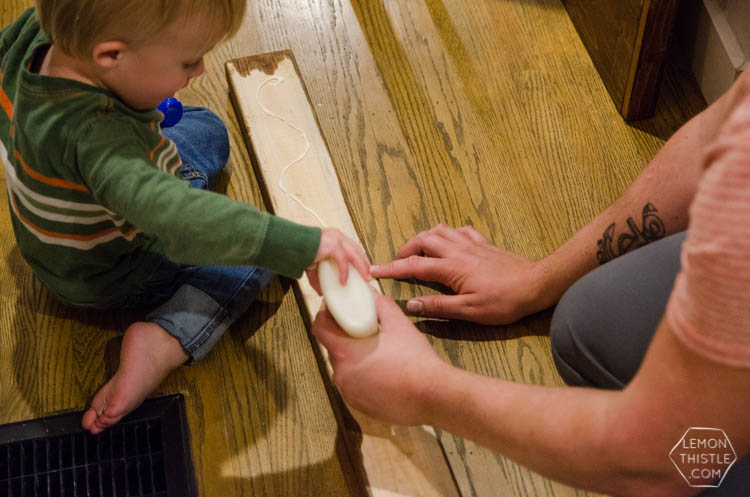
Don’t you love how helpful toddlers are?

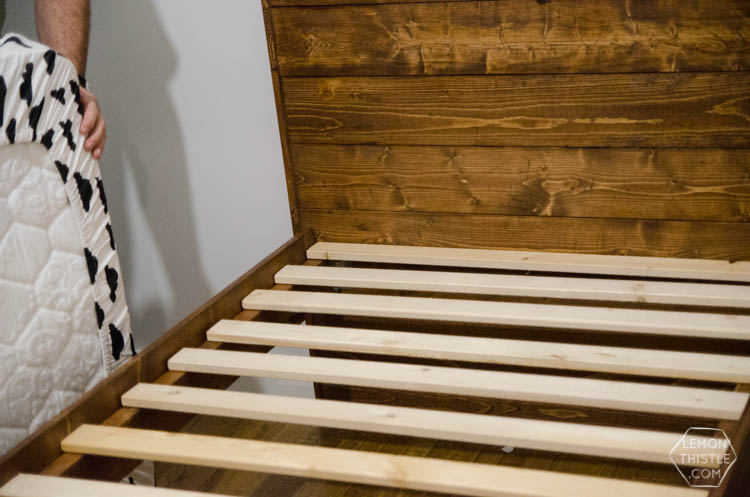
Use your bed brackets (you’ll need 4) to attach the side rails to the head and foot boards with screws. Make sure to measure the same distance from the floor on each. Again, we chose to make our rails standard twin bed height to allow for under bed storage and since we don’t plan on changing their beds ever (sorry kids, this is what you get ’til you move out). Lay the 1×3 slats in then top it with the mattress. You could choose to re-inforce the bed with corner brackets under the bed brackets if you wish. Our kids are 2 years old and under 20 lbs so we didn’t look into it too much and from what we’ve read- this will be more than stable. If you wanted to, you could staple cord between the slats (like you would get at an Ikea store).

DIY Framed Wood Plank Twin Beds with detailed how-to instructions and measurements... I love these! Kids could grow with them

DIY Framed Wood Plank Twin Beds with detailed how-to instructions and measurements... I love these! Kids could grow with them

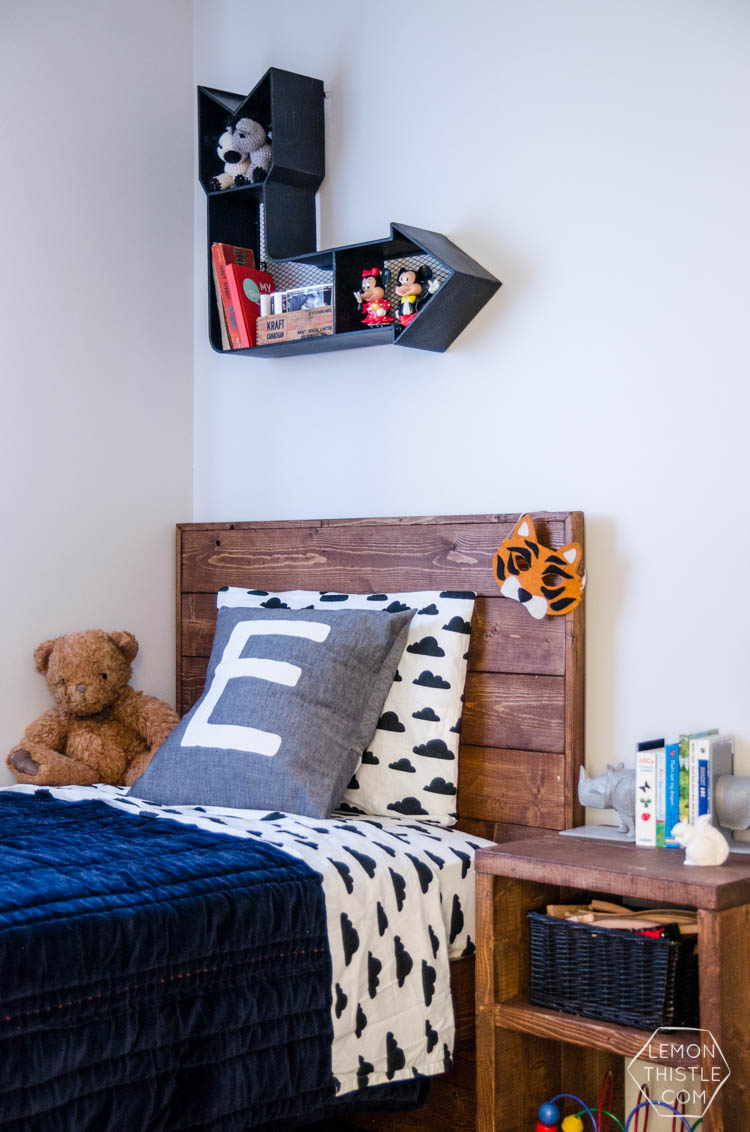
That’s it! (Colleen again) We totally love them and our kids have been so proud to show everyone their ‘big kids’ beds. And we’re really lucky we didn’t have a ‘falling out of bed’ problem with either of them. I think it’s happened twice since we gave them these beds in November. We did put down those kids foam tiles in their room while they were getting used to them… just in case!

BEDROOM SOURCES:

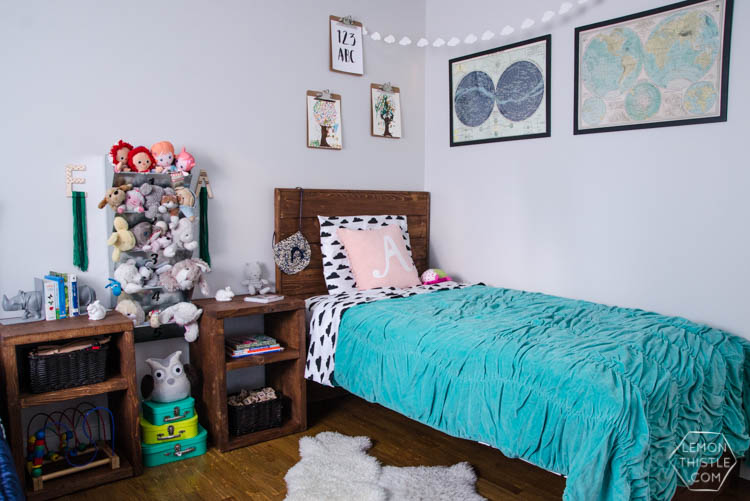
Cloud Sheets – The Land of Nod

Snug as a Bug Quilts- both The Land of Nod

Map Prints – Stepback

Monogram Pillows – A DIY

Cloud Felt Garland – The Land of Nod

Arrow Shelf – Homesense

DIY Framed Wood Plank Twin Beds with detailed how-to instructions and measurements... I love these! Kids could grow with them

  • Facebook
  • Twitter
  • LinkedIn
Category: DIYTag: Bedroom, Building, DIY Furniture, DIY Home Decor, Kid Friendly Home, Kids Rooms, Rustic, Wood
Previous Post:A Champagne Birthday Party! Such a fun theme and I love how simple it is to decorate with these DIYsChampagne Birthday Party
Next Post:Sweet Printables for Father’s DayI love these cheeky fathers day cards! Perfect for the dad who loves his chocolate
Avatar photo

About Colleen Pastoor

Colleen is the DIY blogger and author behind Lemon Thistle blog where she shares hands on DIY tutorials, home renovations, hand lettered designs, and projects to simplify your life… beautifully.
If you enjoy modern home decor (that’s totally cozy for your family!), saving money through DIY and simplified lifestyle- you’ll love the tutorials Colleen shares on LemonThistle.com. Find her @colleenpastoor everywhere else!

Reader Interactions

Comments

  1. Avatar photoAnita

    May 26 at 10:18 pm

    Yes, I love how helpful toddlers are hahahah such an adorable tutorial with the twins!

    Reply

Leave a Reply Cancel reply

Your email address will not be published. Required fields are marked *

Sidebar

2025 free printable calendars are here- text over image of 5 free printable calendar formats printed


Thanks for dropping by!
I’m Colleen: wife; mom to 4 wild ones; and DIY blogger behind Lemon Thistle. You can expect to see affordable DIY, cozy modern home decor, renovations, free printables, hand lettering and the occasional party on Lemon Thistle. Read More…

WOOHOO!

Check your email to confirm!

(+ get your freebies + discounts)

email facebook youtube instagram pinterest

Search

Copyright

Unless otherwise noted, all content and images are mine. Full posts may not be shared without express written consent. But I love when you share!

Feel free to share, without altering, one image with proper credit and a link to the original post. All free printables are for personal use only.

Legal

Everyone loves proper credit- if you ever notice something improperly credited, please please shoot me an email and I’ll fix it lightning fast.

Find all my policies right here.
This includes my privacy policy, info on the GDRP compliance, and information on affiliate links (Including Amazon Affiliates).

Copyright © 2025 · Lemon Thistle · All Rights Reserved · Powered by Mai Theme