• Skip to main content
  • Skip to header left navigation
  • Skip to header right navigation
  • Skip to site footer
  • Shop
  • Get The Email
  • Work With Me
  • About
  • Search

  • DIY
    • DIY Home Decor
    • With Power Tools
    • Renovation
    • For Kids
    • For Parties
    • Wearable
    • Organization
    • Cricut Crafts
  • Home Decor
    • Room Reveals
    • Kid Friendly
    • DIY Home Decor
    • Renovation
  • Lettering
    • Hand Lettered Printables
    • Free Practice Sheets
    • Handlettered DIY
    • Free Brush Lettering Quickstart Guide
Lemon Thistle

Lemon Thistle

Rad DIY, Lettering and Design for Real People

  • Printables
    • For Cricut
    • Party Printables
    • Home Decor Printables
    • Bachelor Bingo
    • Handlettering Practice Sheets
    • All Free Printables
  • Entertain
    • Party Printables
    • Party DIY
    • Tablescapes
    • Kids Parties
  • Blog

DIY Finger Painted Envelope Valentines

Feb 04

DIY Finger Painted Envelope Valentines- perfect for grandparents!

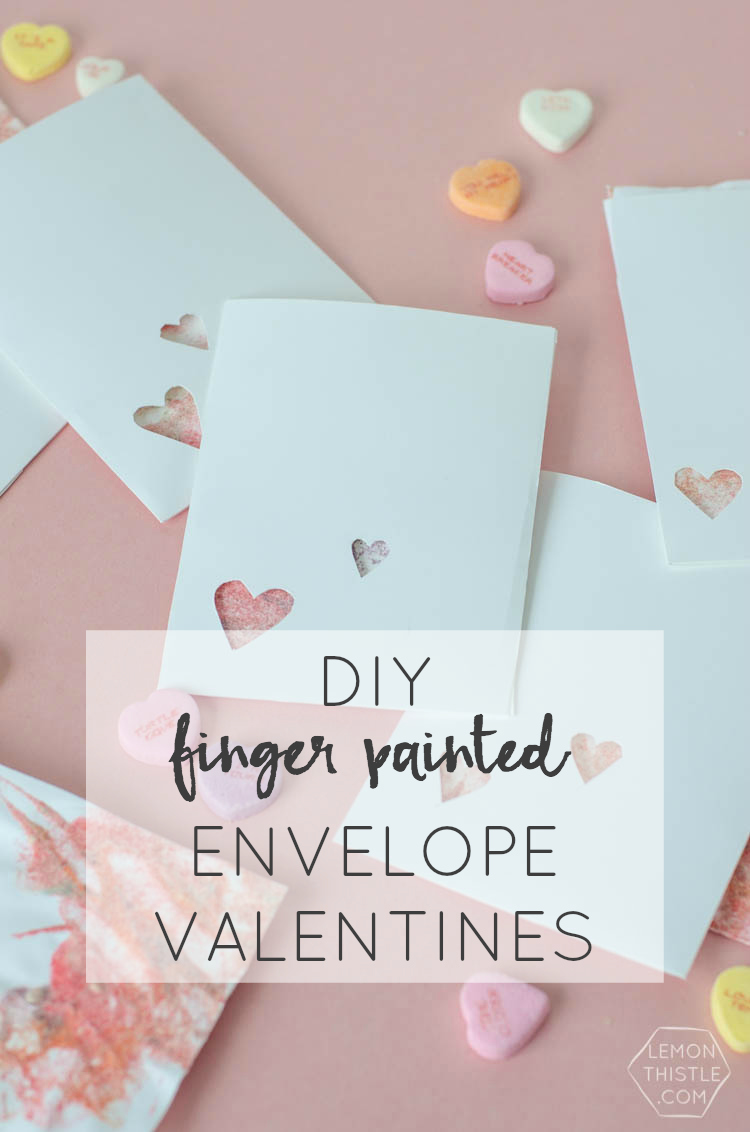
Are you getting into the Valentine’s spirit yet? That’s a thing- it’s when everything that’s normally too sweet or sappy becomes totally acceptable because Valentine’s Day is almost here. I’m getting there… and all these Valentine’s projects are helping. Today I’m sharing a Valentine’s card that’s perfect if you have little-bitty kiddos- like me! I try to send mail for every occasion. I’m a bit of a snail mail junkie. Since I have kiddos now, it’s totally acceptable to address mail from them. What better way to brighten someone’s day that with some finger painted sweetness? Nothing, I tell you. Nothing.

DIY Finger Painted Envelope Valentines- perfect for grandparents!

DIY Finger Painted Envelope Valentines- perfect for grandparents!

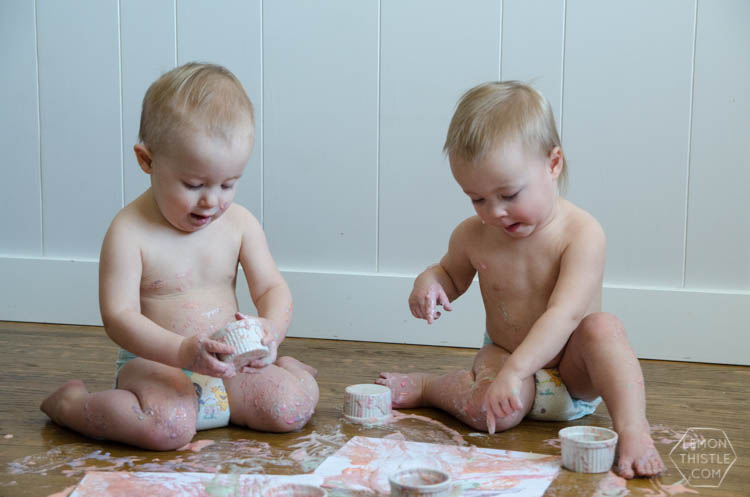
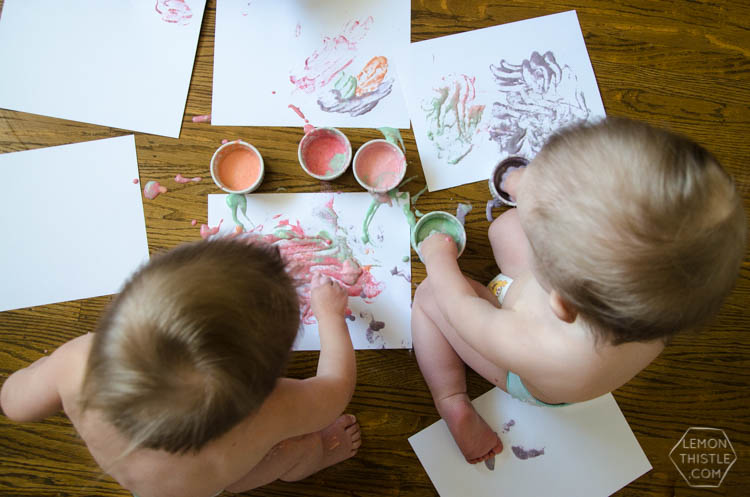
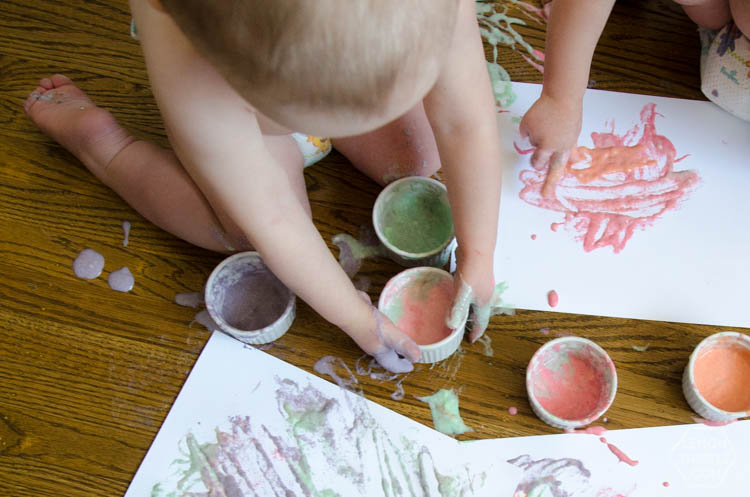
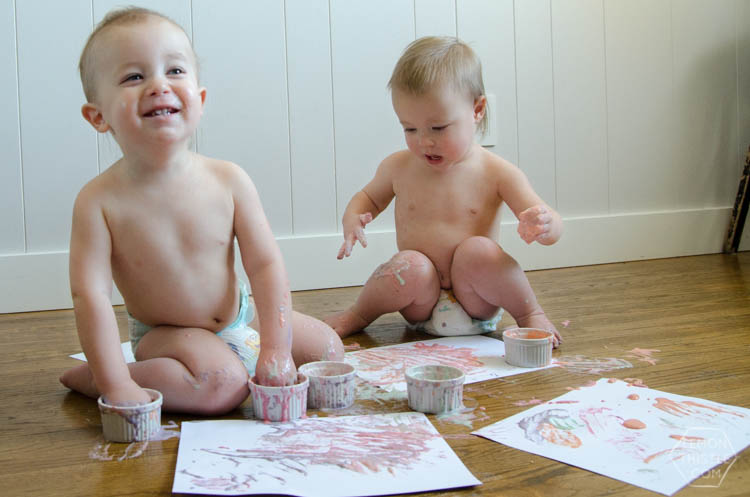
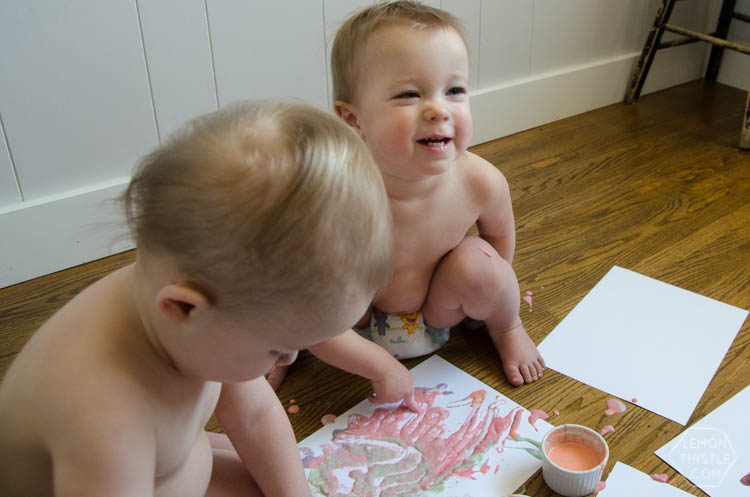
Package one of these sweet Valentine’s with a photo of your little up to his or her elbows in finger paints and you’ll have one happy Grandma/Aunt/Cousin. Over the weekend, Shane and I sat Emmitt and Aubrey down with some of my Baby Safe Finger Paints (you can get the recipe and instructions here)- it was so much fun to get messy (and then have a bath full of splashes) as a family. It was a treat for Shane to get to see the creative side of our kiddos (I usually do painting and such when he’s at work). Excuse me while I give you a few too many photos of the cuteness that happened.

DIY Finger Painted Envelope Valentines- perfect for grandparents!

DIY Finger Painted Envelope Valentines- perfect for grandparents!

DIY Finger Painted Envelope Valentines- perfect for grandparents!

DIY Finger Painted Envelope Valentines- perfect for grandparents!

DIY Finger Painted Envelope Valentines- perfect for grandparents!

DIY Finger Painted Envelope Valentines- perfect for grandparents!

To make your own you’ll need:

  • Baby Safe Finger Paint
  • Cardstock
  • Cutting Mat
  • Metal Ruler
  • Craft Knife,
  • Double Sided Tape

DIY Finger Painted Envelope Valentines- perfect for grandparents!

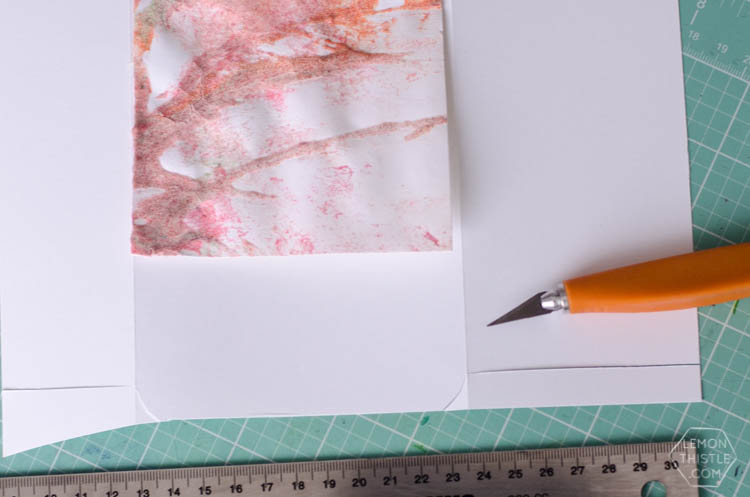
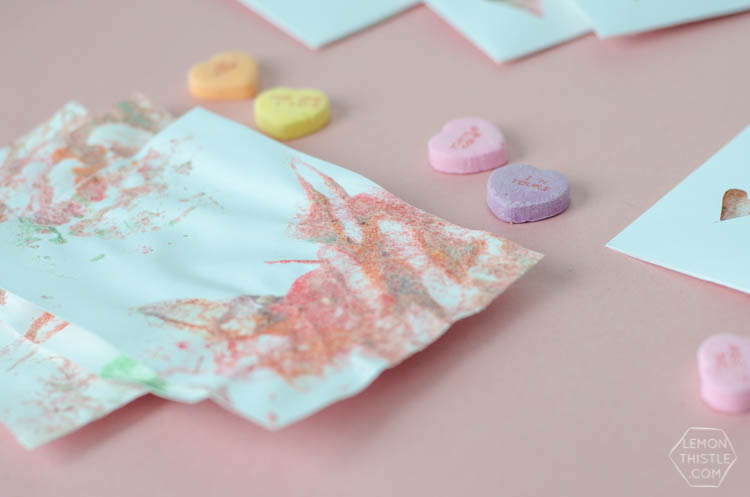
When your works of art have dried, and you’ve ironed them (read this post, it explains why I’m crazy and am telling you to use an iron on paintings), you can chop them into smaller cards. I cut mine into four. Lay one of your small pieces on cardstock and use your ruler to mark out the envelope shape, slightly larger than your painting. Score (by gently dragging the knife along) the edges of the square where you’ll be folding. Then, Cut out the rest of the envelope (see photo above) leaving a small flap at the bottom to fold under the edges. Alternately, you could leave this little flap out and make a sleeve with both ends open for your paintings.

DIY Finger Painted Envelope Valentines- perfect for grandparents!

DIY Finger Painted Envelope Valentines- perfect for grandparents!

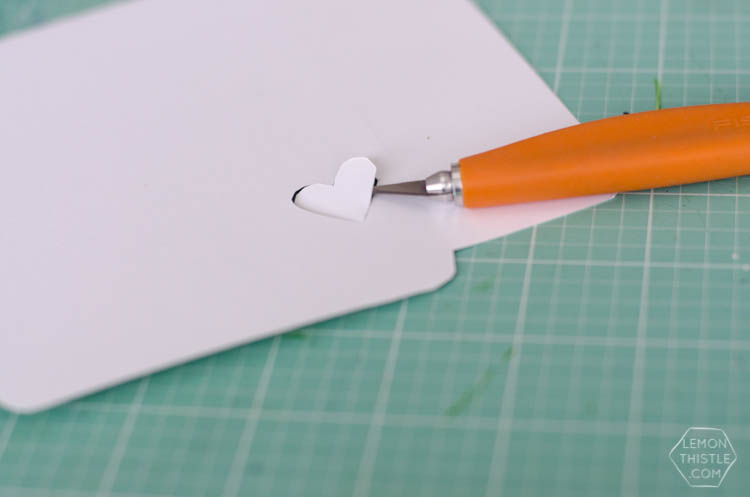
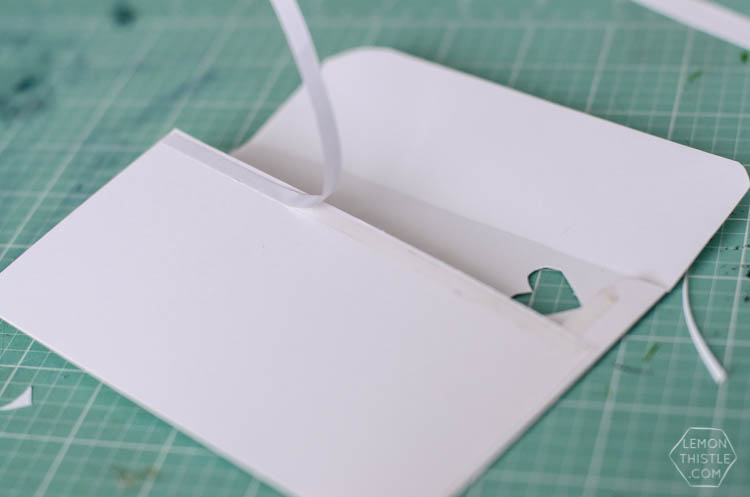
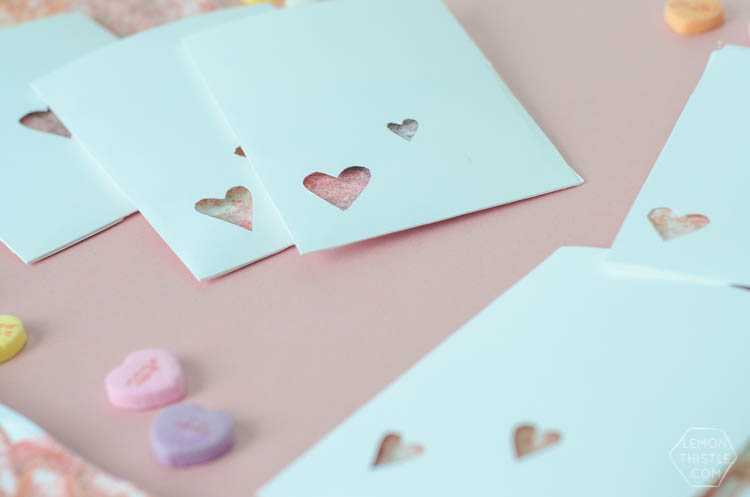
Before you close up your envelope, cut one or two little hearts out of the front of the envelope. The painting will show through. I found I was way better at cutting one side of the heart- so I would turn it over after cutting the one side and cut the other one (the same way)- much better! Next, you can fold it up and use double sided tape to affix the flaps to each other.

DIY Finger Painted Envelope Valentines- perfect for grandparents!

DIY Finger Painted Envelope Valentines- perfect for grandparents!

DIY Finger Painted Envelope Valentines- perfect for grandparents!

DIY Finger Painted Envelope Valentines- perfect for grandparents!

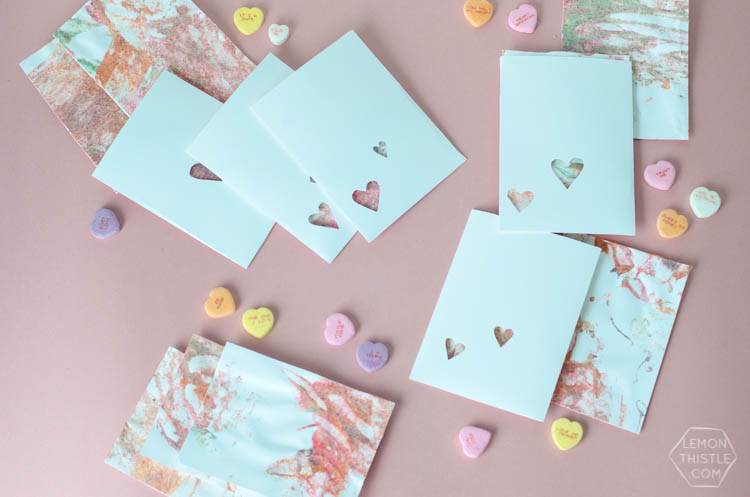
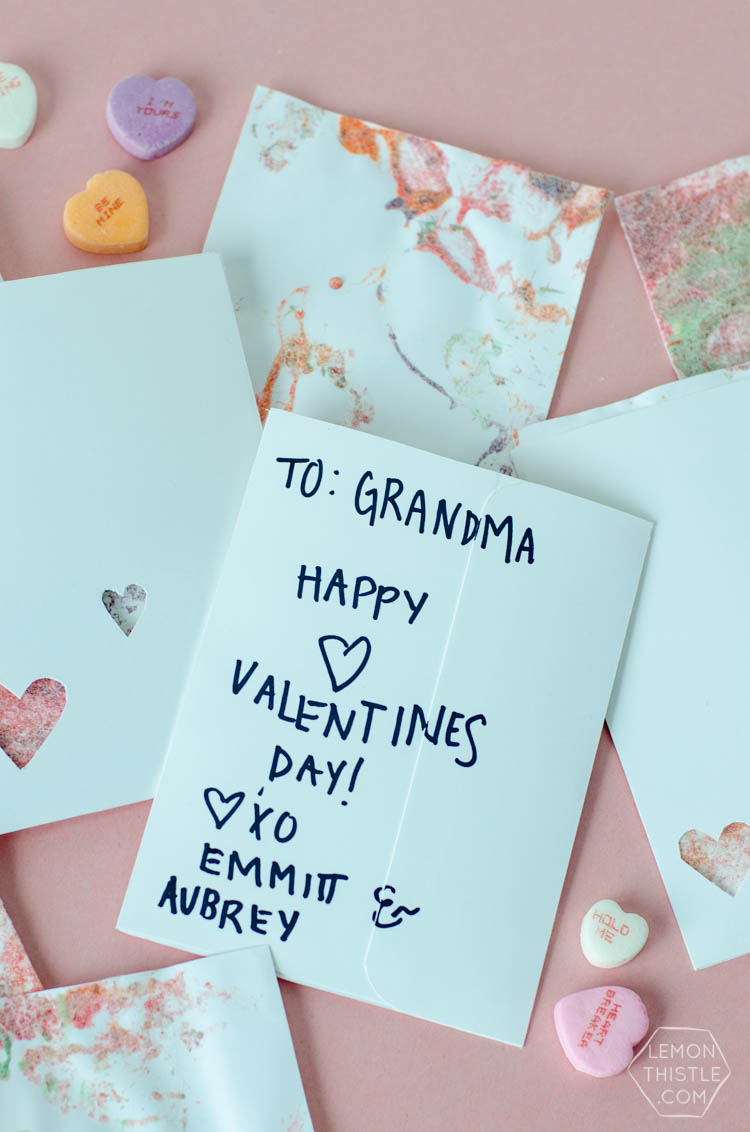
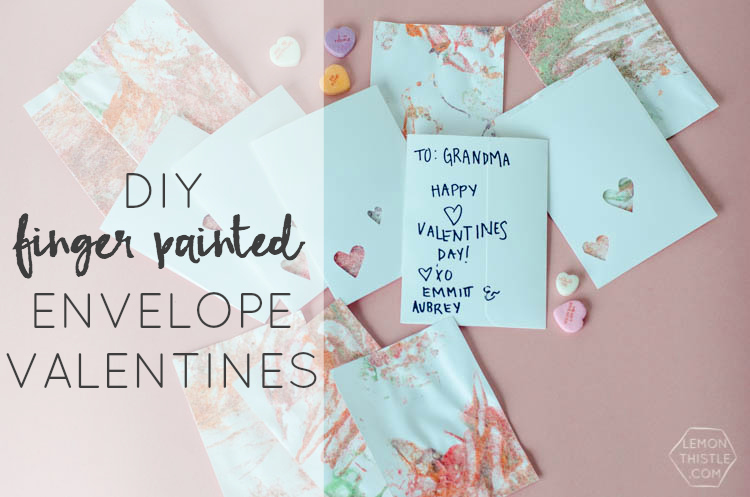
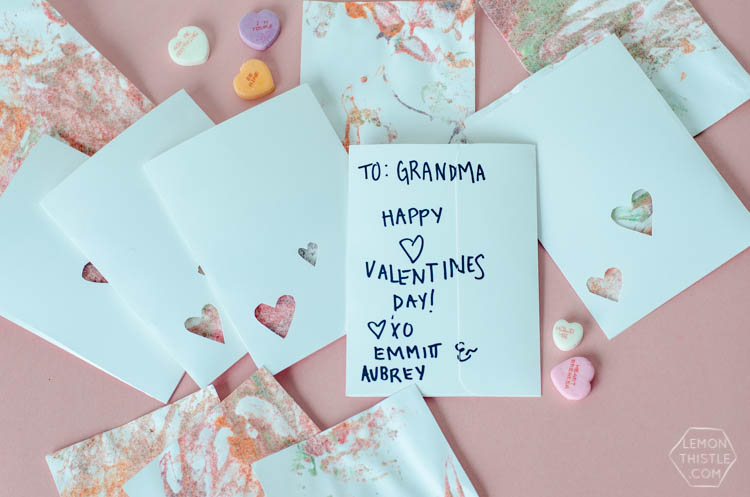
Then slip your painting into the envelope… that’s it! Now you can write a little note to the recipient on the back before you pop them in the mail. Again… a photo of your little creating the masterpiece is a sweet addition! These would really work for any occasion too… use green paint and cut out shamrocks for St. Patrick’s Day… use red and green paint and cut out trees or ornaments for Christmas… they’re pretty versatile. What do you think?

Do you send mail on Valentine’s? If not… do it! I know I love getting surprises in the mail and any excuse is a good one- especially such a cute holiday. Let your family or friends know that you’re thinking of them. Because we’re on a roll… look forward to some more Valentine’s! Friday (I’m so excited), my newest contributor, Brie (like-the-cheese) will be here sharing some sweet retro printable Valentine’s and I’ll be back next week with a hand lettered printable Valentine for the kiddos in your life. Have you picked out Valentine’s already this year? I’d love to hear!

Category: DIY, LifestyleTag: Babies, Cards, Craft, Gifts, Holiday DIY, Holidays, Kids, Kids DIY, Snail Mail, Valentines
Facebook0Tweet0Pin0LinkedIn0
Previous Post: « February Wallpaper Free Downloads
Next Post: DIY Boombox Valentine’s DIY Boombox Valentine's (Free Printable) | Like-The-Cheese for Lemon Thistle »

Reader Interactions

Comments

  1. Amy | Club Narwhal

    Feb 04 at 11:26 am

    Colleen, this is such a cute idea! I love that it helps get littles involved with card sending :)

    Reply
    • Colleen Pastoor

      Feb 04 at 9:06 pm

      Thanks so much Amy! I hope they love sending mail as much as I do :)

      Reply
  2. Brie Zacher

    Feb 04 at 11:53 am

    So cute! Your twins are adorable!

    Reply
    • Colleen Pastoor

      Feb 04 at 9:06 pm

      Thanks Brie! I think so too ;)

      Reply

Leave a Reply Cancel reply

Your email address will not be published. Required fields are marked *

Sidebar

WOOHOO!

Check your email to confirm!

(+ get your freebies + discounts)


Thanks for dropping by!
I’m Colleen: wife; mom to 4 wild ones; and DIY blogger behind Lemon Thistle. You can expect to see rad DIY, modern home decor, renovations, hand lettering and the occasional party on Lemon Thistle. Read More…

email facebook youtube instagram pinterest

Unless otherwise noted, all content and images are mine. Full posts may not be shared without express written consent. But I love when you share! Feel free to share, without altering, one image with proper credit and a link to the original post. All free printables are for personal use only.

Everyone loves proper credit- if you ever notice something improperly credited, please please shoot me an email and I’ll fix it lightning fast.

Find all my policies right here.
This includes my privacy policy, info on the GDRP compliance and information on affiliate links (Including Amazon Affiliates).

Visit Colleen Pastoor’s profile on Pinterest.

colleenpastoor

My house is never this clean
-
DIY + Home Decor Blogger
Mama of 4 👶🏼🧒🏼👦🏼👧🏼
Renovating our 🏠 the DIY way
🖤 Lettering & ☕️
-
✉️[email protected]

colleen pastoor/lemon thistle
I’ve been doing some polls in my stories (thank I’ve been doing some polls in my stories (thank you for your responses!) and one that totally surprised me? 
Almost half of you don’t know I blog! That’s my job, guys 😂 IG is just a fun little part of that! So tell me... is this new information to you or are you team ‘knew that!’? 

Also... Should I do a blogging Q&A? 🤷🏼‍♀️
Happy Valentine’s Day, friends 🥰 Happy Valentine’s Day, friends 🥰
Anyone else feeling the balance between work and f Anyone else feeling the balance between work and family and rest and keeping your house liveable has all just toppled this year? I keep seeing articles about pandemic fatigue and long term stress and burnout and while it’s totally relatable, I really just want tips on how to actually deal with that. I thought I’d share some things that are helping me if you’re in the same boat... and I’d love if you shared your tips in the comments! We could all use them 🥰
-I’ve been going for a walk every day by myself. Even when it’s freaking cold like today, I just bundle. It’s the only time I get truly to myself with no kiddo asking for something and that I don’t have to try squeeze in an email or something else.
-I’ve been putting the instant pot to work and leaning on cheater meals (local soup mixes are amazing), Costco dinners... whatever
- I’m prioritizing friendships with phone calls, zoom games nights and group chats about the bachelor (with matching snacks!)
- I’ve given myself a schedule that has downtime to play with the kids and to read... even when there’s things I feel like I ‘should be’ doing
- I’ve realized exactly how much time I’ve been spending on my phone and that it’s become my response to stress. Have you ever looked up your screen time analytics? 🥴 look at how many times you pick it up in your day. I’m setting app limits for myself and trying to break this habit, but I’d really love tips!
Can you believe that address sign is a DIY?! I'm s Can you believe that address sign is a DIY?! I'm sharing the whole tutorial in partnership with @OfficialCricut today over on my blog! I'd originally made it as a place holder for a metal one but after having it up for 4 months... we totally love it long term! What do you think? Would you try it? #cricut #cricutmade #ad
What are your Sunday plans? Mine are to sit right What are your Sunday plans? Mine are to sit right here for the first half of the day drinking coffee, then the second half of the day it’s to clean this house so it looks like my Instagram feed again 😂
Who has DIY projects on their mind this year?! 

👏🏻CLOSED 👏🏻 congrats @kelseycford ✨
@ryobi_canada and I want to help you start knocking those projects off your list by giving away a new nailer and battery set! #ad 
This tool is what we used for this accent wall and all the trim in our home. It’s the one I used to trim out my built in shelving and add the decorative moulding to my geometric barn door. What I’m saying is this thing is a workhorse and I want you to have one too 😉
To enter:
✨Follow me @colleenpastoor and @ryobi_canada 
✨like and save this photo 
✨ tag some friends who’d love to win in the comments! One tag per comment, each is an entry. 
✨ share to your stories for a bonus 5 entries!

Open to Canadians only this time (sorry US friends!) and not associated with Instagram. Closes Friday Jan 22 at noon PST!
Let’s talk about coffee! This is my coffee ‘st Let’s talk about coffee! This is my coffee ‘station’ and the second photo is my dads! I’m talking aaaall about them over on YT today!
Also... see how nice that fresh silicone looks?! 😉 IYKYK
The hallway is finally finished and I’m so stink The hallway is finally finished and I’m so stinking happy! 

It’s felt like such a long time coming for such a small space. Since we moved in 2.5 years ago, this space has seen new doors and hardware, new trim, new floors... twice😅, we changed the boob light to a pot light and I hated it and now it’s got the most beautiful flush mount fixture I’m in love with (thanks @mymitzi!). It finally got some fresh paint and now frames on walls and last but not least... After this weekend, the new floors look like they were here all along (no door jamb gaps!) which was the last thing really bugging me since our flood last year. 

All this to say that home takes time and sometimes getting it right might take a couple tries. Also- the spaces we don’t really think about (hallways) can totally help a house feel like home with some love (and family photos 🥰)
ps. I partnered with #mymitzi to create a tiktok for This makeover... are you following me over there yet?! I’d love if you popped over and said hi!
It’s done! It works! And I’m calling it a grea It’s done! It works! And I’m calling it a great use of my afternoon the other day. Did you catch the stories? These projects both cost me under $10 by using pieces I already had in my home (yay for scraps!) and one package of drawer slides).
You can find the full video about these two kitchen organization projects over on YouTube in collaboration with my friend @love_create_celebrate and her #scrapsmademodern challenge! But for now... I’m rejoicing this coffee maker is off my counter for good 🎉
Load More... Follow on Instagram

Copyright © 2021 · Lemon Thistle · All Rights Reserved · Powered by Mai Theme