• Skip to main content
  • Skip to header left navigation
  • Skip to header right navigation
  • Skip to site footer
  • Shop
  • Courses
    • Course Login
  • Get The Email

  • DIY
    • DIY Home Decor
    • With Power Tools
    • Renovation
    • For Kids
    • For Parties
    • Organization
    • Cricut Crafts
    • DIY Yard Games
  • Home Decor
    • DIY Room Makeover E-Course
    • Room Reveals
    • Kid Friendly Home
    • DIY Home Decor
    • Renovation
    • Shop My Home
  • Lettering
    • Hand Lettered Printables
    • Free Practice Sheets
    • Handlettered DIY
    • Steal My Lettering
    • Free Brush Lettering Quickstart Guide
Lemon Thistle

Lemon Thistle

DIY, Hand Lettering + Home Decor

  • Printables
    • For Cricut
    • Party Printables
    • Home Decor Printables
    • Bachelor Bingo
    • Handlettering Practice Sheets
    • All Free Printables
  • Entertain
    • Party Printables
    • Party DIY
    • Tablescapes
    • Kids Parties
  • Blog

Oh Baby! Ombre Felt Party Garland

May 20
DIY Ombre Felt Lettered Garland... I love this 'Oh Baby' one! So fun for a little boy's baby shower

Today I’m sharing this fun ‘Oh Baby!’ ombre felt party garland with you. It’s one of my favourite garlands I’ve made to date (probably because it’s a bit cheeky). I created this garland for The Little Umbrella months ago and I’d say it’s about time I shared it with you! You could really choose any phrase in the world for this garland, just create a template for yourself in a text editor. I love the ombre blues with the cloud garland (that ones from The Land of Nod) it reminds me of a true baby ‘shower’.  You don’t need any fancy tools to make this garland, just a good ol’ craft knife!

DIY Ombre Felt Lettered Garland... I love this 'Oh Baby' one! So fun for a little boy's baby shower

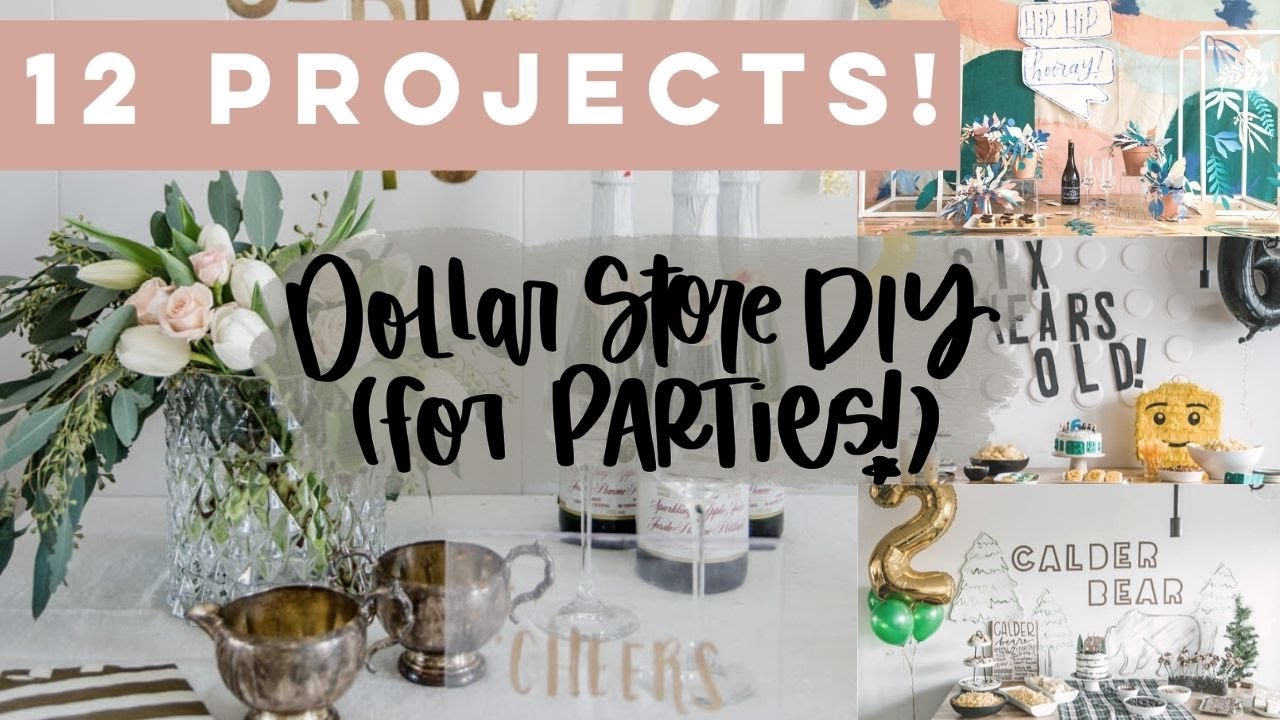
CLICK HERE for a video tutorial of this ‘Oh Baby!’ ombre felt party garland and 12 more modern DIY Dollar Store Party Decorations that you can make for your next party! 

YouTube player

Ready to make your own? Here’s what you’ll need:

  • Felt sheets (I used four total)
  • Craft knife with a new or sharp blade
  • Cutting mat
  • Printed template (get mine here)
  • Scissors
  • Embroidery floss
  • Embroidery needle
DIY Ombre Felt Lettered Garland... I love this 'Oh Baby' one! So fun for a little boy's baby shower

Start by printing out your template, you can choose to download mine for free here or you can make your own. I find the thick block fonts to work best, if it’s too thin of a stroke the felt loses it’s shape. Cut out your template using either scissors or your craft knife.

DIY Ombre Felt Lettered Garland... I love this 'Oh Baby' one! So fun for a little boy's baby shower

When you have all your template letters cut, lay them out on your felt sheets to make the most of each sheet. Use your craft knife to cut around the template letter. Some tips for cutting felt? You NEED a sharp knife, otherwise your edges will look frayed and you’ll be crazy frustrated (from experience). Hold the template letter down firmly to avoid it slipping around and you losing the shape of your letter. To cut through the felt, press firmly with the craft knife, allowing as much of the blade as possible to contact the felt at once. This is better than dragging the tip of the knife which will give your edges a frayed look. It’s a bit of a tedious process, but once you get the hang of it, you’ll fly through. I’d totally spend the extra couple dollars and get yourself a craft knife with a wider grip (this is the one I use and love). You know me- put on an episode from Netflix and you’ll have your garland cut out in no time!

DIY Ombre Felt Lettered Garland... I love this 'Oh Baby' one! So fun for a little boy's baby shower

When all your letters are cut, thread your needle with a coordinating colour of embroidery thread. Make sure to face all your letters in the right direction (also from experience), threading them on in order. I chose to give each letter two ‘stitches’ threading from the back to front and back for each ‘stitch’. On the ‘A’ There was only room for one.

DIY Ombre Felt Lettered Garland... I love this 'Oh Baby' one! So fun for a little boy's baby shower

When they’re all threaded on, tape your garland to the wall and take some time spacing out the letters to make it juust so. If your garland was going to be in a kids room or somewhere where it’s being handled a lot, you could consider adding a dab of hot glue on the back to hold the letters in place. They stay in place pretty well without it though.

That’s all there is to it! Now you can get your party on- woohoo ;) I store my garlands by winding them around a piece of cardboard. If you’re going to make something out of felt, you may as well hold onto it for another party! So tell me… what phrase would you make? Also… are you a TV crafter like me? I figure if it’s a brainless task and there’s a lot of it, may as well get a laugh in while I’m working ;) What’s your binge show of choice?

  • Facebook
  • Twitter
  • LinkedIn
Category: DIY, EntertainTag: Babies, Baby Shower, Craft, Cricut, Decorations, Felt, Garland, Party Decor, Party DIY, Showers
Previous Post:Turn any art into a dry erase meal planner! I love the hand lettering on this oneDIY Dry Erase Meal Planner
Next Post:DIY Emoji Snack Boxes
Avatar photo

About Colleen Pastoor

Colleen is the DIY blogger and author behind Lemon Thistle blog where she shares hands on DIY tutorials, home renovations, hand lettered designs, and projects to simplify your life… beautifully.
If you enjoy modern home decor (that’s totally cozy for your family!), saving money through DIY and simplified lifestyle- you’ll love the tutorials Colleen shares on LemonThistle.com. Find her @colleenpastoor everywhere else!

Reader Interactions

Comments

  1. Avatar photoErin

    May 20 at 4:32 pm

    Cute! I love the water glasses on the table. Where are those from?

    Reply
    • Avatar photoColleen Pastoor

      May 23 at 1:37 pm

      Thanks Erin! We actually got those for our wedding… at the time they were at Urban Barn :)

      Reply

Leave a Reply Cancel reply

Your email address will not be published. Required fields are marked *

Sidebar

2025 free printable calendars are here- text over image of 5 free printable calendar formats printed


Thanks for dropping by!
I’m Colleen: wife; mom to 4 wild ones; and DIY blogger behind Lemon Thistle. You can expect to see affordable DIY, cozy modern home decor, renovations, free printables, hand lettering and the occasional party on Lemon Thistle. Read More…

WOOHOO!

Check your email to confirm!

(+ get your freebies + discounts)

email facebook youtube instagram pinterest

Search

Copyright

Unless otherwise noted, all content and images are mine. Full posts may not be shared without express written consent. But I love when you share!

Feel free to share, without altering, one image with proper credit and a link to the original post. All free printables are for personal use only.

Legal

Everyone loves proper credit- if you ever notice something improperly credited, please please shoot me an email and I’ll fix it lightning fast.

Find all my policies right here.
This includes my privacy policy, info on the GDRP compliance, and information on affiliate links (Including Amazon Affiliates).

Copyright © 2025 · Lemon Thistle · All Rights Reserved · Powered by Mai Theme