Sharing all about watercolour hand lettering for beginners using a brush and solid watercolours. Focusing on how to get that beautiful watercolour blend between colours.
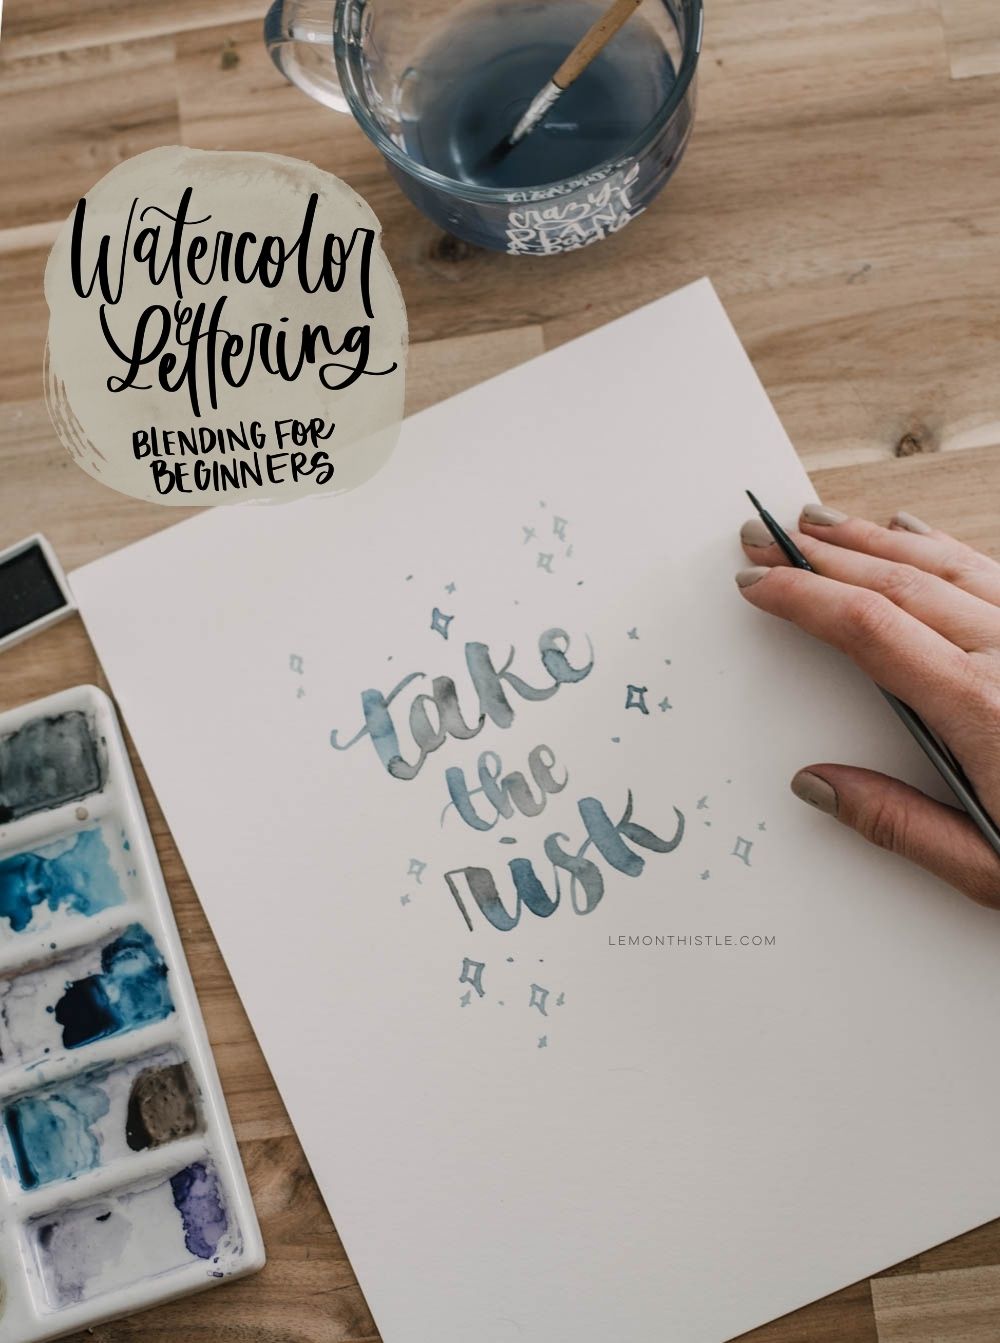
I’m sure you might have noticed that I love hand lettering, but I mostly share hand lettering with a brush marker. What you might not know is that hand lettering with watercolour is one of my favourite ways to relax and also one of my favourite styles to use in home decor. Today I want to share some tips about watercolour hand lettering for beginners… or anyone really who is looking to get a beautiful blend of their colours!
If you are struggling with brush lettering- I actually recommend brush lettering with watercolour for you. I say this in my Learn Brush Lettering E-Course over and over because it’s the strategy I used when I was starting out to get me through that frustrating stage of learning. If you’re finding that you start strong, but instinctively start writing after a letter or two… try using watercolour!
Brush lettering isn’t writing. It’s drawing letters. And while I can say that, your hand and your brain are good friends that have worked hard to write efficiently and when you start doing the same things you do to write, your brain and hand just get moving and write. To break that habit, a paintbrush does wonders. It forces you to slow down and it doesn’t trigger the same muscle memory.
Okay, let’s get to the tips!
affiliate links where possible* see policies here.
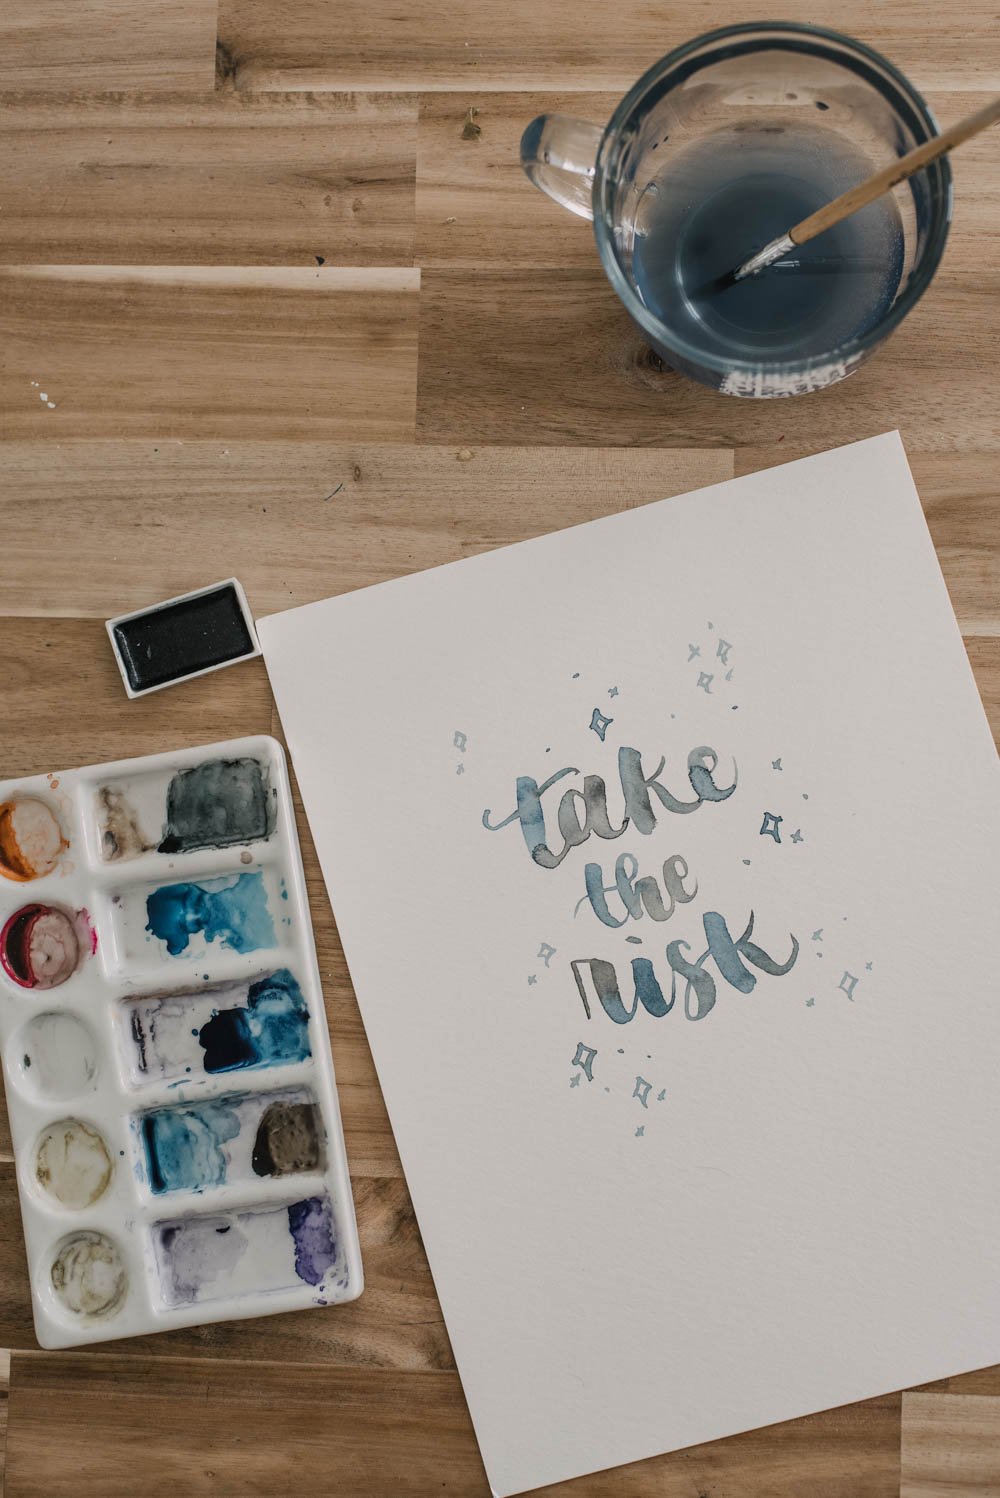
For this tutorial, I’m using my solid watercolour palette (I have this one from Amazon), a round brush, and watercolour paper. Let’s talk about watercolour paper.

What type of watercolour paper do you recommend?
I featured two different kinds of watercolour paper in the video but also mention that when I’m just lettering for fun and not planning to keep any of the art- I just use cardstock. It’s more affordable and it works. But it doesn’t allow for as much water to be laid down which is part of what makes blending look effortless.
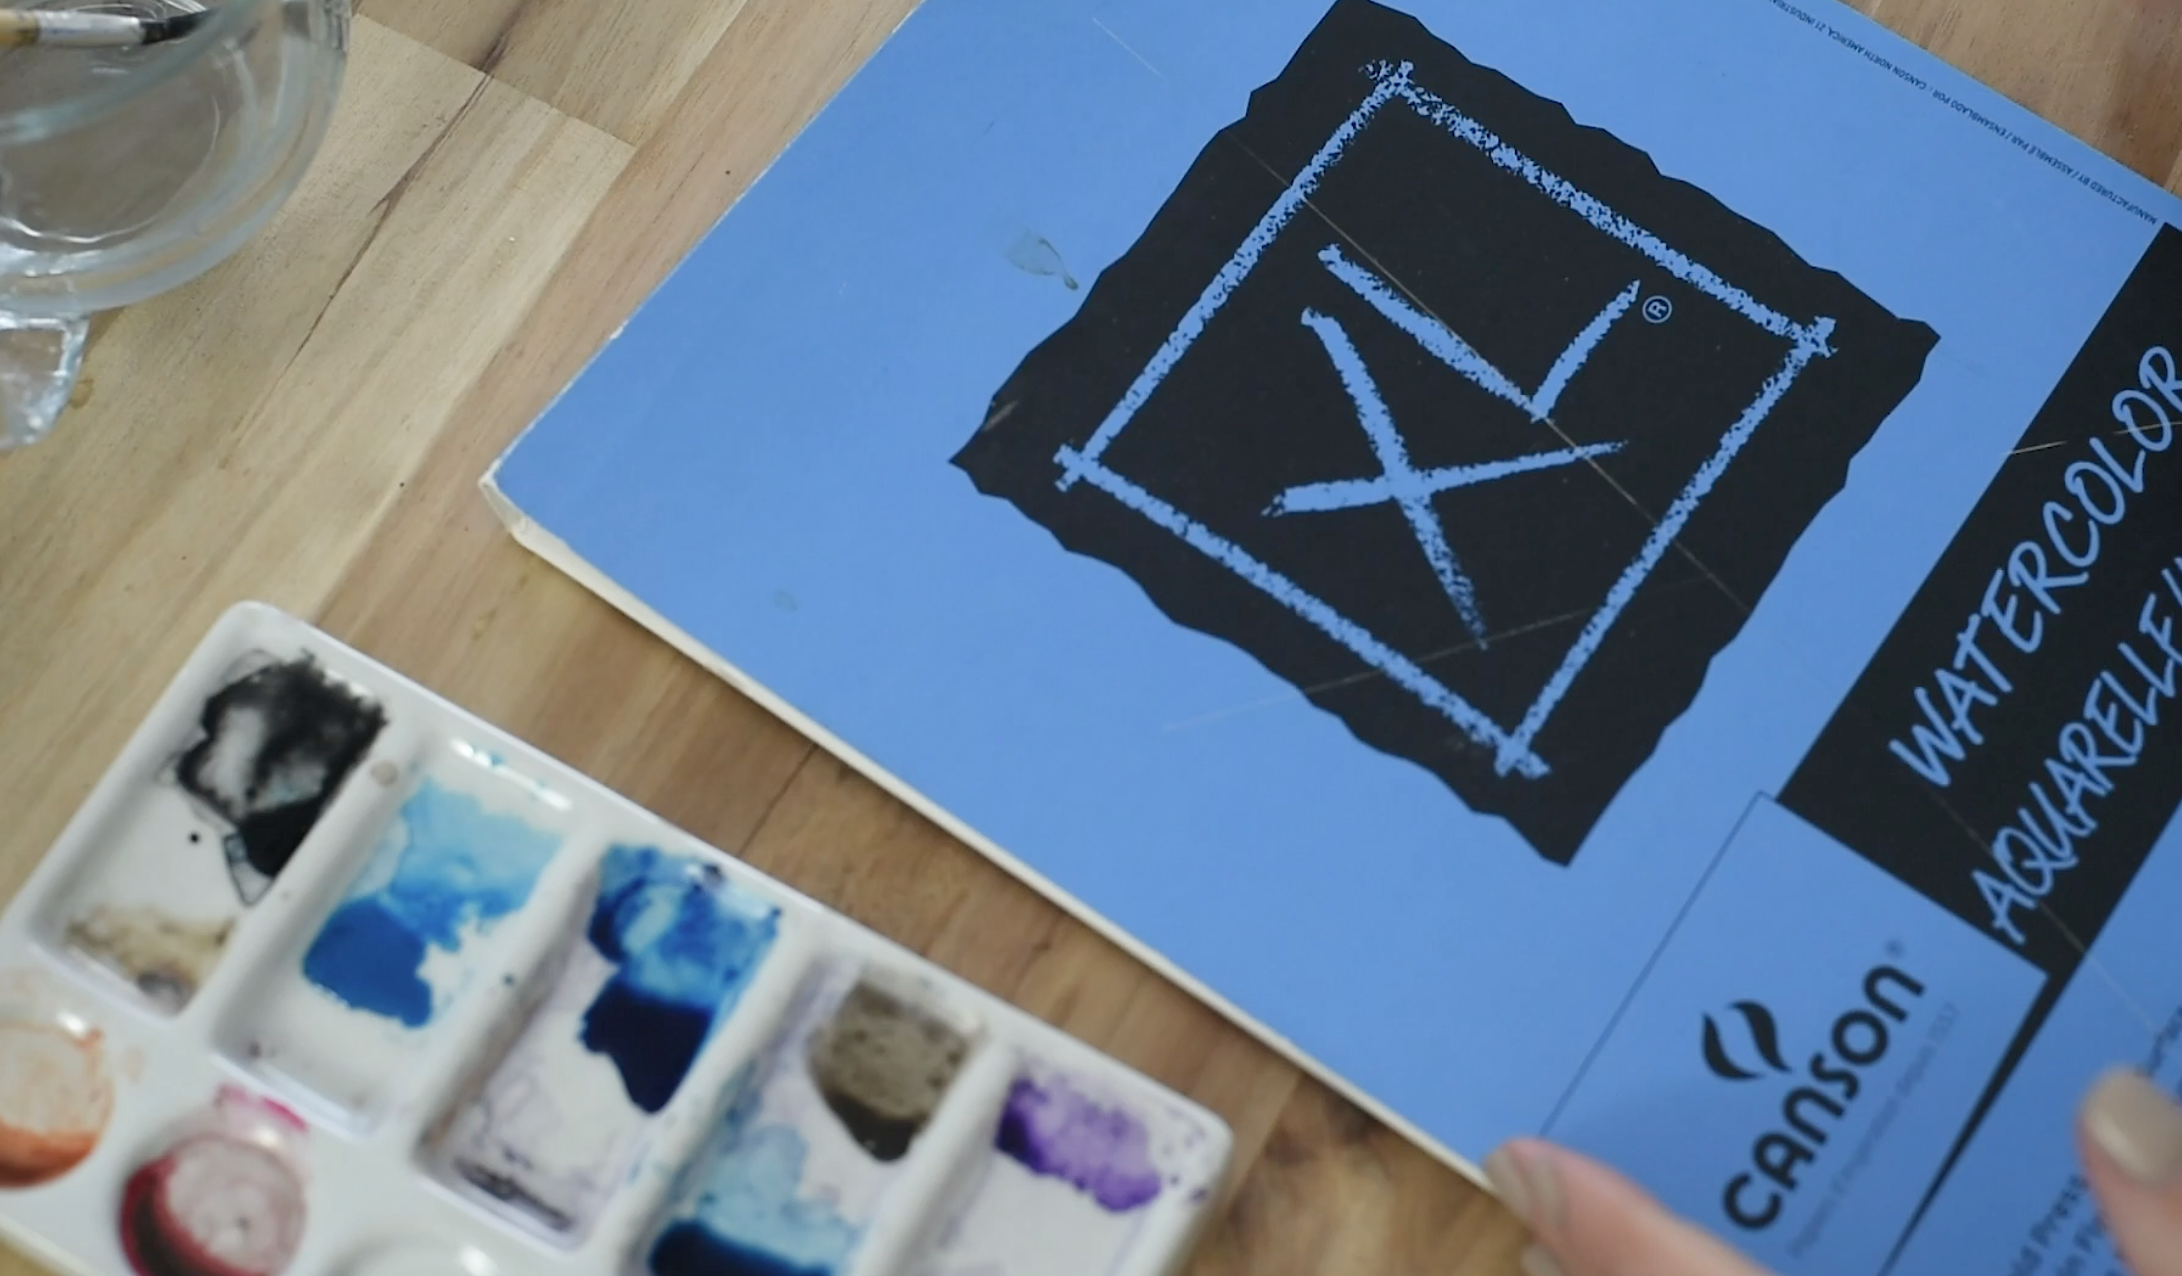
If you’re struggling with blending, you should get yourself some watercolour paper and see the difference! Watercolour paper holds more water than card stock or other types of paper. Where card stock might start wrinkling with more water, watercolour paper stays flat and keeps the water from running outside of where you’ve painted. Watercolour paper has more texture than regular ol’ paper and that’s where the water hangs out.
While I prefer a finer texture like the Canson Watercolour paper (below), some features larger ‘pockets’ that hold the water. You can see that in this example above. Because this paper holds more water, I find I need to reload my brush more often. It’s not my preference but I did want to show you the difference!
how to mix solid watercolour paints
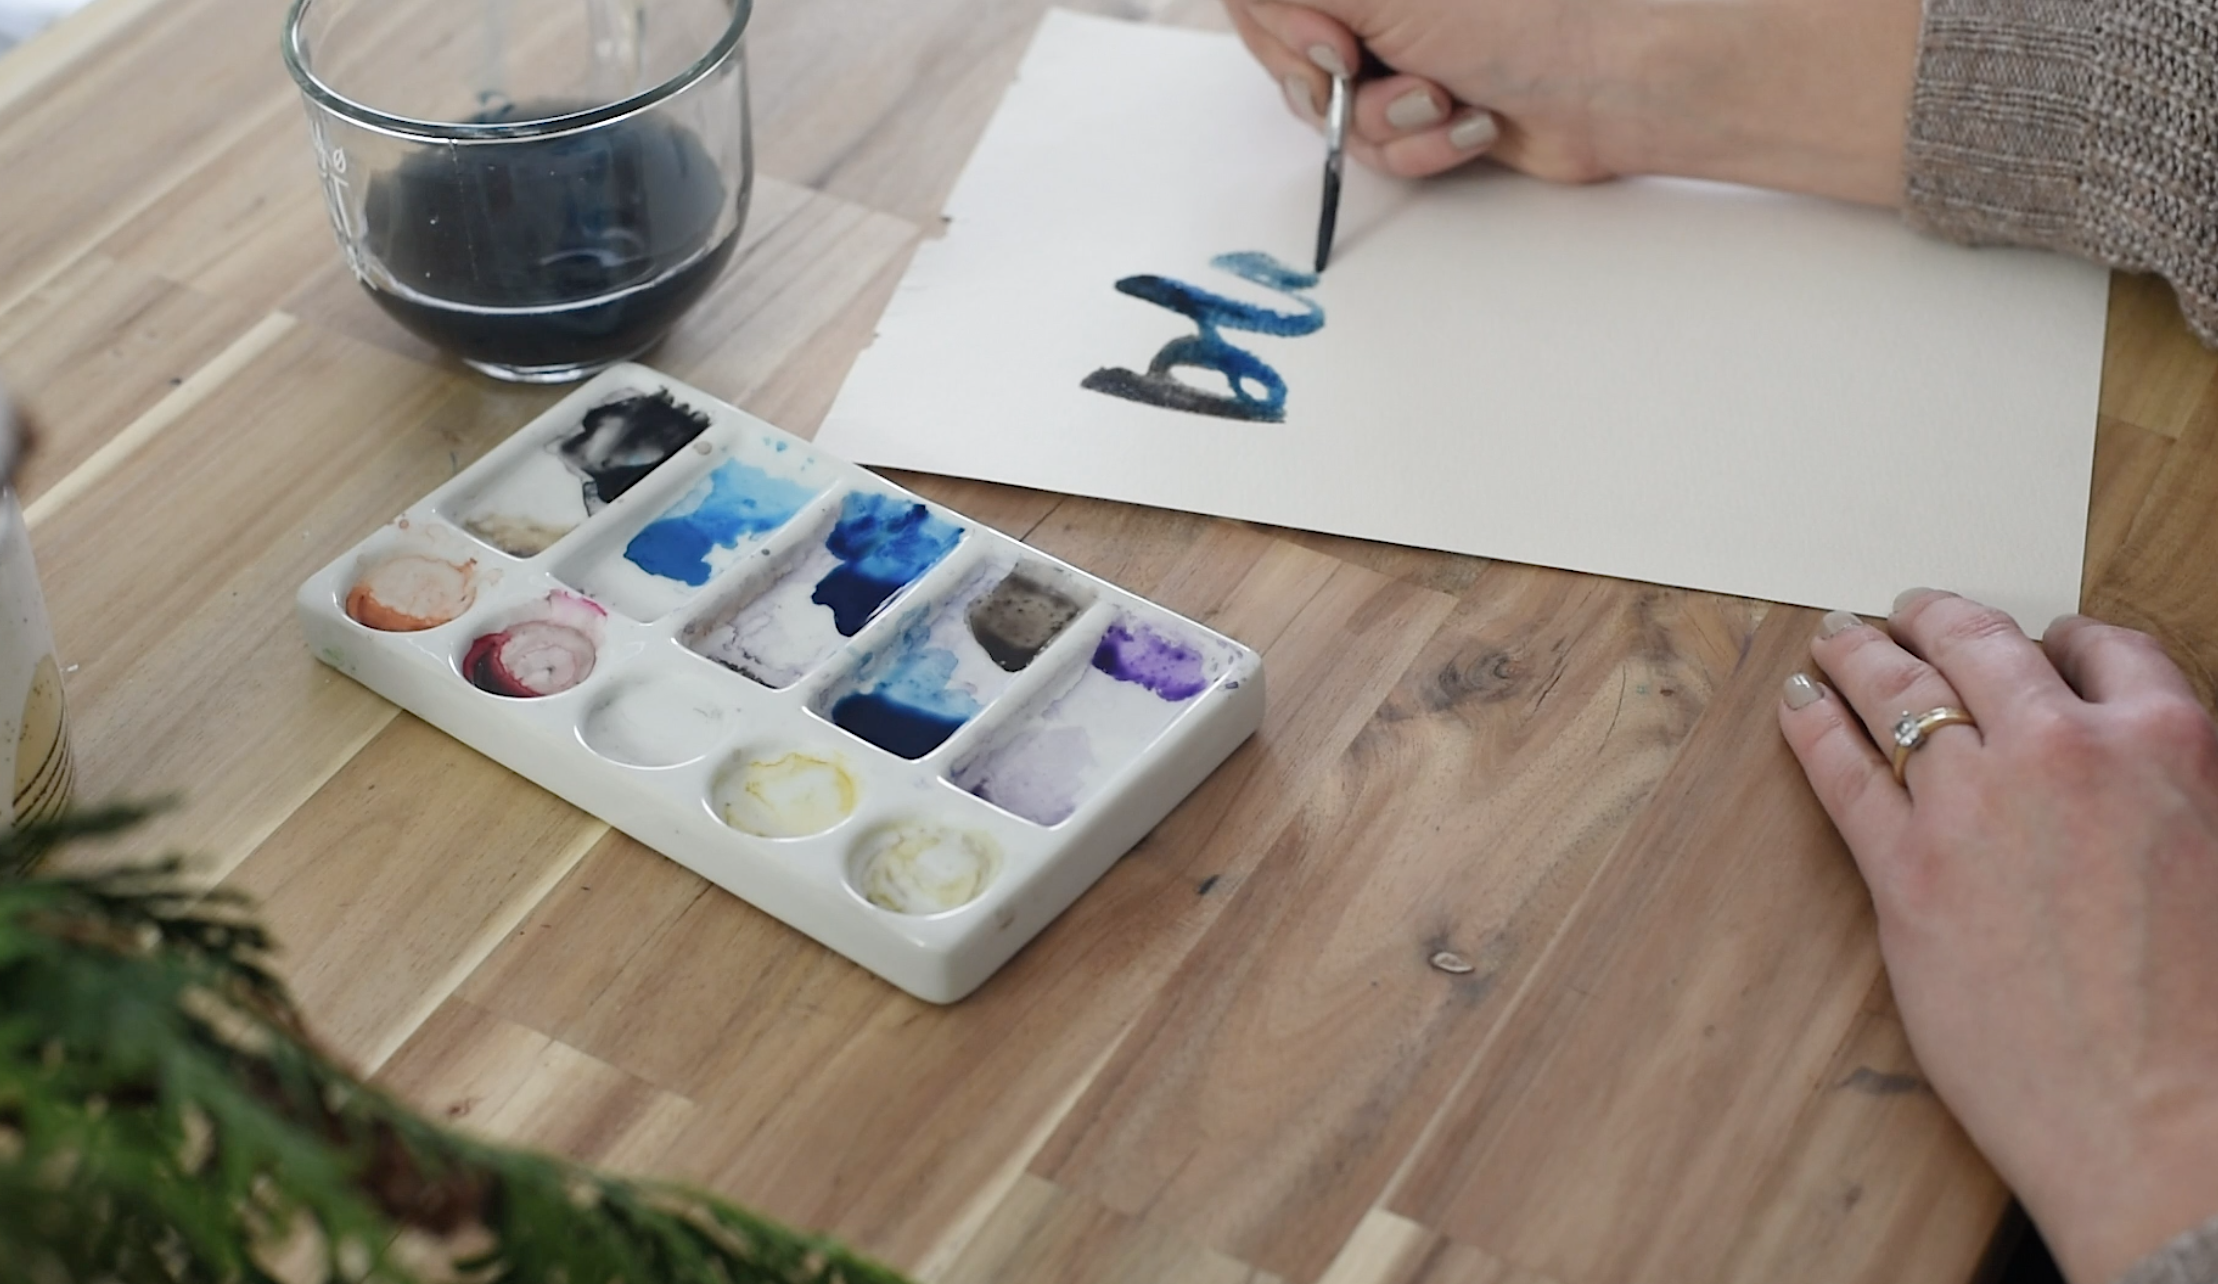
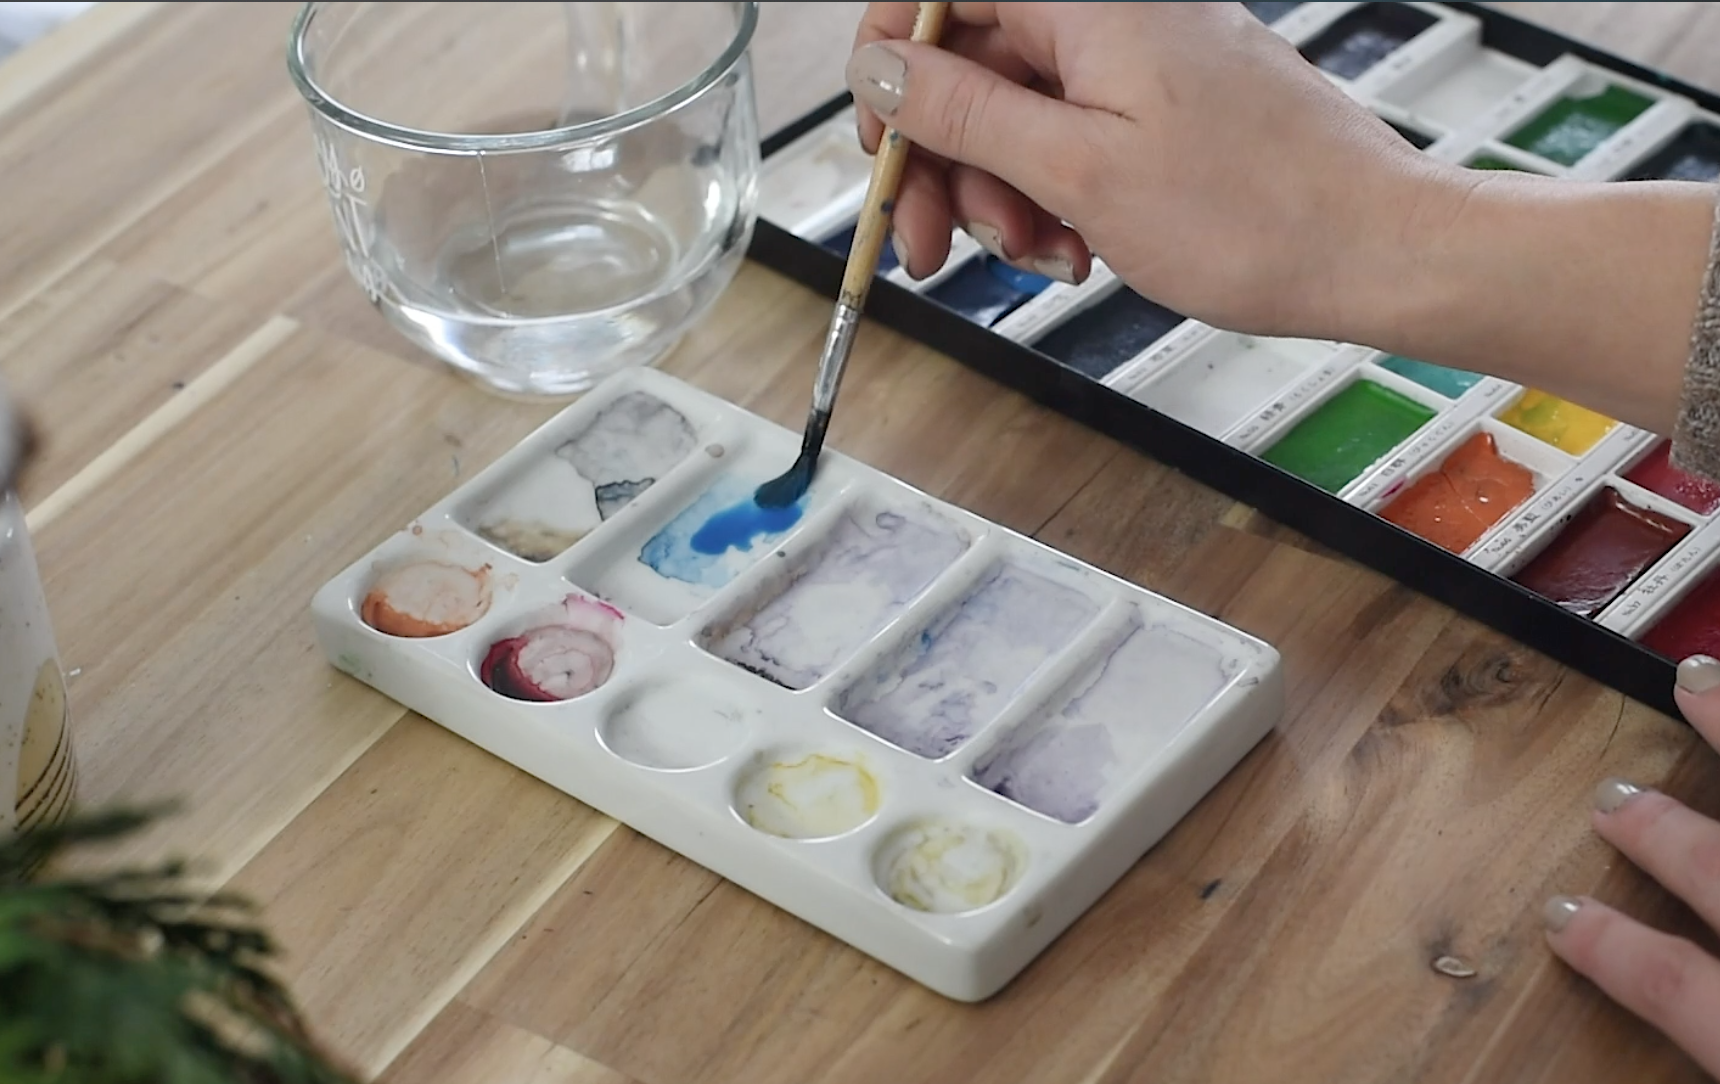
Alright, let’s start with mixing up your watercolours! I’m using solid watercolors in this tutorial- that just means that they come in these little trays and you need to add water- just like kids watercolor paints… but better ;) For this, I like to use my ceramic palette, but you don’t need a fancy one- you can even use the plastic cover that comes with your watercolour paints! You just need something you can lay down your mixed paints on.
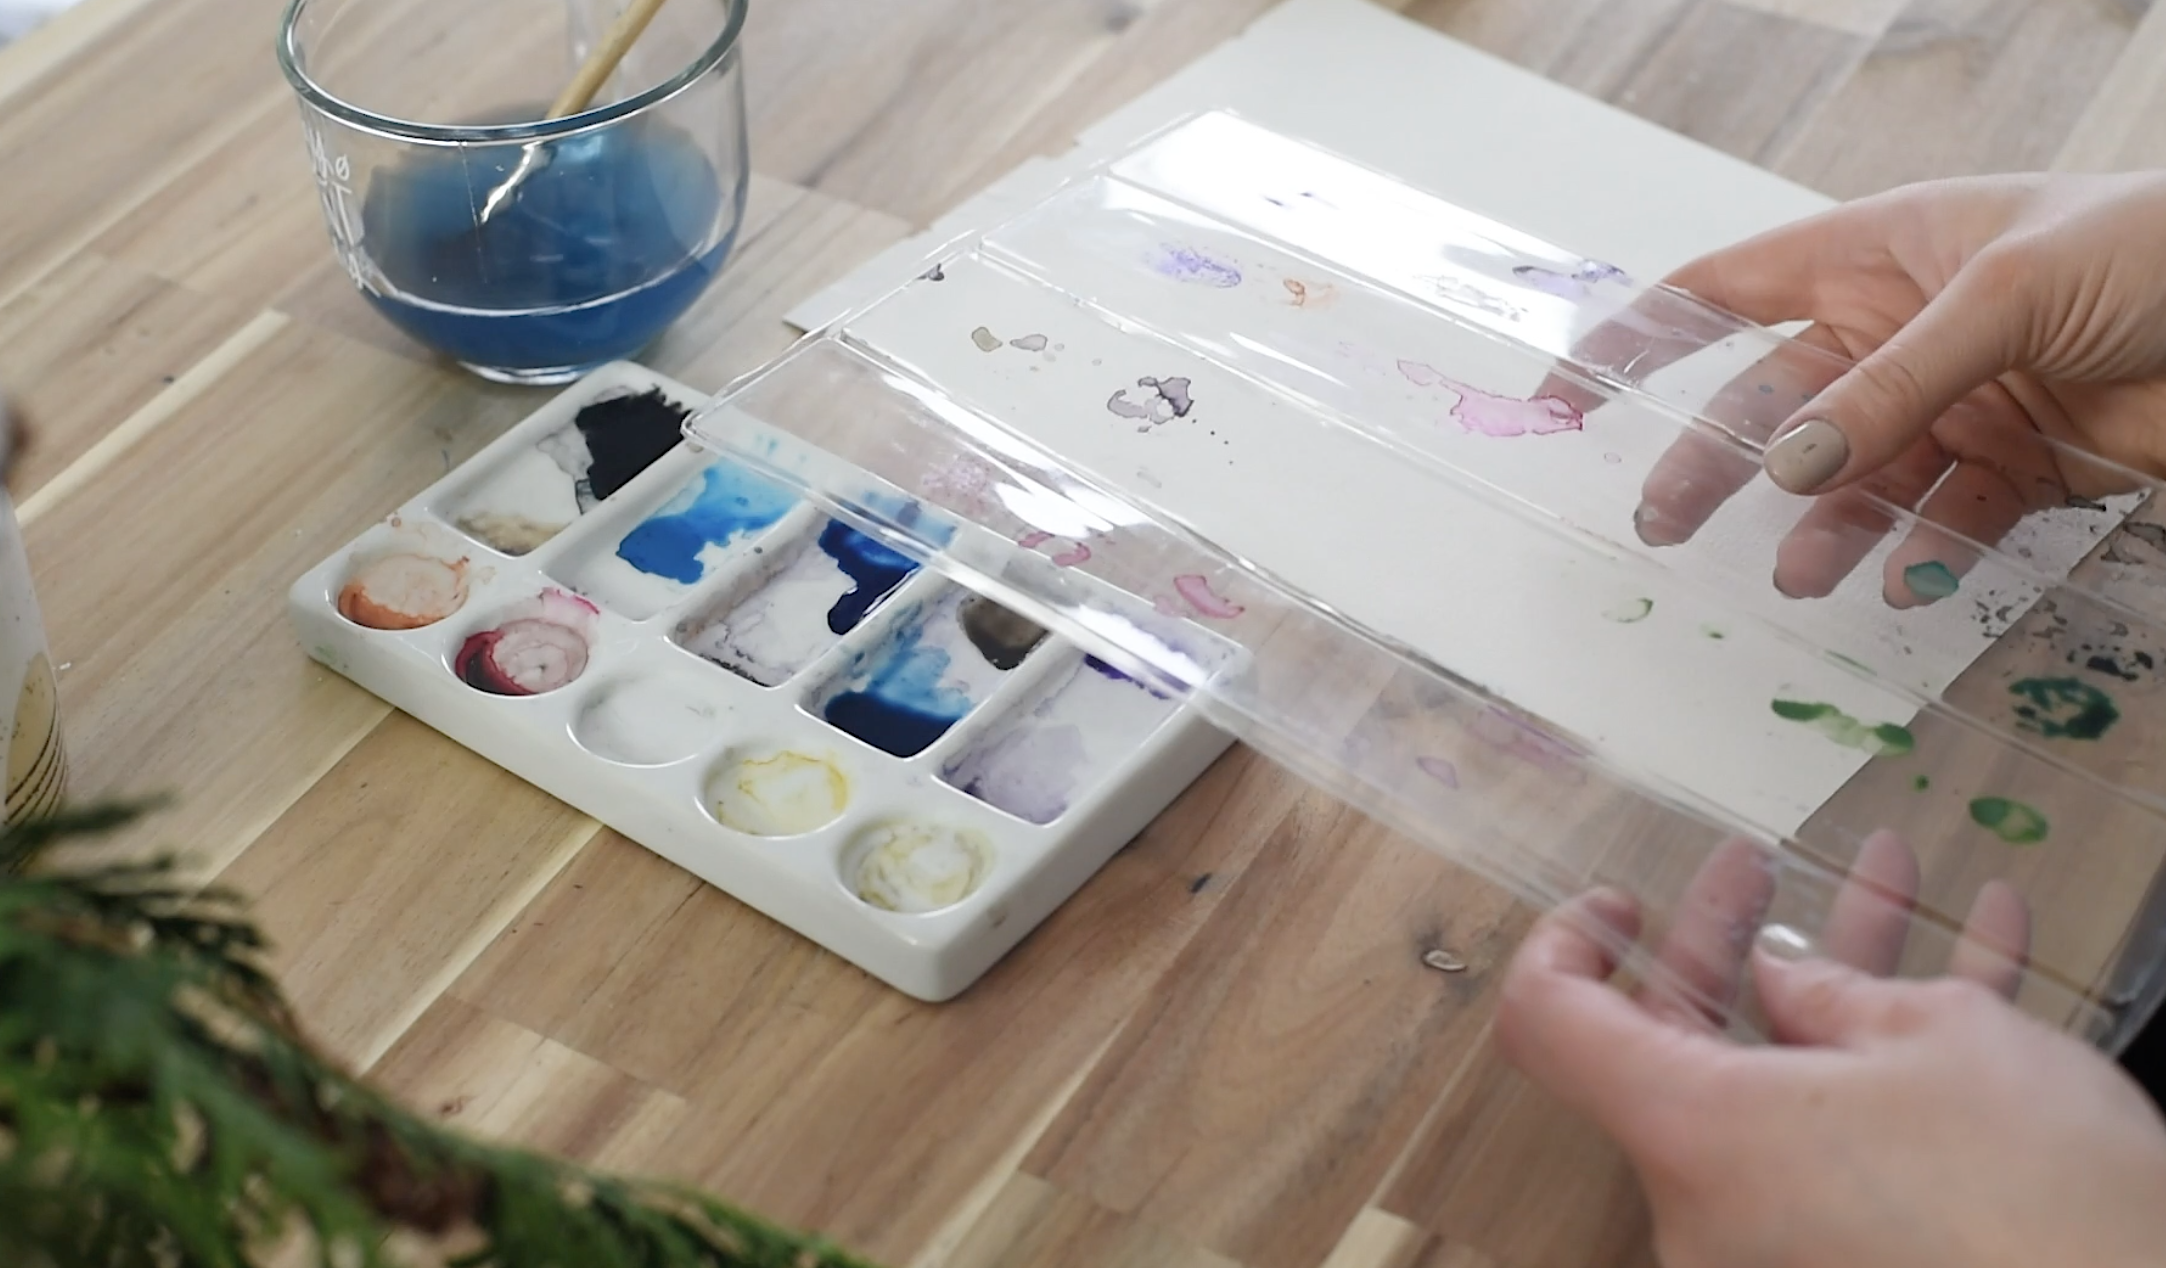
I like to take water on my brush, mix up some paint and then lay it down in my palette, I keep doing this until I have more than enough set up for my art that day. I like to have it all ready so that I don’t have to remix paint while I’m lettering. There’s a few reasons. I find it hard to tell the difference between the blues and blacks and purples before they’re mixed up. Also- the key to a beautiful blend is keeping the lettering wet. And if I’m wasting my time mixing up more paints, I’m probably not going to catch if something dries.
Years ago, I did a tutorial similar to this for my Learn Brush Lettering E-Course and while the tips are largely the same, back then I thought I needed to use bright colours to show how this worked because ‘that’s what people liked’. This time? I’m sticking to my favourite combination- black and blue. I LOVE these watercolour paints together. It’s modern but still blends so beautifully that you get all the texture and I’d happily display this guy in any room in my home. There are no rules with colours- pick what you like. You can blend every colour of the rainbow with this same method.
lettering with a brush and watercolour
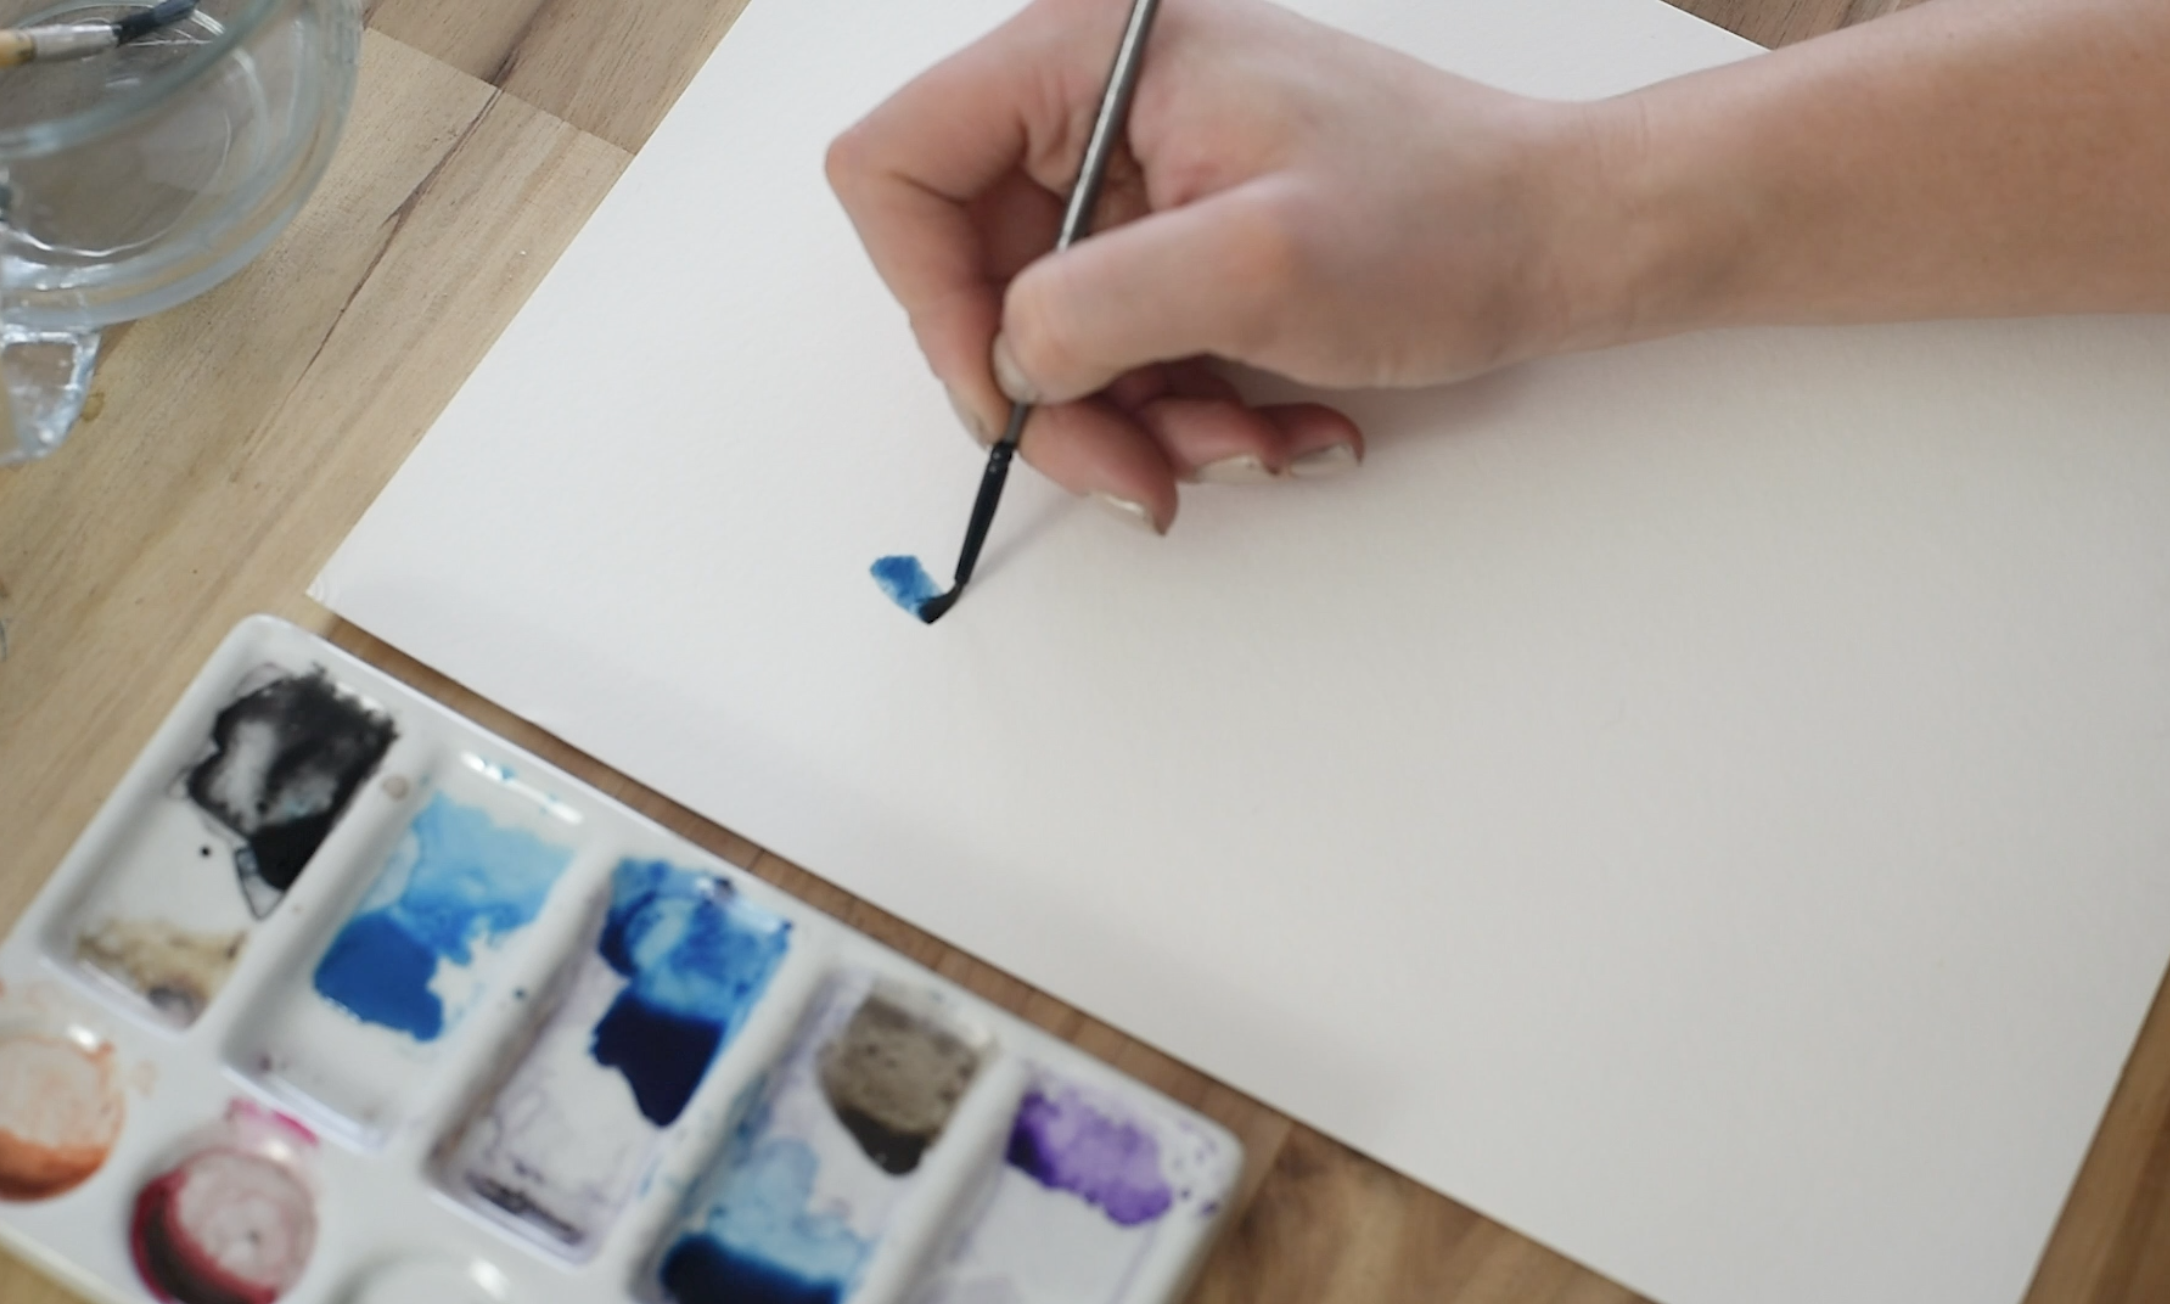
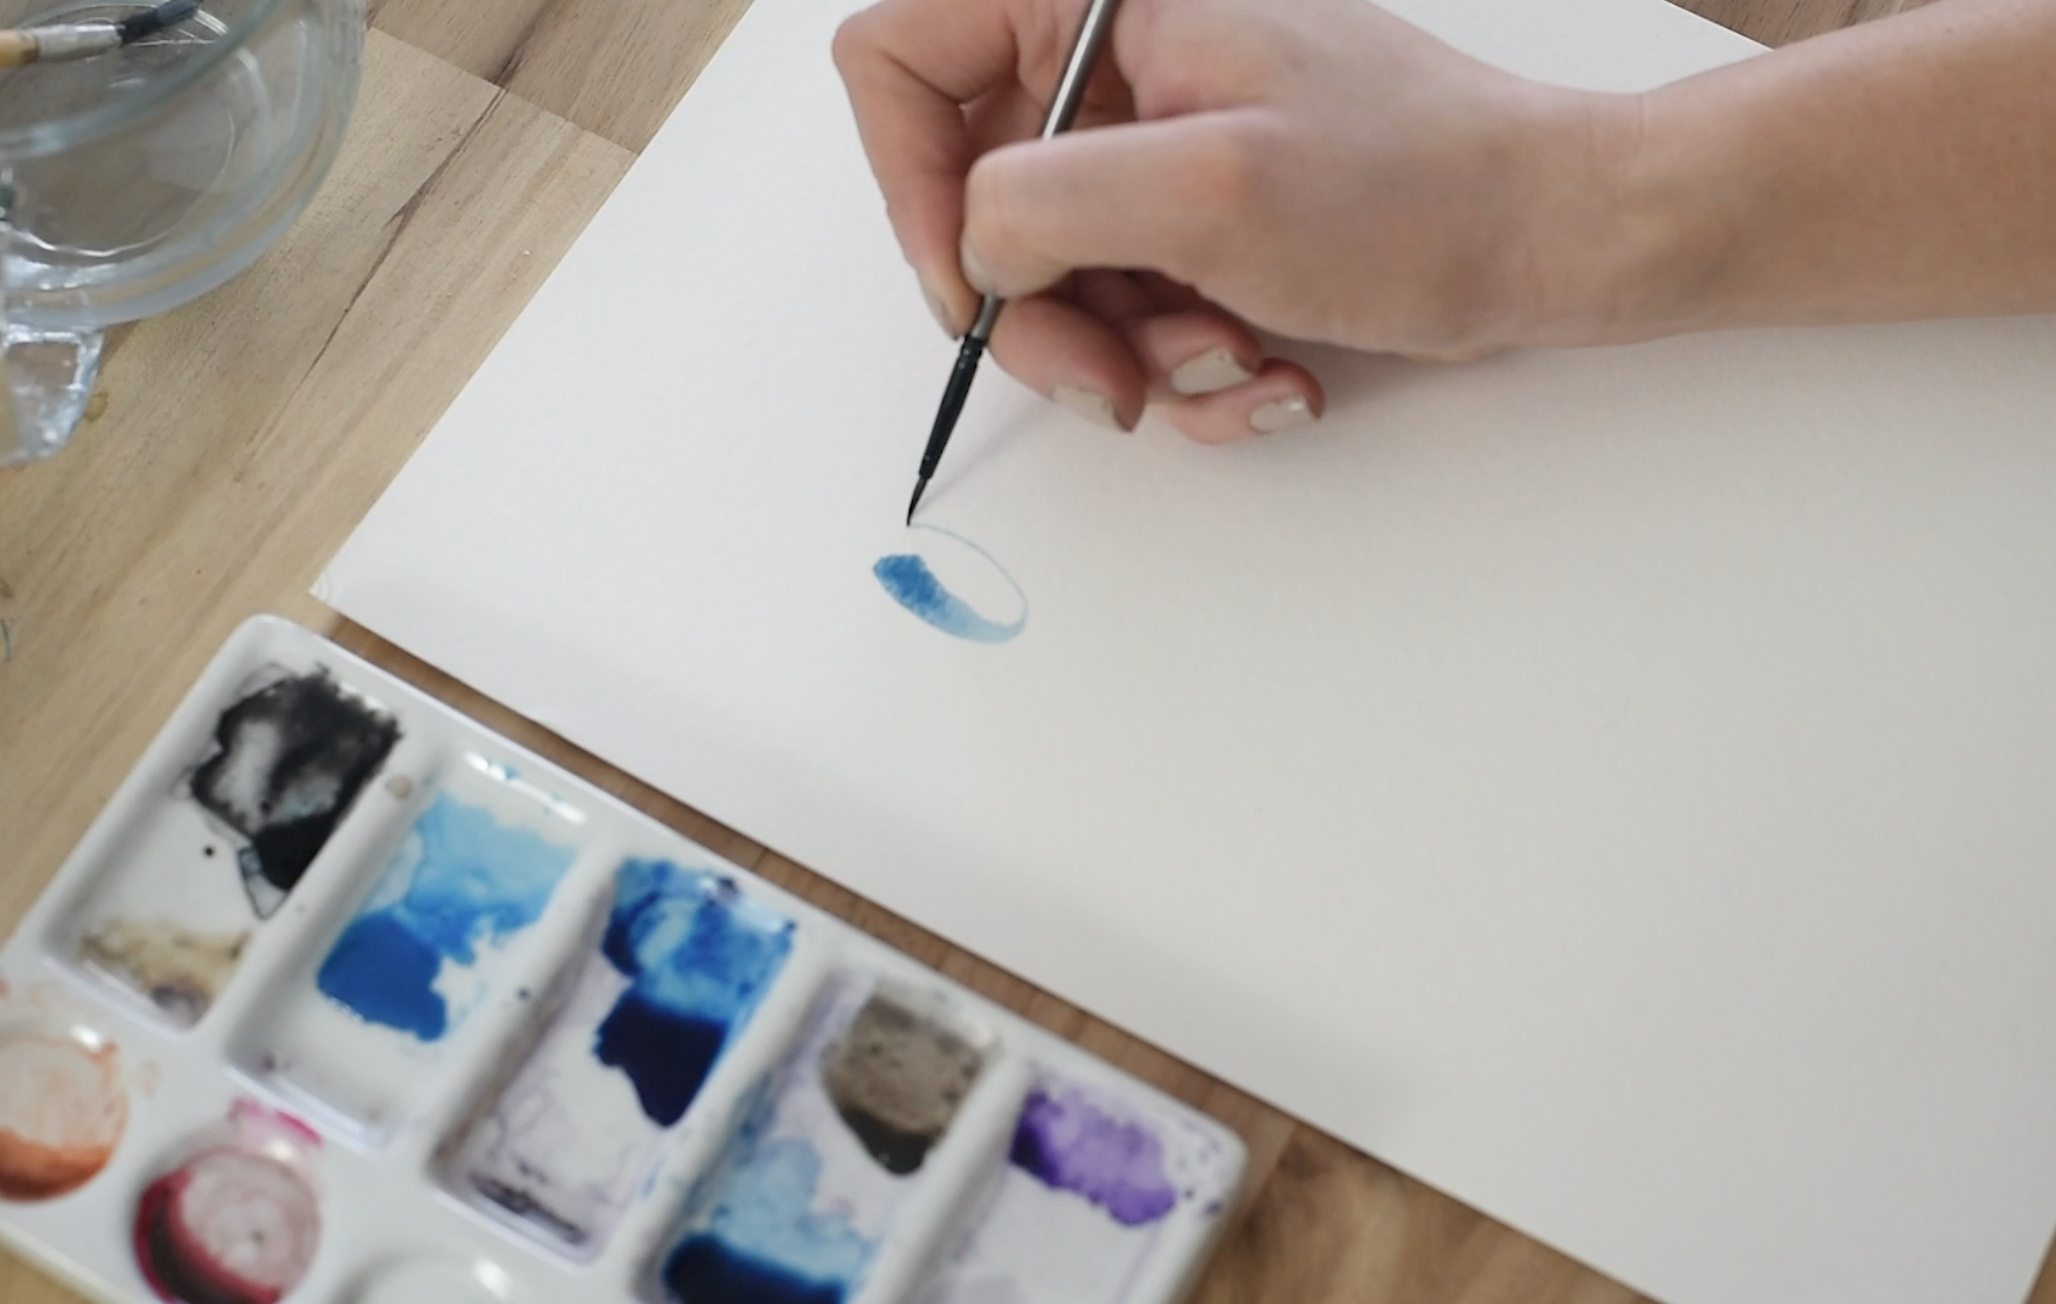
A round paintbrush is the same shape as a brush pen- if you’ve used a brush pen in hand lettering, you’ll find this comes pretty naturally to you. You apply more pressure to your brush for the downstrokes, allowing more of the brush to touch the paper and give you that thick downstroke that brush lettering is known for, and on the upstrokes, you use a light hand to make sure you get a nice thin stroke. The biggest difference here is just having to pay attention to when you are reloading your brush. You want to make sure to reload before you do a long stroke – you’ll be picking up your brush more often and want to make sure to avoid wonky bumps in a nice smooth upstroke.
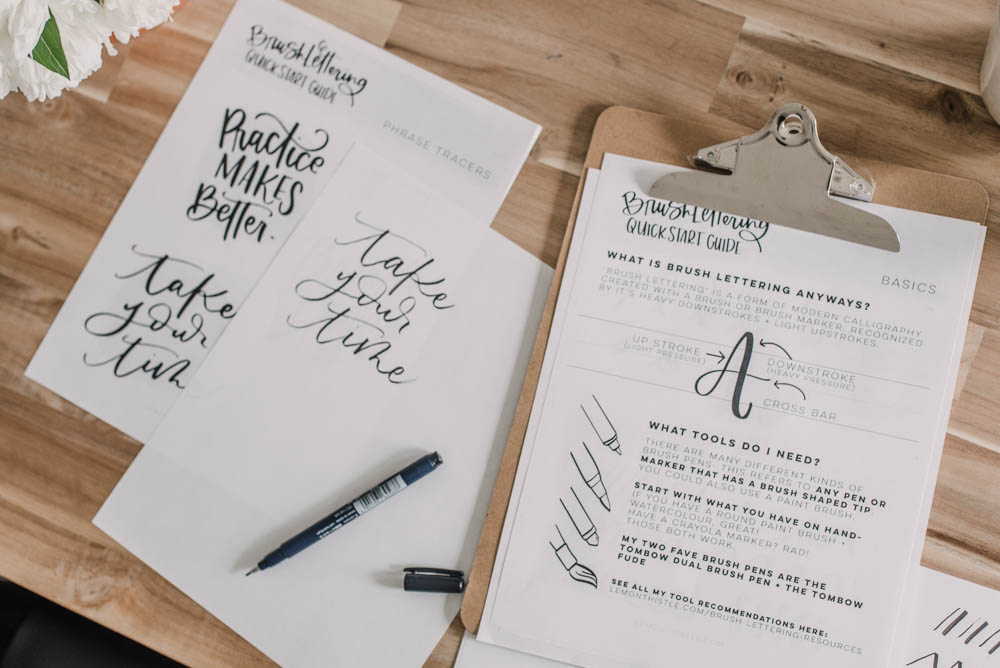
If this is all new to you… I have something for you! I don’t want to spend too much time talking about how to letter in this post since we’re focusing on the watercolour part, but I do have this Free Brush Lettering Quickstart Guide if you’re looking for tips on brush lettering!
How to blend watercolour in lettering
Okay, the fun stuff! So now we know how to paint the brush lettering with the paint we mixed up on the paper we’ve chosen. What about blending those colours? The magic of watercolour is that it does most of the work for you. If the paper is wet. Yes! I’m saying keep your paper wet again! If you are wanting to blend a letter, make sure it doesn’t dry. The thin strokes dry the quickest so pay attention to those.
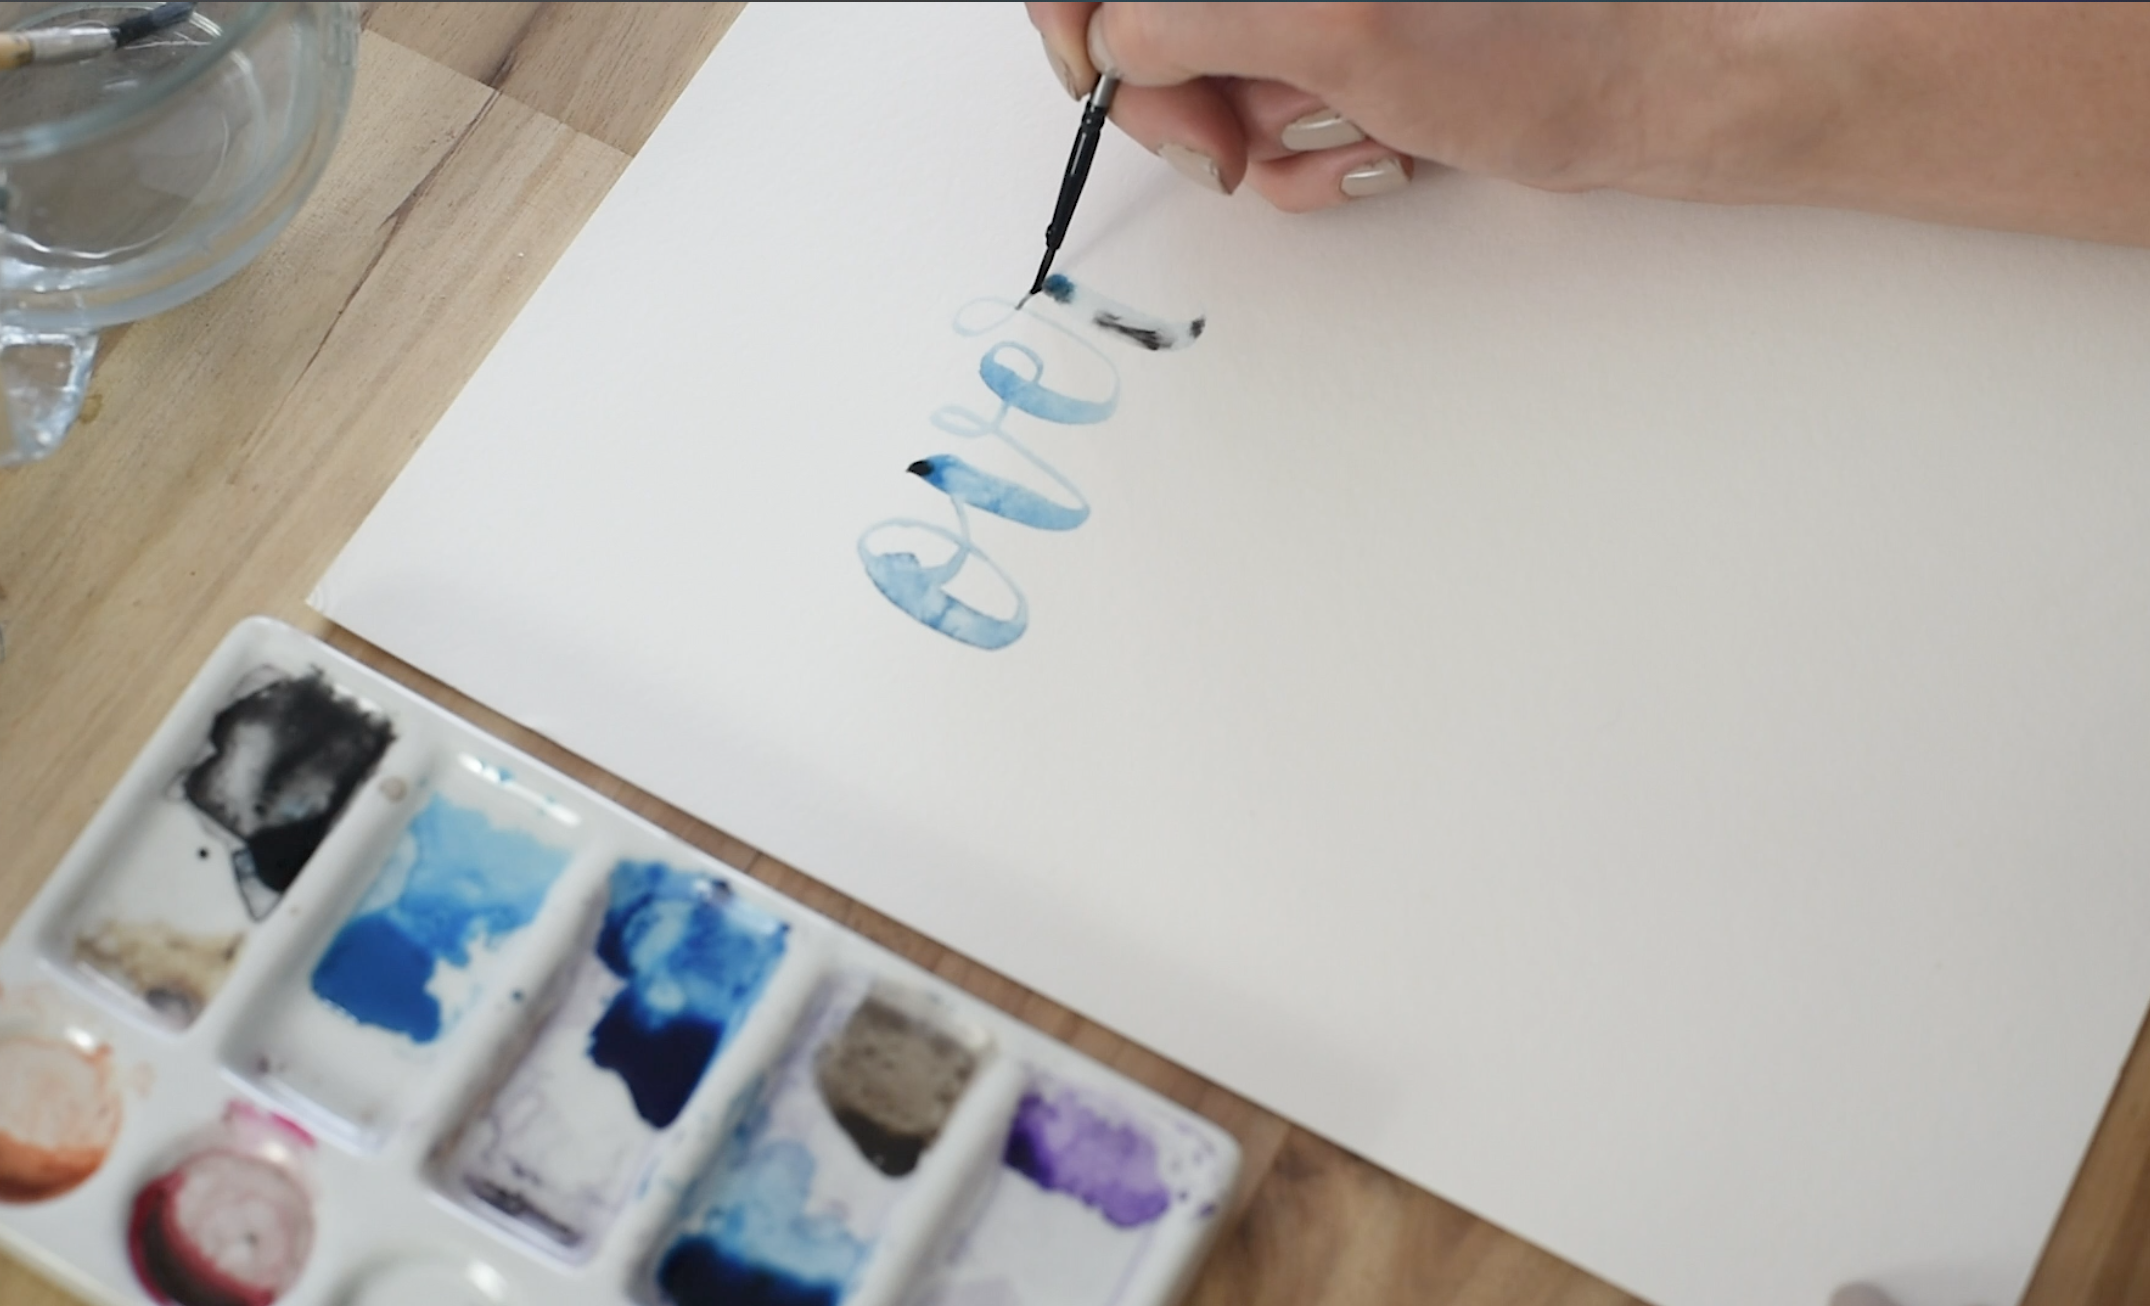
I like to change up which colour I’m lettering with every couple of letters. This will naturally start the blending for you when the two colours touch, the water will carry the pigment and give a pretty mix. If you want to help it along, you can do that too.
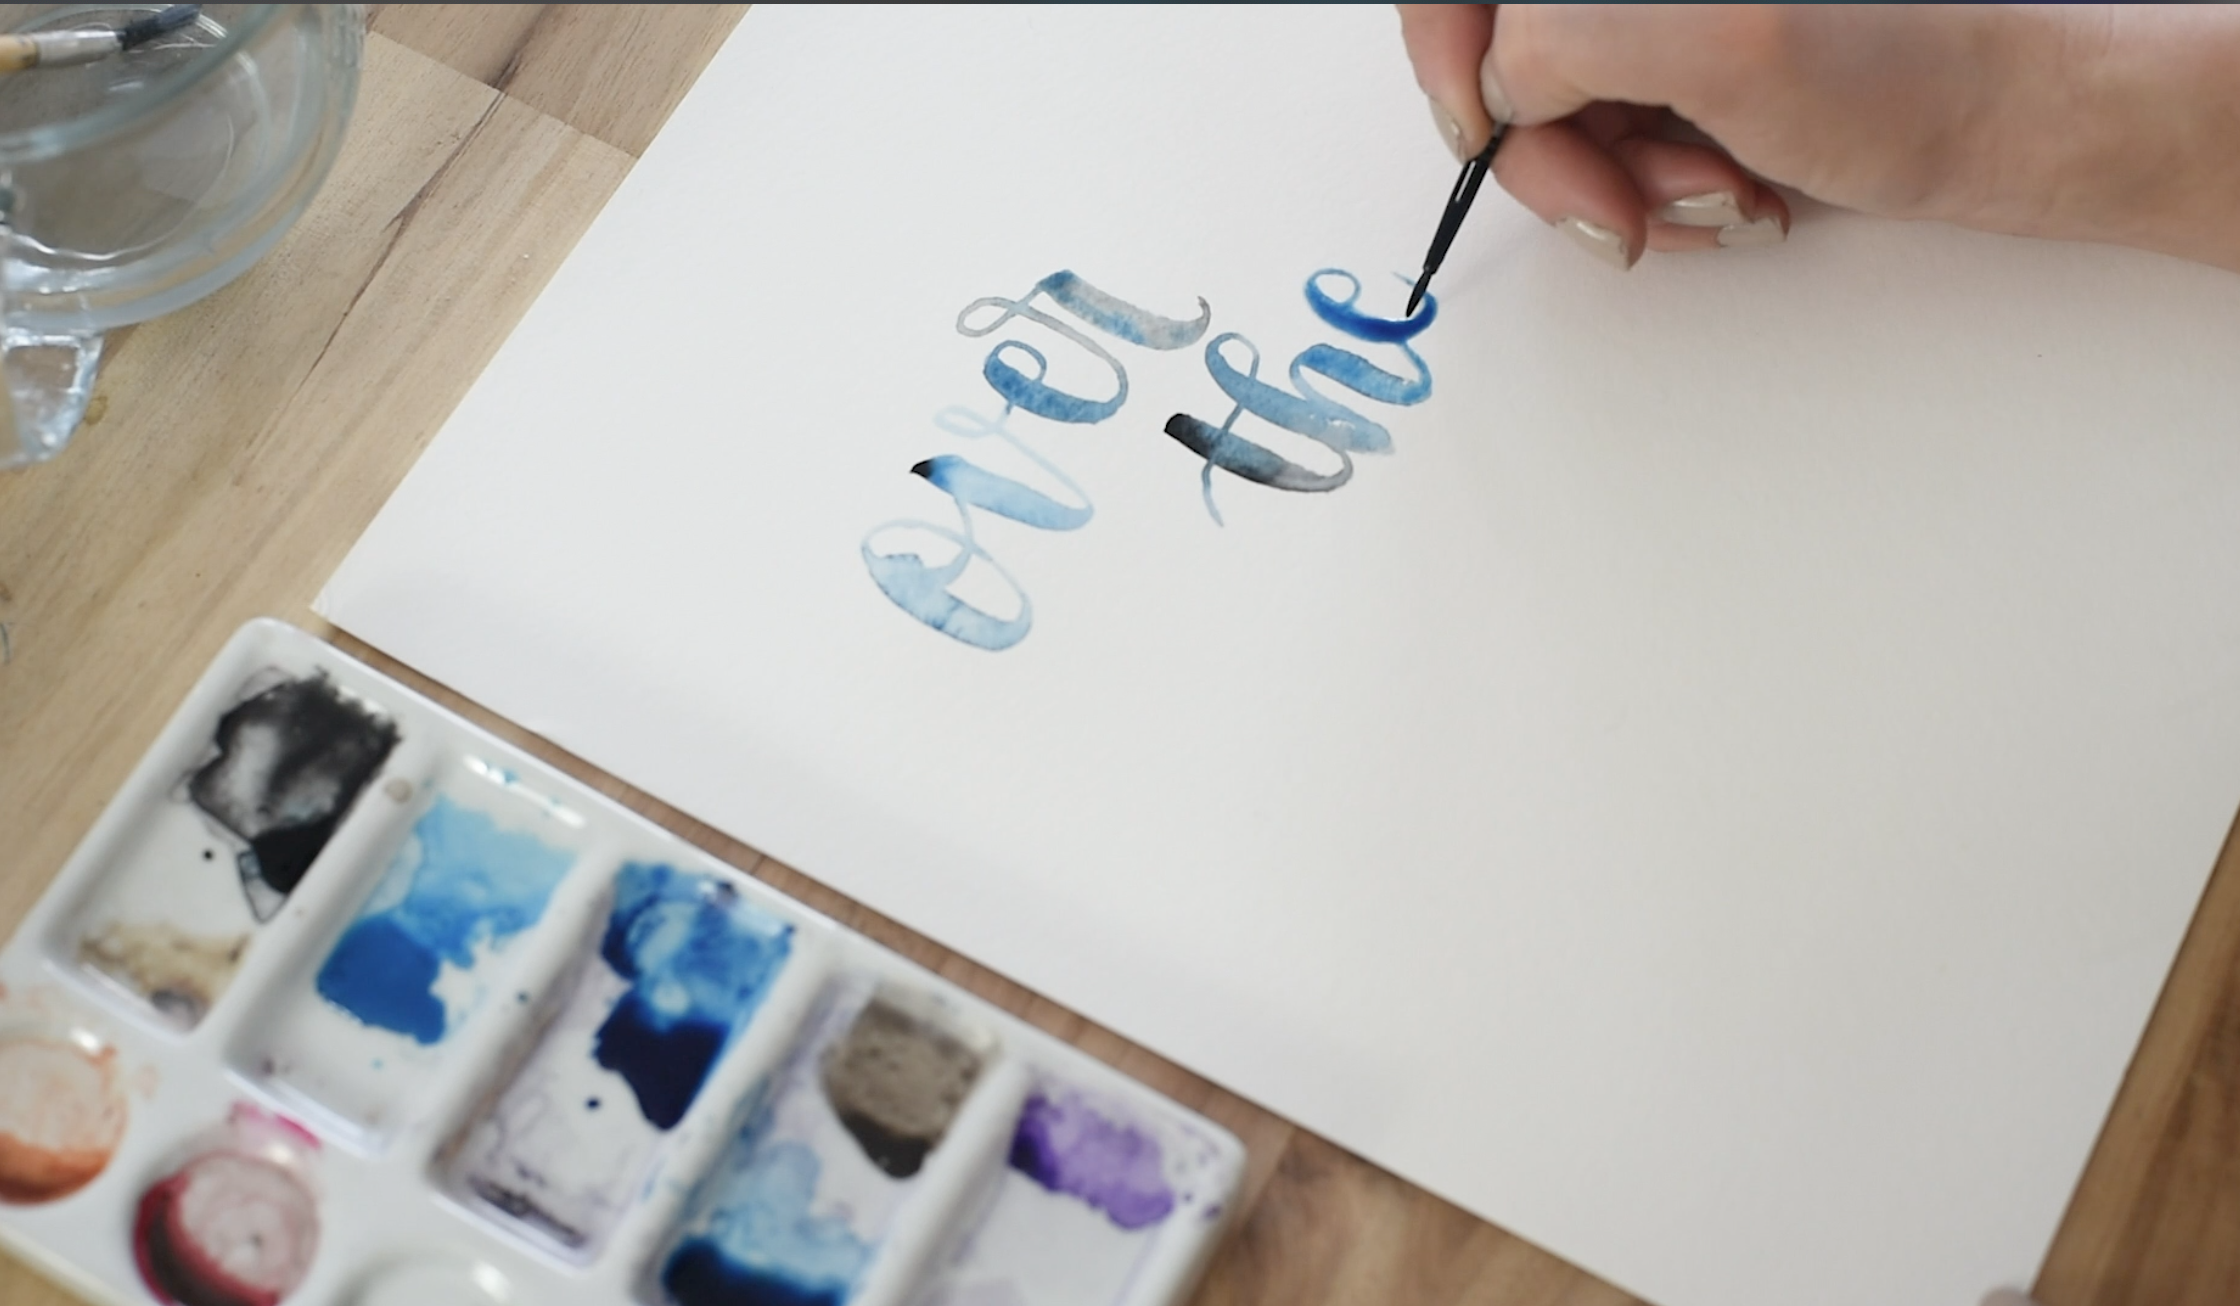
I like to drop pigment into the wet parts of a letter. It will slowly bleed and create a beautiful effect. I’ve done that in the V (just one drop) and in the R (looots of colour added here, I basically lettered that letter with just water then added the pigment after!).
If it’s not blending the way you’d like, you can help it along a bit more by pushing the pigment around with your brush. Do this gently. You will especially need to do this on the thinner strokes as the water (and pigment with it!) will travel towards the larger body of water. You can see this happen in the video when I paint the N.
Quick note- see that E that is SO full of water? Sometimes that happens, in an effort to add more colour, you add more water. But don’t worry! just leave that one and it will dry beautifully. When letters are that full of water, the pigment tends to dry to the edge of the letter first, making the edges darker. You can kind of see that happening in the O at the beginning of this quote already.
how to avoid or fix lap marks in watercolour lettering
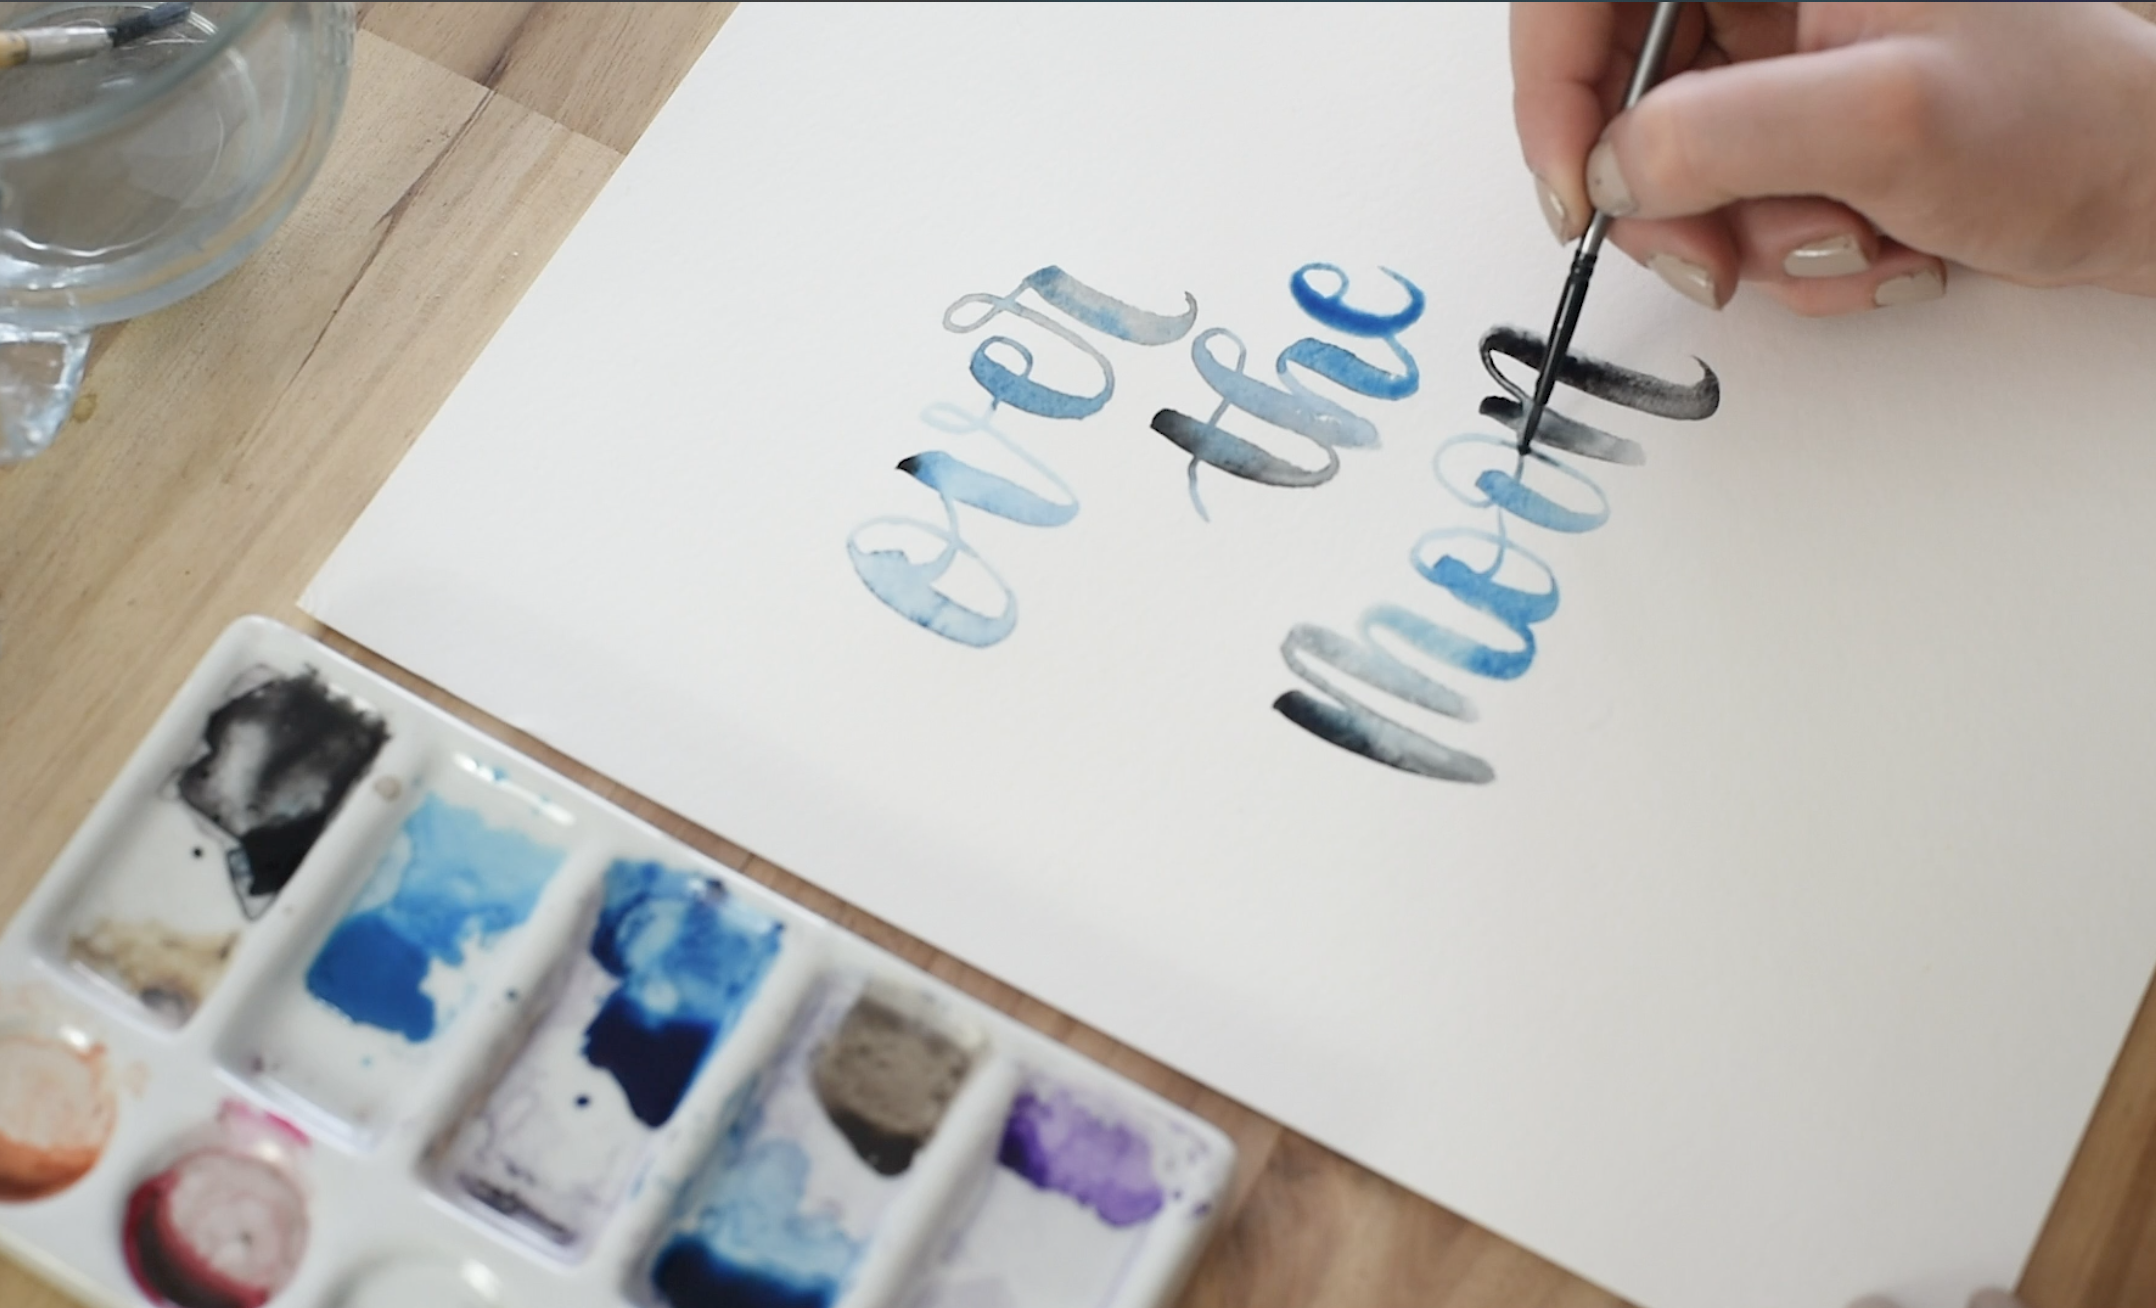
I know I’m harping on this- but keeping your letters ‘wet’ will prevent lap marks. If you let your letters dry, then try to add more colour or connect that letter to another, you will see where you’ve added strokes- we call this lap marks.

You can see when I paint this ‘TH’ the downstroke of the H covers the lead-out from the T. But you can still see it since watercolour is semi-transparent. Since the lead-out is still wet, we can gently push the pigment around to help that stroke disappear. If we’d let it dry, it wouldn’t have disappeared in such an effortless way.
Oops! I let my letter dry and started adding more colour! For this, just make sure to paint within the lines and re-paint the whole letter. Take care to stay inside your original lines as the paper won’t hold the paint there like it would have when it was wet. By going over the whole letter, you’ll usually be able to hide any lap marks!
Alright, I’ve re-watched my video to make sure I didn’t miss anything and this… I think… Is all I had to say for this tutorial! If you have any more questions, you can pop those in the questions and I’ll do my best to answer them! And if you use this tutorial to do some lettering… you know I’d love to see it! You can shoot me an email colleen@lemonthistle.com or tag me on social @colleenpastoor!
 Snowflake Printable Hand Lettering Practice Sheet
Gah, love the amazing way you fused grommets into the task they’re generally that little extra ‘sumthin to jazz things up! Your penmanship is totally exquisite too!
Thank you for your article!
thanks for sharing!