This small wood vanity is the perfect space saver for a small bathroom. It’s a great alternative to a pedestal sink, with a shelf for storage and concealed plumbing.
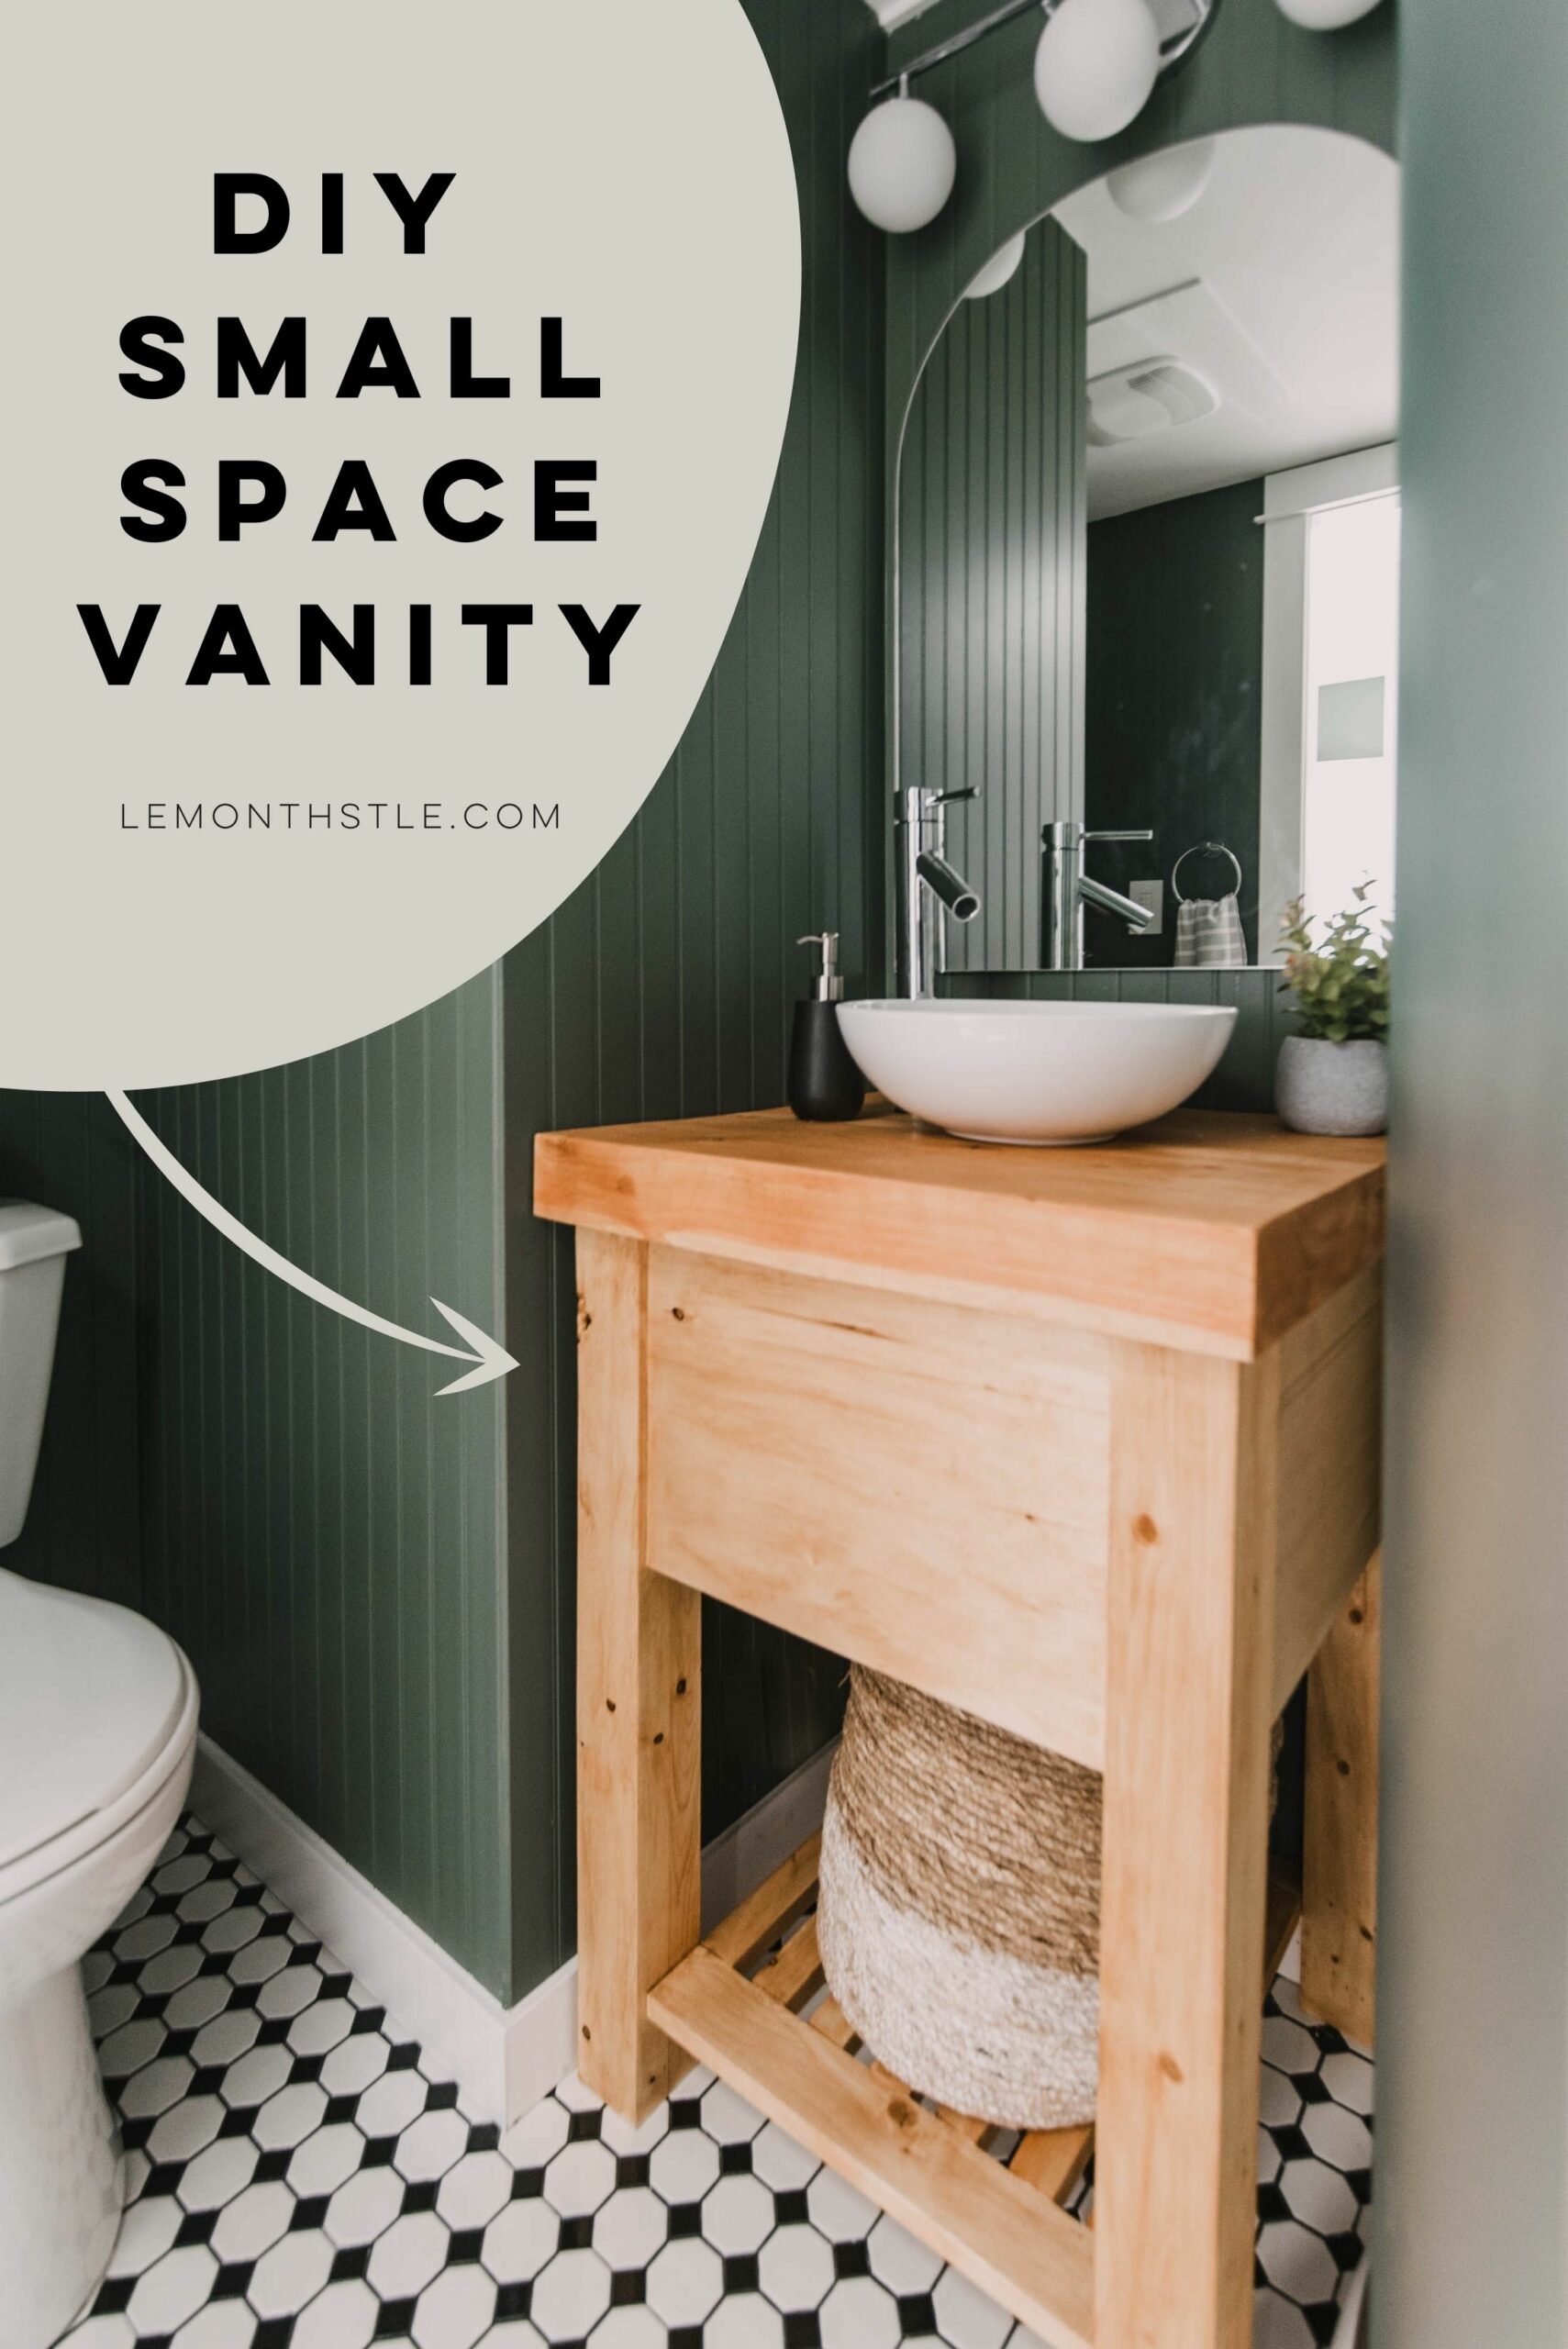
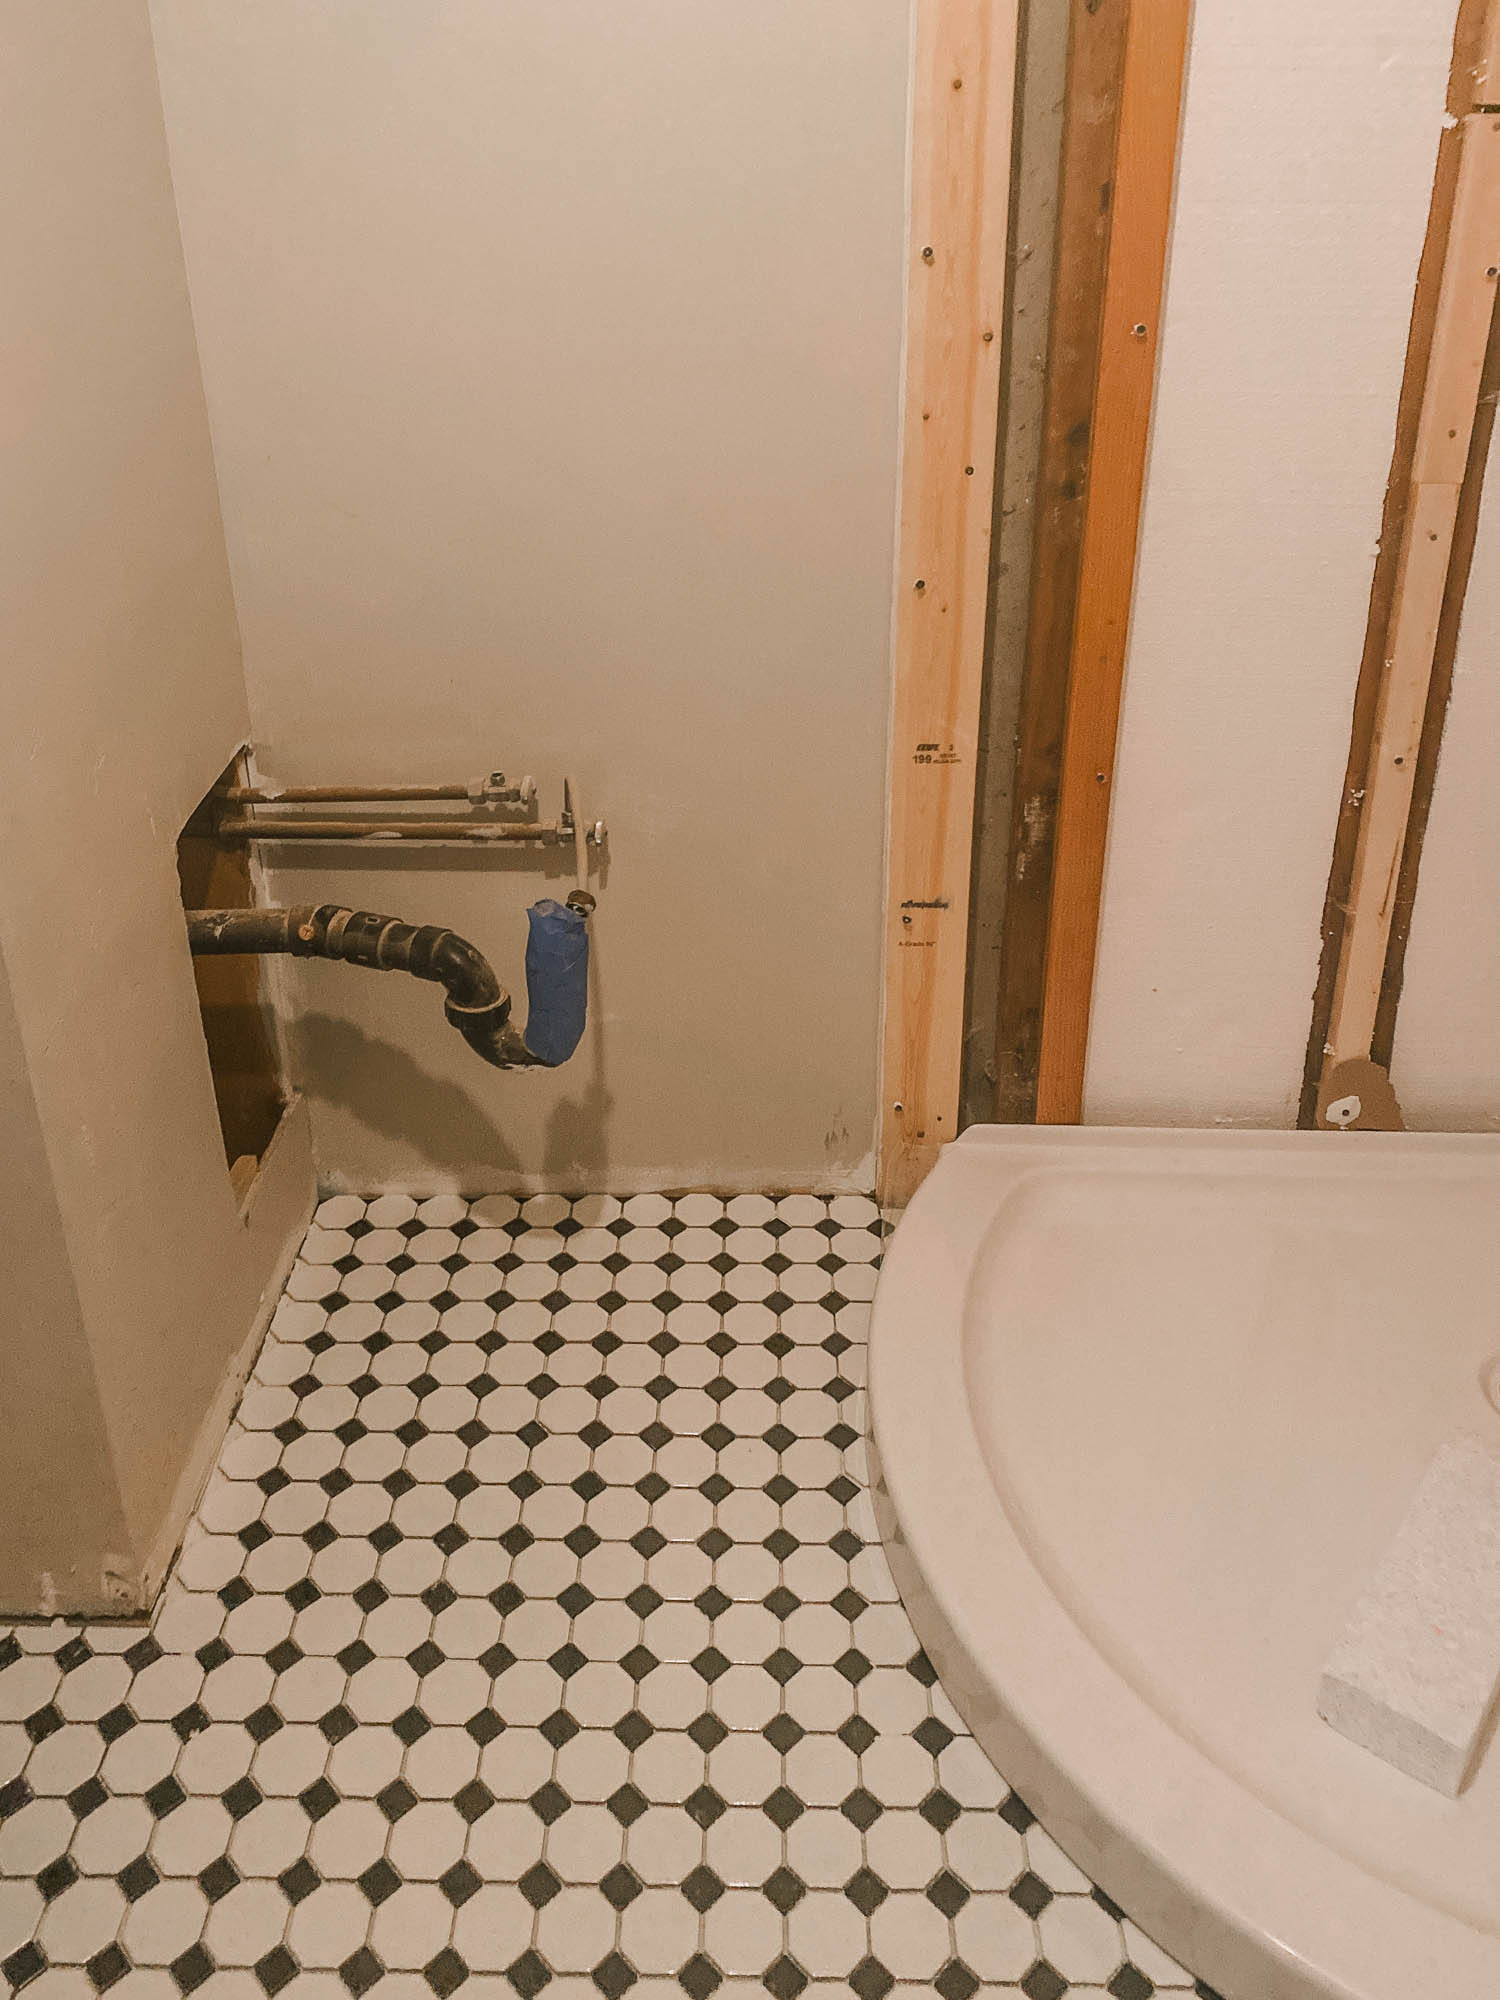
Last year I made over our basement bathroom in just one week while Shane was at work with my dad’s help. It went from a completely unfinished space to a beautiful basement bathroom in a hurry and on a budget. This vanity was a feature we built using scrap wood we had on hand and a couple pieces of lumber from the store. It is built to fit a small space, feel open to help the space seem bigger (so not tight to the floor), have some storage (the shelf) and conceal the plumbing. It pairs well with a vessel sink and tap.
This build can be done in a day (with lots of coffee breaks!) and the pocket holes added with a Kreg Jig conceal all the connecting screws. Today I’m partnering with Kreg to bring you this tutorial!
Since this vanity is built to suit the size of space you have, definitely make time to adjust the measurements to best fit your space. I measured the space we had available and made it an inch smaller. You can also see the measurements for your cuts on the printable plan if you’d like to print out a plan with your cut list to sketch on and customize to your space… and take to the store!
CUT LIST FOR SMALL RUSTIC VANITY:
- Slab for vanity top (can laminate smaller pieces together to make) 20 1/4 x 23 1/2 (ours is 2 3/4 thick)
- 4×4 front legs 30” tall
- 2×4 back legs 30” tall
- 1×12 Front panel 16”
- 1×12 side panel 13”
- 1×3 Shelf base 16” x 2
- 1×2 Shelf slats 15” x 7
- Assemble the countertop first, this will dictate the size of your vanity. You could use prefabricated countertop, build your own using lumber laminated together, a large piece of live edge or in our case, we used end cuts from a beam we had used in a renovation.
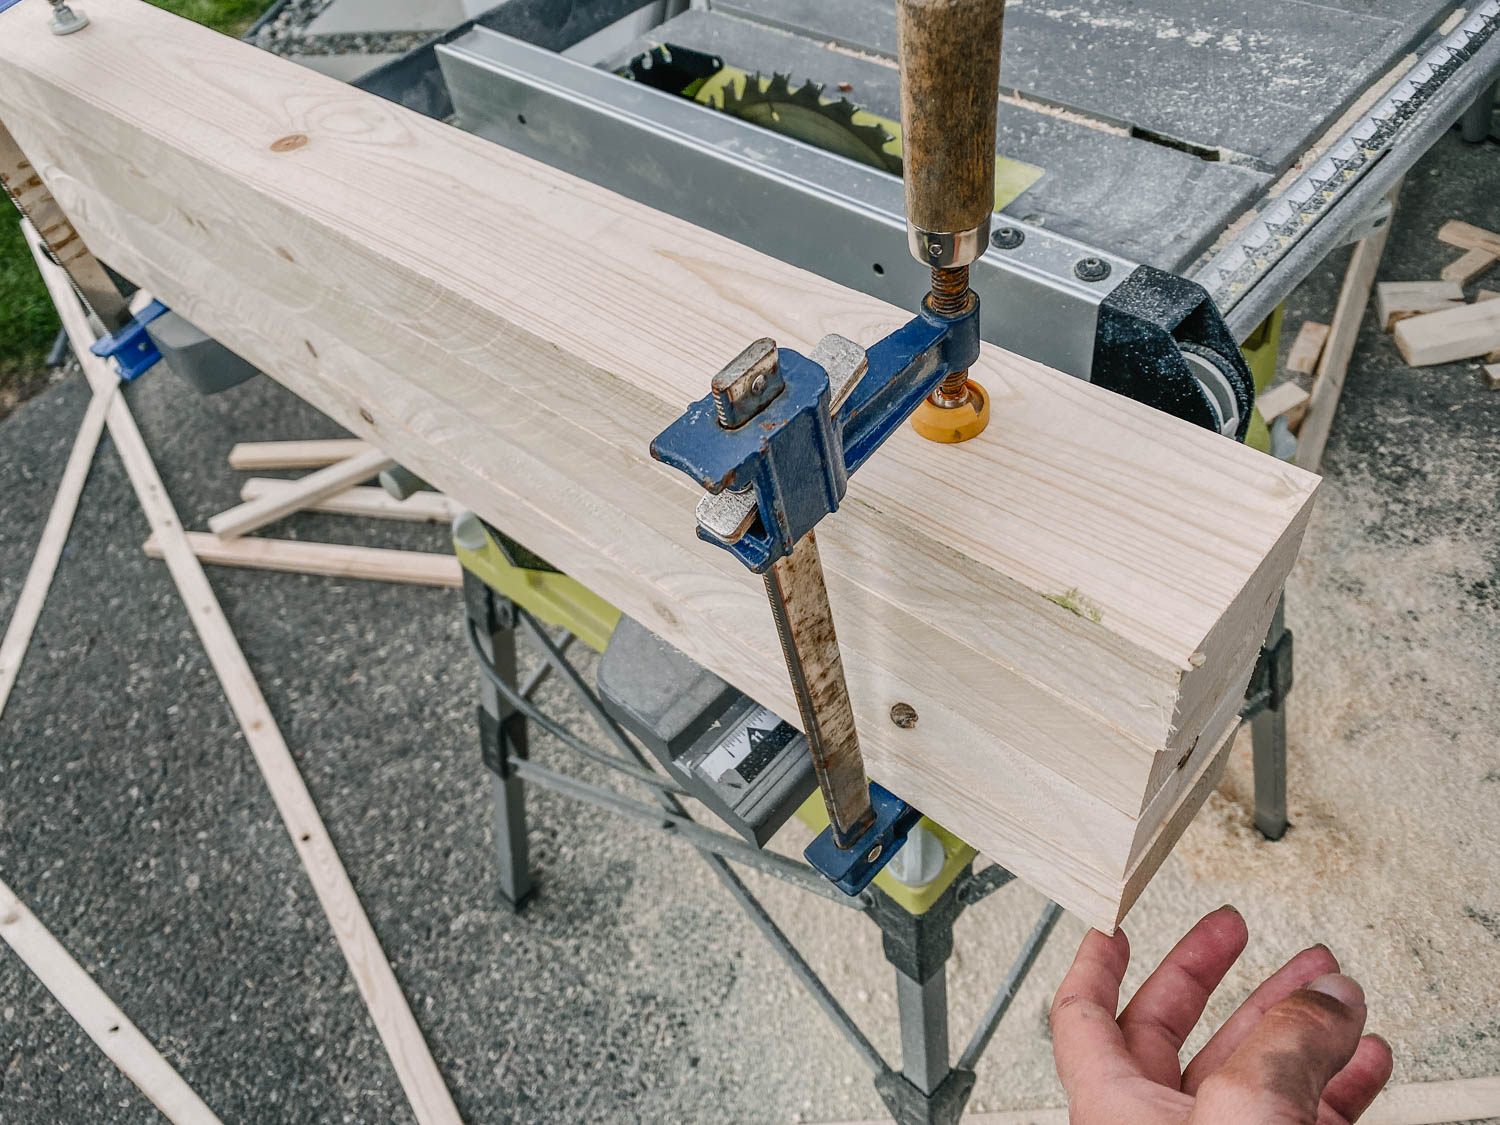
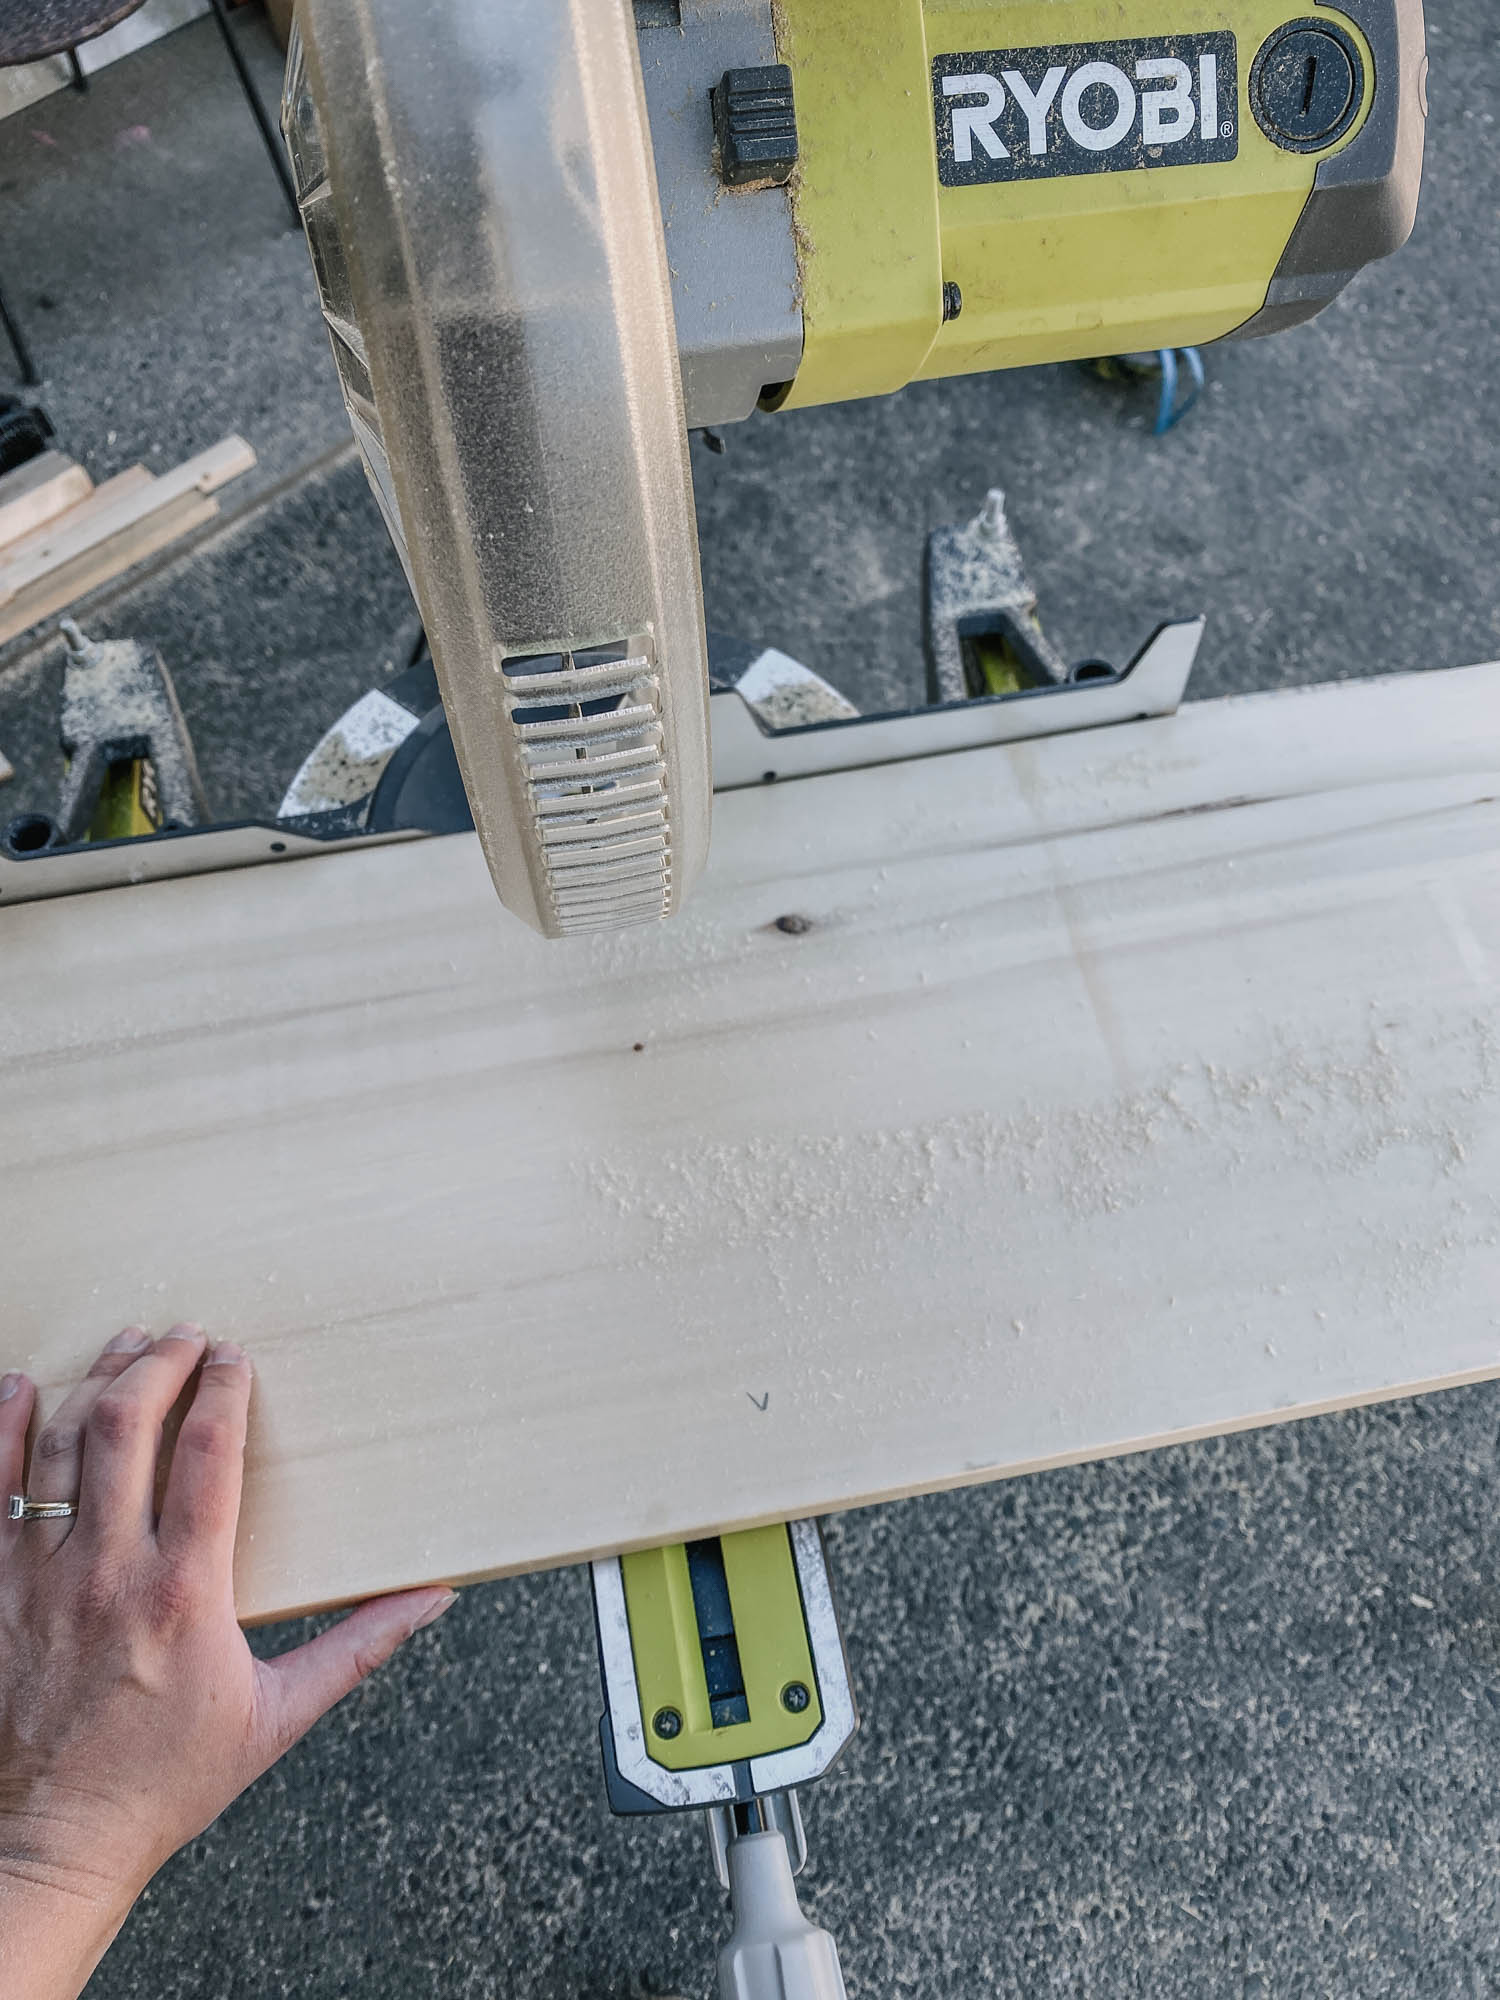
- Next up, let’s cut our legs to size. Since we were making this on a budget, we laminated two 2x4s together to make the front legs. Use wood glue and clamp them overnight. I ran these through a table saw to take off the curved corners first if you’d like to do this as well. Cut your legs to length.
- Cut the back legs to length as well. We used 2x4s fastened to the back wall for this. This is to help the vanity fit into a small space (instead of the full thickness of a 4×4) and fastening them to the back wall gives this vanity great stability.

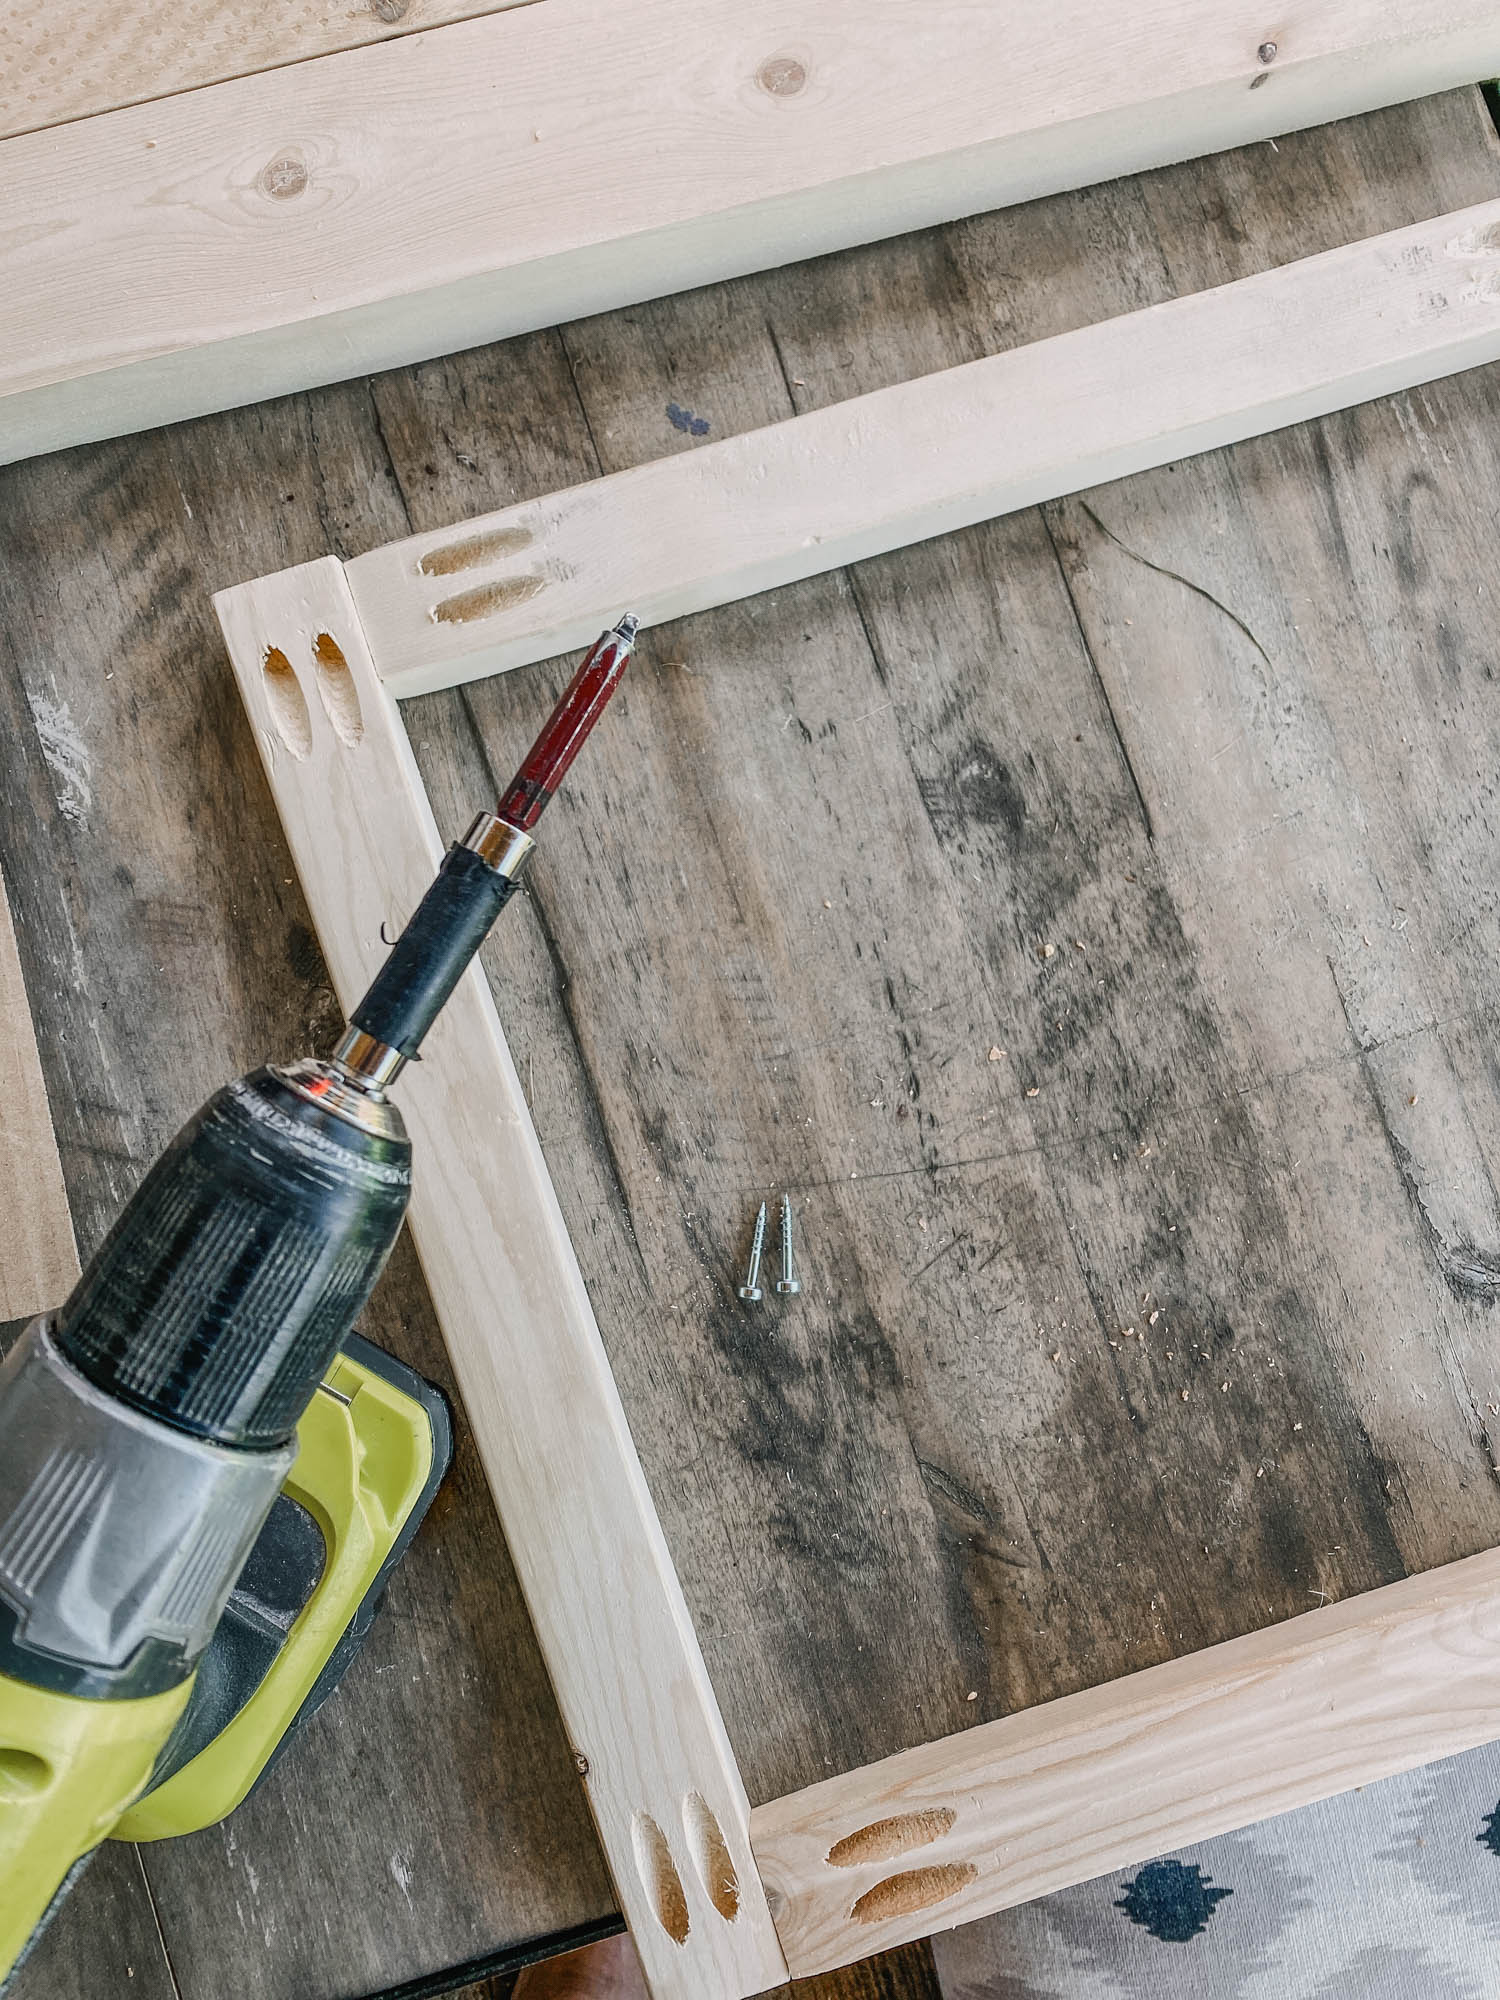
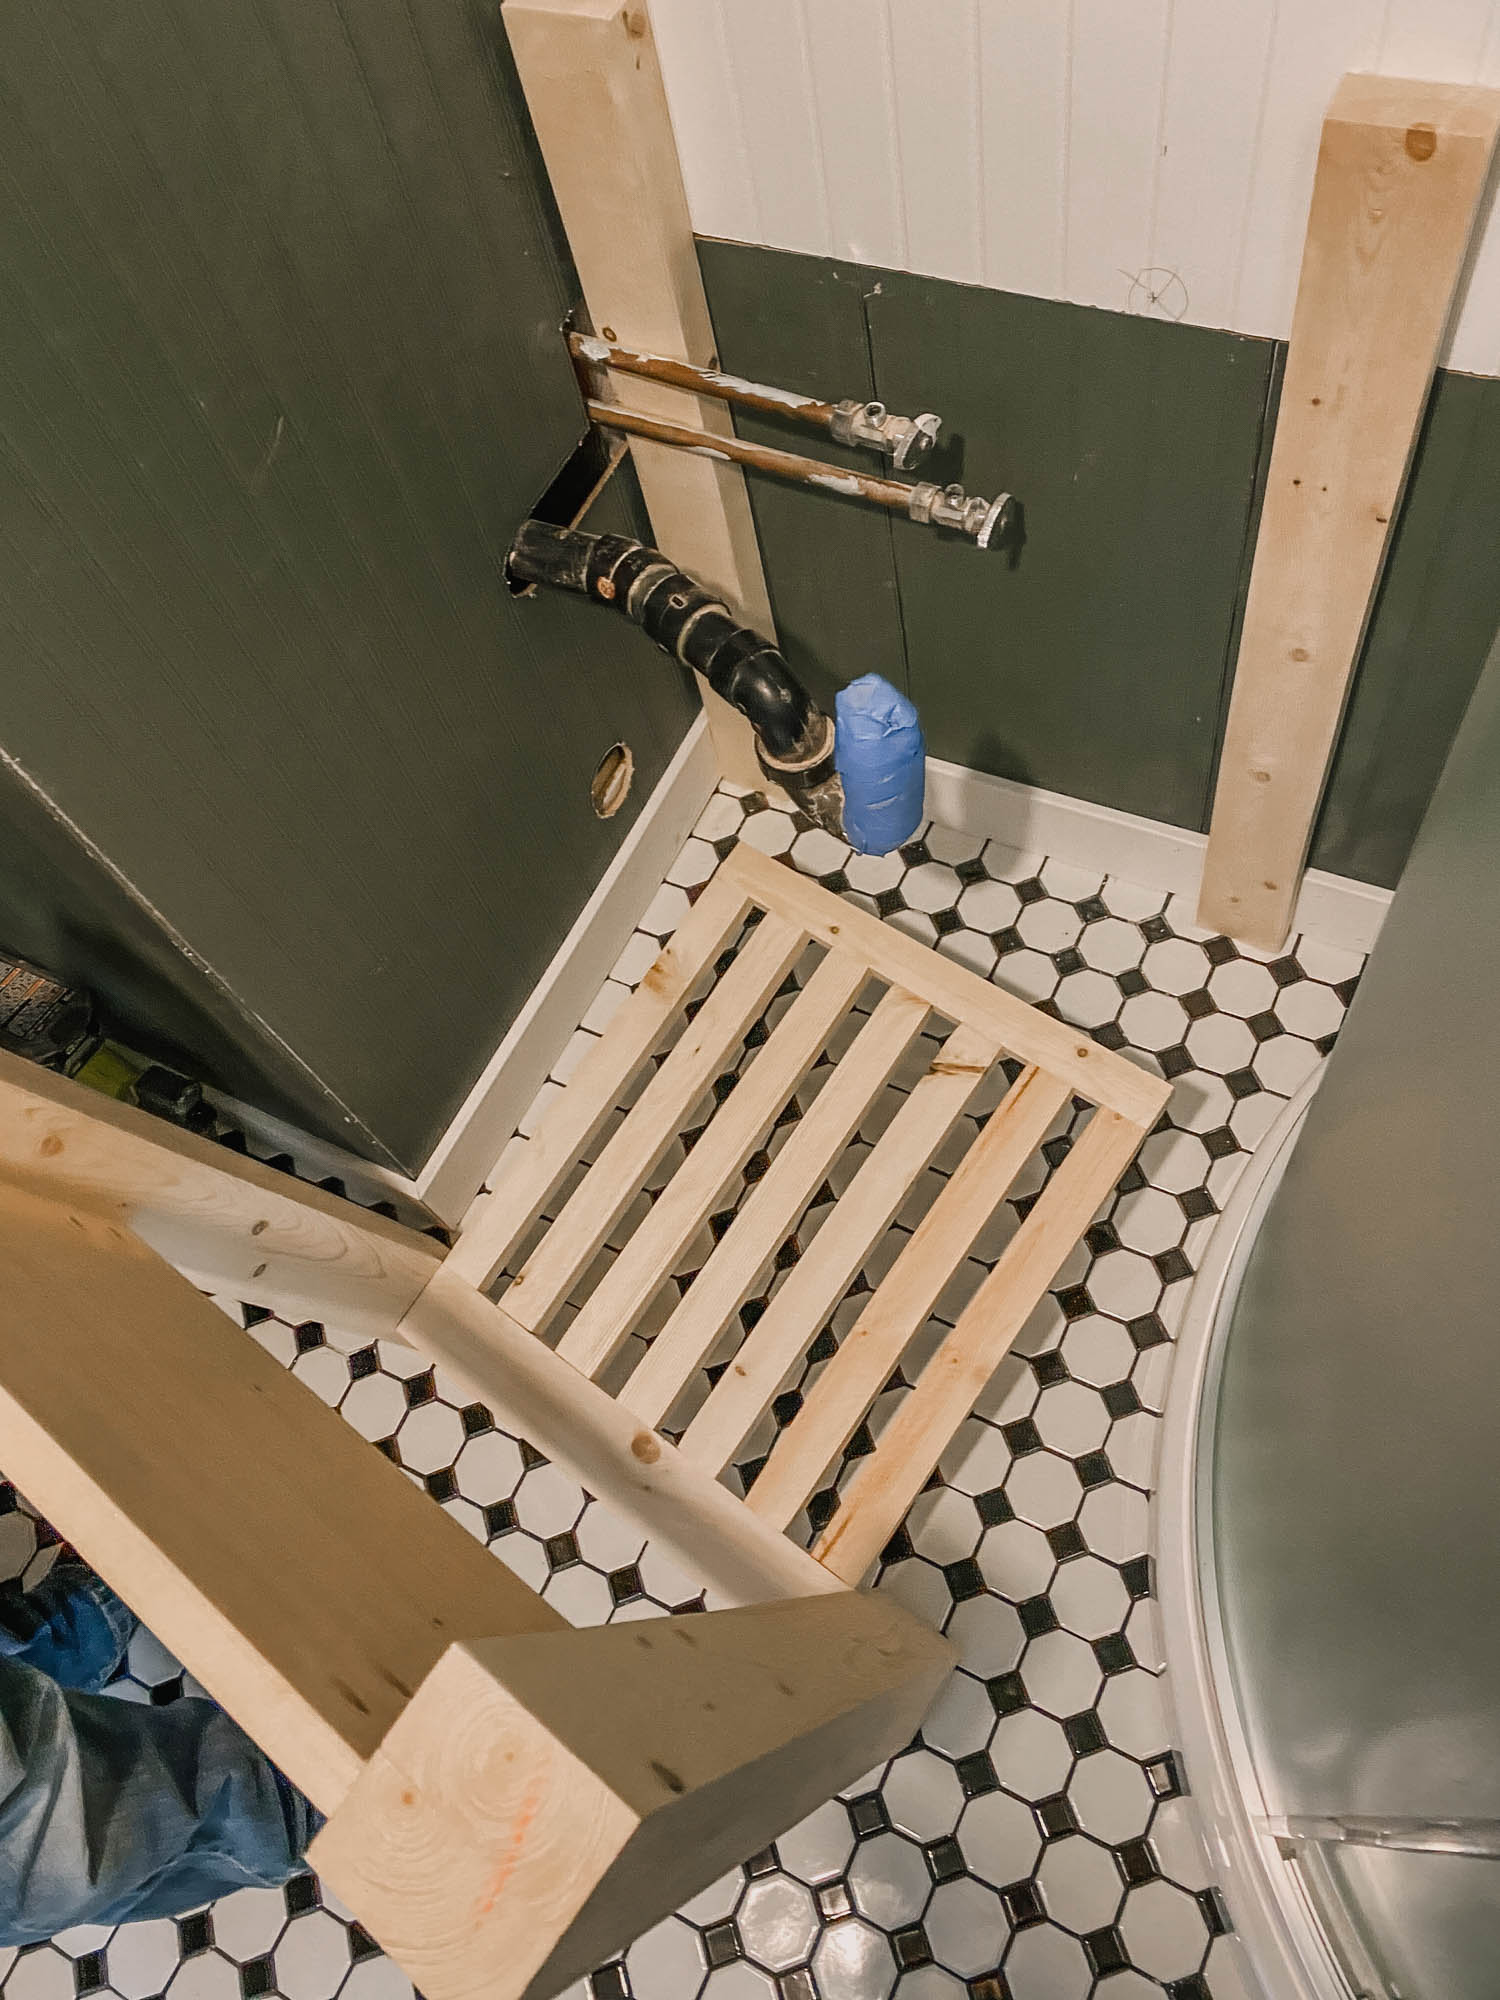
- Now we can work on the slatted shelf. Cut your 1×3 and 1x2s to length and get busy with your Kreg Jig to drill pocket holes into the ends of each board. You can see in the final build, I switched out the back 1×3 for a 1×2 so it sat flush with the back legs. Assemble the shelf with screws, taking care to make sure the faces of the boards are flush. You can assemble so the back 1×2 has the pocket holes facing up instead of down to make assembly simple.
You can see the Kreg Jig I’m using here in photos- but this one is on older model, the new ones look slightly different but do the same thing! They’re just redesigned to be easier to use and to clamp wood tightly, that’s a total bonus!
- Cut the cover panels for the plumbing. This step will help secure the legs square as well. Drill pocket holes into the ends of these as well. We only put cover panels on the front and visible size of the vanity.
- Now it’s time to assemble! We assembled in place. Screw the back legs into the wall first.
*at this point, installation and building moved indoors and this bathroom has zero natural light. Photos will be a bit grainy since we were compensating for that :)
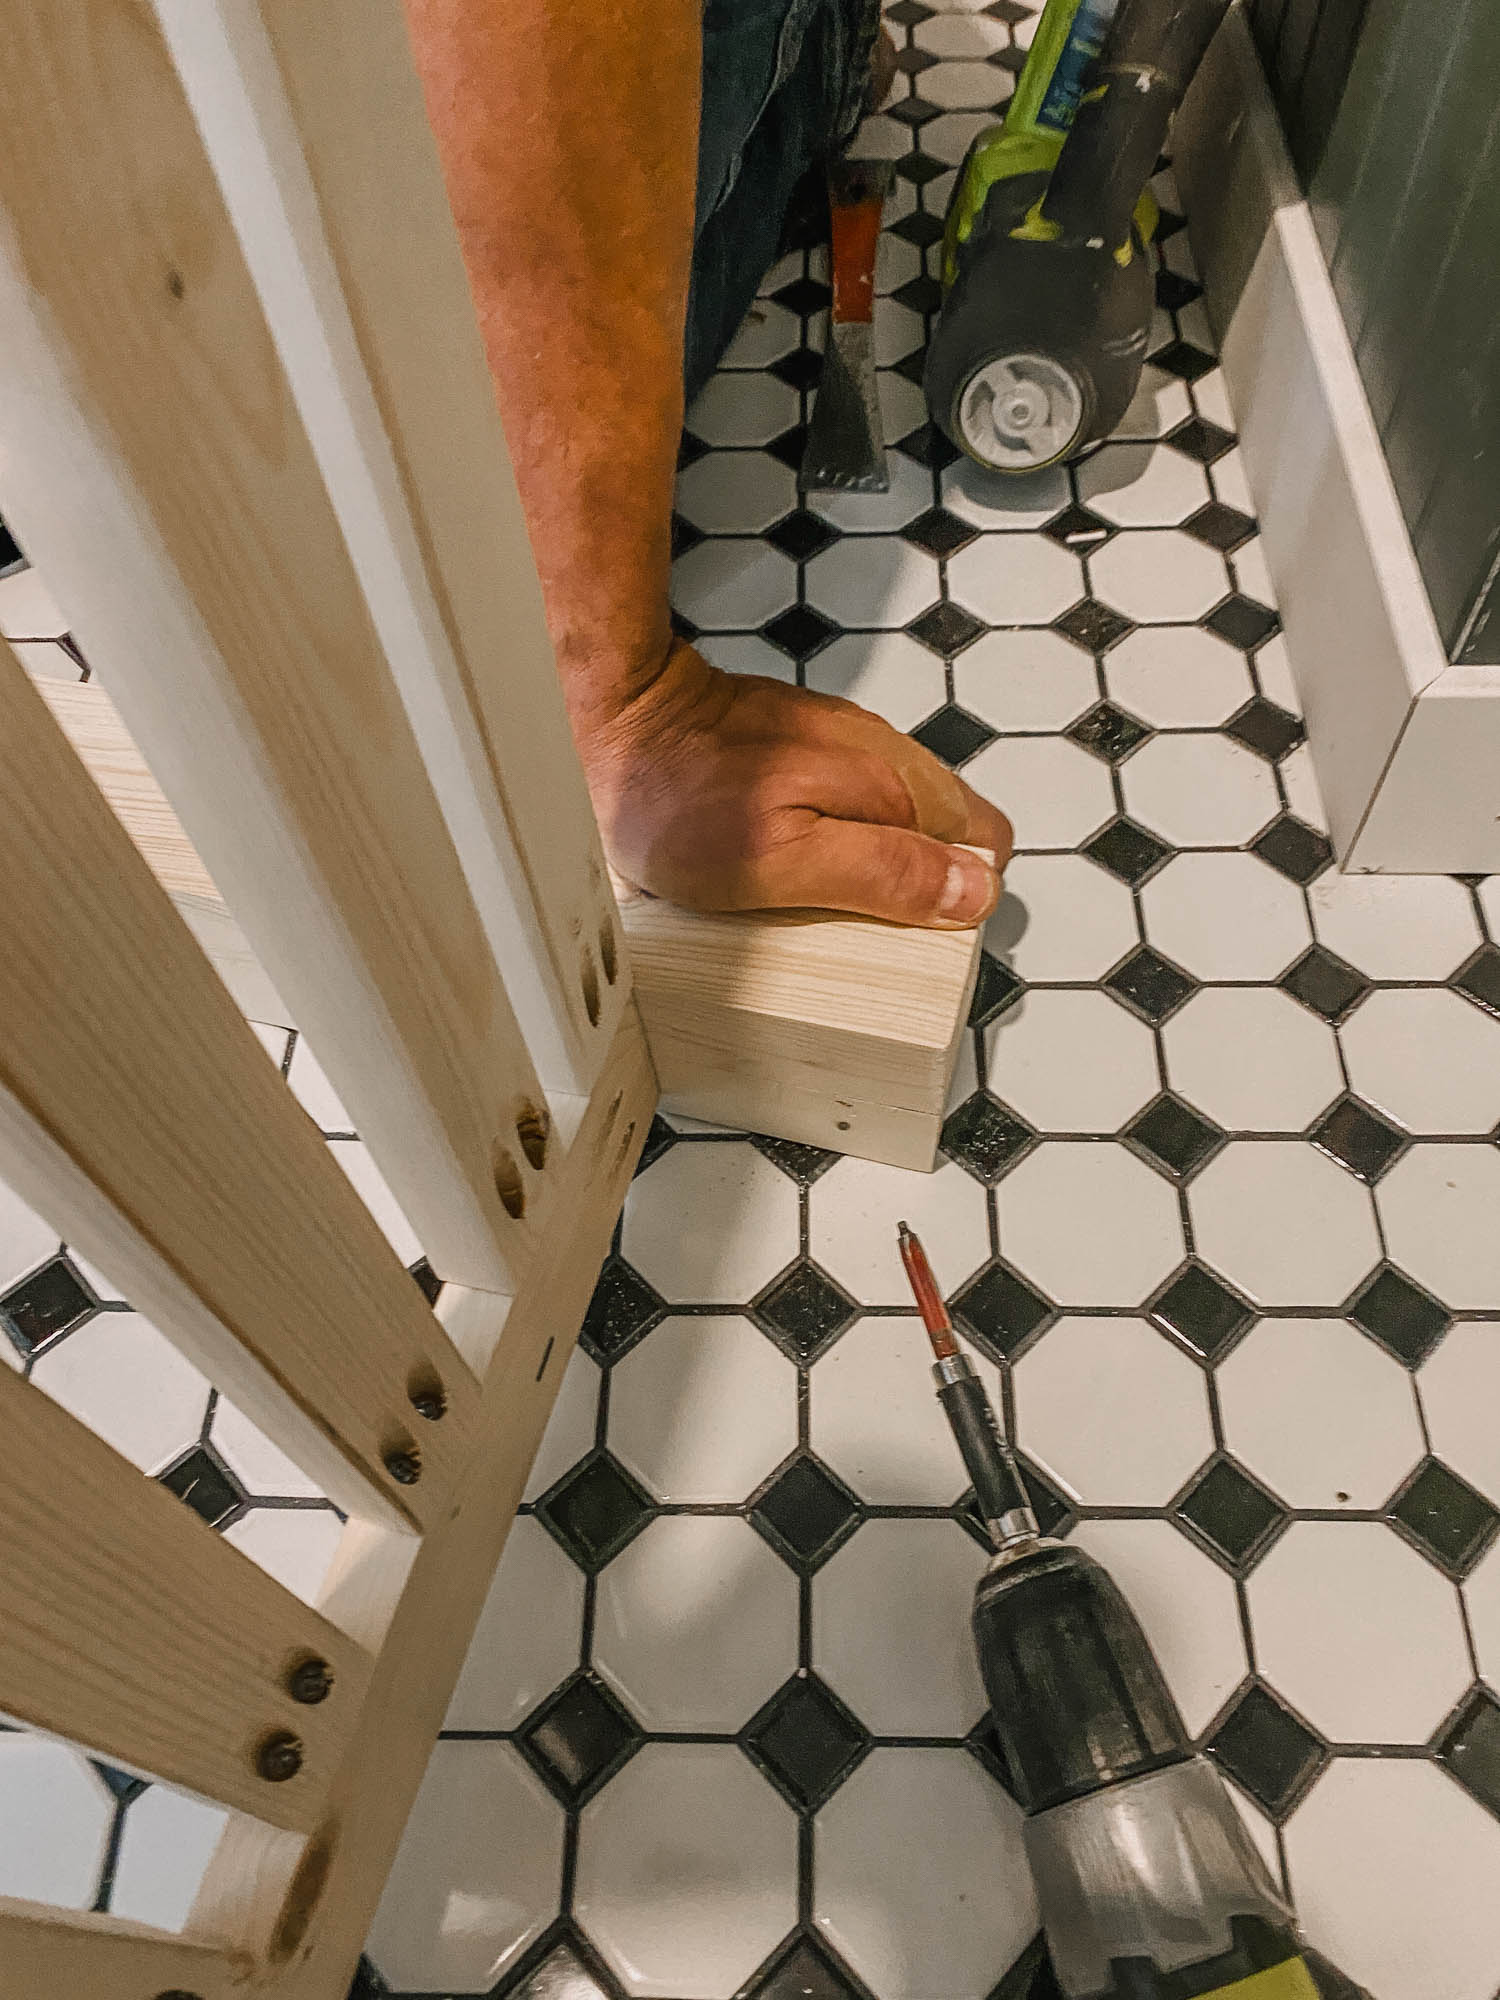
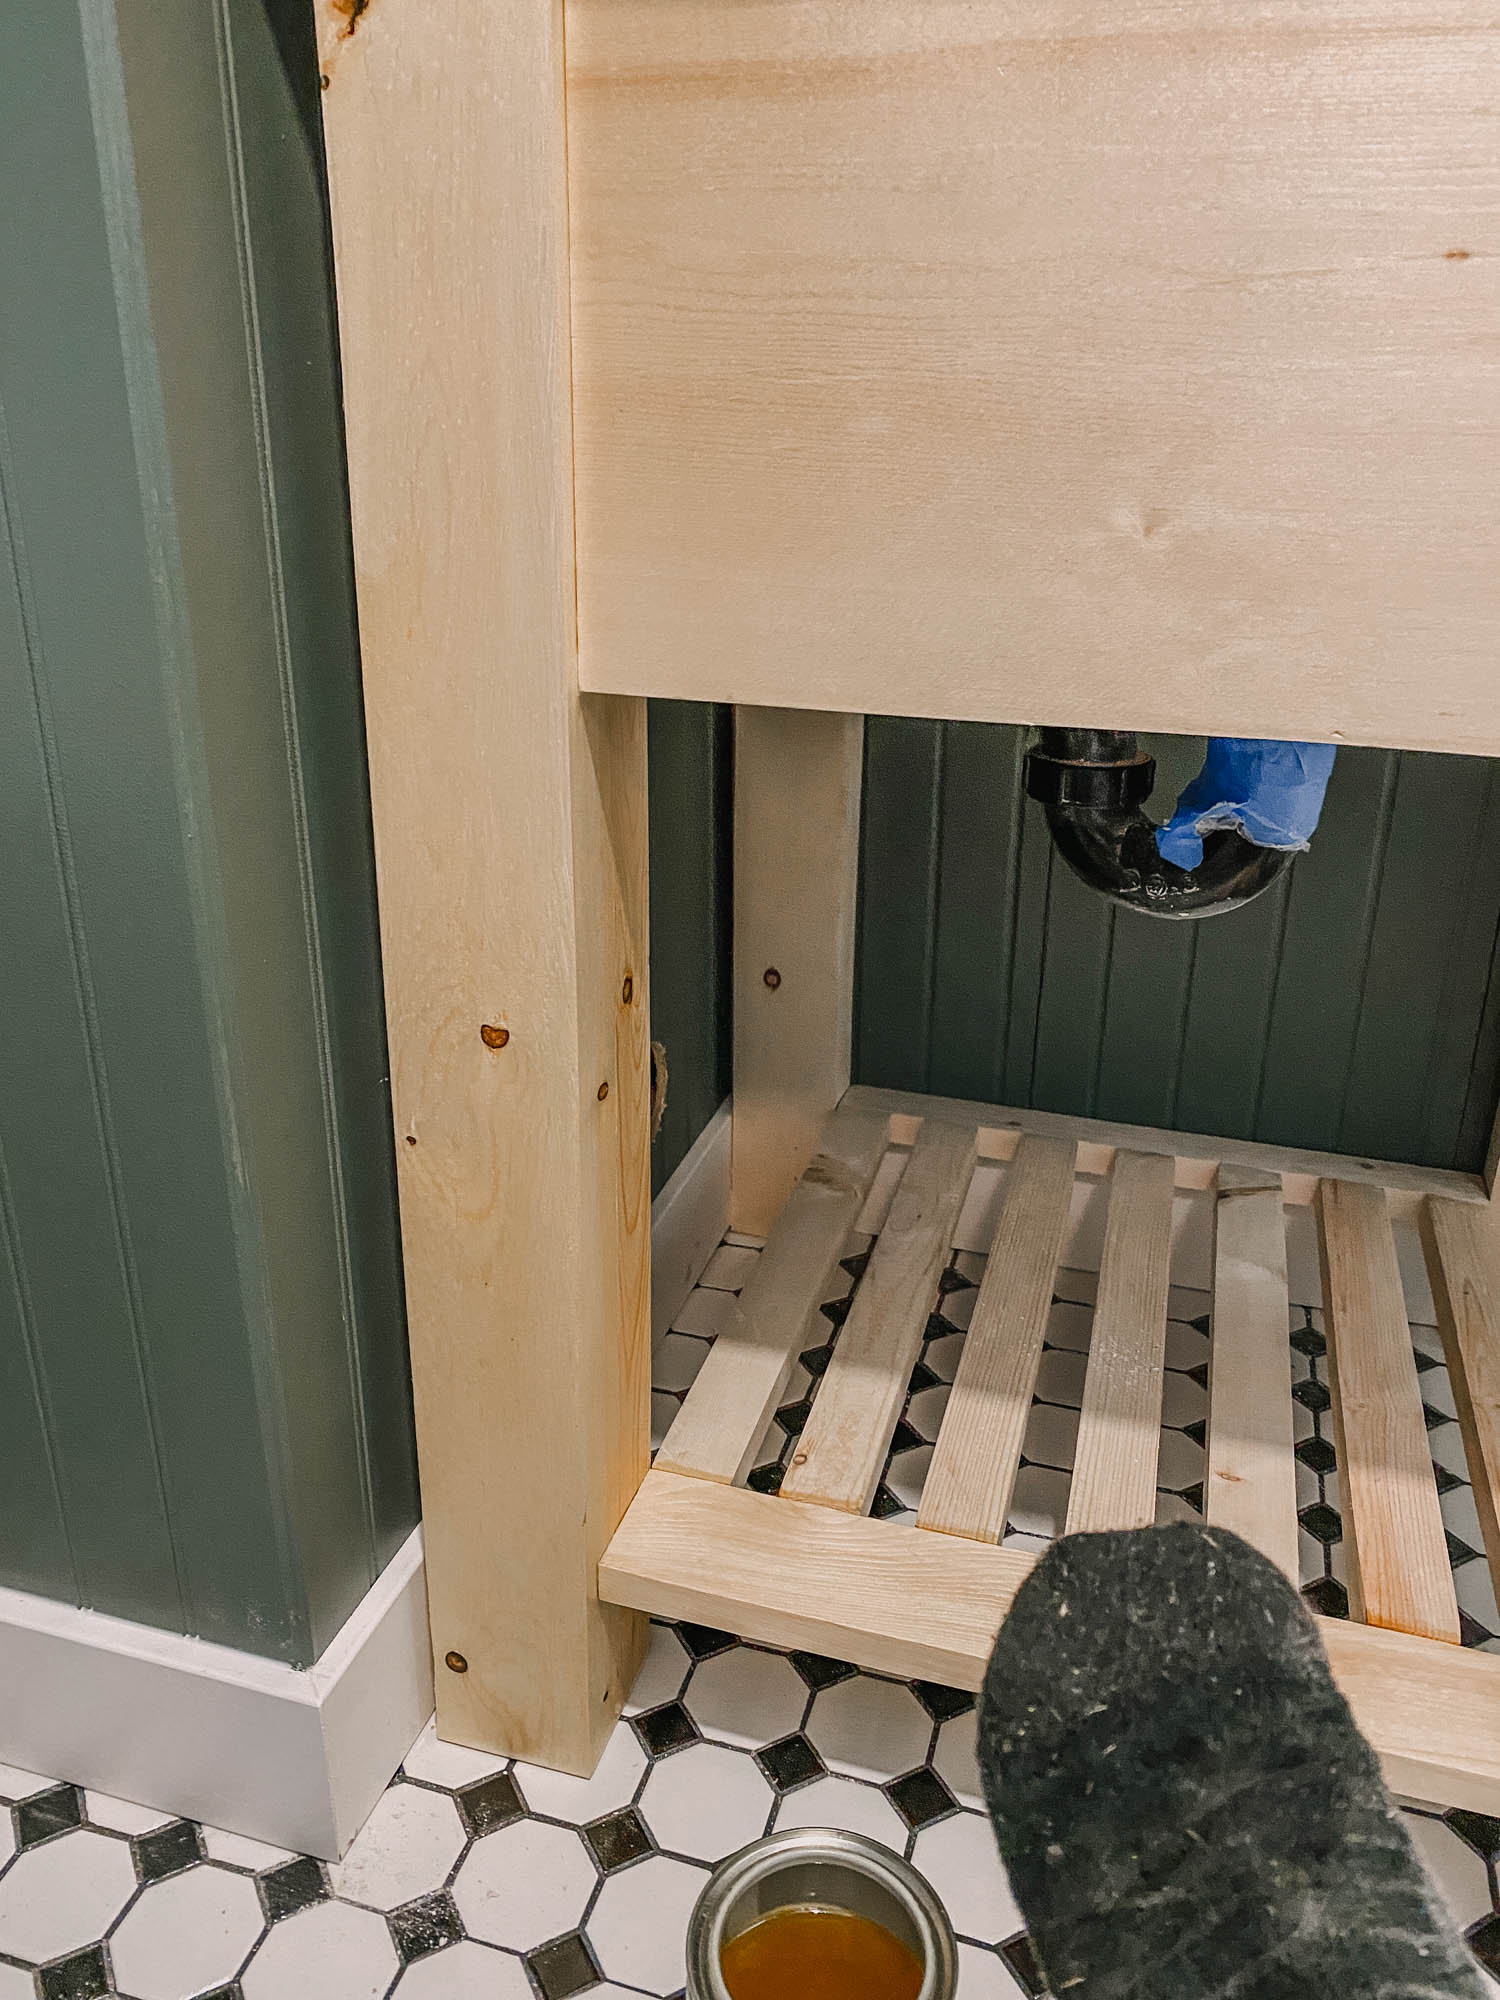
- Next, screw the shelf between the front two legs as well as the front panel. I used a piece of baseboard as a spacer to set the front panel back from the front edge of the legs.
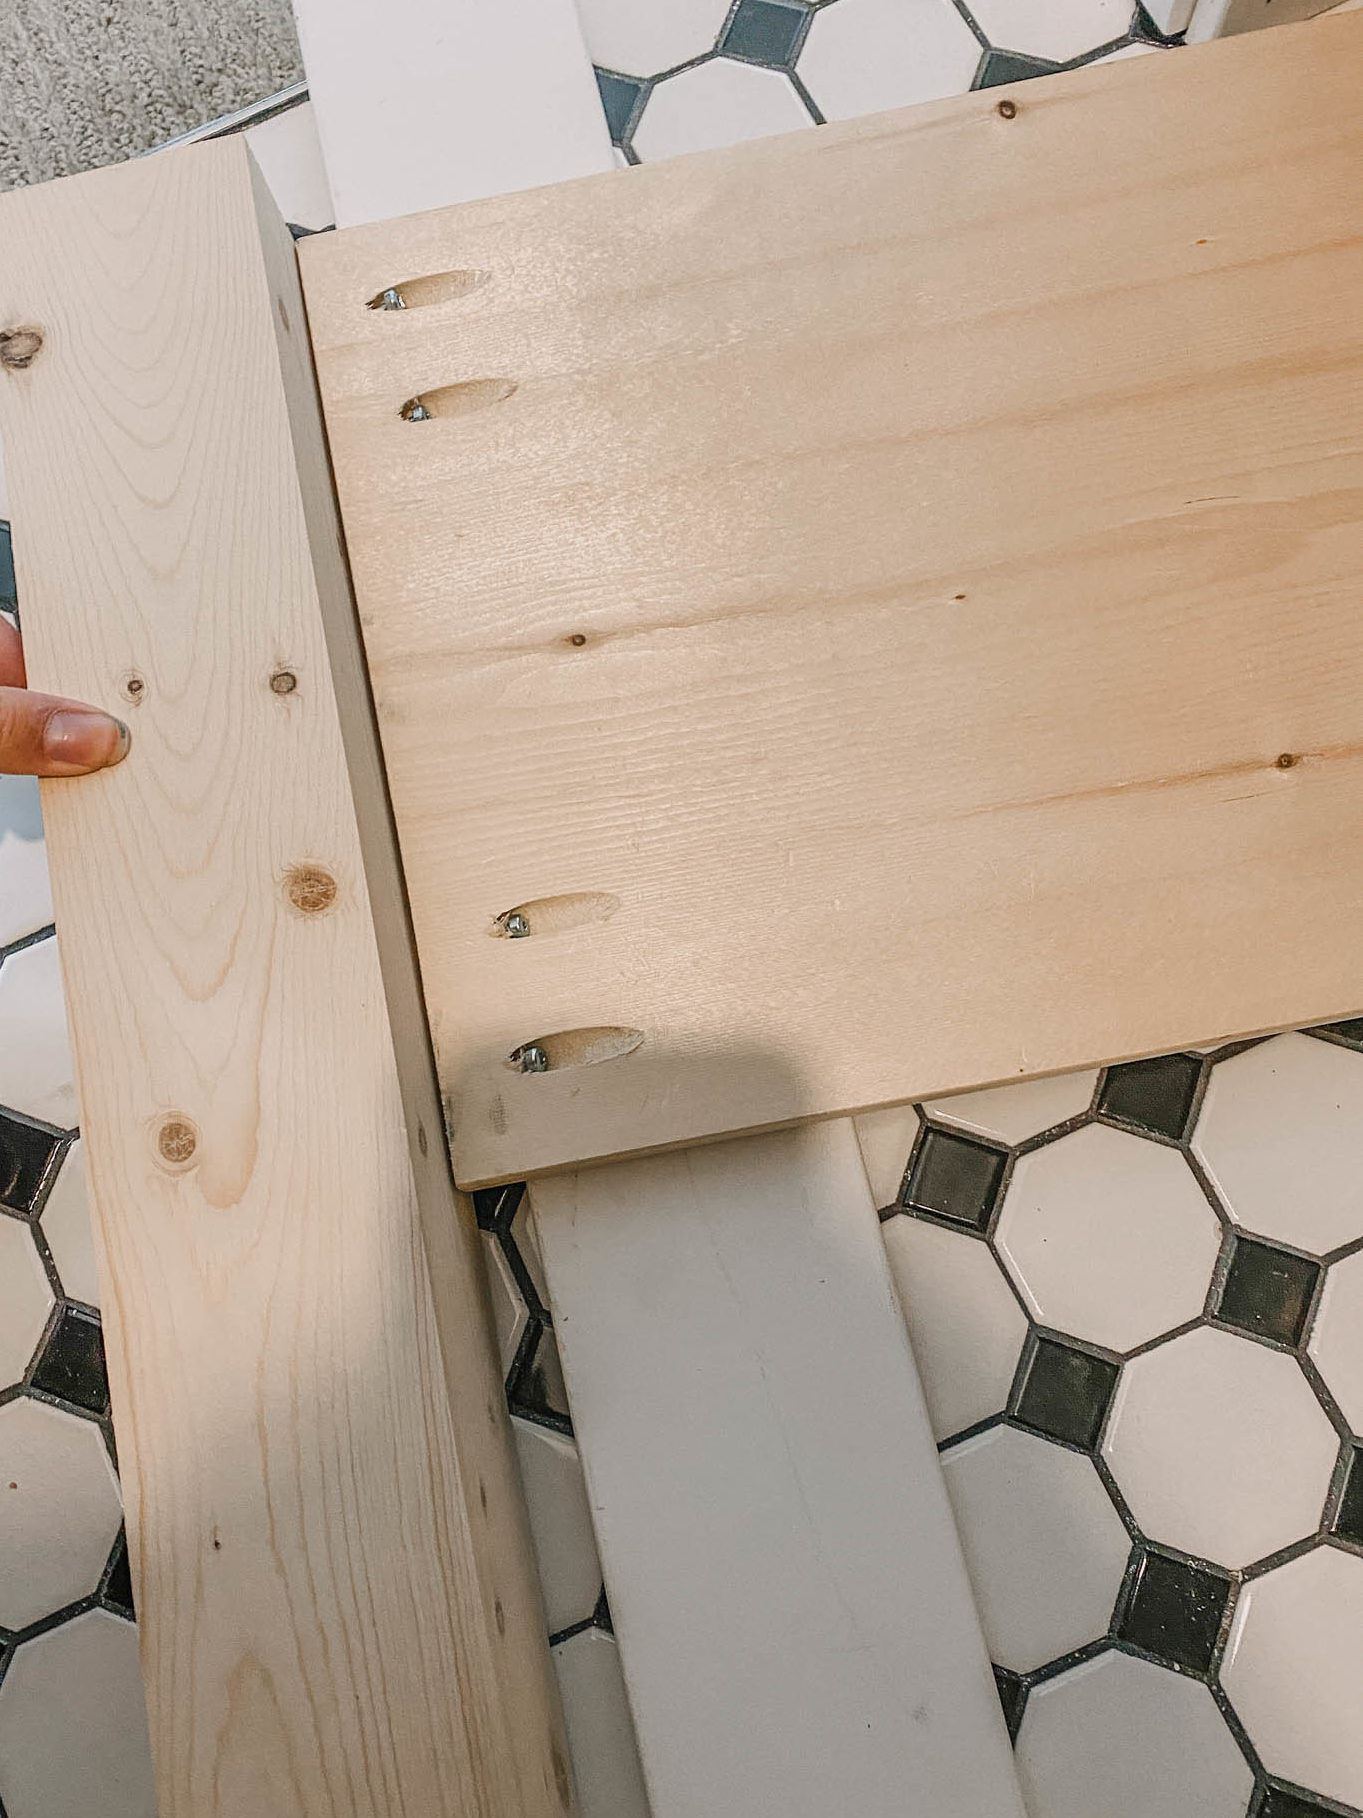
- Stand up the front legs with the shelf and slide it between the back legs. Use the showing pocket holes to affix to the back legs. You can fill these and sand to get a beautiful finish. We didn’t do this, but instead built the shelf to the height of the baseboard so it rests on the baseboard to hold it in place.
- Now we can attach the side panel using pocket screws.
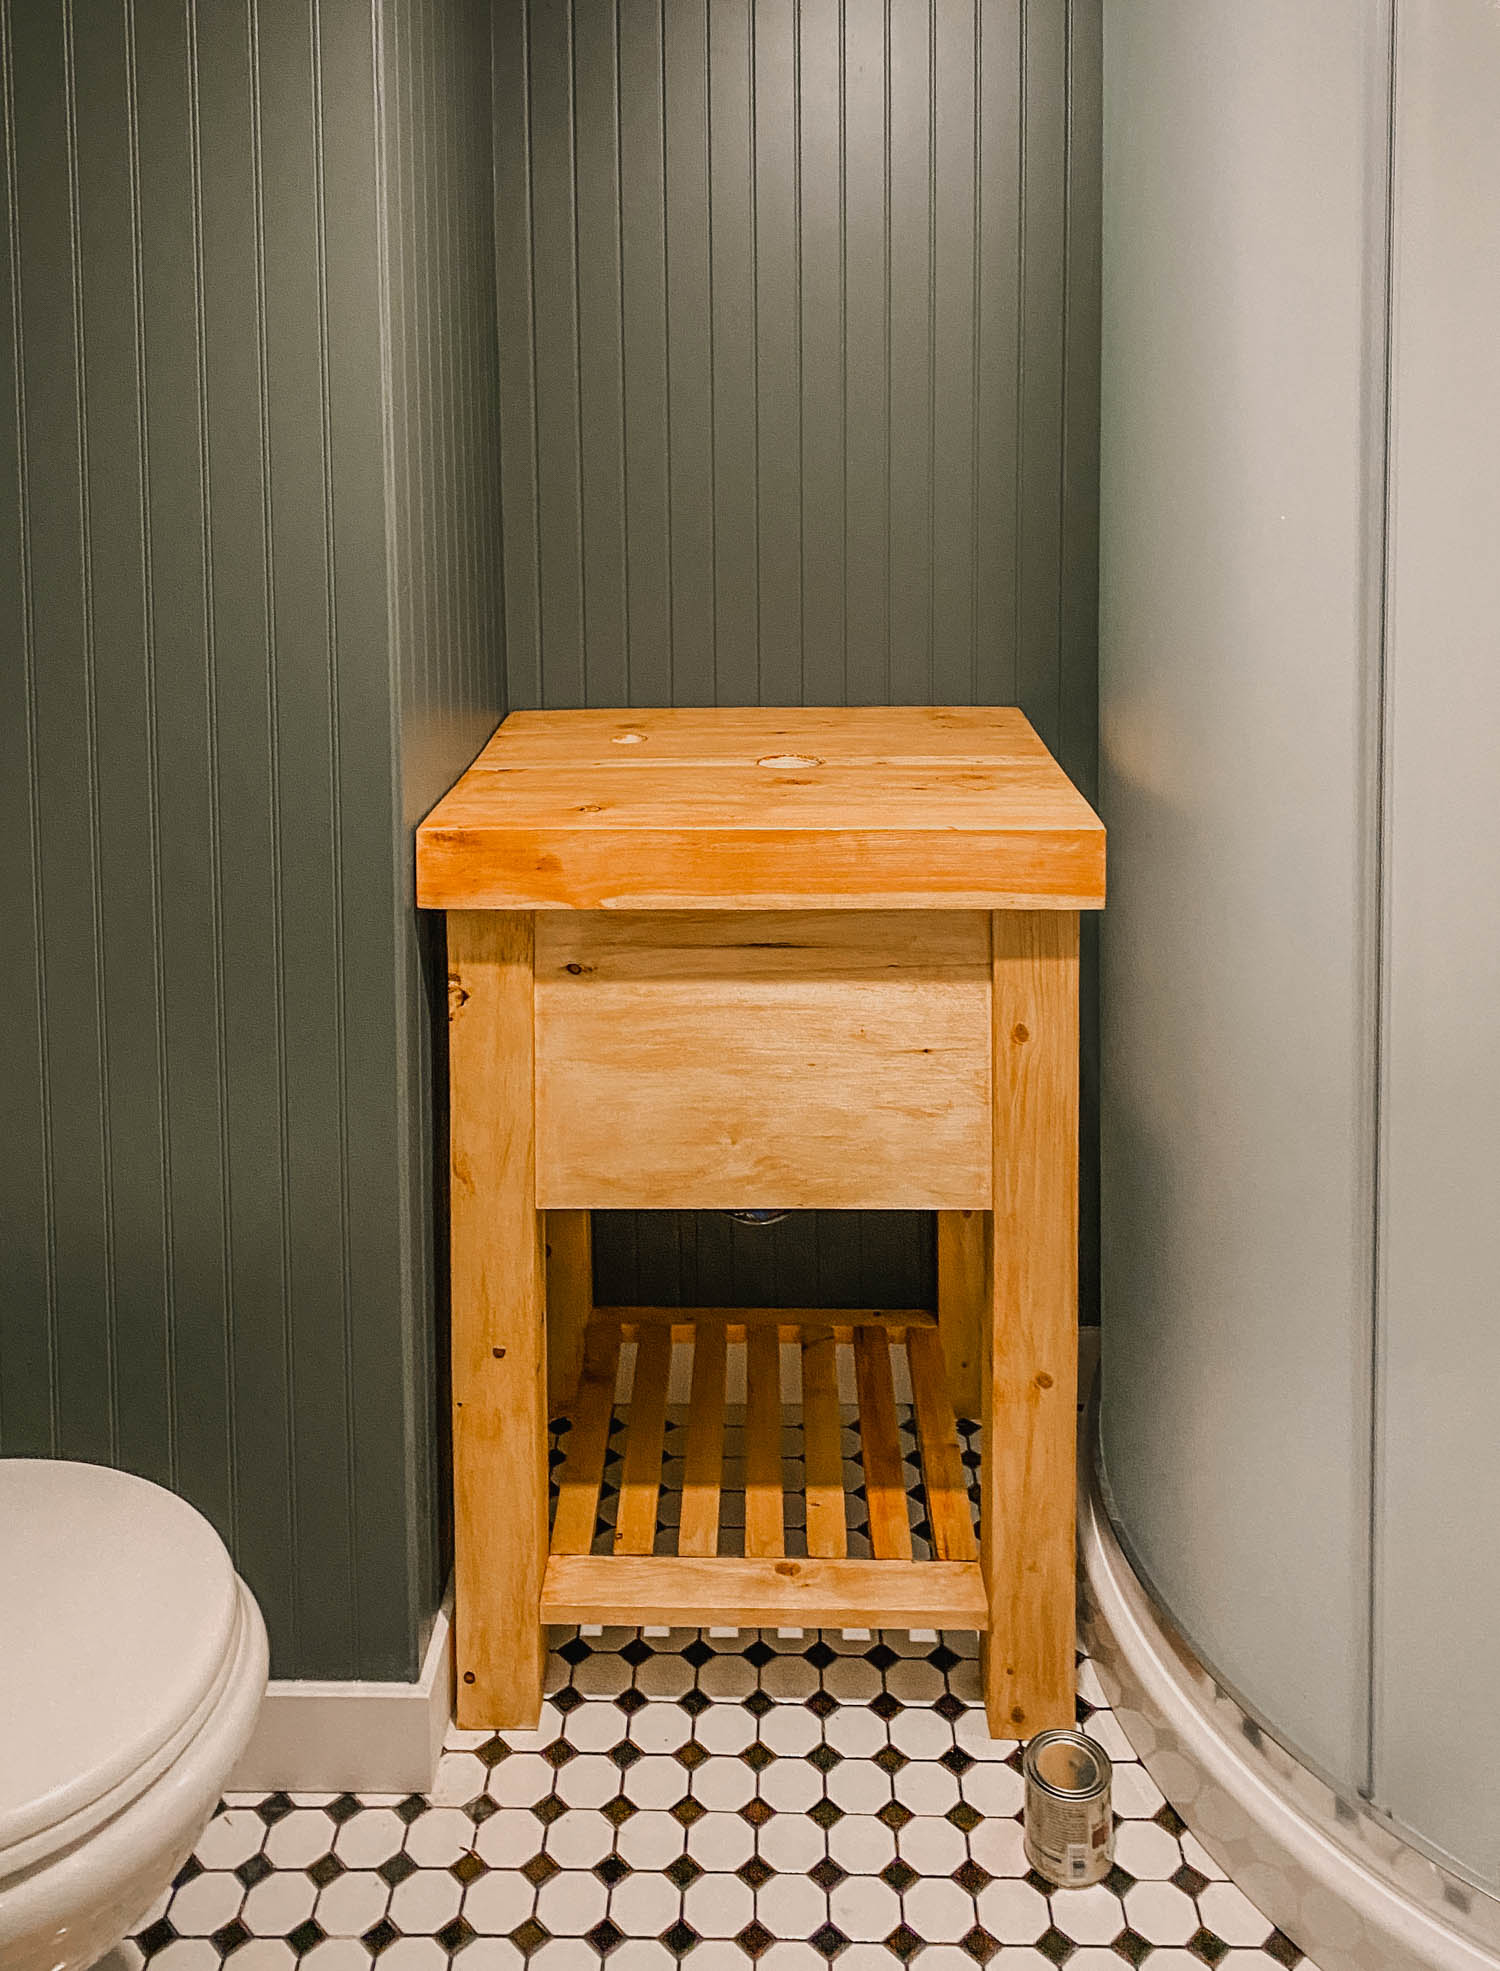
- Lastly, let’s attach the countertop with wood glue or construction adhesive.
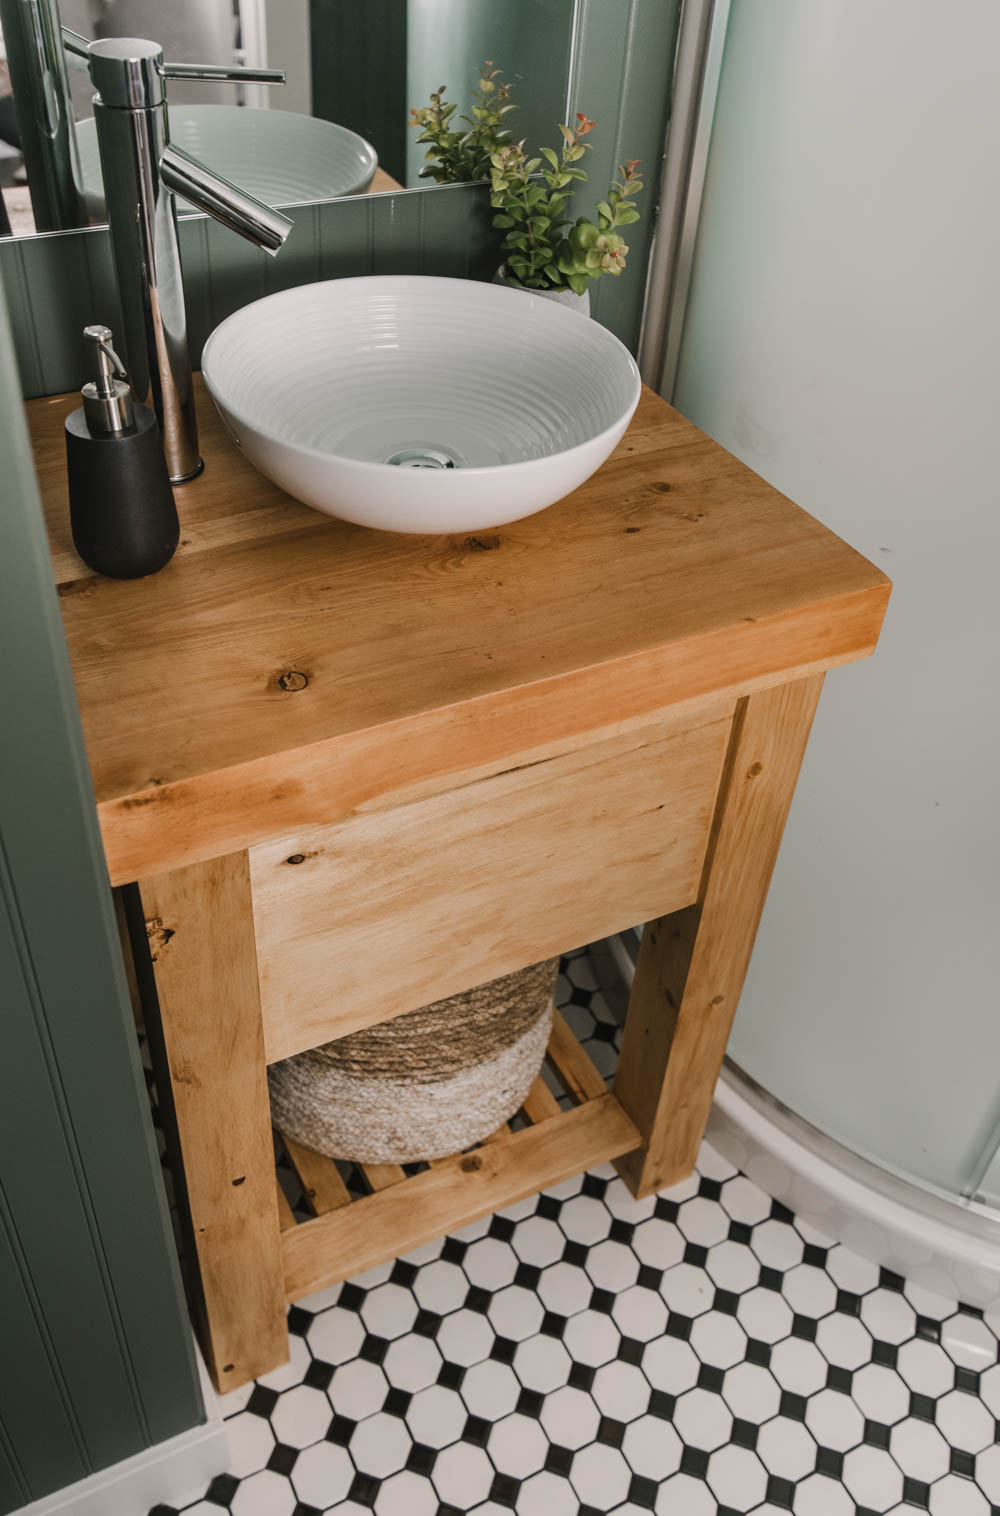
Stand back and enjoy your done in a day custom vanity! This is perfect for a small space, a basement bathroom, or a space you’d love a rustic touch for. I used a wipe on clear coat (seen mid application here!) to protect it from water. You could also stain this or leave it natural.
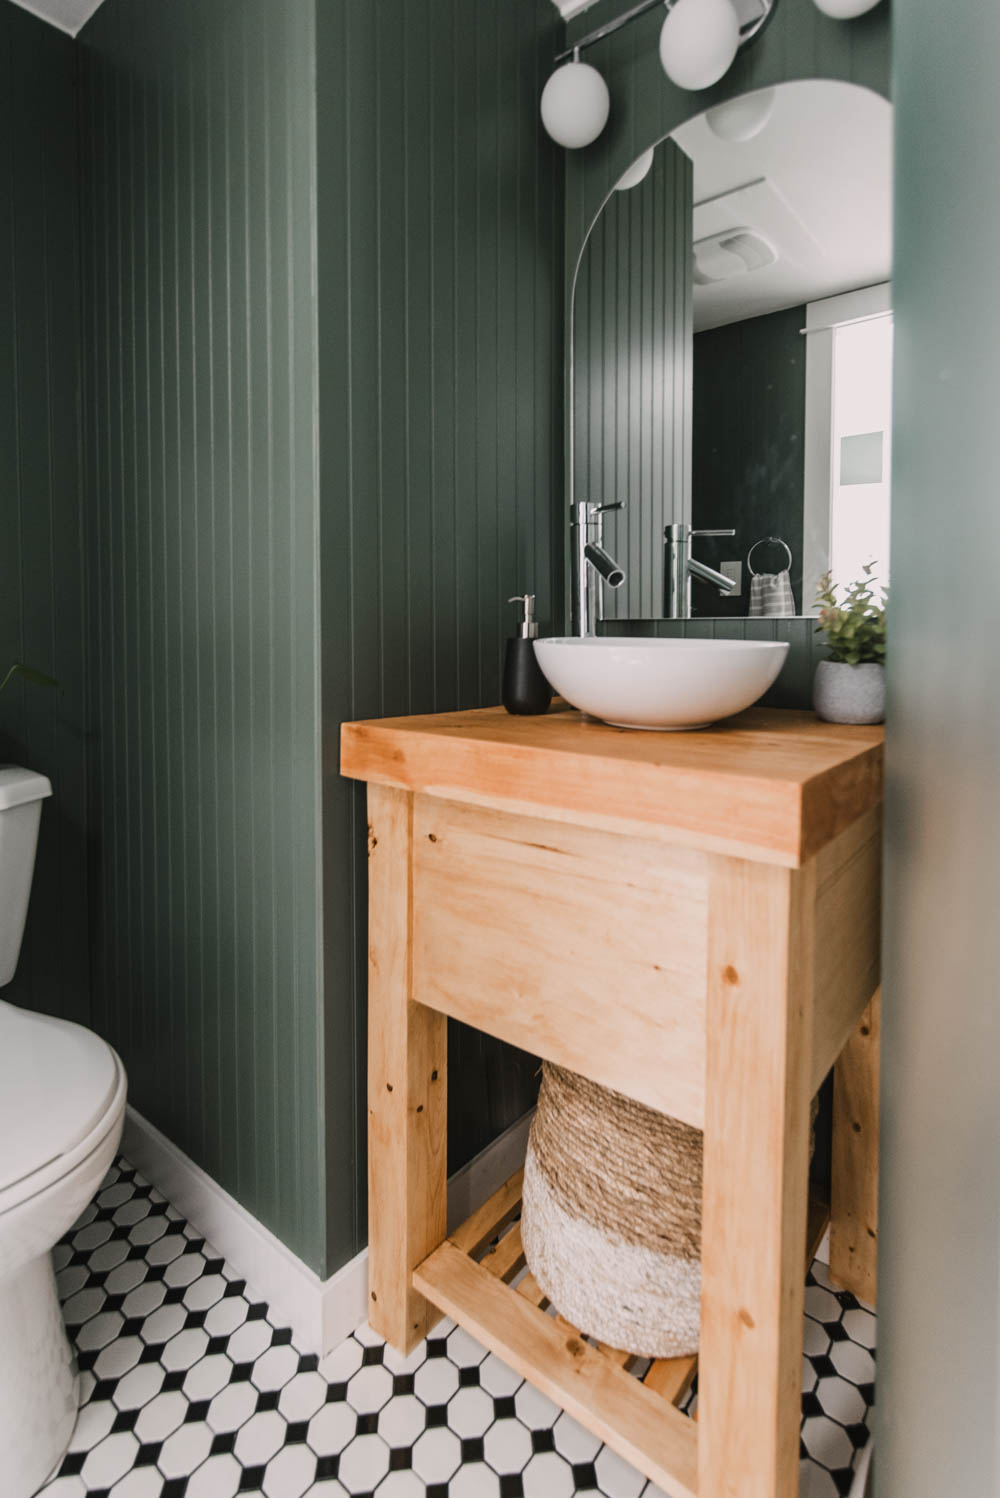
Phew! It’s one year later and I’m still just amazed at what we were able to accomplish in this space in just one week. This DIY wood vanity only taking me one day while my dad worked on shower install was such a great use of time and such a great budget saver. I’m in love with how it looks in here and it’s been perfectly functional. You can see more about the full room makeover on YouTube right here.
 Weekend Wooden Deck Makeover
Leave a Reply