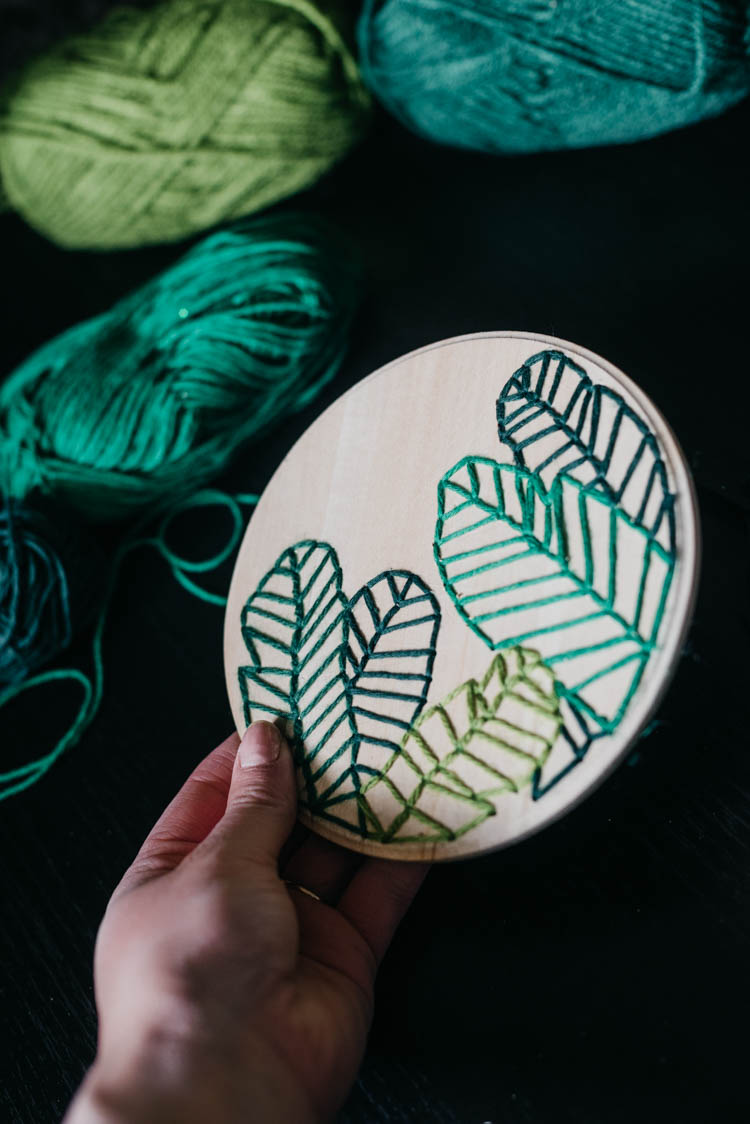
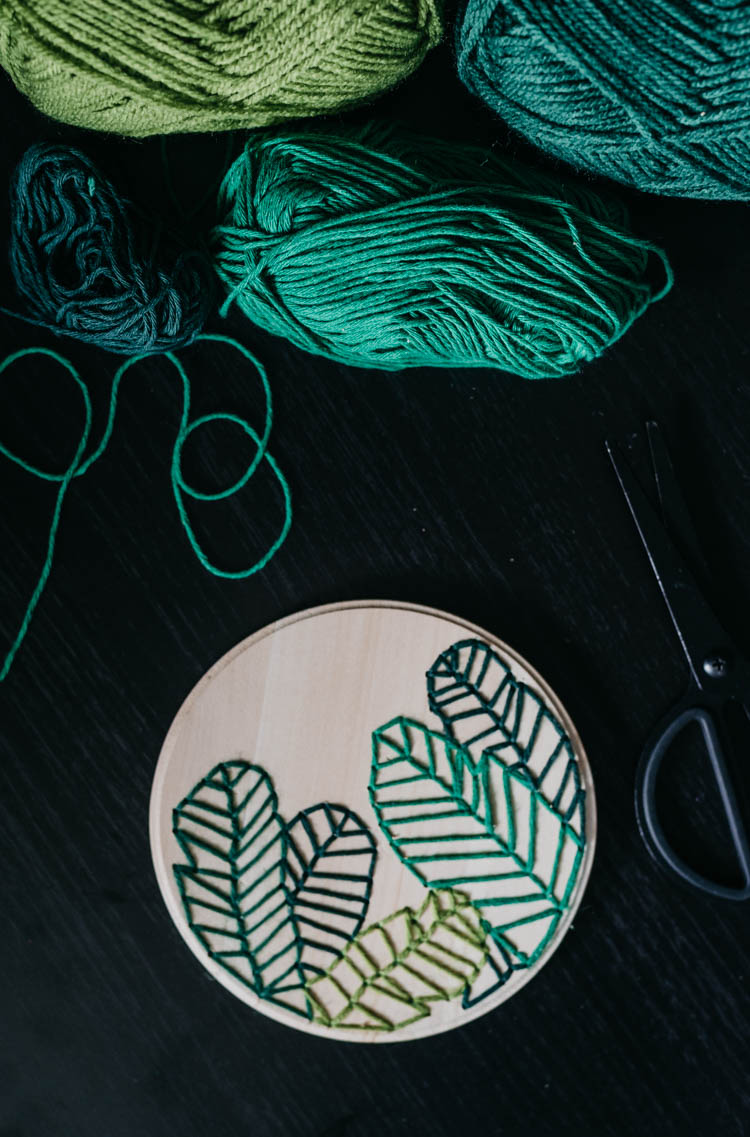
Today I’m sharing a simple DIY to embroider on wood using just a wood round, drill, needle and yarn. The modern botanical embroidery hoop design is the perfect touch of decor for a small space.
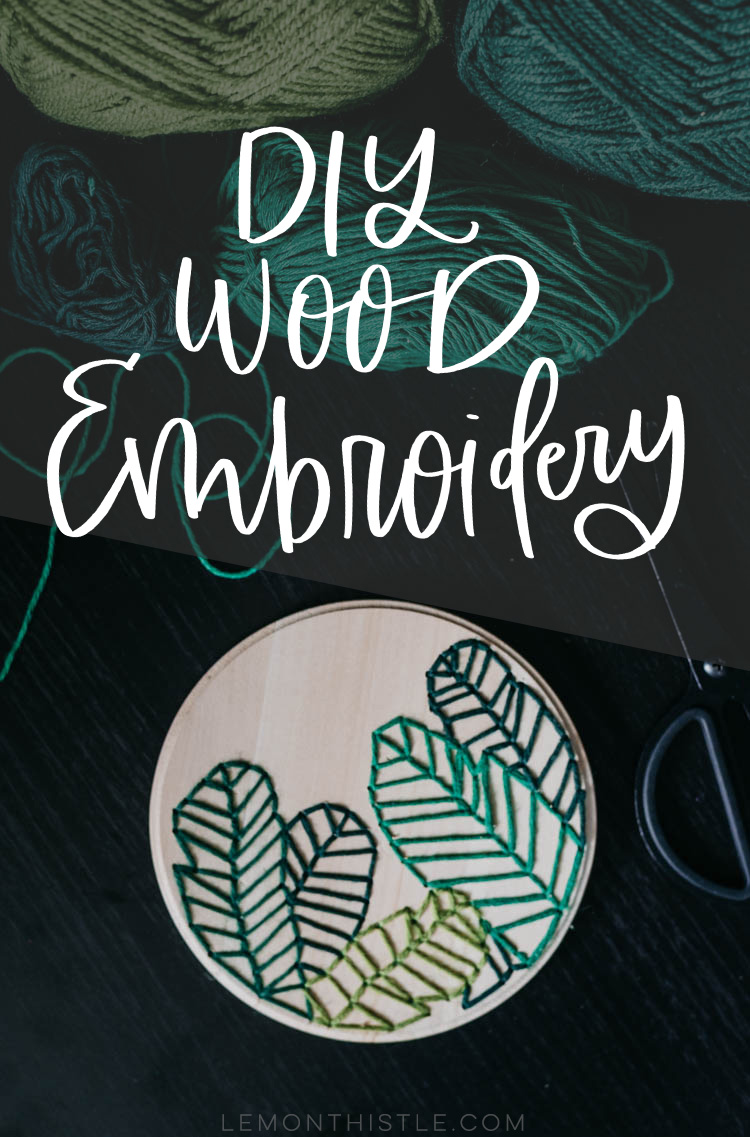
Today I’m sharing how to make this rad modern botanicals wood embroidery craft. I love taking traditional crafts (like embroidery!) and applying them to different mediums. I spotted an artisan that embroiders on wood using a CNC months ago and have been wondering how difficult it would be to recreate using basic tools.

This DIY is really simple to make and came out so darn pretty. Using yarn instead of embroidery thread makes a bigger impact with less stitches and the solid surface of wood makes even tension less of a concern than traditional embroidery. Let’s learn how to embroider on wood!
*This post is sponsored by Walnut Hollow (who I totally love!). Find all my policies here.
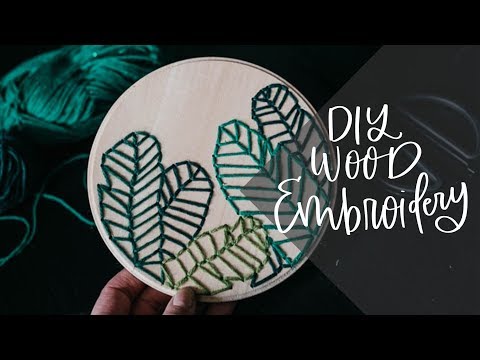
PSST! Are you following along on YouTube yet? I’d love if you subscribed!
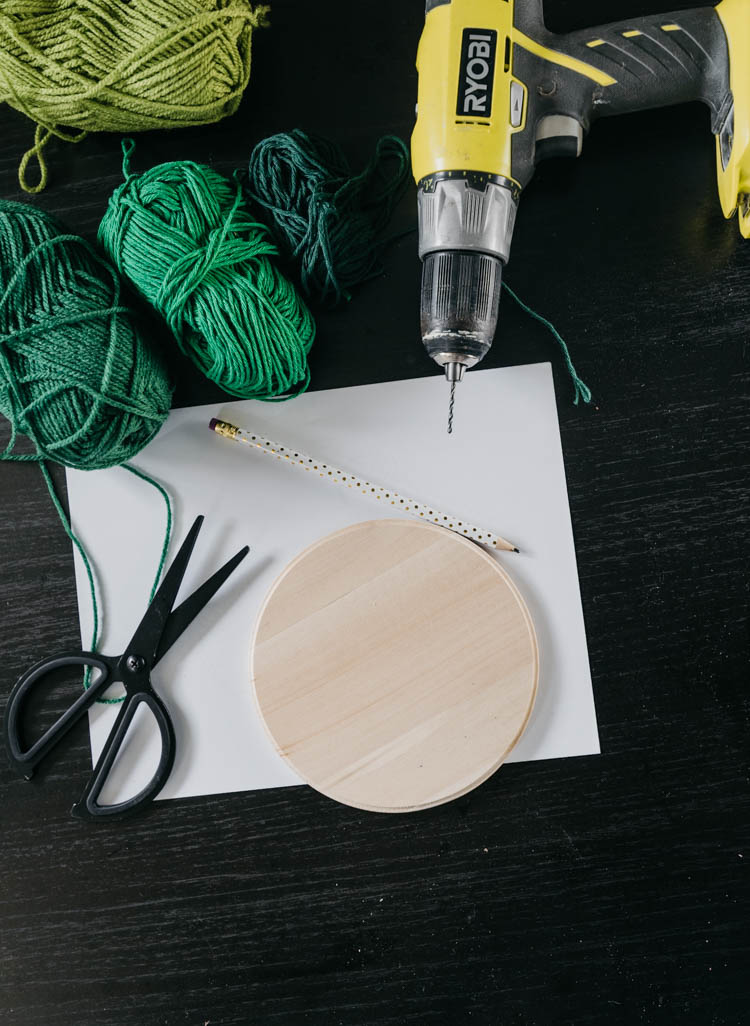
Supplies for wood embroidery:
- Circular Wood Plaque
- Wool (I used various ones I’d collected)
- Darning Needle (larger eye for yarn)
- Drill with 3/32″ bit
- Fine Grit Sandpaper
- Pencil, Paper, Scissors
The circular wood plaque I used is from Walnut Hollow and super affordable. I’d totally recommend ordering two so you can practice drilling holes and seeing what size drill bit you need for your yarn! I used my practice one underneath my good one when I was drilling all the holes.
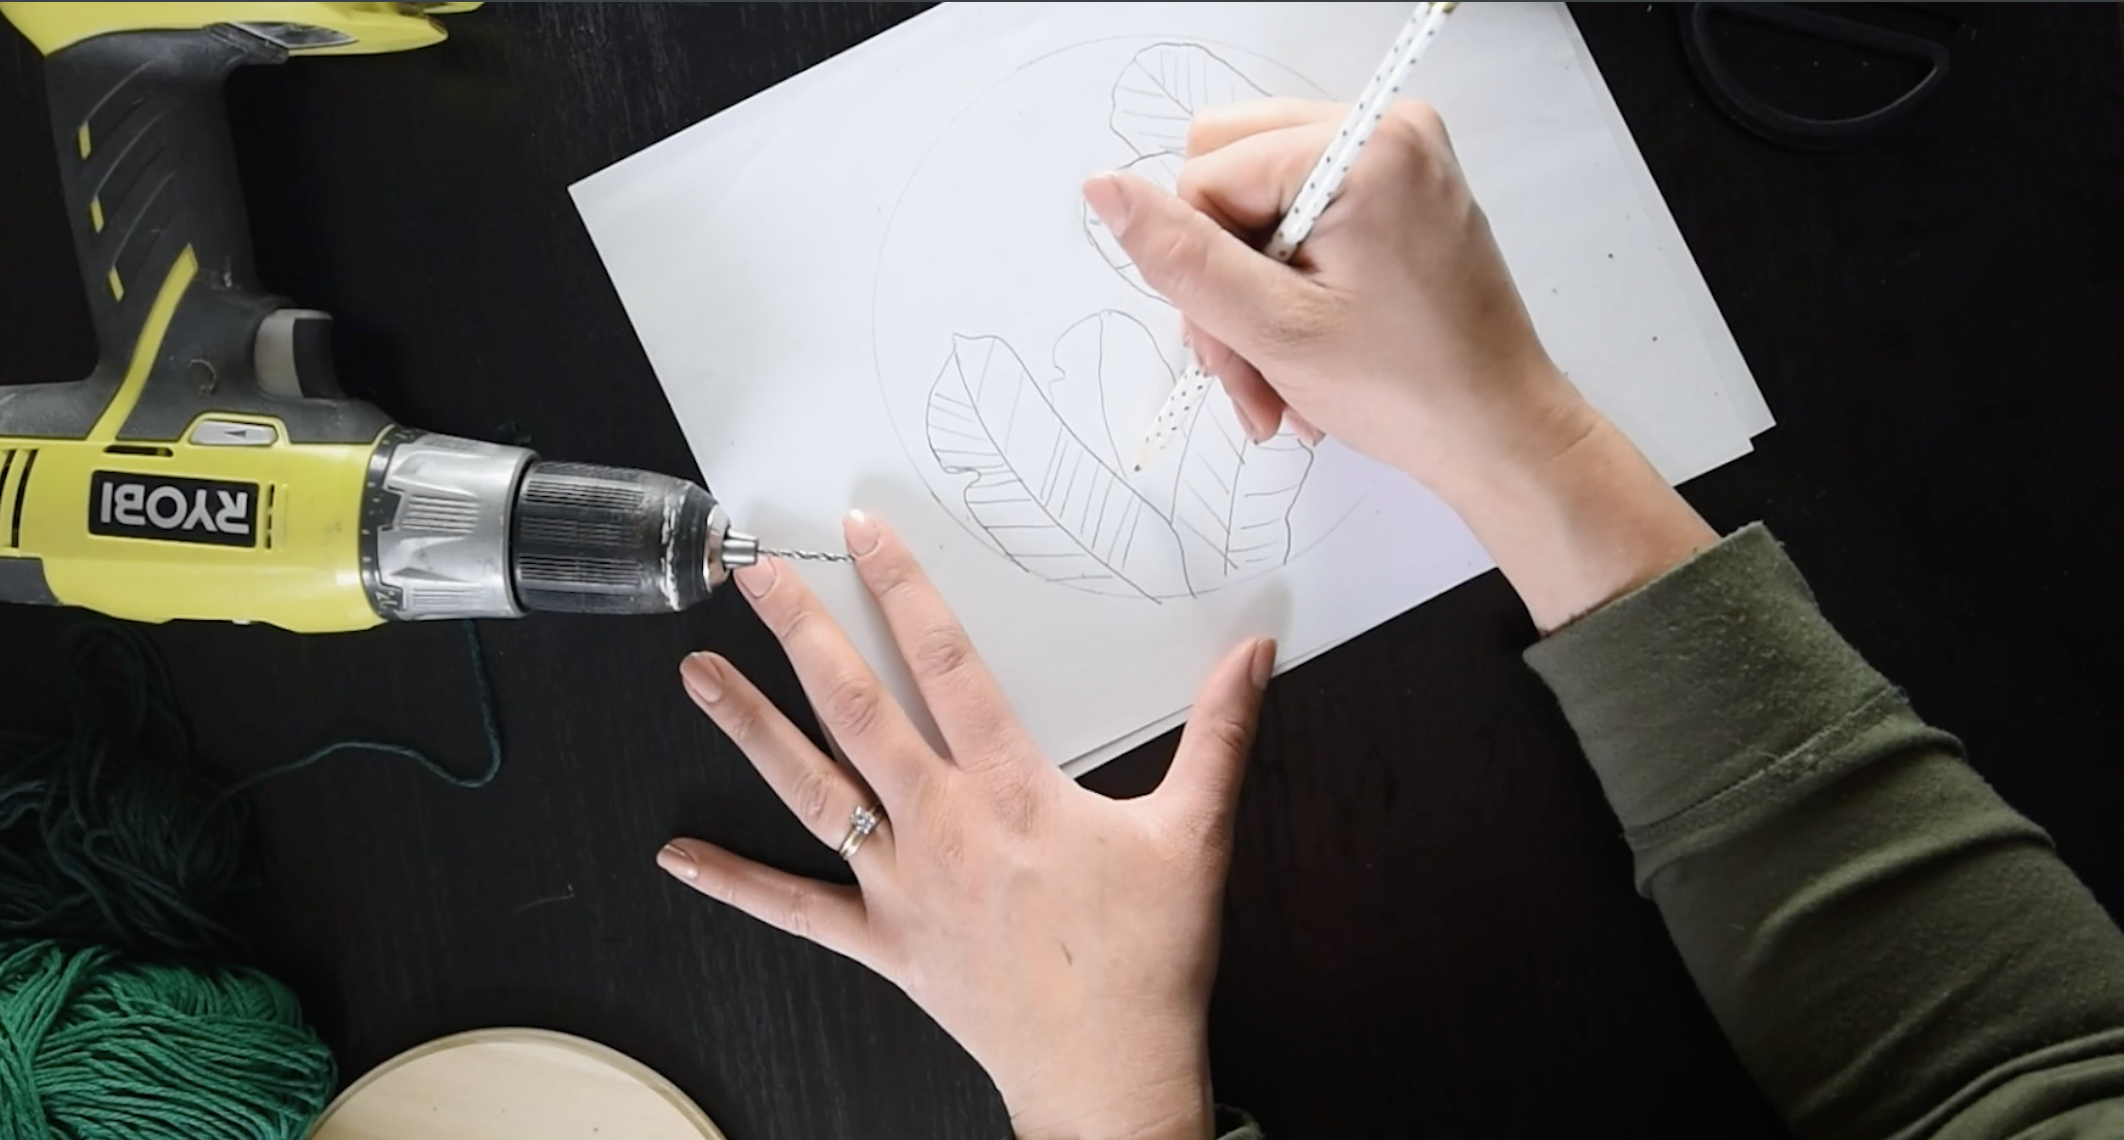
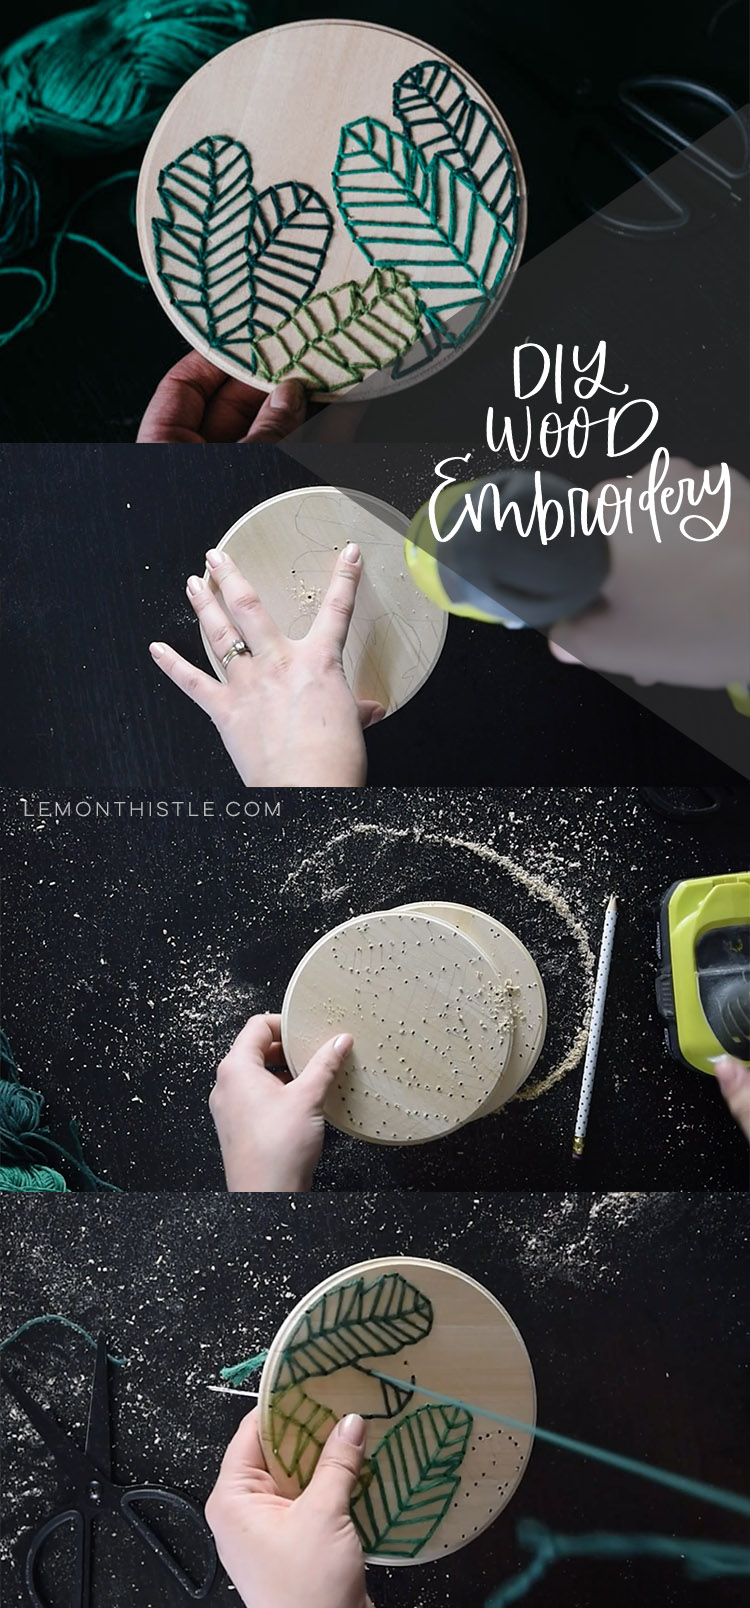
The first thing that you’ll need to do is to sketch out your design. Trace your wood round onto paper and get sketching! I have drawn these botanical leaves for a few things lately (remember these?!) so I just freehanded them, but you could totally trace a design as well. Heck, print one of the photos from this post and trace it if you like!
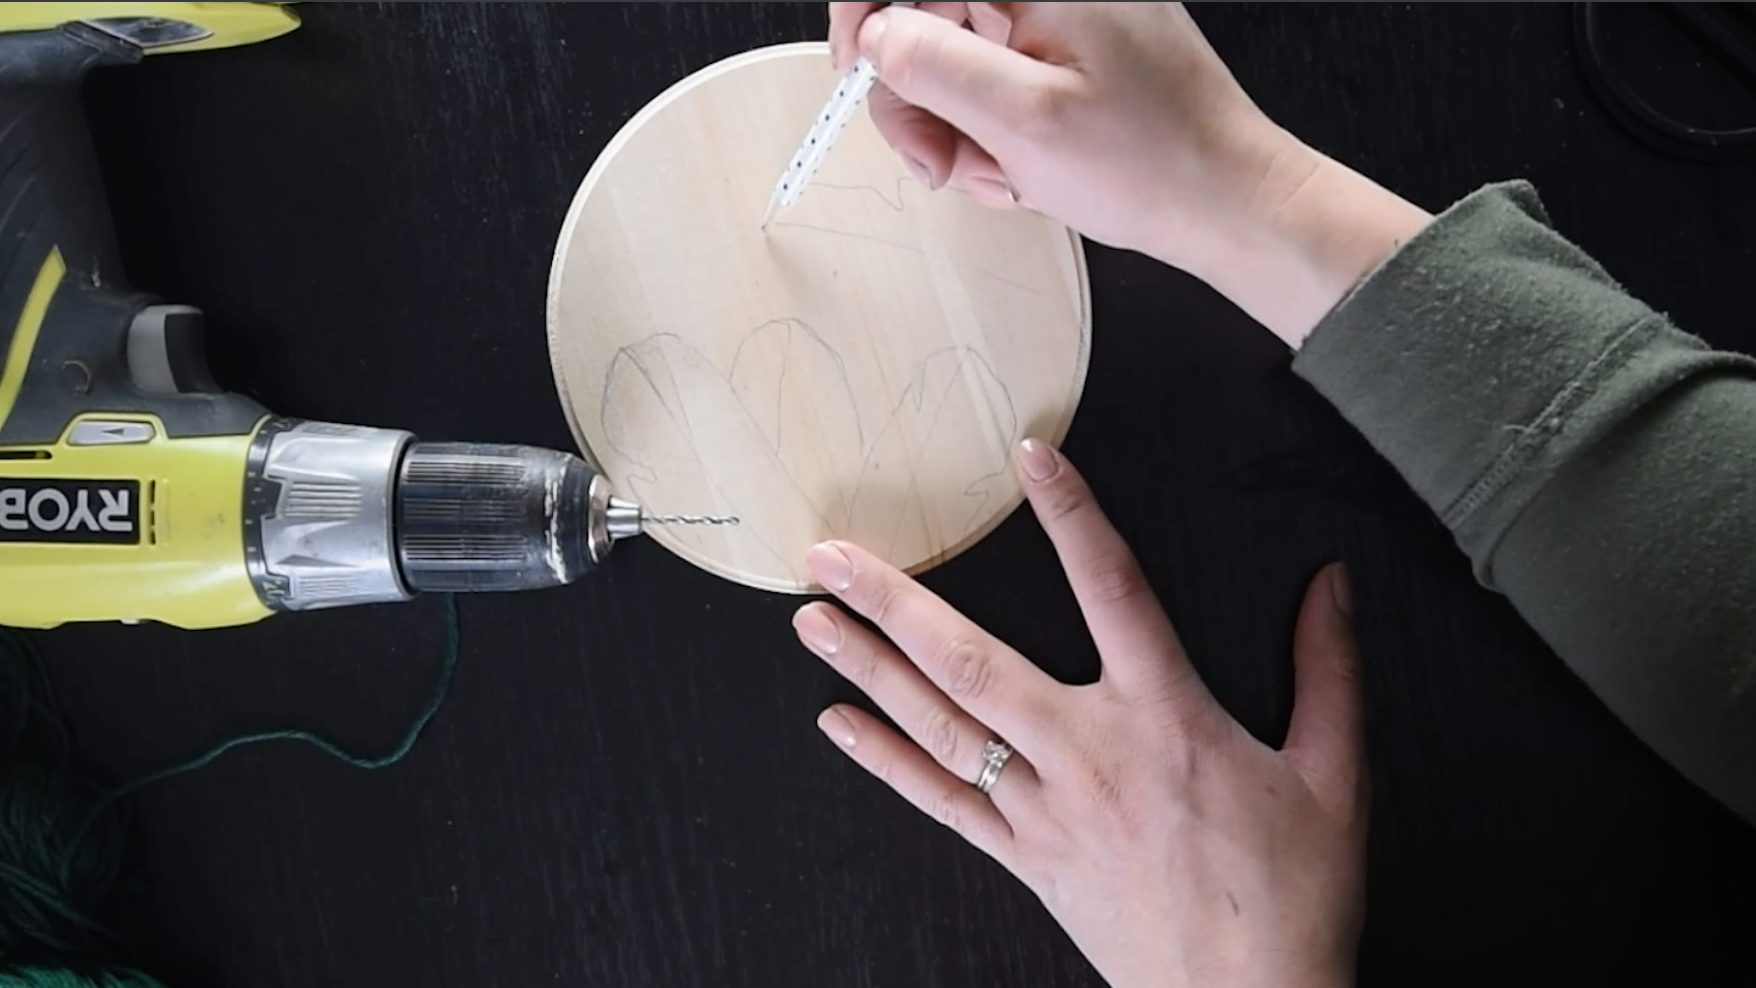
Once you have your design sketched, go ahead and lay it over top of your wood round and firmly trace it, transferring an imprint to the wood round. Go over that with pencil on the wood to make it more visible and then you can get drilling! At this point, I just transferred the outline from my designs.
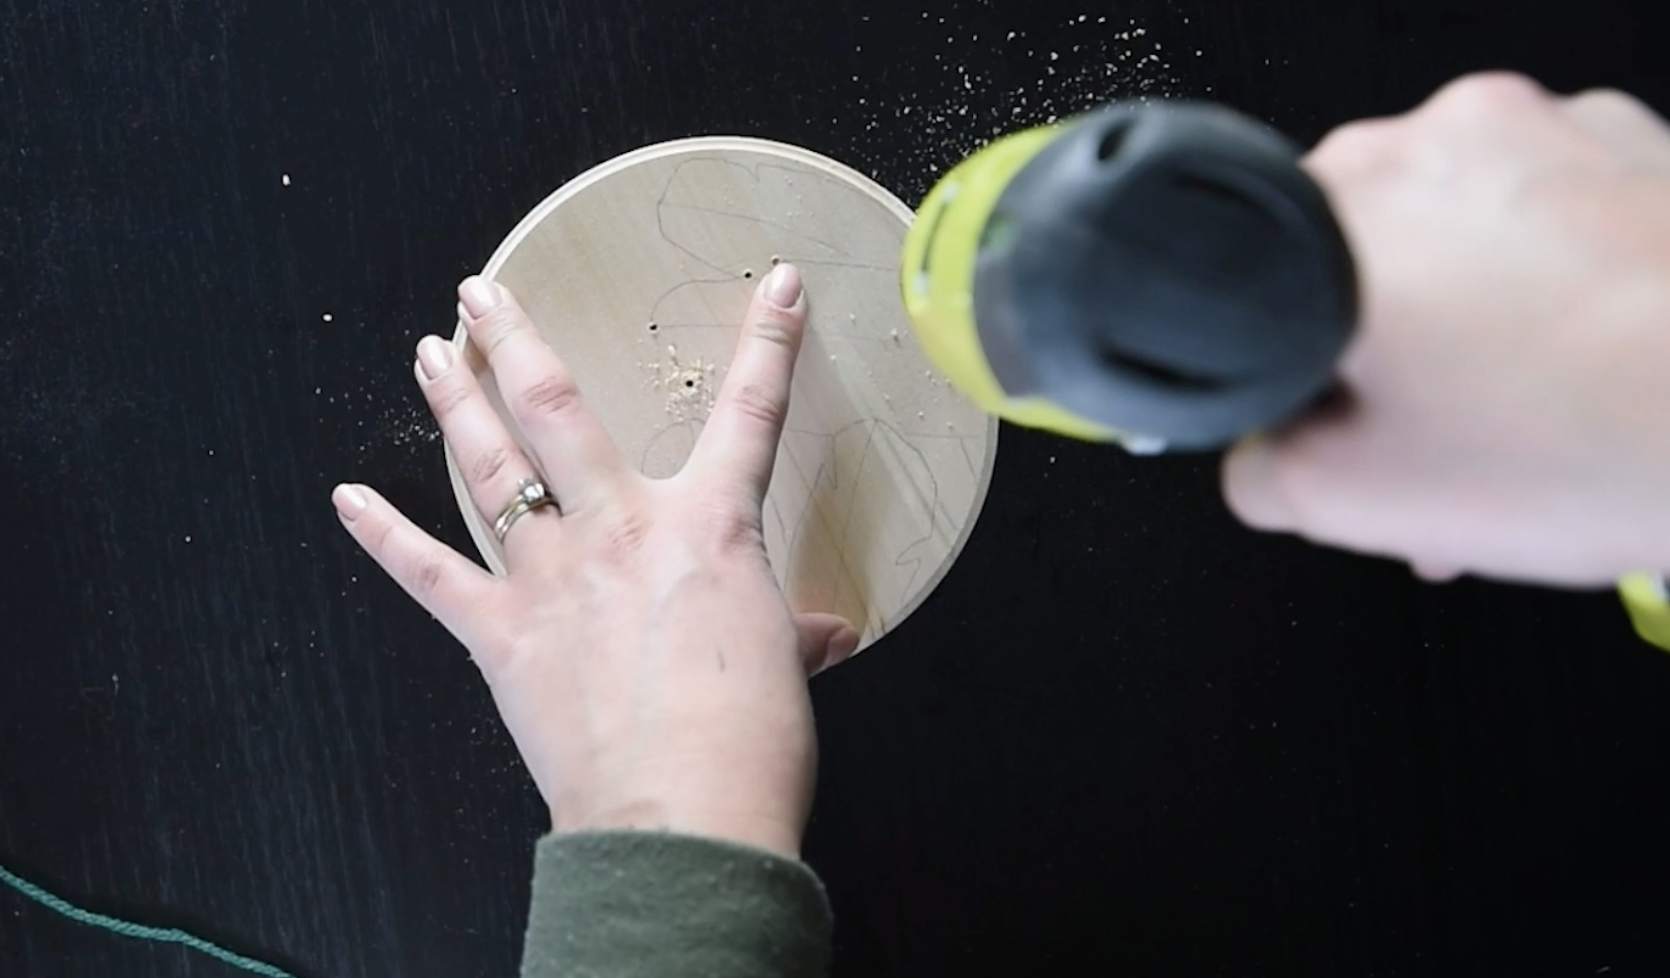
Put a 3/32″ drill bit into your drill and put a piece of scrap wood (I used a wood round that I’d tested this on first) to protect your surface. Drill straight into the wood at all of the points of your design and at all intersections of the leaves. Once this is done, you can draw in your veins or other details that you’d like to embroider. Then go and drill all of the holes at each end of those!
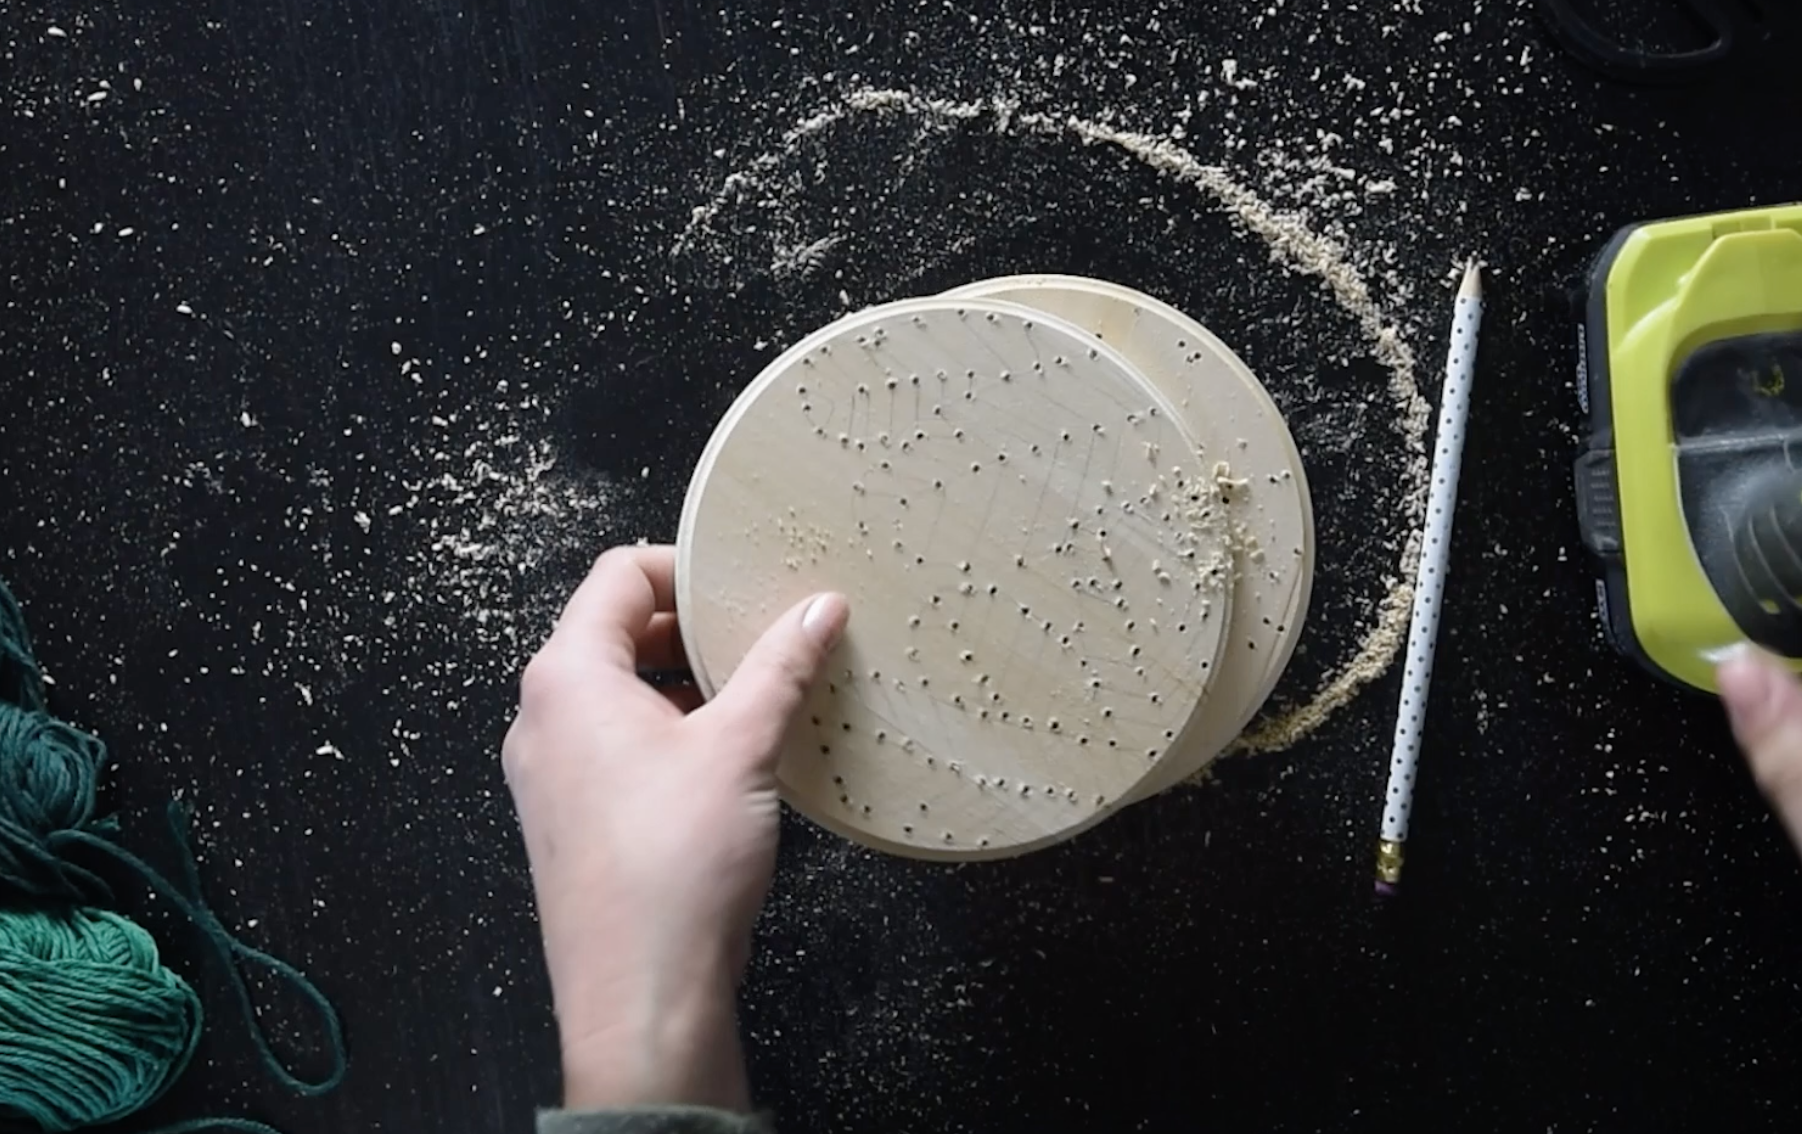
When you’re done drilling, give it a light sand to remove any splinters and smooth the drilled holes it out so it doesn’t get caught on the yarn. This also helps lighten the pencil marks.
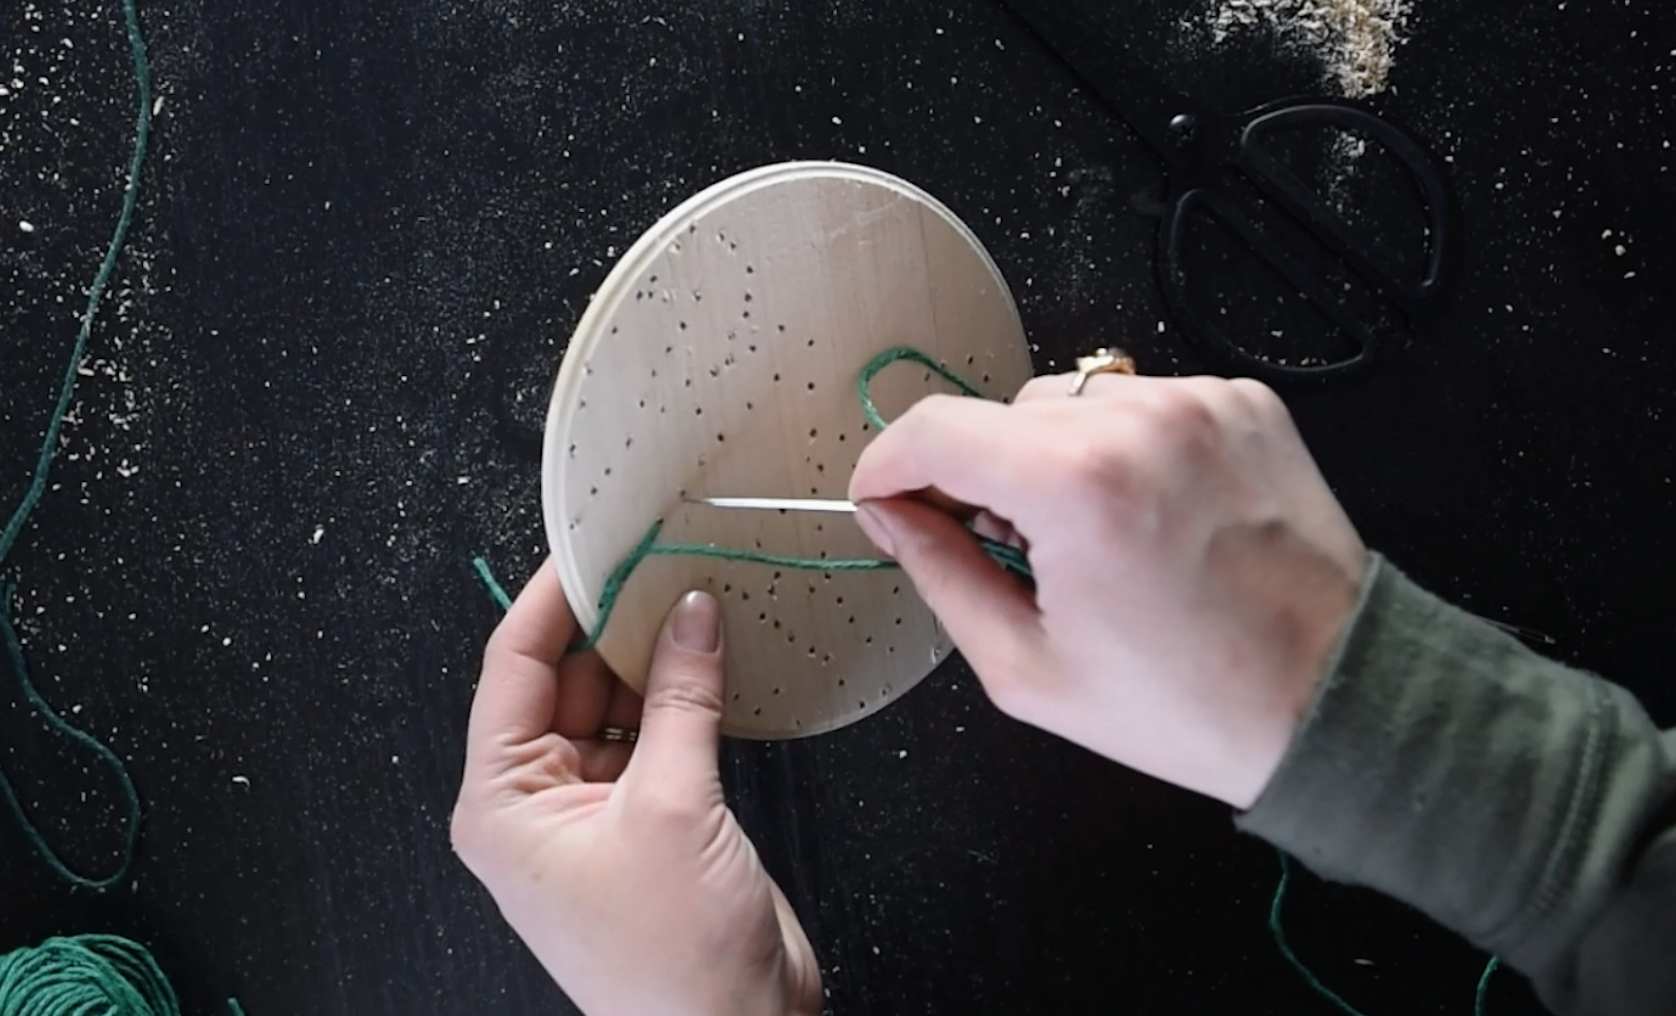
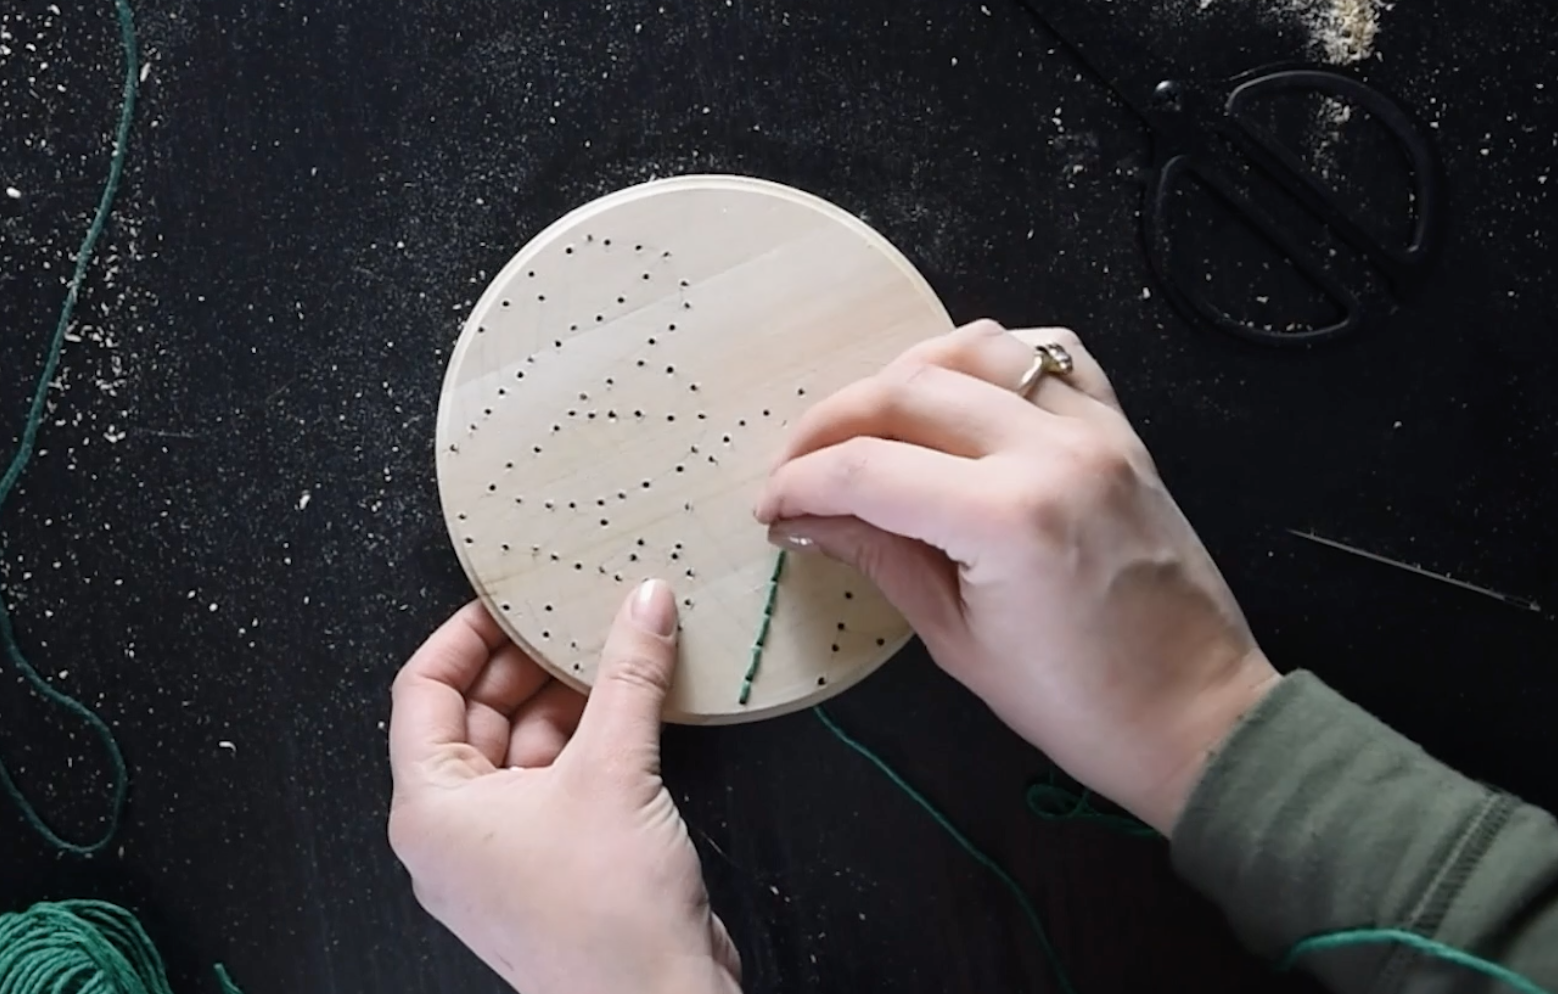
Now it’s time to get stitching! Start from the back and push your needle through the first hole. I started with the centre vein for each leaf, but you can do it however you like. Go back through the next hole and then at the back, tie a knot to give yourself a solid starting point. I used a backstitch which basically means I pushed my needle (from the back) through the next hole, then went back to the hole I came out of last. You can see this in the video really clearly.
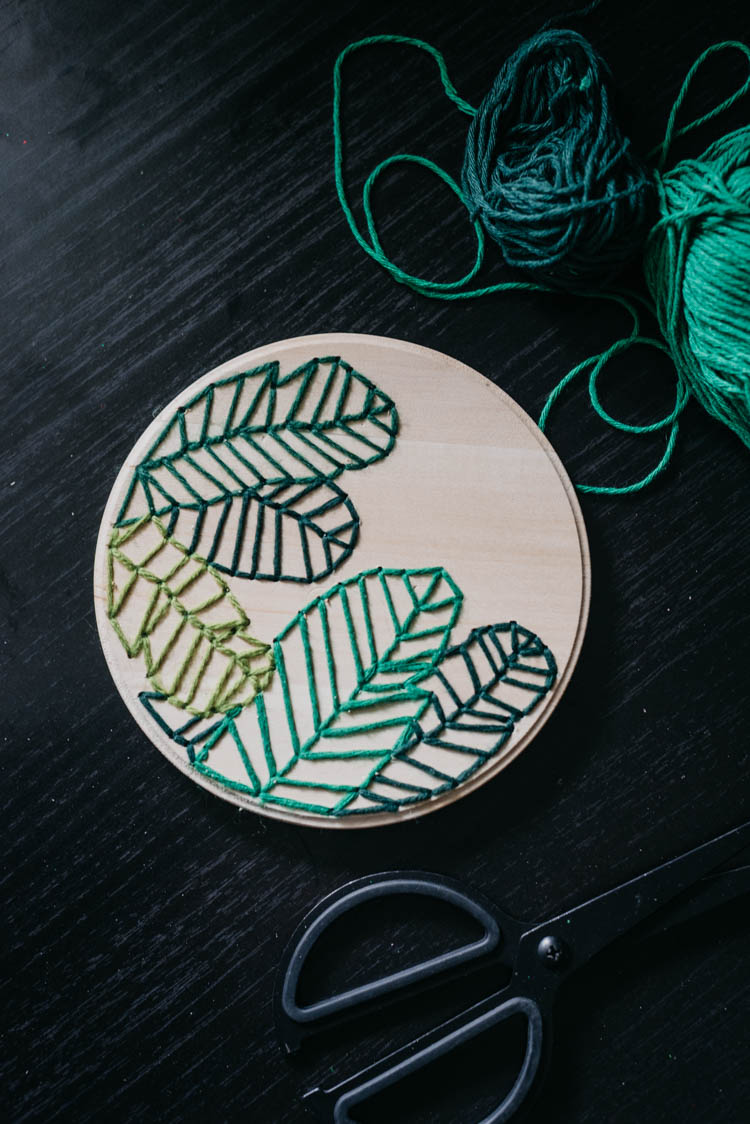
 When you’re done one color yarn, just tie it off on the back and start on the next! If you run out part way through one leaf- just tie off the piece that has run out and start on a new one- you won’t see this from the front since the wood is a solid surface.
You also might run into some spots where you decide you need a couple more holes drilled- you can see that I do this quite a few times in the video. No problem! Just add those in as you go and you’ll be much happier with your design in the end. The holes you drilled in the first steps are a great starting point, but you can definitely add more.
The other challenge I ran into is that since the yarn is thick, the holes aren’t huge, and the needle is thicker to accommodate the yarn- when you get through the same hole 3 or more times, it gets suuuuper hard to push the needle through. I like the holes the size they are because you don’t see a big hole behind your stitches. This is aesthetically important to me. I did size down my needle so that it would go through easier but on some of those intersecting points, they were still really tricky. I used tape to wrap the needle (like a little flag) as a grip to help pull it through when this happened. It worked really well and then I pulled it off to continue stitching.
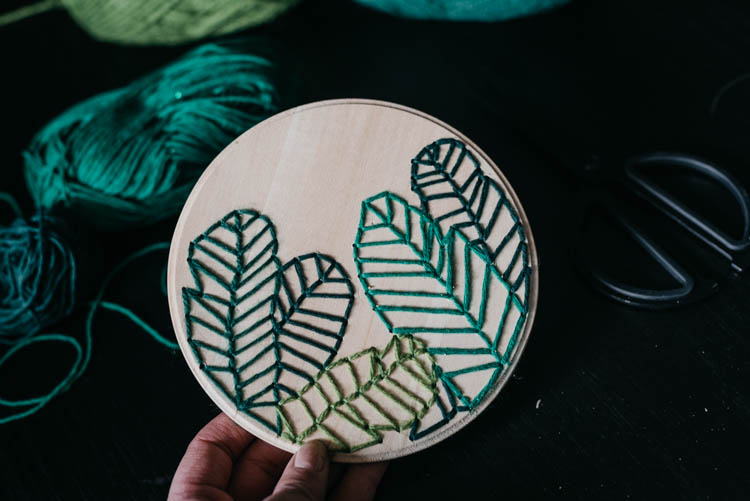
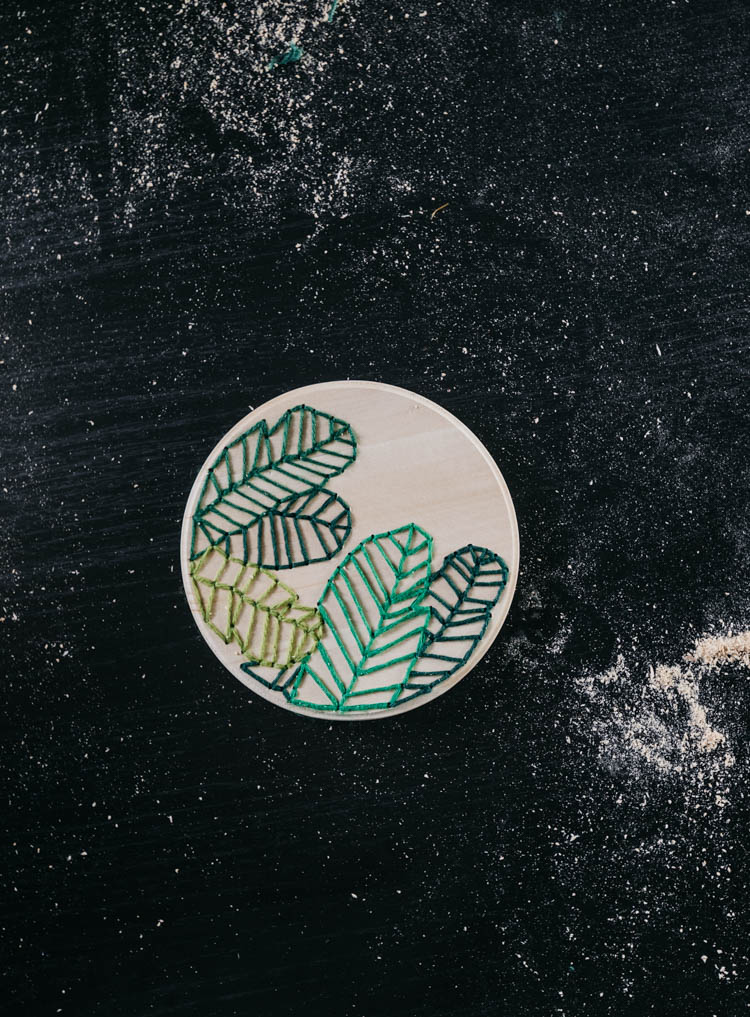
Alright… that’s it! I’m so pleased with how it turned out. For now, I’m planning to try this in my entry way once we replace our door. But I also think it would be so rad in my office when I make over that space in the fall! What do you think? Would you try it? I’d love to hear! If you want to get started with the same wood plaque I’m using- it’s this one right here from Walnut Hollow!
If you do try it out- make sure to let me know! Tag me on social @colleenpastoor or shoot me an email colleen{at}lemonthistle.com!
LIKE IT? PIN IT!
 Paint is Magic – ORC Week 3 Update
Leave a Reply