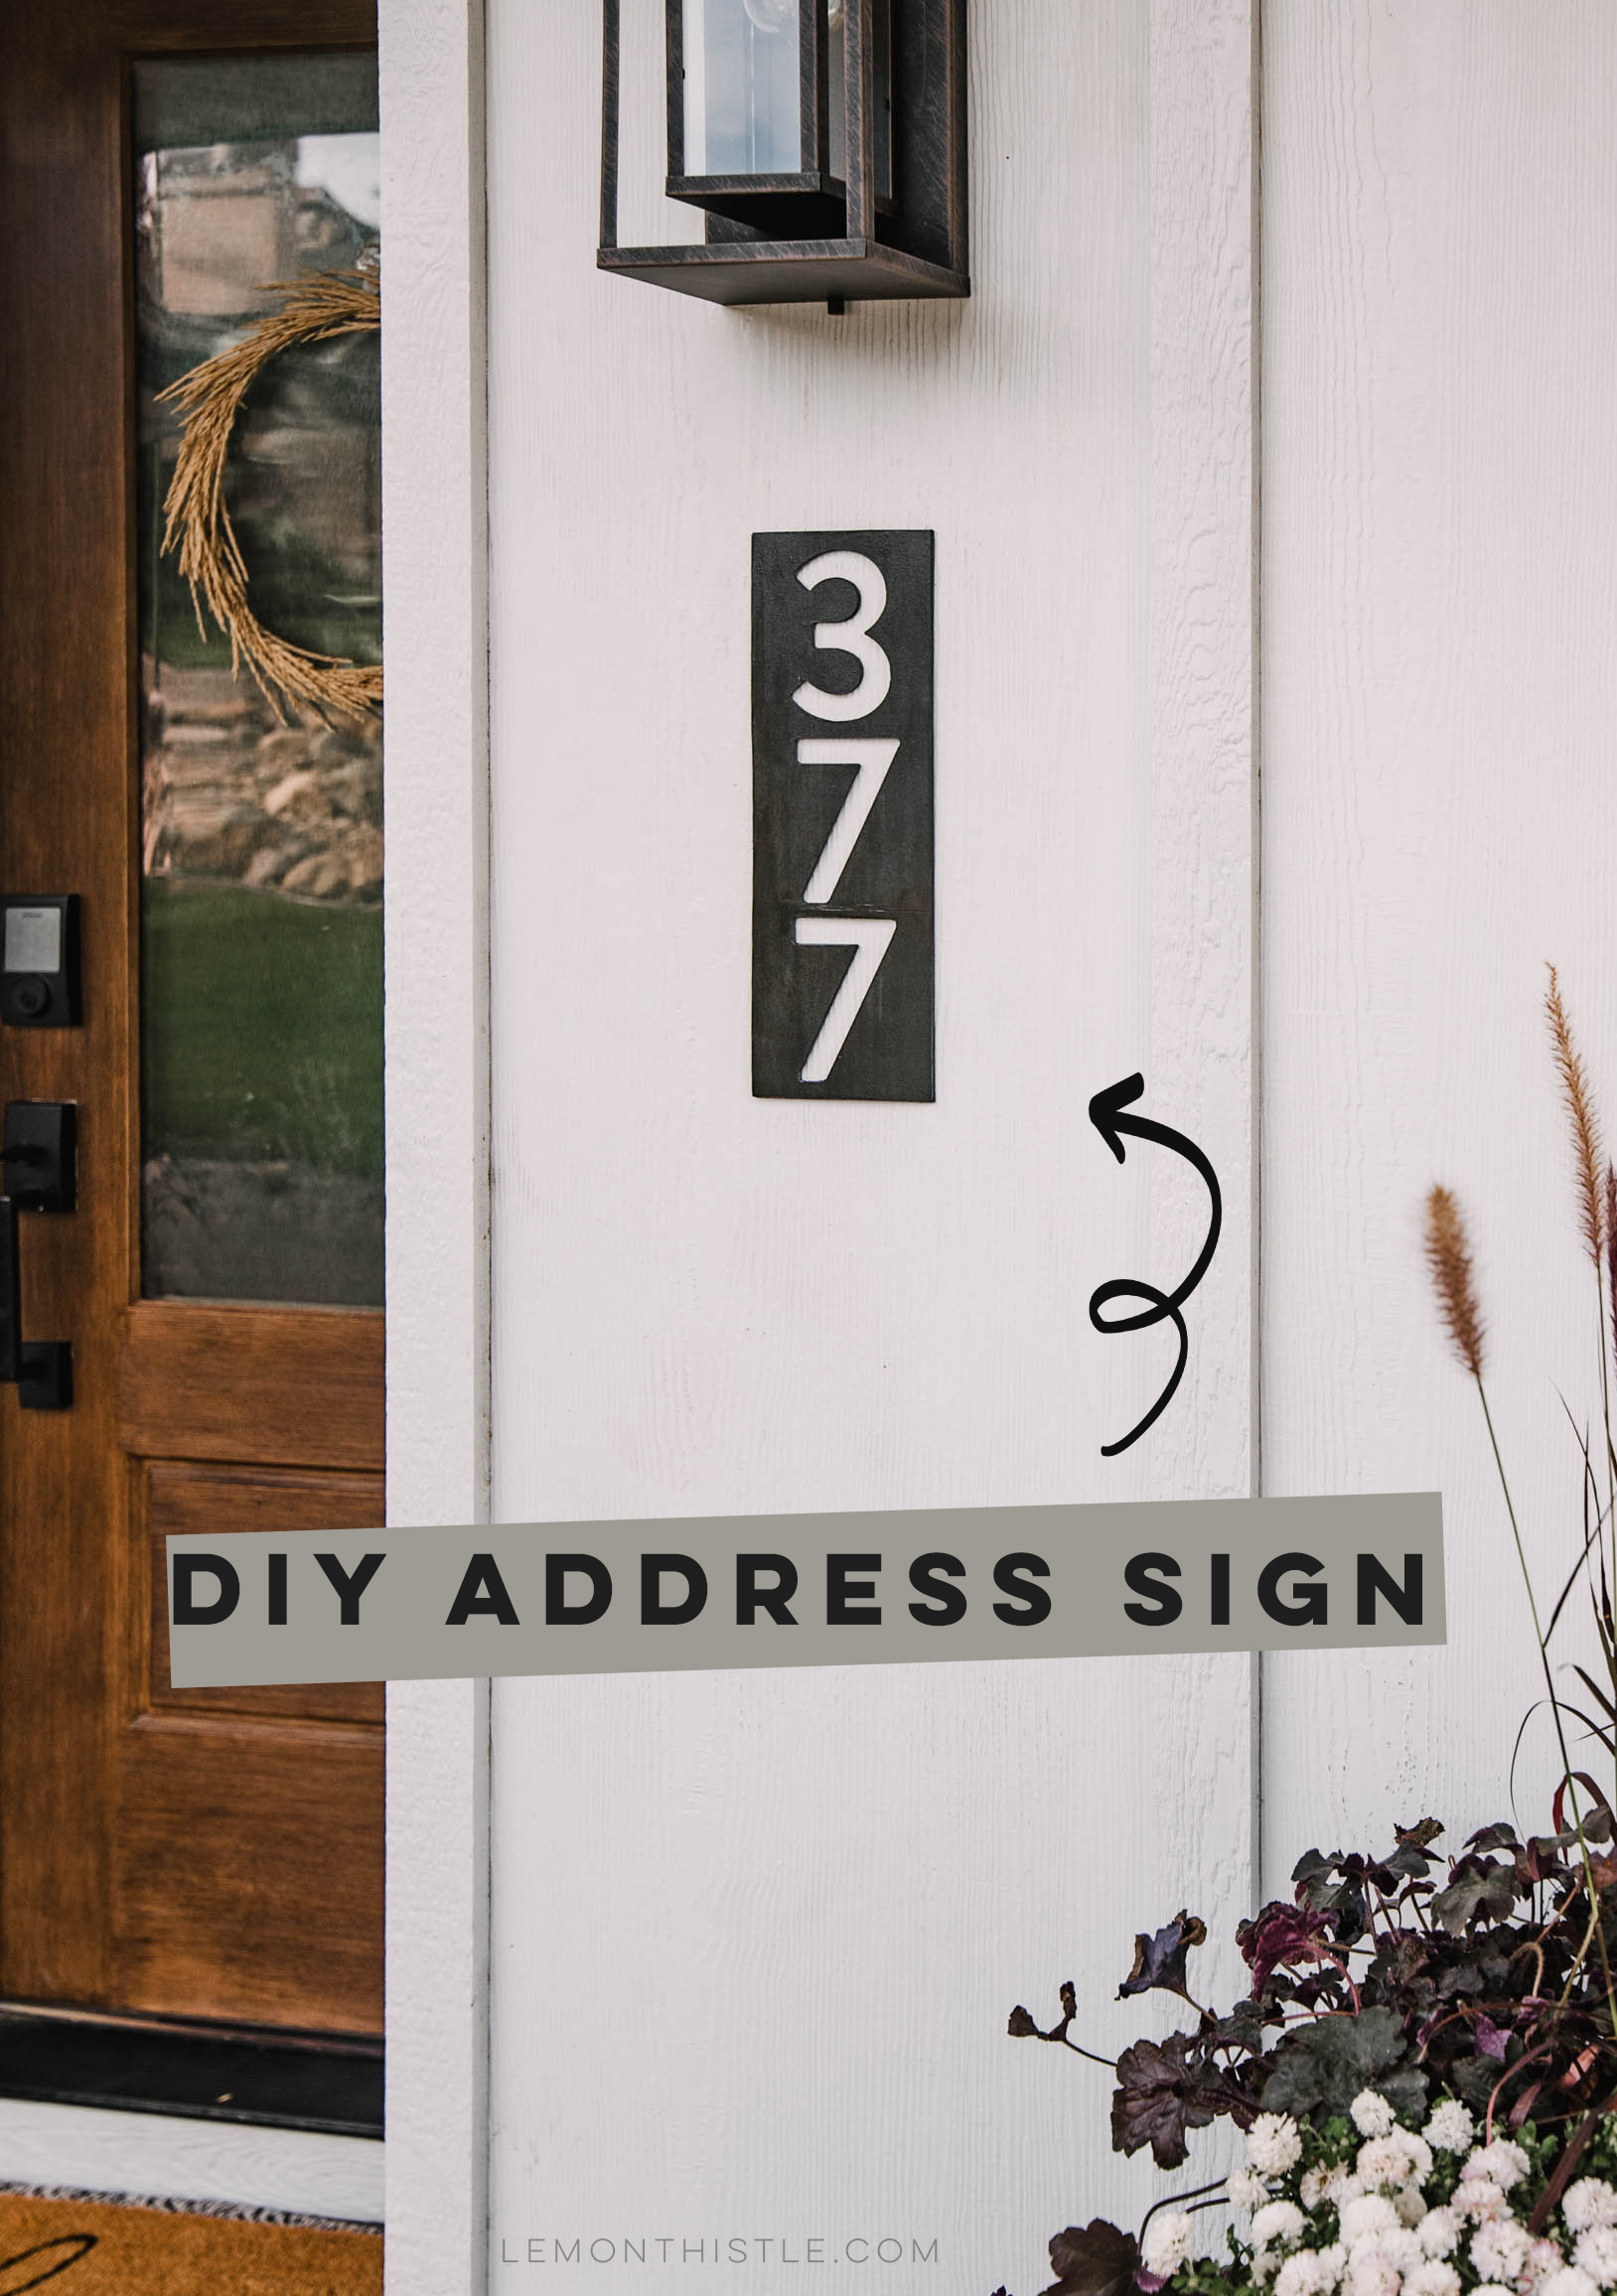
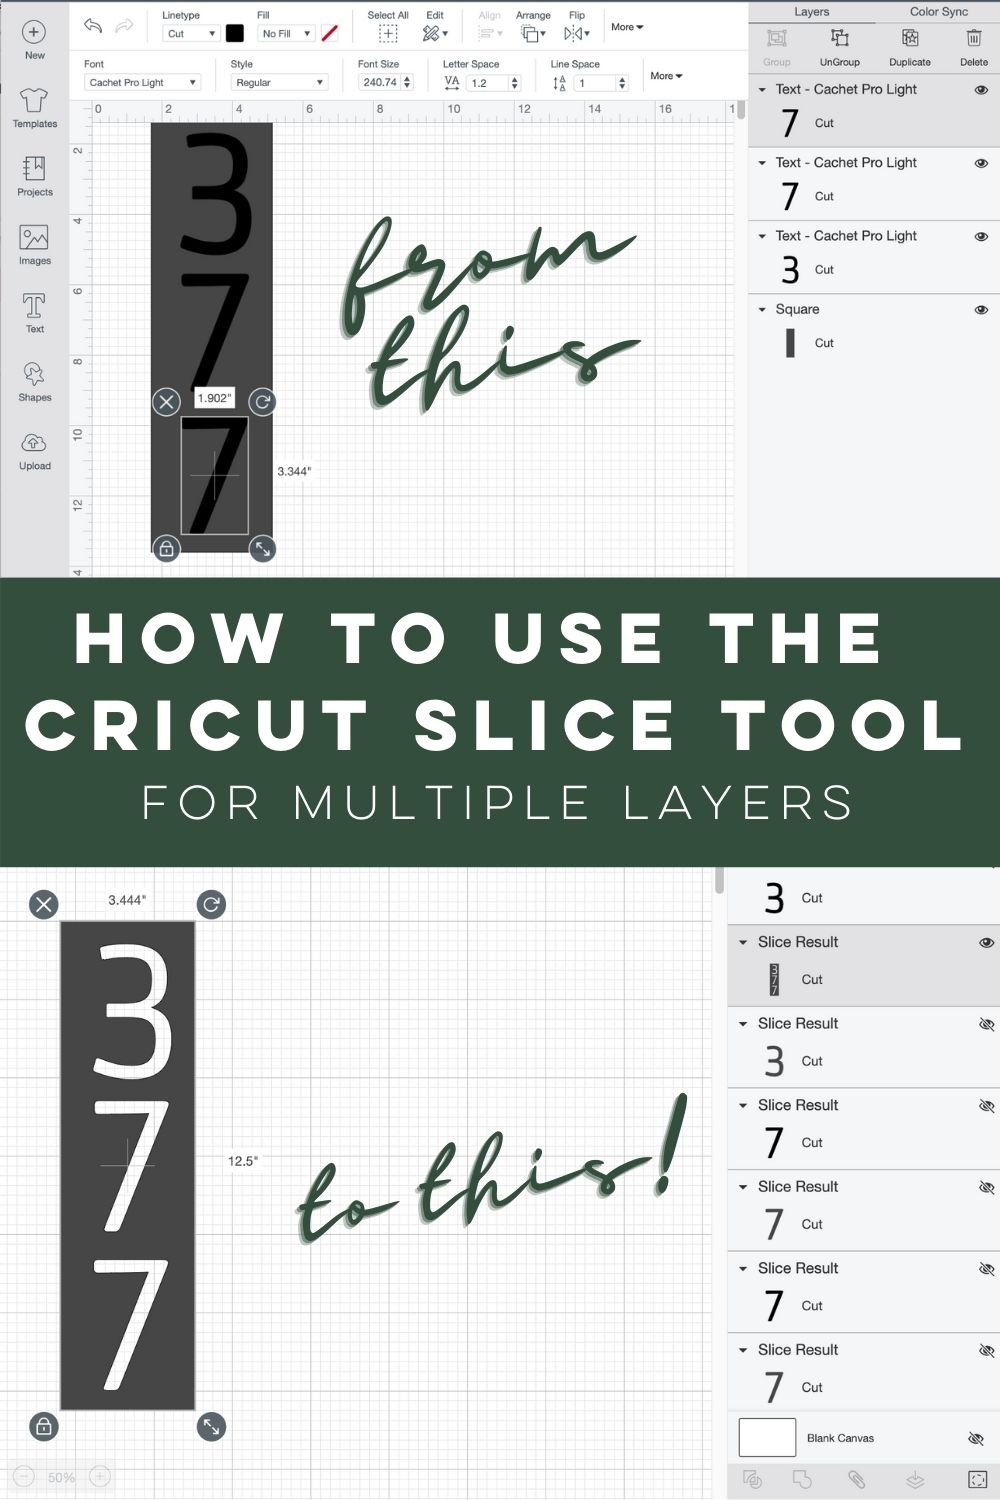
This DIY Address Sign is made using wood and the Cricut Maker. This DIY walks you through how to cut the wood sheets and paint for modern metal-look house numbers.
T
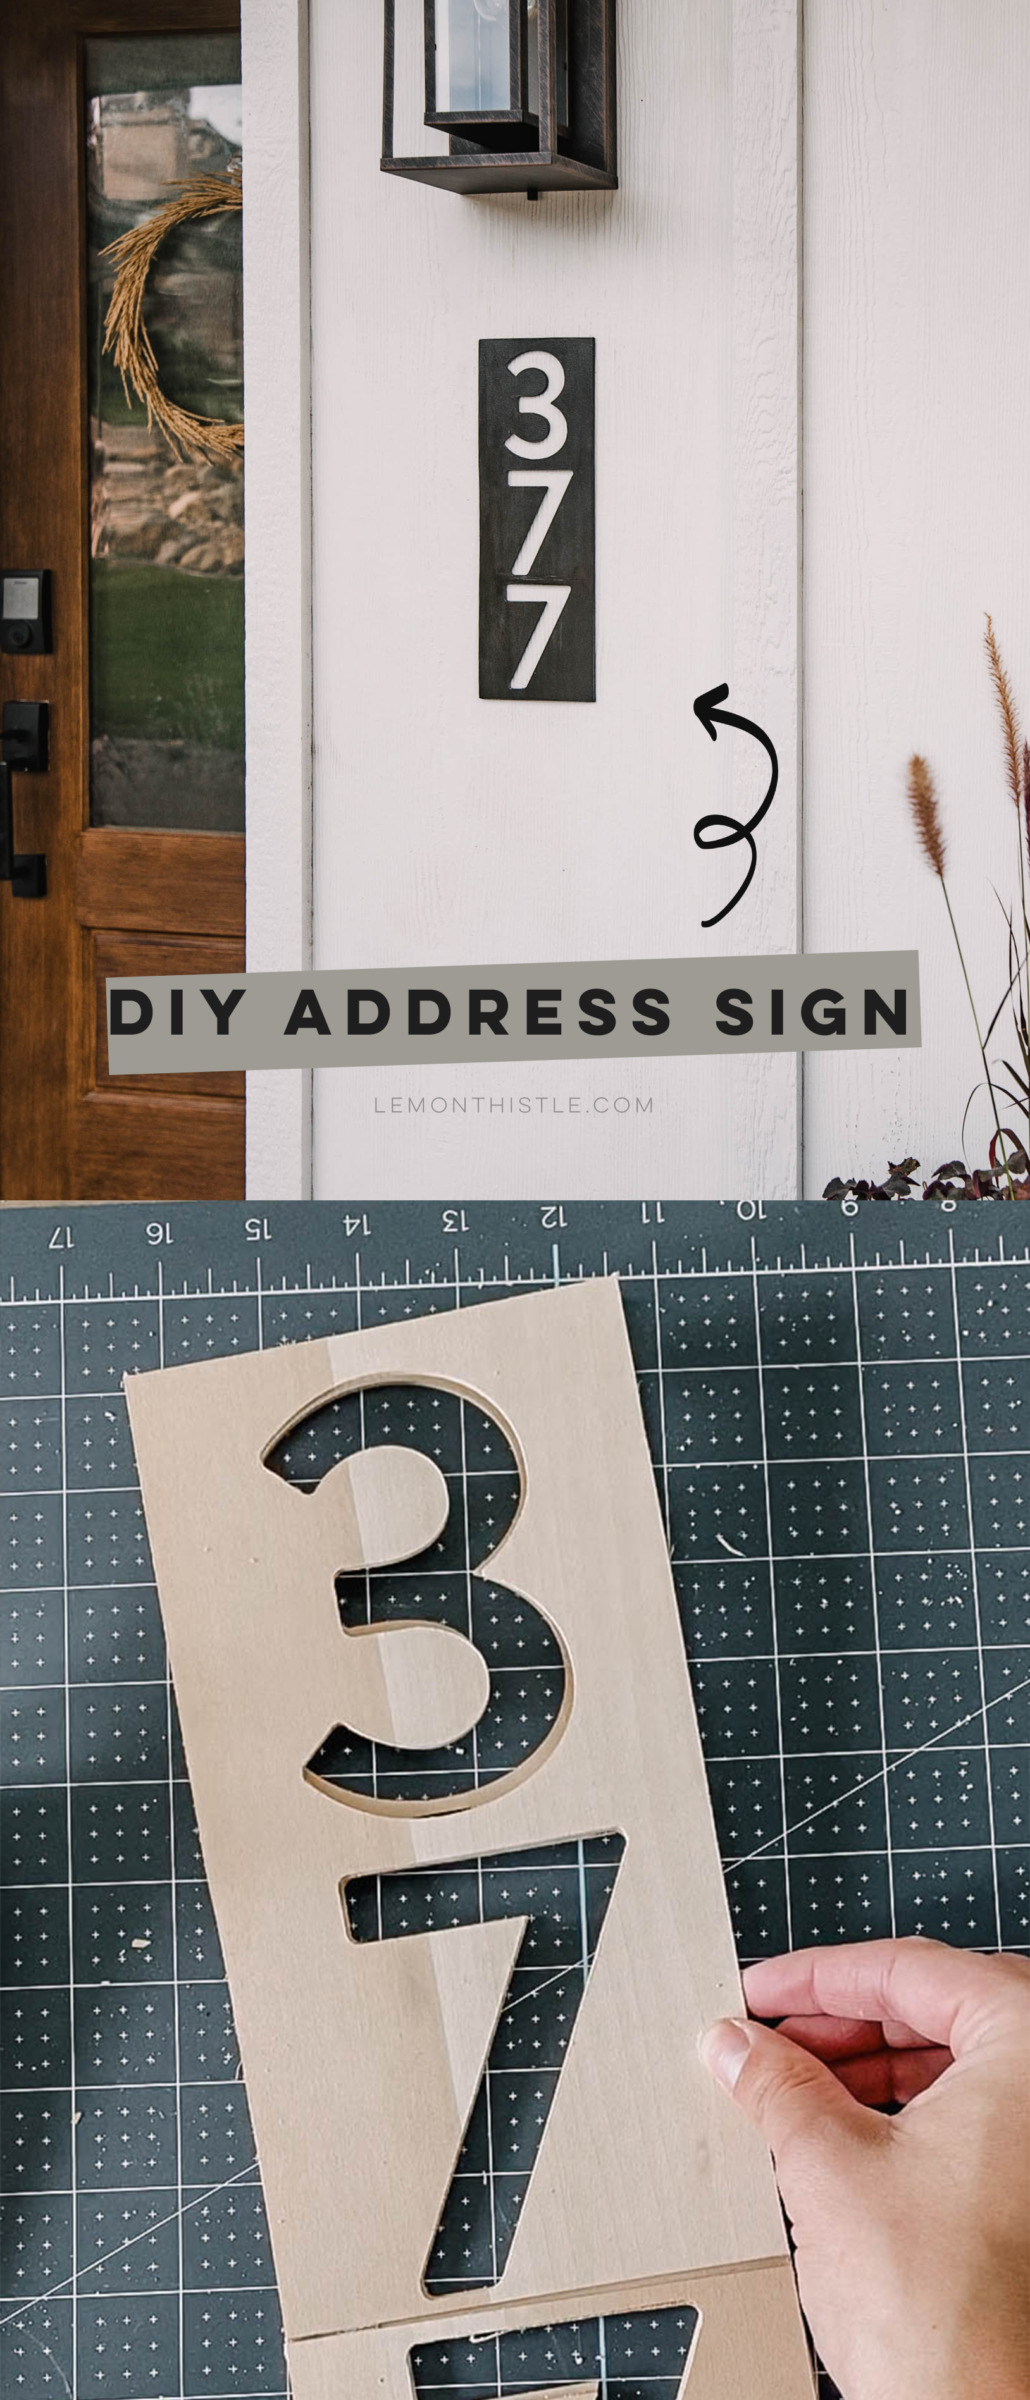
When we were getting to the stage of our exterior home remodel that siding was going over the plywood we’d spray painted our house number on to, I started browsing Pinterest for some house number ideas. I was so drawn to the modern metal house numbers cut out signs. I was searching through custom order options when I realized I could make my own house numbers with my Cricut Maker and some wood! Did you know that Cricut could take on woodworking projects? Today I’m excited to partner with Cricut to share this tutorial with you!
I’m so glad I took the time to test this idea out, because it turned out just as beautiful as I’d imagined. They’ve been up over the winter and are still in awesome shape- I’d definitely recommend this DIY! So today I’m sharing how to make these modern house numbers using sheets of basswood, your Cricut Maker, and some paint! Ready?
For this project, I used:
- Cricut Maker
- Knife Blade
- Strong Grip Mat
- Cricut Basswood sheets (currently unavailable, any basswood sheets would work up to *** thick)
- Craft Mat + Knife
- Glue- I used No More Nails
- Paintable wood filler
- Fine grit sandpaper (180 is what I used!)
- Metallic finish paint (if you wish for texture first!)
- Matte black spray paint
- Matte Clear Spray Paint or Clear Polycrylic to seal the wood
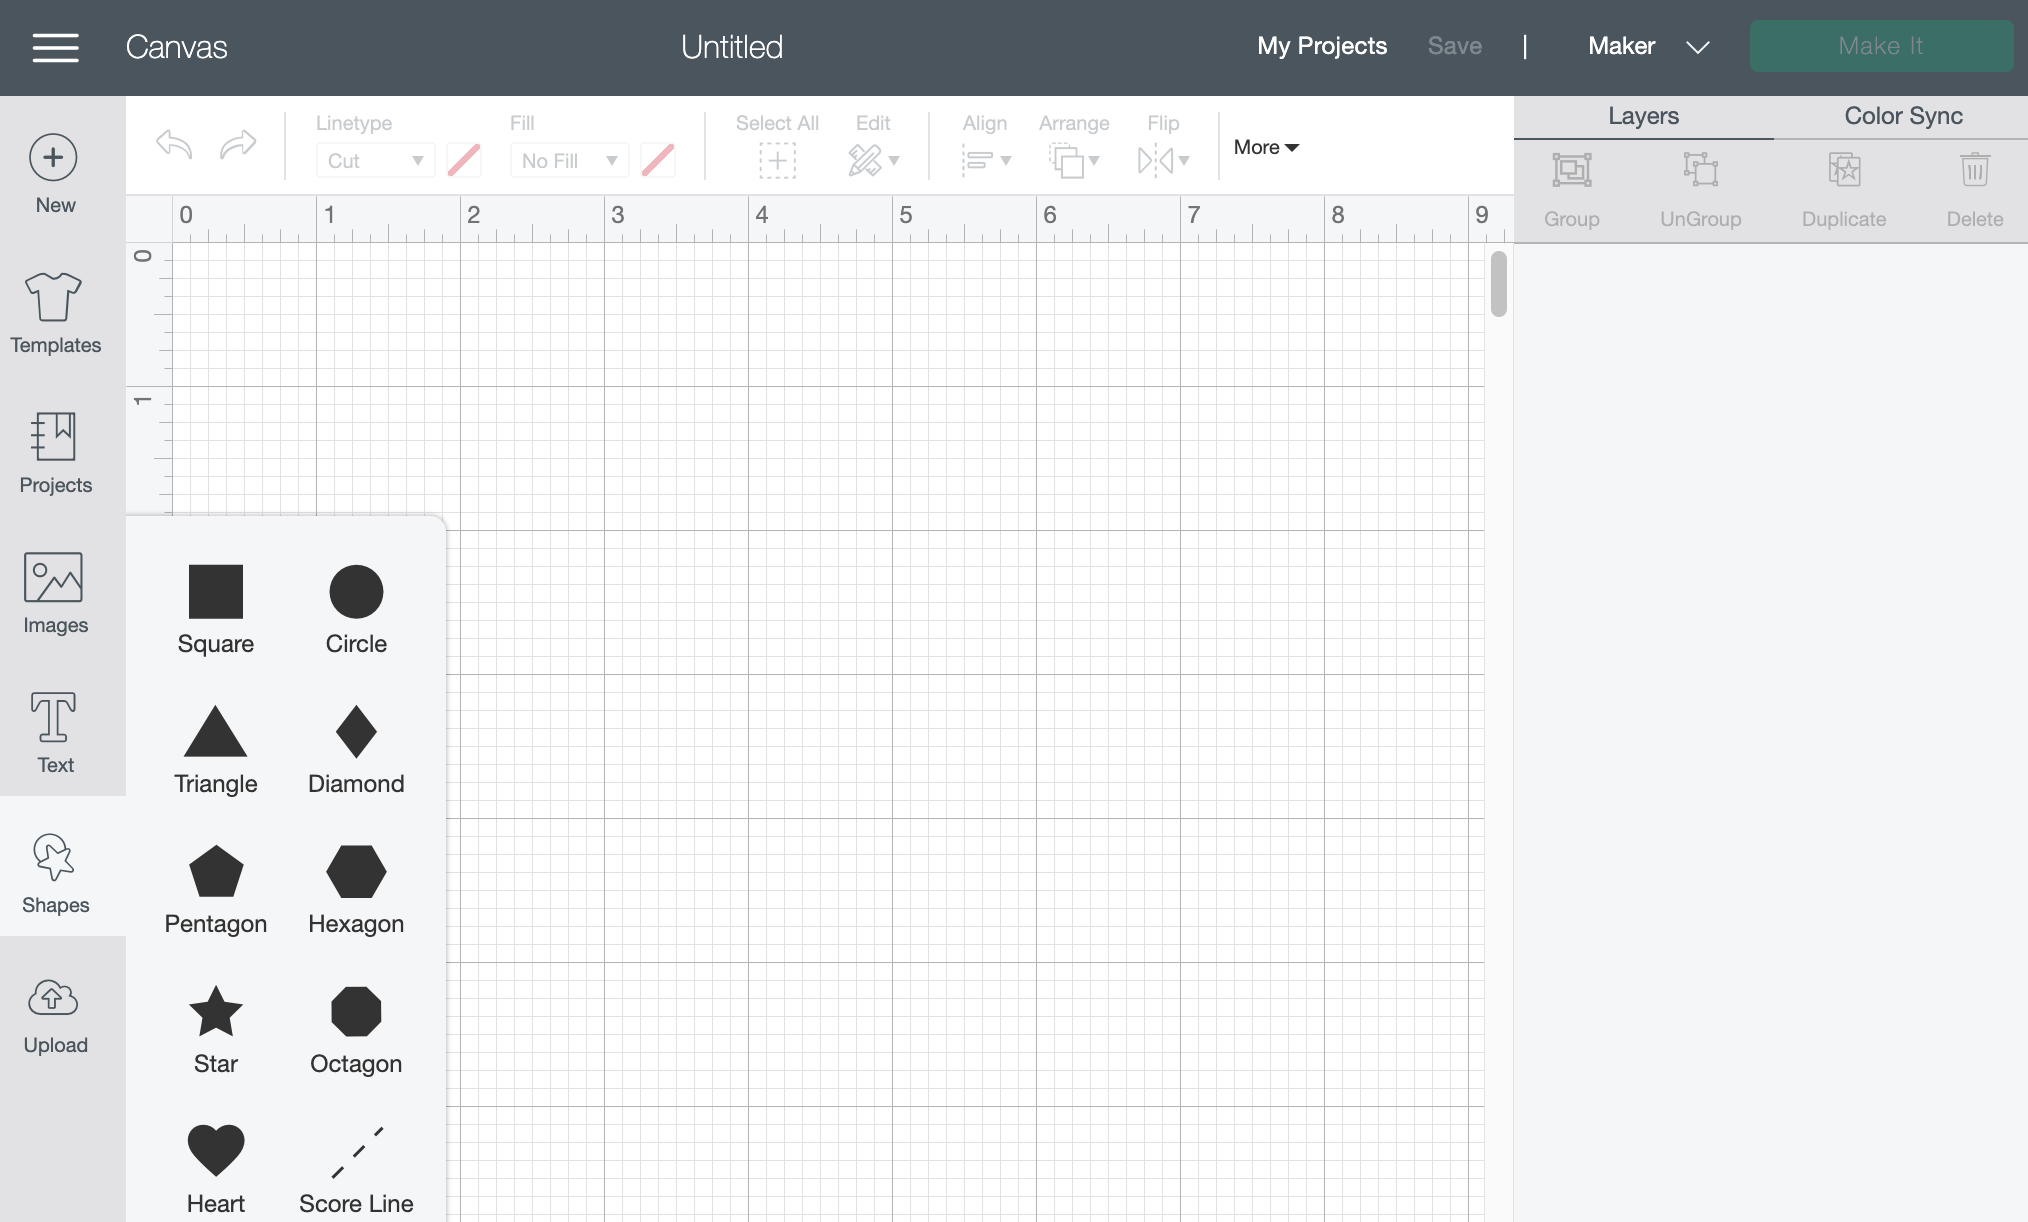
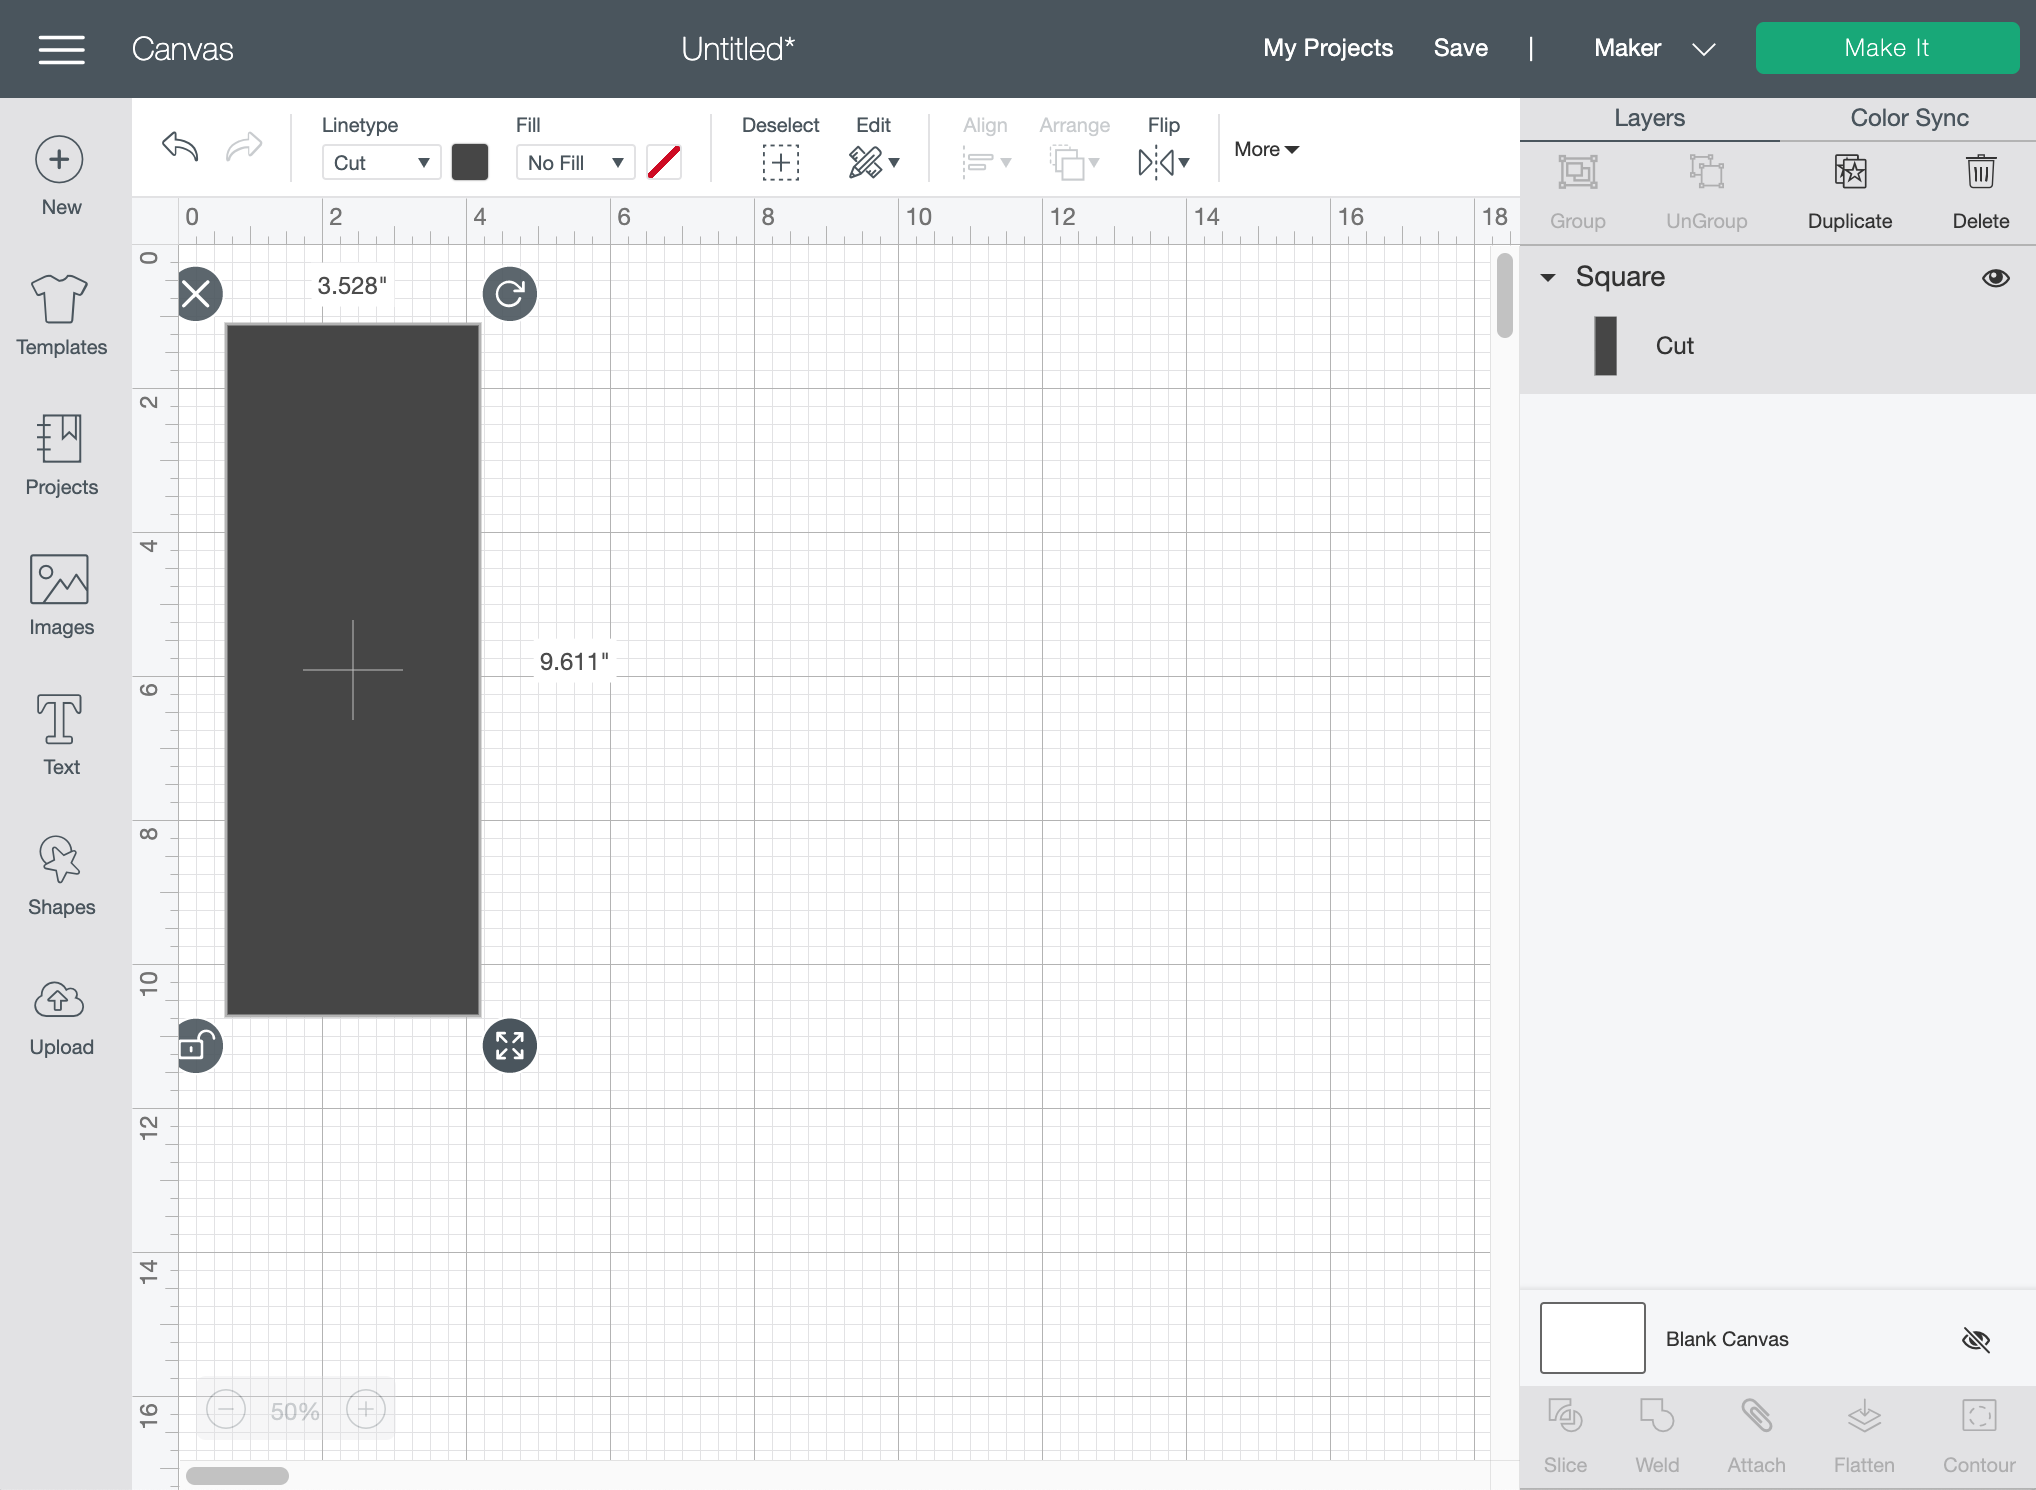
The first step is to design your sign in Cricut Design Space. I wish I could just give you the design, but I’m guessing you have a different house number ;) Plus, it really is simple! First up, make yourself a rectangle base. You can choose generally how big you’d like it, but I’d wait until you add your numbers to make that final call. To make a rectangle, you add a square under the shapes panel, unlock the shape and resize it as you wish.
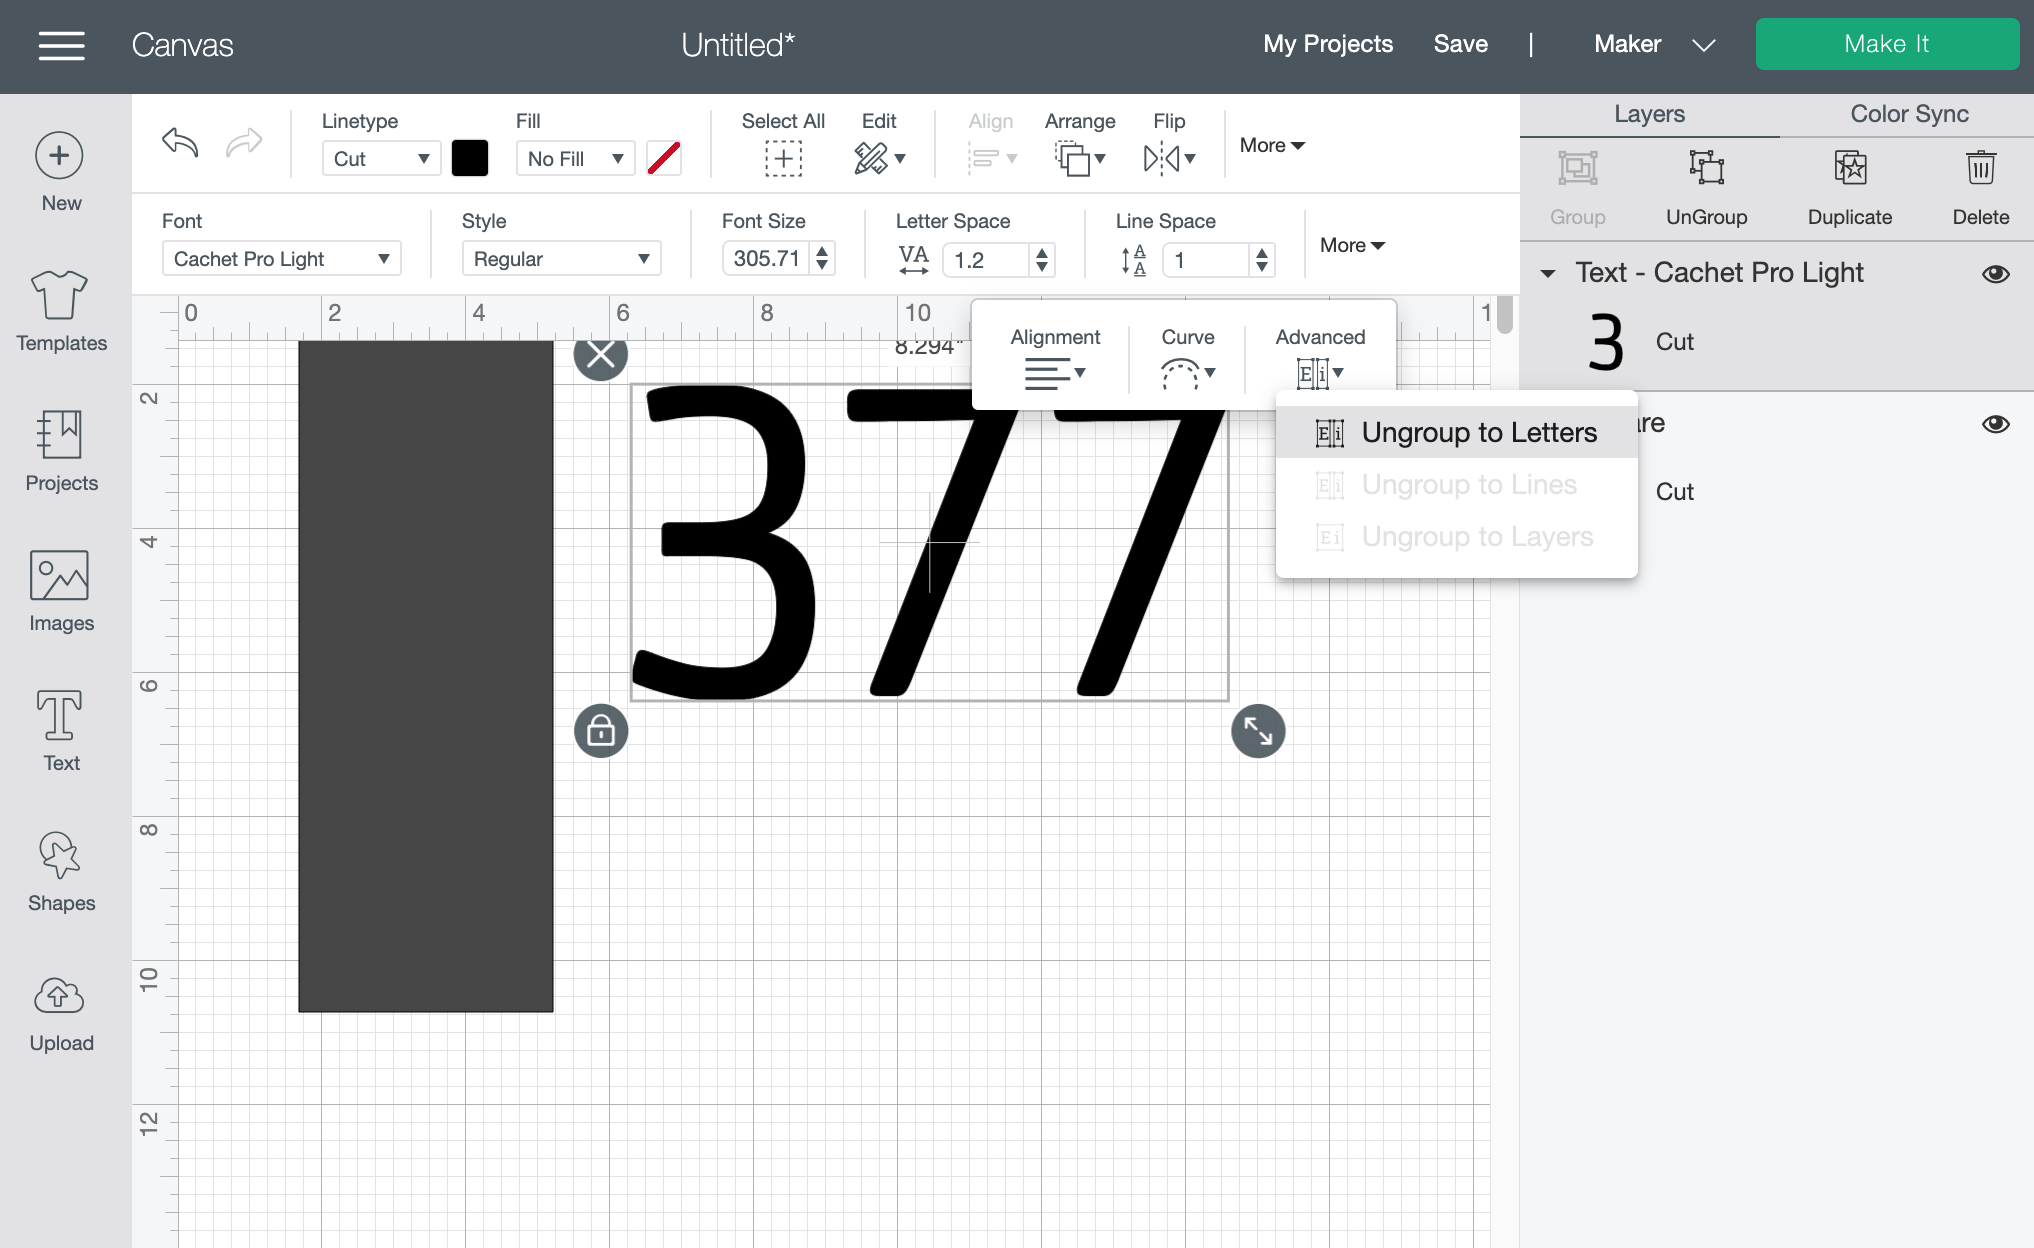
Next up… Add text with your house number and play with the fonts until you find one you’re happy with! Then, you can ungroup the text to individual characters and arrange them on your rectangle. When you’re happy with the layout- let’s get slicing!
You can only slice from two layers at a time. So select one of the numbers and the rectangle and hit slice at the bottom of the layer panel. Turn off or delete the layers you don’t need and save the one that is the rectangle with the number cut out.
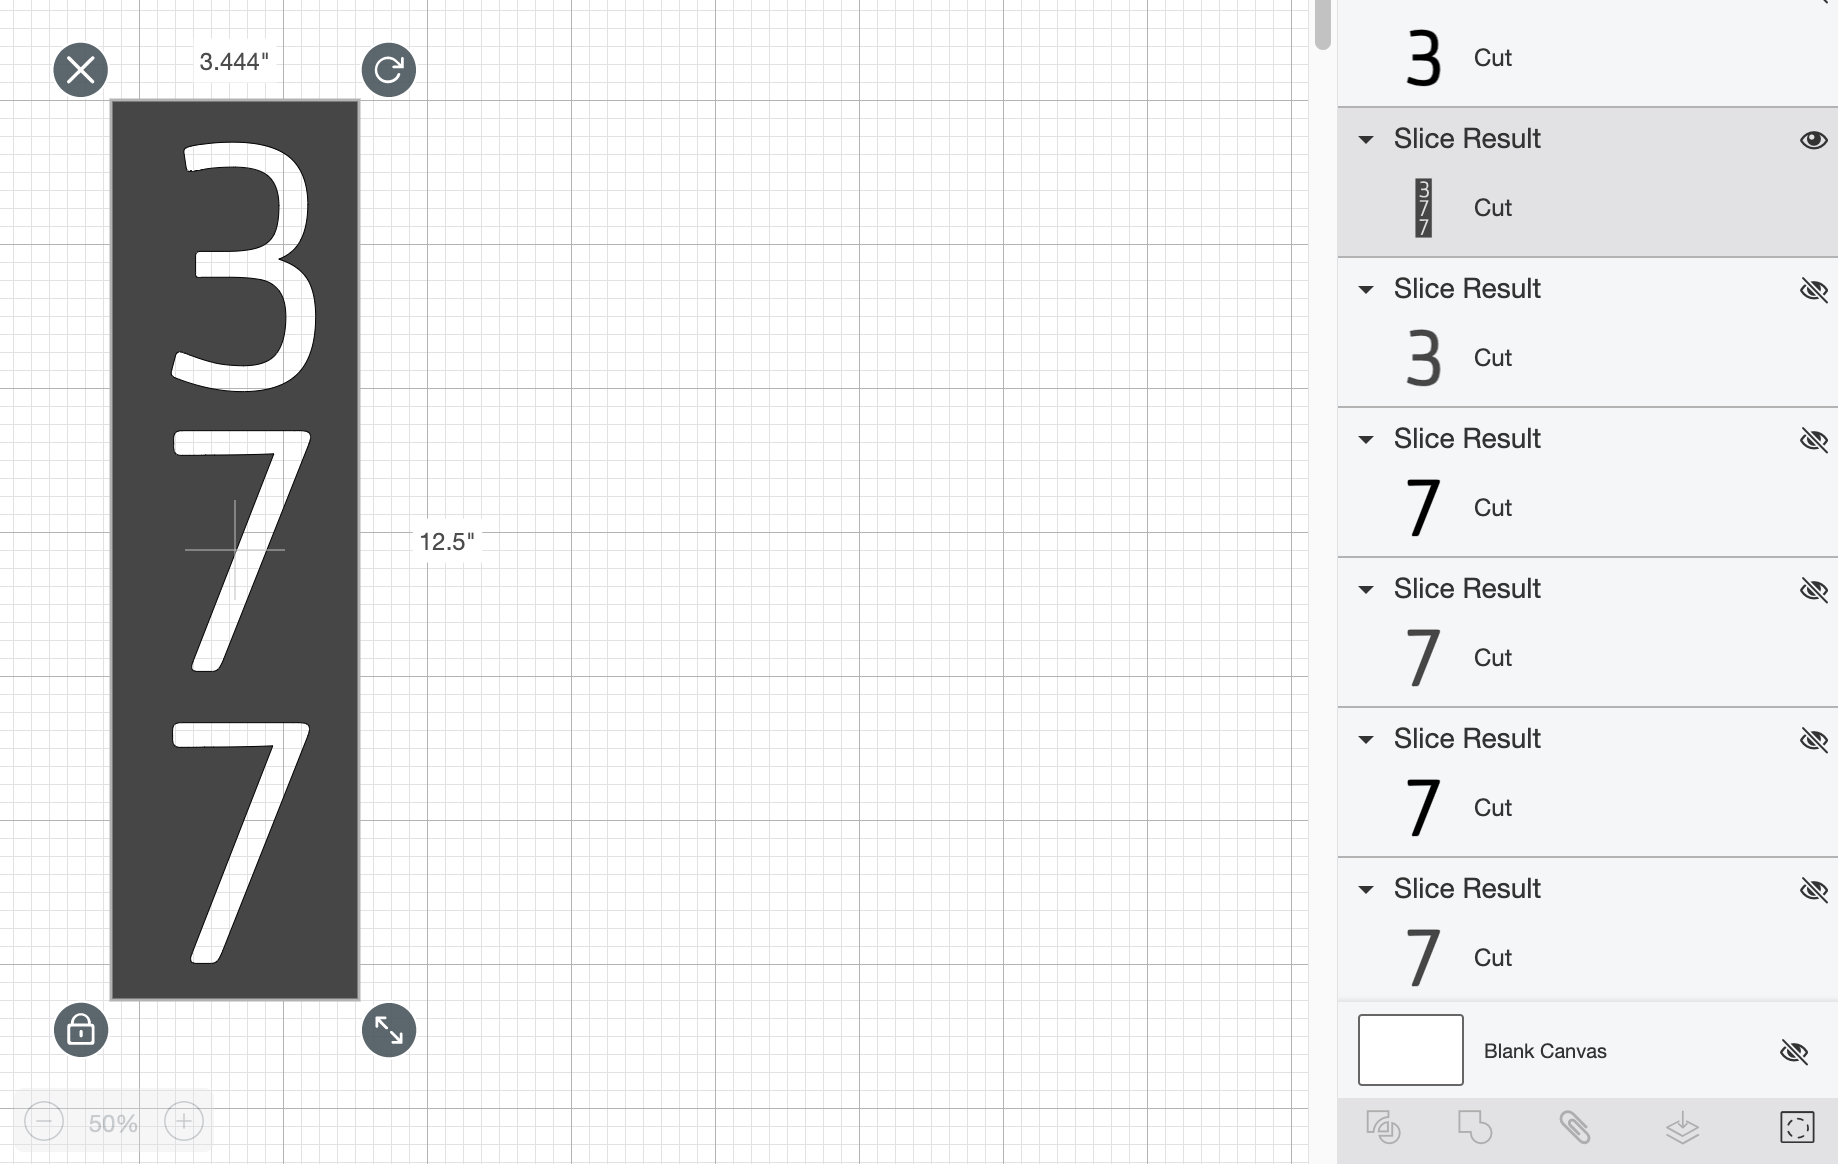
Select that layer and the next number and hit slice again. Continue this until you have your sign design!
If you have a 0, 6 or 8, you may need to add a line and weld that to your sign to make sure all the pieces stick together.
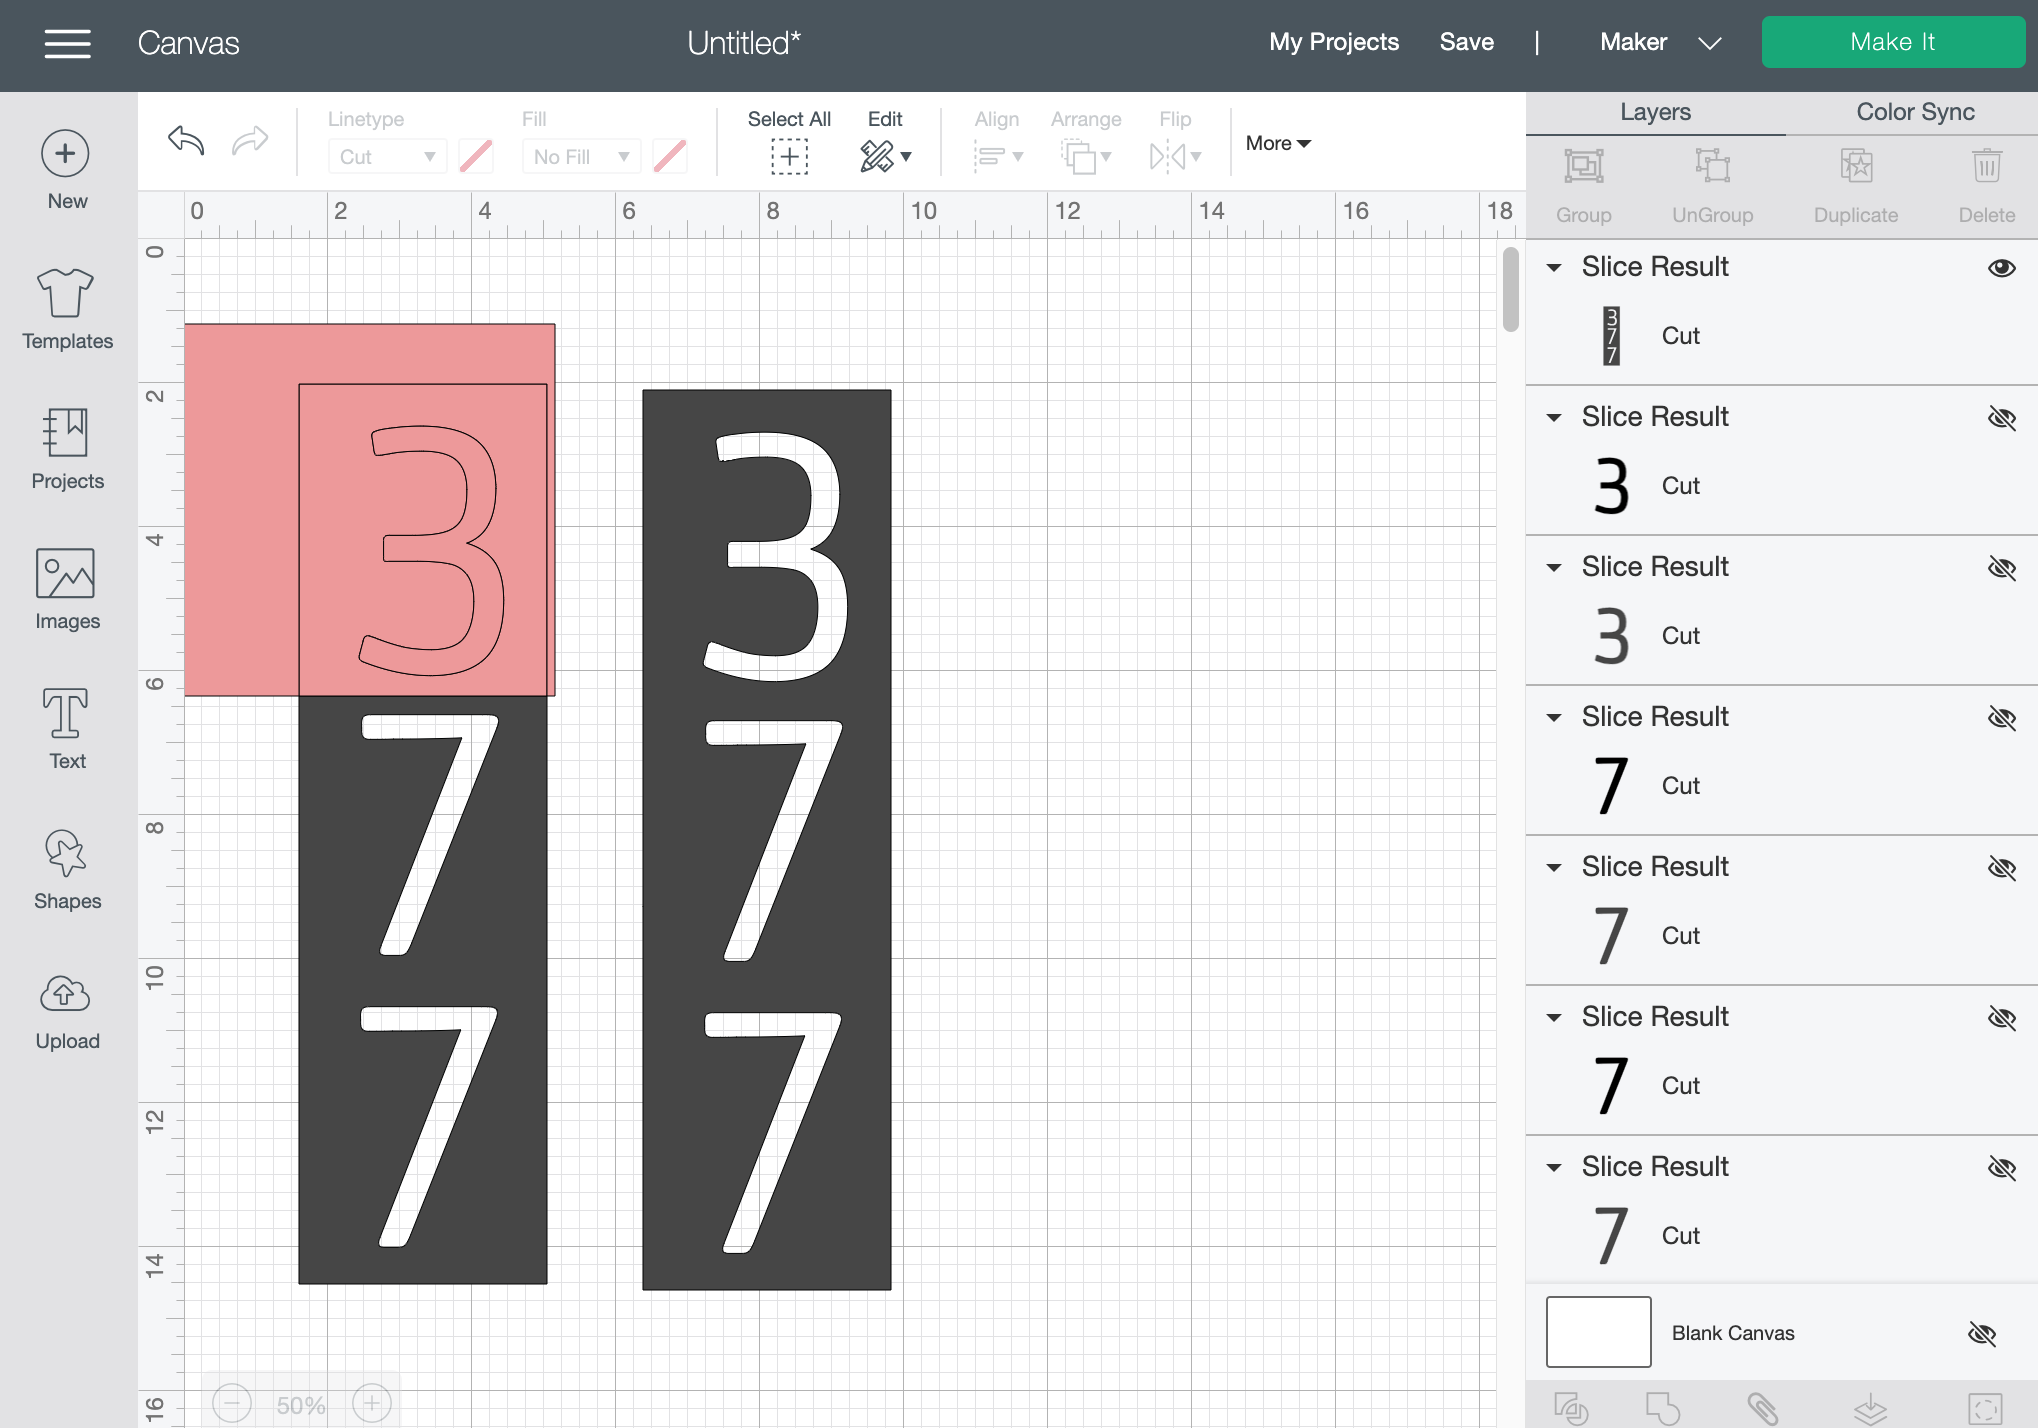
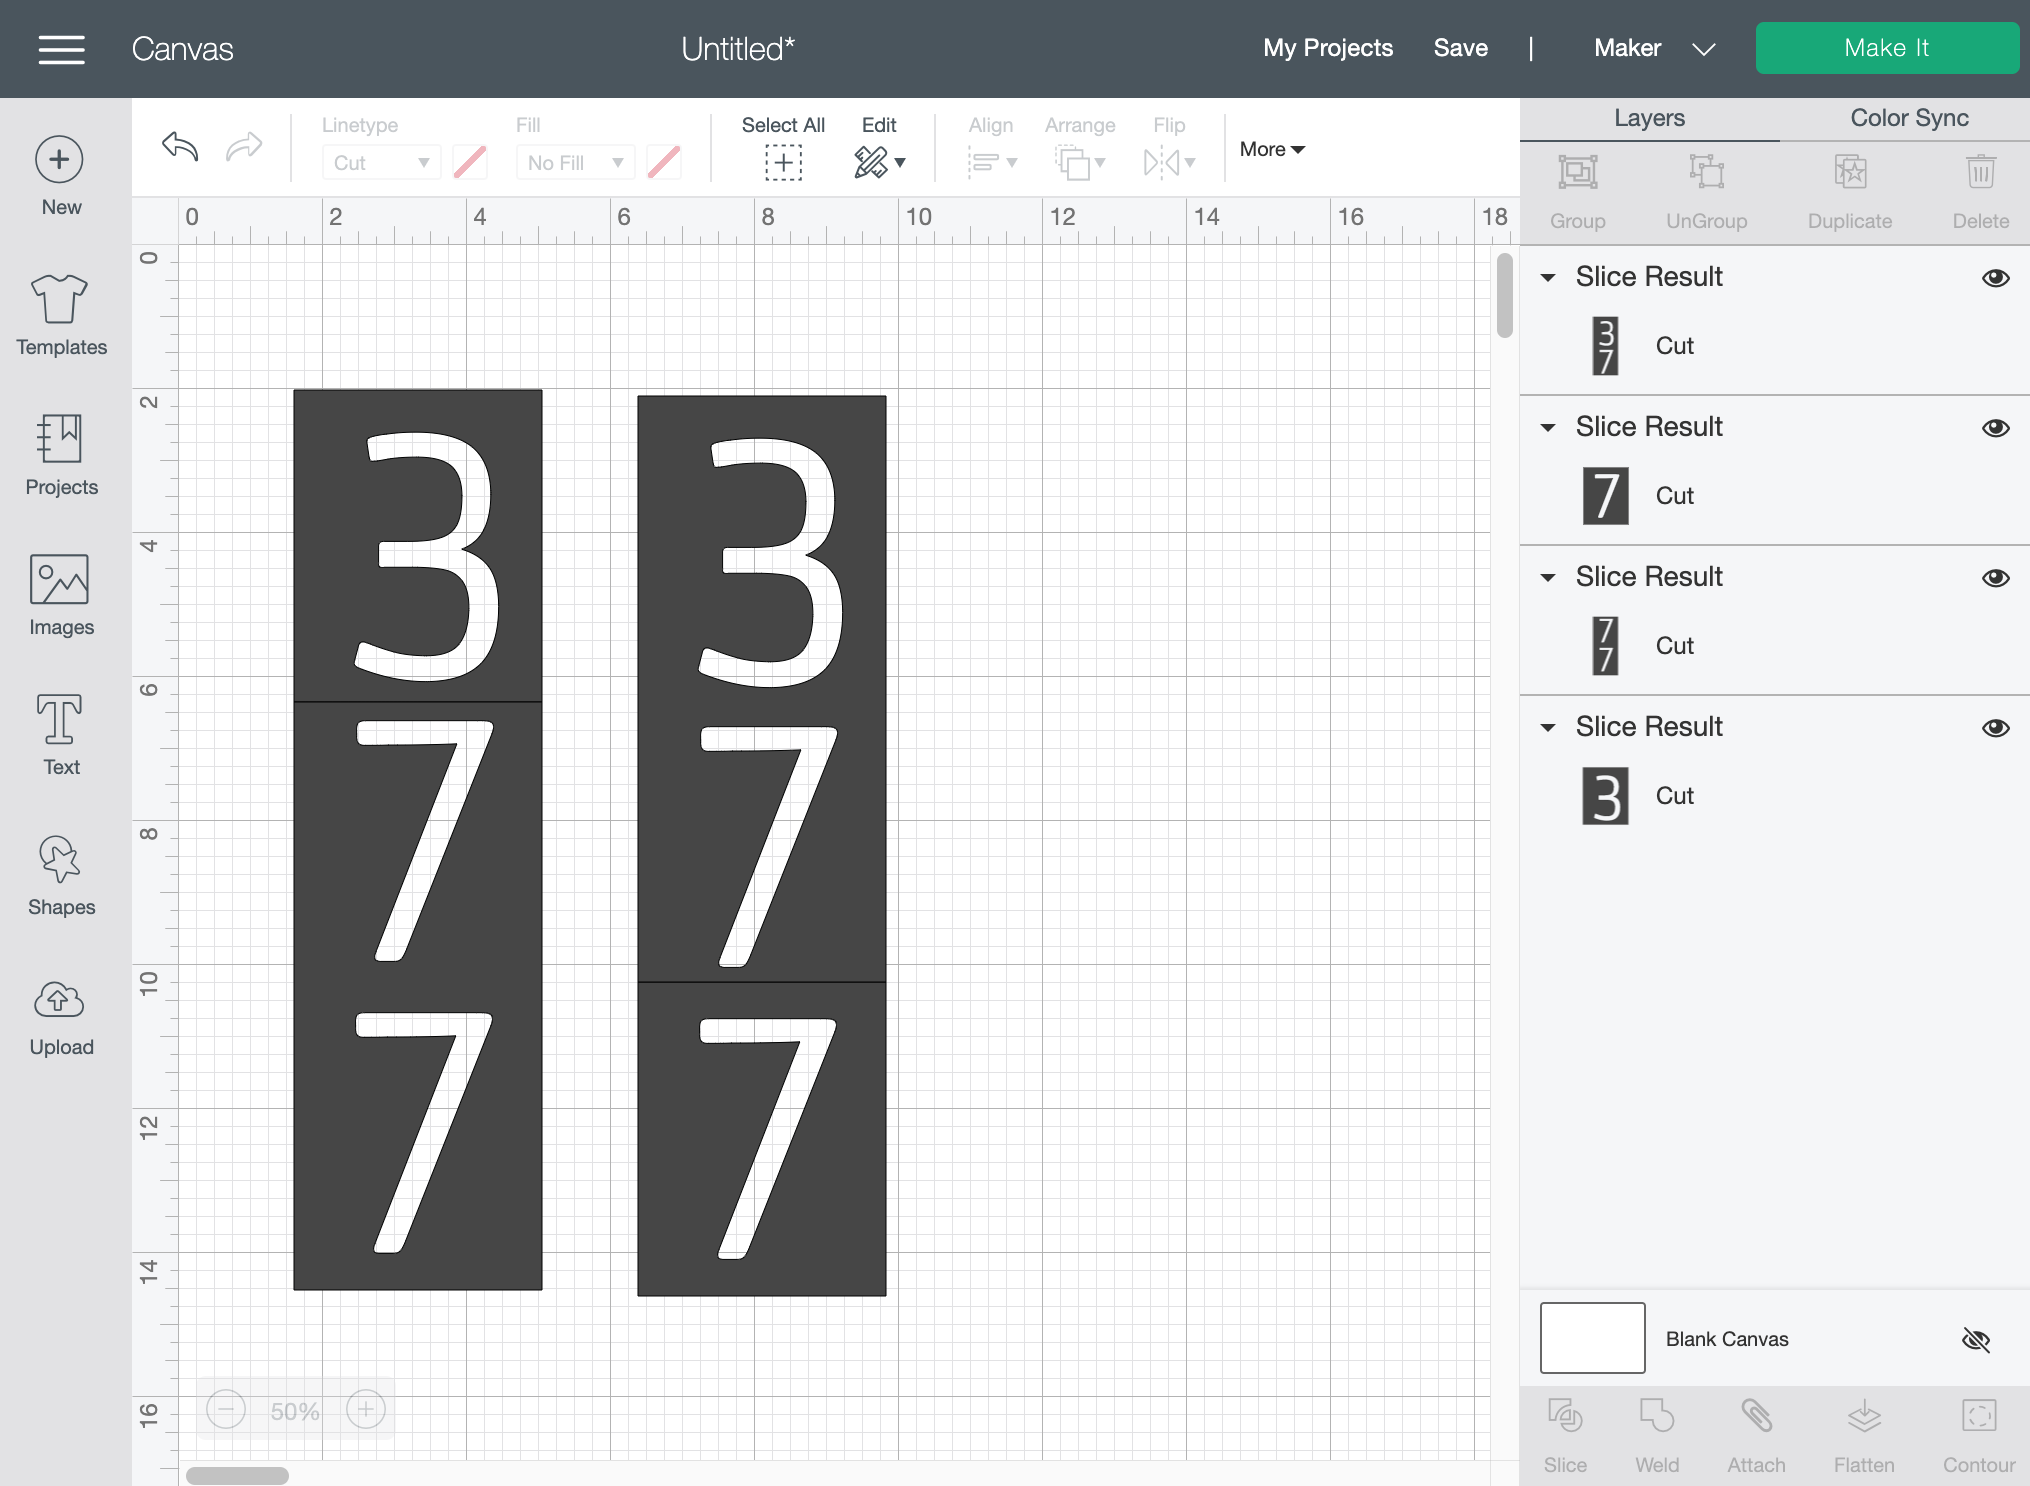
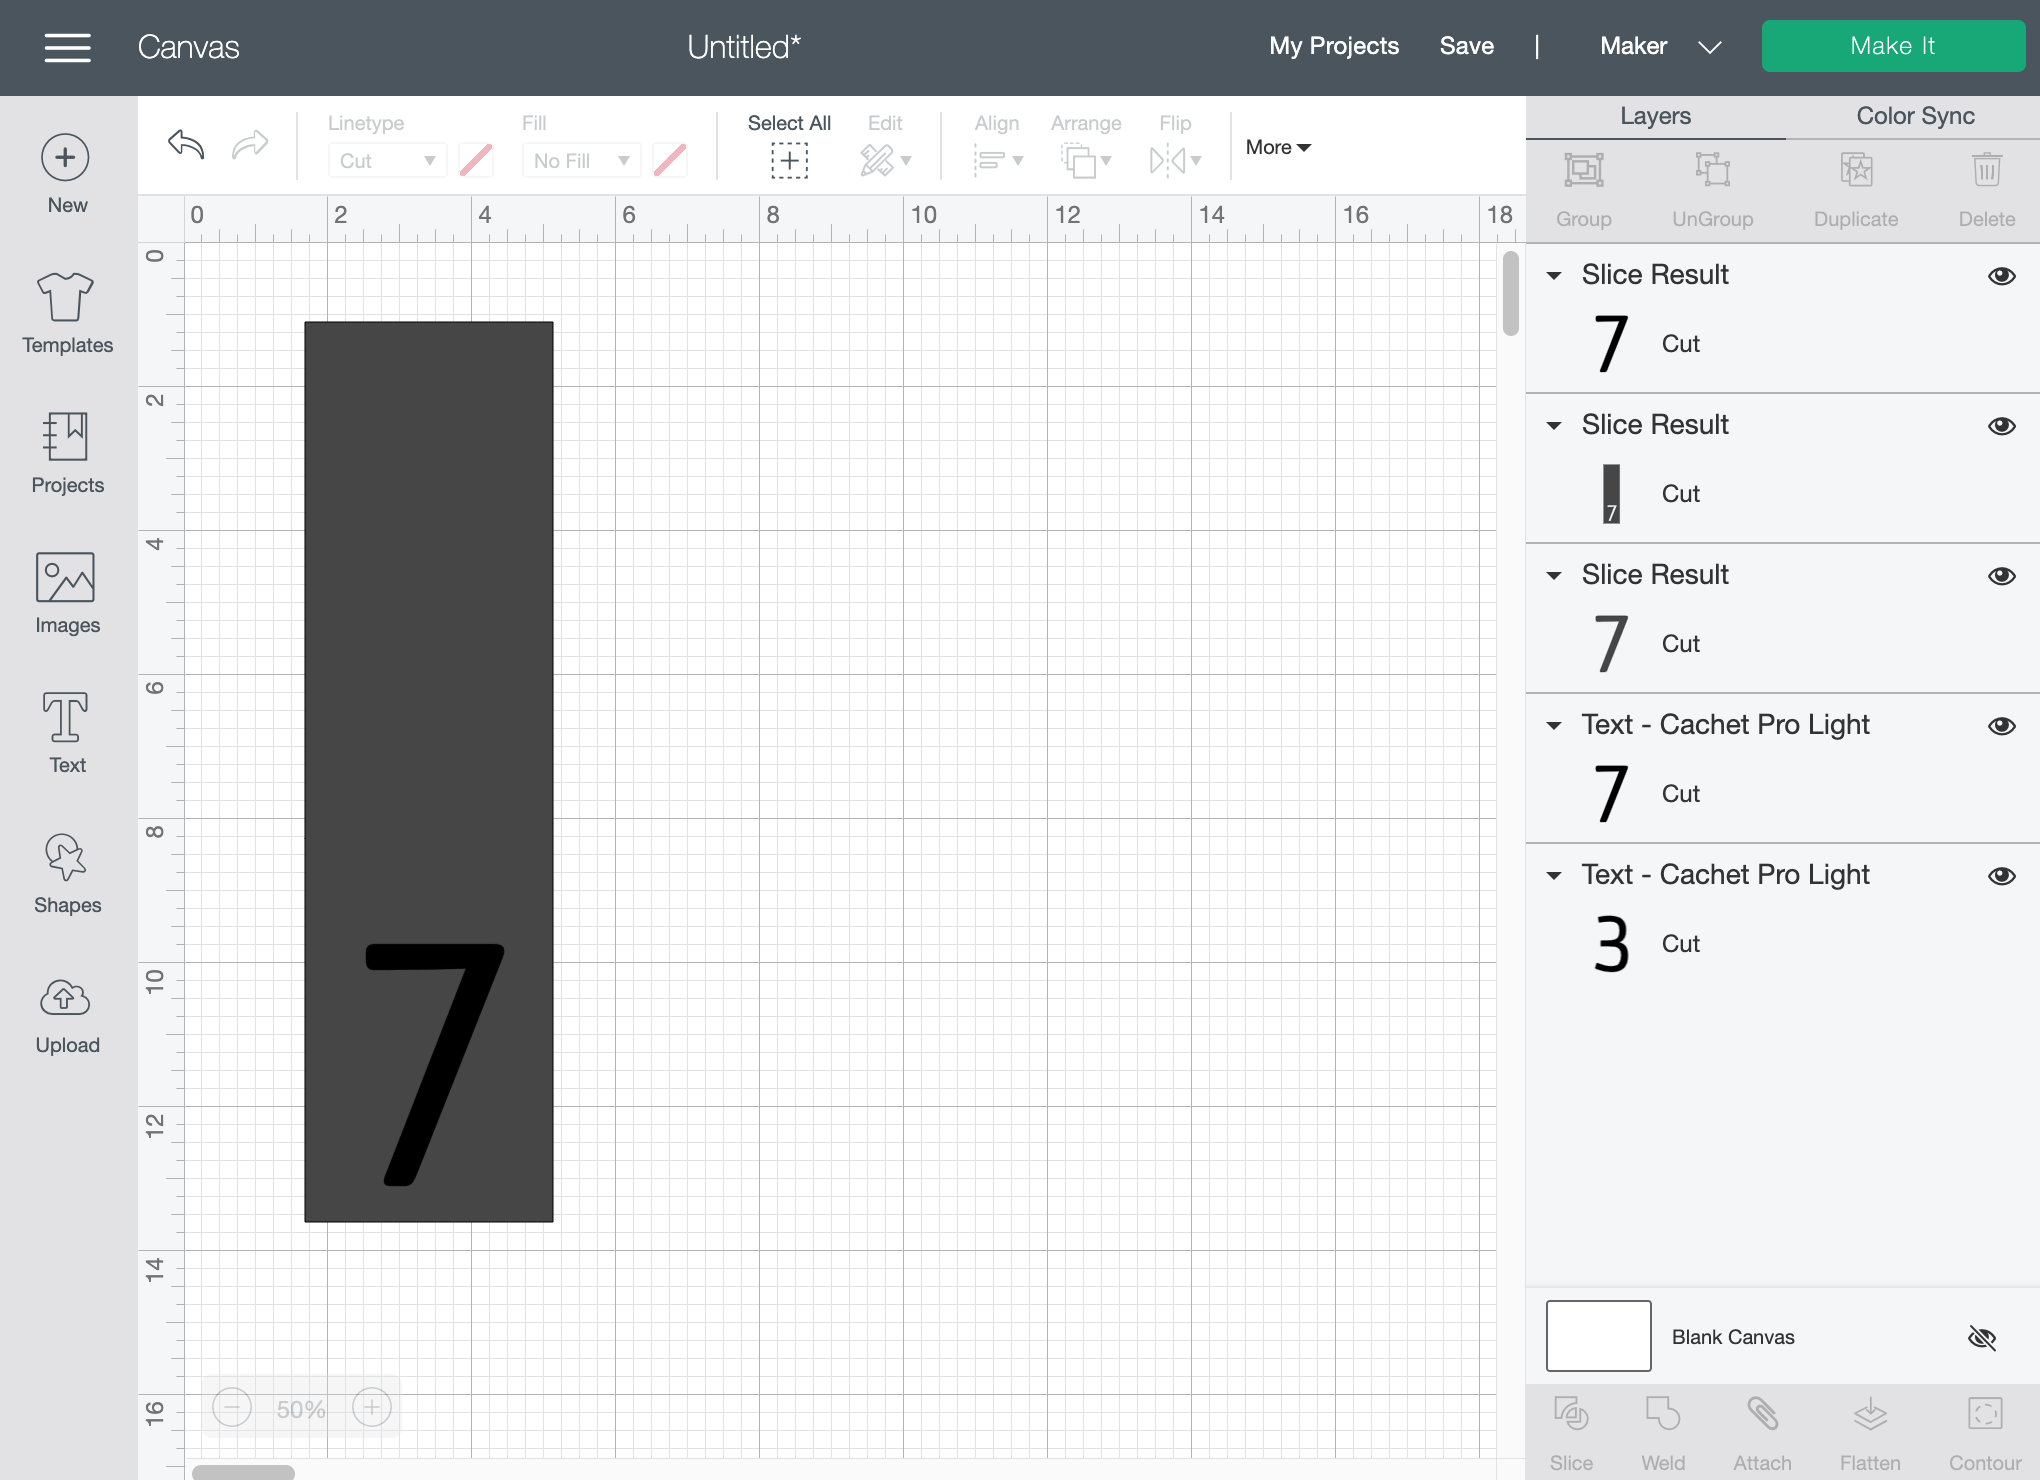
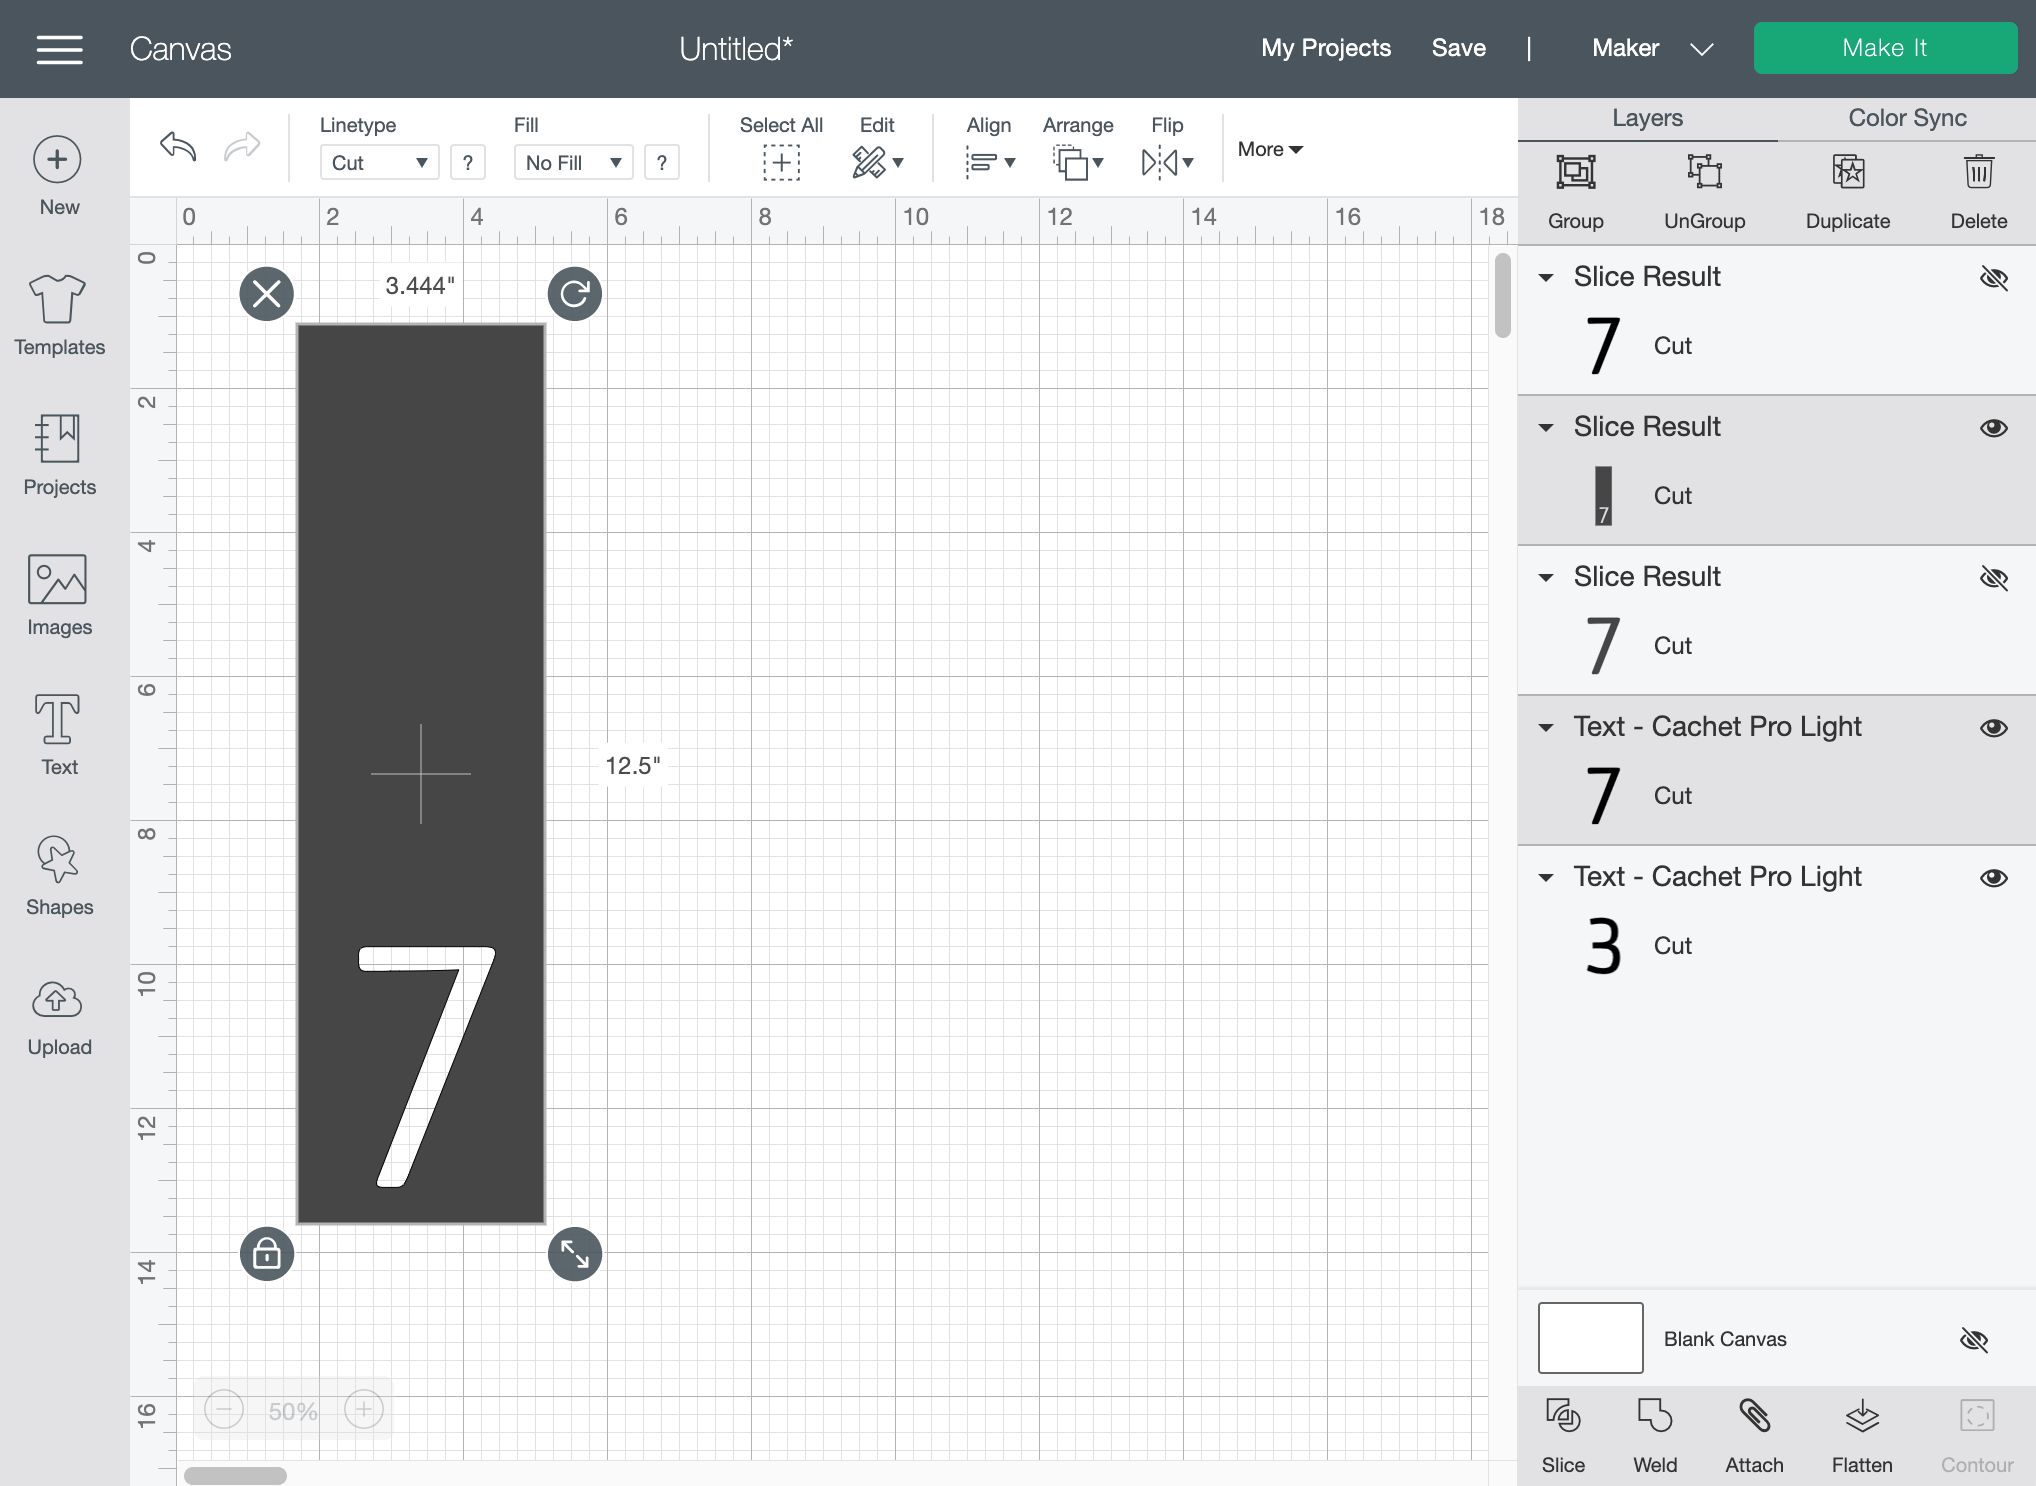
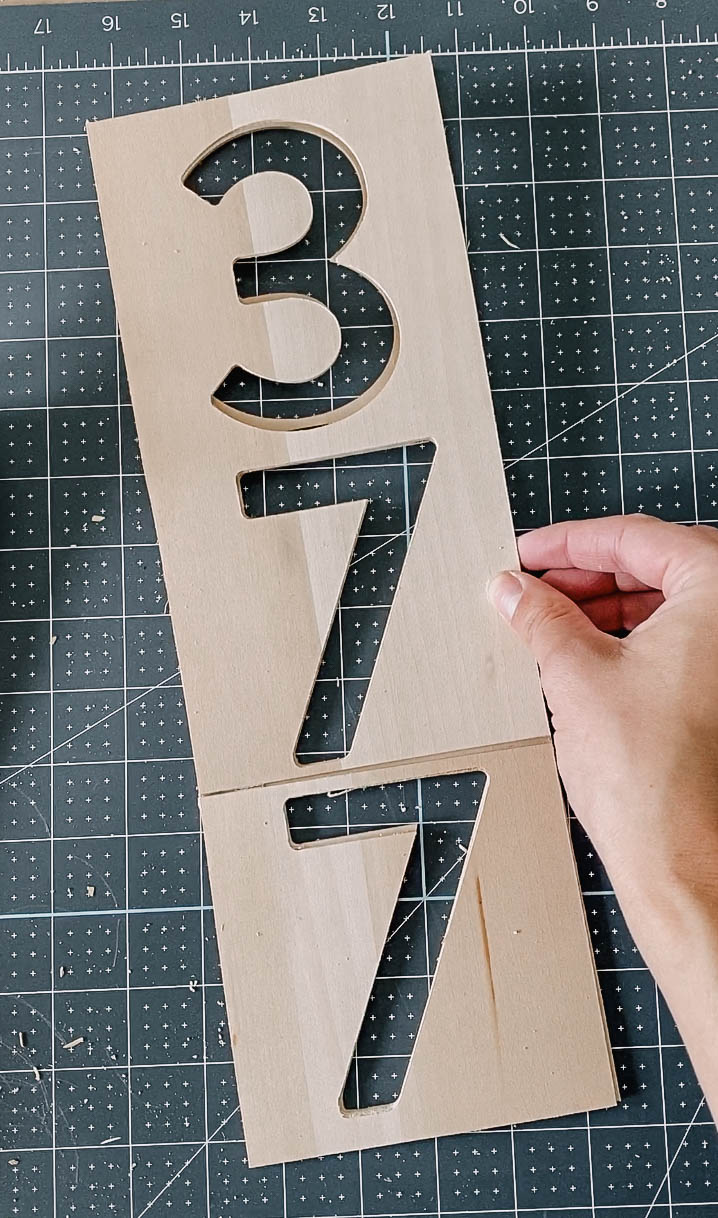
Now… time to double up! I wanted to have my design longer than 12″ which is the size of the basswood. I also wanted to have it thicker than the basswood comes in. SO I duplicated it and then sliced it into pieces using a basic square shape. I chose to slice each layer in a different spot so it would glue together and be strong.
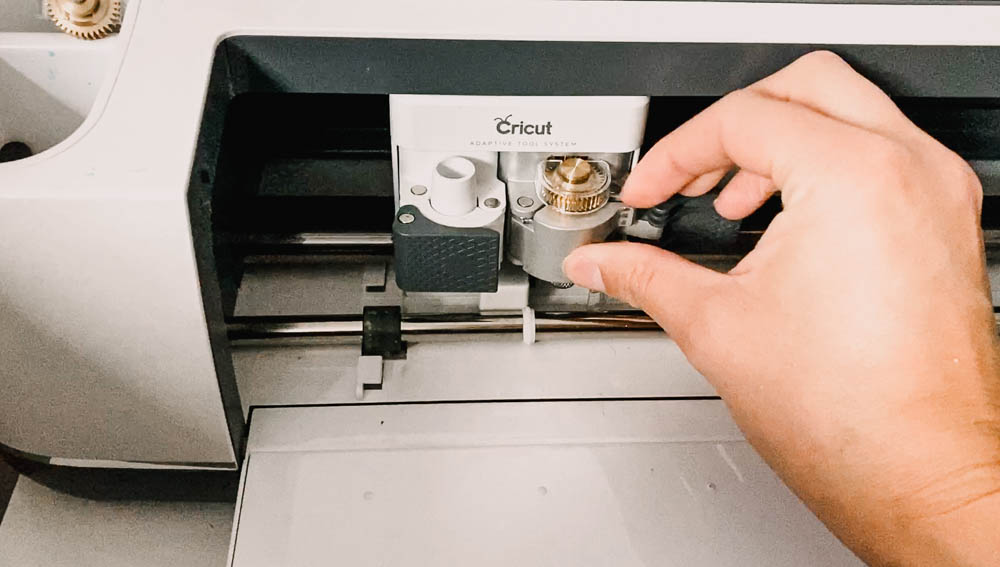
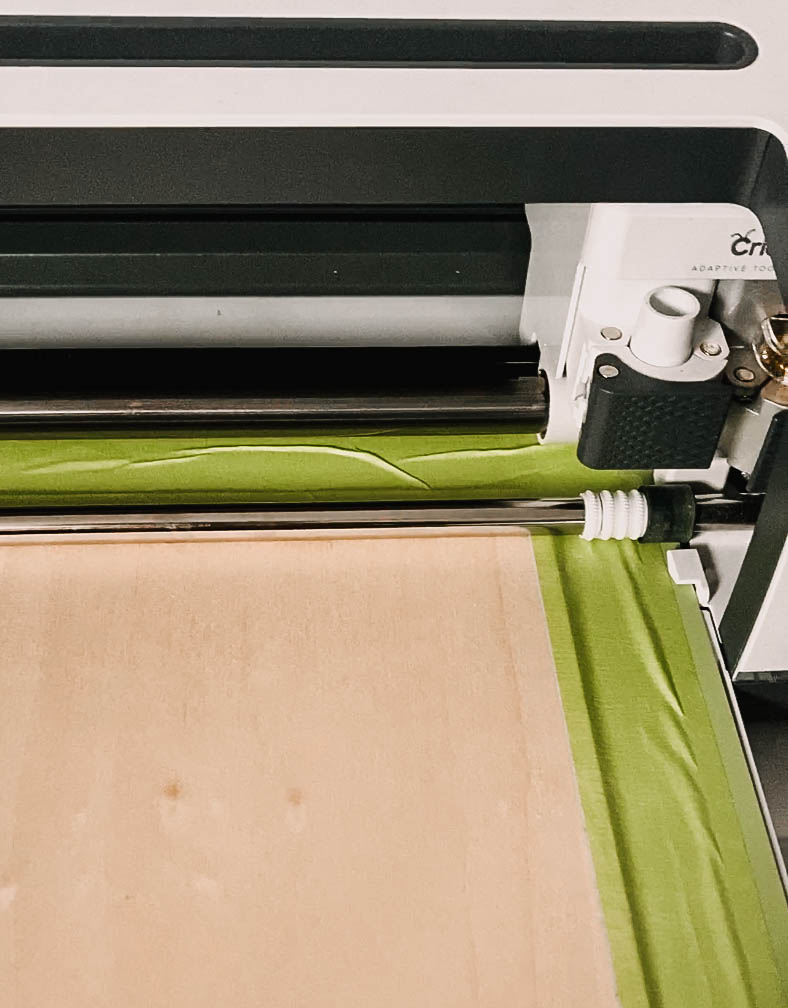
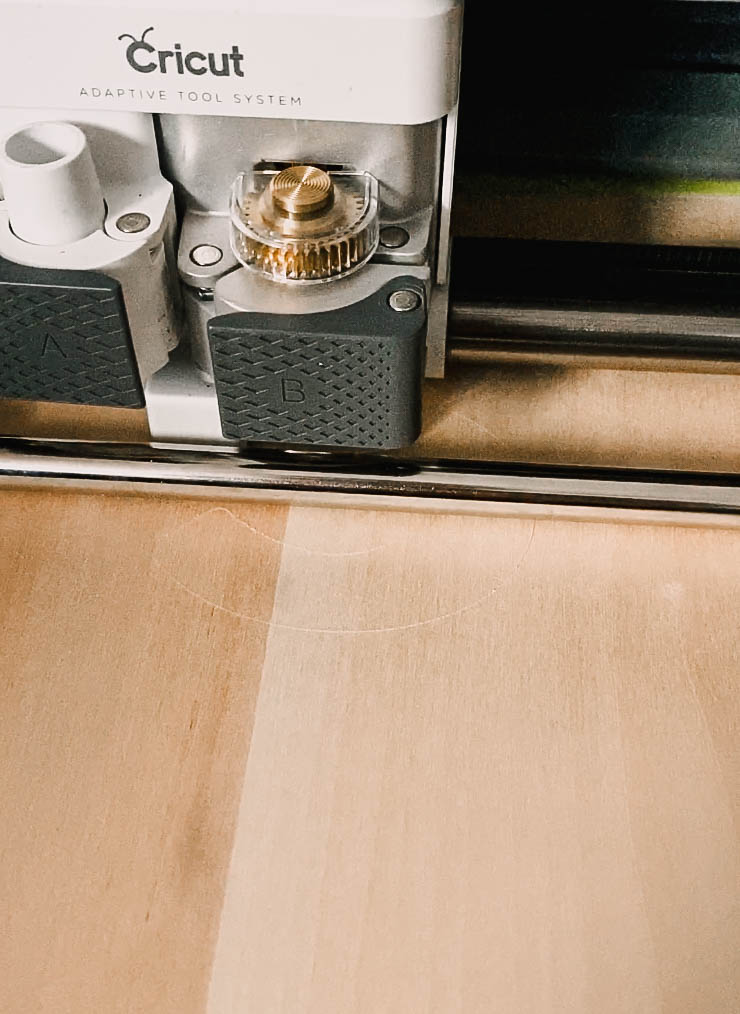
Now it’s time to ‘Make It’! make sure you select the material you are cutting and follow the instructions on your screen. That means using a Strong Grip Mat and taping down the edges of the wood to your mat. It means swapping out your fine point blade for the Knife Blade. And it means moving your star wheels all the way to the side of your Cricut Maker.
I’m going to highlight this every time I talk about a Cricut woodworking project… Cricut Maker can cut wood beautifully but it takes SO MUCH TIME. So prepare yourself. Walk away and check in every 10 minutes or so.
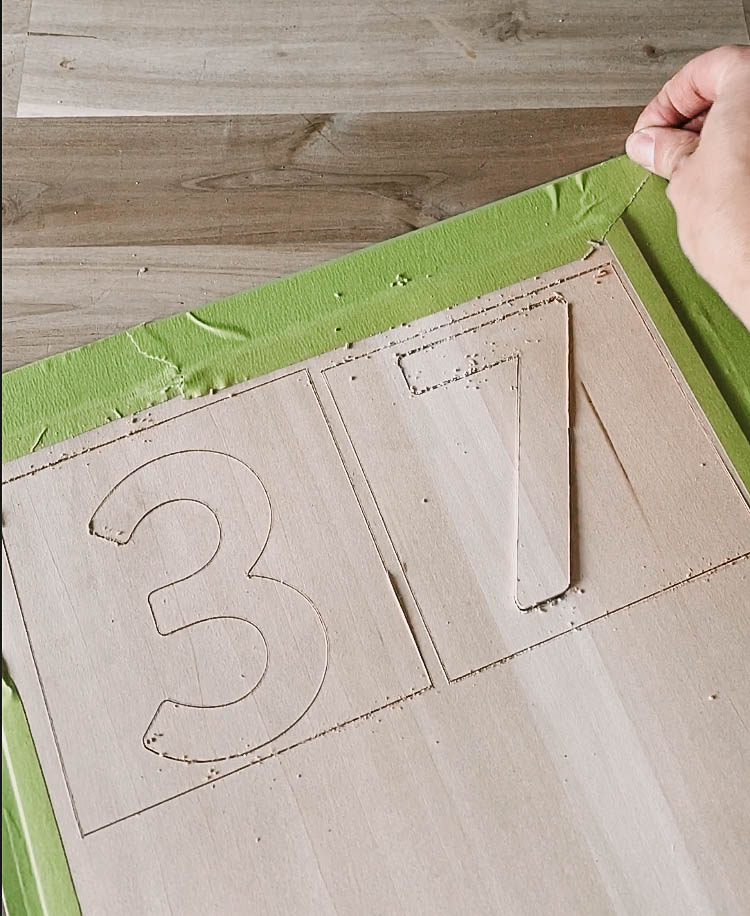
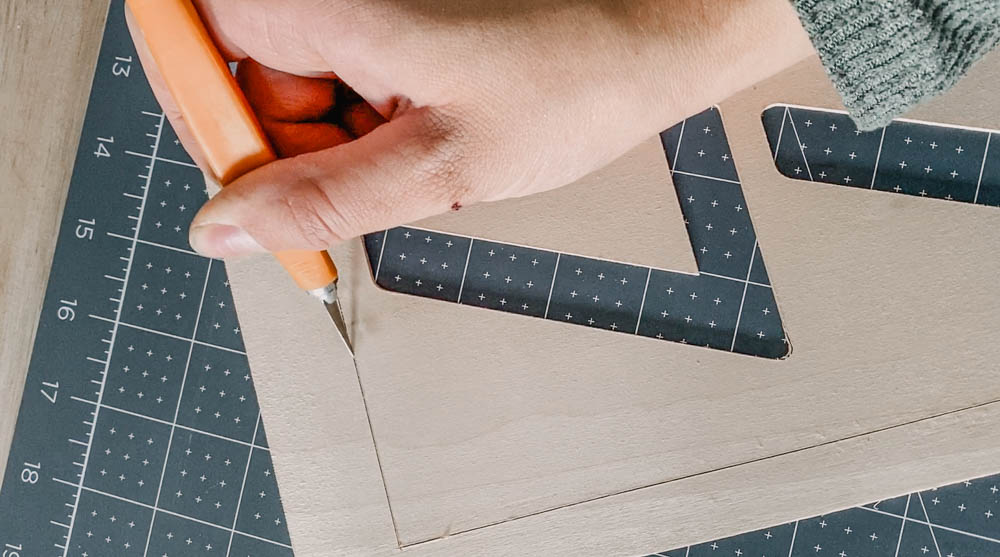
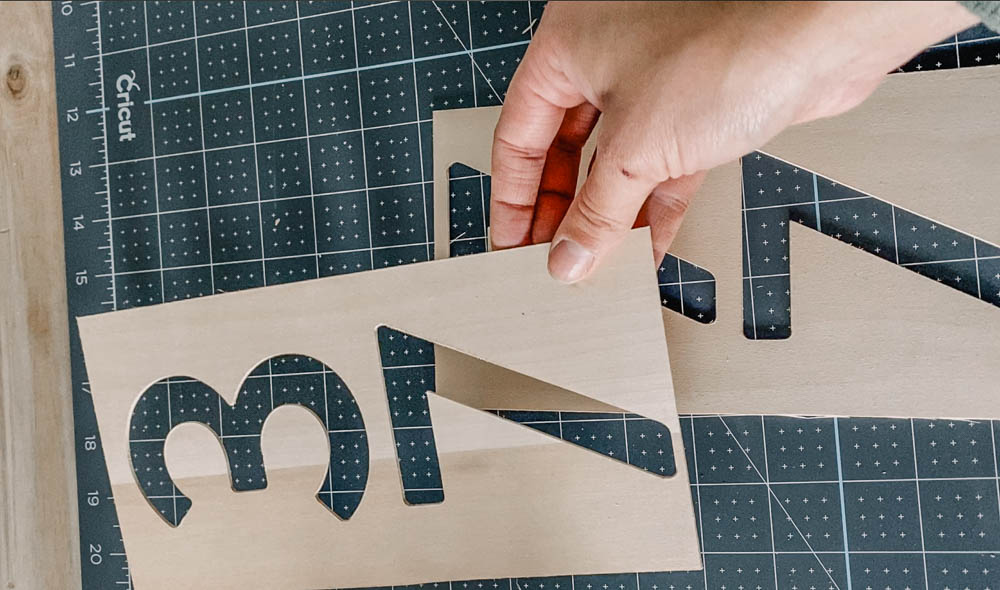
Once the cut is complete, you can pop your design off the mat. I have found occasionally there’s cuts that don’t go allll the way perfectly so I just use a craft knife and cut through those spots on a craft mat.

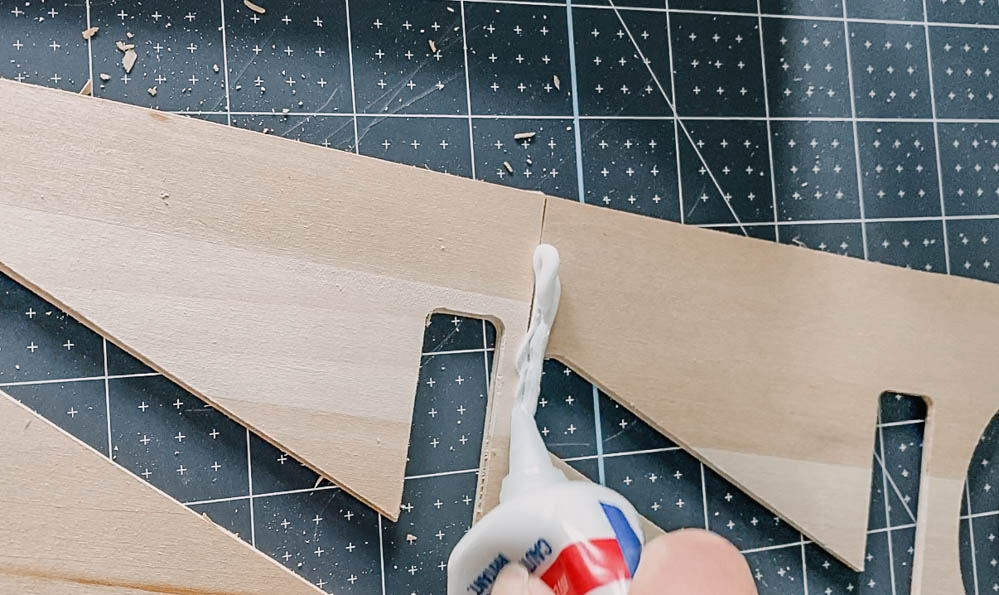
Once that’s done, go ahead and glue the four pieces together- I left it overnight with books on top of it to make sure the adhesion was solid since it will be outdoors in the elements.
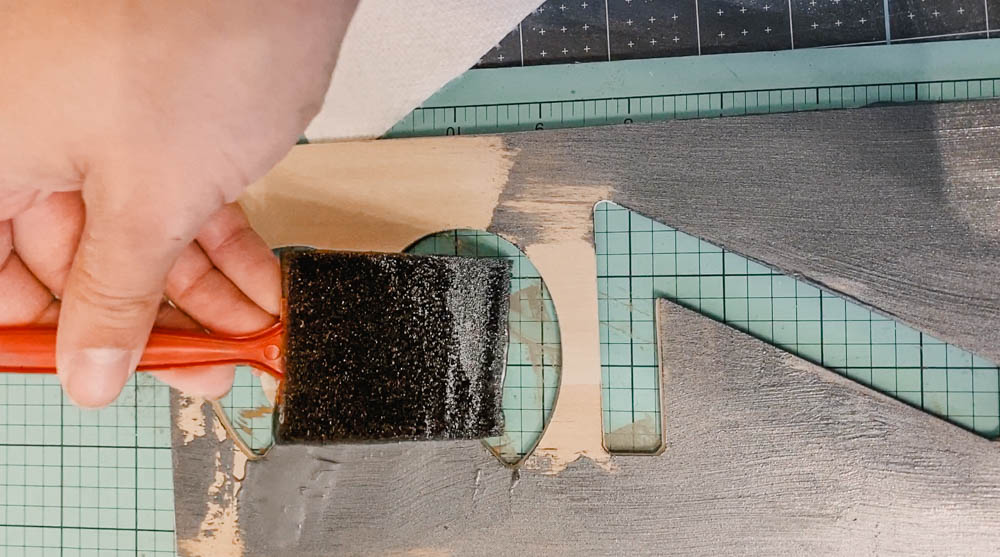
Once the glue has set, time to patch and sand! Use the wood filler on the connections and the edges of the wood. This will help seal it and get rid of any wood look texture. Let it dry completely then sand it nice and smooth!

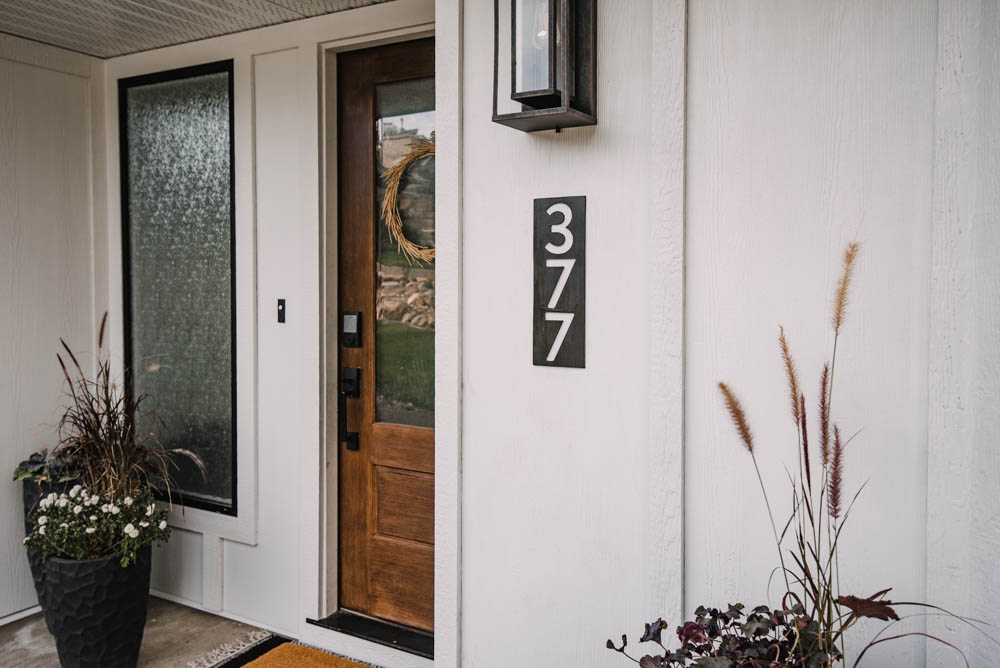
Then you’re ready to paint. I used a metal look paint first just to hide the texture of the wood, but you could totally skip this step too. Once that dried, I spray painted it black and then gave it a few coats of clear protector.
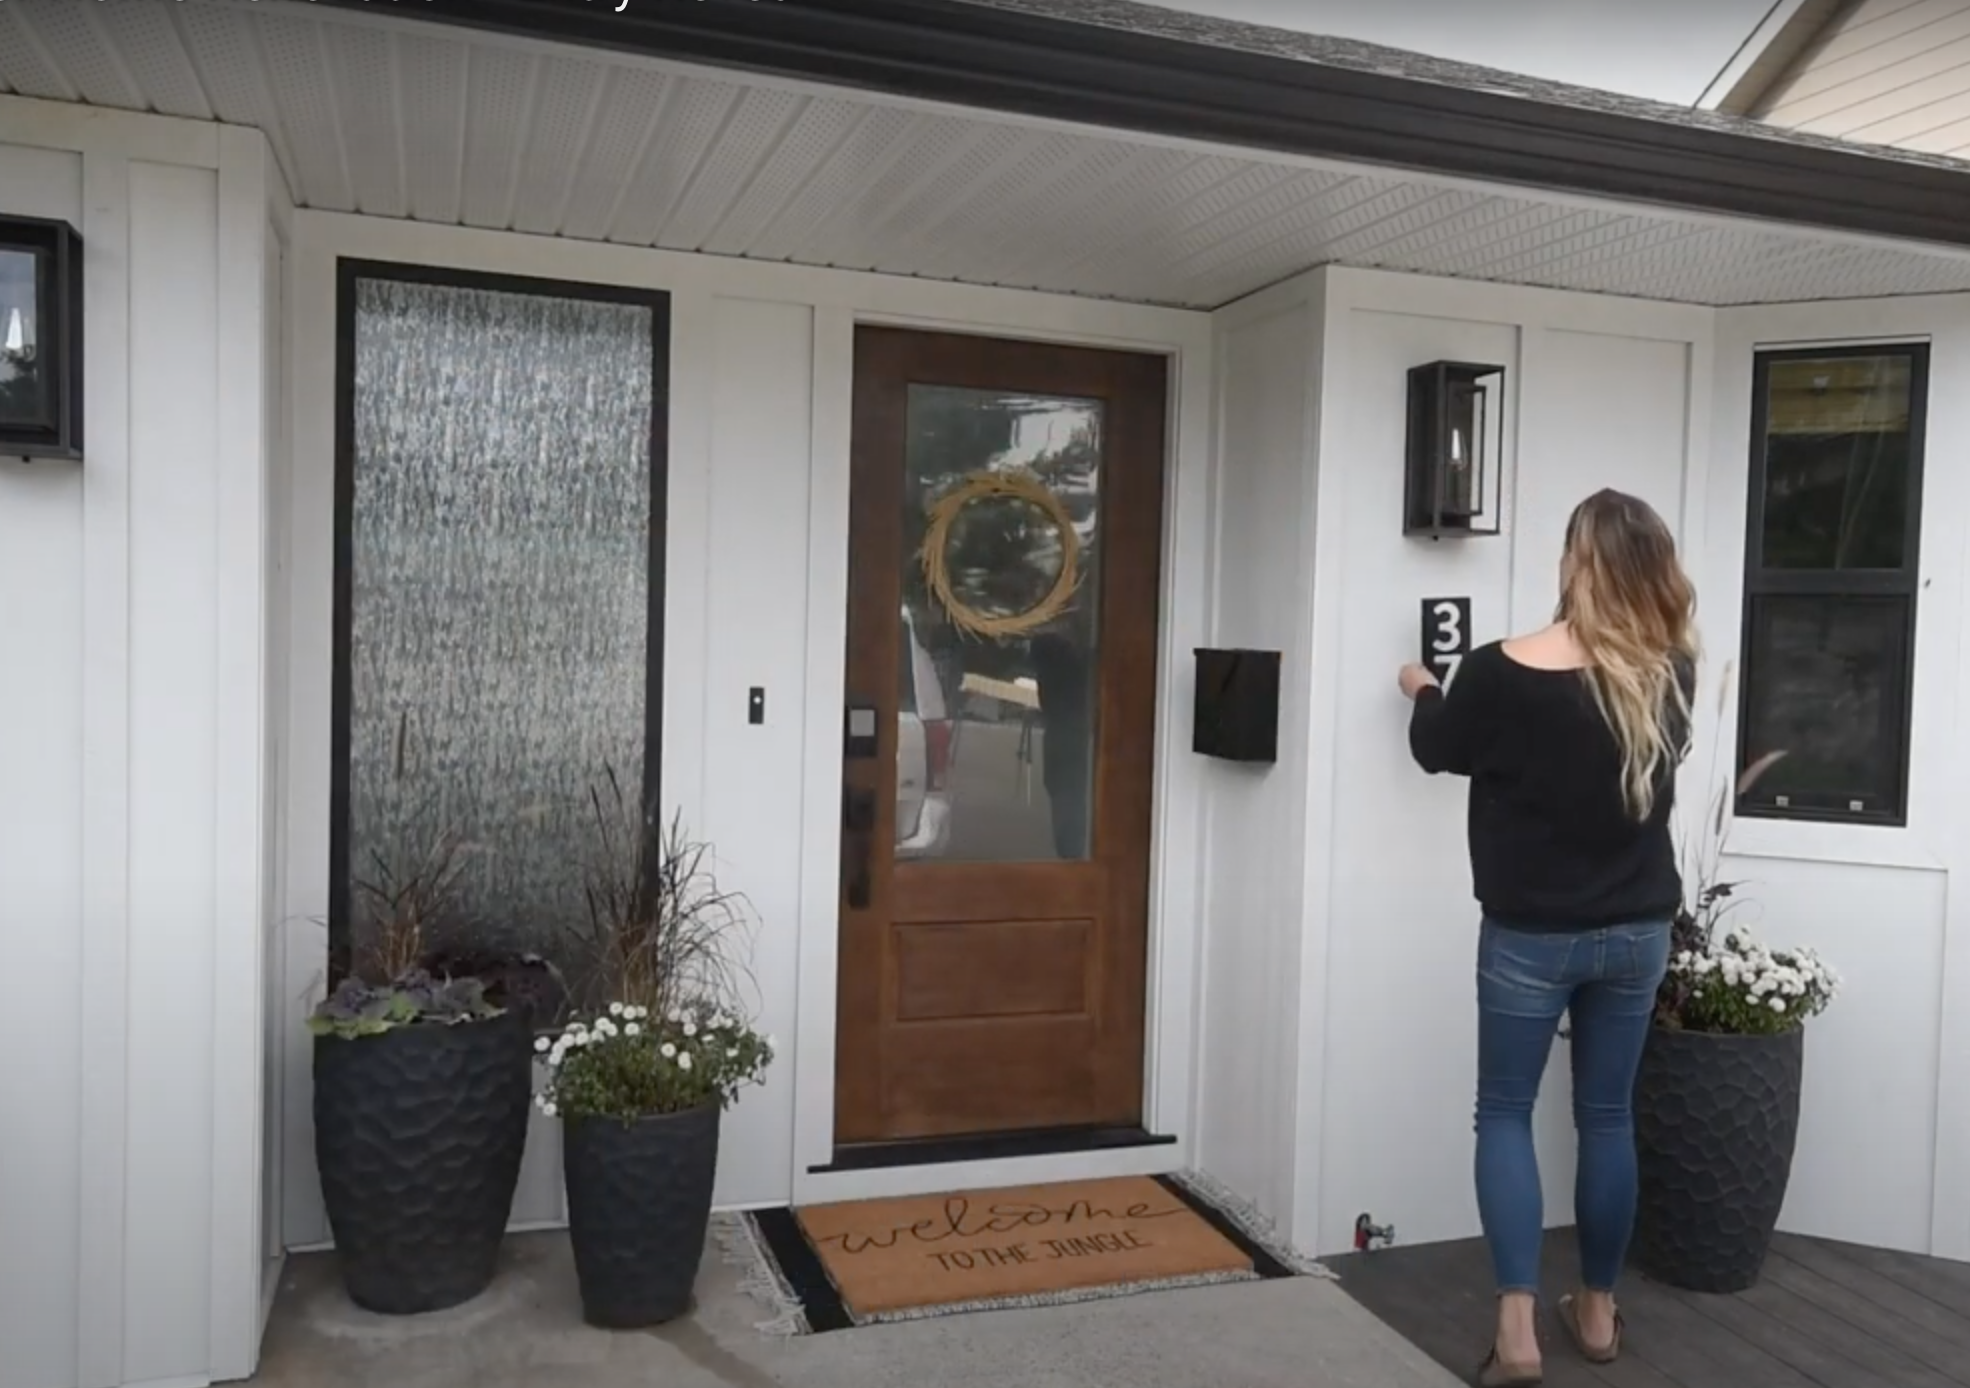
This has been on our house outside through the winter for about 4 full months. It’s lasting beautifully! We put it up with brad nails, but you could put it up with adhesive if you prefer.
As always, if this inspires you to create a project of your own, I’d so love to see!
LIKE IT? PIN IT!
 watercolour hand lettering for beginners
Leave a Reply